Lawn Fawn – Spooky Town

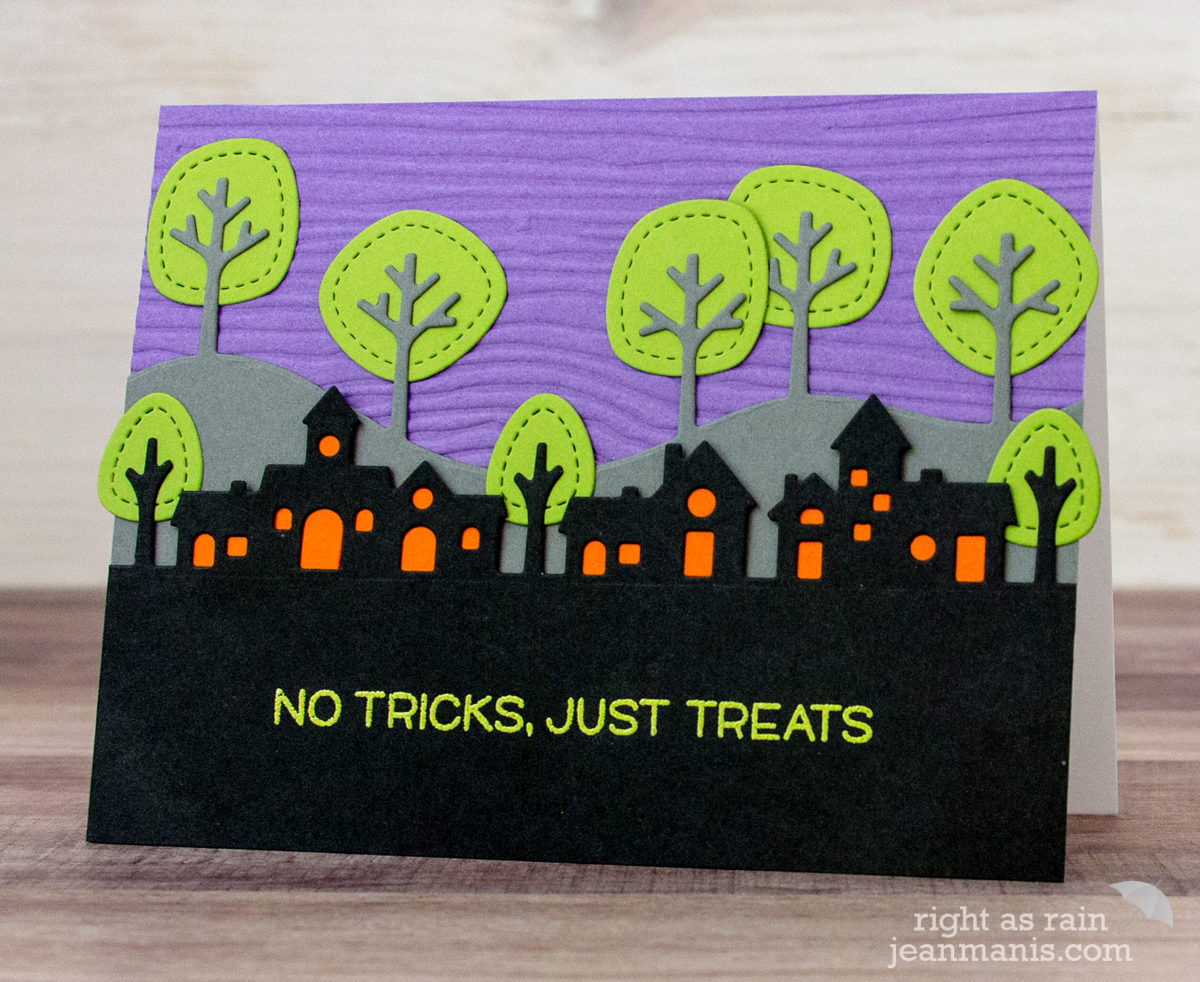
Hello! Today I am sharing a CAS Halloween die-cut card created with Lawn Fawn products.

Lawn Fawn - Spooky Town

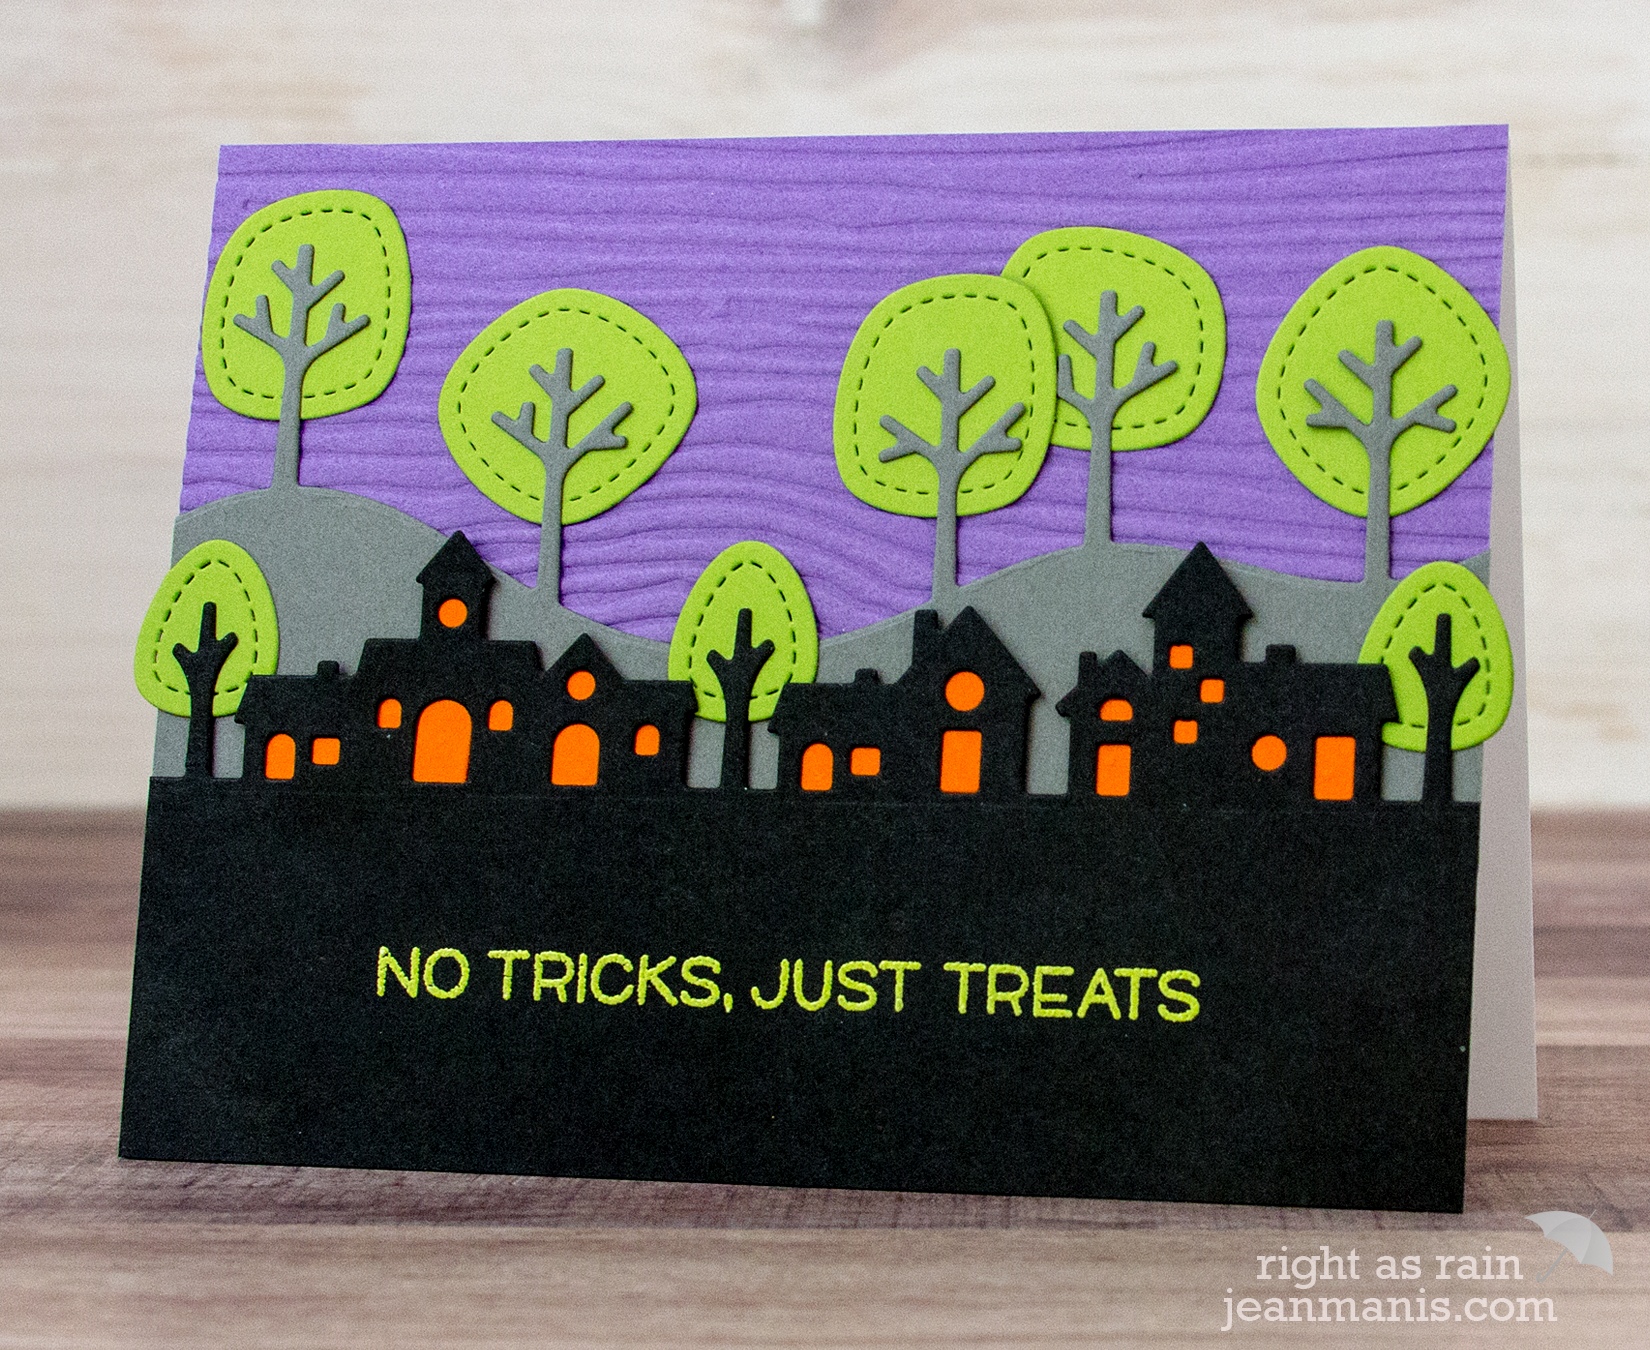
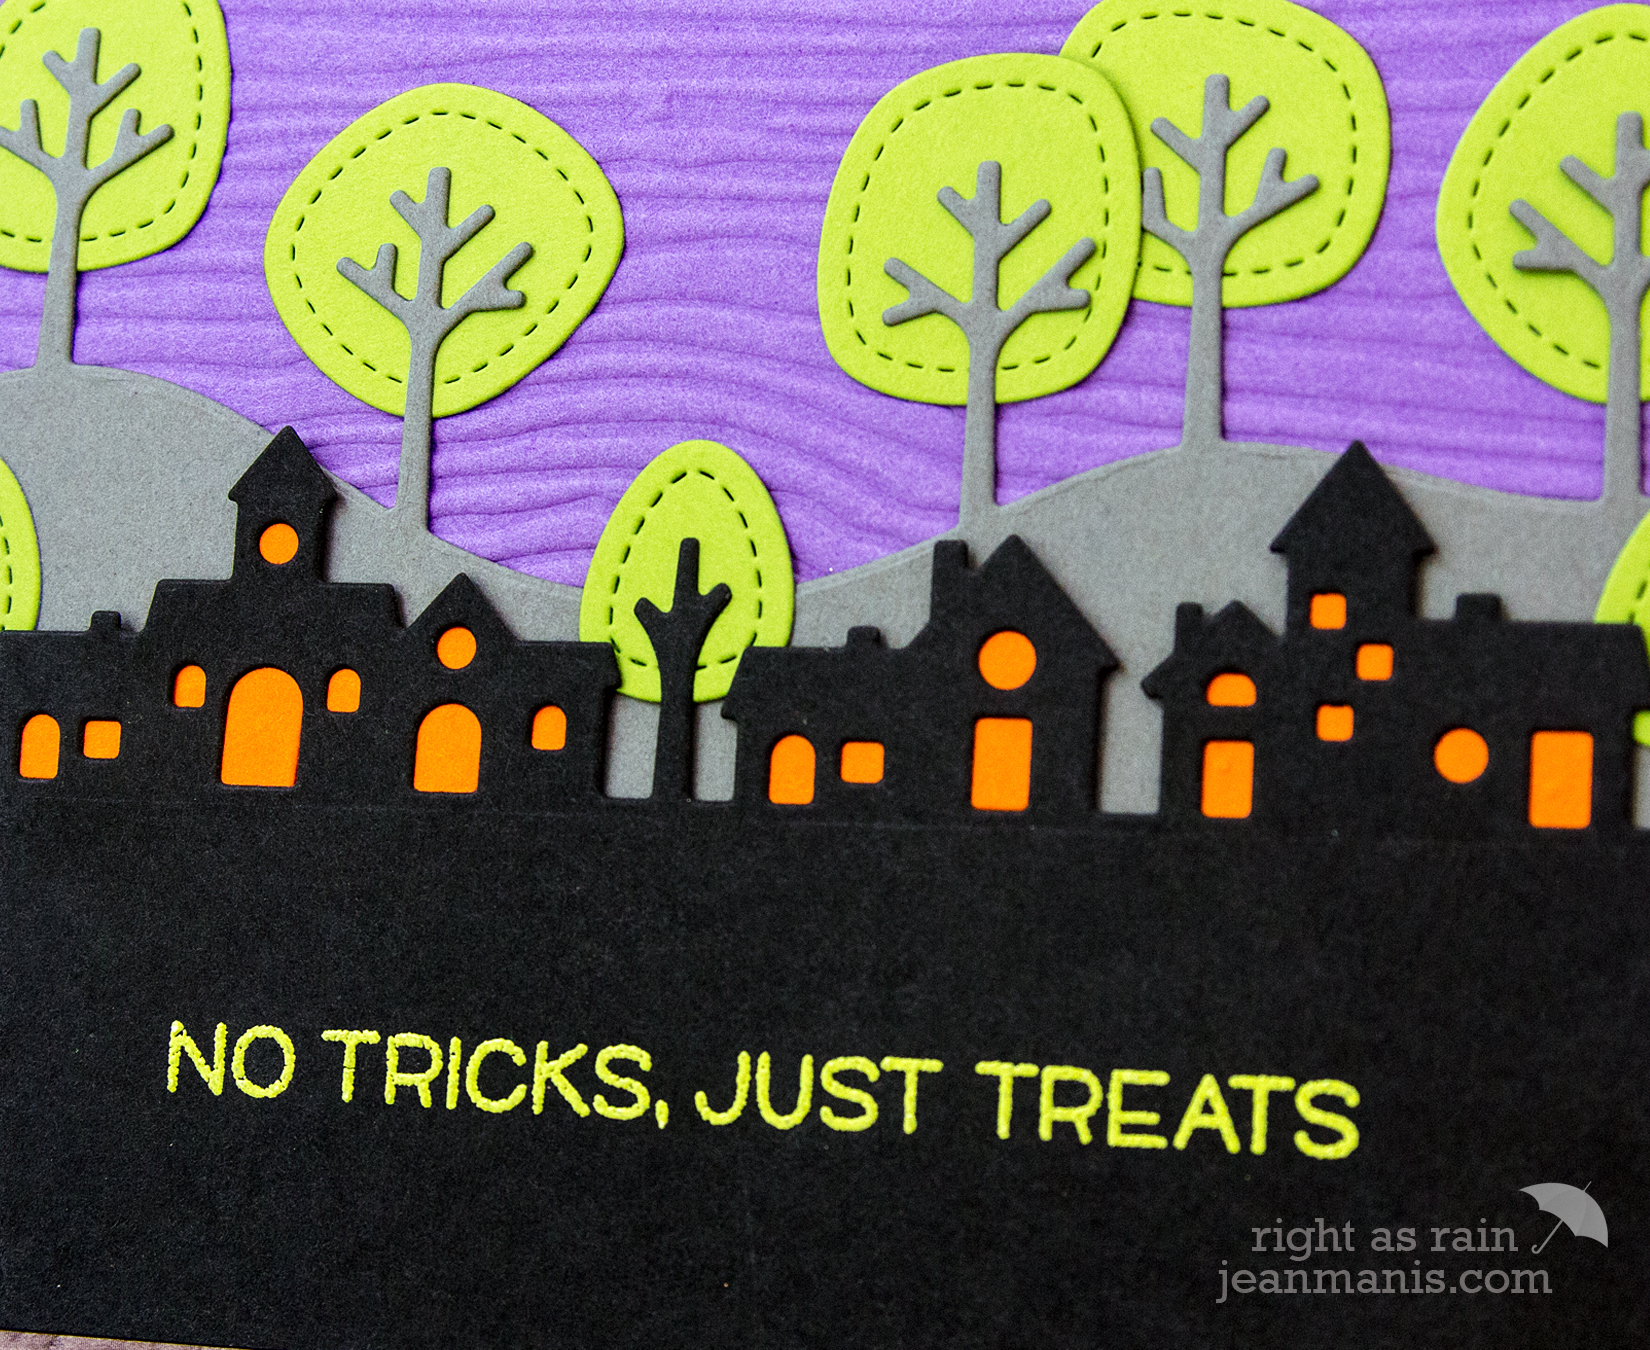
  • I heat-embossed the Happy Howloween sentiment with American Crafts Leaf embossing powder on Taylored Expressions Oreo cardstock and cut the panel with the Lawn Fawn Village Border. I backed the windows with Simon Says Orange Peel cardstock.
  • I cut the Stitched Tree Borders from TE Earl Grey cardstock and used TE Lime Zest cardstock for the foliage.
  • For the background, I dry-embossed TE Jelly Donut cardstock with the Lifestyle Crafts Wood Grain embossing folder.

Lawn Fawn - Spooky Town

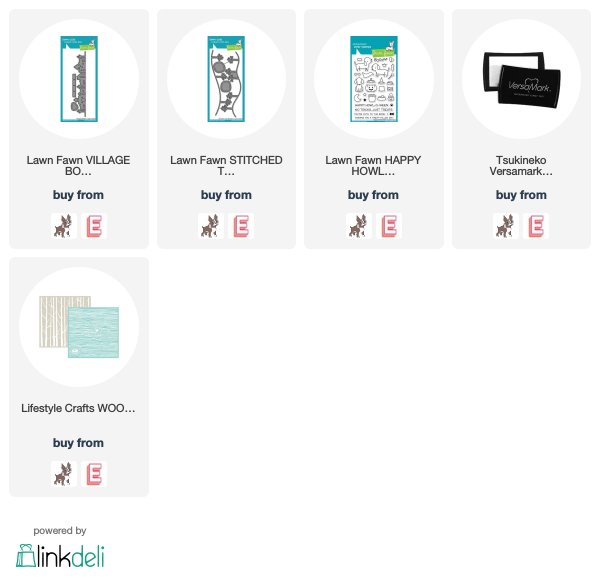
Supplies:

Spellbinders – A Charming Christmas

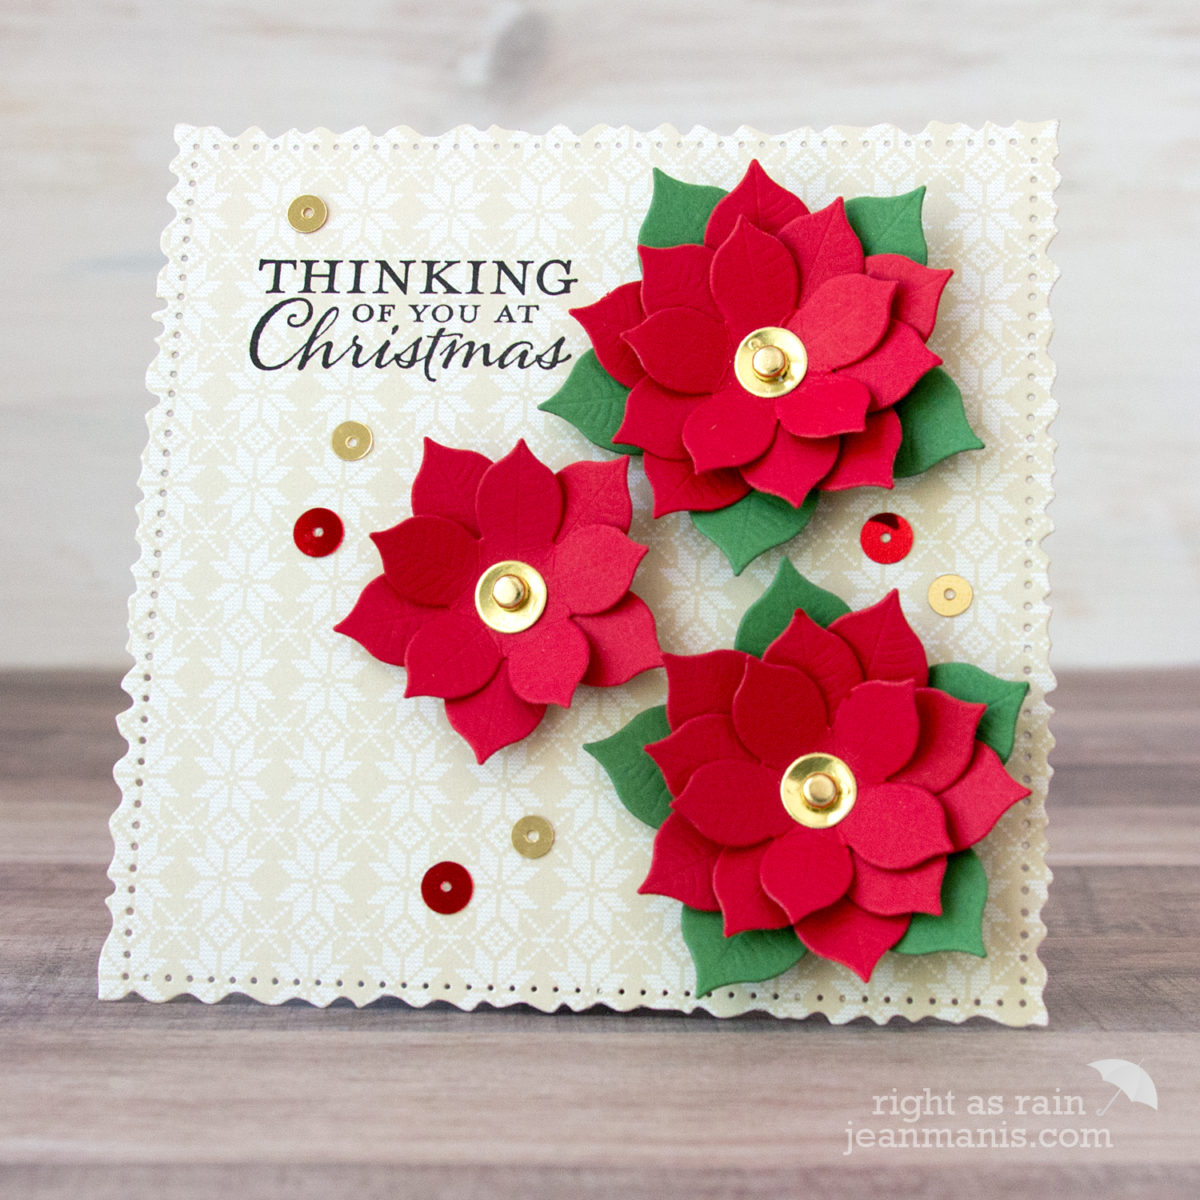
Hello and fa la la! Today, I am sharing my first Christmas cards of the season featuring die sets from Spellbinders A Charming Christmas Collection by Becca Feekan.

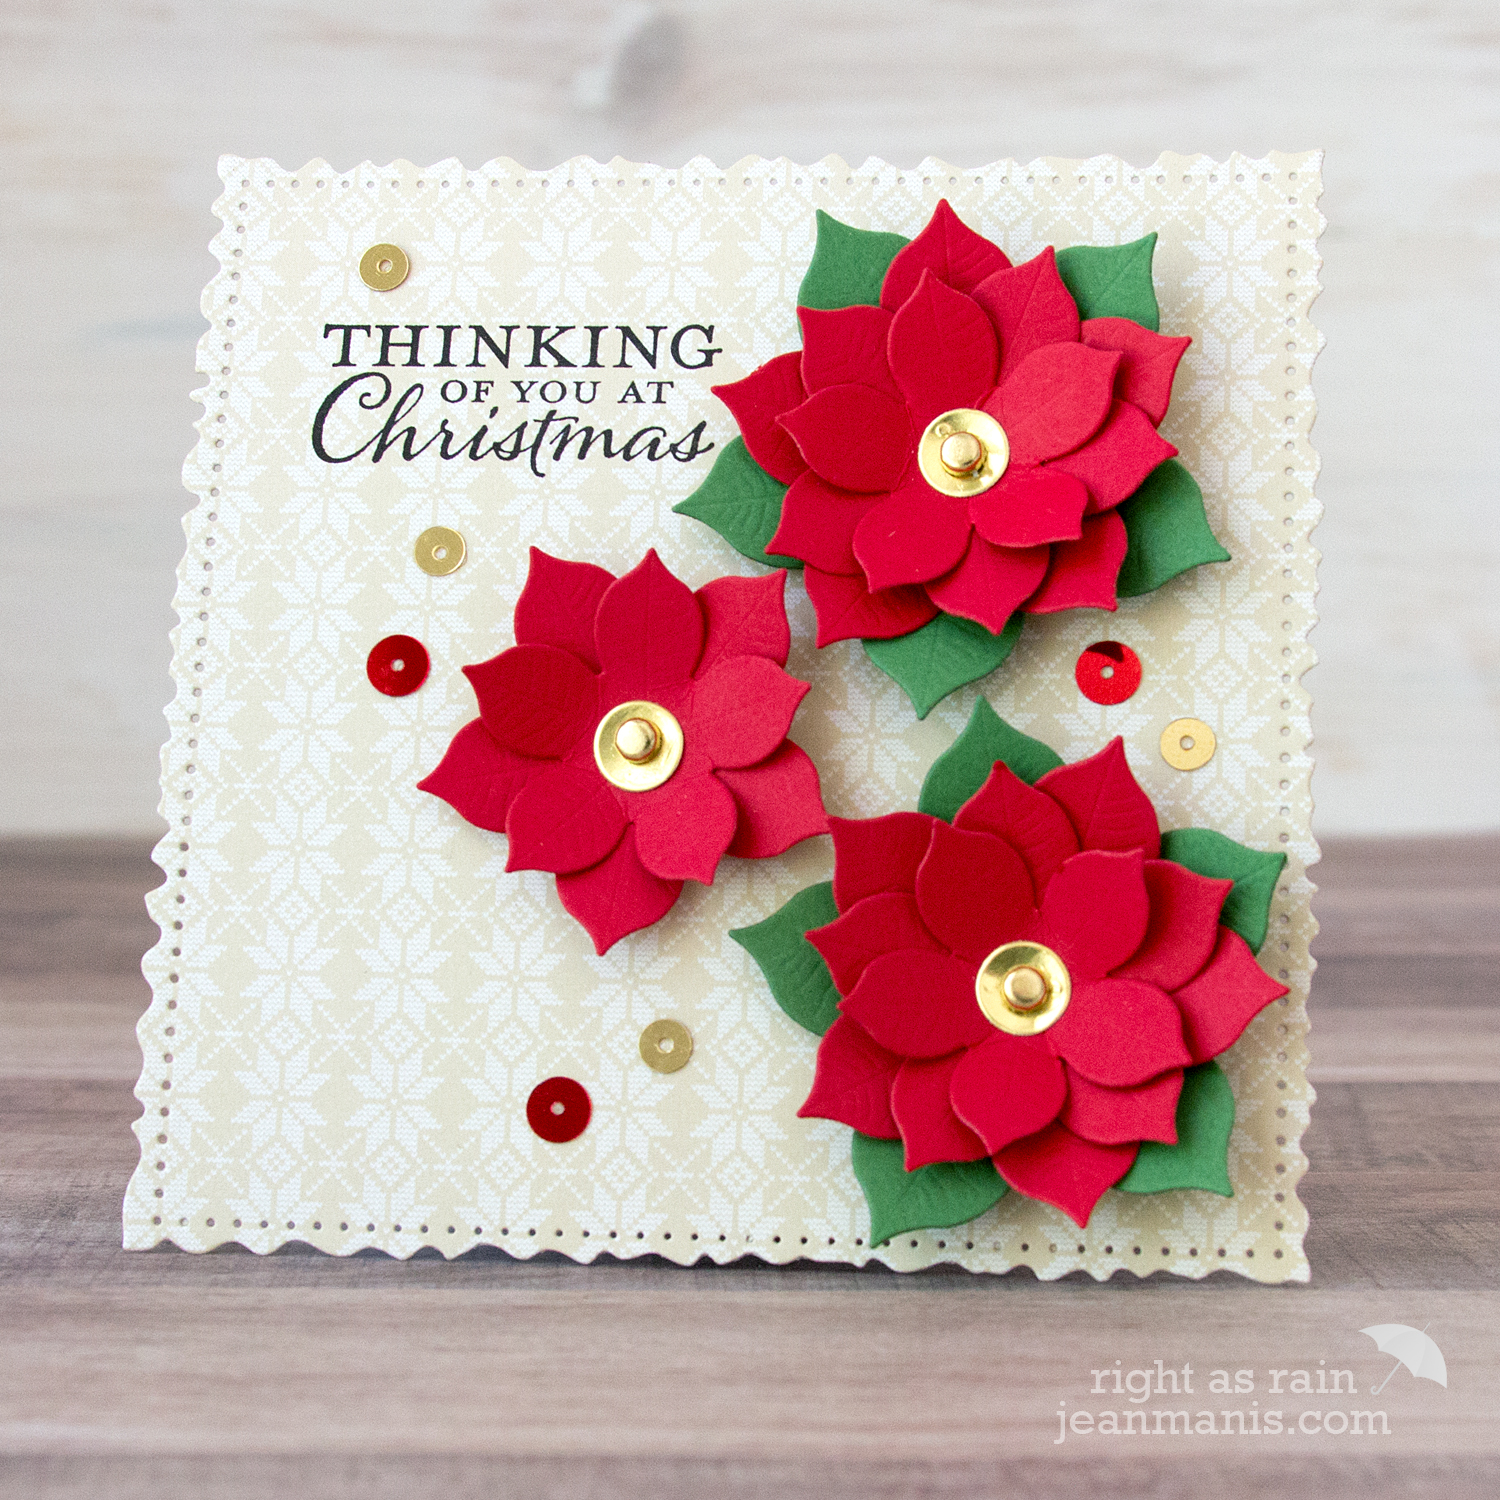
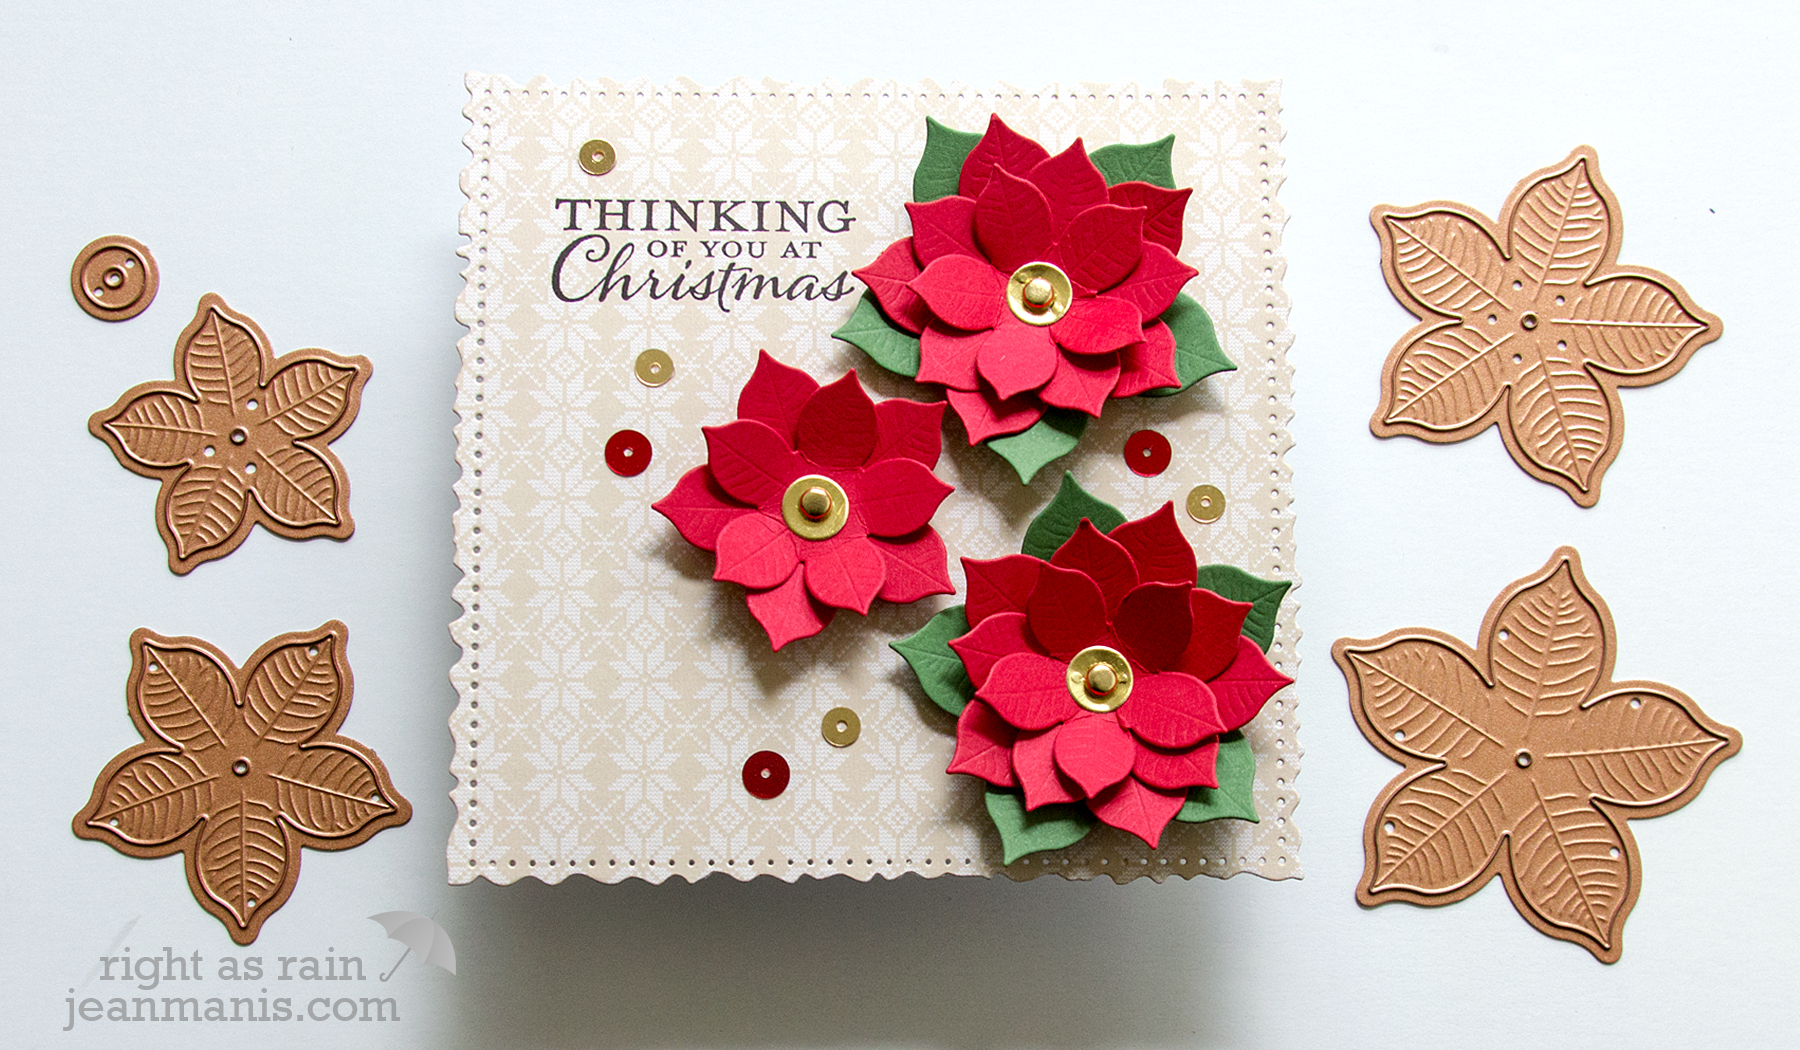
My first card showcases the Cinch and Go Poinsettia die set.
Spellbinders - A Charming Christmas by Becca Feeken

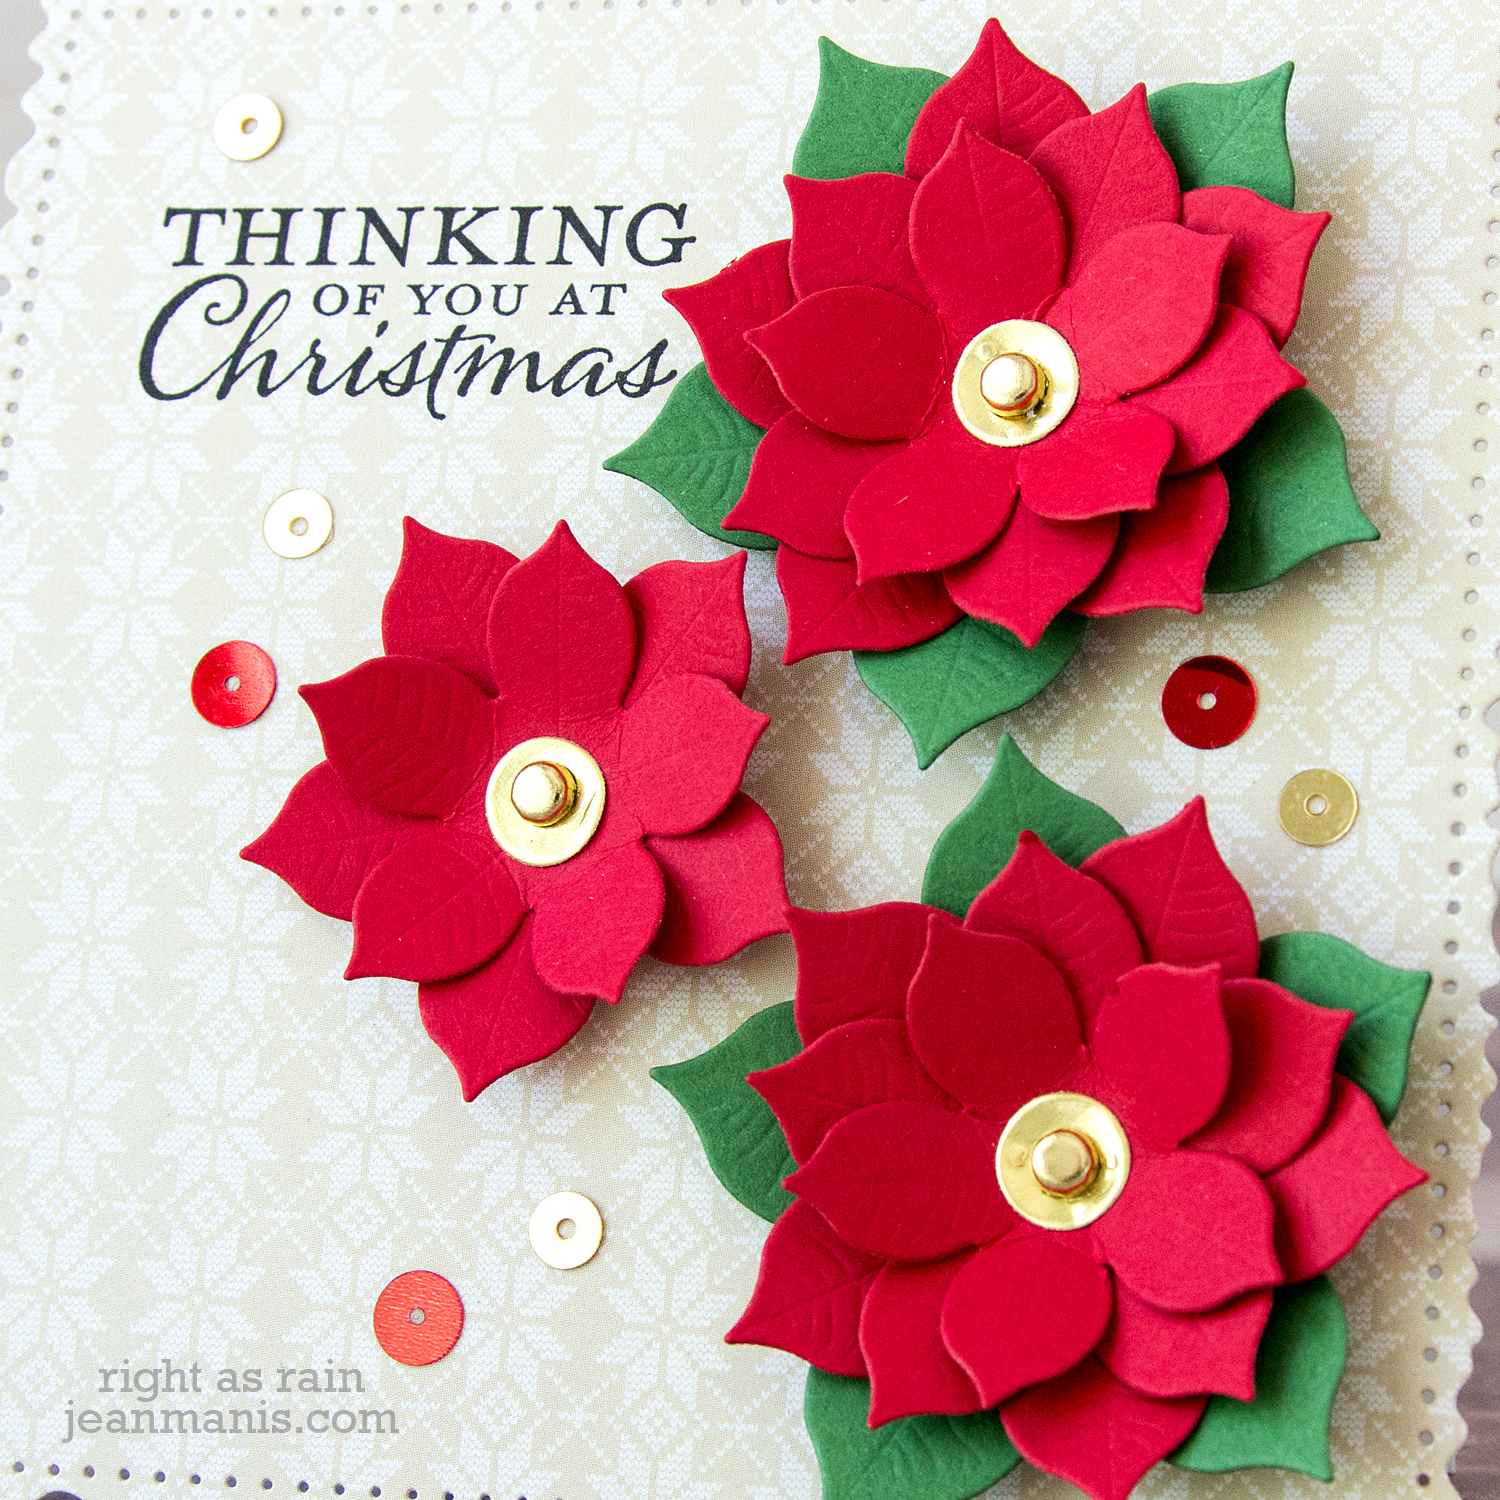
I cut the flowers from Stampin’ Up cardstock in Real Red and the leaves from Garden Green. The center circle piece was cut from Taylored Expressions Gold Foil. I secured the die-cut pieces with a gold brad.
Spellbinders - A Charming Christmas by Becca Feeken

I stamped a Stampin’ Up sentiment on Echo Park patterned paper which I cut with one of the dies in the Vintage Stitched Squares set. I added sequins from Pretty Pink Posh and Kelly Purkey.
Spellbinders - A Charming Christmas by Becca Feeken

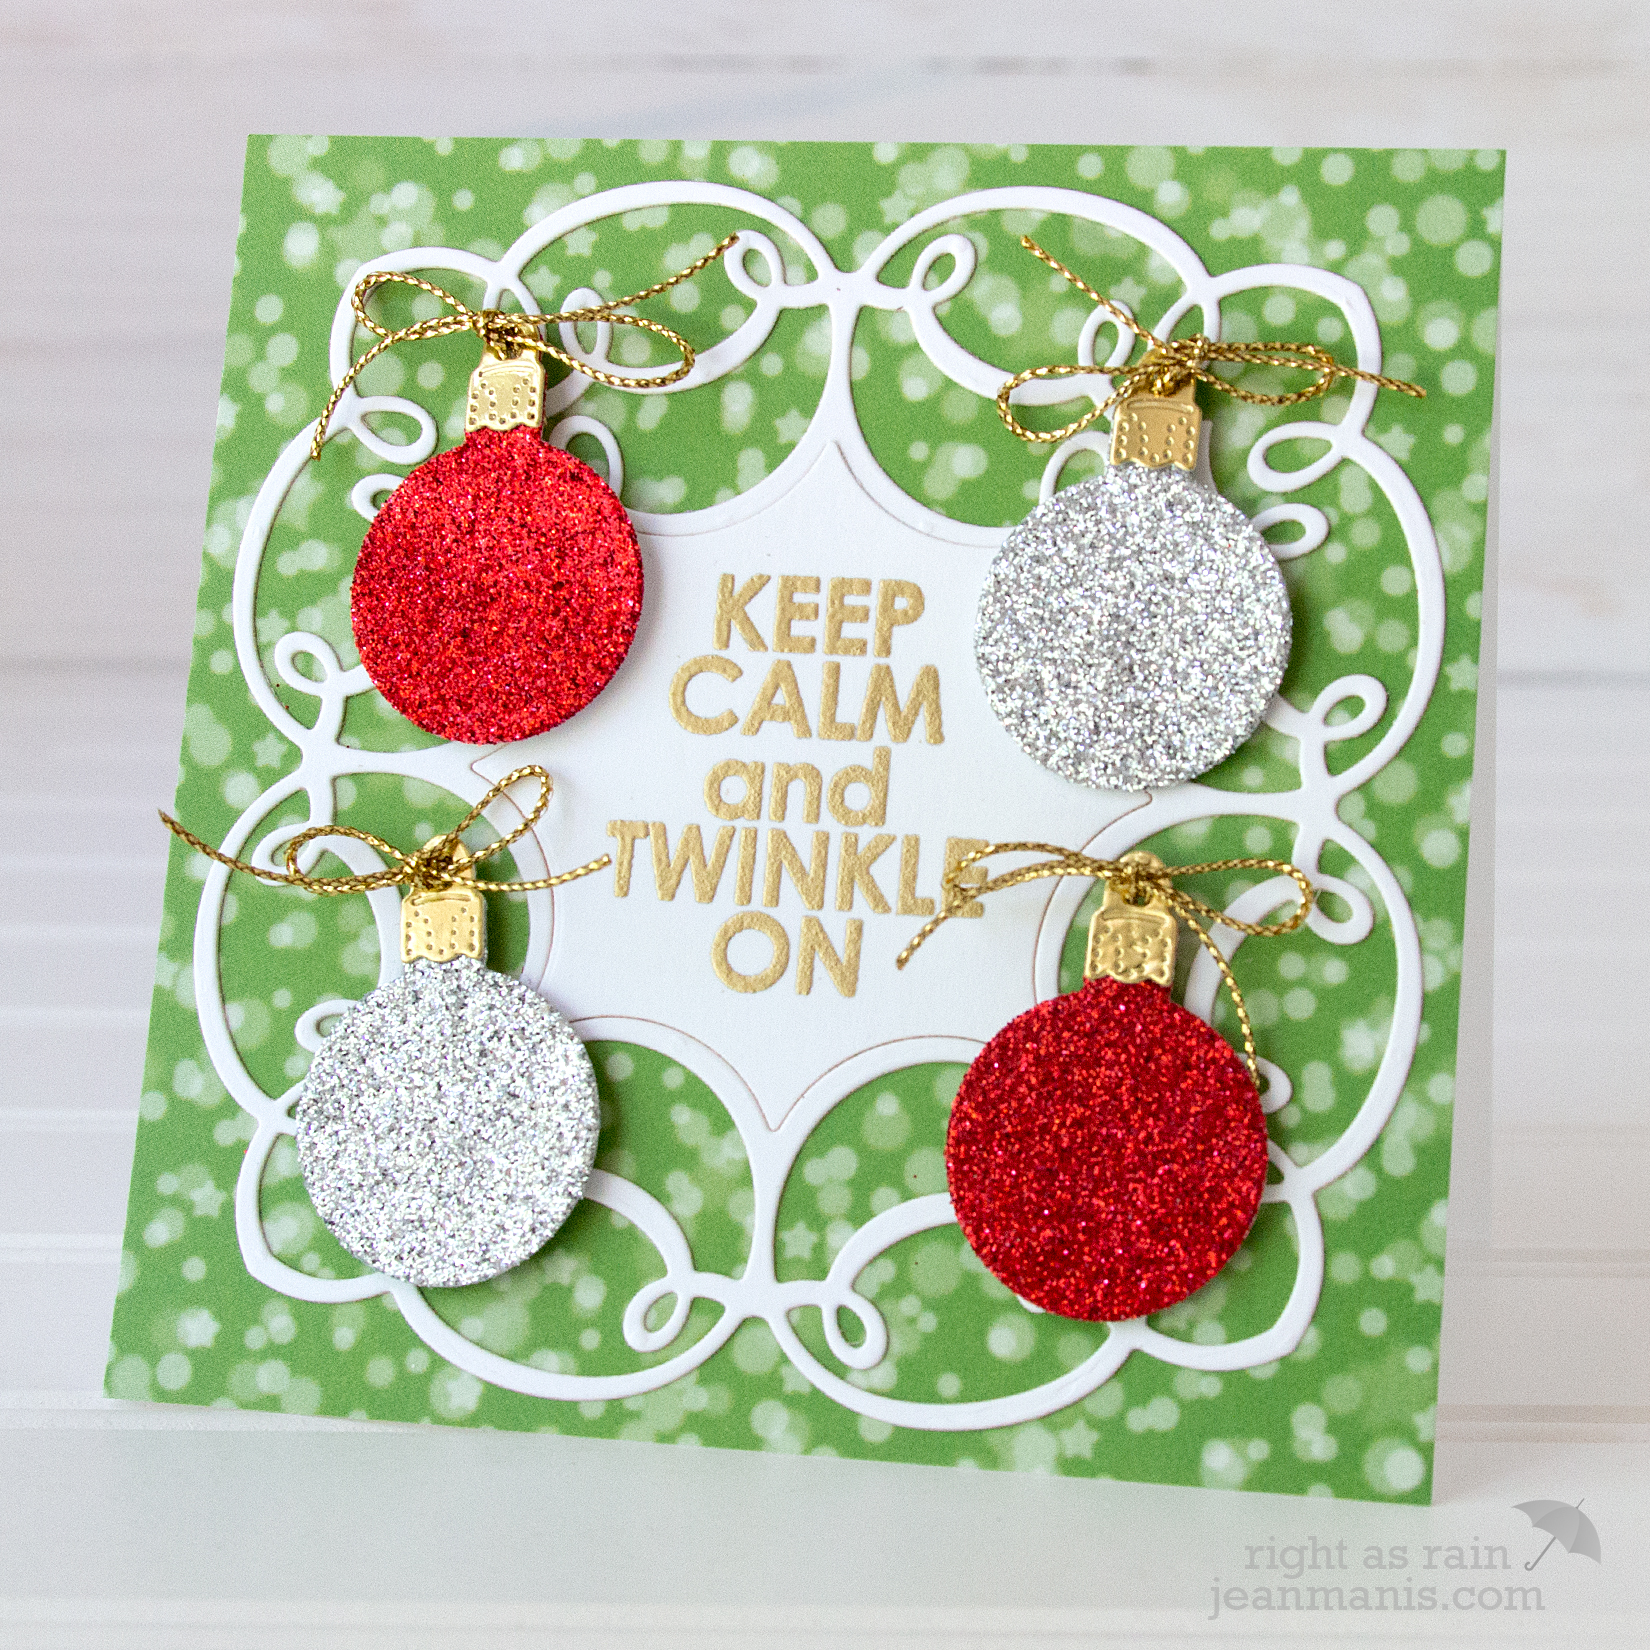
My next card features the Charming Christmas Boughs die set.
Spellbinders - A Charming Christmas by Becca Feeken

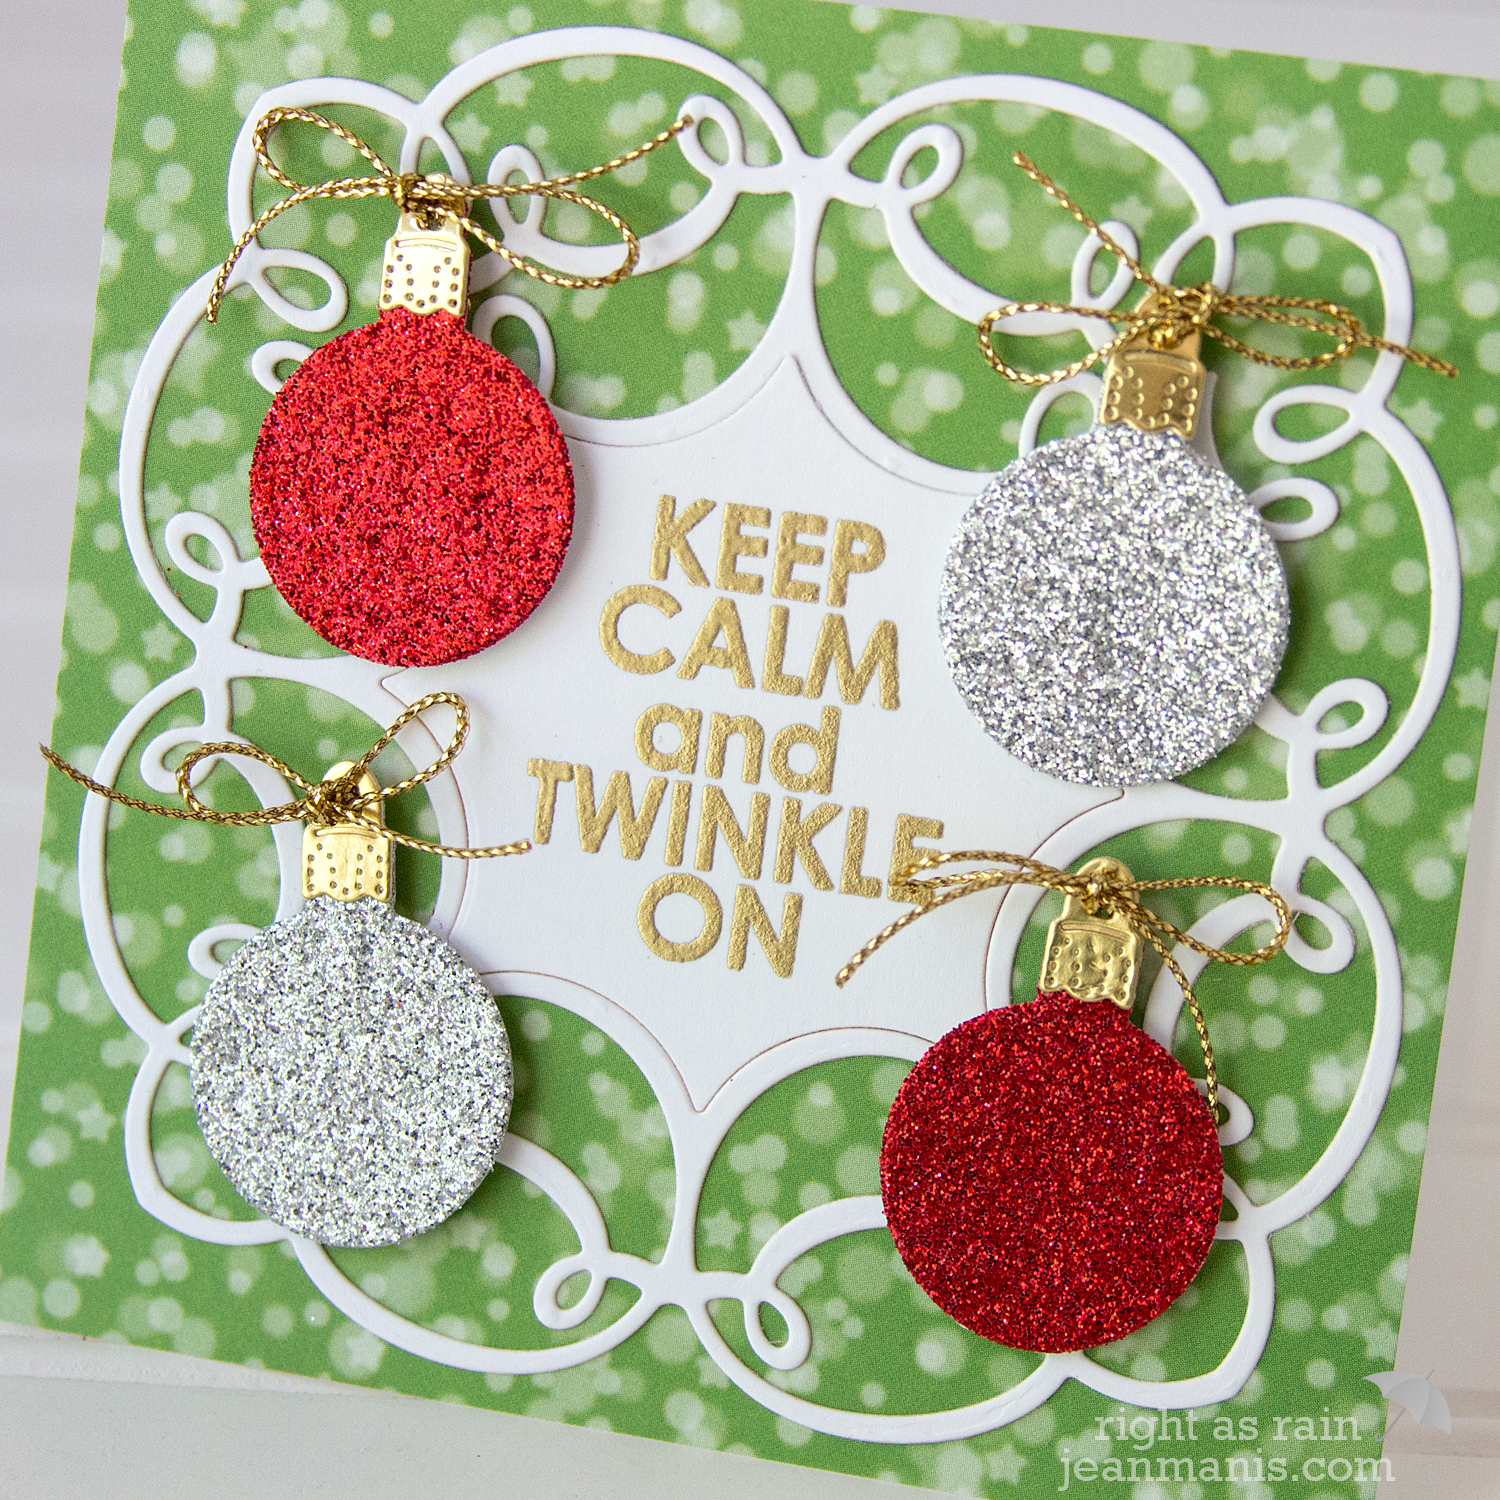
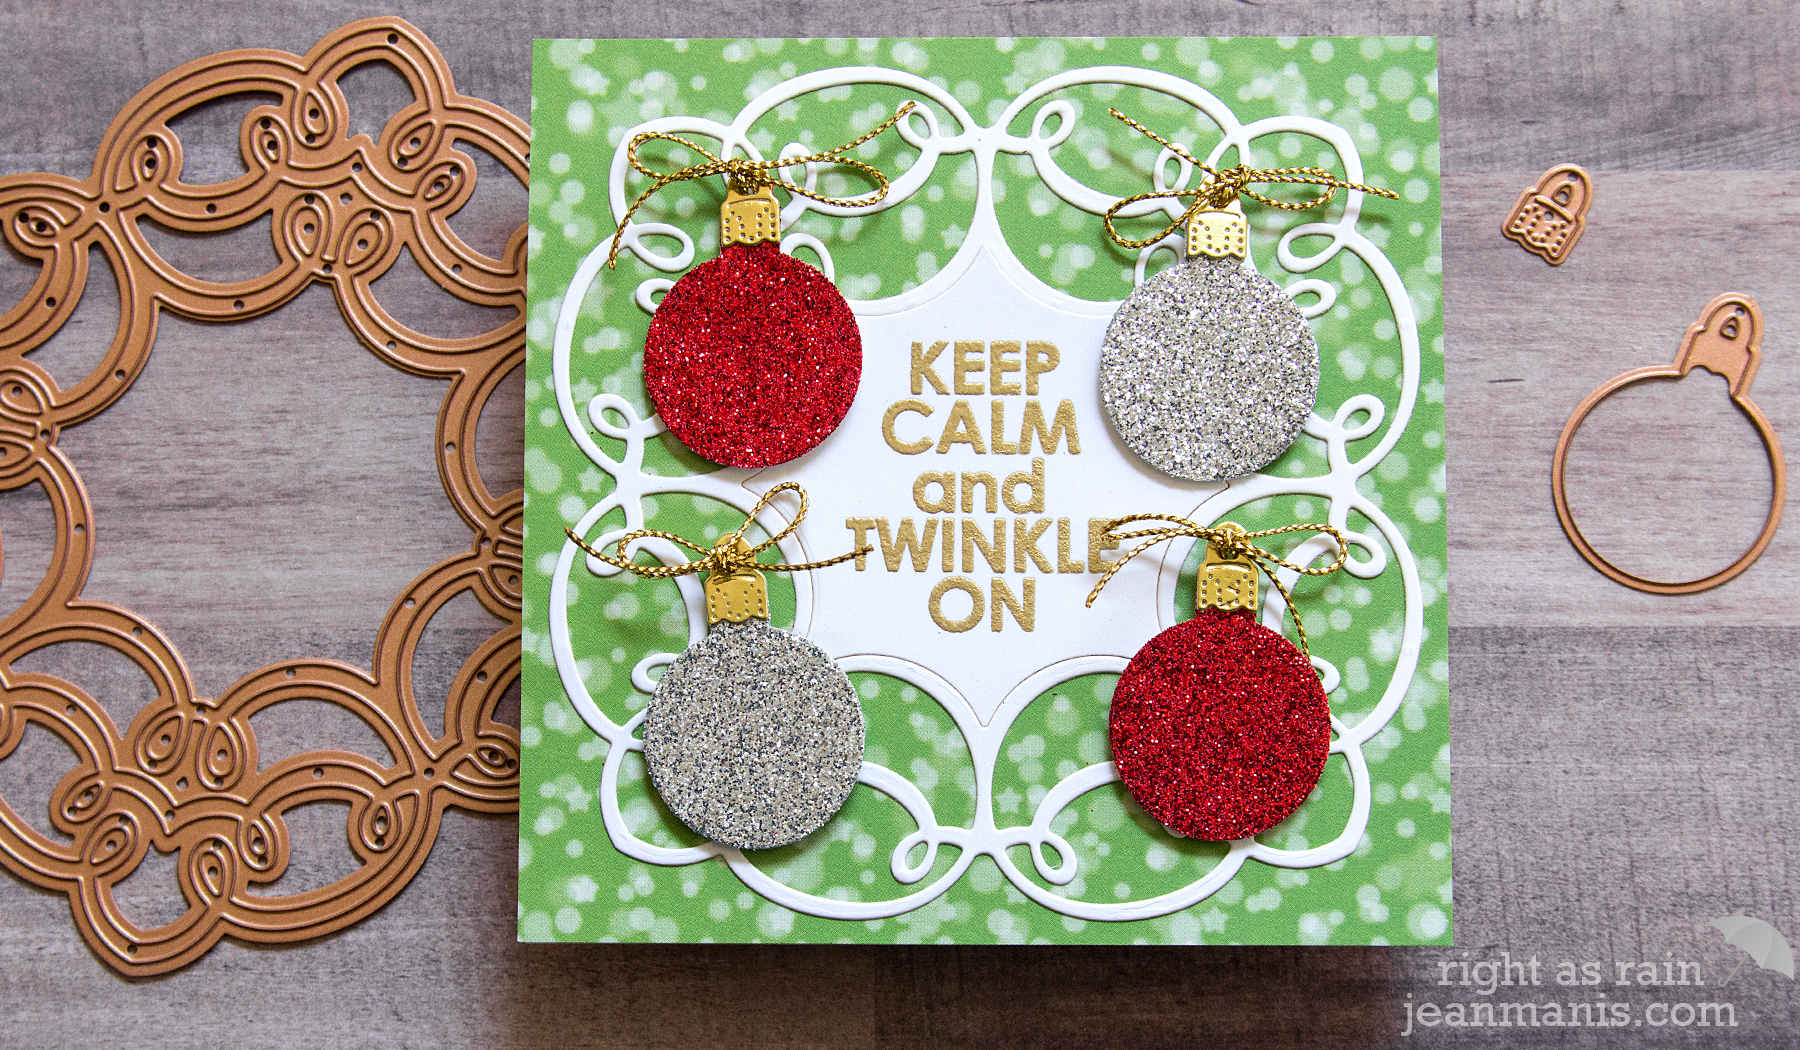
I cut the swirling wreath from Neenah white cardstock. I also gold heat-embossed the sentiment from the Technique Tuesday Twinkle On set (retired) on to white cardstock; I cut that cardstock with the swirling wreath die and placed it into the wreath.
Spellbinders - A Charming Christmas by Becca Feeken

I cut the ornaments from American Crafts glitter paper in red and silver and Taylored Expressions Gold Foil. I added bows made from May Arts gold metallic twine. The background paper is Lawn Fawn Let’s Bokeh in the Snow (retired) patterned paper.


Spellbinders - A Charming Christmas by Becca Feeken

Thank you for visiting! I am totally smitten with this collection of timeless Christmas dies!

Taylored Expressions – You’re SPOOKtacular

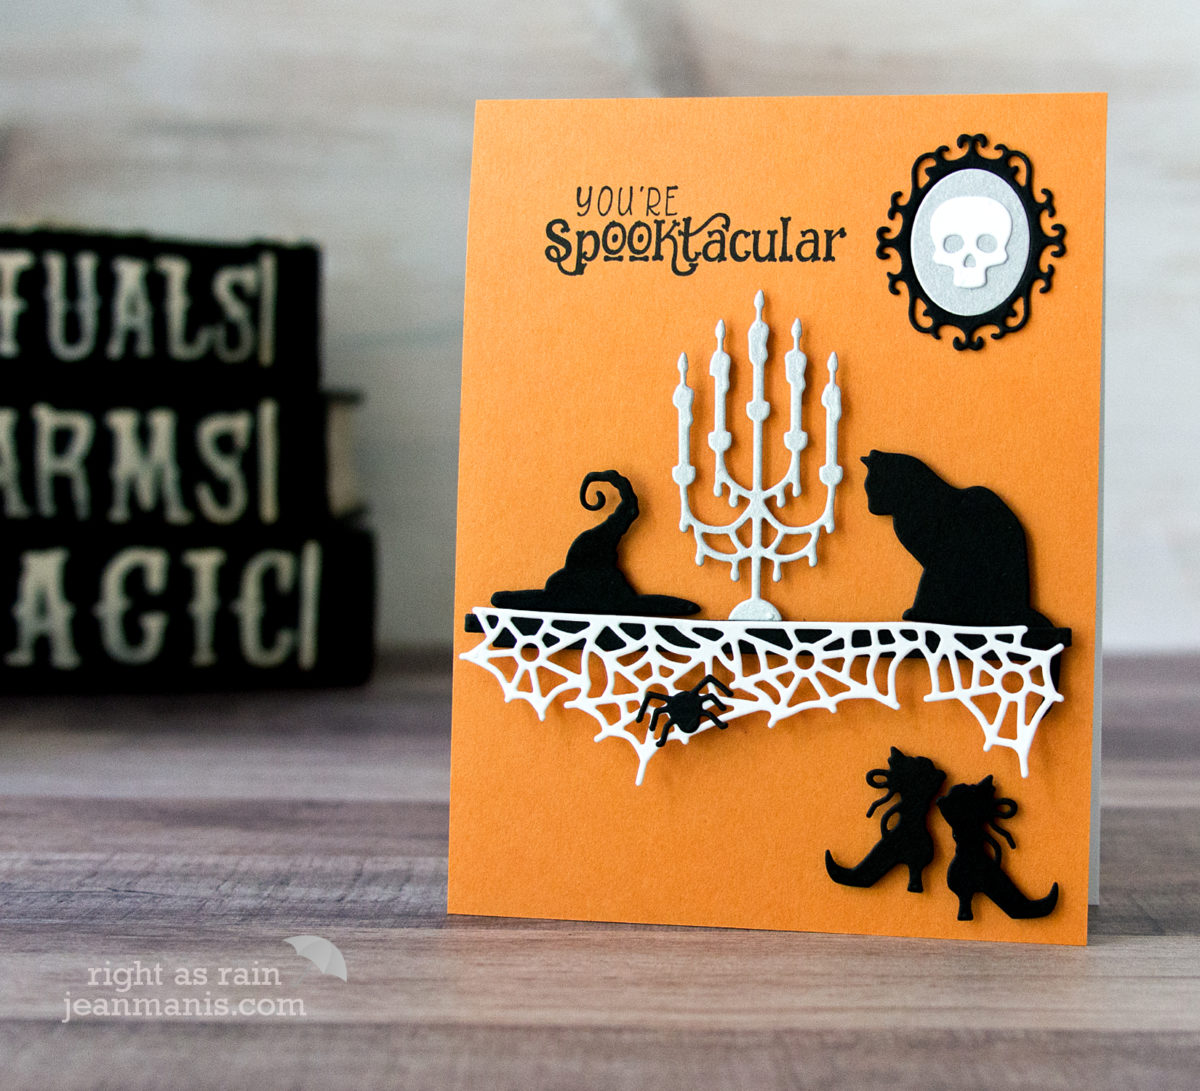
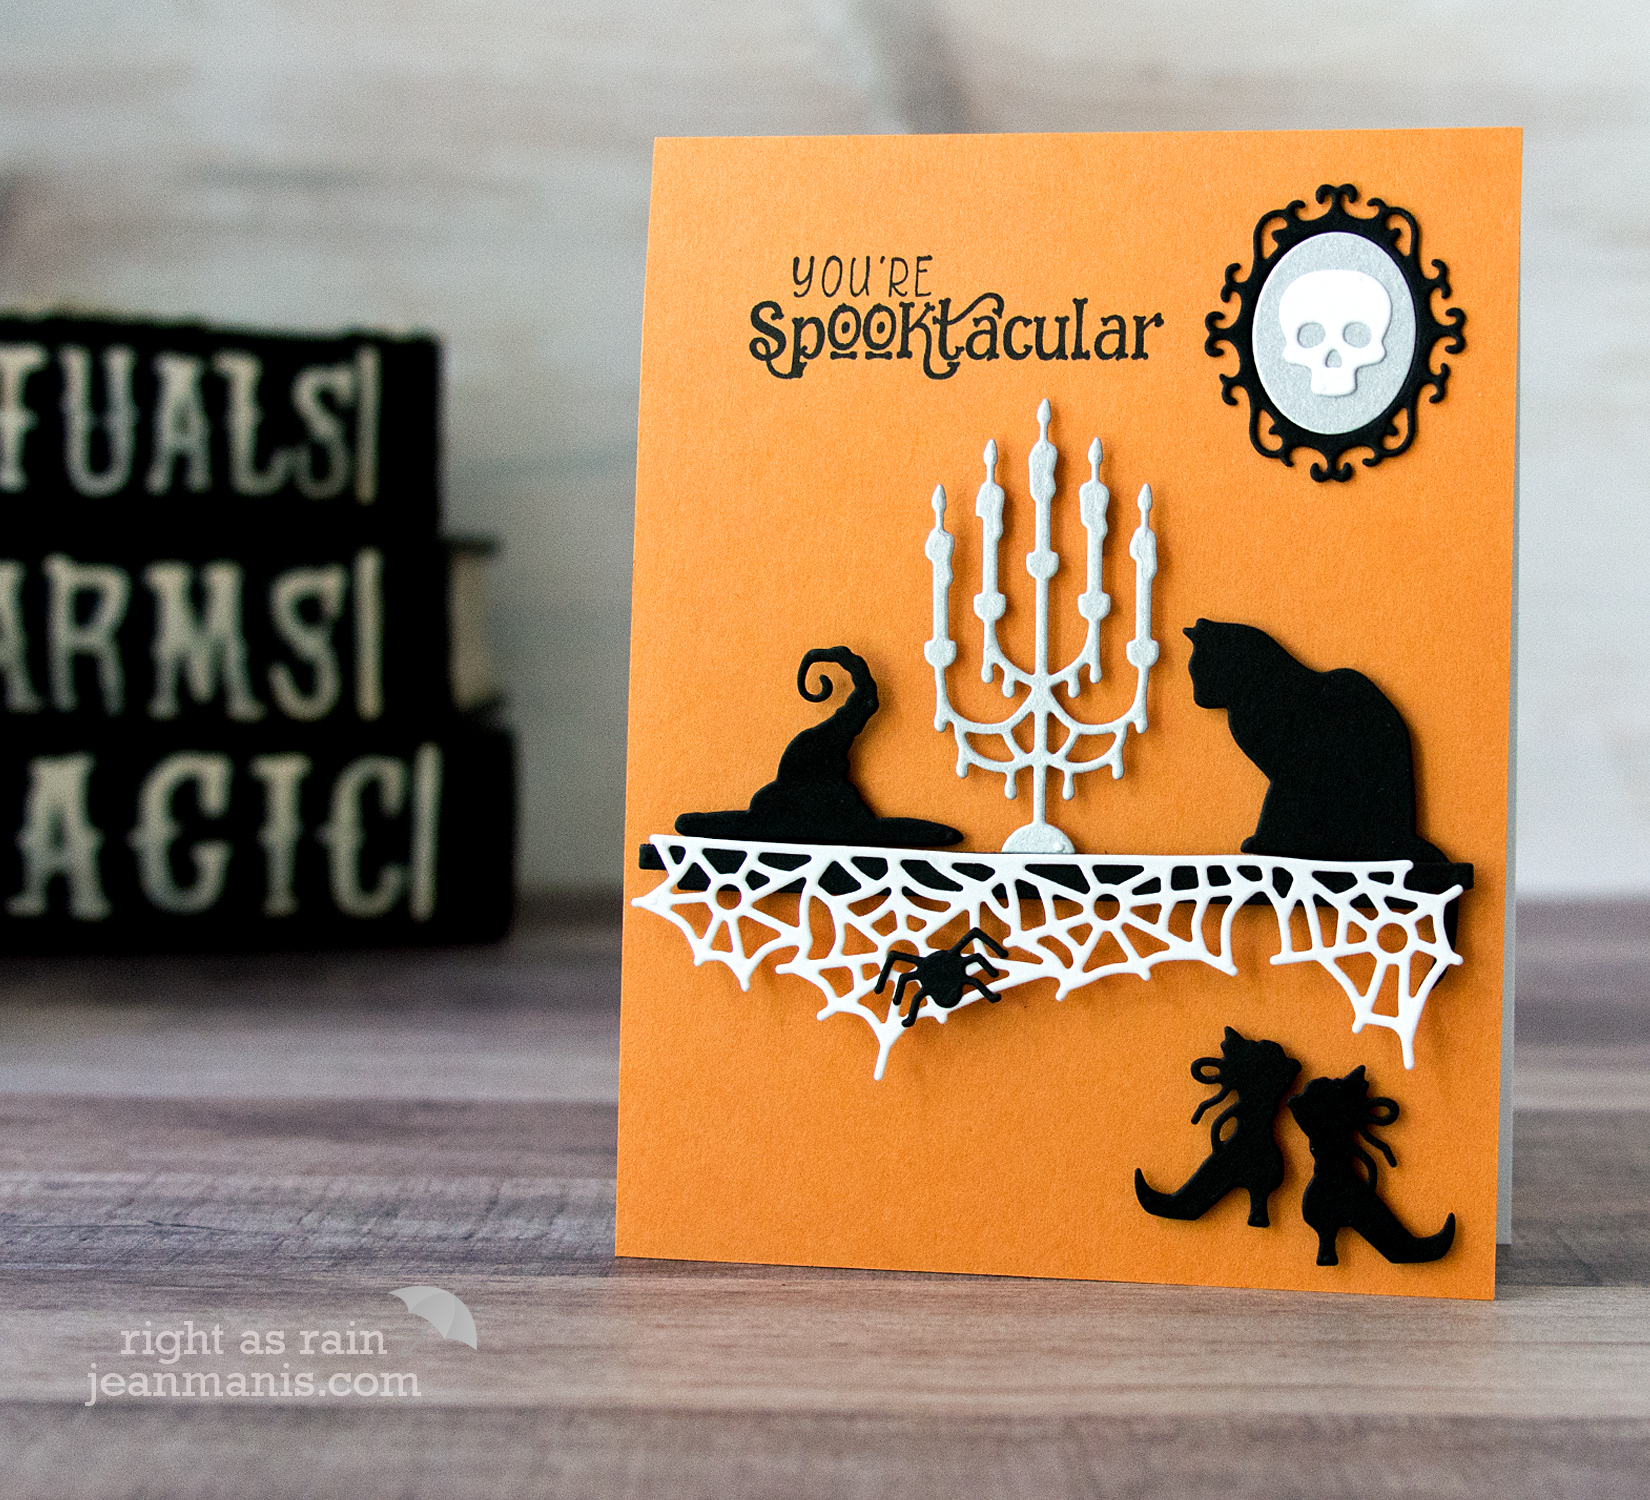
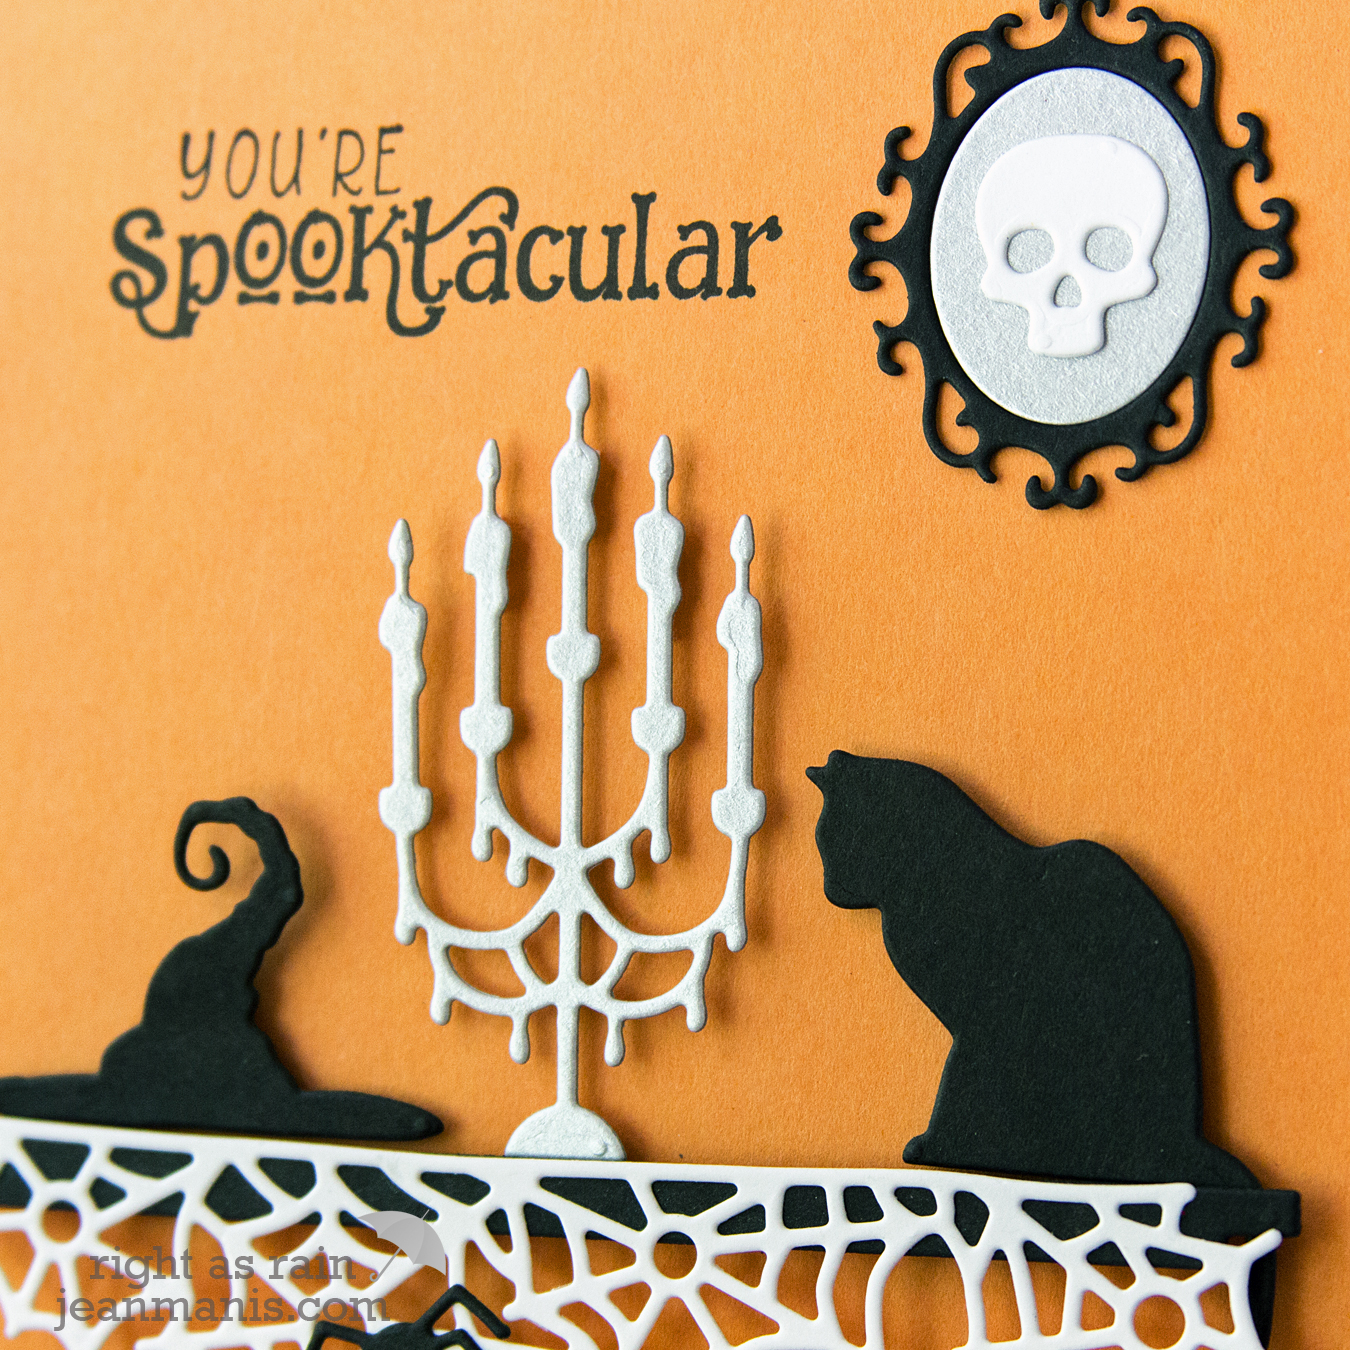
Hello! Today, I have a CAS Halloween card combining several Taylored Expressions die sets. I kept the color palette traditional with orange and black, with the addition of matte silver and white.

Taylored Expressions - You're SPOOKtacular

I stamped the Simply Said – Halloween sentiment on a Candy Corn cardstock card base. I added die-cuts from the sets: Sitting Pretty Halloween Accessories, Little Bits – Cat, Little Bits – Candelabra, and Little Bits – Ornate Frame. I cut the ledge with a die in the Sitting Pretty set.

Taylored Expressions - You're SPOOKtacular


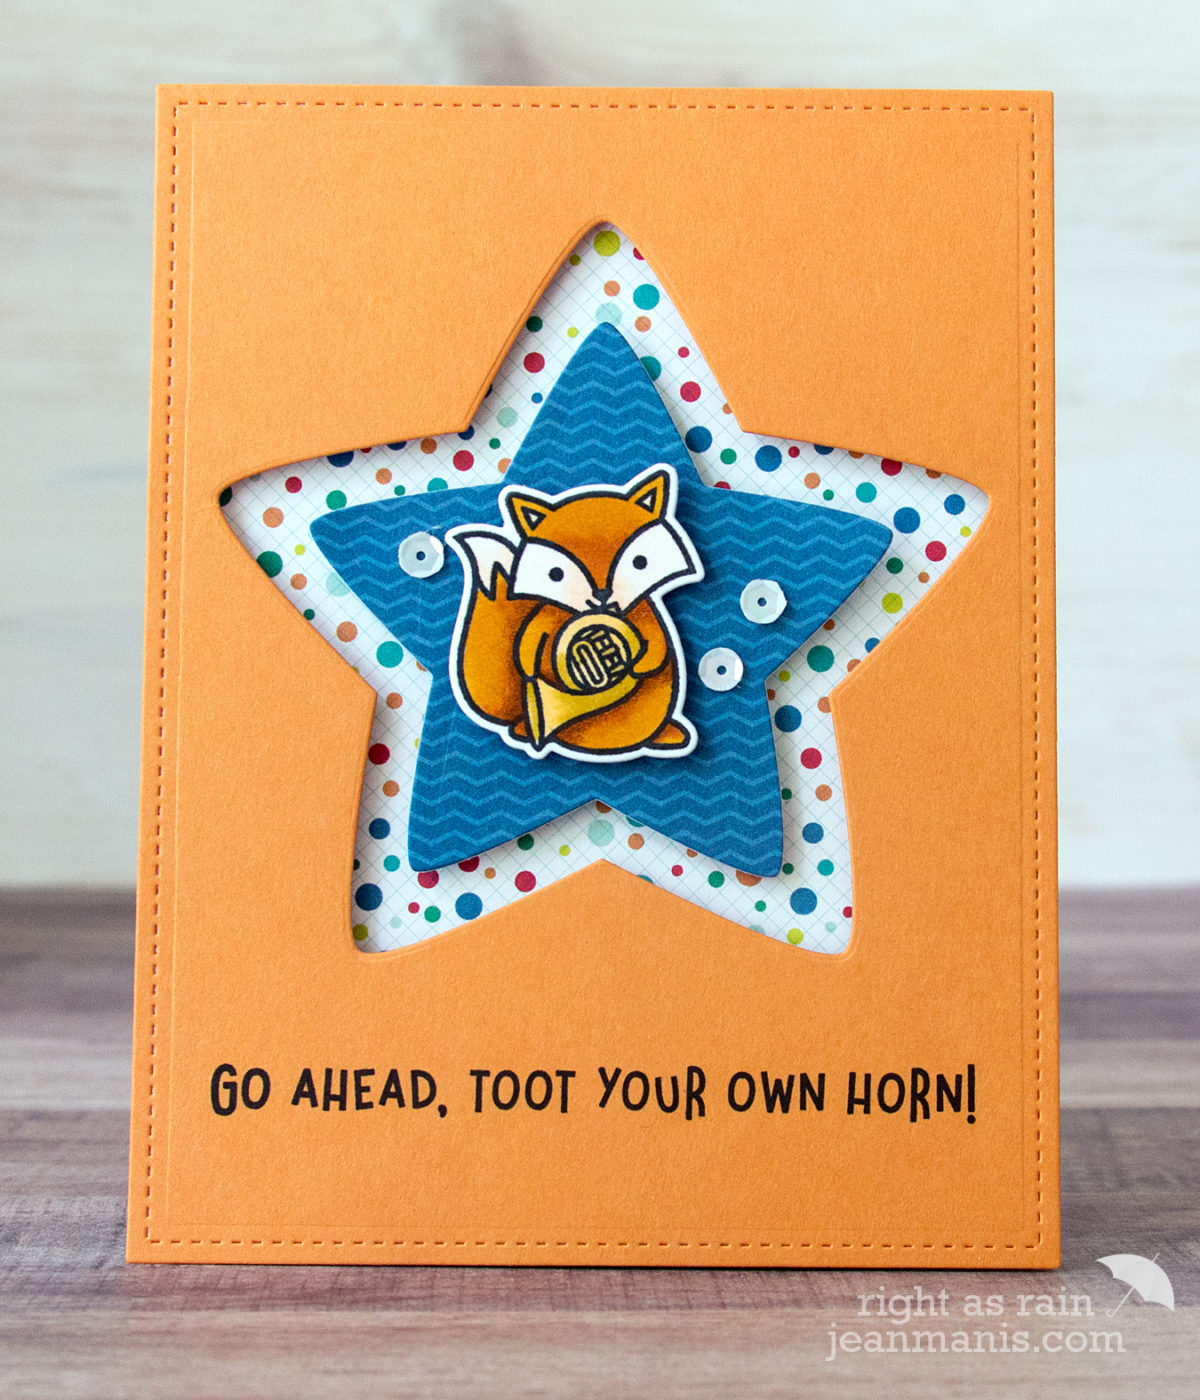
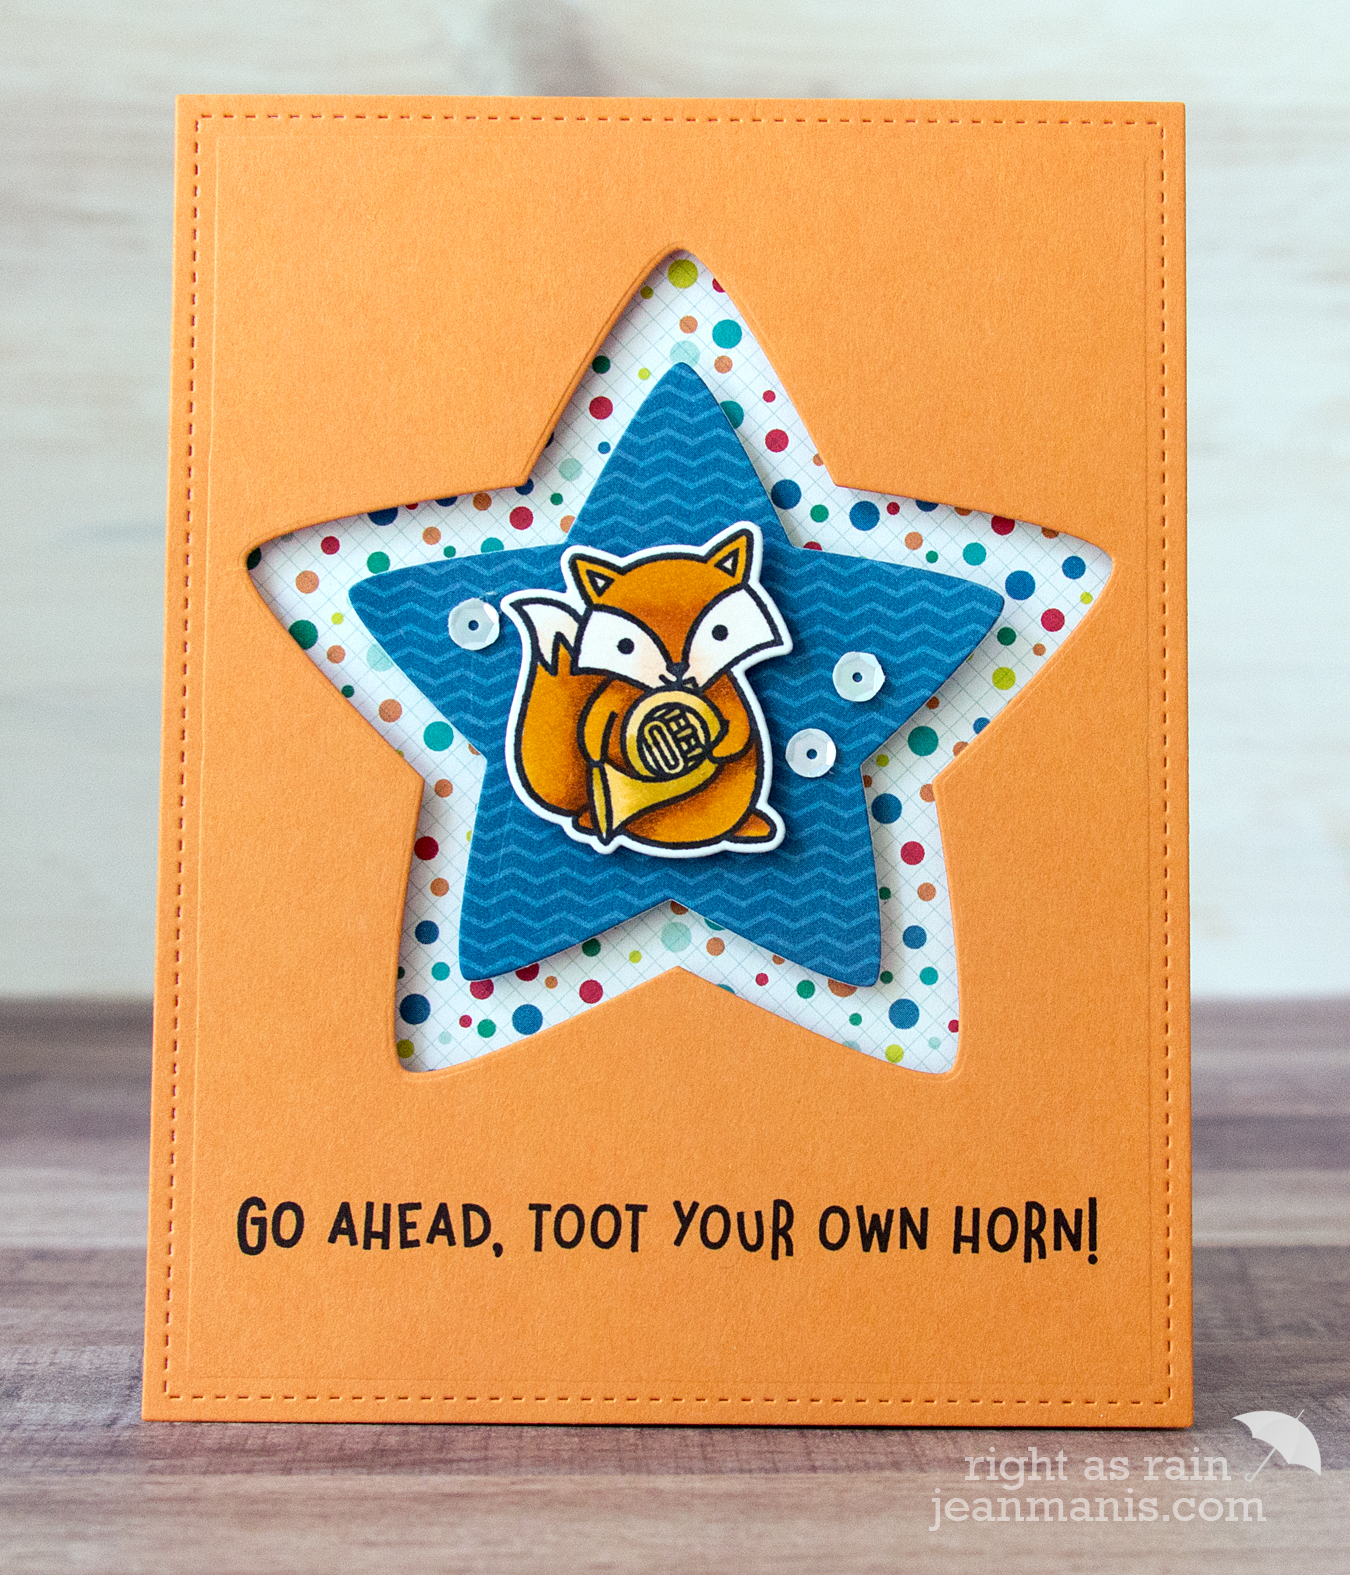
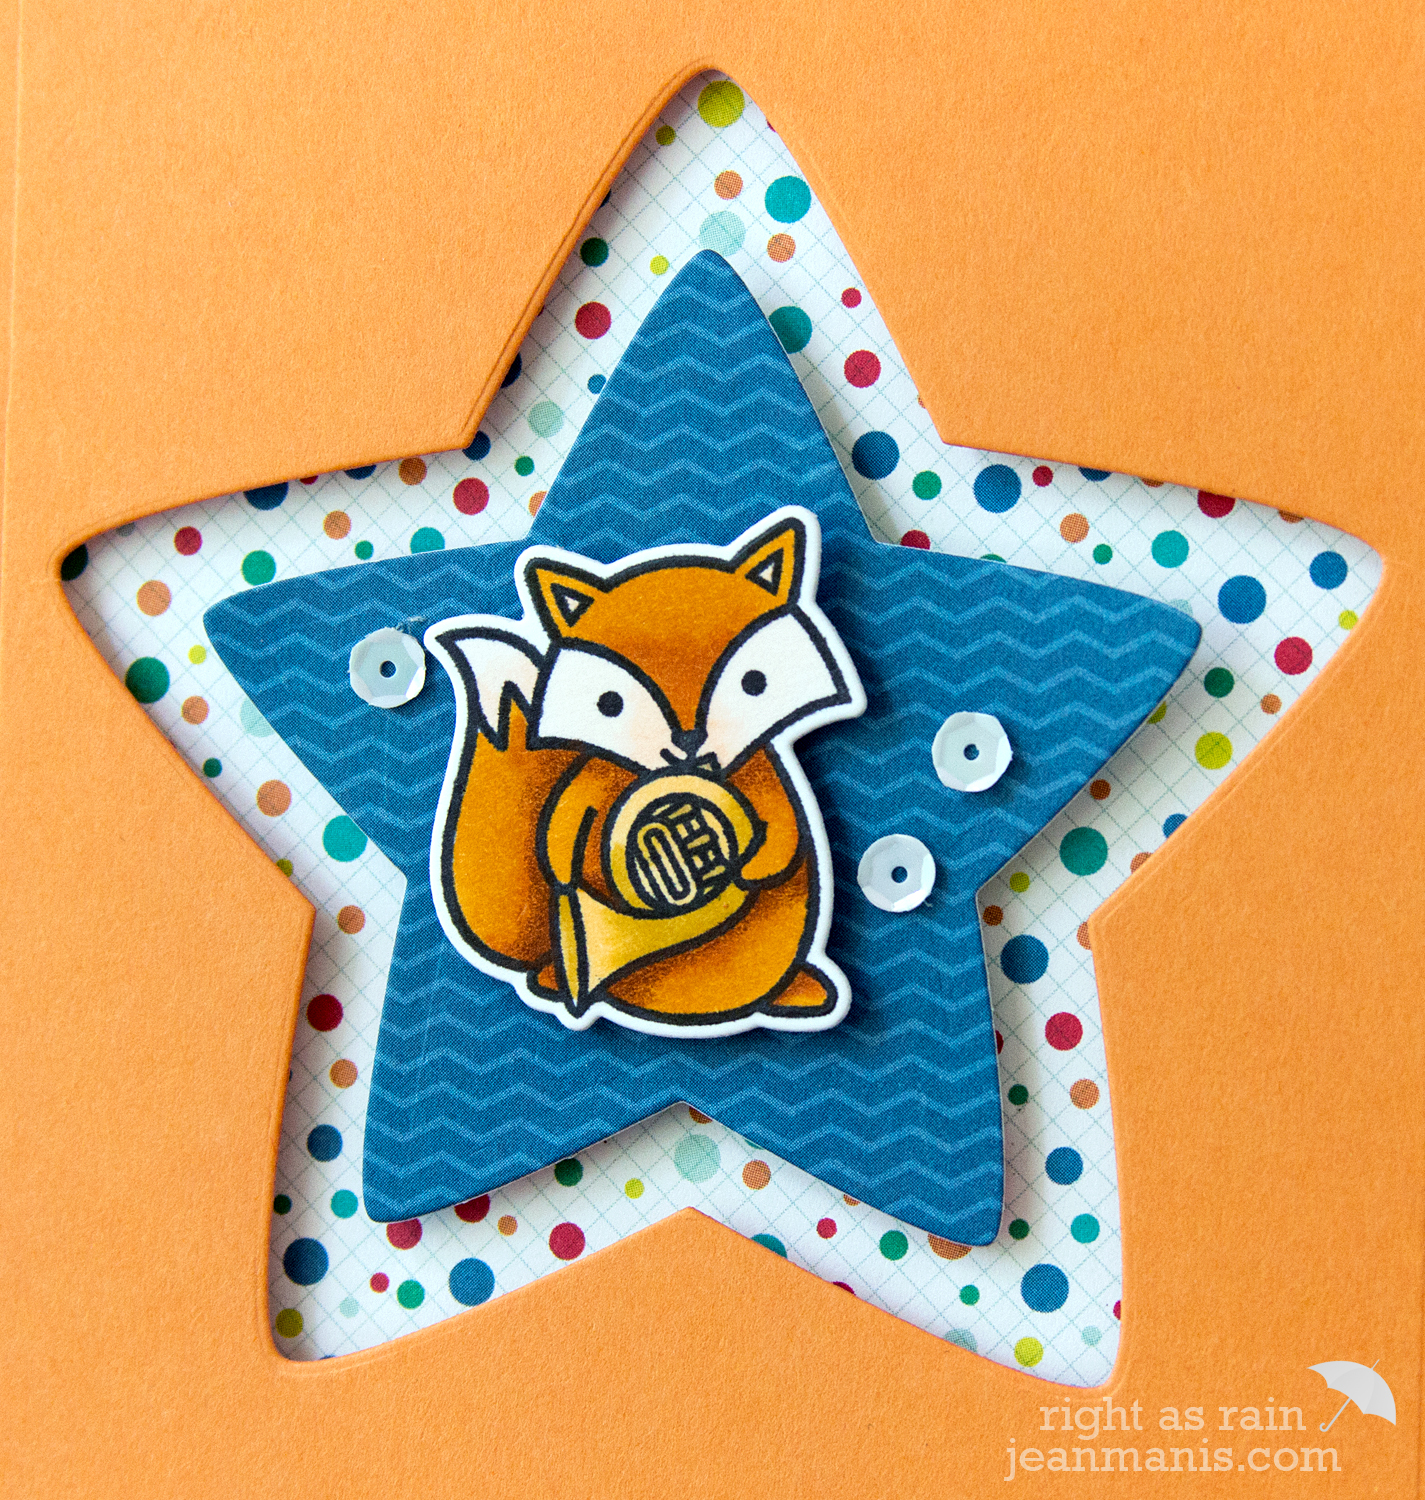
Celebrate – Lawn Fawn Critter Concert

Hello! Today, I am sharing a CAS card created with the Lawn Fawn Critter Concert stamp and die set.

Celebrate - Lawn Fawn Critter Concert

I have had this cute fox stamped and colored for over a month, along with other images from the same set. I decided to let the fox give a solo performance paired with the Puffy Star dies from Lawn Fawn.

Celebrate - Lawn Fawn Critter Concert

The patterned papers are from an Echo Park paper pad. Navy blue and orange are one of my favorite fall color combinations.


Spellbinders – Halloween Candy Container

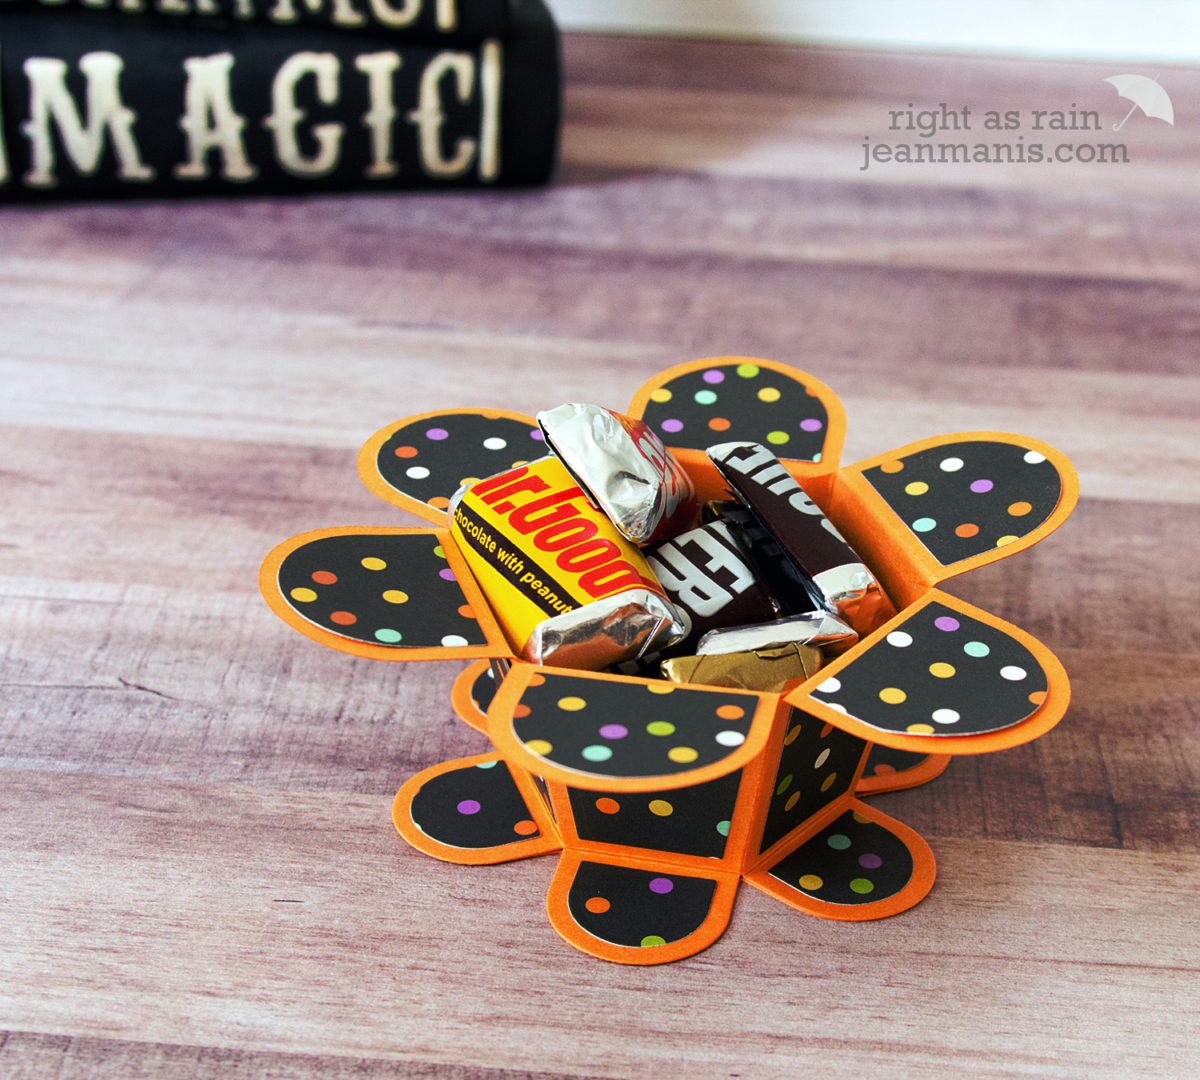
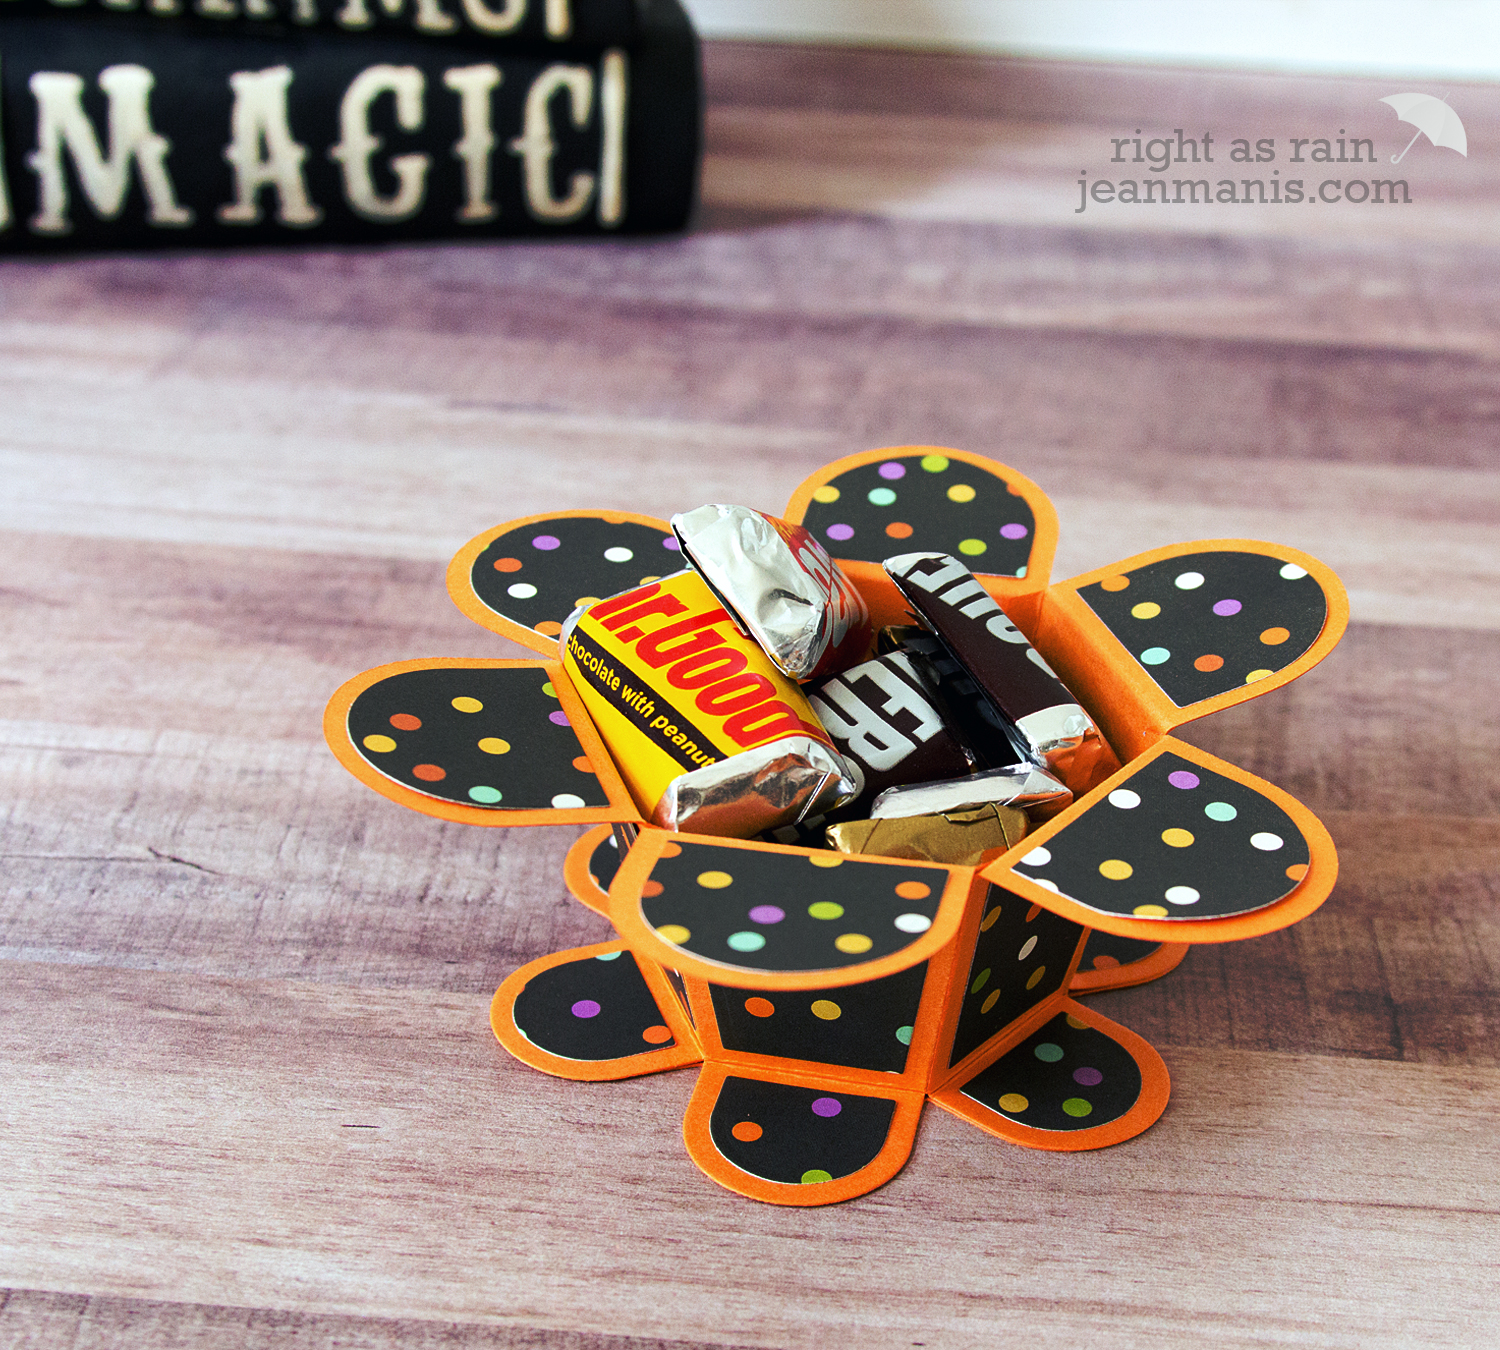
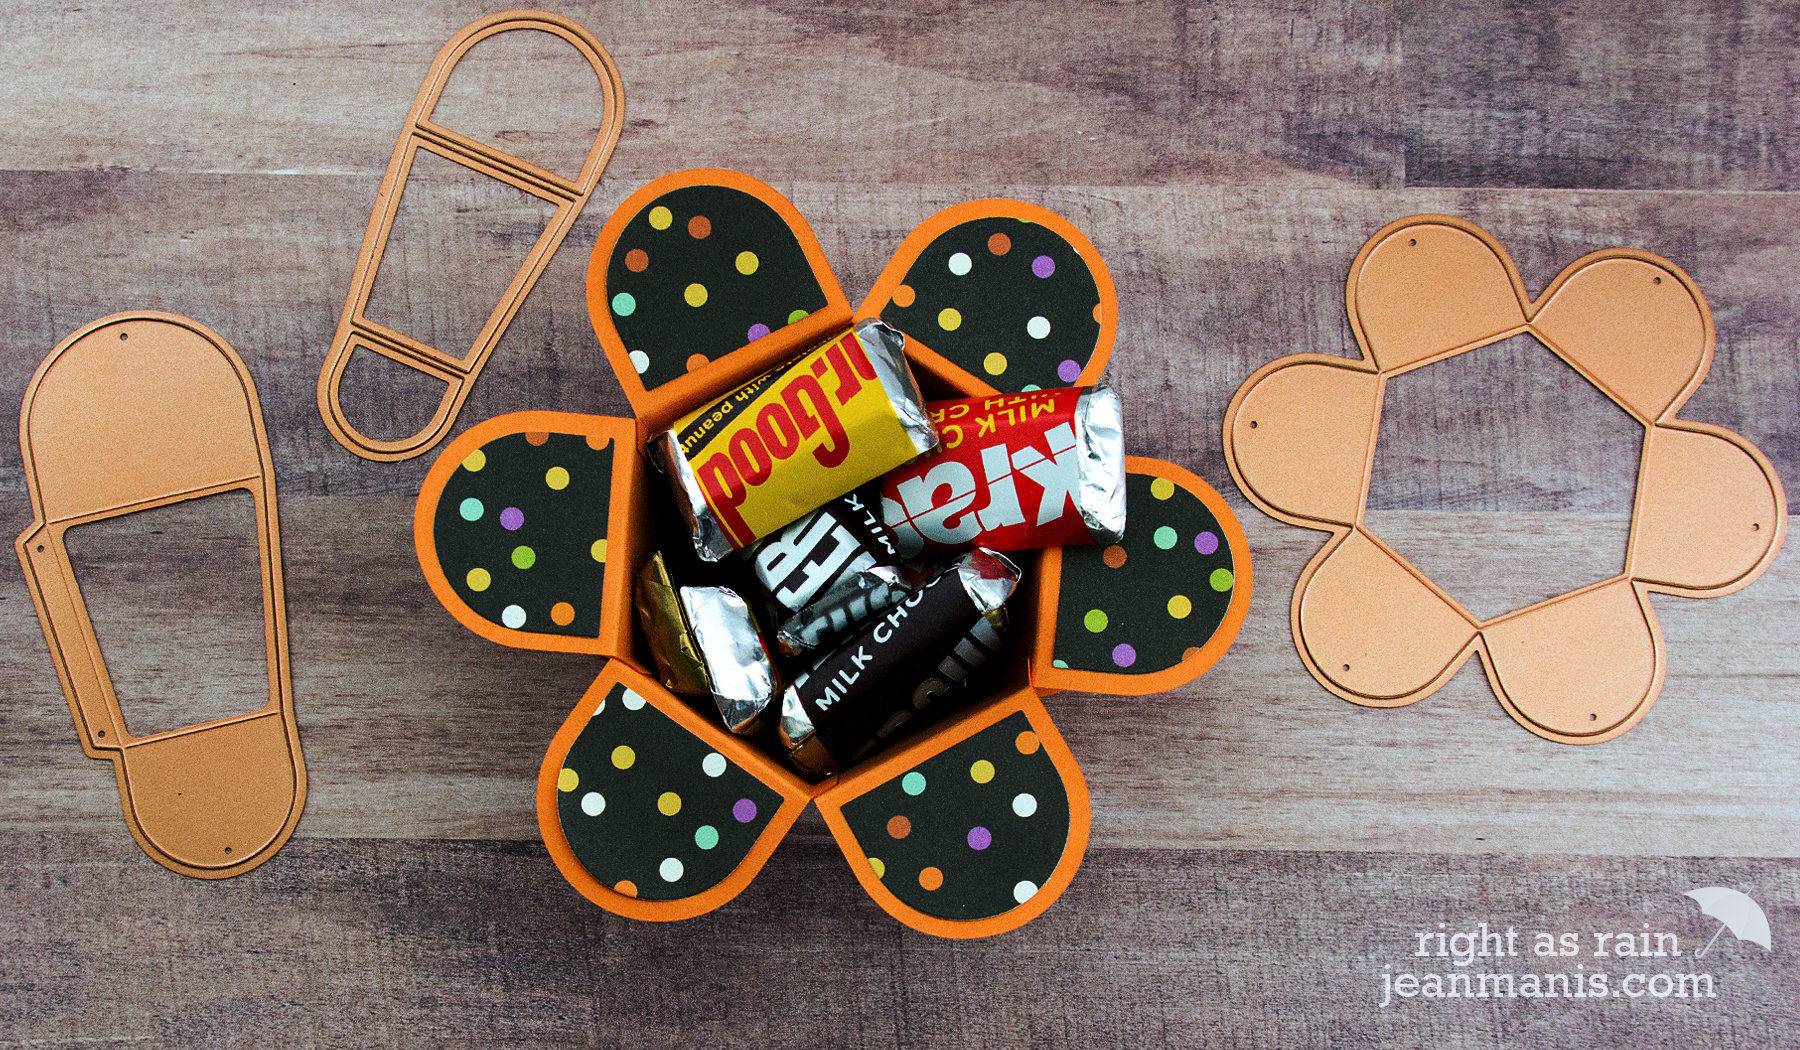
Hello, crafty friends! Today, I am sharing a Halloween candy container created with the Spellbinders Hexagon Petal Box from the Blooming Garden Collection by Marisa Job. The set contains eight dies to create a six-sided box.  While I kept my Halloween-themed container simple, there are many variations possible with this set (as you will see on the product link).

Spellbinders - Halloween Candy Container

Spellbinders - Halloween Candy Container

I used one of the set’s dies to cut the base from orange cardstock, another die to create the side pieces (also from the orange cardstock), and a third die to cut the decorative pieces (cut from the polka dot paper). I applied the decorative pieces before attaching the side pieces to the base. The side piece die scores and cuts, making the creation of the box extremely easy! Trick or Treat!