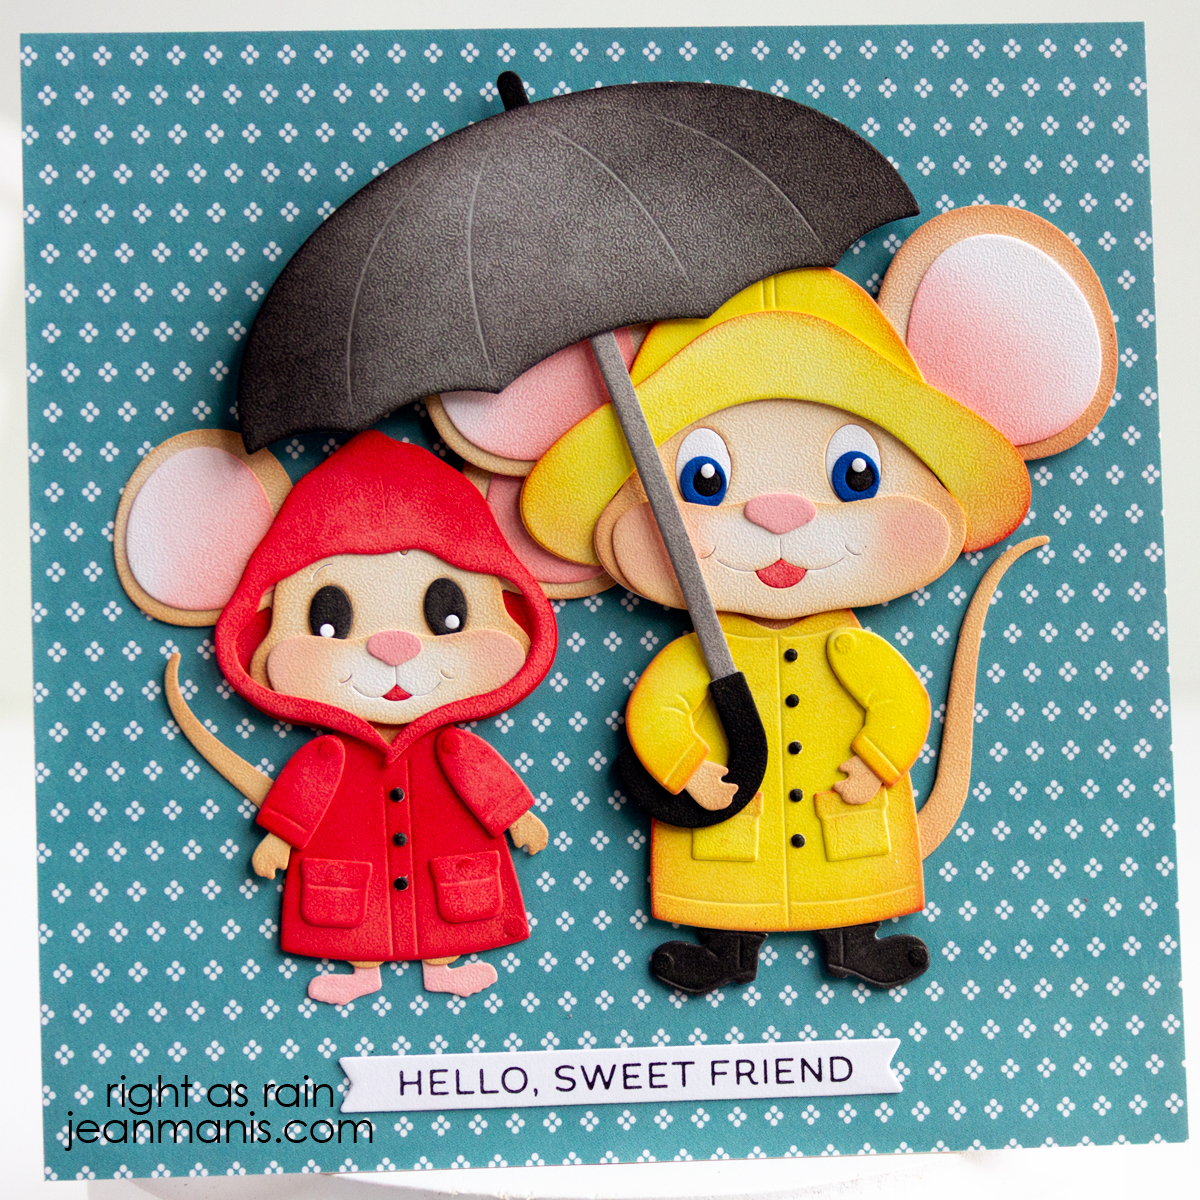
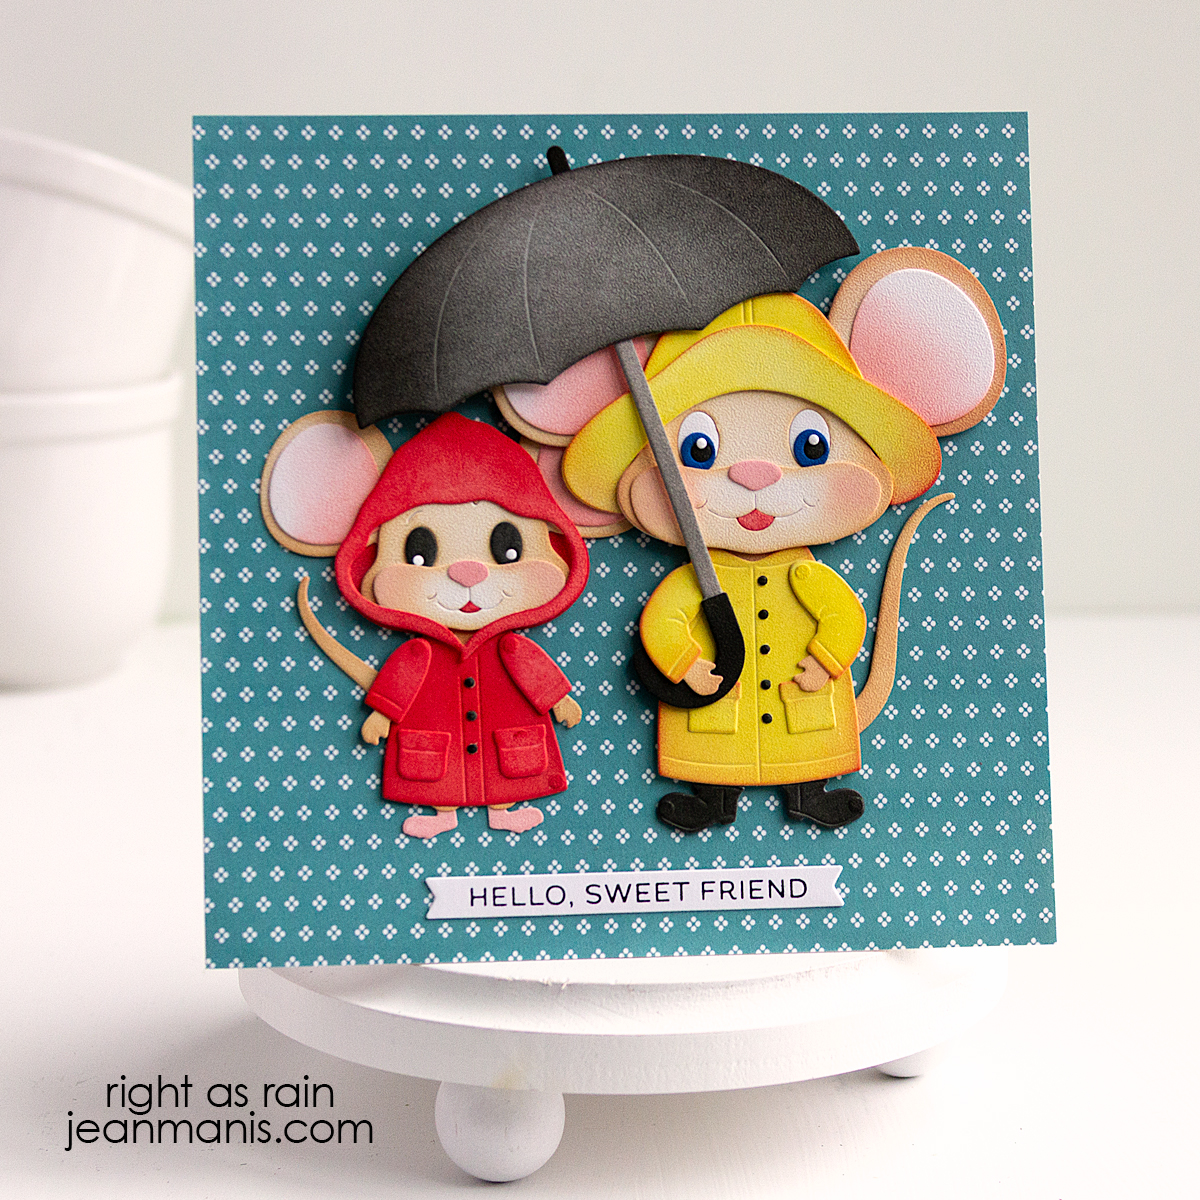
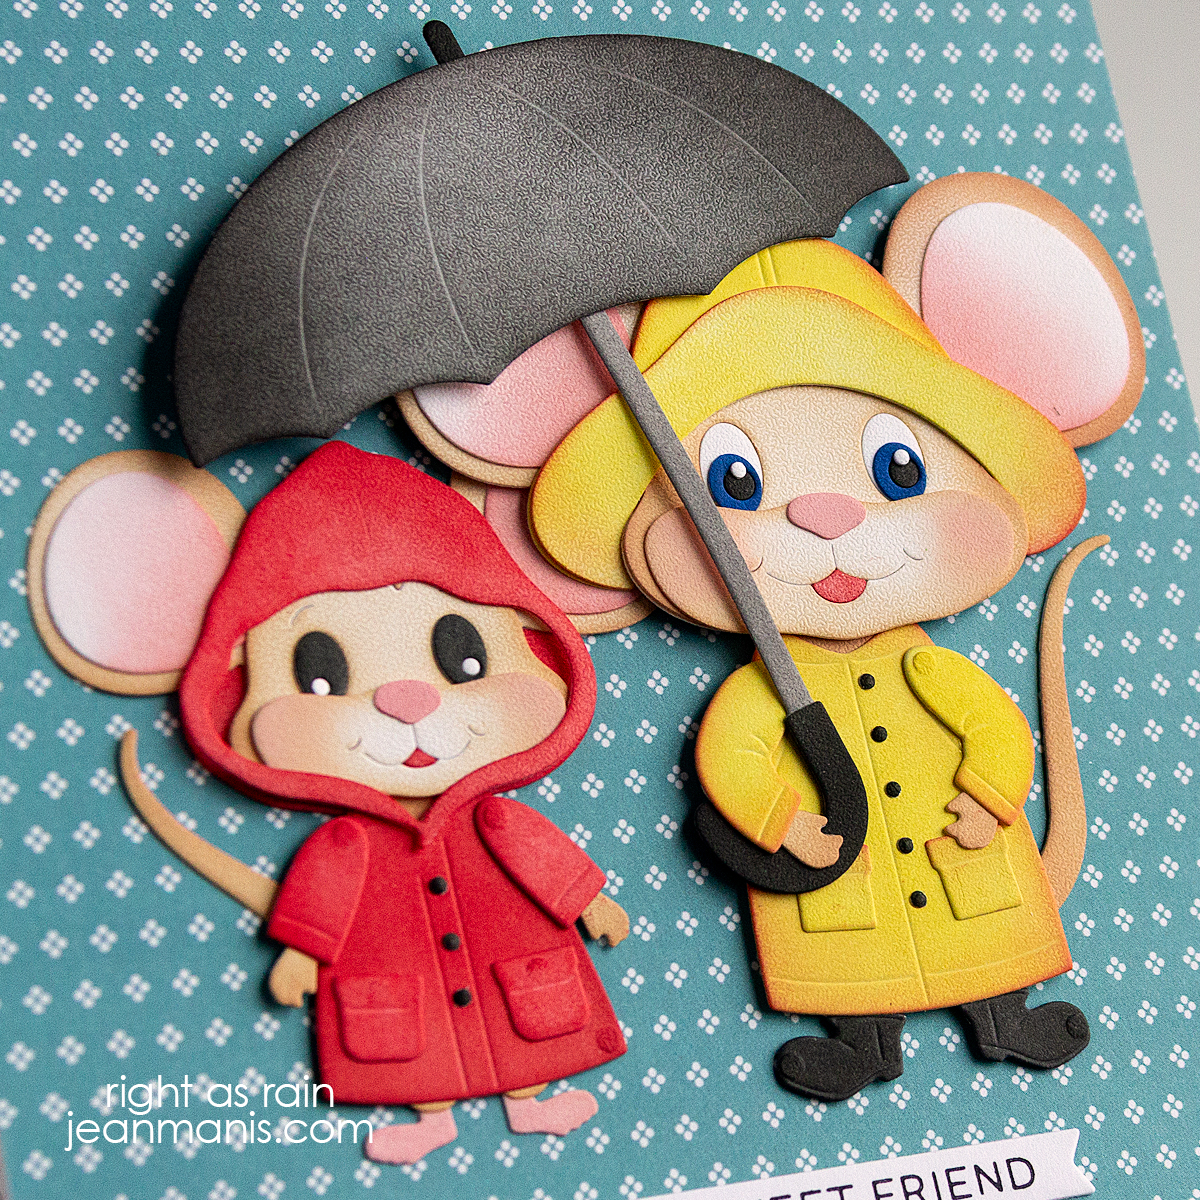
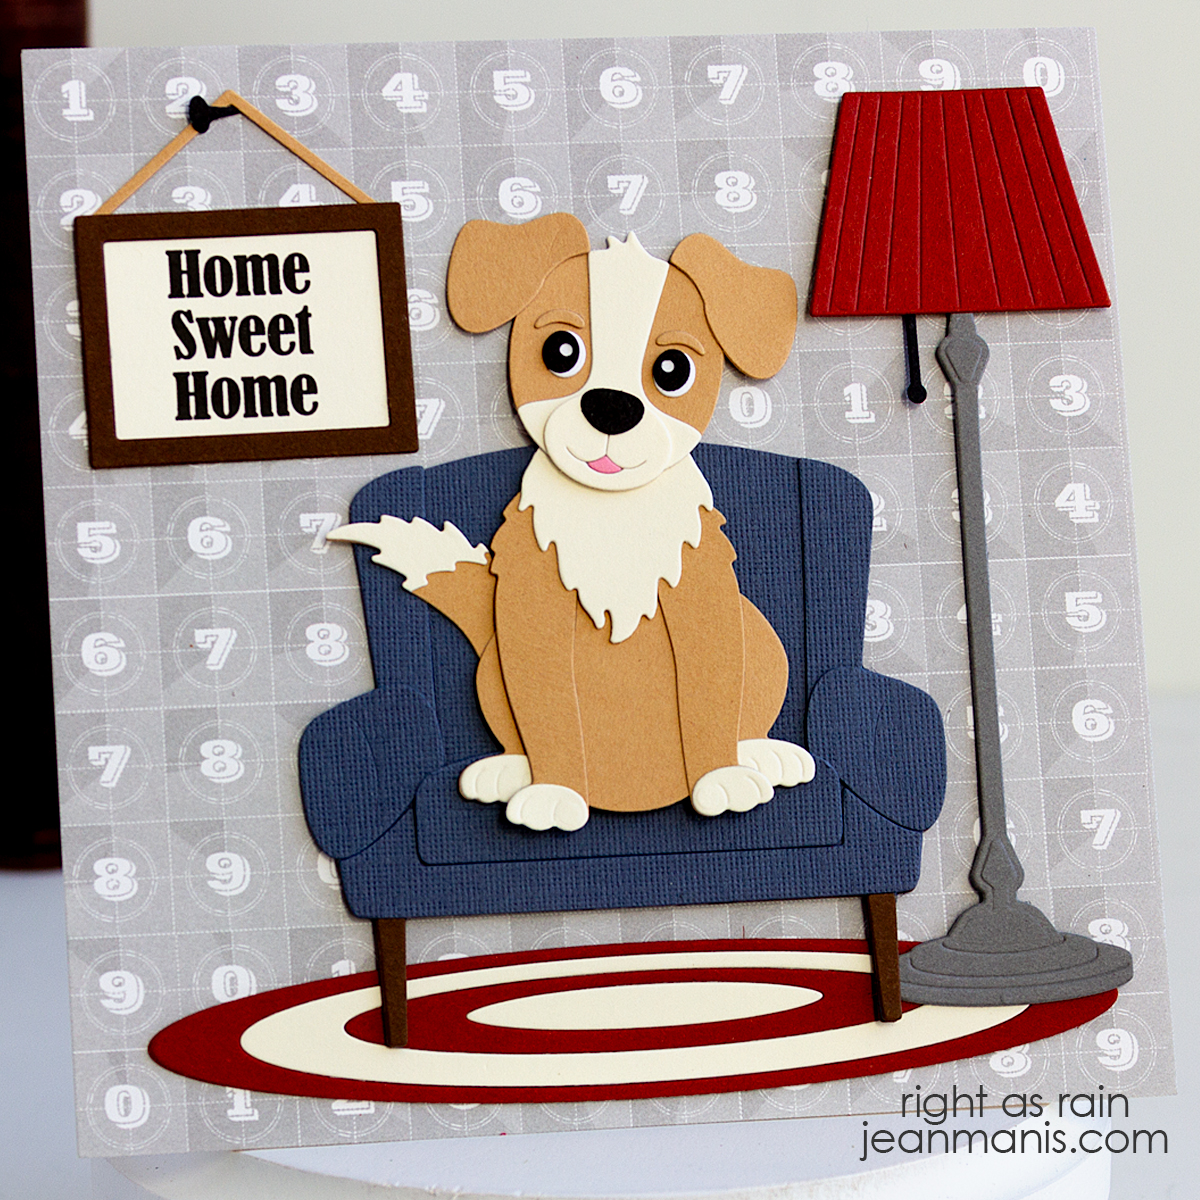
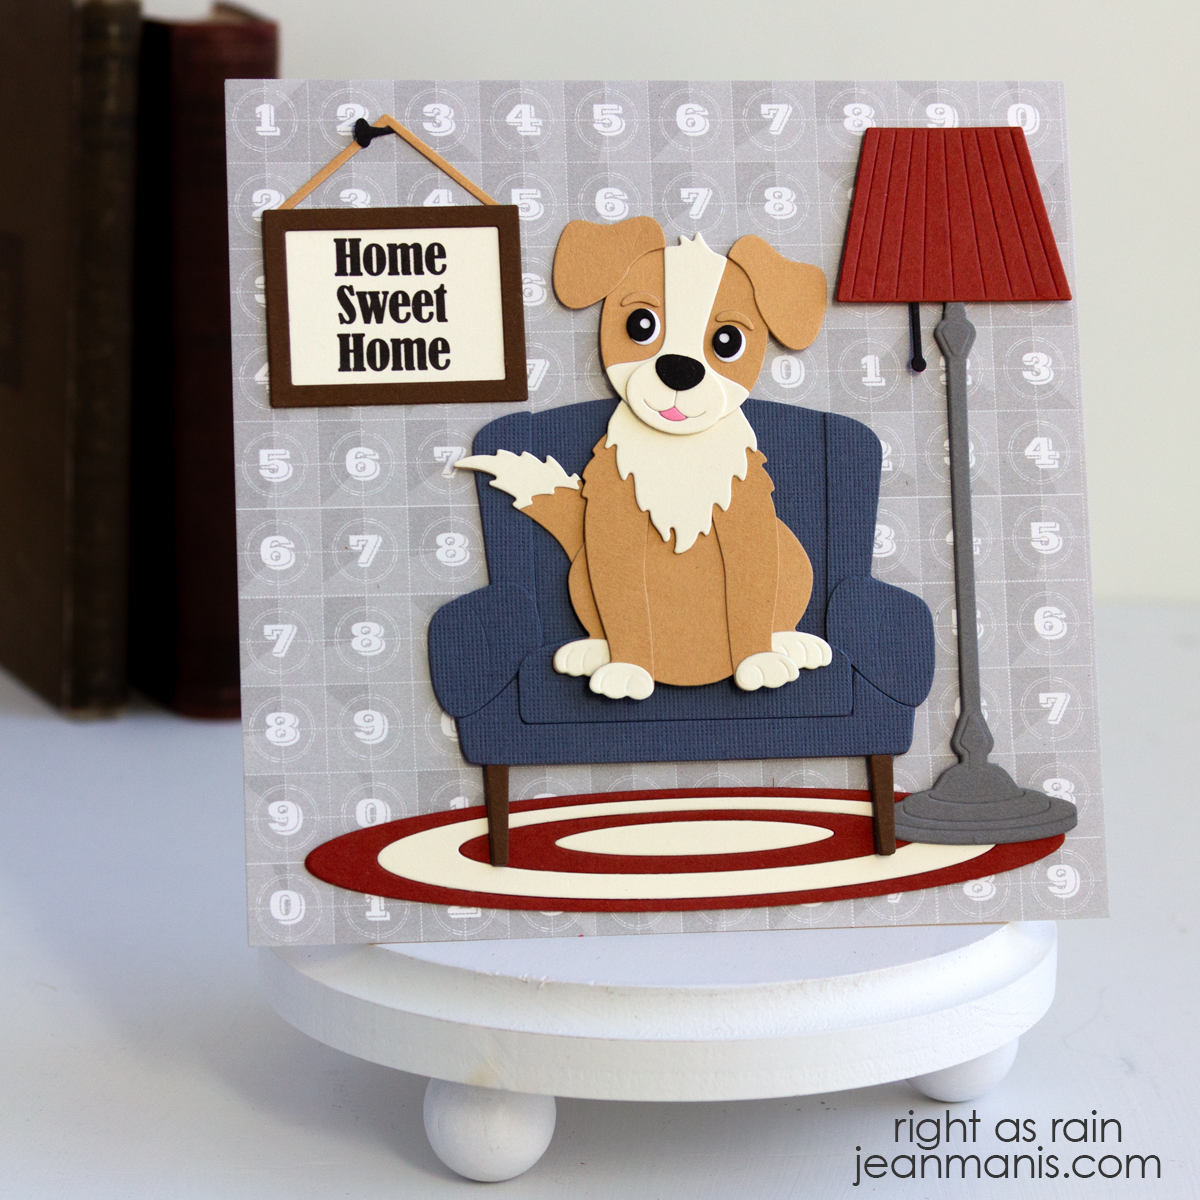
Hello! Today’s card features the charming Big Mouse and Little Mouse die sets from Elizabeth Craft Designs, ready for the spring rain. I intentionally kept the design streamlined by choosing patterned paper for the background rather than building a die-cut scene. I finished the design with a BetterPress sentiment that reads “Hello, Sweet Friend.”
-
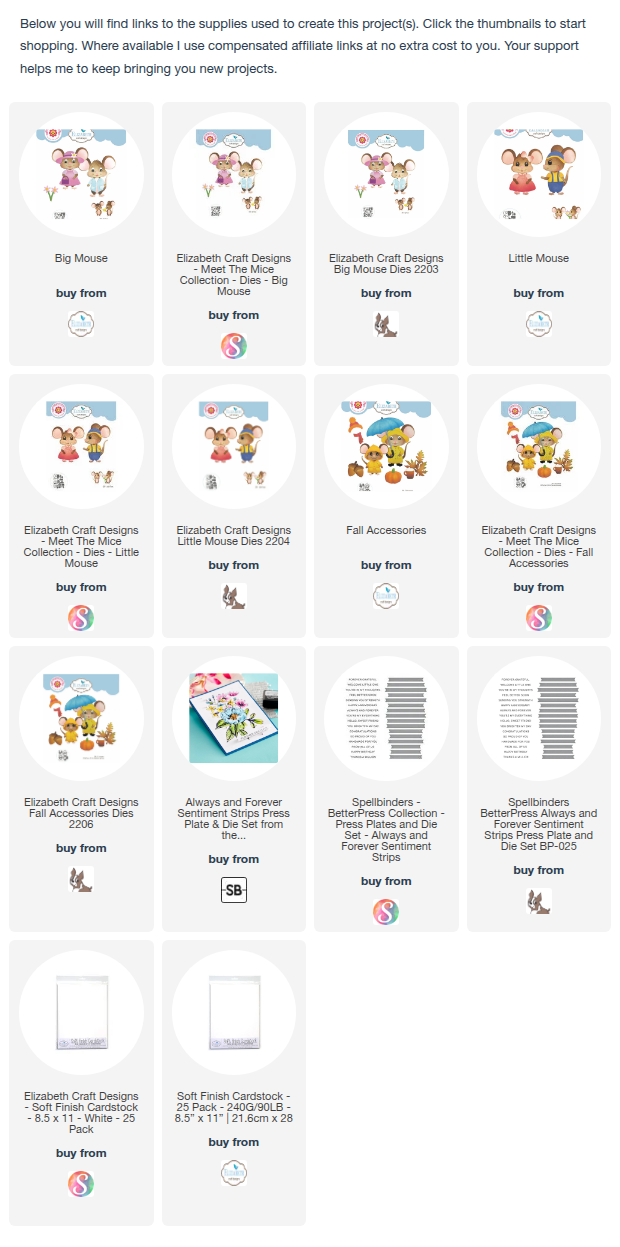
- Cover a 6-inch square card base with patterned paper.
- Press the sentiment and cut with the coordinating die.
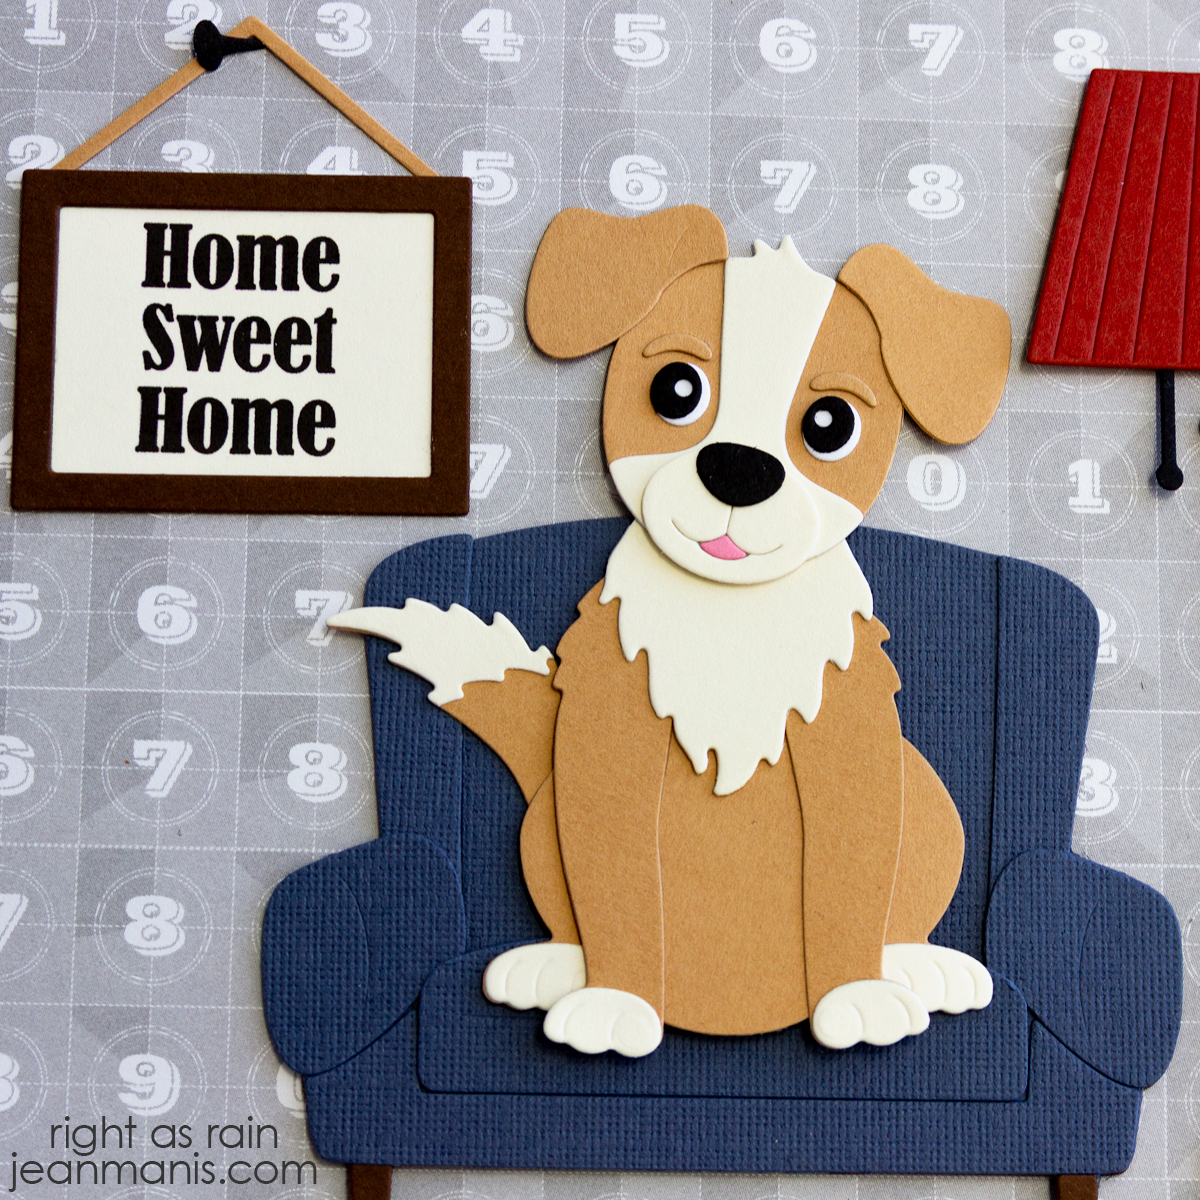
- Cut the Little Mouse, Big Mouse, and Fall Accessories from Soft Finish Cardstock. Color with Distress Oxide inks (Tattered Rose, Black Soot, Spun Sugar, Blueprint Sketch, Candied Apple, Squeezed Lemonade, Hickory Smoke) and assemble.
- Add the assembled mice and sentiment to the card base.
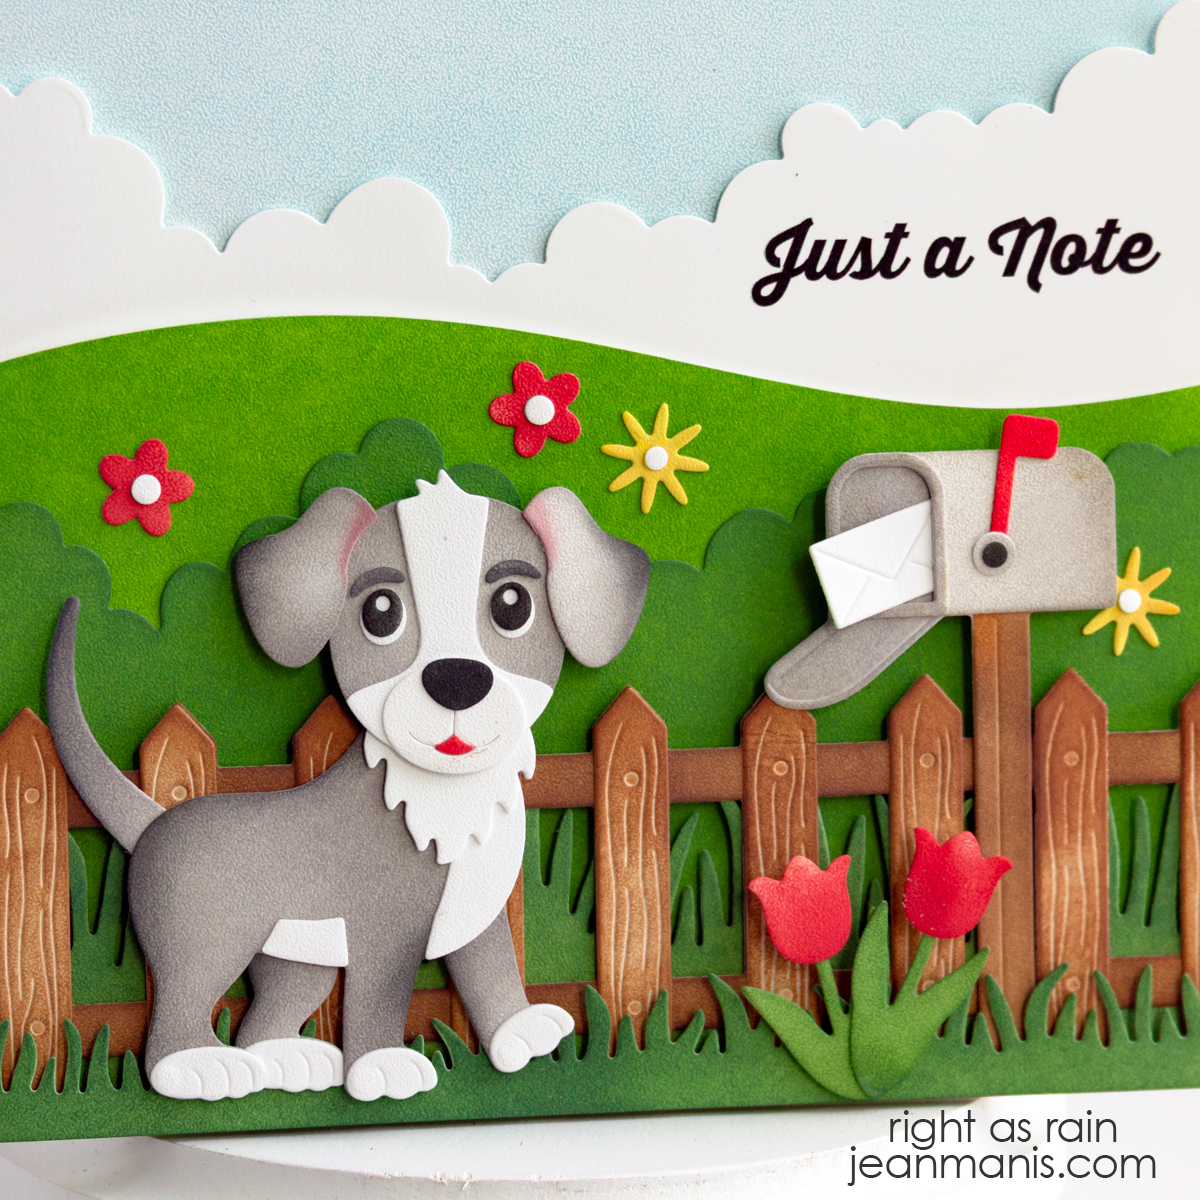
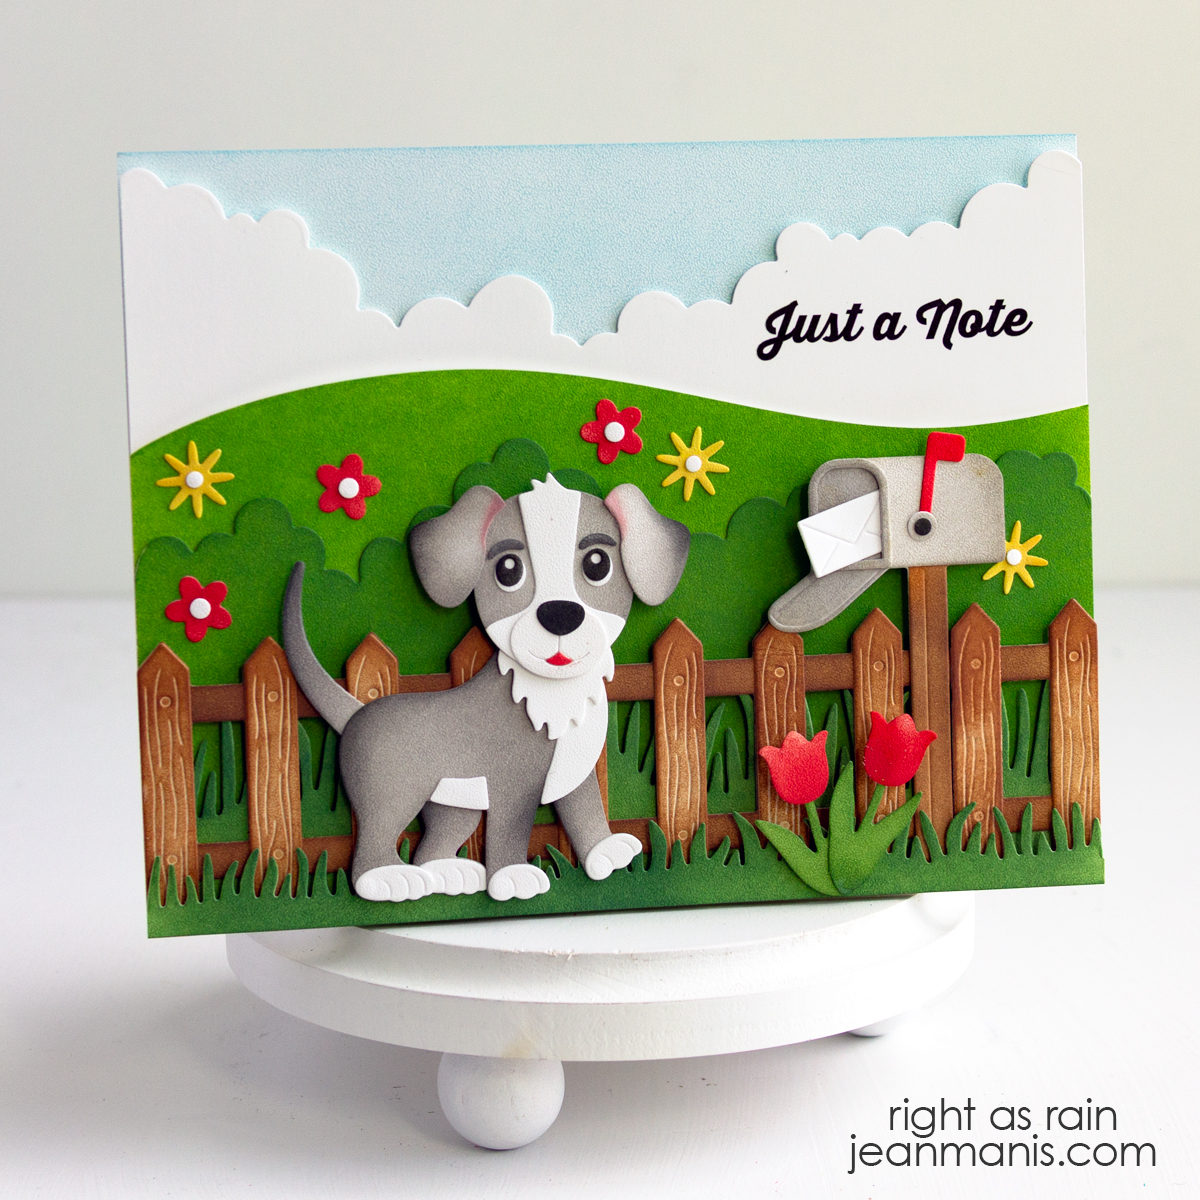
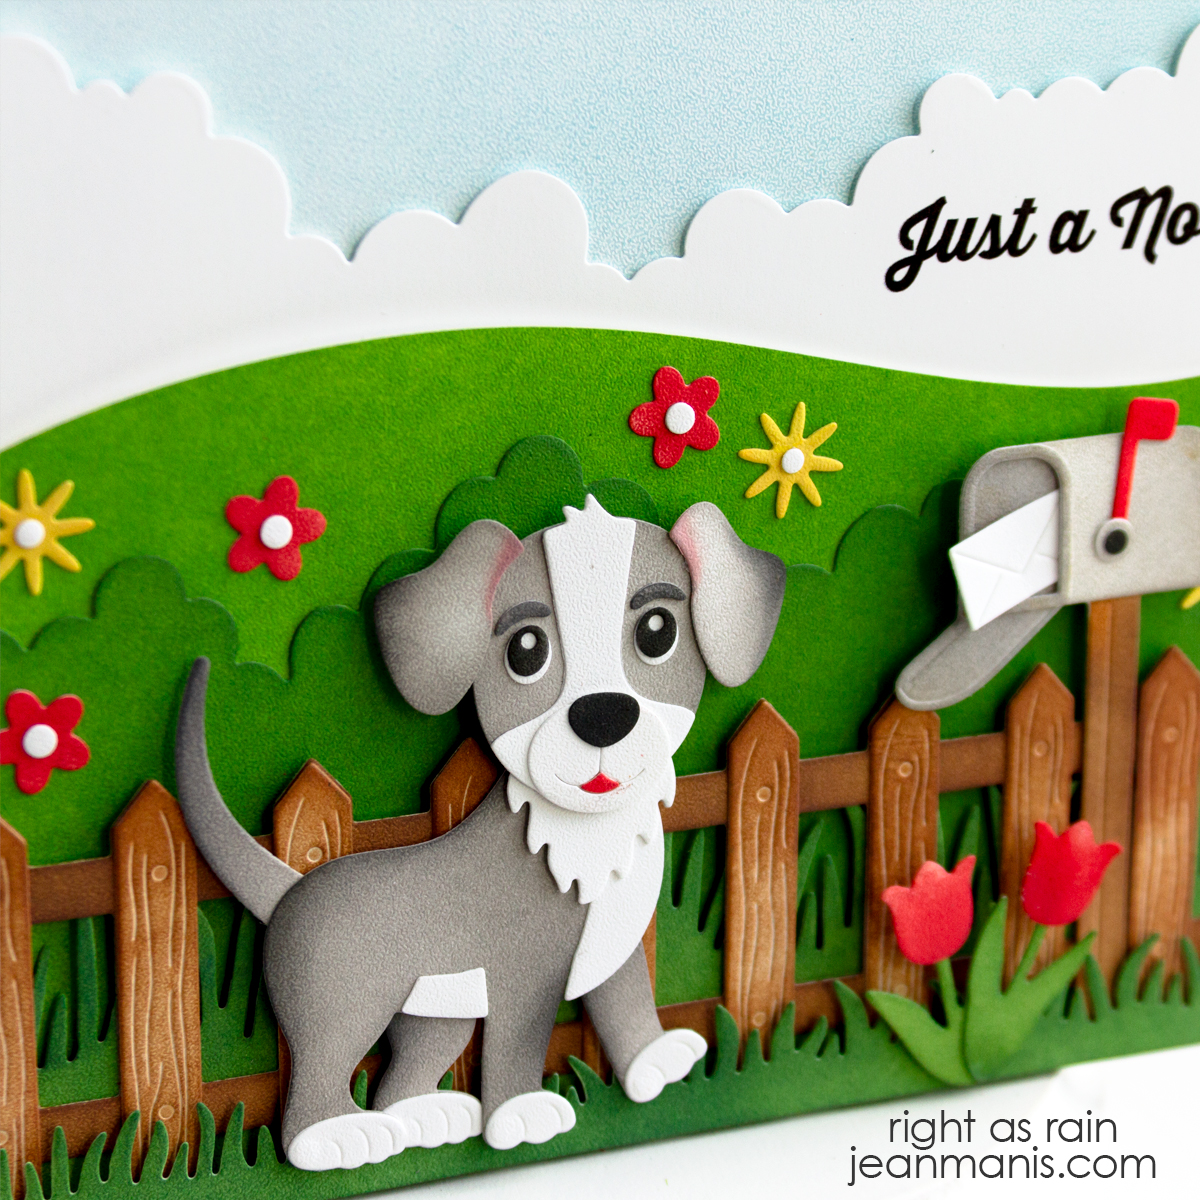


 Find more cardmaking inspiration with the Dog Days Collection