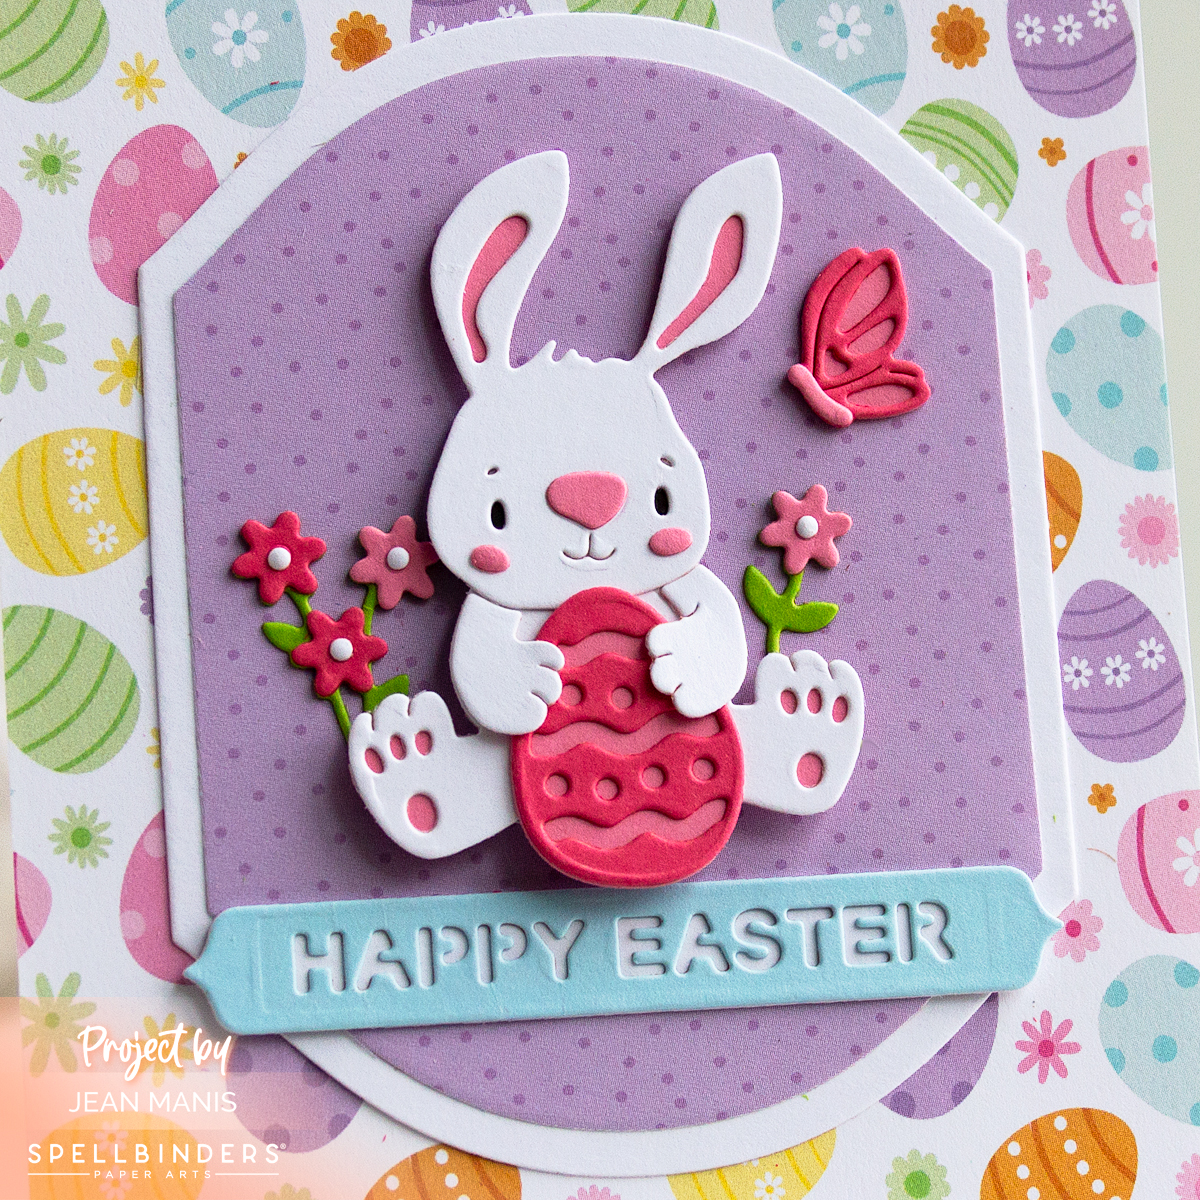
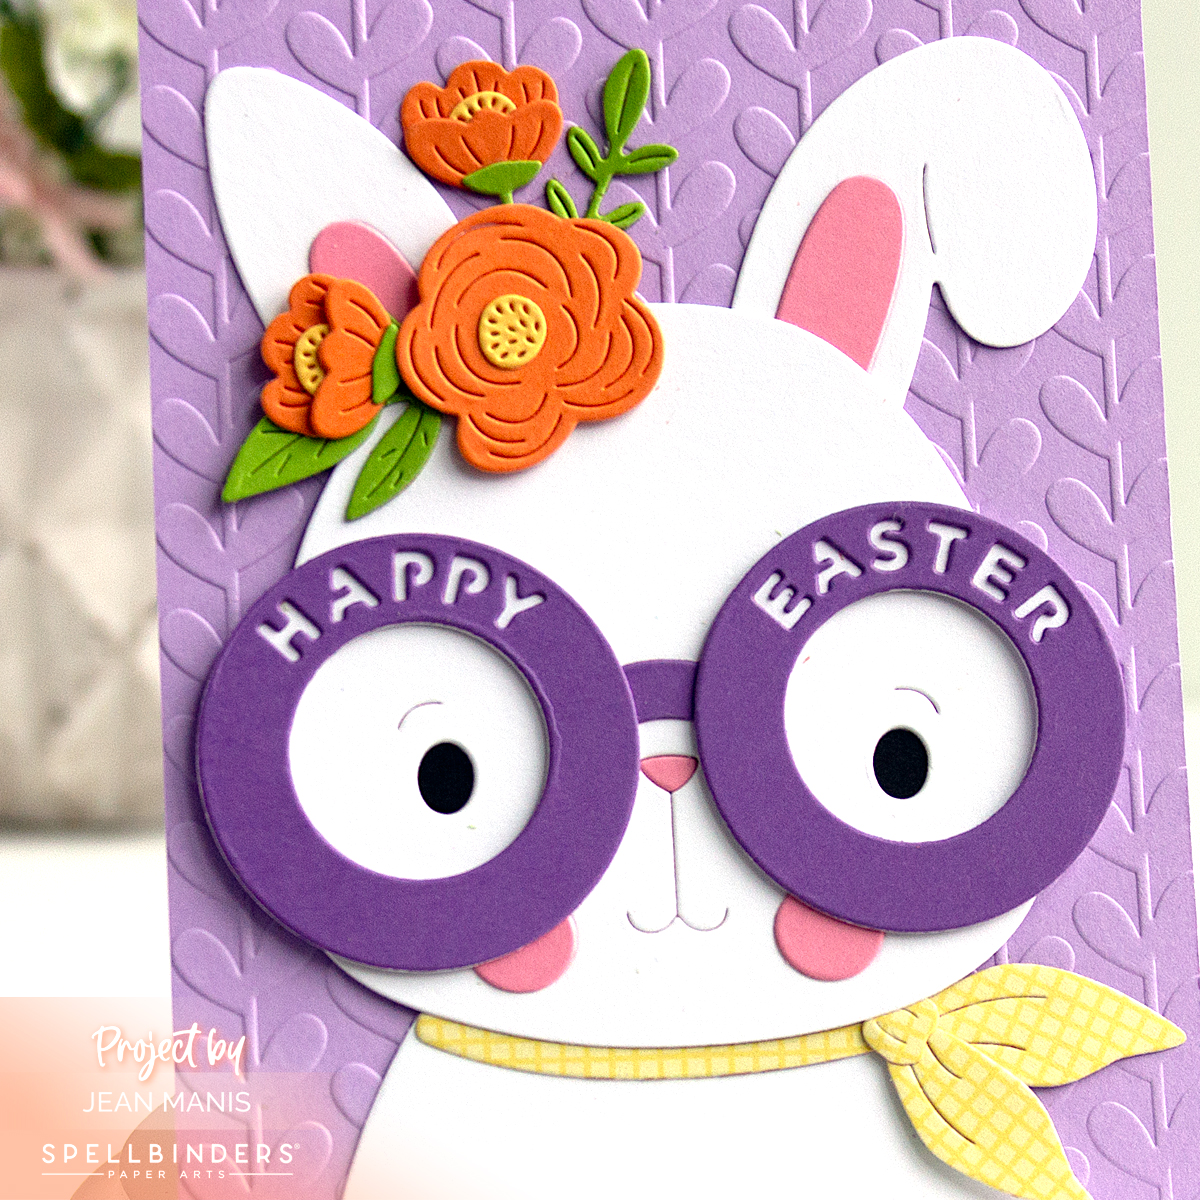
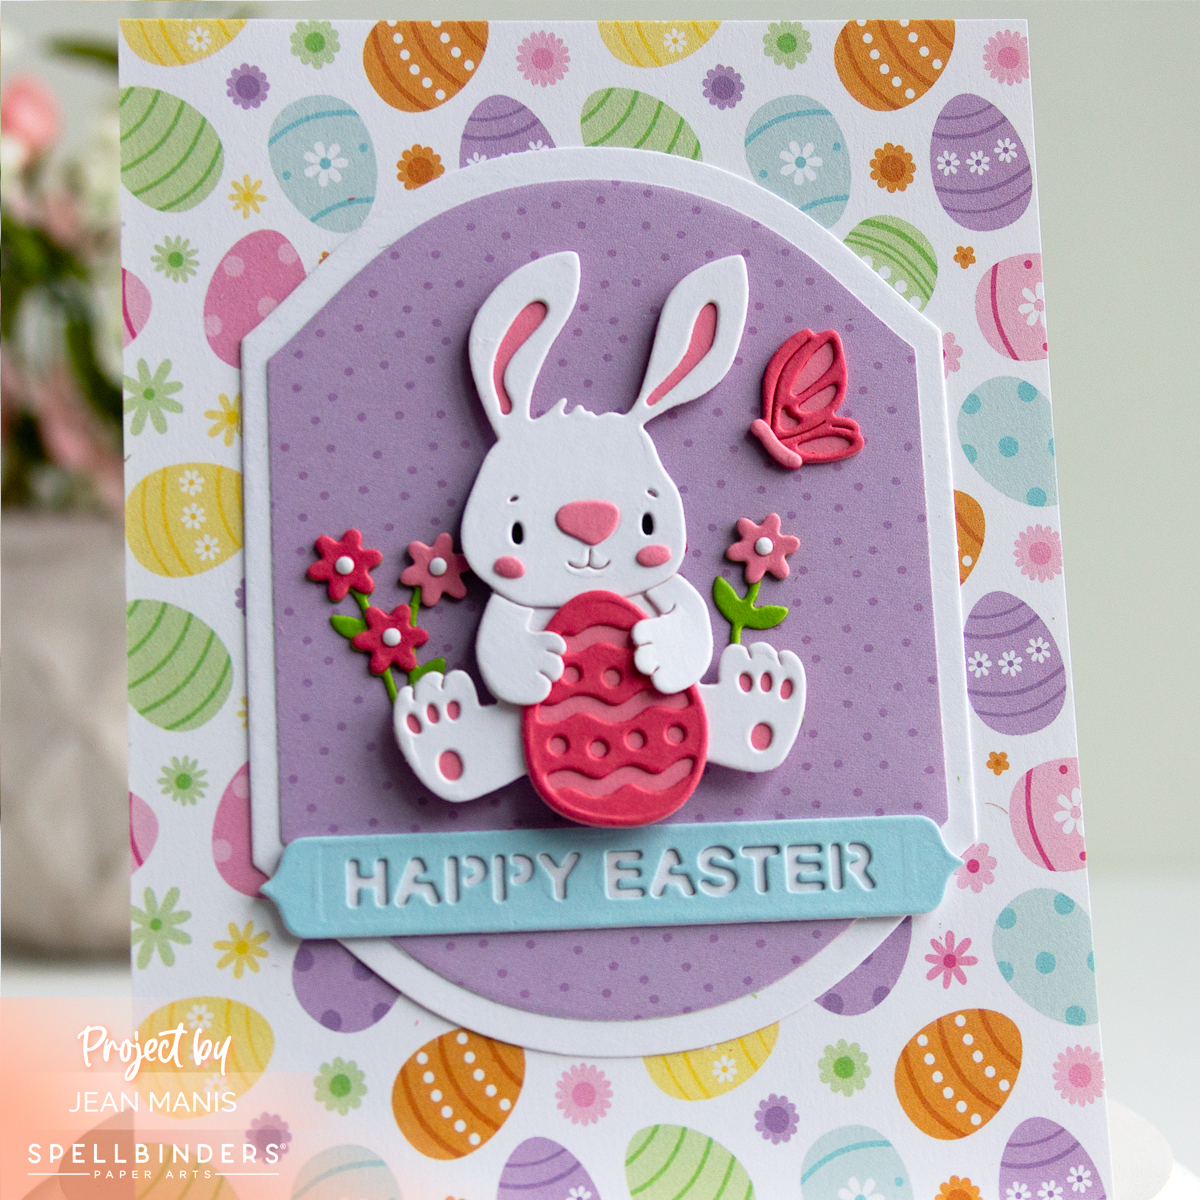
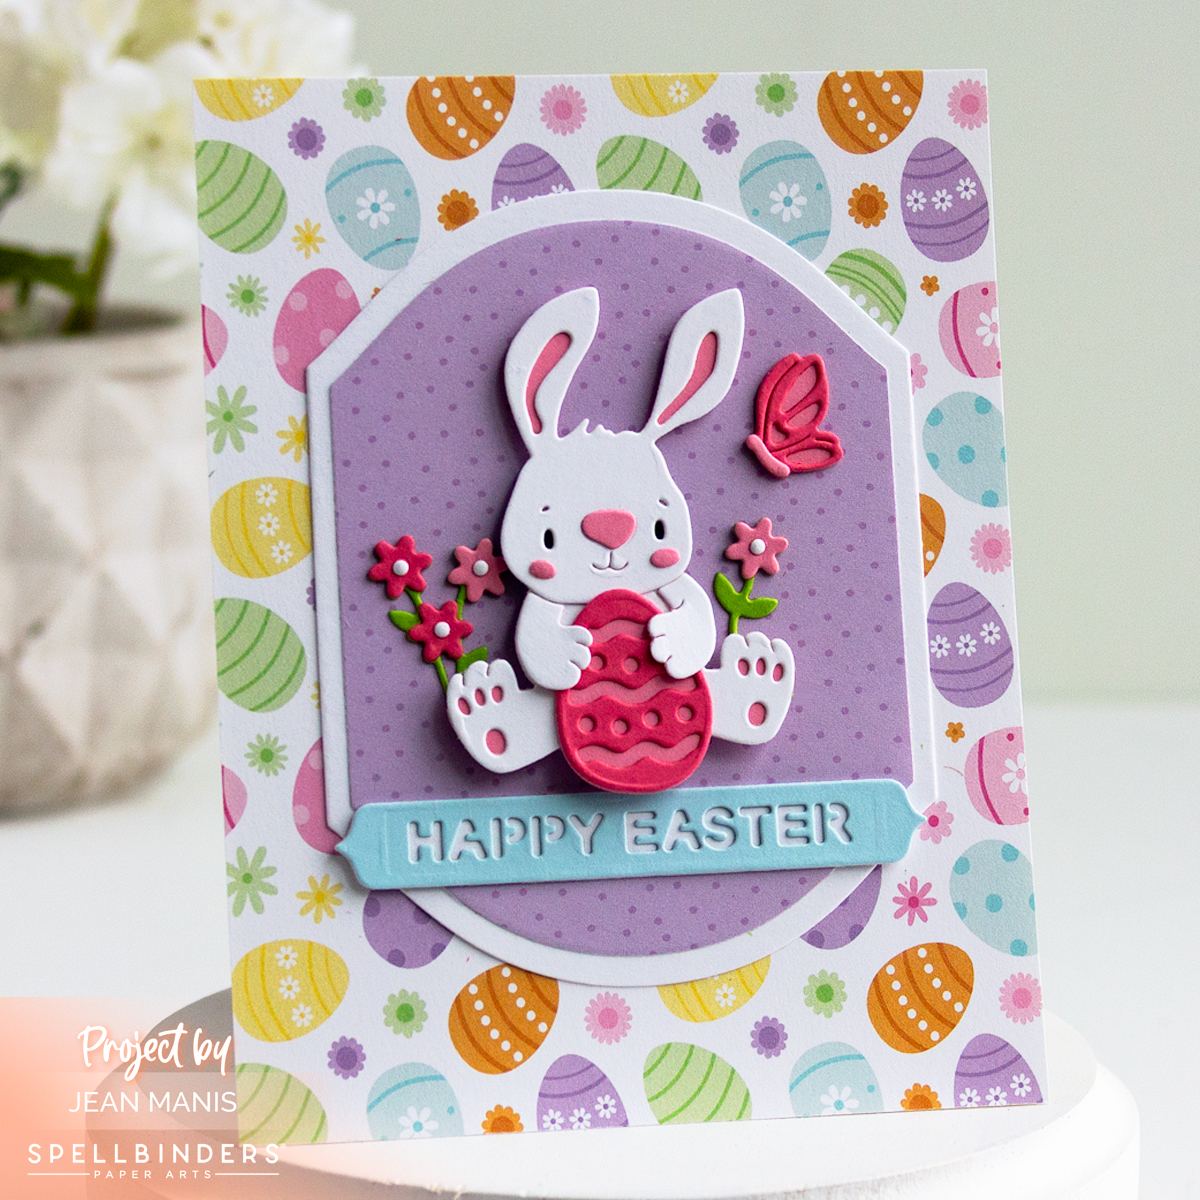
Spellbinders | Window Wonderland

Hello! The Spellbinders October Large Die of the Month, Window Wonderland, is all about capturing nostalgic charm. The card reminds me of something out of “A Christmas Story” (which was set in 1940).

Spellbinders | Window Wonderland

    • Cover an A2-size card base with patterned paper.
    • Cut the bay window structure twice with the Window Wonderland set. Using the window die outlines, cut out the windows from the front panel. This enables the drapes and tree to go inside the windows.
    • Cut drapes and tree with the set and attach to the inside panel. Cut the detailed window frames and inlay to the frame created in the previous step. Adhere the two layers. Add additional details (trim, string of lights, snow on top of the window) using dies in the Window Wonderland set.
    • Using the Window Wonderland set, cut the child, sled, and gifts from cardstock and assemble. Use the same set to create the snowbank.
    • Use the sentiment die in the North Pole Sentiments set to cut “Merry Christmas” from the snowbank. Back with Pomegranate cardstock and add to the base of the card, providing enough room at the top to slide in the window assembly. Attach the child and sled with foam squares.

Spellbinders | Window Wonderland


Hero Arts | Twinkle Lights Christmas Tree

Hello! Today’s card captures the holiday magic of a Christmas tree, sparkling with lights, in die-cut form. I featured the Twinkle Lights die set from Hero Arts, the October Hero Studio Die Set of the Month, as the star of the design and paired it with additional supplies from Hero Arts and Spellbinders to complete the scene.

Hero Arts | Twinkle Lights Christmas Tree

    • Cover an A2-size card base with patterned paper.
    • Dry-emboss Classic White cardstock that has been cut with an arch with the Sparkling Snow folder. With the Festive Tree Die set, cut a tree shape from the center of the arch.
    • With the Twinkle Lights set, cut light strands and bulbs from cardstock. Trim as necessary to fit within the tree shape. Assemble.
    • Add a Fern cardstock panel behind the ornaments. Add the assembly to a Poppy cardstock arch and adhere to card base.
    • Cut sentiment with dies in the North Pole Sentiments set. Add to the card.

Hero Arts | Twinkle Lights Christmas Tree

October 2025 Hero Studio


Christmas Card Roundup with Poinsettias & Wreaths

Hello! When it comes to handmade Christmas cards, two timeless botanical themes return year after year—poinsettias and wreaths. Both draw on the beauty of nature to capture the festive spirit, whether through bold blooms or evergreen boughs. In this roundup, I’m sharing cards from my blog archive where either poinsettias or wreaths are included. Click on the card image to be taken to the original post for additional details.

The first card features a graceful Christmas tree decorated with elegant white die-cut poinsettias.

Christmas Card Roundup with Poinsettias & Wreaths

A vivid mixed-media floral spray, die-cut with Tim Holtz’s Festive Bouquet set, takes center stage on a clean, neutral background.

Christmas Card Roundup with Poinsettias & Wreaths

Loose poinsettias and seasonal foliage, colored with Distress Inks, are arranged in a charming bucket with a sentiment tag.

Christmas Card Roundup with Poinsettias & Wreaths

This card uses the same die set as the bucket design, but here the poinsettias are arranged in a festive cluster atop a doily shape.

Christmas Card Roundup with Poinsettias & Wreaths

This elegant card pairs a kraft background with a gold heat embossed sentiment and a poinsettia spray cut from red, green, and gold foil cardstock.

Christmas Card Roundup with Poinsettias & Wreaths

This card showcases a large poinsettia image, brought to life with watercoloring. It’s the only watercolor design in the roundup.

Christmas Card Roundup with Poinsettias & Wreaths

I found fewer wreath-themed cards in my collection than I expected, and on the ones I found, the wreath most often appeared as a small adornment rather than the focal point. The first card, however, features a wreath constructed of snow-tipped boughs with a cheerful snowman in the center.

Christmas Card Roundup with Poinsettias & Wreaths

The following three cards all feature the same small Lawn Fawn die-cut wreath, shown on a festive barn, a cozy window, and a cheerful postbox—each offering a unique holiday scene.

Christmas Card Roundup with Poinsettias & Wreaths

Christmas Card Roundup with Poinsettias & Wreaths

Christmas Card Roundup with Poinsettias & Wreaths

I hope you’ve enjoyed this roundup of poinsettia and wreath-themed Christmas cards! Revisiting my older cards helps spark new inspiration, reminds me of the styles and details I enjoy most, and highlights products I already own before adding more to my stash. Do you use poinsettias and/or wreaths in your own cardmaking?

Spellbinders | Snowmen at the North Pole

Hello! Today I’m sharing a festive holiday card featuring two cheerful snowmen gathered at the North Pole created with Spellbinders dies, from the playful snowmen to the sentiments placed right on the pole. Snowy patterned paper background sets the wintry mood, and the arch shape helps frame the scene.

Spellbinders | Snowmen at the North Pole

    • Cover an A2-size card base with patterned paper. I used the colors in the patterned paper pad for color choices on the card.
    • Cut an arch with snowy patterned paper from the same pad. Add to the prepared base.
    • Cut Classic White cardstock with the same arch die and then with the hill die in the Landscape Edges set. Add the snowbank to the prepared base with foam adhesive.
    • Cut the pole, signs, and snowmen with dies in the North Pole Sentiments set. Assemble.
    • Add assembled elements to the prepared base with foam squares and glue.

Spellbinders | Snowmen at the North Pole


Newton’s Nook | Cozy Fall Porch

Hello! Few things capture the charm of autumn like a cozy porch scene! For this handmade card, I used Newton’s Nook supplies to create a sweet image of a cat and dog on a porch surrounded by festive fall décor. The warm fall colors bring out the season’s cozy spirit.

Newton's Nook | Fall Friends

I stamped the Fall Friends scene on watercolor paper and colored the image with Tombow markers. Once dry, I cut the image with the coordinating die set. I finished the scene with a sentiment in the Fall Roundabout set, which I cut with one of the dies in the Banner Duo set.

For the base, I used Taylored Expressions Sweet Basil cardstock and gingham patterned paper from the Simple Stories Front Porch Collection pad.

Newton's Nook | Fall Friends