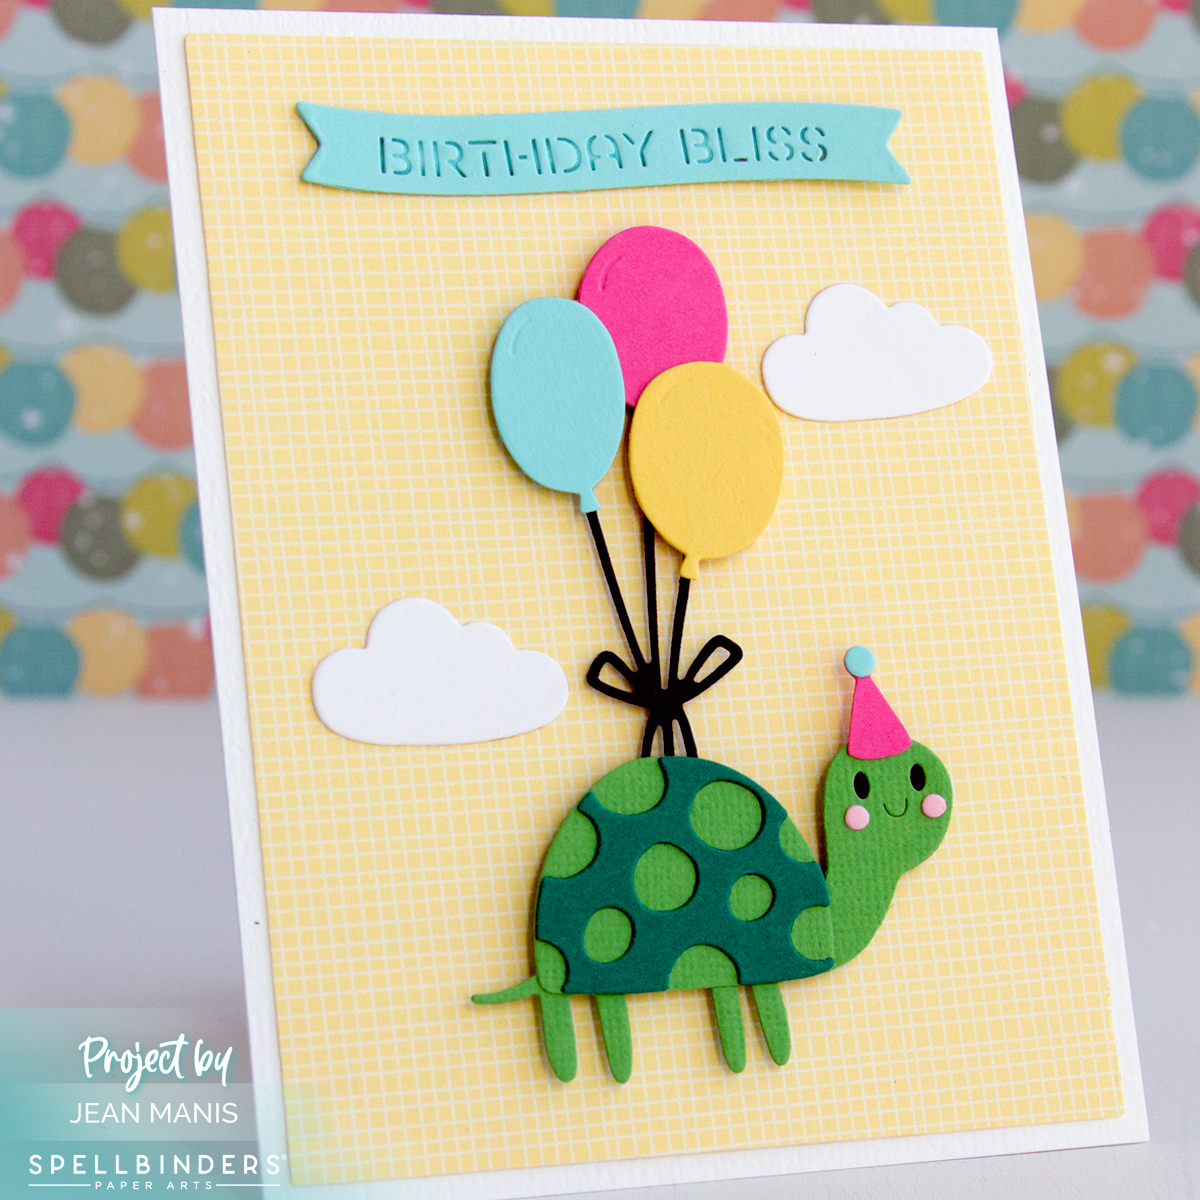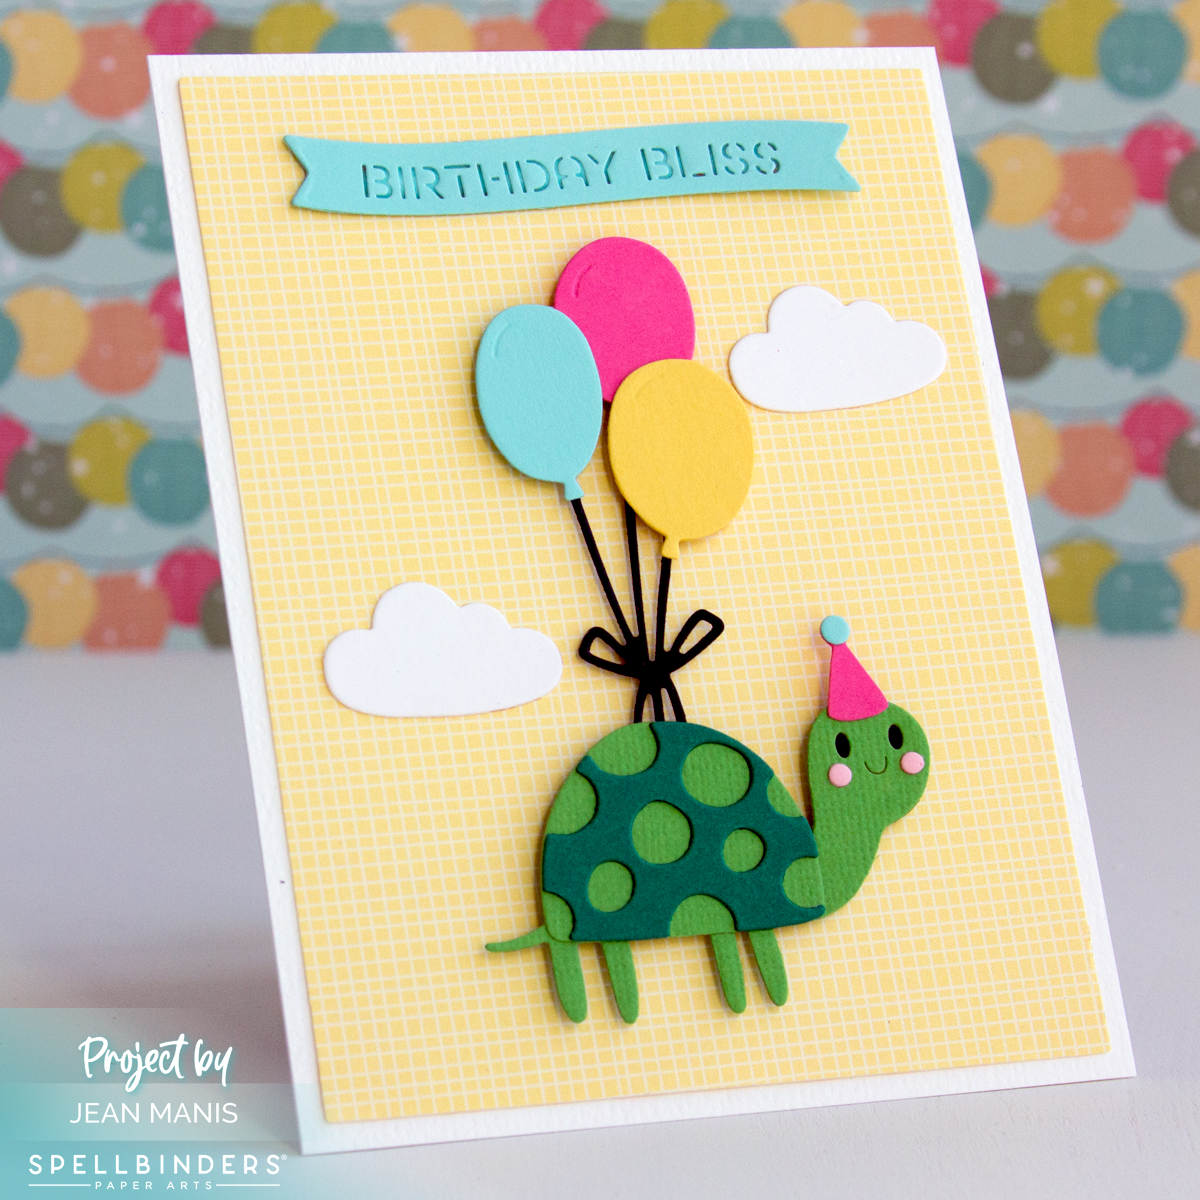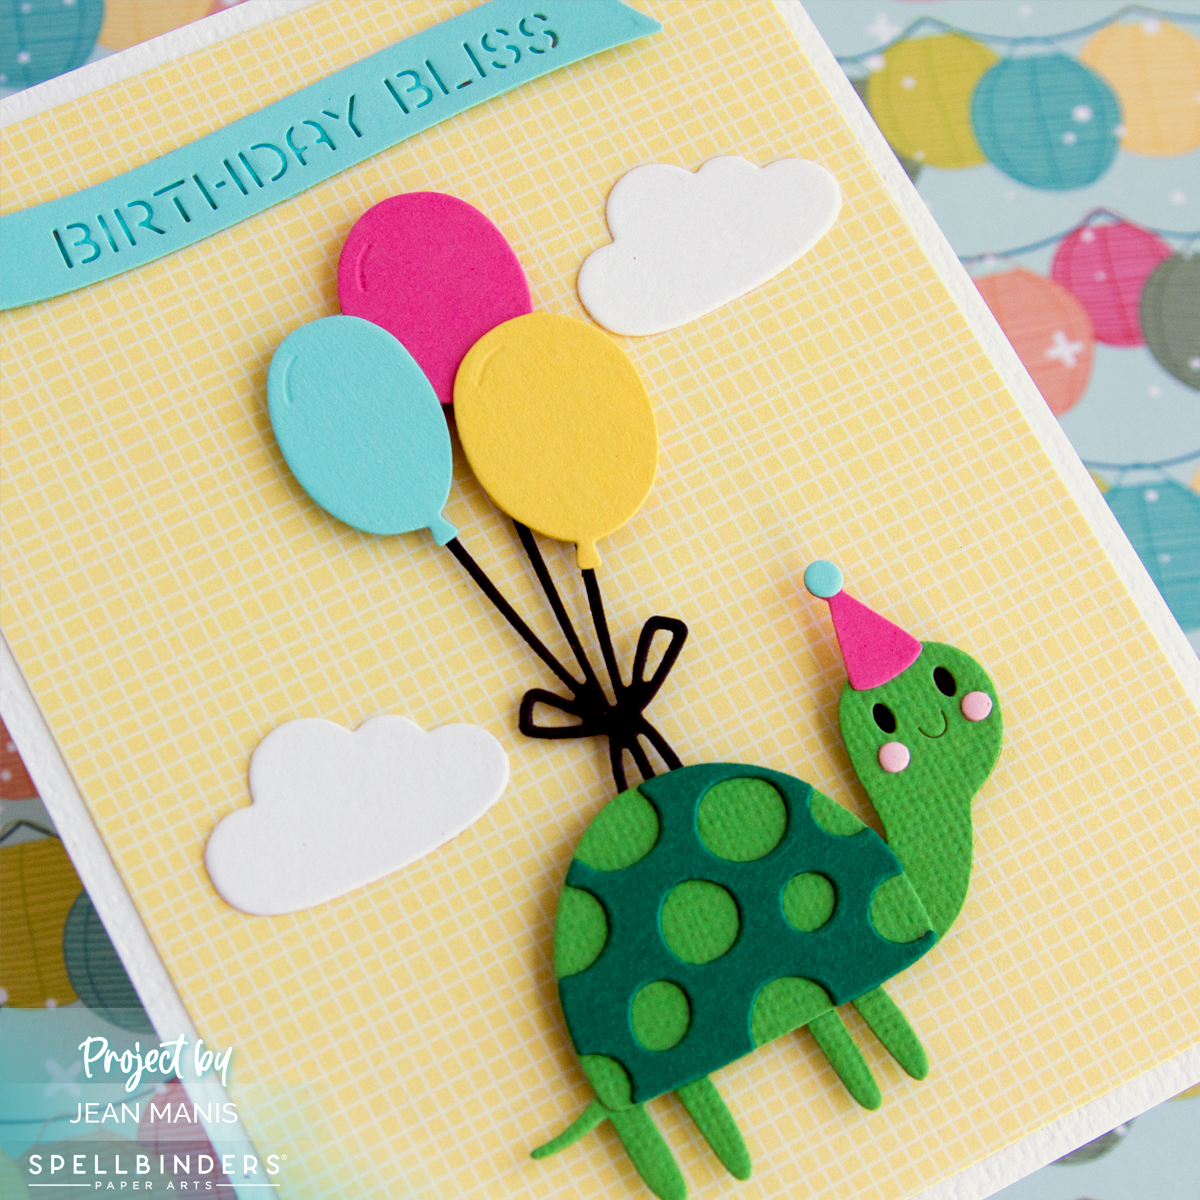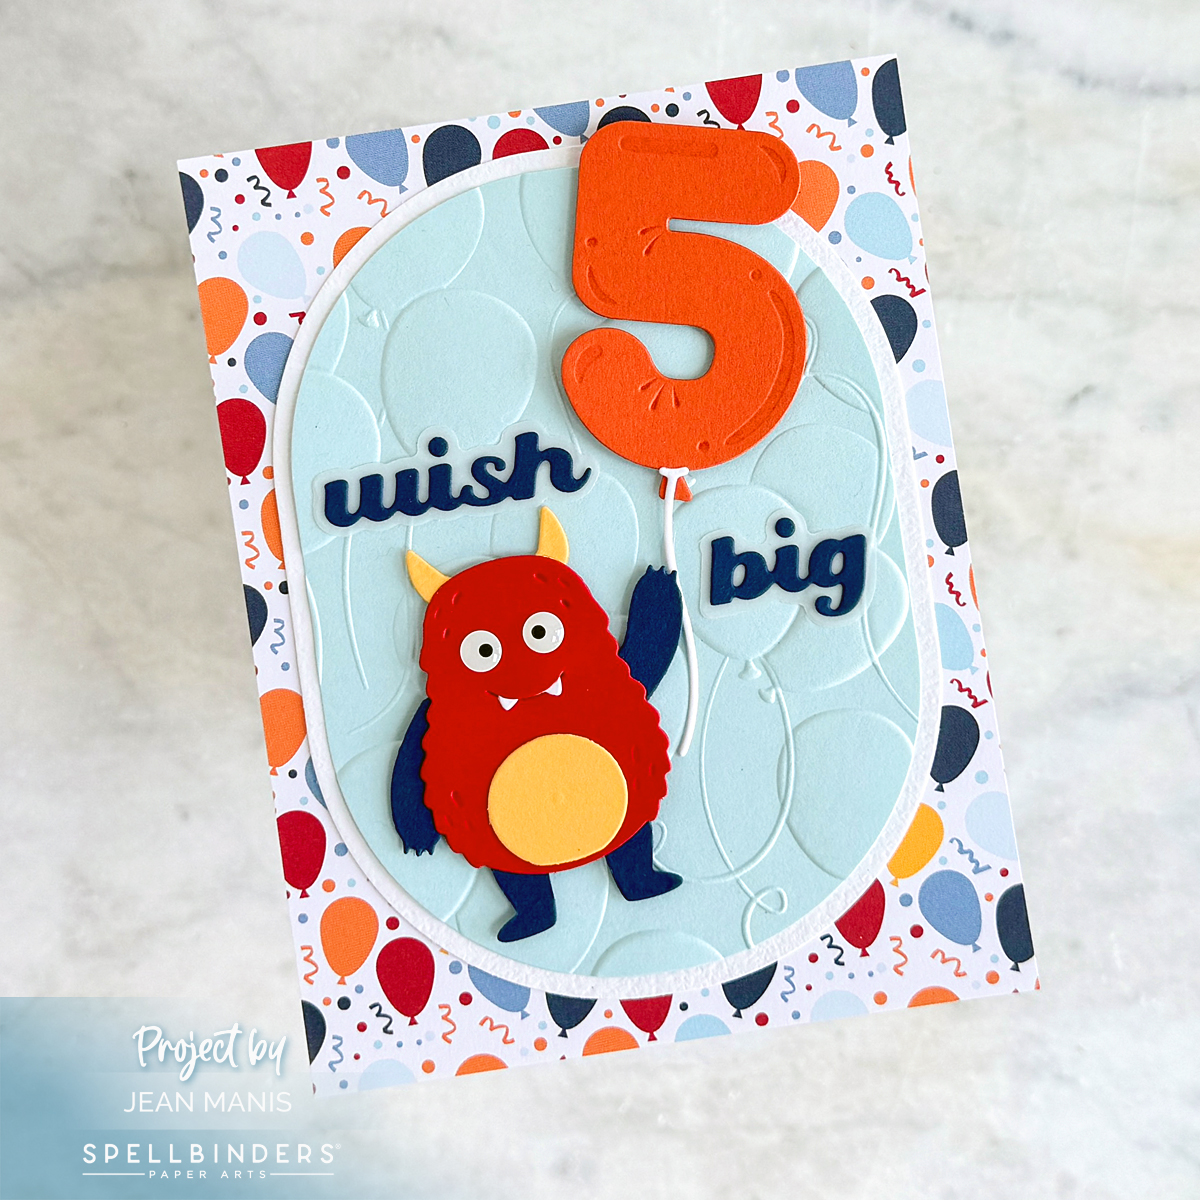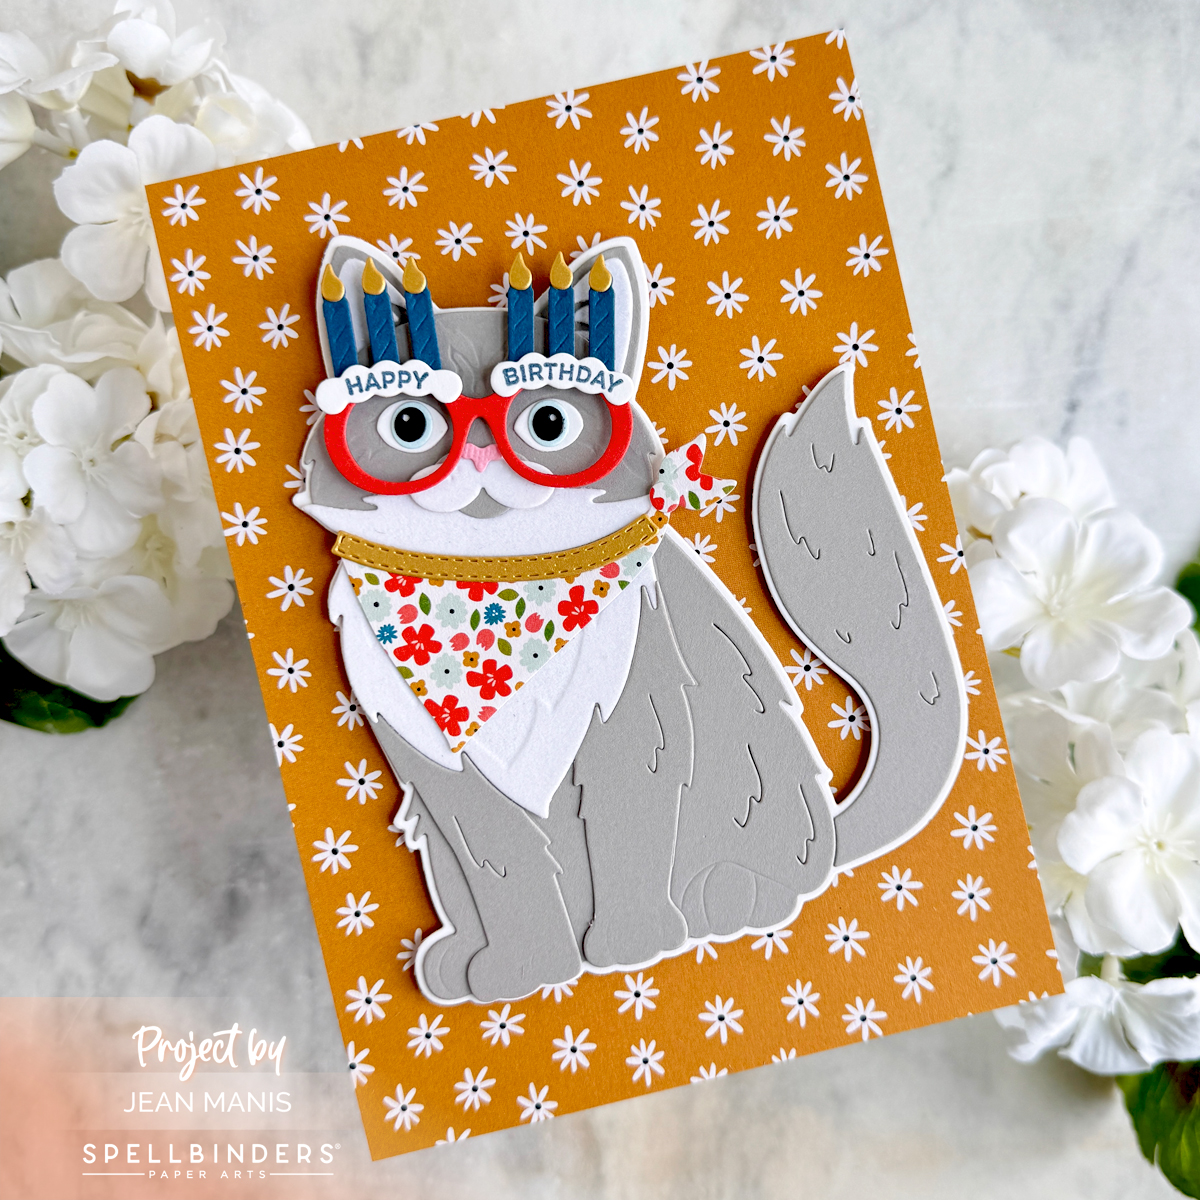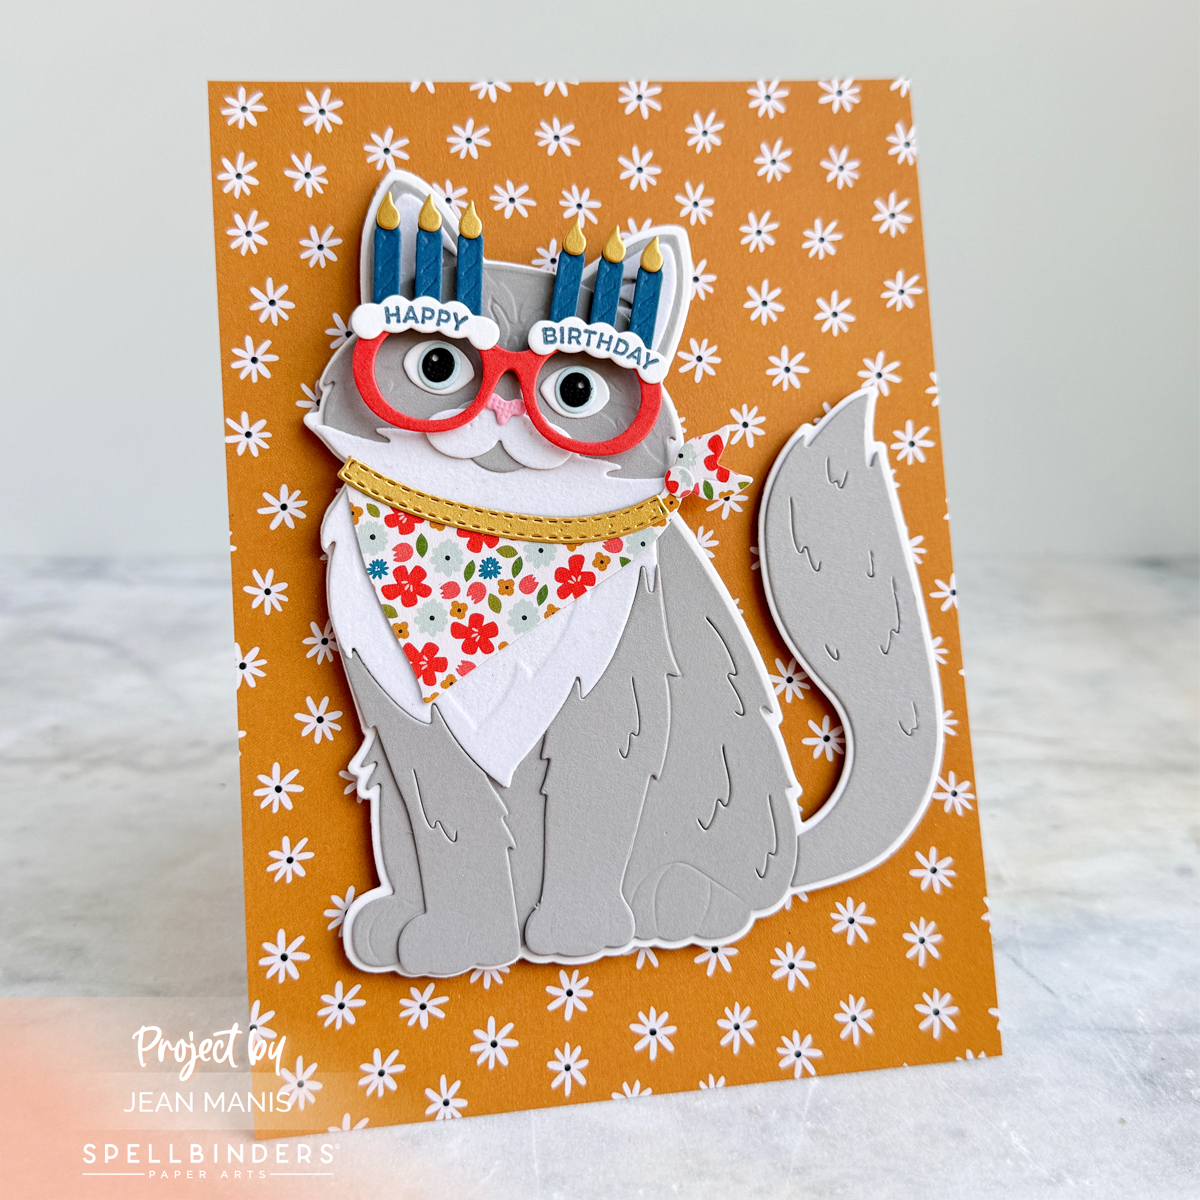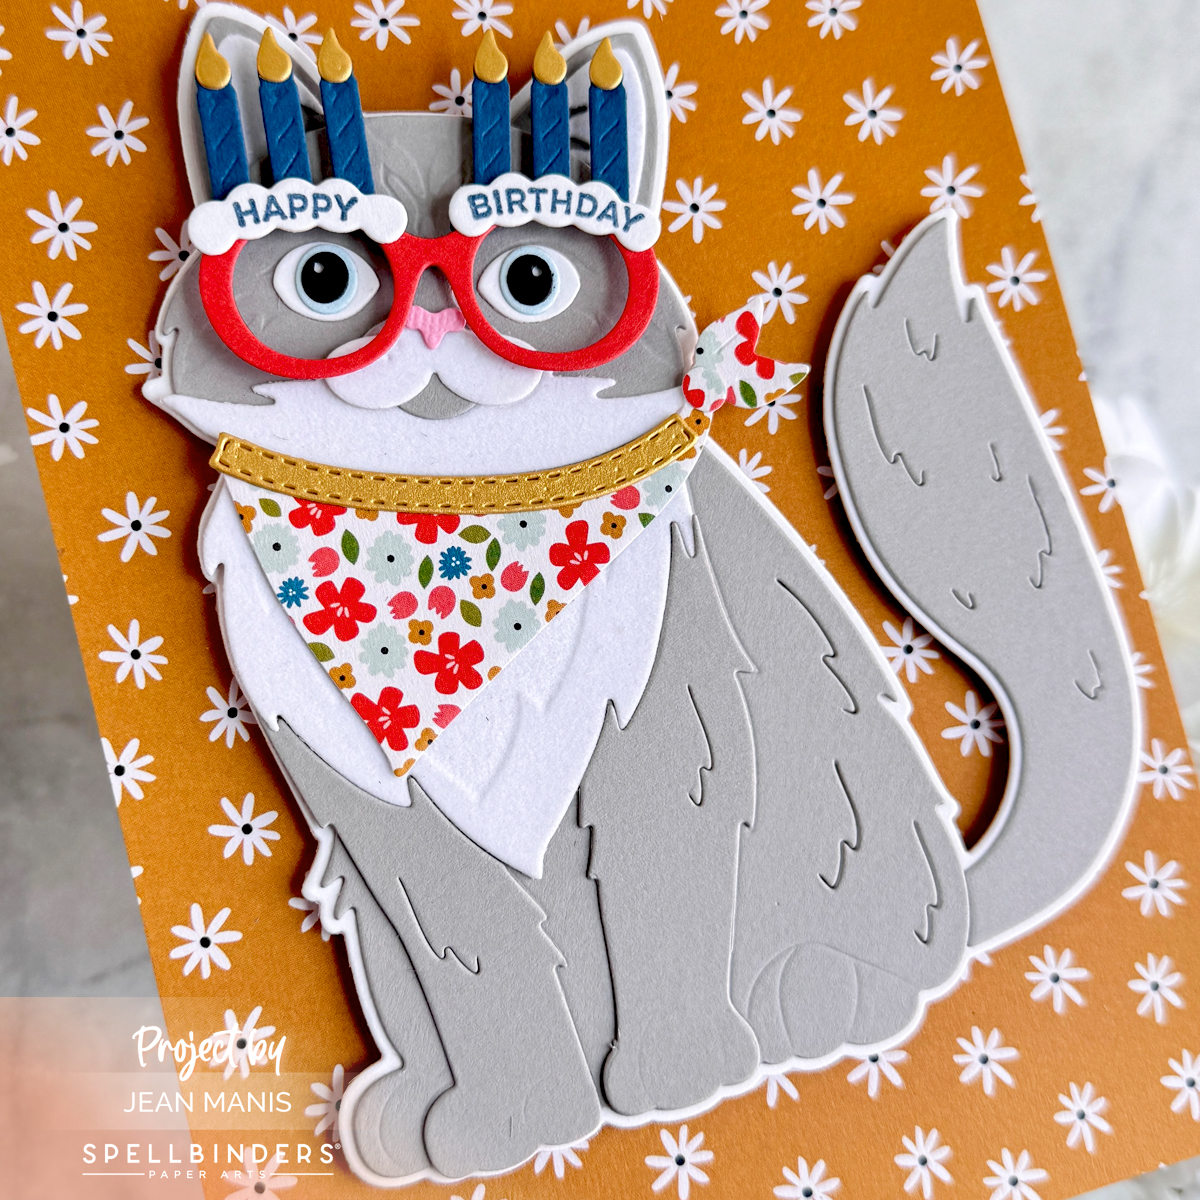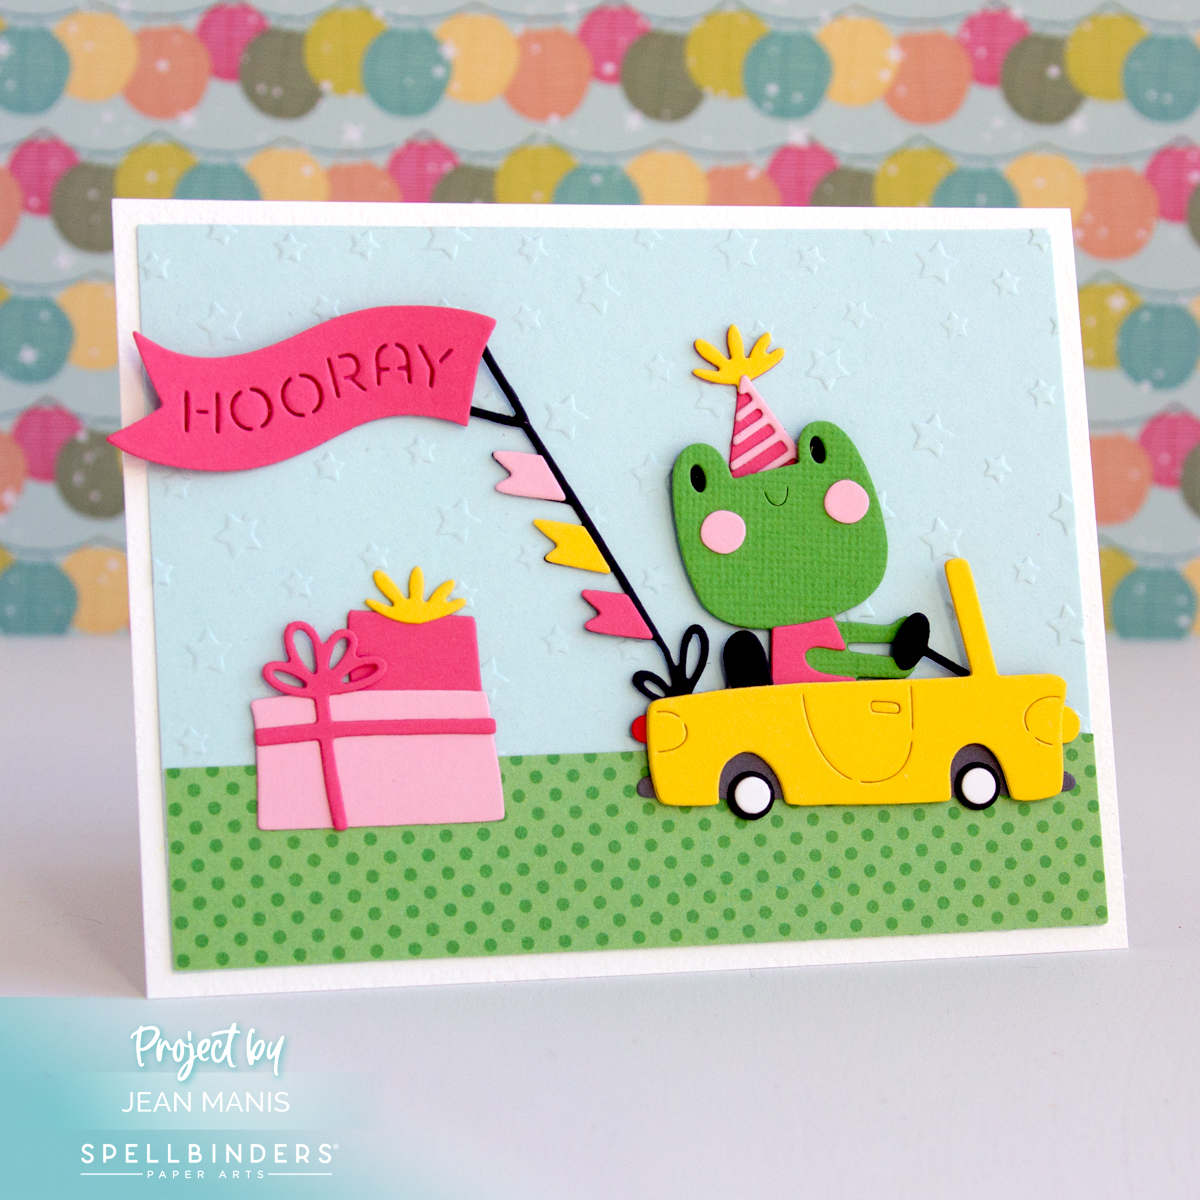
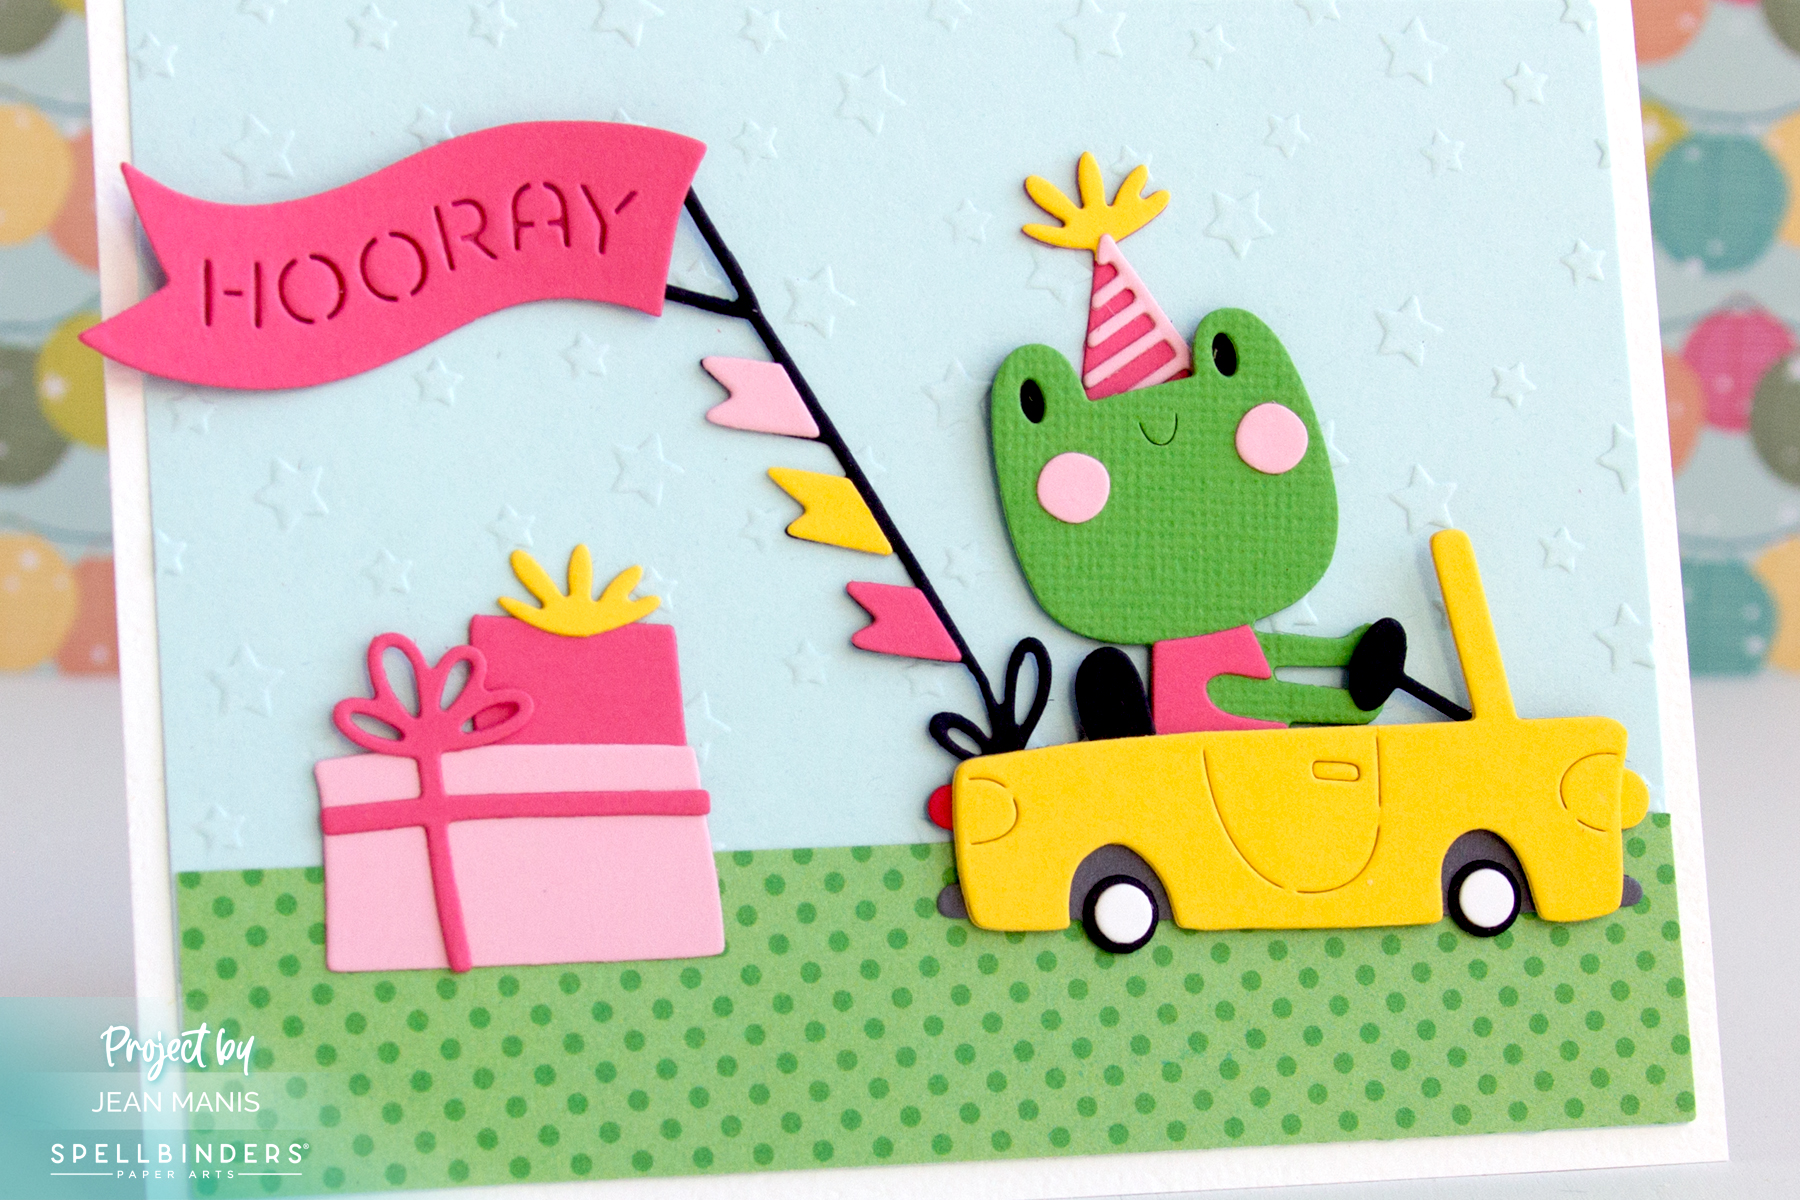
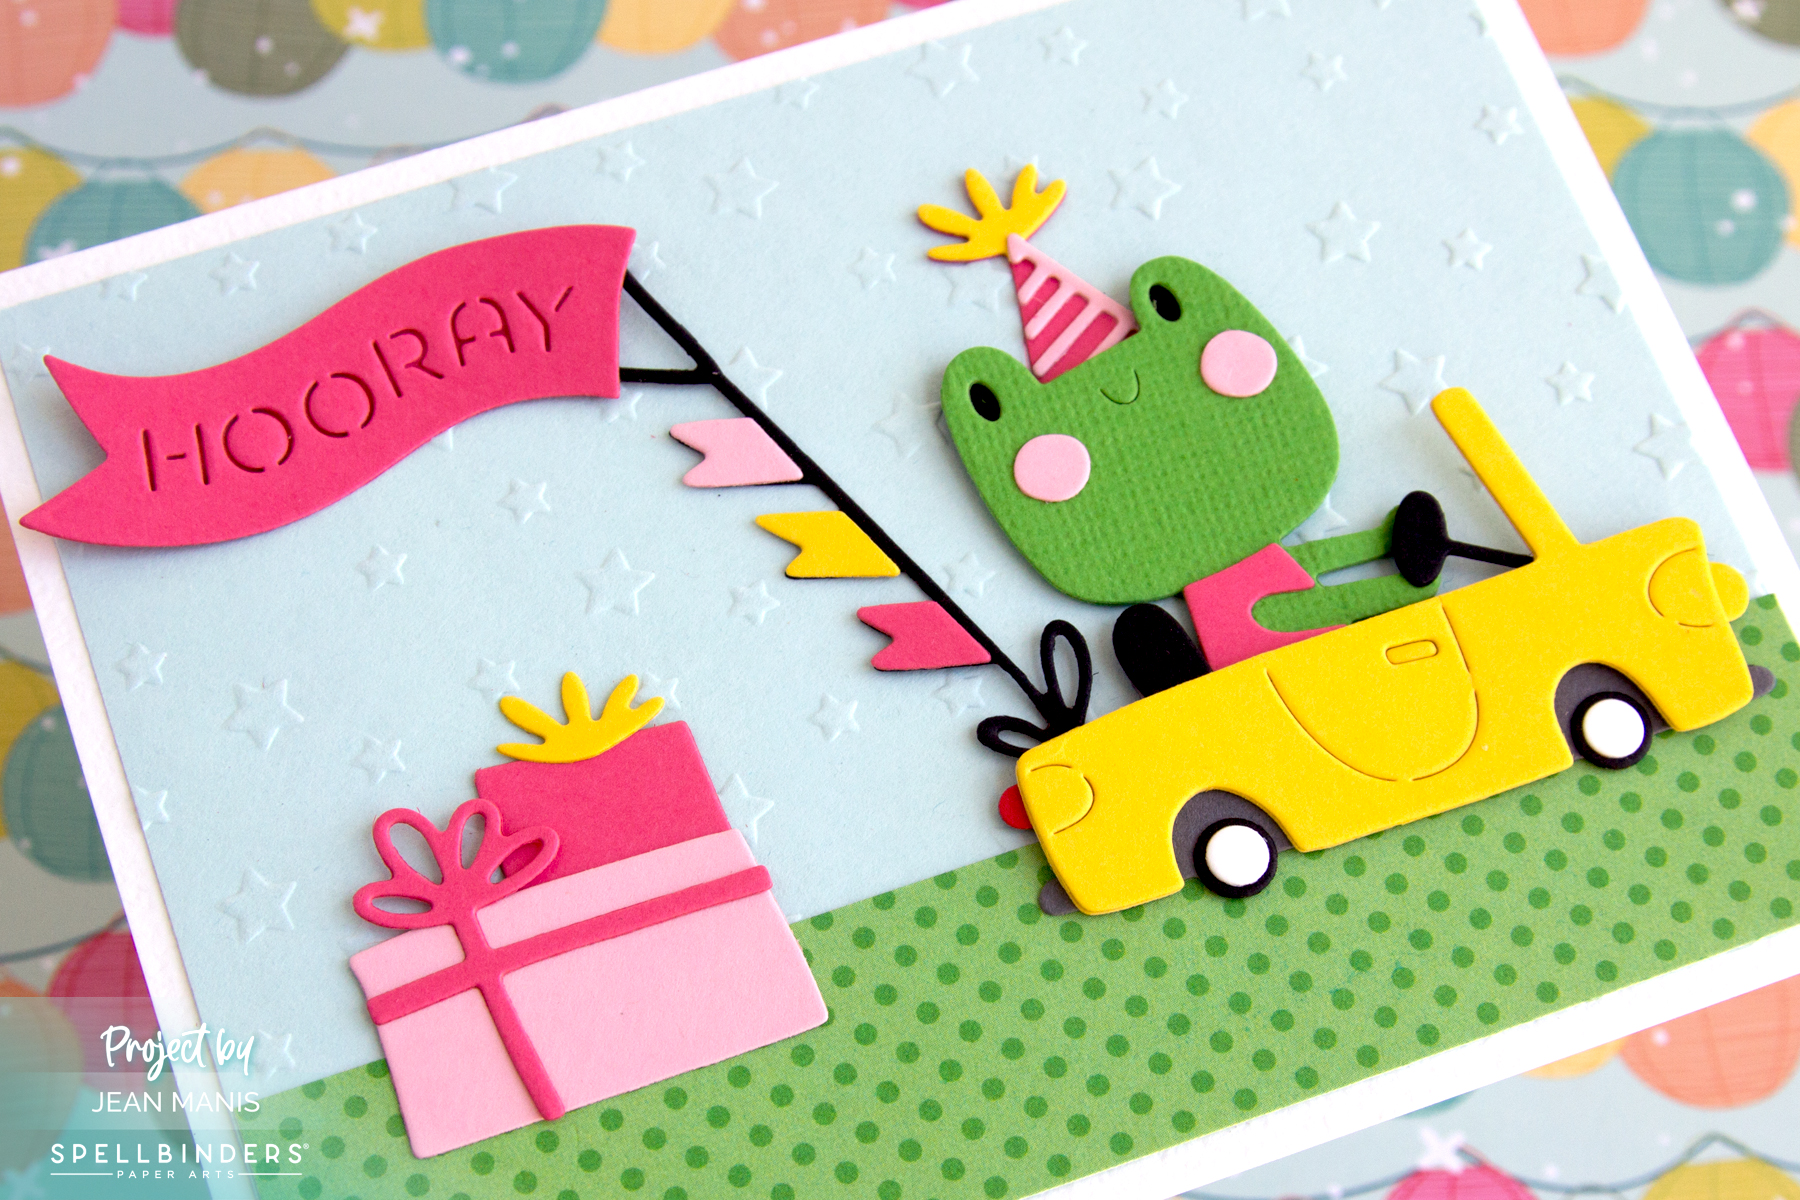
Hello! Today, I am sharing a playful birthday card created with the November Large Die of the Month – “HOORAY! It’s Your Birthday” – by Spellbinders. The colorful card features a cute frog driving a car attached to a “Hooray!” flag. Scroll for information about the Pre-Holidays Savings Event at Spellbinders.
-
- Cut a Sea Glass cardstock panel with the Essential Rectangle die and dry-emboss with the Stargazer folder.
- Cut a strip from Doodlebug patterned paper and add to the dry-embossed panel to create a ground.
- Add assembly to an A-2 card base.
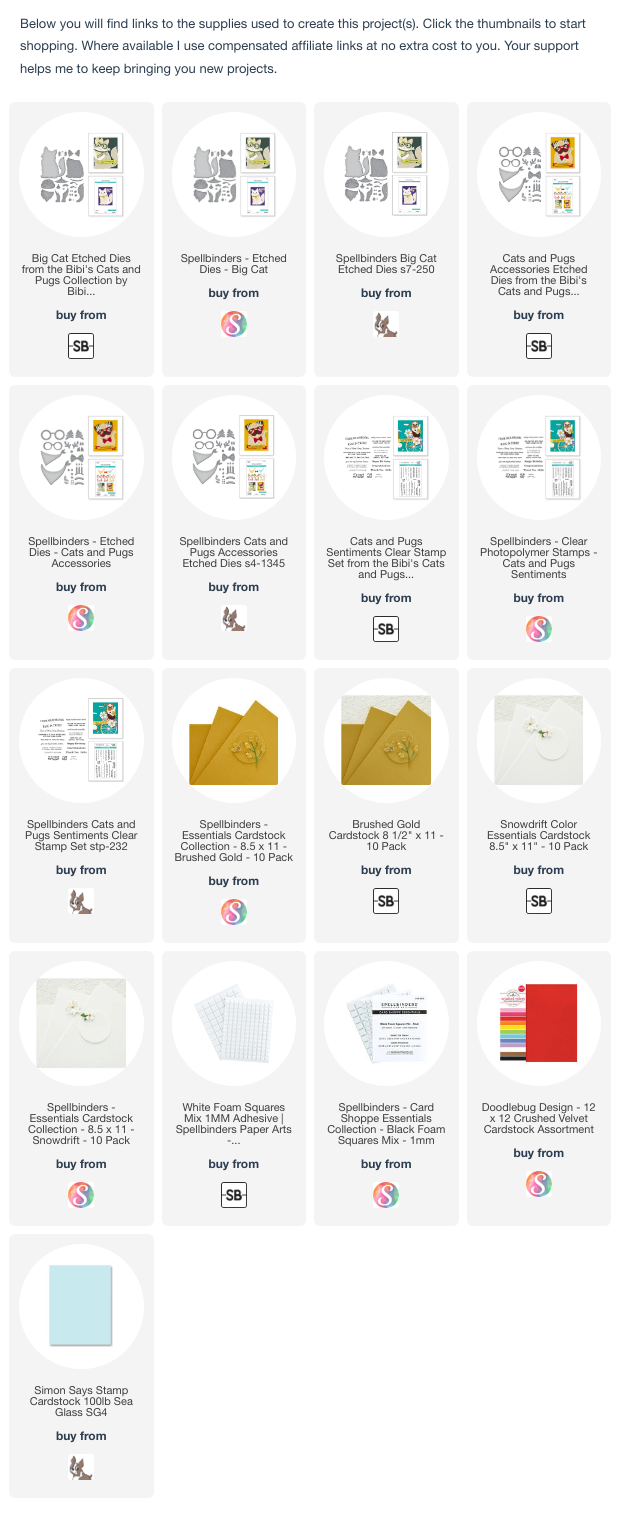
- Create car, frog, flag, and presents with dies in the Large Die of the Month set from a variety of cardstock colors and assemble.
- Add the assemblies to the card background.
This limited time Pre-Holiday Clearance Sale is available until November 13, 2024 at 11:59 MST.