Simon Says Stamp SENDING SUNSHINE Blog Hop

Hello! Today, I’m delighted to be sharing four projects as part of a Simon Says Stamp blog hop showcasing products from their SENDING SUNSHINE release. The list of stops is included at the end of my post.
Simon Says Stamp Sending Sunshine Blog Hop

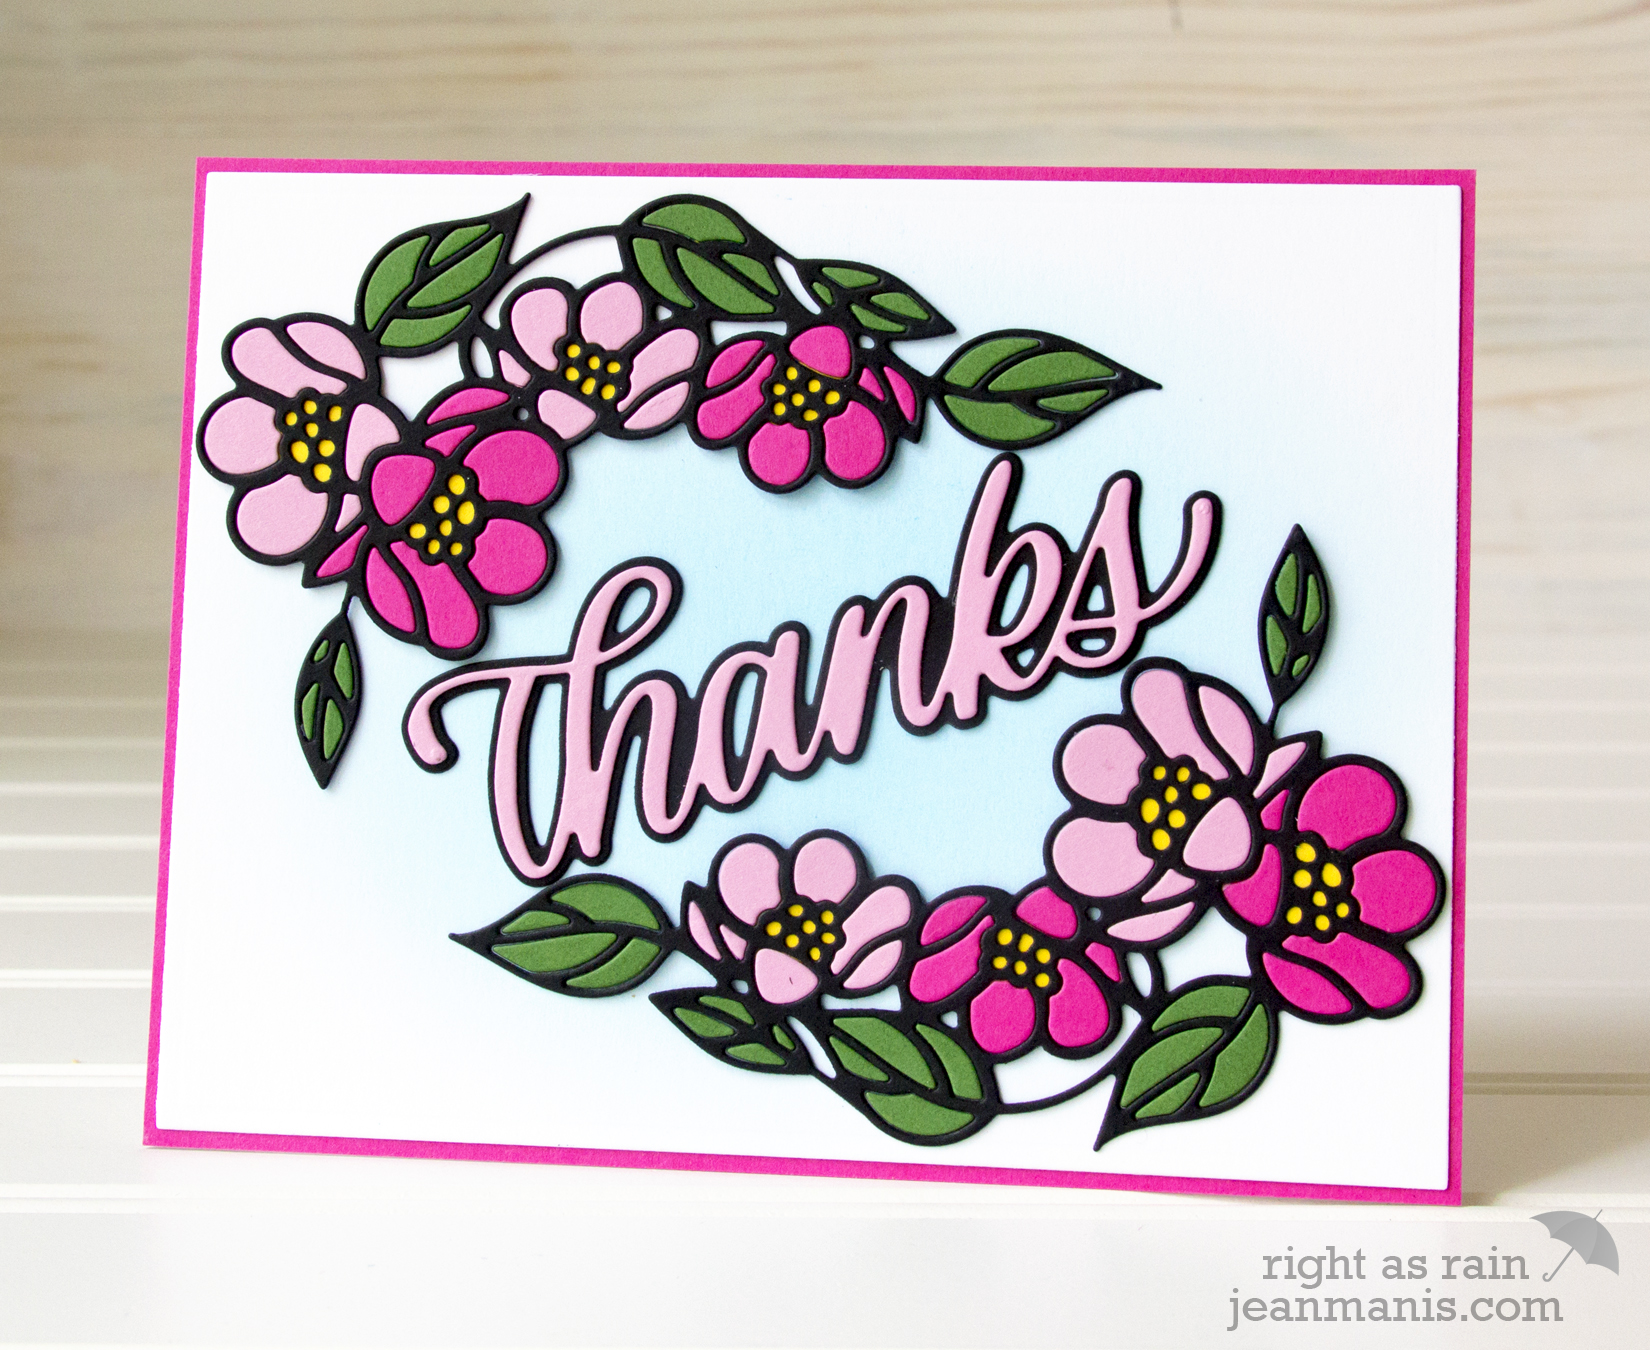
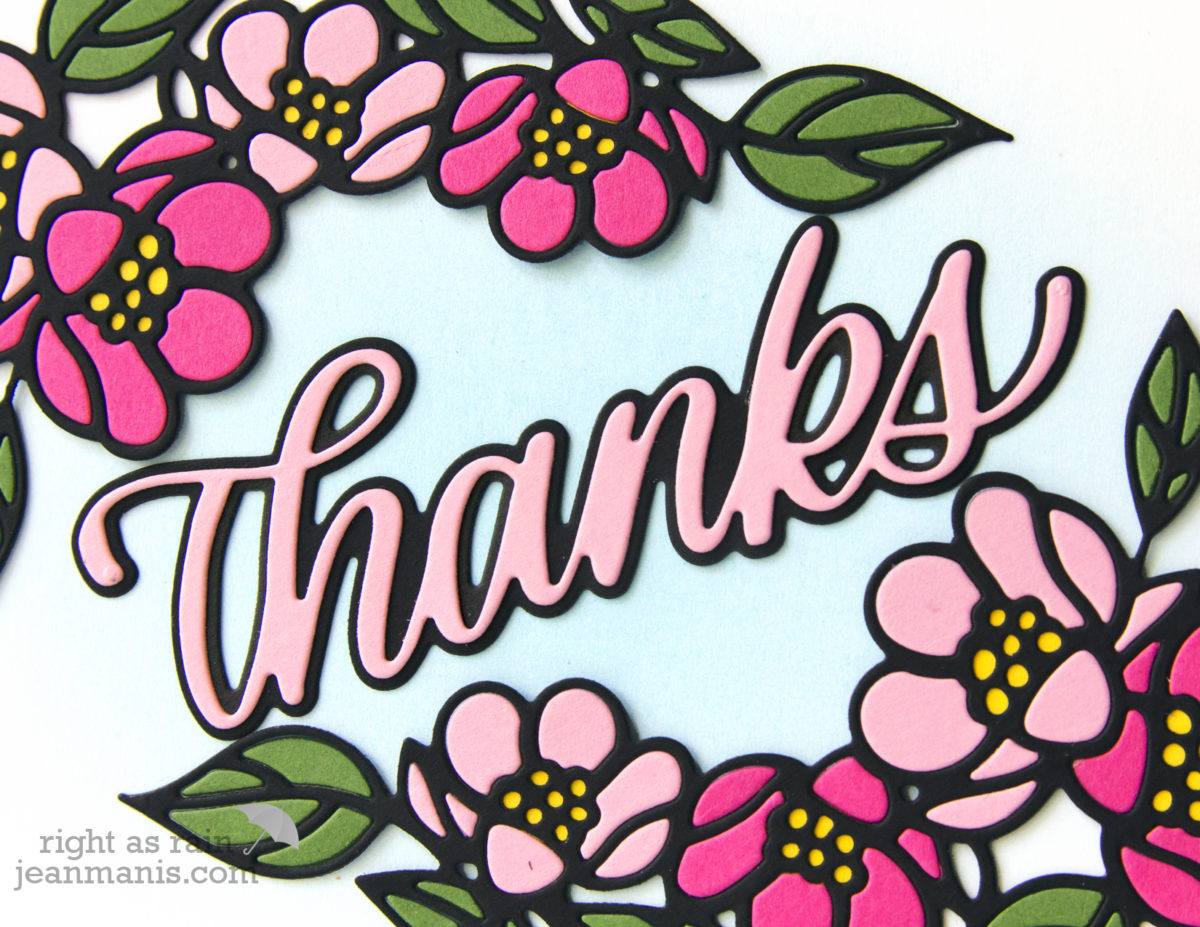
My first project features the Flower Cluster die. I cut several cardstock colors with the die and inlaid the petals and leaves. I placed yellow cardstock behind the flower centers (rather than inlay those small pieces). On the card panel, I added Mermaid Lagoon Distress Oxide ink to the center and adhered the Big Thanks dies sentiment at an angle in the center of the two floral sprays. The Flower Cluster die could be used any number of ways. For example, inlay only a few flowers or simply cut an outline.
Simon Says Stamp SENDING SUNSHINE Blog Hop

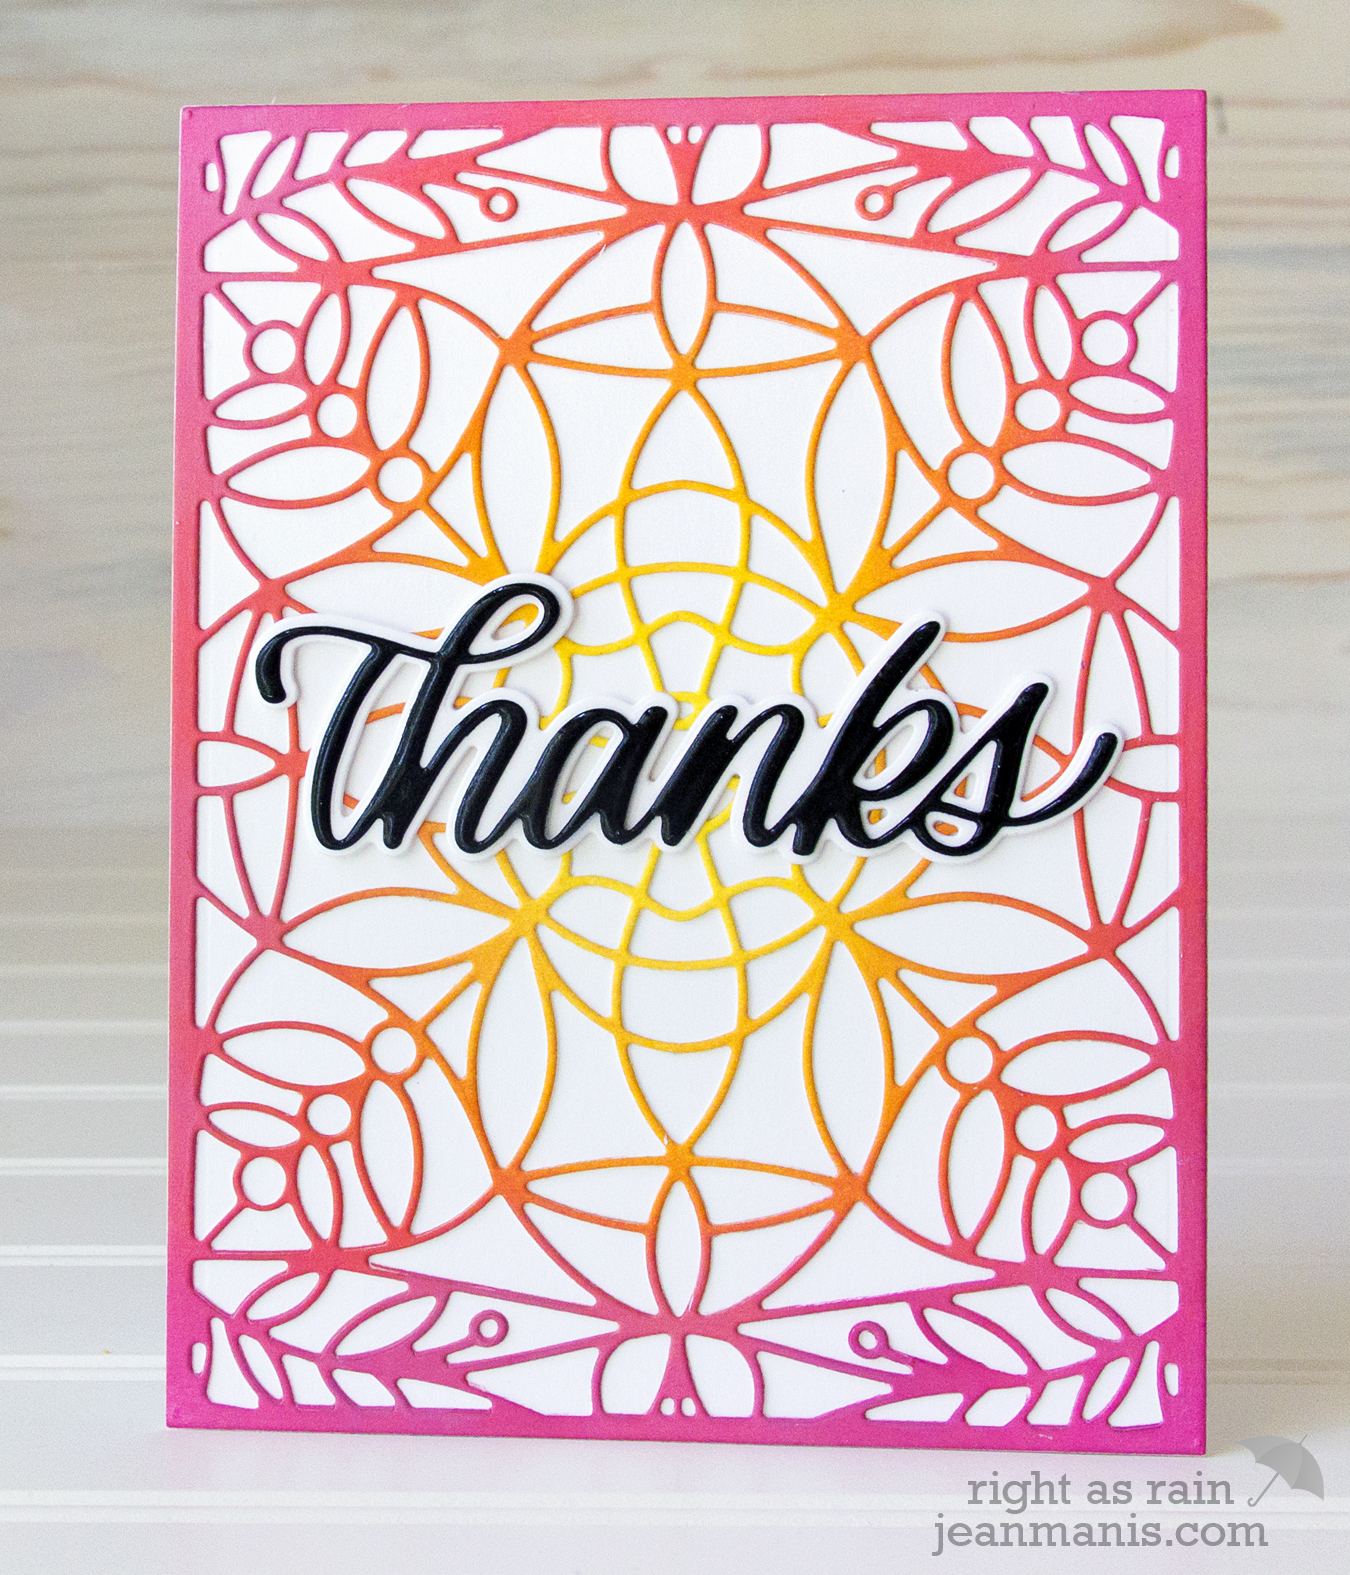
For my next card, I used the Marilyn Full Card die to cut a panel from cardstock colored with Distress Oxide inks in Squeezed LemonadeSpiced Marmalade, and Picked Raspberry. I used the Big Thanks dies for the sentiment. I shared another card example created with the Marilyn Full Card in this post.
Simon Says Stamp SENDING SUNSHINE Blog Hop

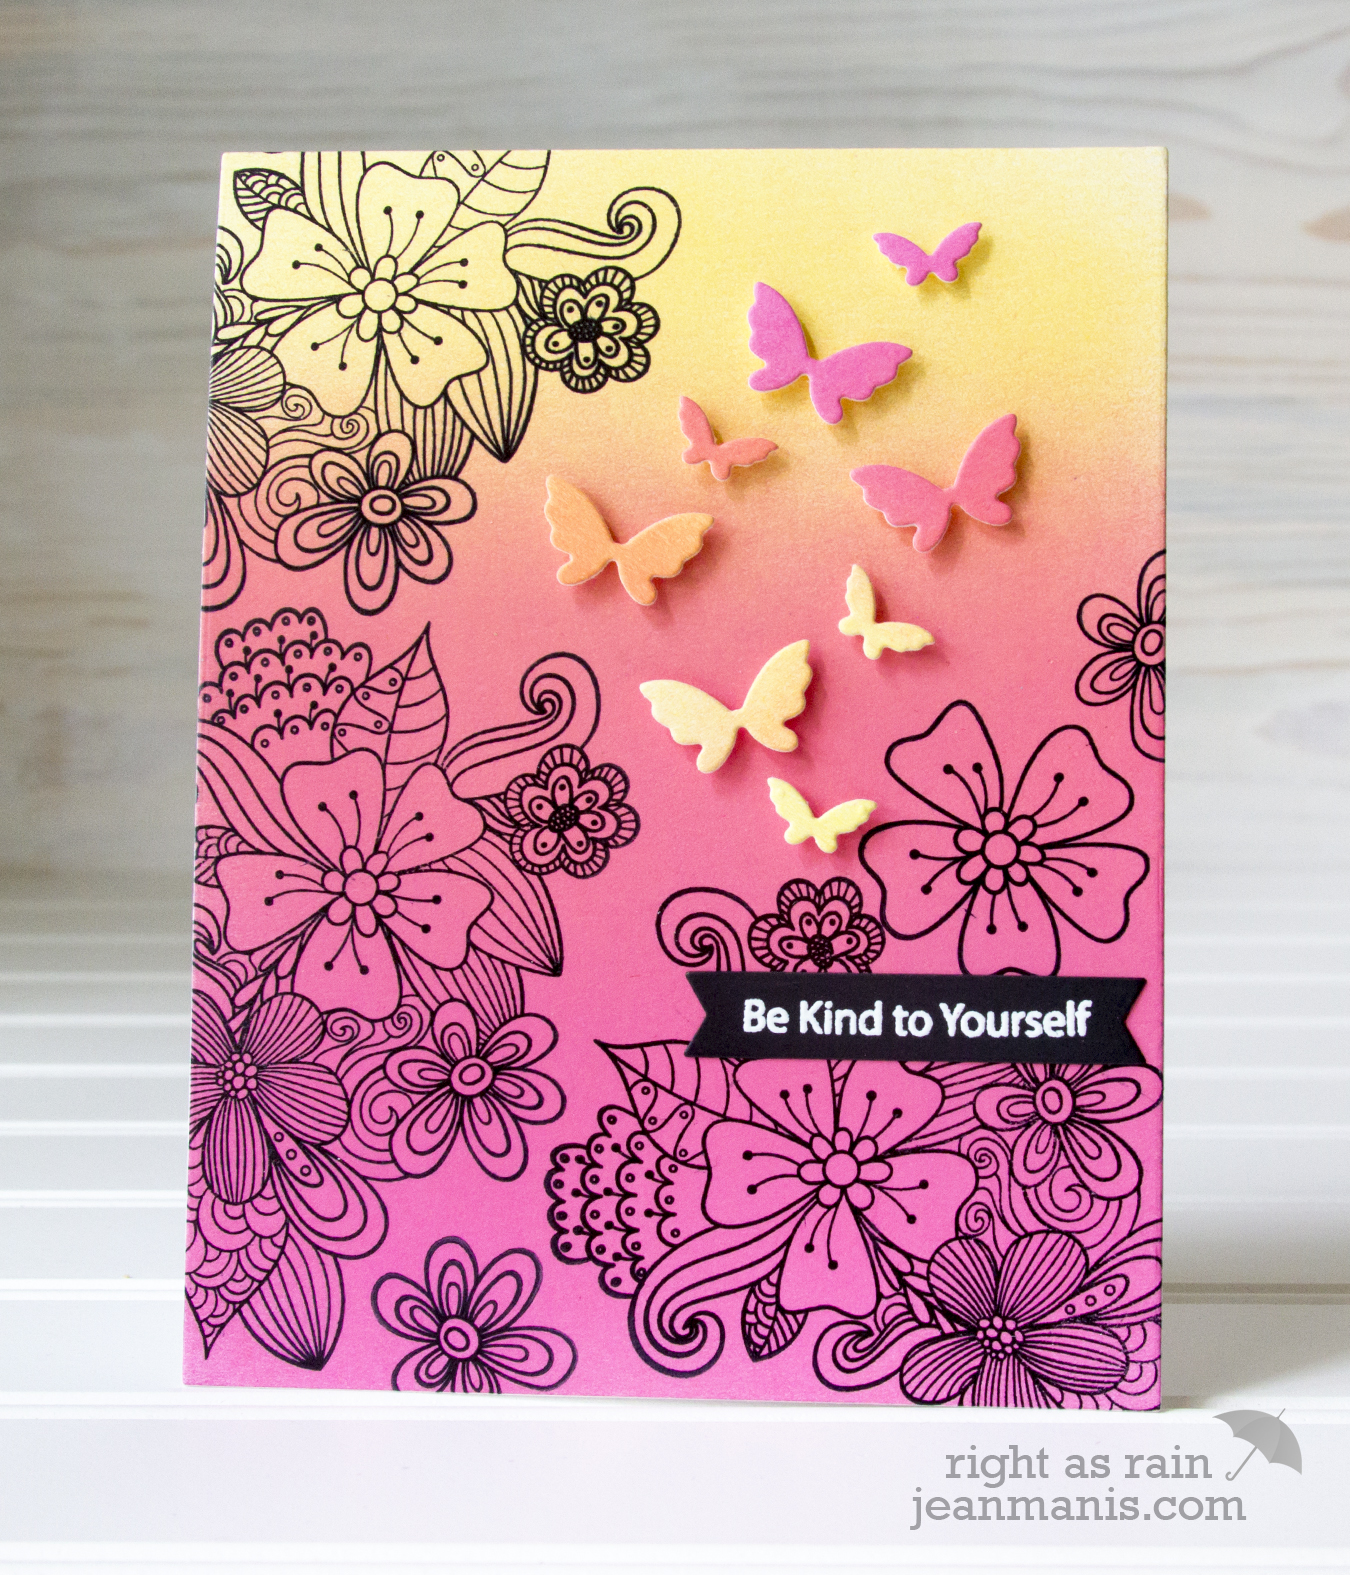
My next card uses the Spring Flower Burst stamp set on a panel colored with Distress Oxide inks in Squeezed Lemonade, Worn Lipstick, and Picked Raspberry. I stamped the flower cluster from the set several times and added a few of the individual flowers to fill the space. I added Flickering Butterflies, cut from cardstock colored with the same Distress Oxide inks, and a heat-embossed sentiment. I shared another card example created with the Spring Flower Burst in this post
Simon Says Stamp SENDING SUNSHINE Blog Hop

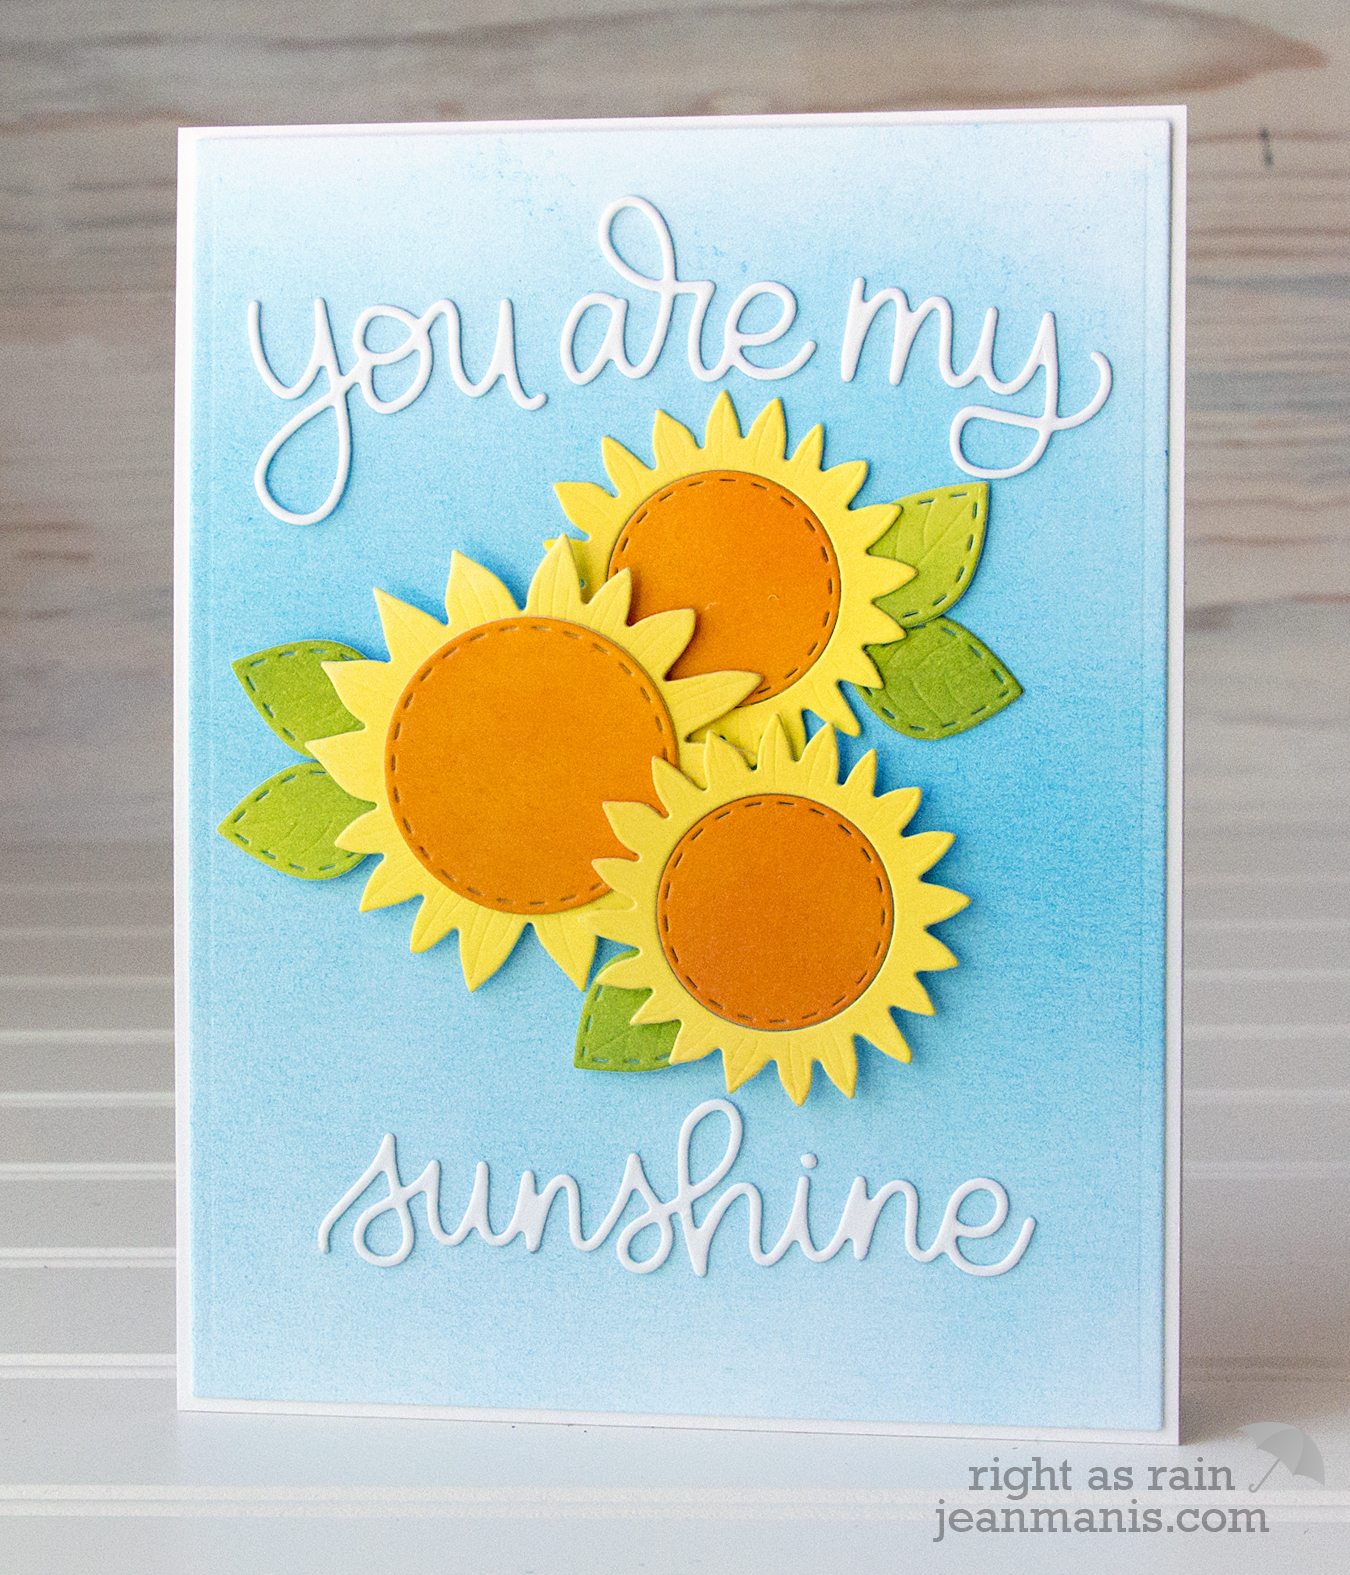
For my final card, I used the You Are My Sunshine die to create a sentiment to pair with flowers and leaves cut with the Radiant Sunflower die set from cardstock colored with Squeezed LemonadeSpiced Marmalade  and Peeled Paint Distress Oxide inks. The card background was colored with Mermaid Lagoon Distress Oxide ink.
Simon Says Stamp SENDING SUNSHINE Blog Hop

Time to get hopping!

Simon Says Stamp Blog
Debby Hughes
Laura Bassen
Yana Smakula
Heather Ruwe
Amy Rysavy
Barb Engler
Jean Manis
Bibi Cameron
Yoonsun Hur
Vicky Papaioannou
Lea Lawson
Olga Direktorenko
Kelly Latevola

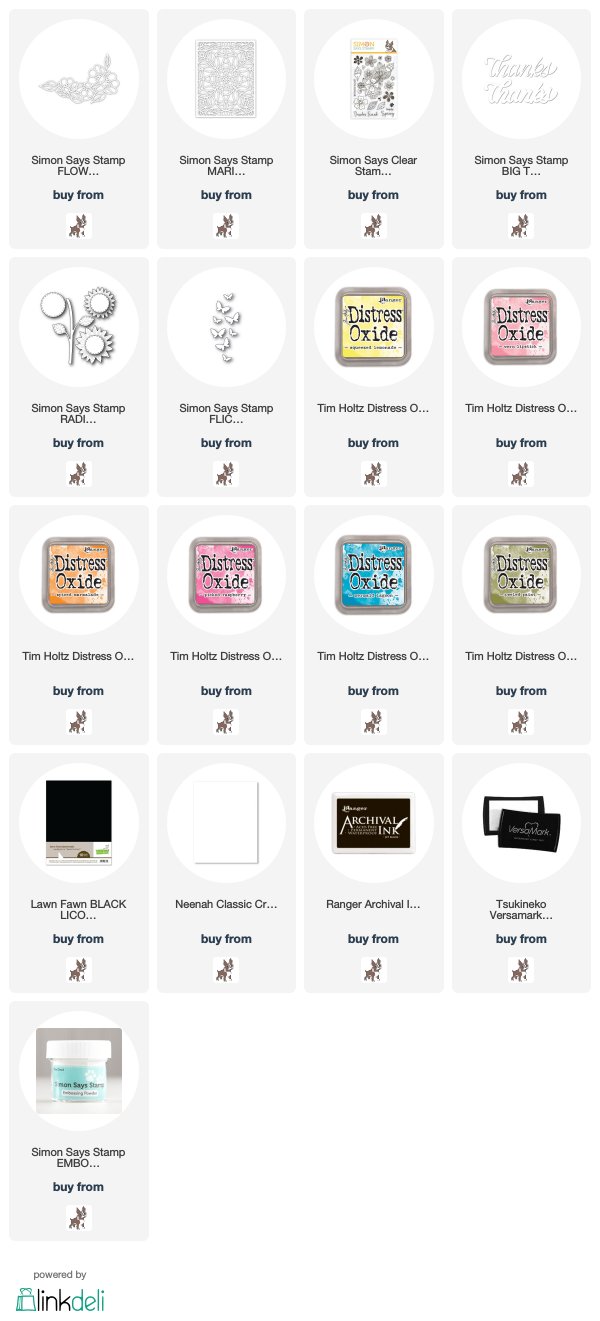
Supplies:

Simon Says Stamp FLUTTERING BY Release Blog Hop

Hello! Today, I’m delighted to be participating in a Simon Says Stamp blog hop with products from their FLUTTERING BY release.

Simon Says Fluttering By Blog HopAll of the cards I am sharing today include backgrounds created with the Abstract Triangle stencil; I have used the stencil in three different ways. Just as in the projects I shared in this post, I have used the Big Thanks Words stamp set and Big Thanks dies to create the sentiments. Let’s get started!
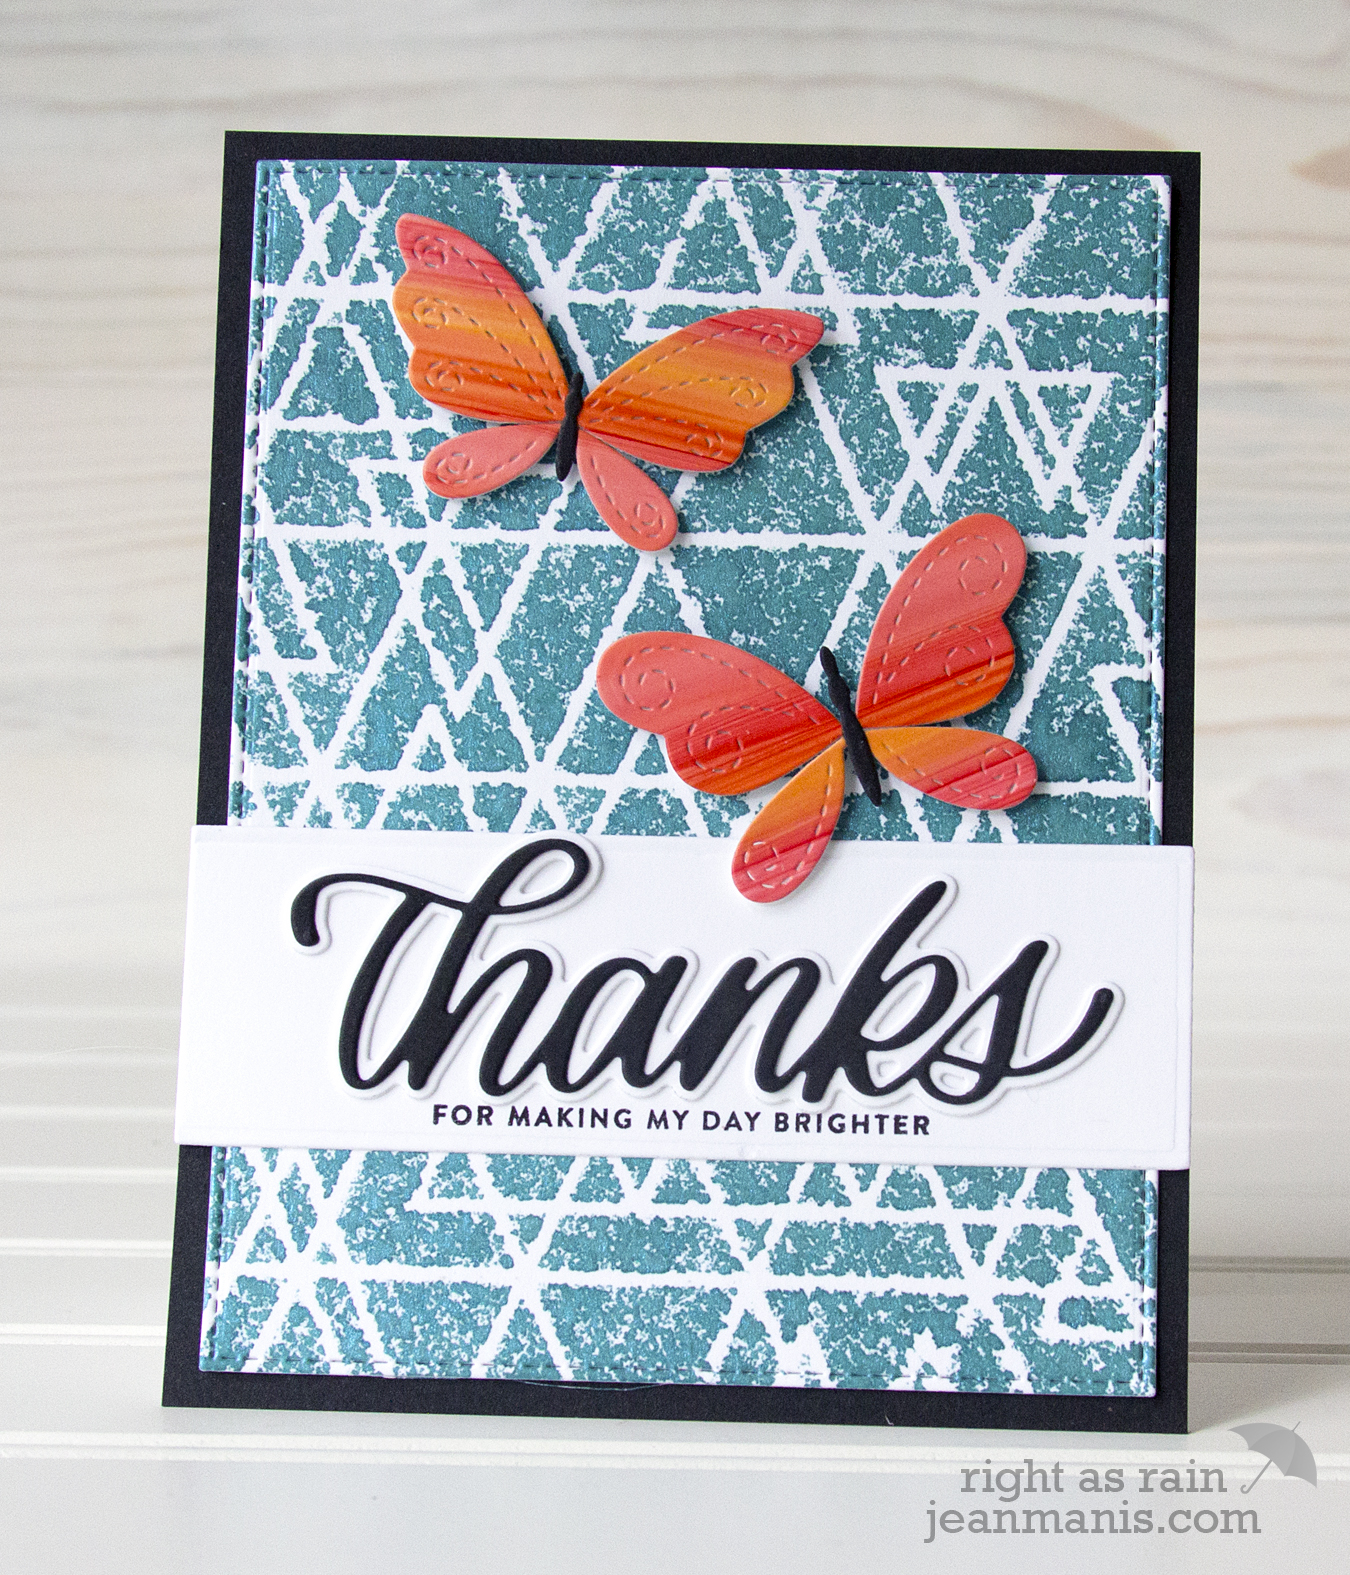
My first project pairs the Abstract Triangle stencil with the Stitching Butterflies dies.

SSS Fluttering By Release - Stitching Butterflies

To begin, I sprayed Prima Color Bloom 2 – Dragonfly Blue spray through the Abstract Triangle stencil. Once dried, I added the Stitching Butterflies, cut from Yupo paper which had been colored with alcohol inks in Sunshine Yellow, Watermelon, and Red Pepper.

SSS Fluttering By Release - Stitching Butterflies

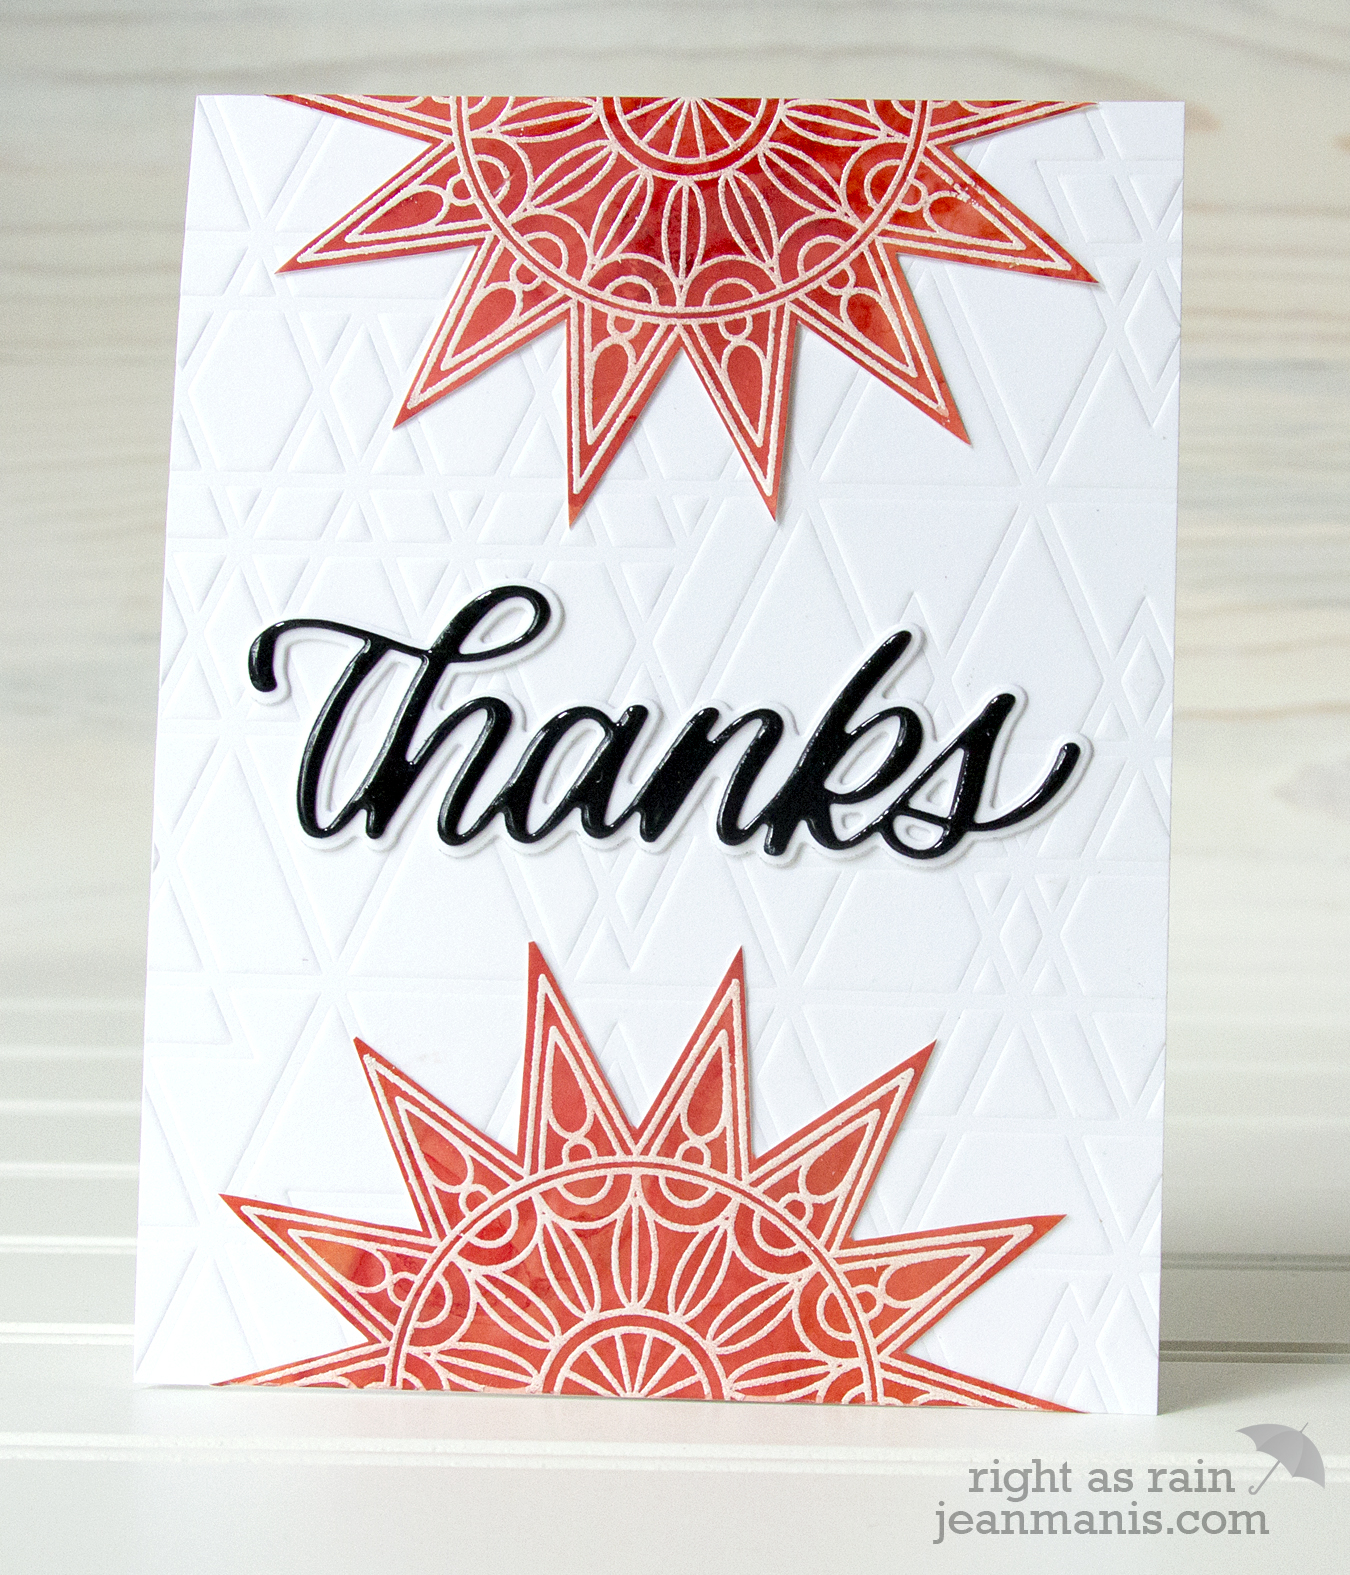
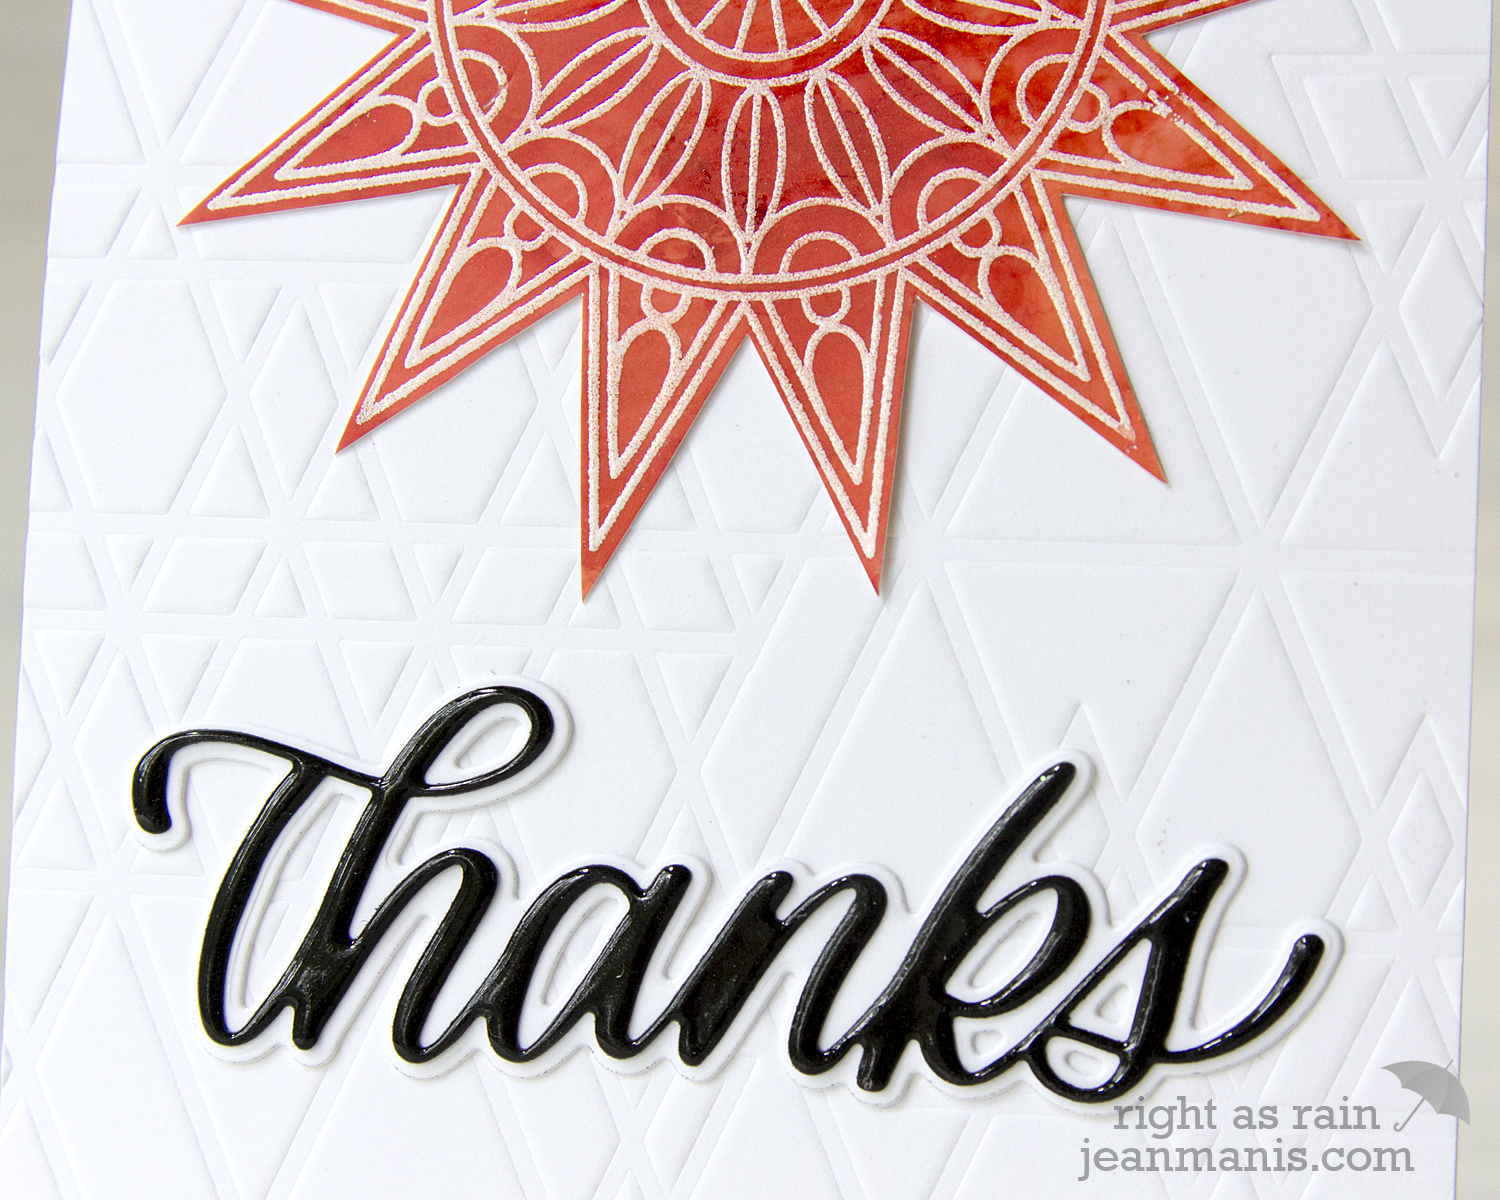
For my second project, I dry-embossed white cardstock with the Abstract Triangle stencil and added heat-embossed starbursts created with the Center Cut Burst background stamp.
SSS Fluttering By - Center Cut Burst background

I stamped and heat-embossed the center portion of the Center Cut Burst background stamp two times on Yupo paper, which had been colored with alcohol inks in Sunshine Yellow, Watermelon, and Red Pepper (same colors as the first project but a different method of applying the inks).  I fussy-cut the images and added portions on the top and bottom of the card.

SSS Fluttering By - Center Cut Burst background

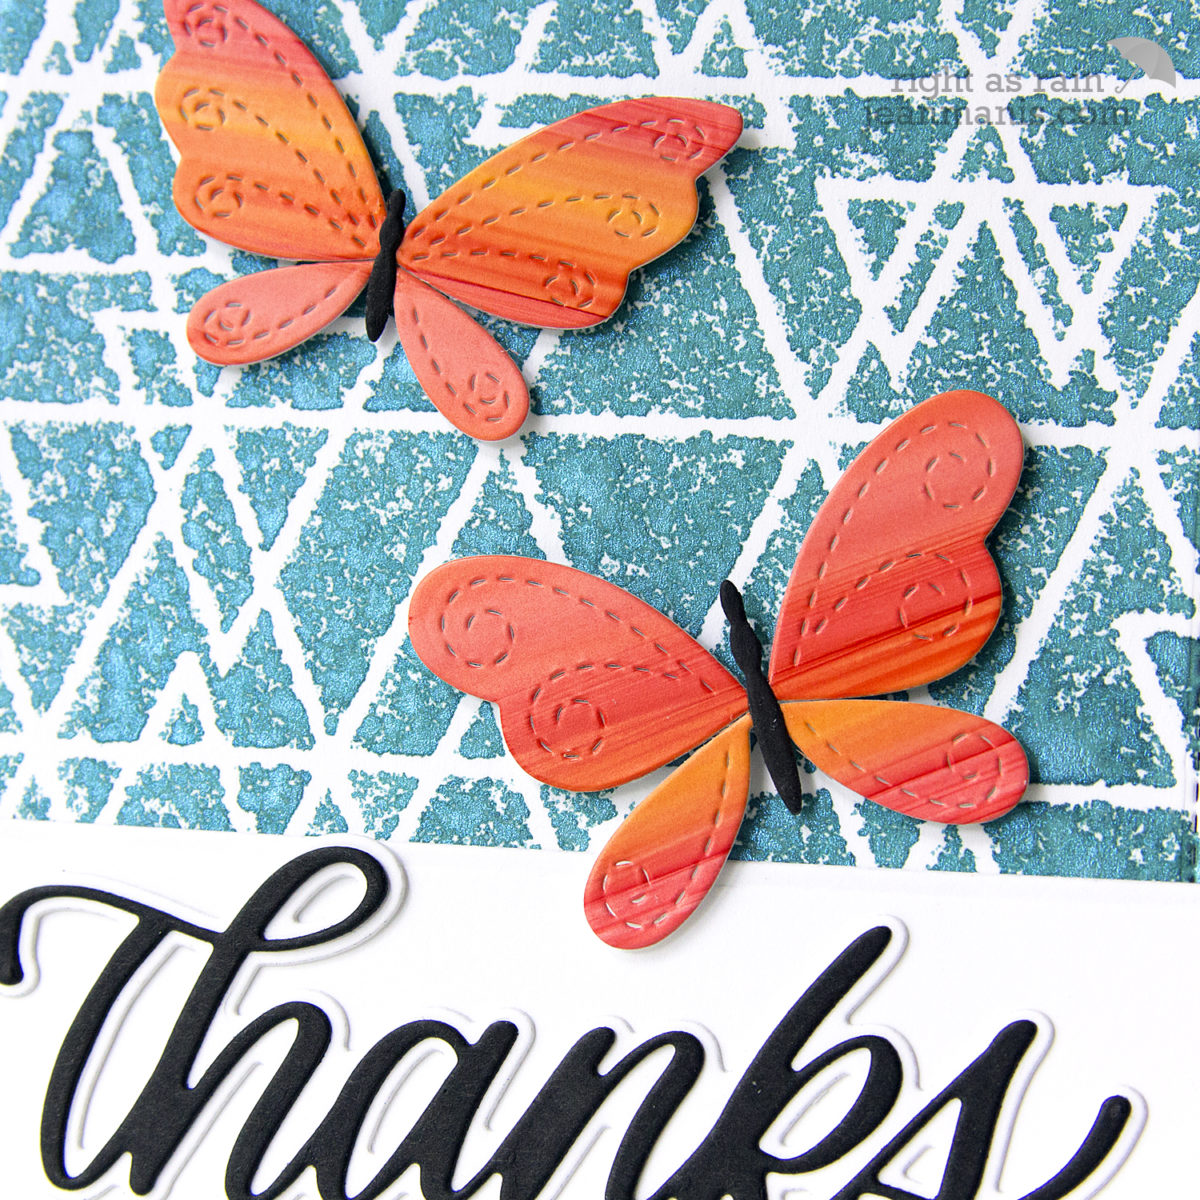
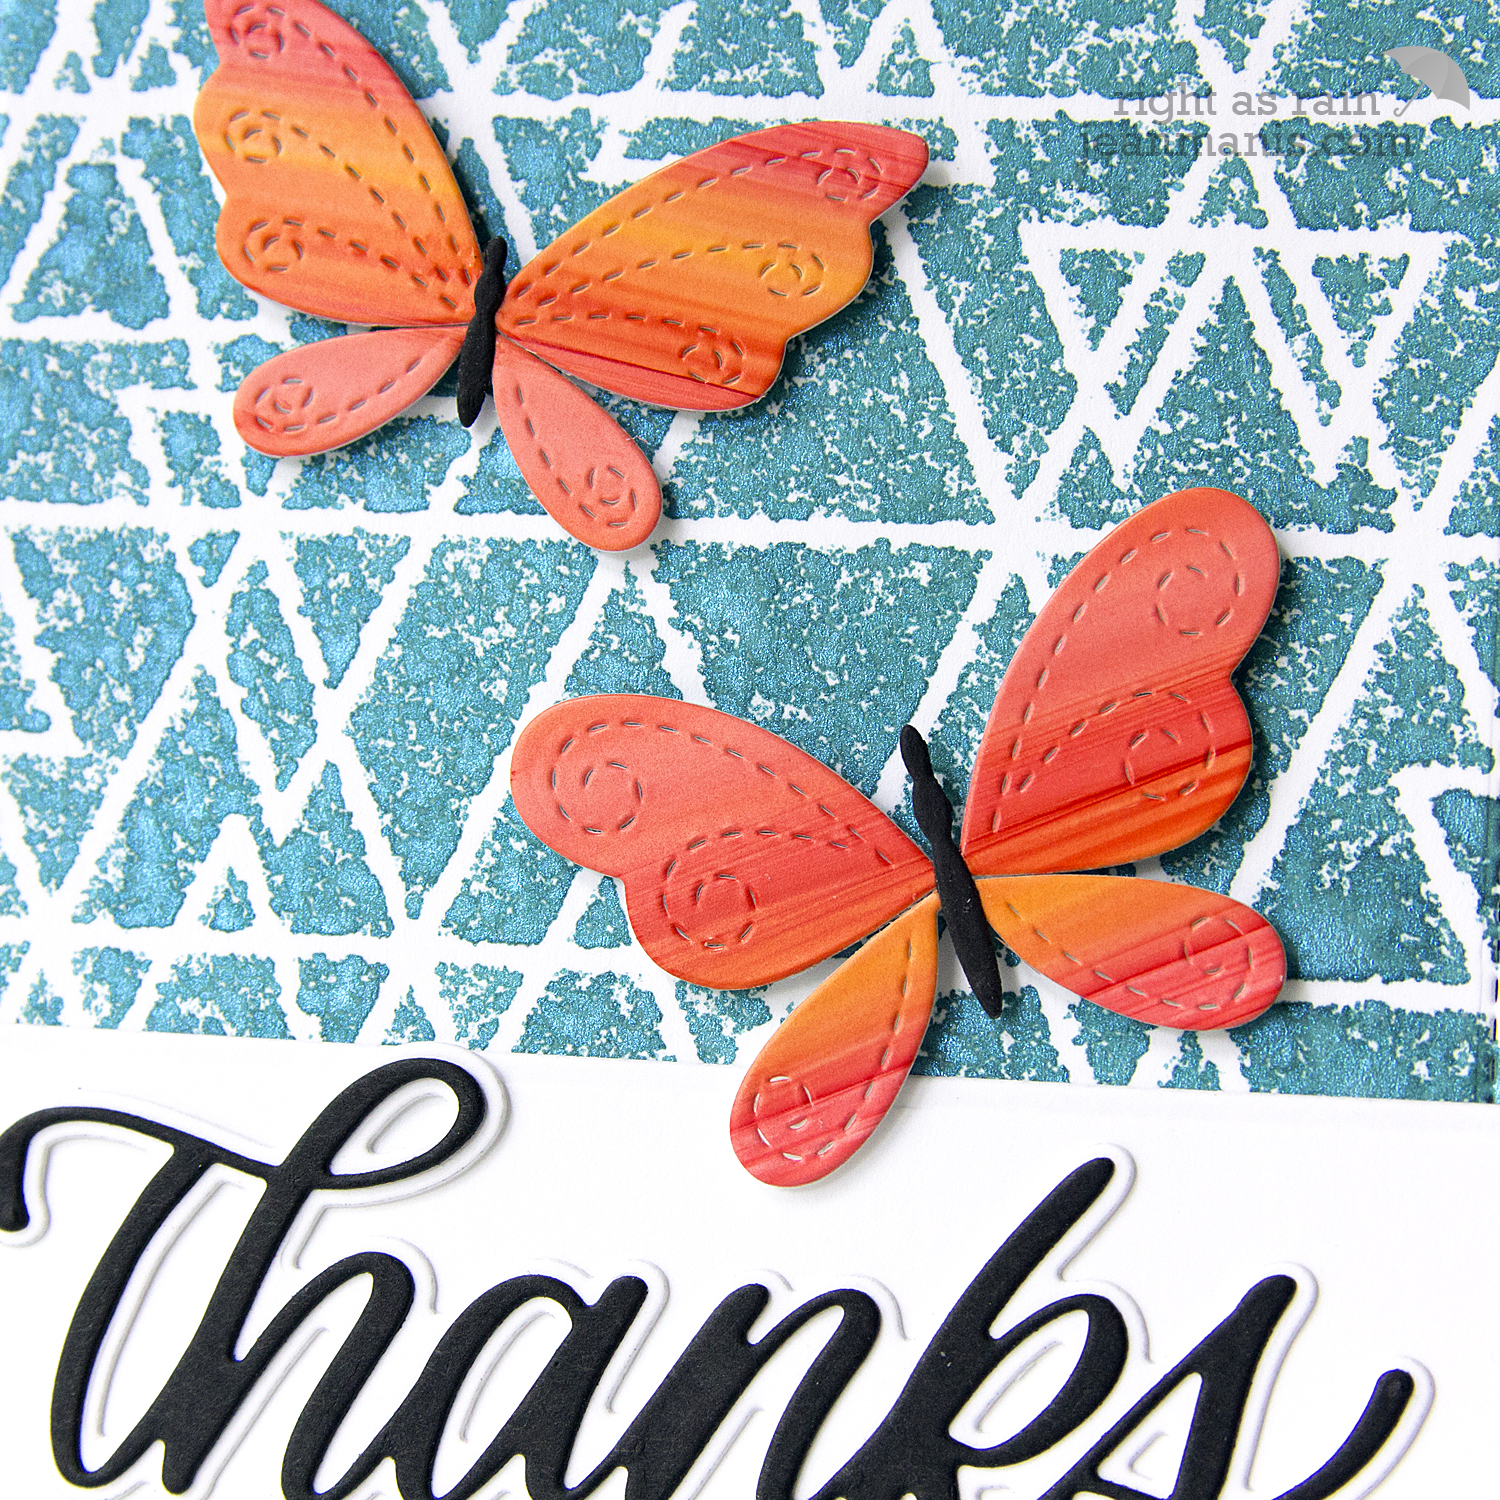
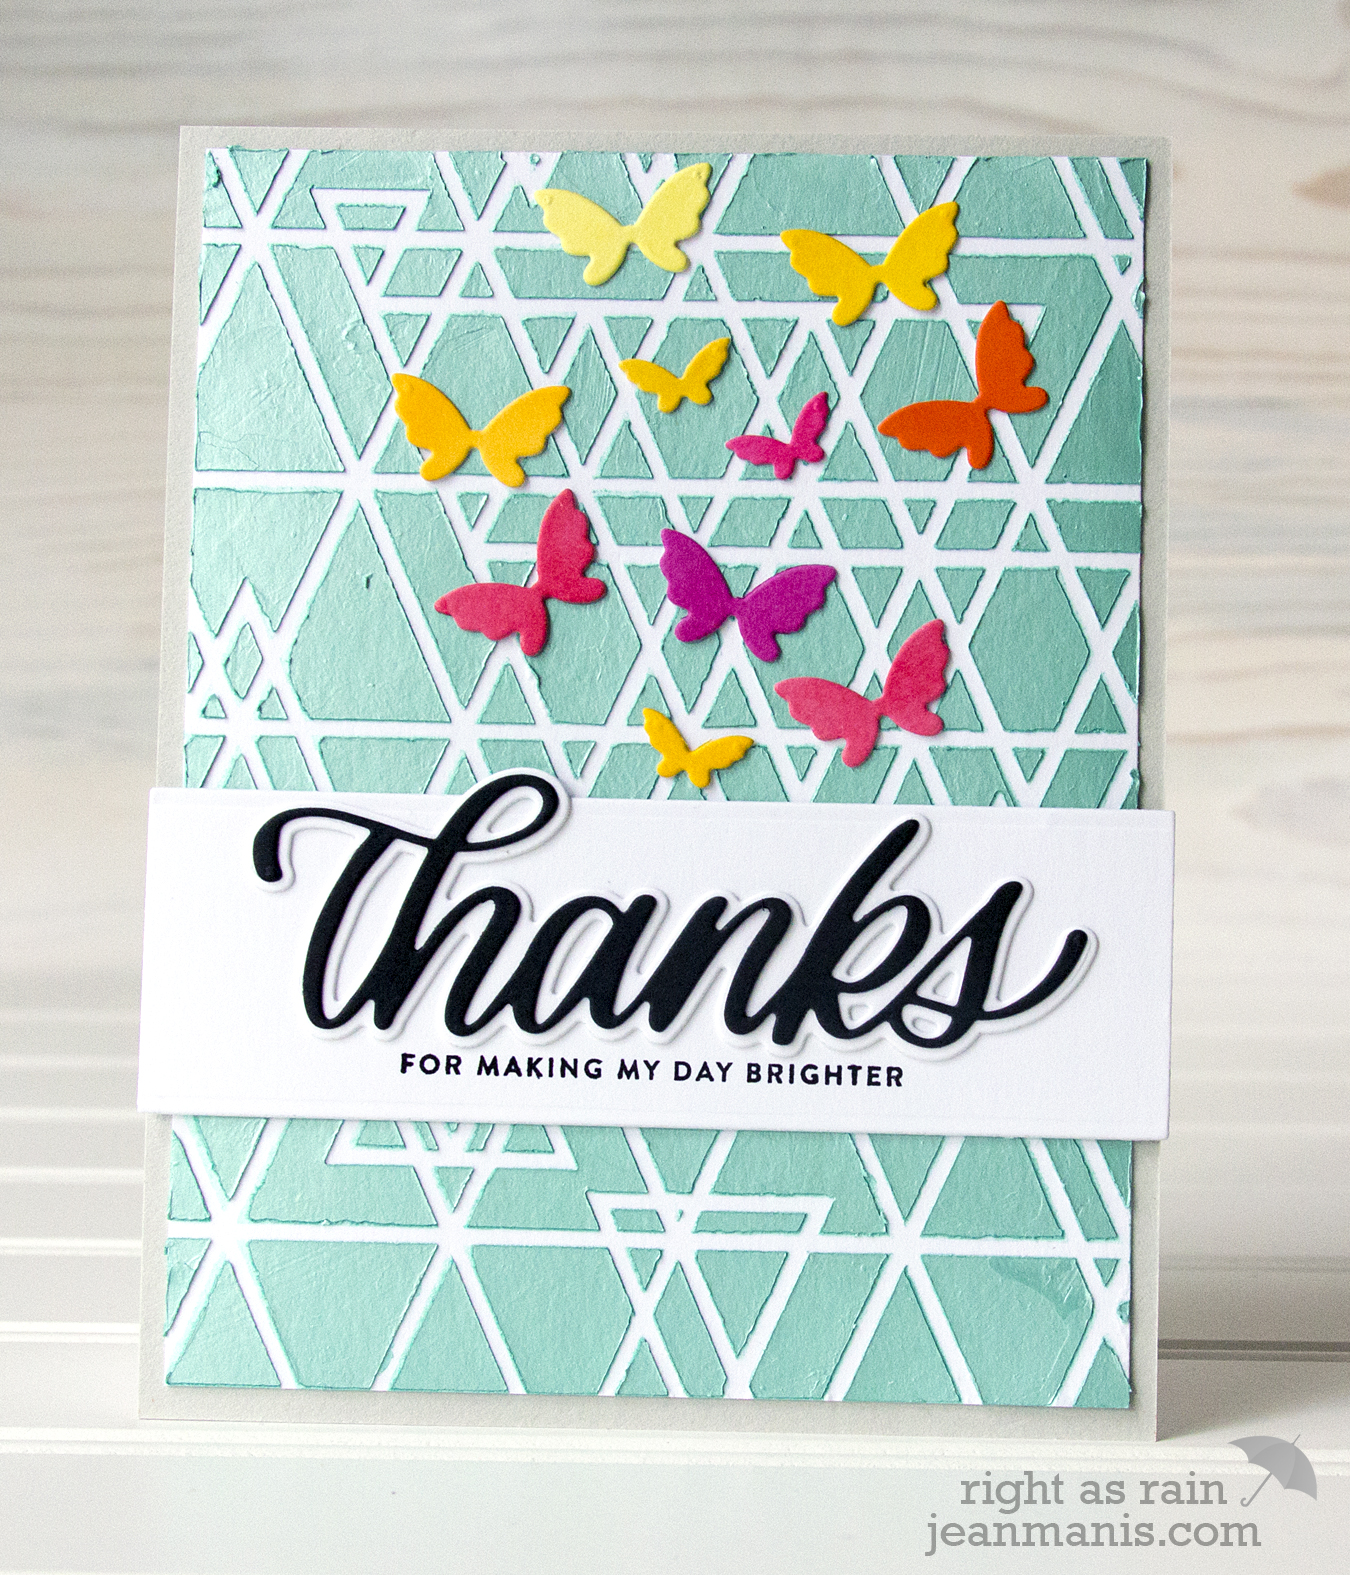
My third project combines a stenciled background with die-cut butterflies, cut with the Flickering Butterflies set from cardstock colored with Copic markers.

SSS Fluttering By Release - Abstract Triangle stencil

For this card, I applied Aquamarine Nuvo Mousse through the Abstract Triangle stencil on white cardstock to create the background. Once dry, I added the panel to a Fog cardstock base. After adding the sentiment strip, I placed the butterflies on the card in an arrangement that I liked. Using the Press ‘N Seal method, I lifted the butterflies, added glue to their backs, and applied them to the card front.

In this post, I added Distress Oxide inks through the stencil to create a background. Above, I have shown three other ways to use the Abstract Triangle stencil for a background: use a spray, dry-emboss, or apply embossing paste.

Thanks for joining me! Here is the list of the designers participating in the blog hop today:


Simon Says Stamp BEST DAYS Release

Hello! Today, I’m delighted to be participating in a Simon Says Stamp blog hop with products from their BEST DAYS release. Simon Says Stamp is giving away a $25 coupon to every stop on the hop!

Simon Says Stamp Best Days Release

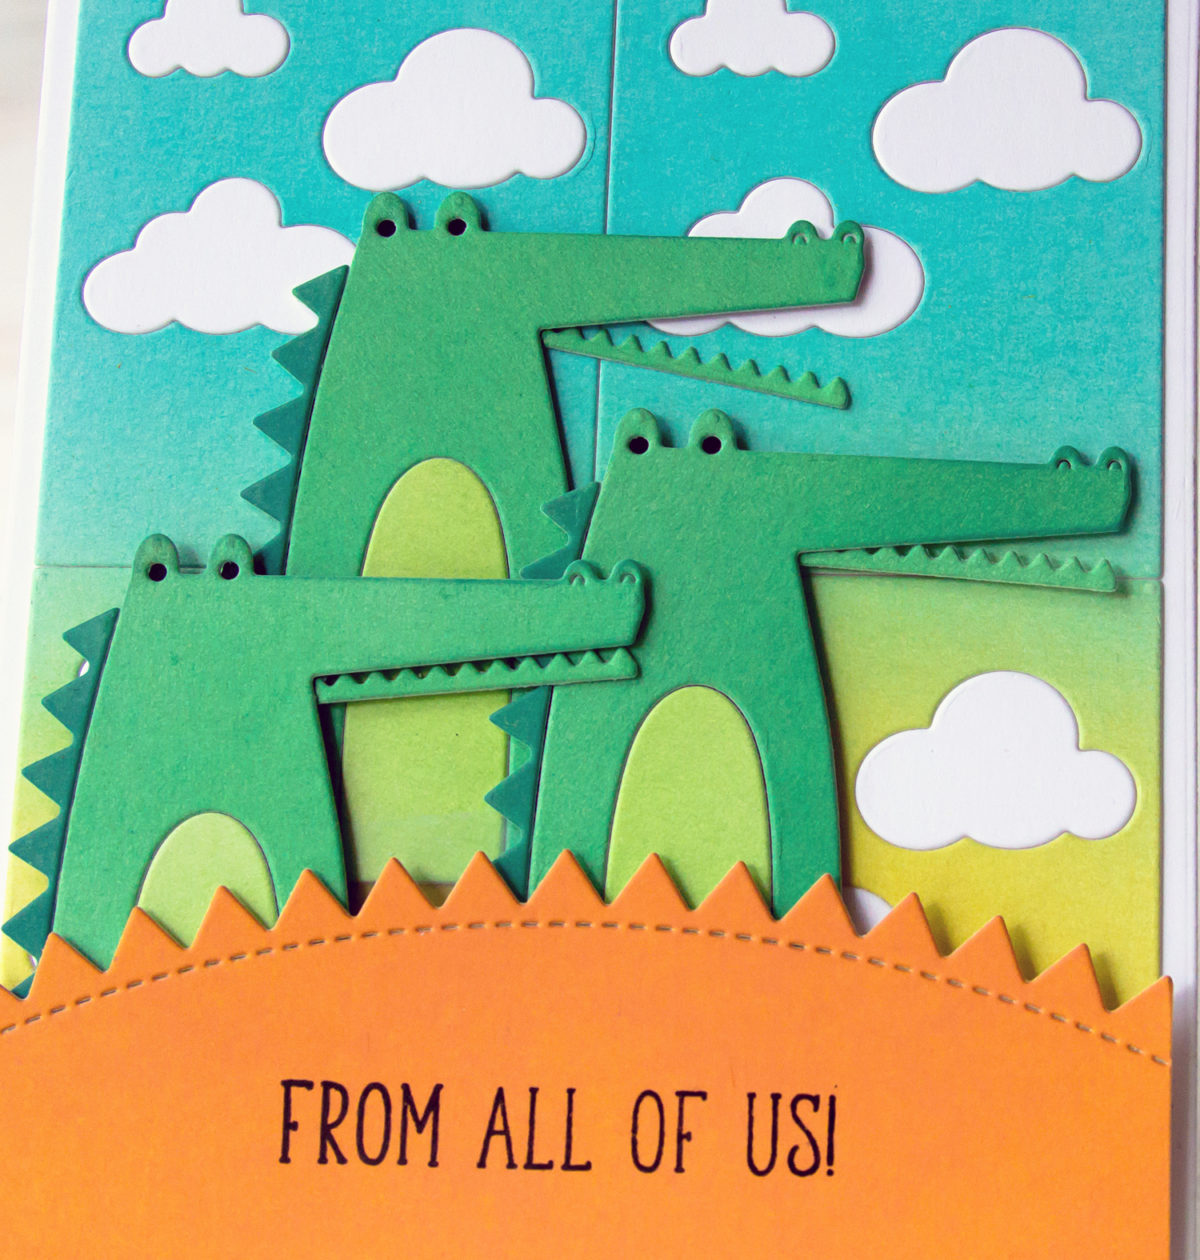
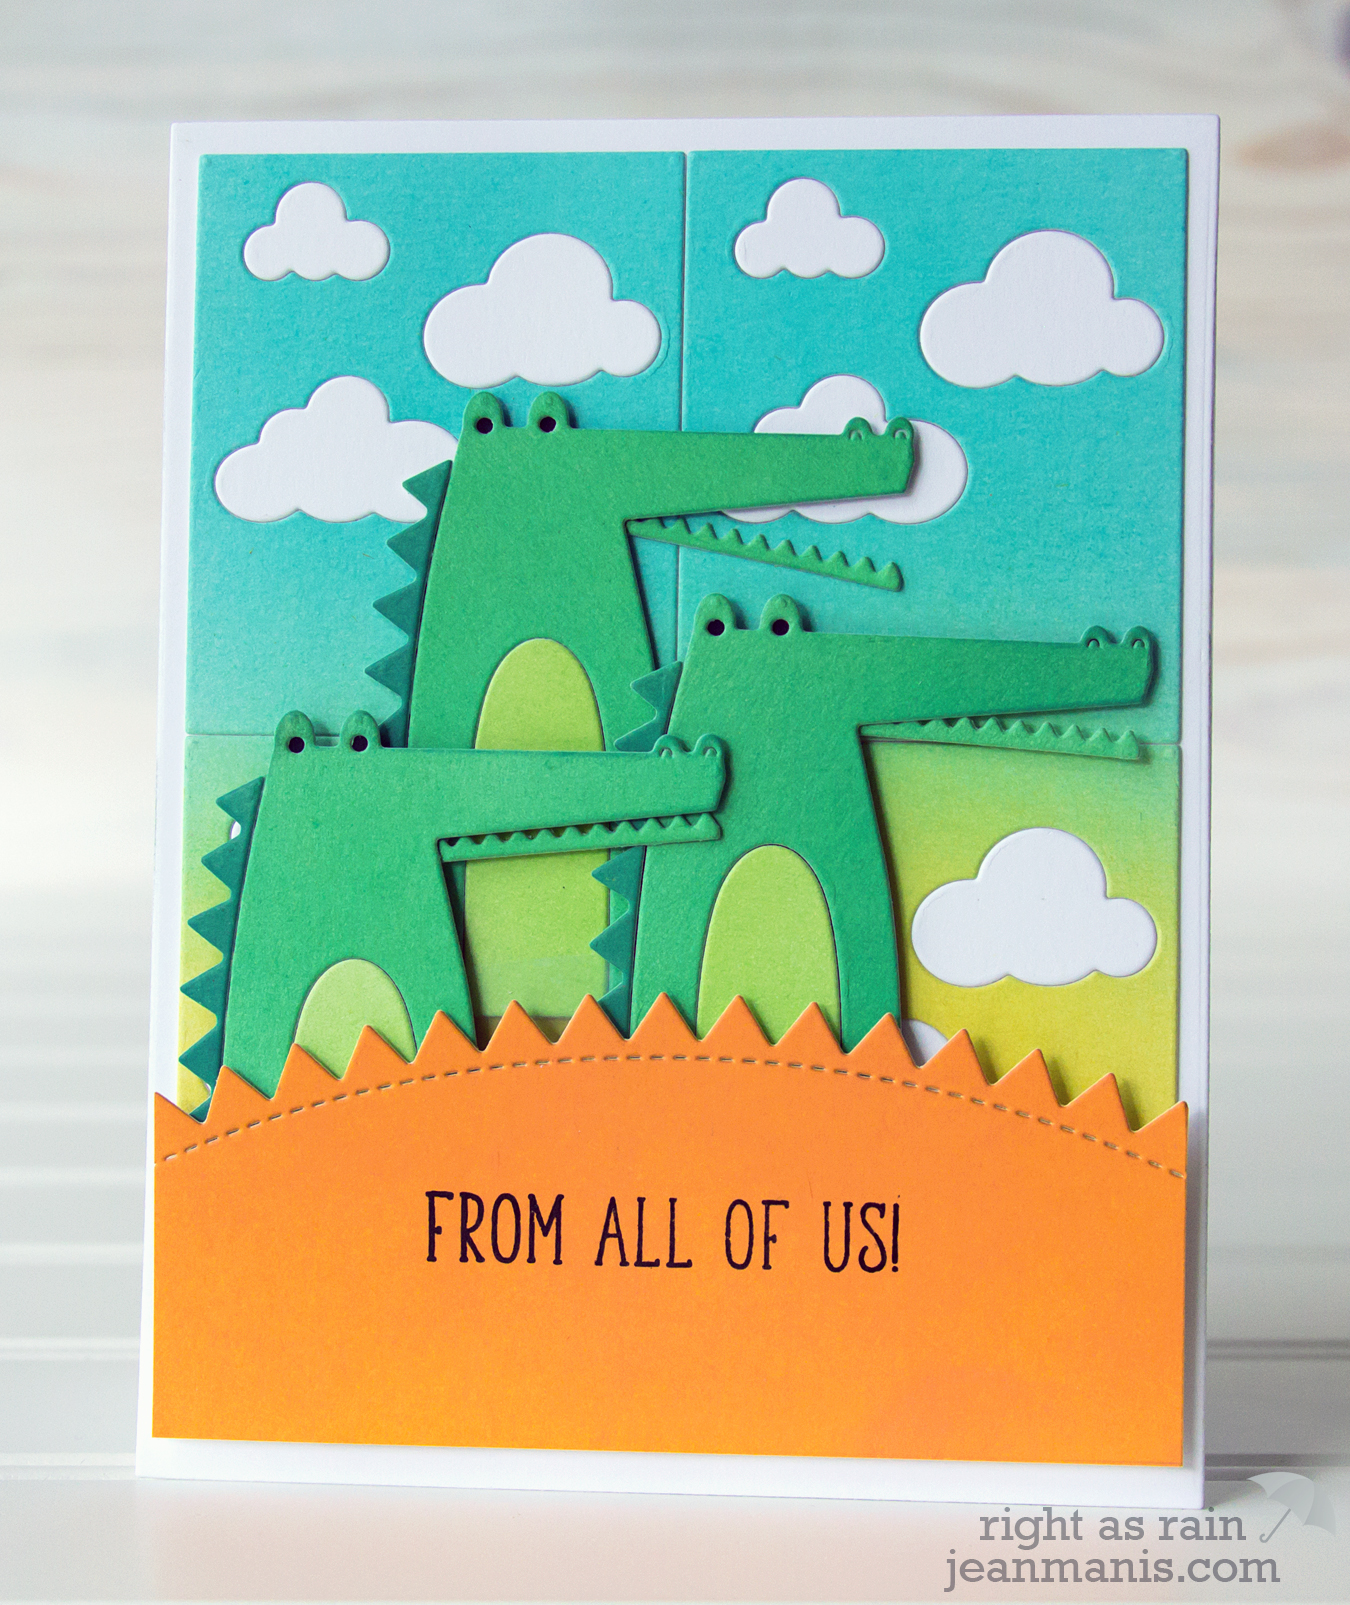
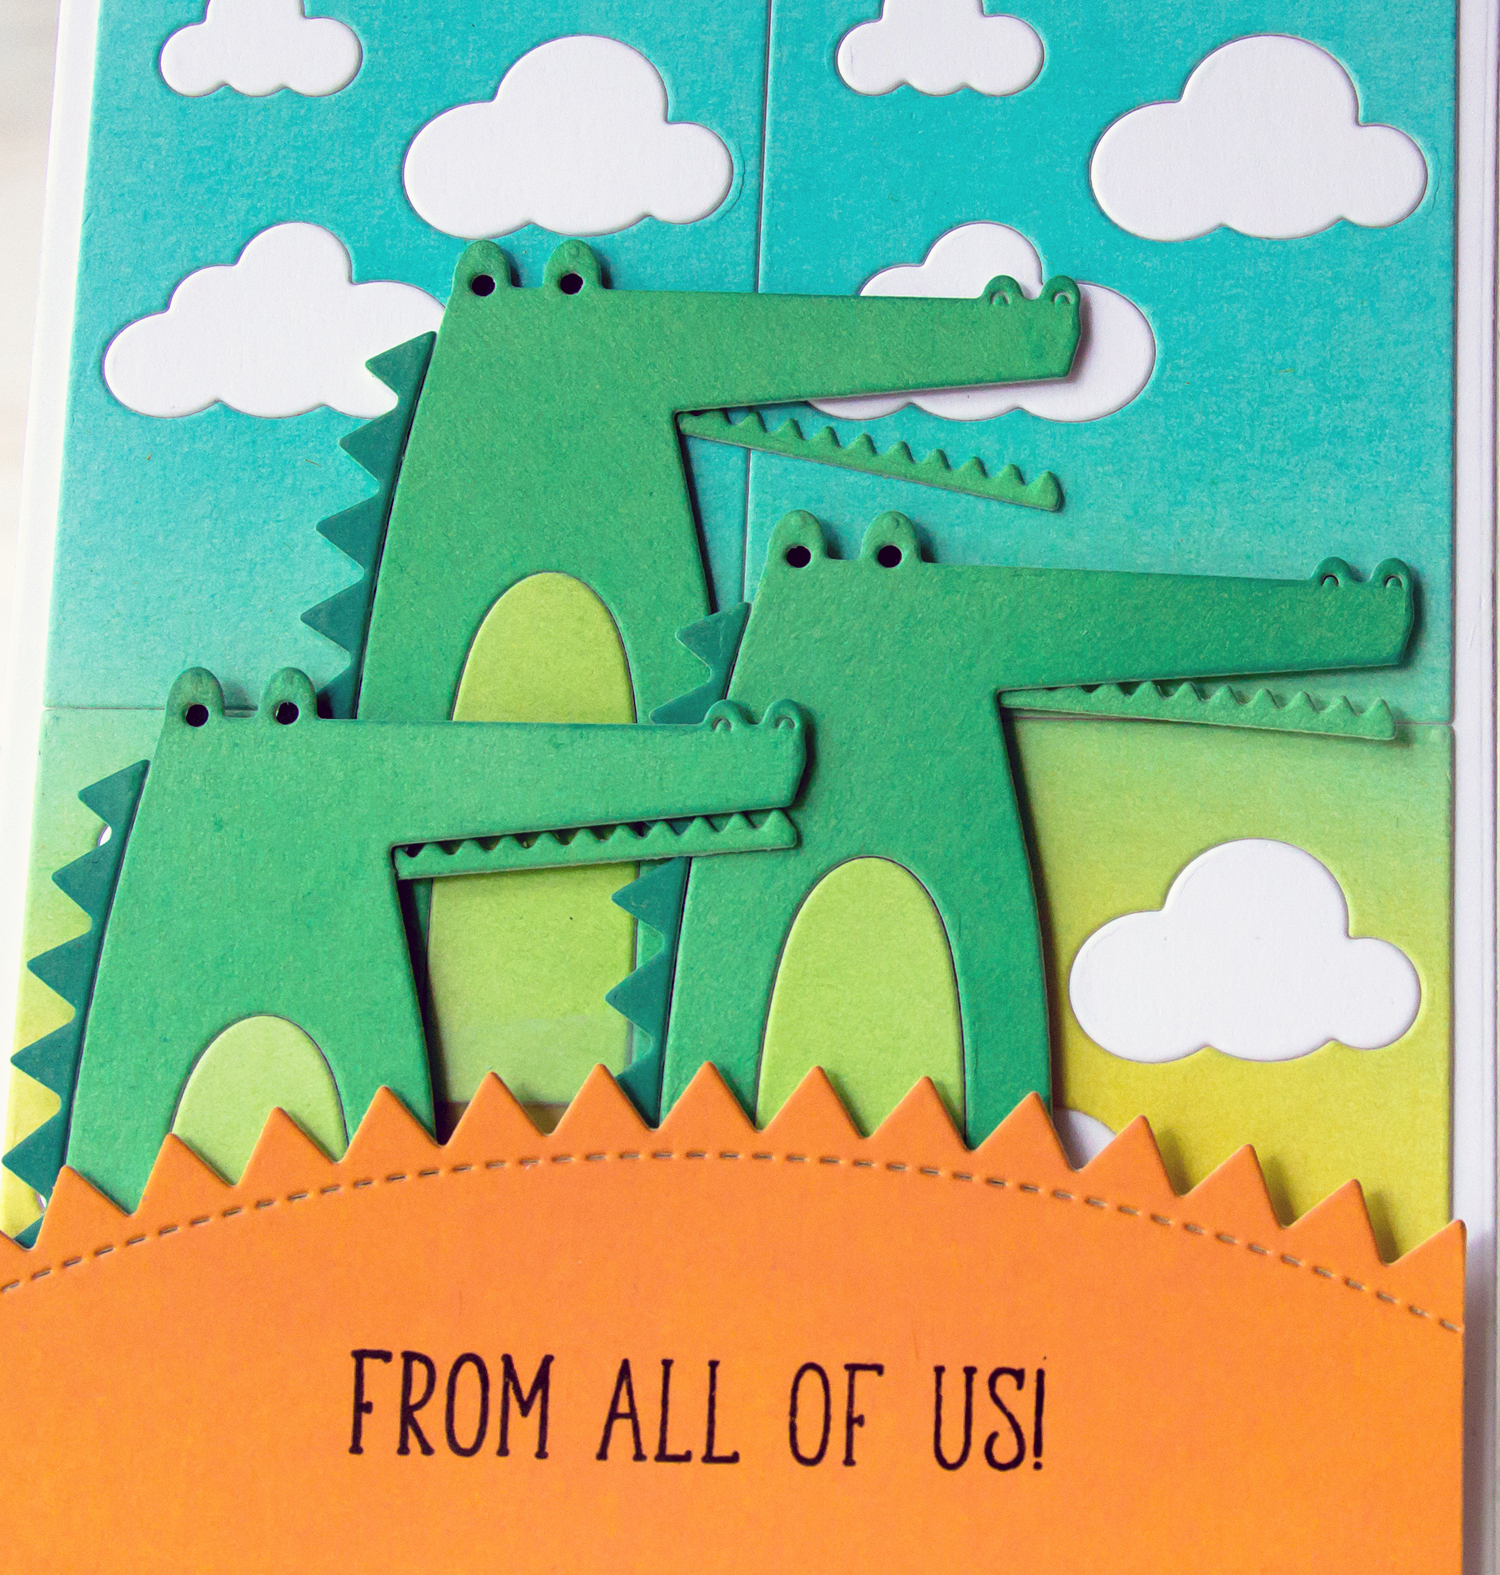
Let’s get started! My first project features the Picture Book Crocodile paired with the Picture Book Sky Background, both of which are part of the Best Days release.
Simon Says Stamp BEST DAYS ReleaseTo begin, I colored cardstock with a variety of Distress Oxide inks (Lucky Clover, Cracked Pistachio, Evergreen Bough). I die-cut the Picture Book Crocodile from the colored cardstock and assembled the pieces on black cardstock backing so that the eyes would show through. I also colored cardstock with Peacock Feathers and Squeezed Lemonade Distress Oxide inks. From that colored cardstock, I cut out the Picture Book Sky Background four times, inlaying it with white cardstock clouds.

Simon Says Stamp BEST DAYS Release

The sentiment from the Oh Bunny stamp set was stamped on to a panel which I colored with Carved Pumpkin Distress Oxide ink and cut with one of the dies in the Arched Stitching Borders set. I am a big fan of all of the Picture Book animals and can’t wait to pair the Crocodile with other dies in the series.

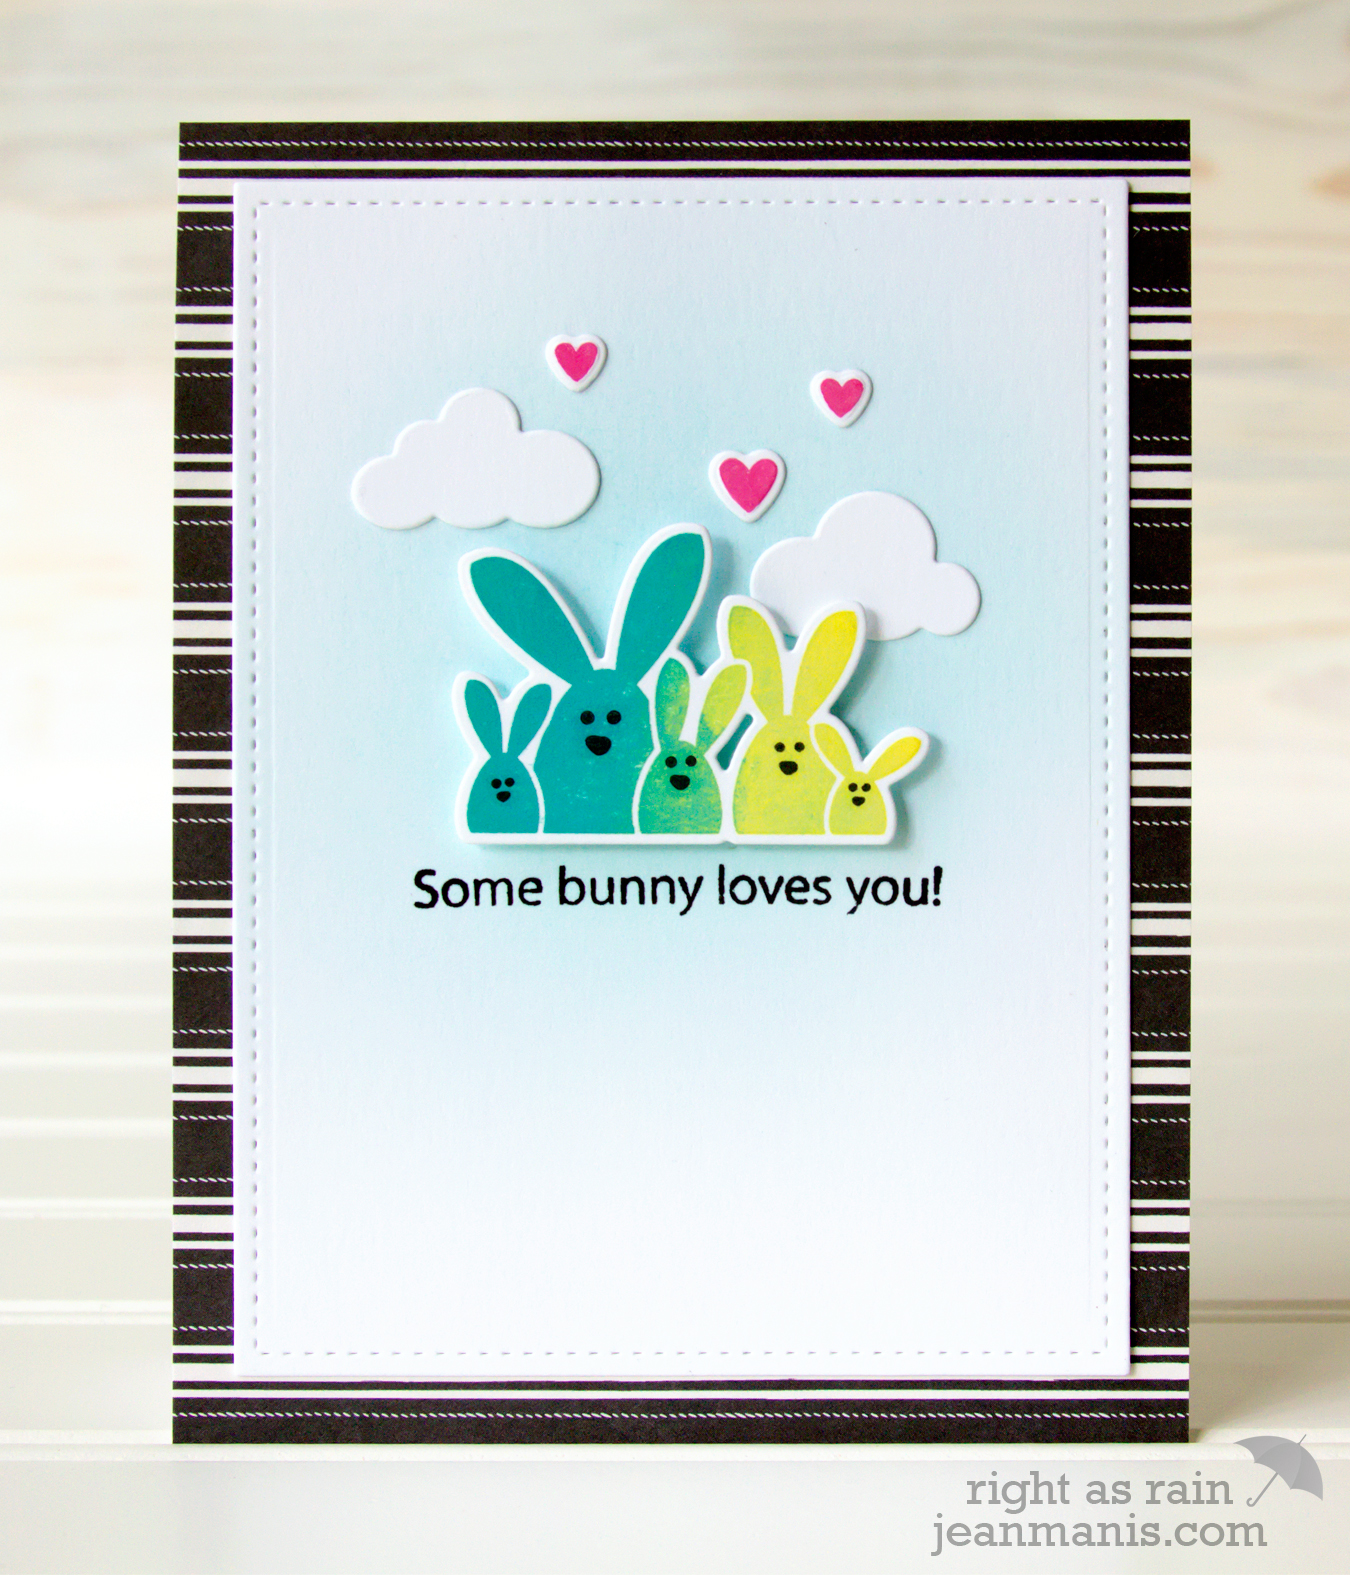
My second project showcases the Oh Bunny stamp set and corresponding die set.

Simon Says Stamp BEST DAYS Release

I inked one of the images in the Oh Bunny stamp set with Peacock Feathers and Squeezed Lemonade Distress Oxide inks. I then stamped the sweet faces included in the Oh Bunny stamp set on to the bunnies. Once finished with the stamping, I cut the image with its corresponding die.
I placed the bunnies on to a background, on which I had applied Tumbled Glass Distress Ink, and stamped one of the fun sentiments in the Oh Bunny set. To finish off the card, I added clouds cut with the Picture Book Sky Background die and hearts from the Oh Bunny set. I created the card base with paper in the Carta Bella Spring Market 6 x 6 paper pad.
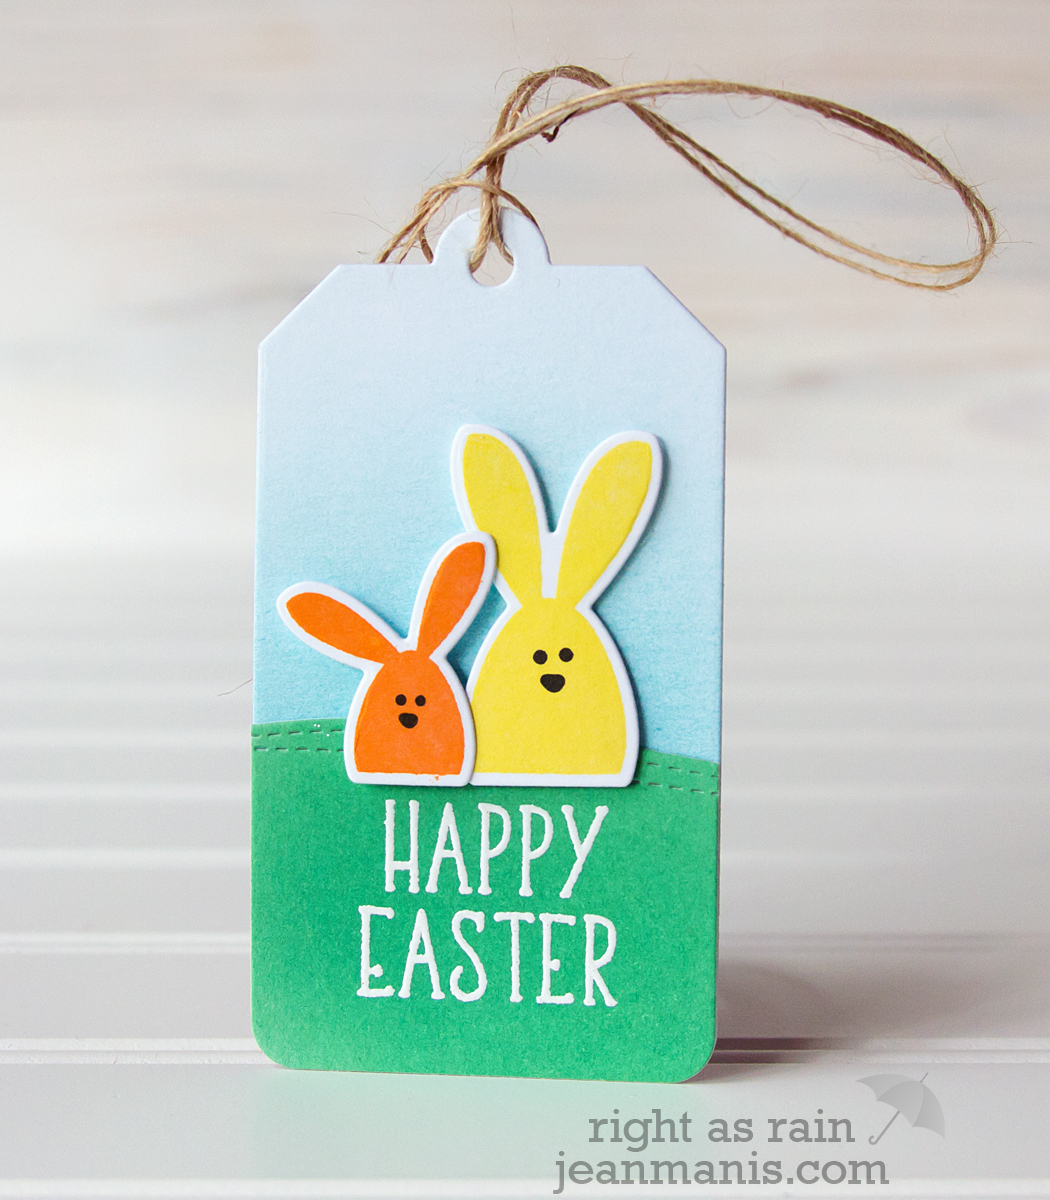
My final project is an Easter tag featuring several different bunnies from the Oh Bunny stamp set.

Simon Says Stamp BEST DAYS Release

I stamped the bunny on the left with Carved Pumpkin Distress Oxide ink and the one on the right with Squeezed Lemonade. After stamping their faces, I cut the bunnies with their corresponding dies. I used a Lawn Fawn tag die to cut the tag from a background which I had inked with Broken China Distress Oxide ink. I applied Lucky Clover Distress Oxide ink to cardstock on which I then heat-embossed the Easter sentiment from the Oh Bunny stamp set.  I cut the hill with one of the dies in the Drifted Stitched Borders set, as well as the same Lawn Fawn tag die.

Here is the list of designers sharing their Best Days creations today:

Reverse Confetti December Creative Blog Hop

BlogHopTitleBar

Welcome to this month’s creative hop which started on the Reverse Confetti blog. You should have made it here from Lisa’s blog. It would be worth your while to start at the beginning of the hop, so you don’t miss a thing. We have tons of inspiration for you!

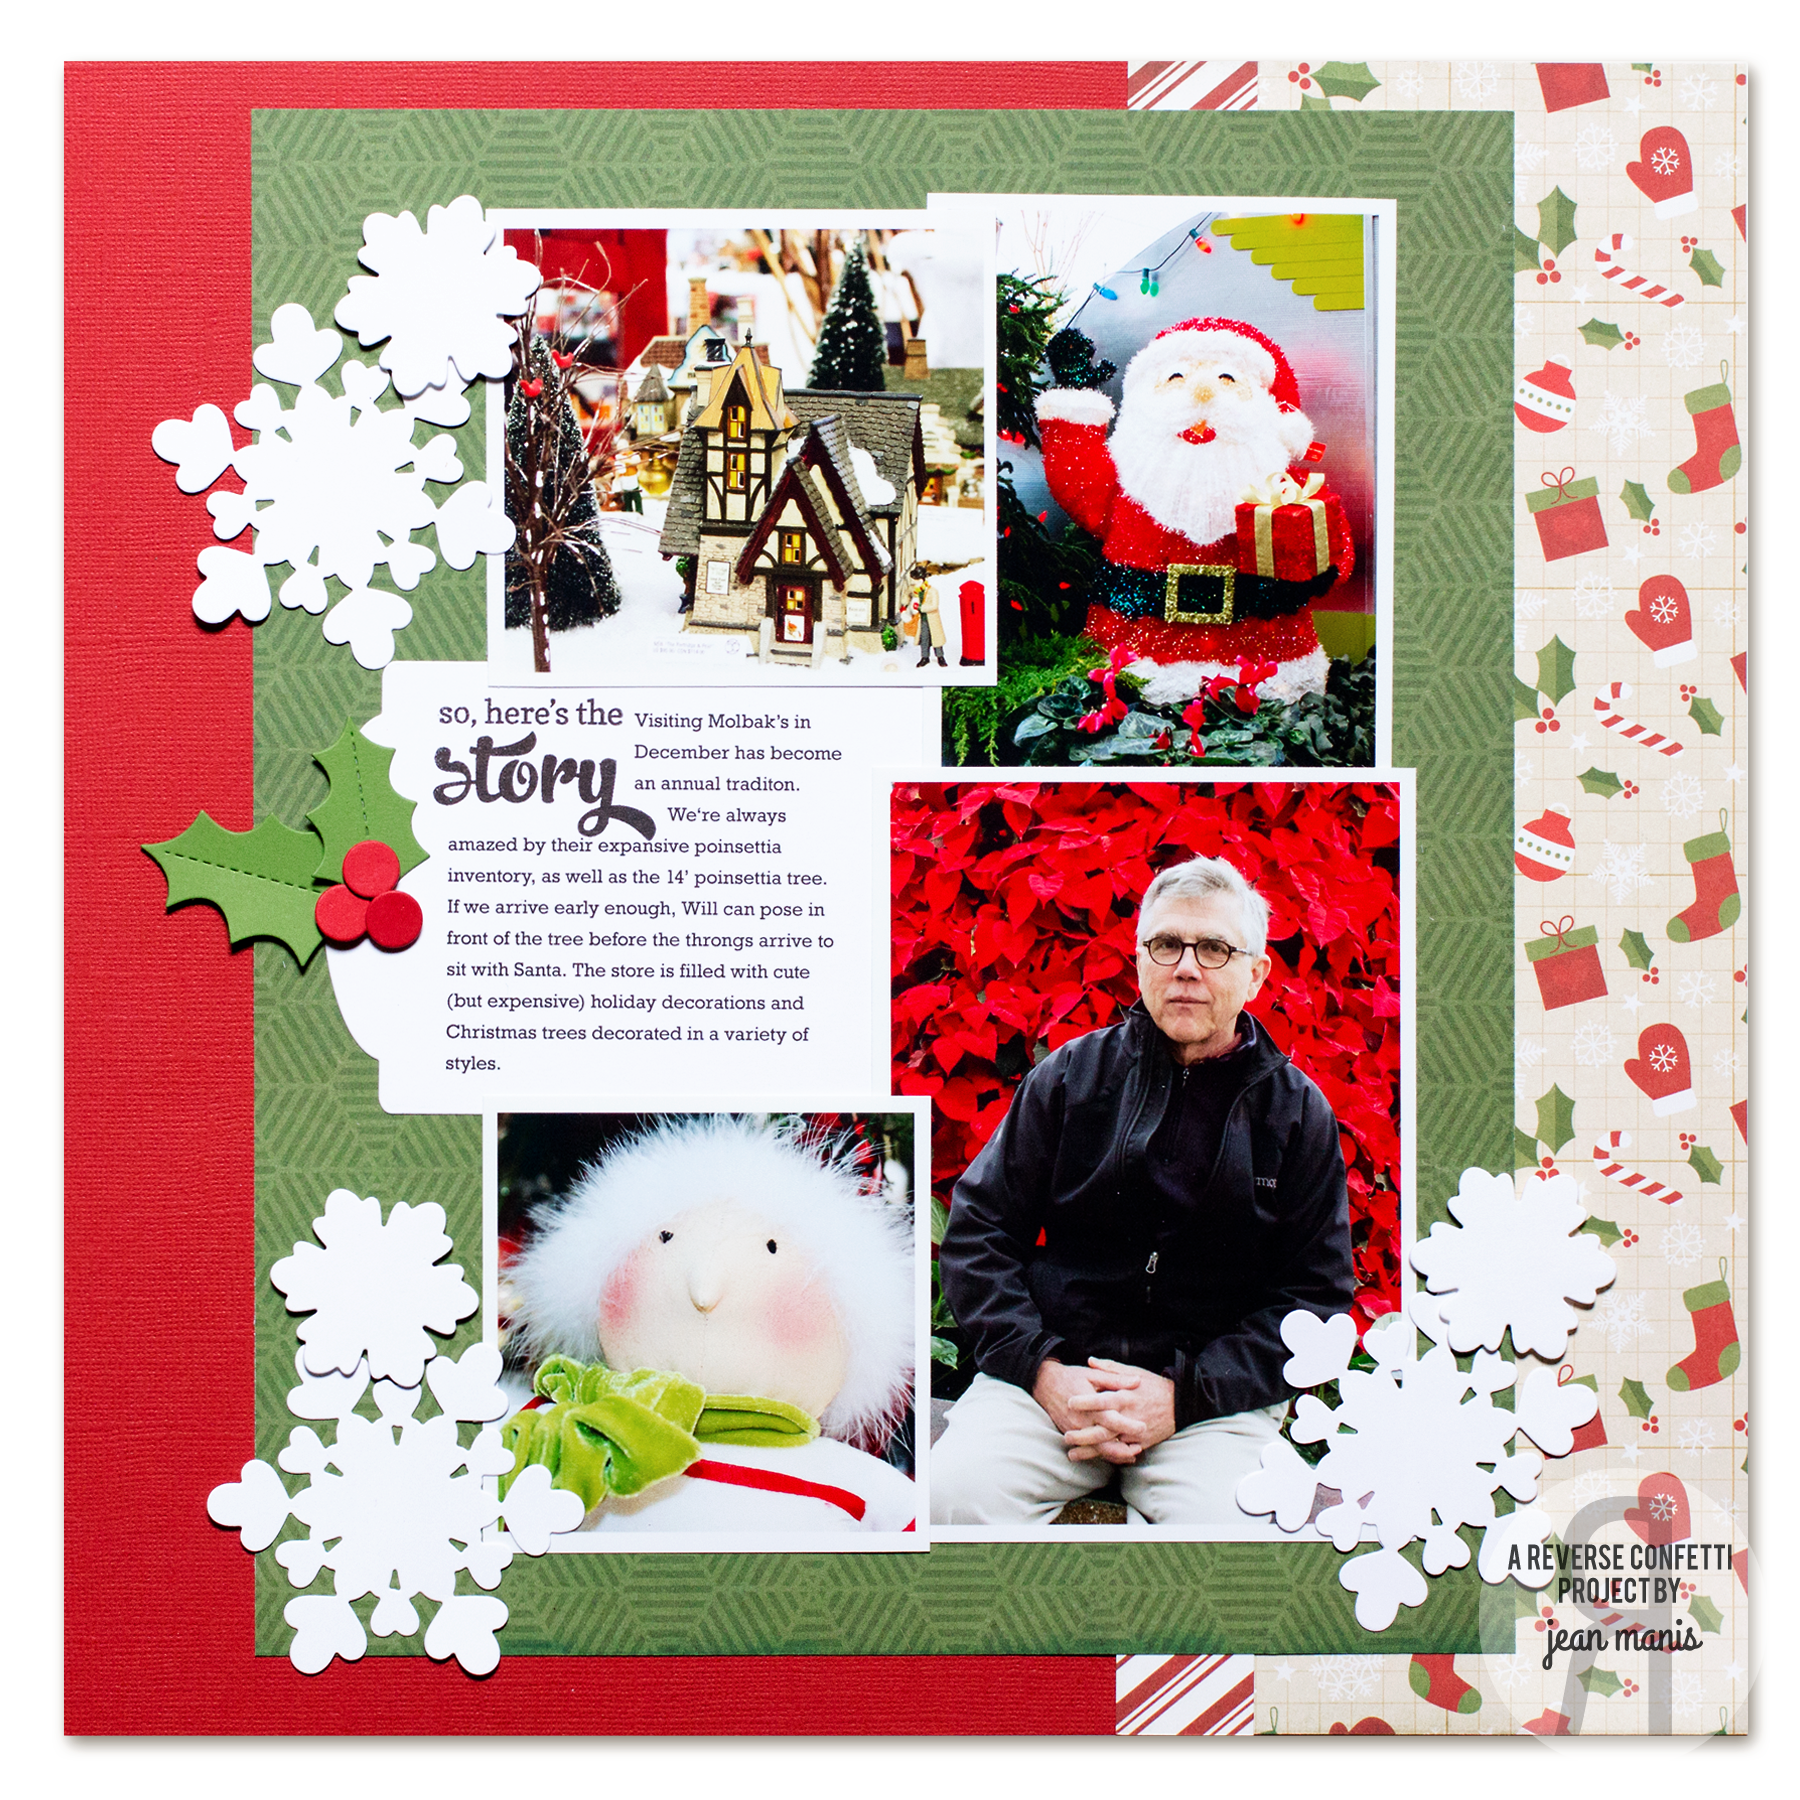
I’m sharing a holiday layout (chronicling our annual trips to a local nursery to shop for our Christmas tree and other holiday items) for which I created embellishments using Reverse Confetti supplies.

JeanRCBlogHopLayout

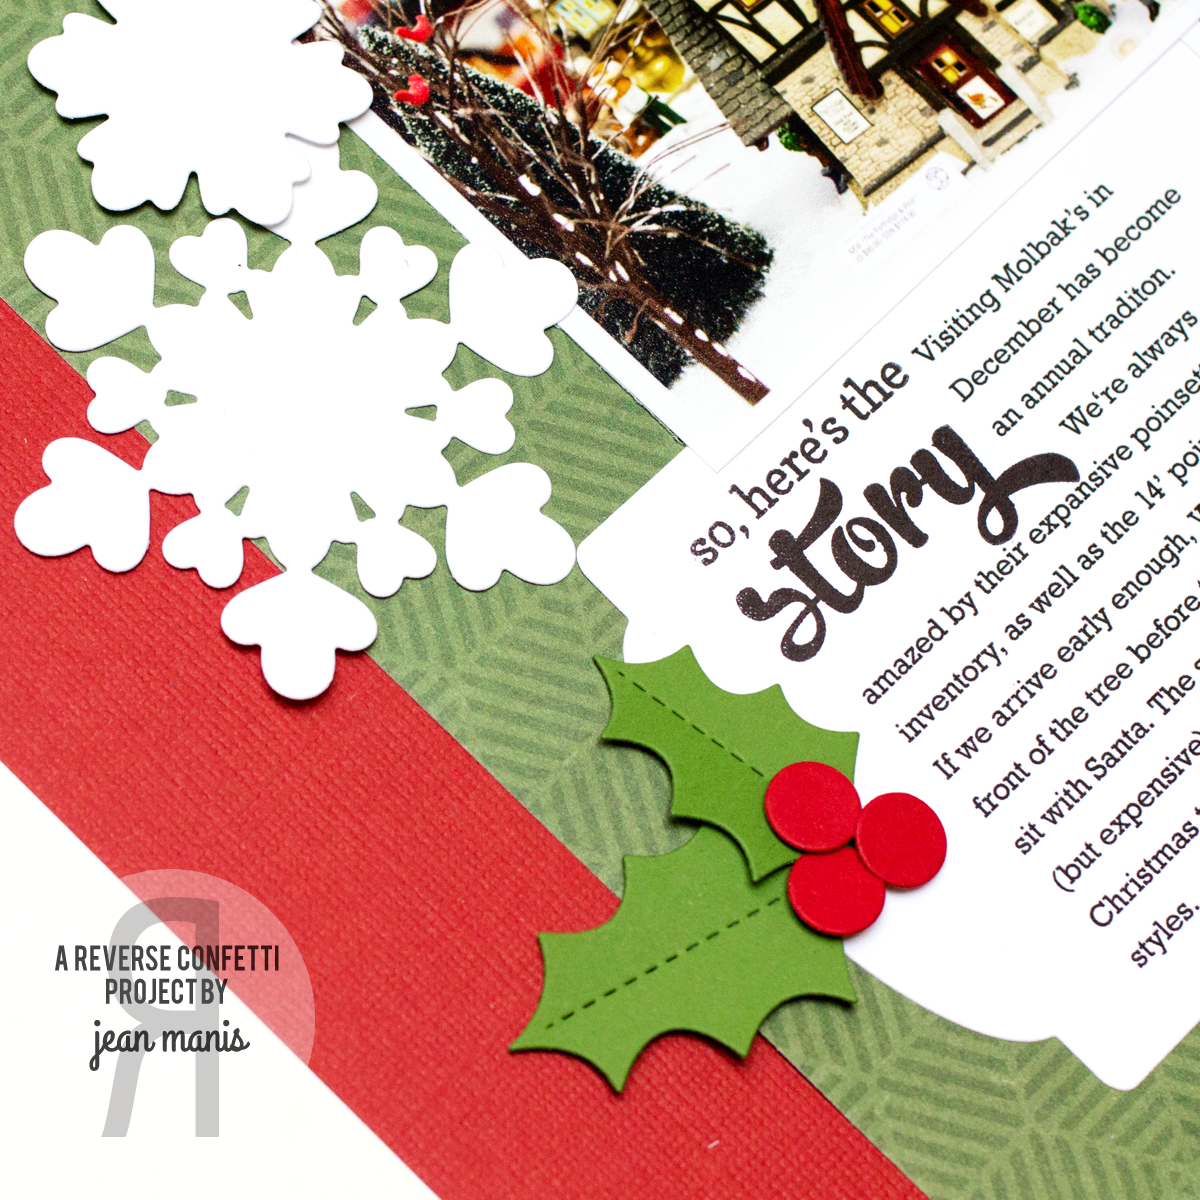
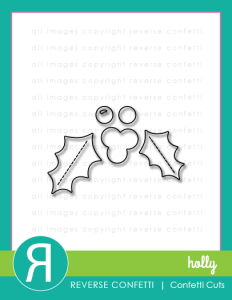
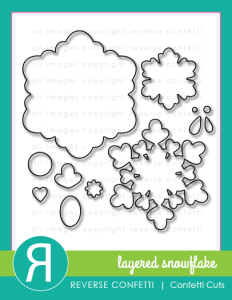
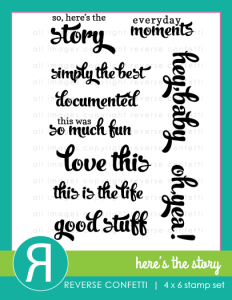
I printed the journaling with my computer printer, stamped it with a sentiment from Here’s the Story and cut it with the Gift Card Holder die. I cut leaves and holly berries with the Holly Confetti Cuts and added those to the journaling card. To finish, I added snowflakes cut with the two different dies in the Layered Snowflake set.
JeanBlogRCHopLayoutCloseUp

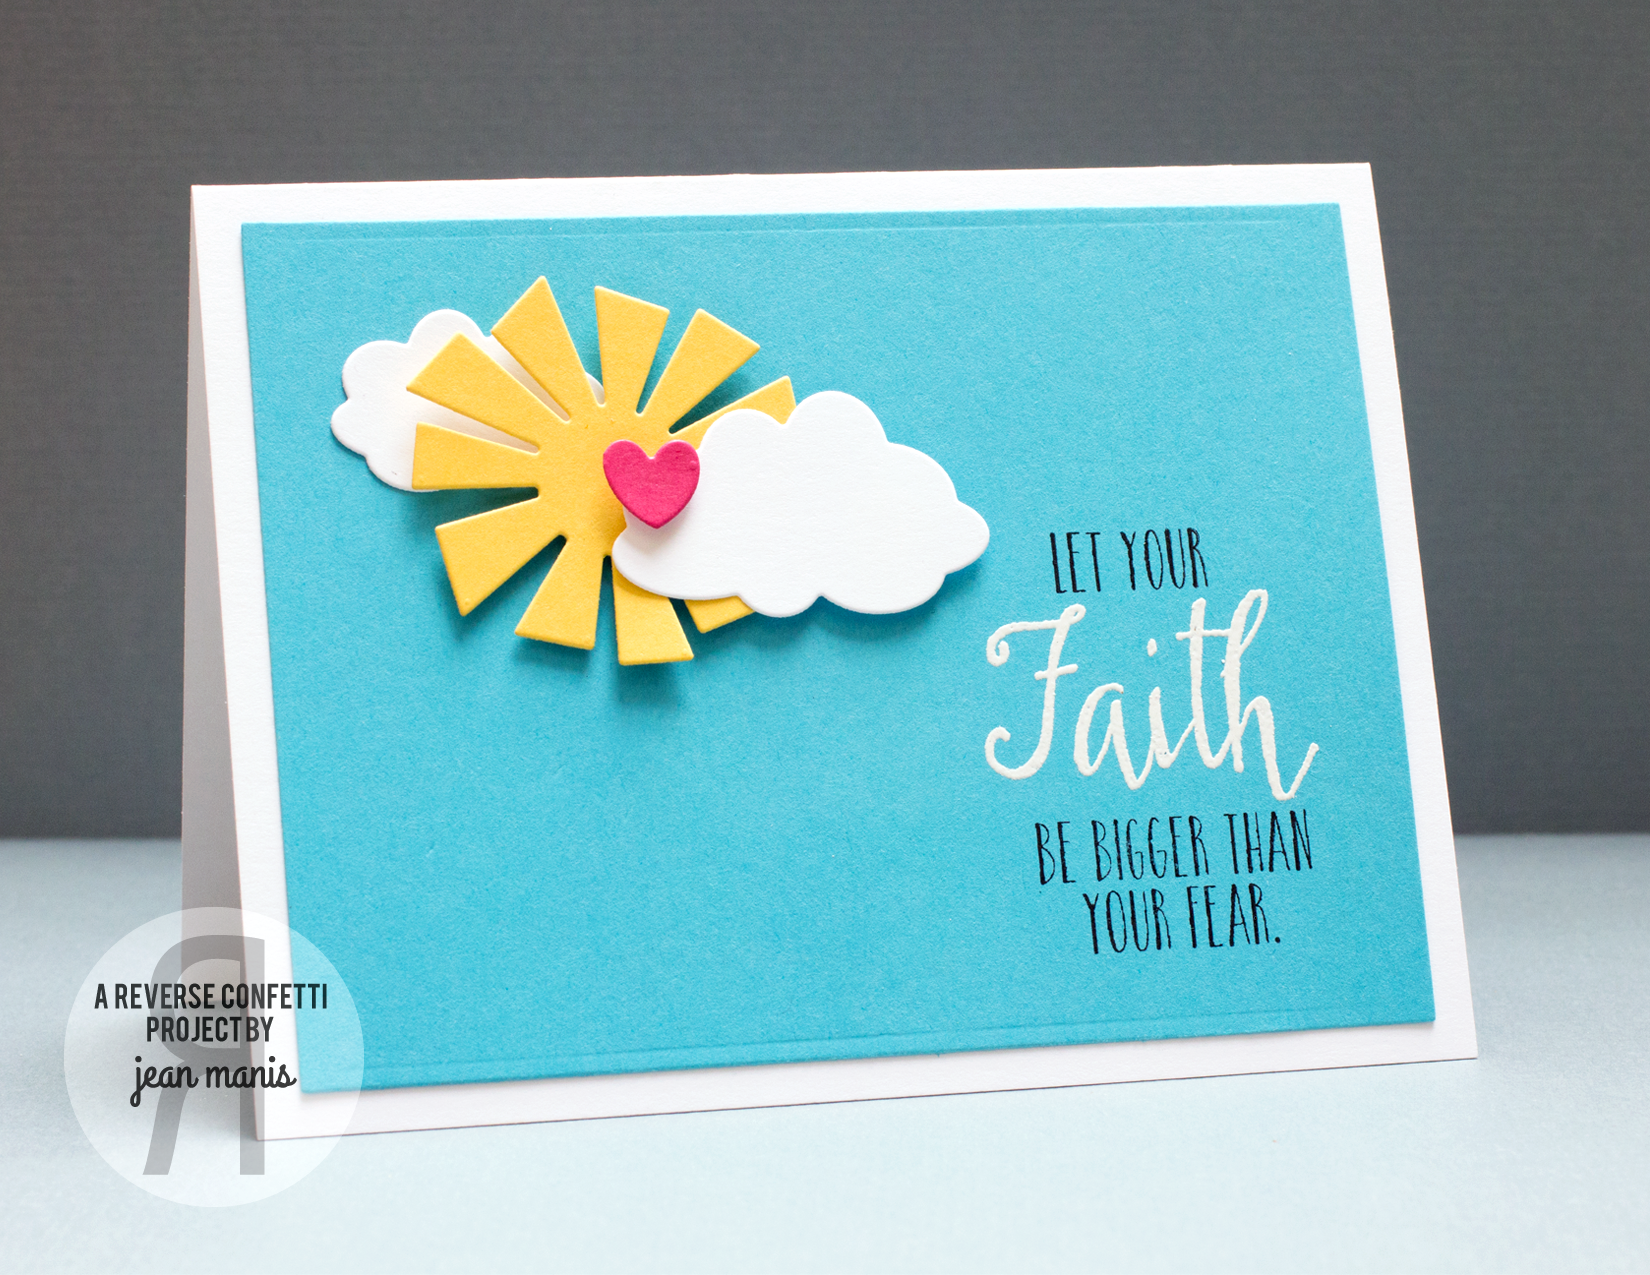
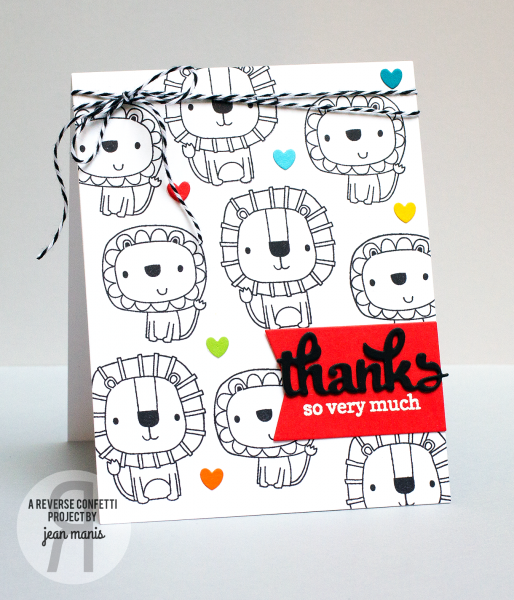
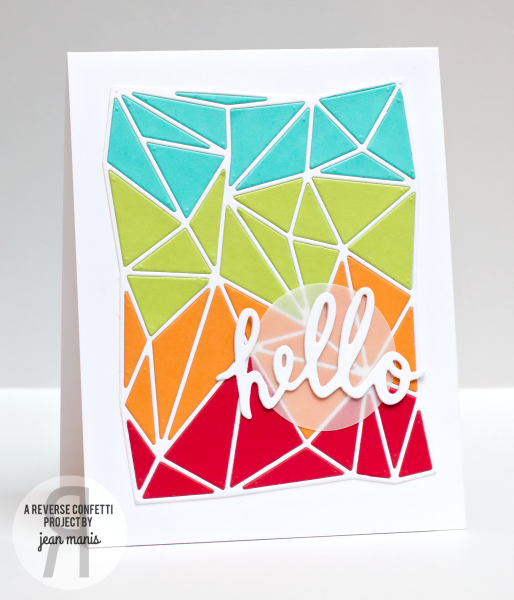
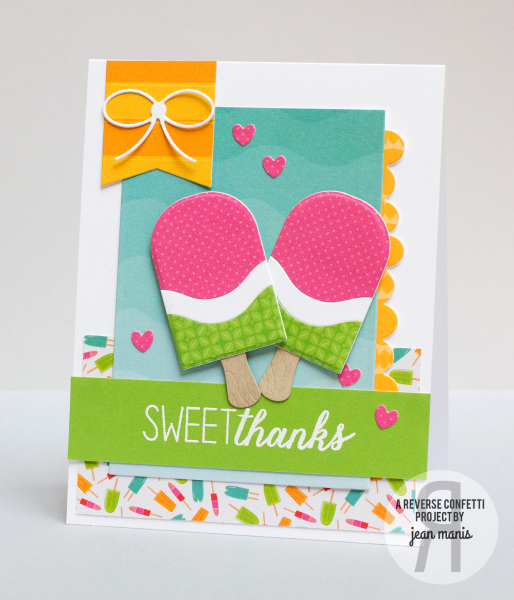
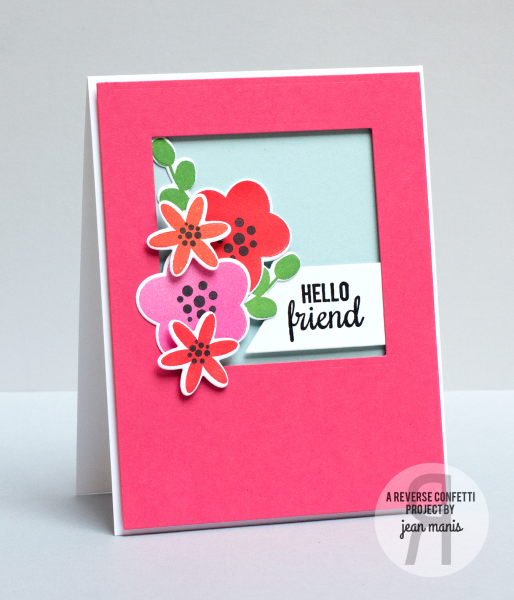
In addition, I’m sharing some of my favorite Reverse Confetti cards from this past year (hard to choose as I have many favorites)! Click on the links underneath the cards for the original posts.
GodIsGood

Details

Aug13

Details

GeometricPanelHello

Details

WatermelonPopsicleCard

Details

CASESketchPosies

Details

I hope you’ve enjoyed hopping with us today. Comment at each stop along the way for a chance to win a $15 gift certificate. Comments close Thursday at noon Central Time; the winner will be announced on Friday. Now it’s time to hop on over to the blog of Kay Miller. If you get lost along the way, you can find the hop order and list of all the participating designers over on the Reverse Confetti blog.

Reverse Confetti November Release Blog Hop

The wait is over! REVERSE CONFETTI has just released TWO stamp sets, FOUR Confetti Cuts and the Holly Jolly Quick Card Panels! The hop began on the Reverse Confetti blog, and you should have made it here from Lisa’s blog. It would be worth your while to start at the beginning of the hop, so you don’t miss a thing. We have tons of inspiration for you to see using all the new Reverse Confetti stamp sets and dies!

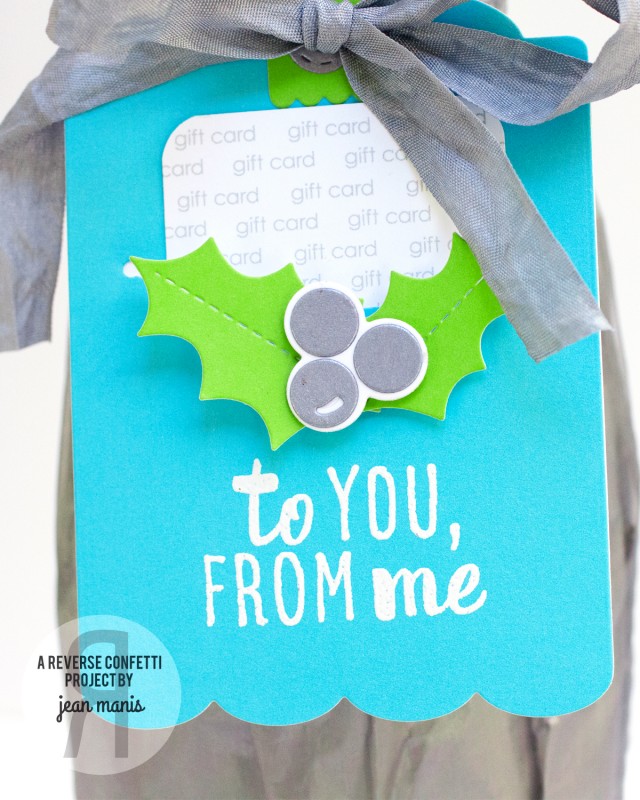
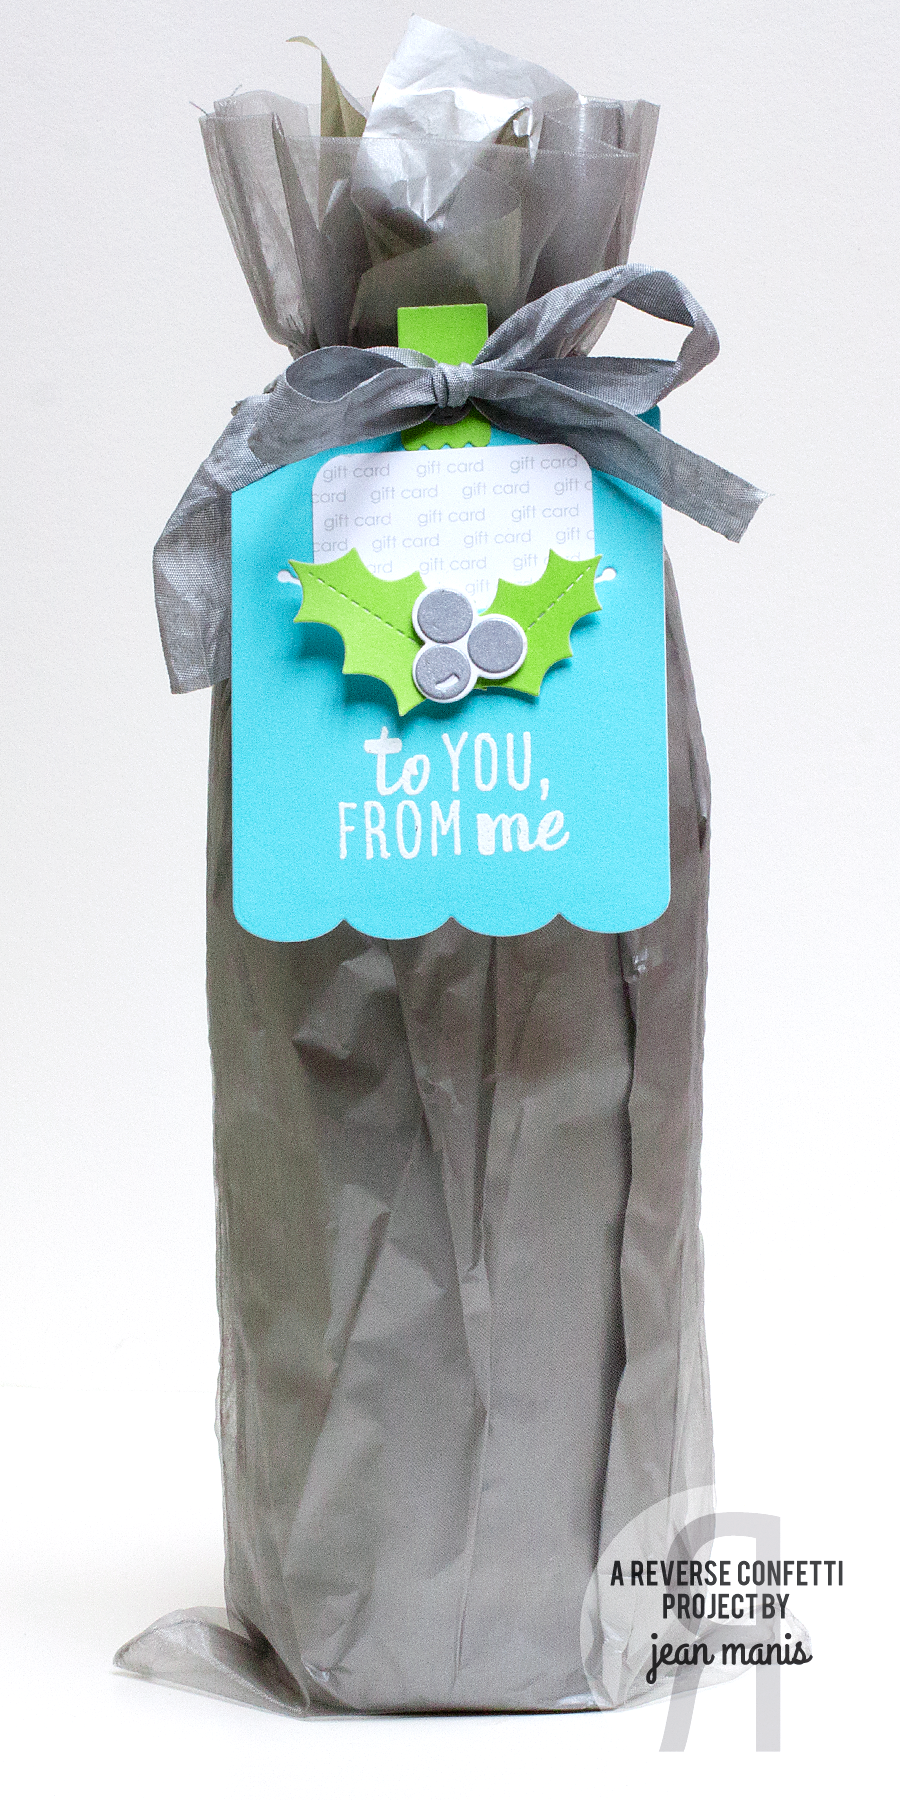
My first project features the Gift Card Holder Tag in non-traditional holiday colors.

JeanManisGiftCardHolderTag

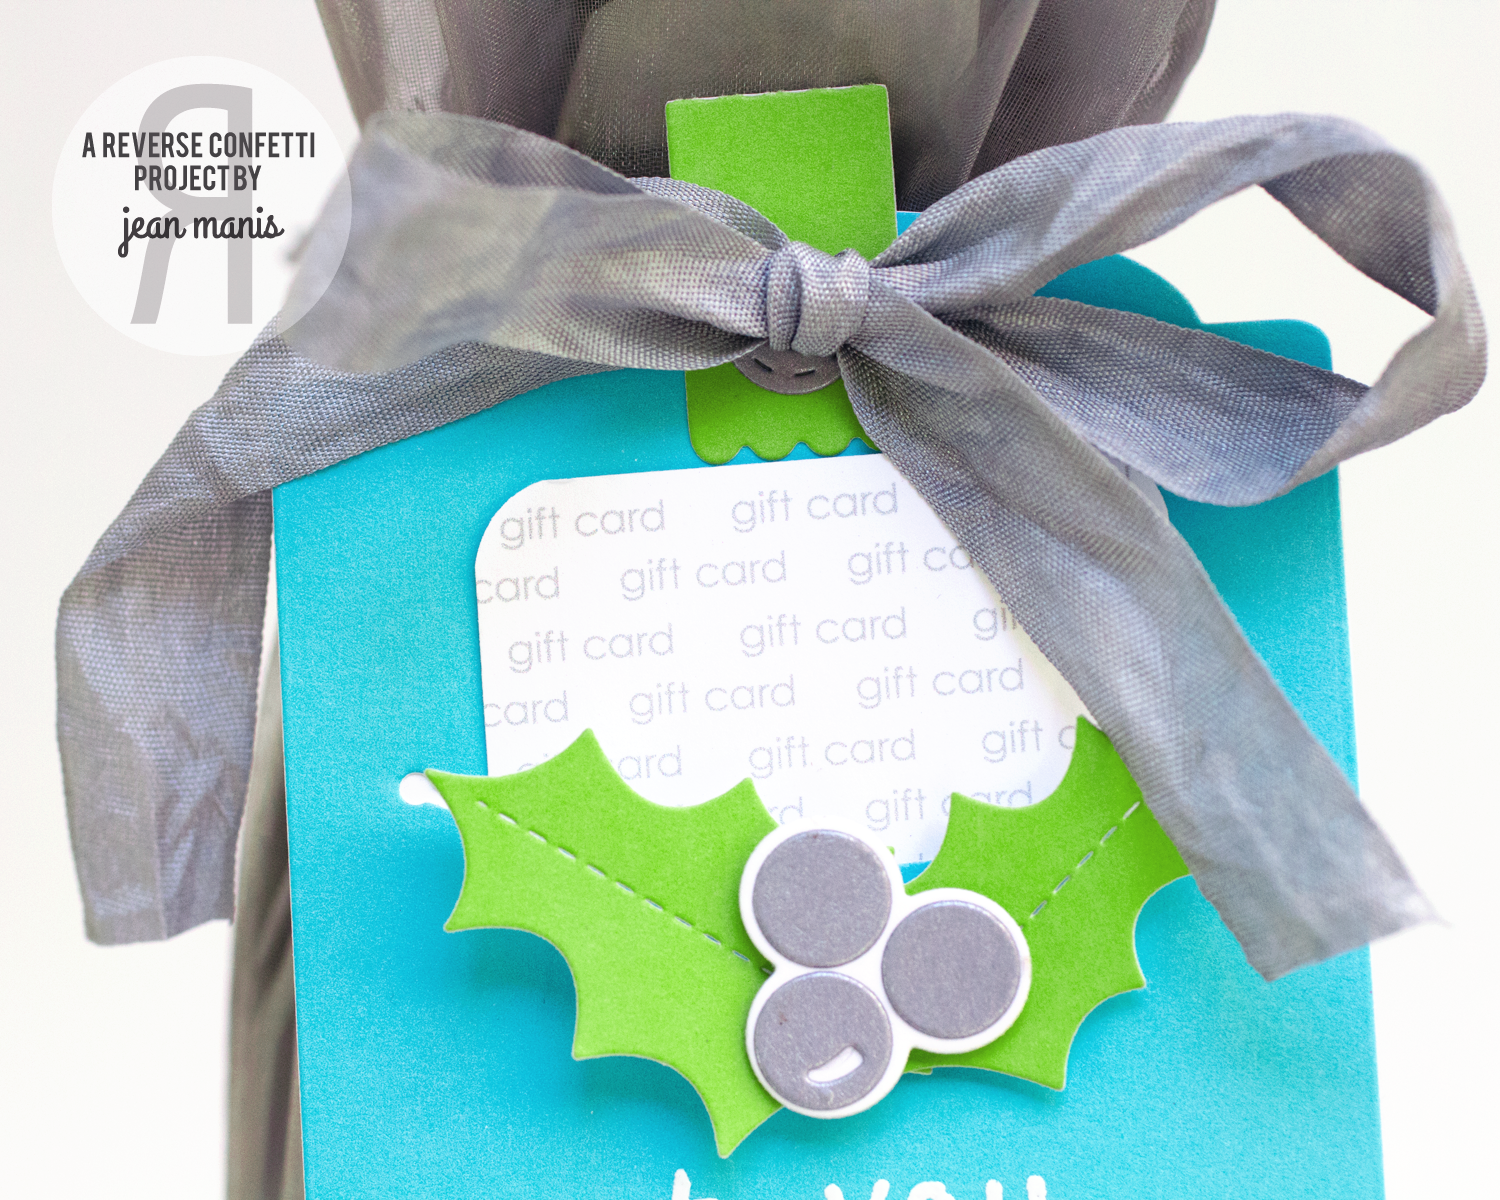
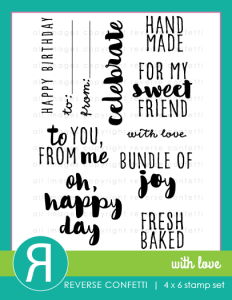
I embellished the tag with holly leaves and berries cut with the Holly Confetti Cuts set and a heat-embossed sentiment from the With Love set.

GiftCardHolderBottle

A restaurant gift card along with a bottle of wine would make a generous gift!

GiftCardHoldercloseup

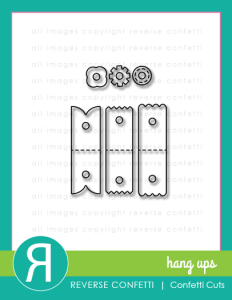
I finished the tag off with die cuts from the Hang Ups Confetti Cuts and a silver ribbon.

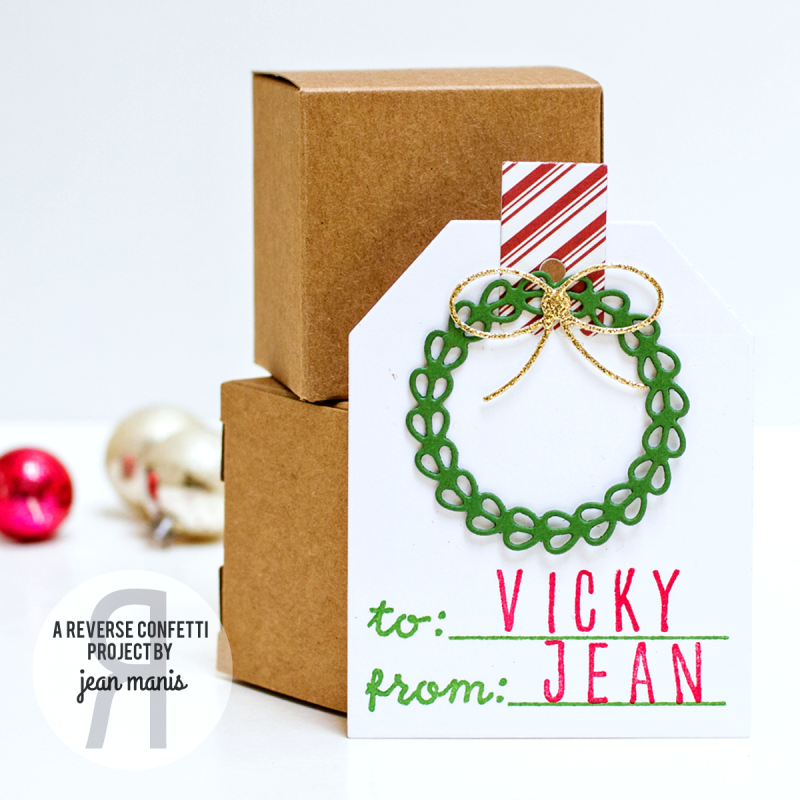
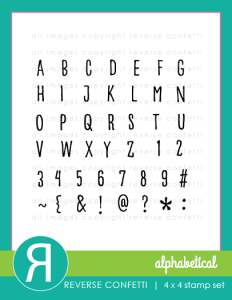
With the Alphabetical stamp set it’s a cinch to personalize your gift tags.

ReverseConfettiJustforYouTag

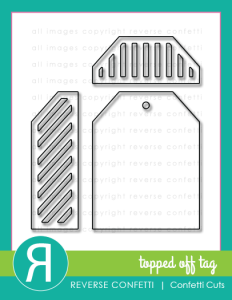
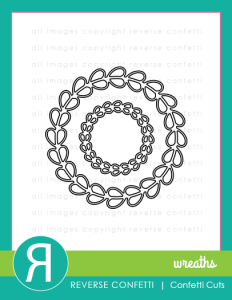
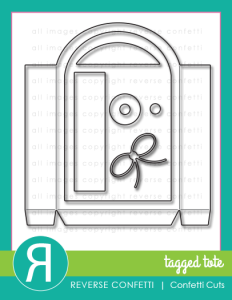
I used a sentiment from the With Love set on a tag cut with the Topped Off Tag Confetti Cuts, which I embellished with the Hang Ups, Wreaths and Tagged Tote Confetti Cuts set.

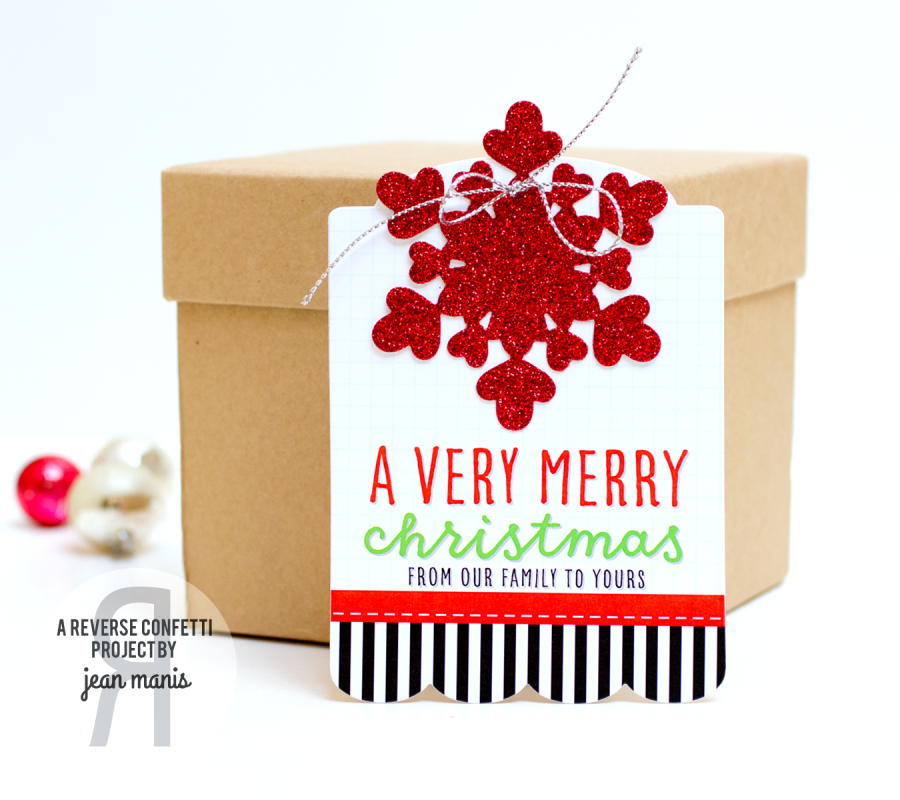
Short on time? Simply cut a Holly Jolly Quick Card Panel with the Gift Card Holder Tag Confetti Cuts die!

ReverseConfettiJustforYouTag

I embellished the tag with a large snowflake cut from red glitter paper with the Layered Snowflake Confetti Cuts set, tied with silver metallic cord.

I hope you’ve enjoyed hopping with us today. Be sure and hop on the 8th of EVERY MONTH for more REVERSE CONFETTI inspiration! Now it’s time to hop on over to the blog of Amy Rohl. If you get lost along the way, you can find the hop order and list of all the participating designers on the Reverse Confetti blog.

HangUpsCCProductGraphic

WithLoveProductGraphic

WreathsCC