Hello! Today I am sharing an easy CAS card made with a minimum number of tools and supplies. I’m in the process of packing up my papercrafting supplies and tools, as my husband and I are downsizing. I’m organizing and decluttering as part of the boxing up process. In doing so, I have come across a number of things that I have forgotten about, and I have also been revisiting favorites. The notebooks I have created from the Online Card Classes lessons are on the list of favorites.
My card today is inspired by one Kristina Werner shared in the Summer Card Camp in 2011 (my first ever card class, which I took as I was just starting out as a cardmaker).

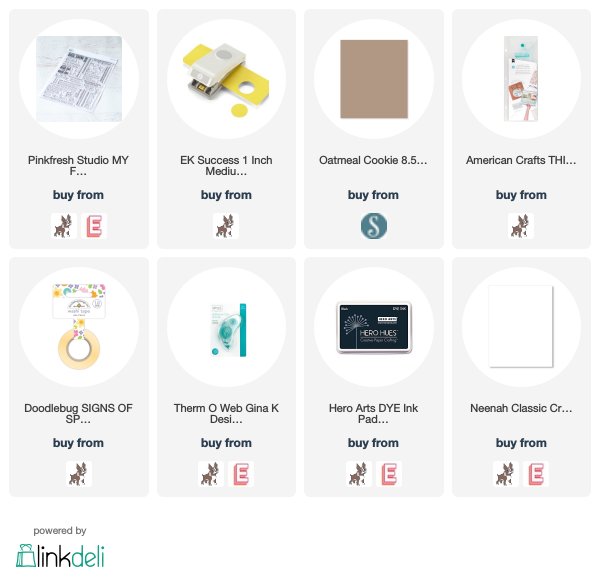
This card requires few supplies and tools to create. I used a 1″ circle punch, patterned paper from my stash (papers used are from an Echo Park pad), and a sentiment from the Pinkfresh Studio “My Favorite Things to Say” set.
To align the circles, I used grid paper (Stampin’ Up pad), embroidery floss, a ruler, and washi tape (my favorite brand is Doodlebug).
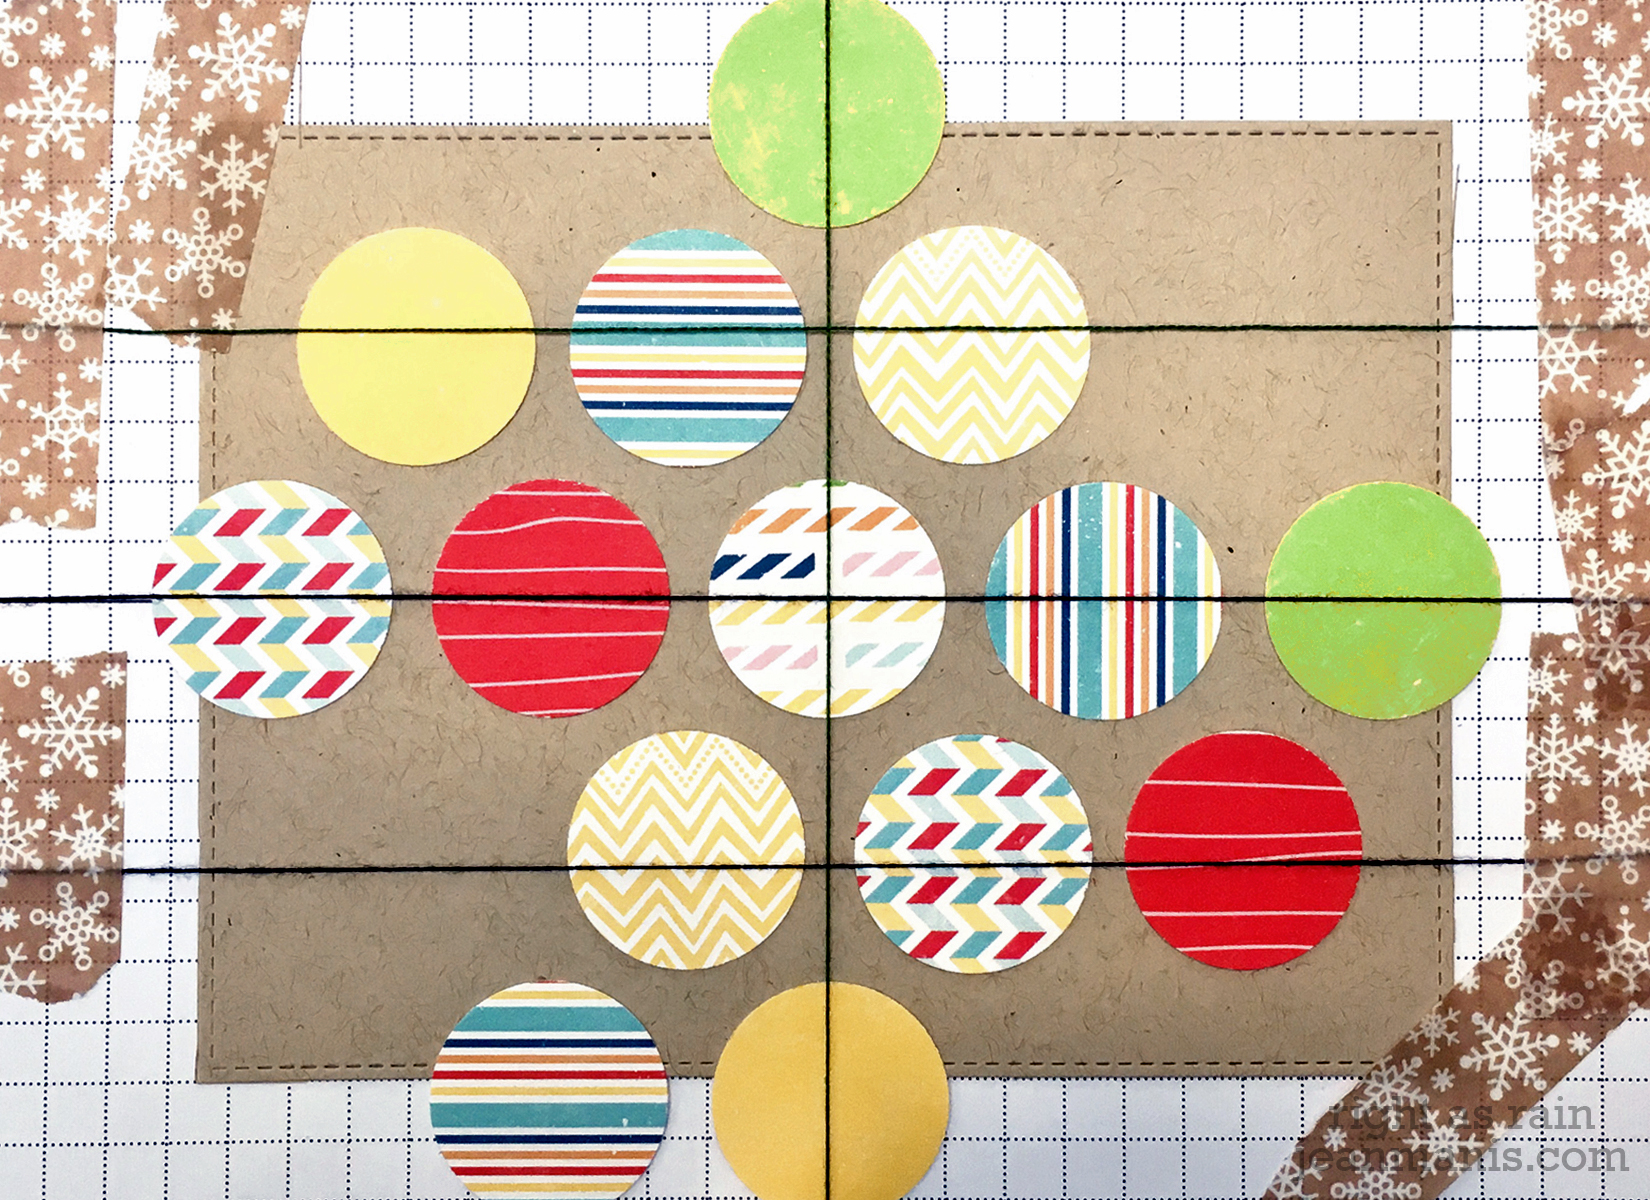
I added the circles to the kraft paper with dot adhesive. I used a now-retired MFT tag set to die-cut the sentiment panel. I often use my tag and banner dies to cut rectangle shapes.