Discover a Fresh Way to Choose Colors

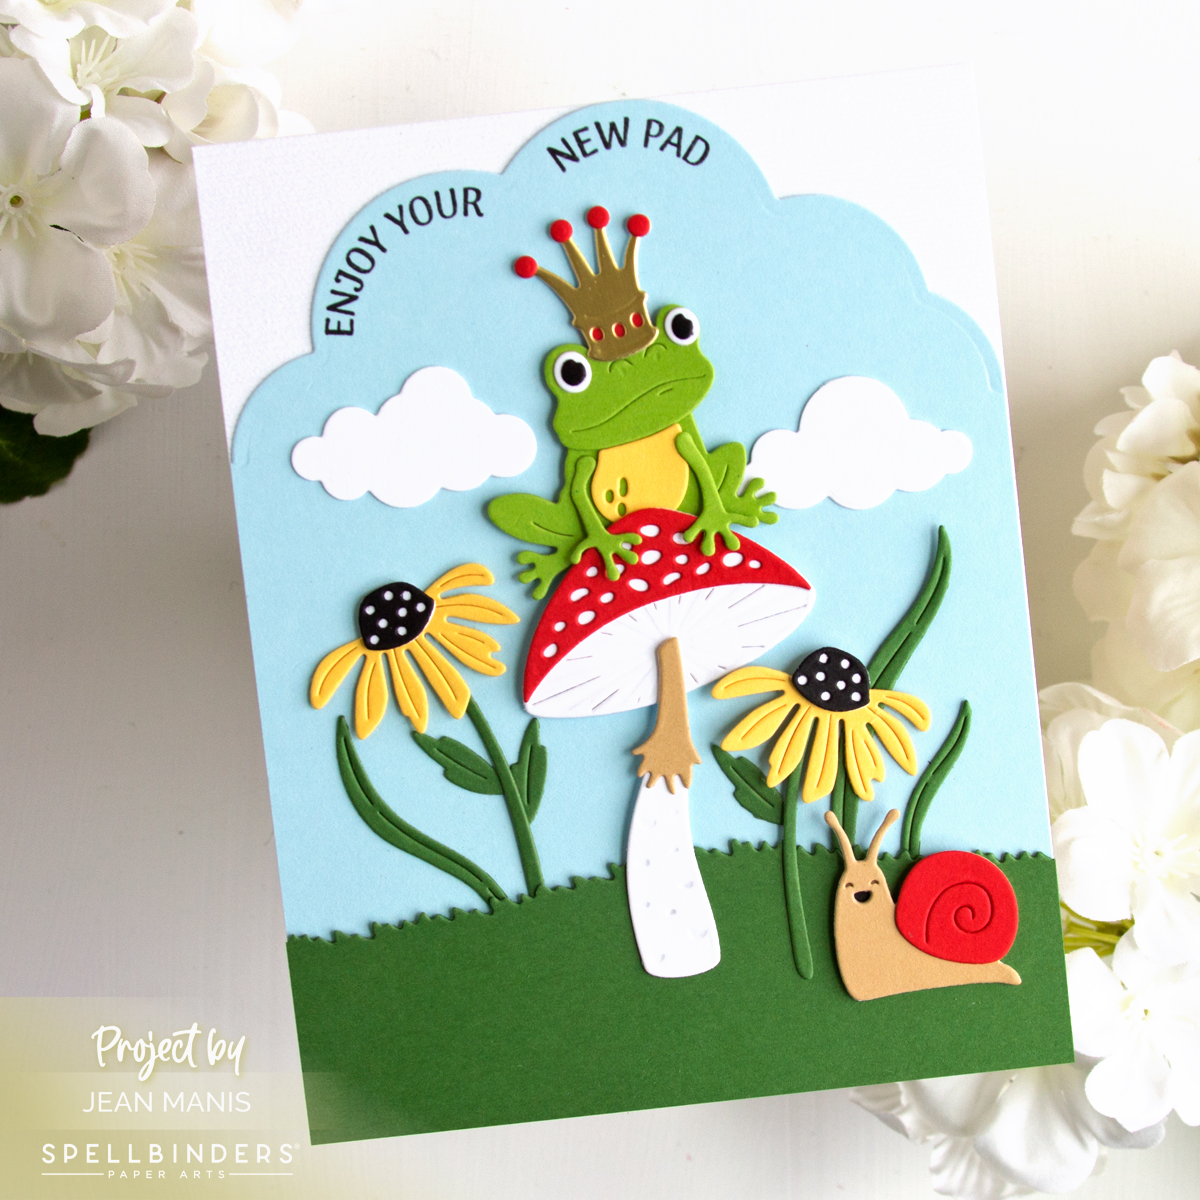
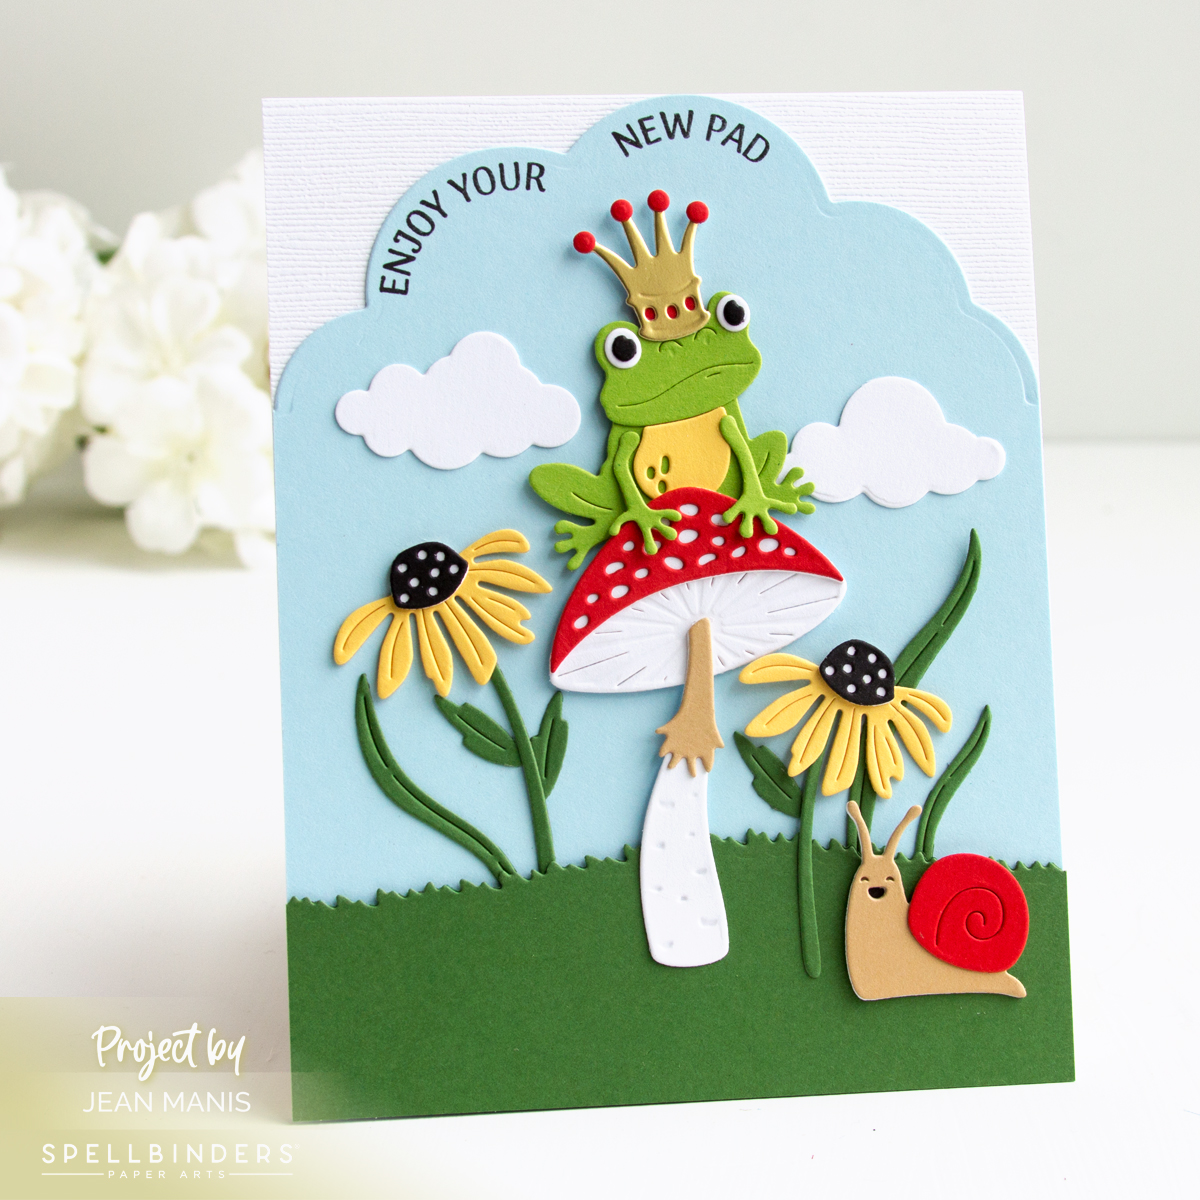
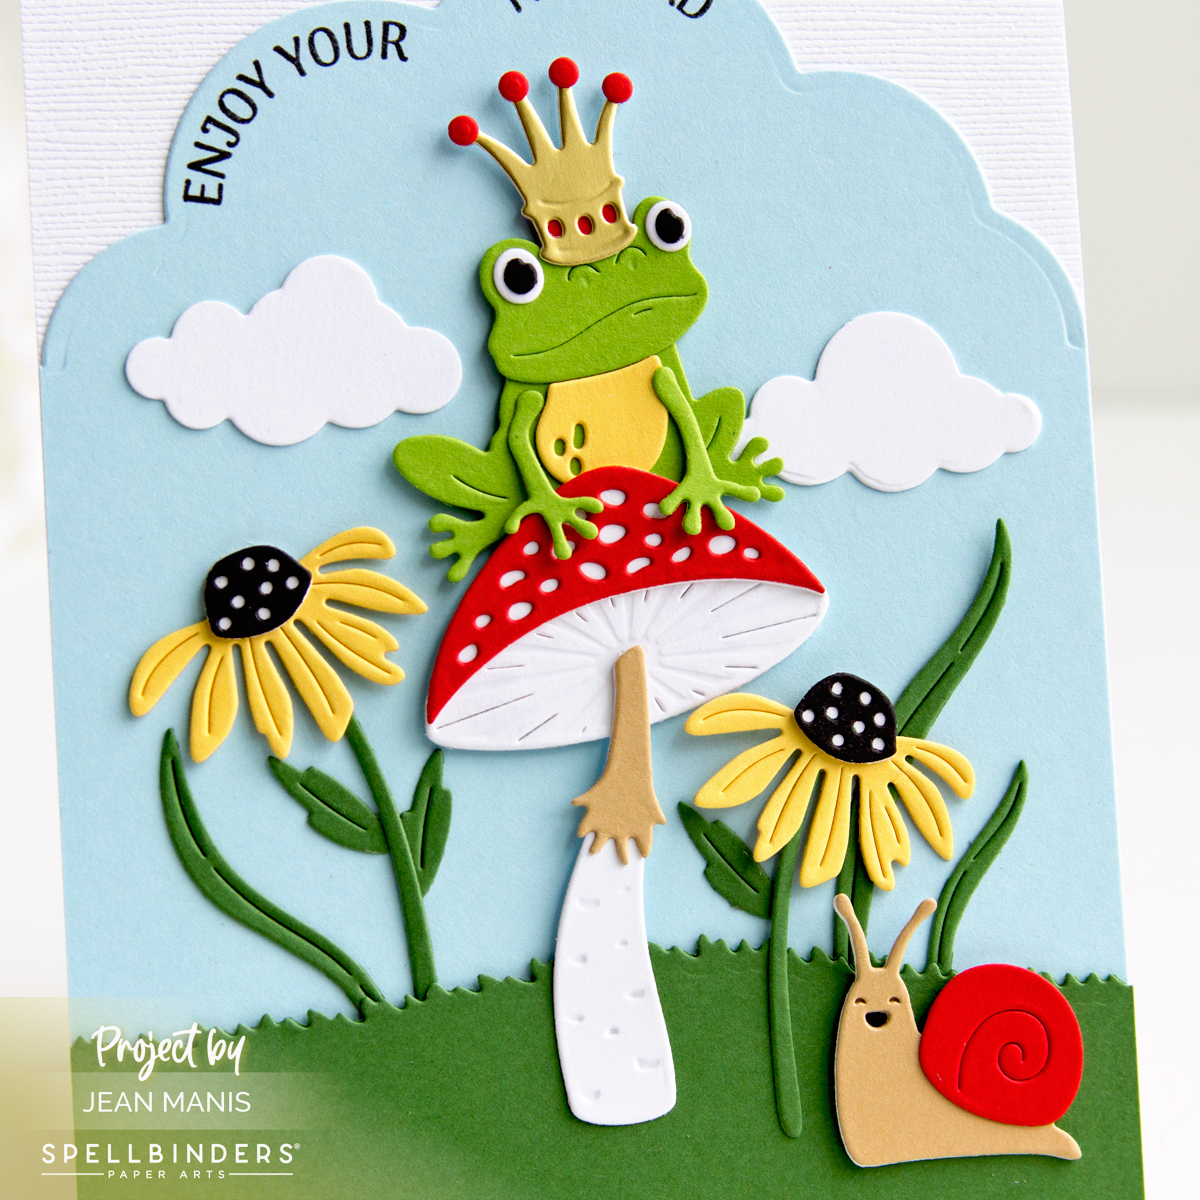
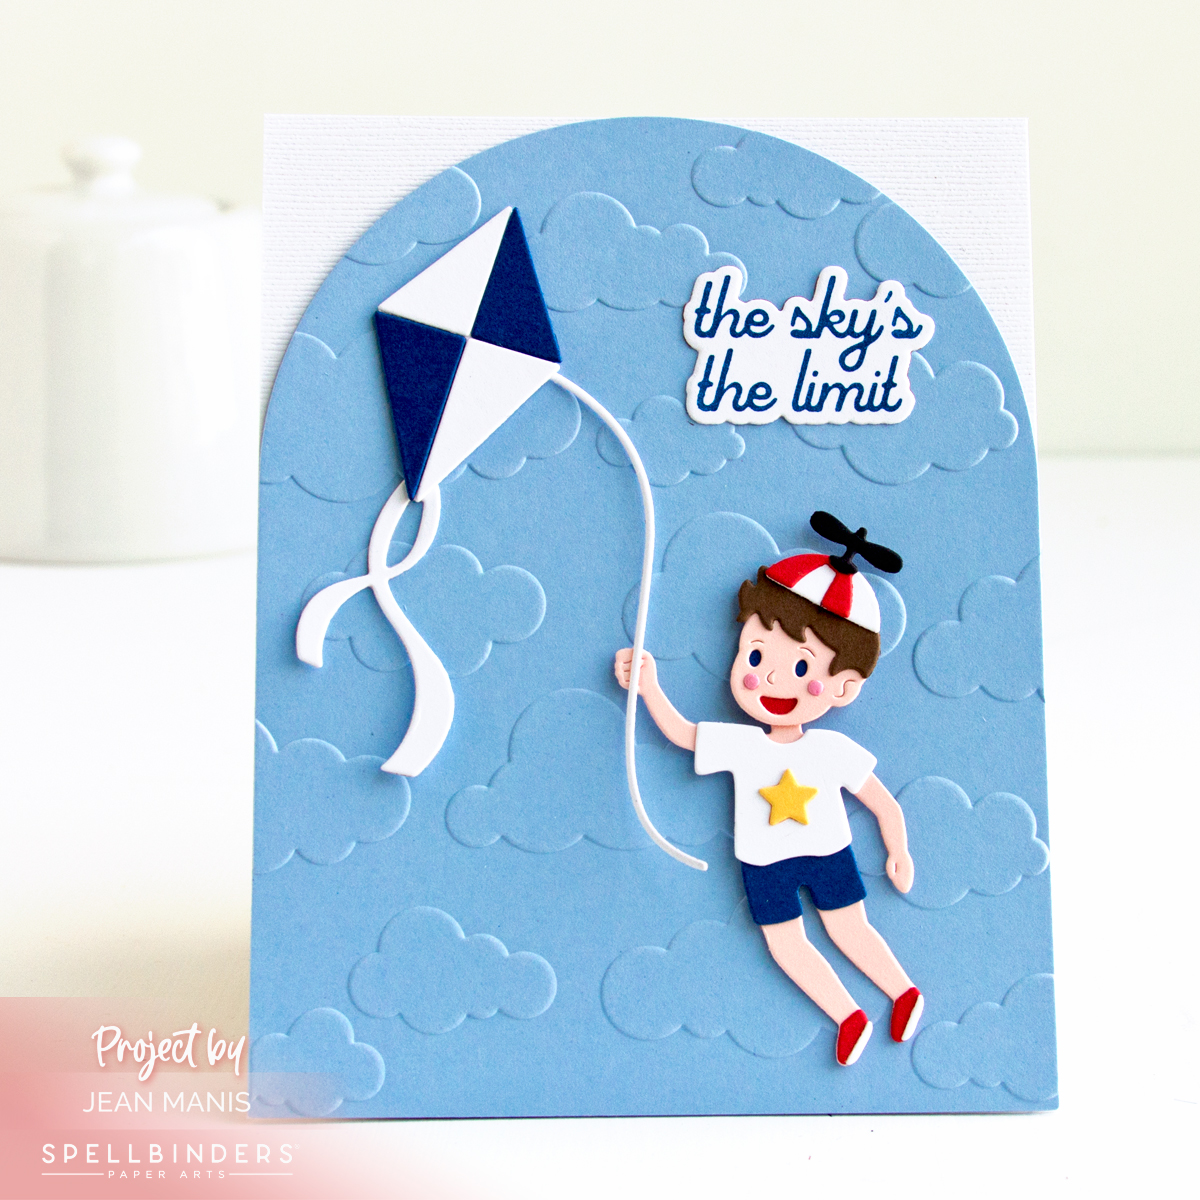
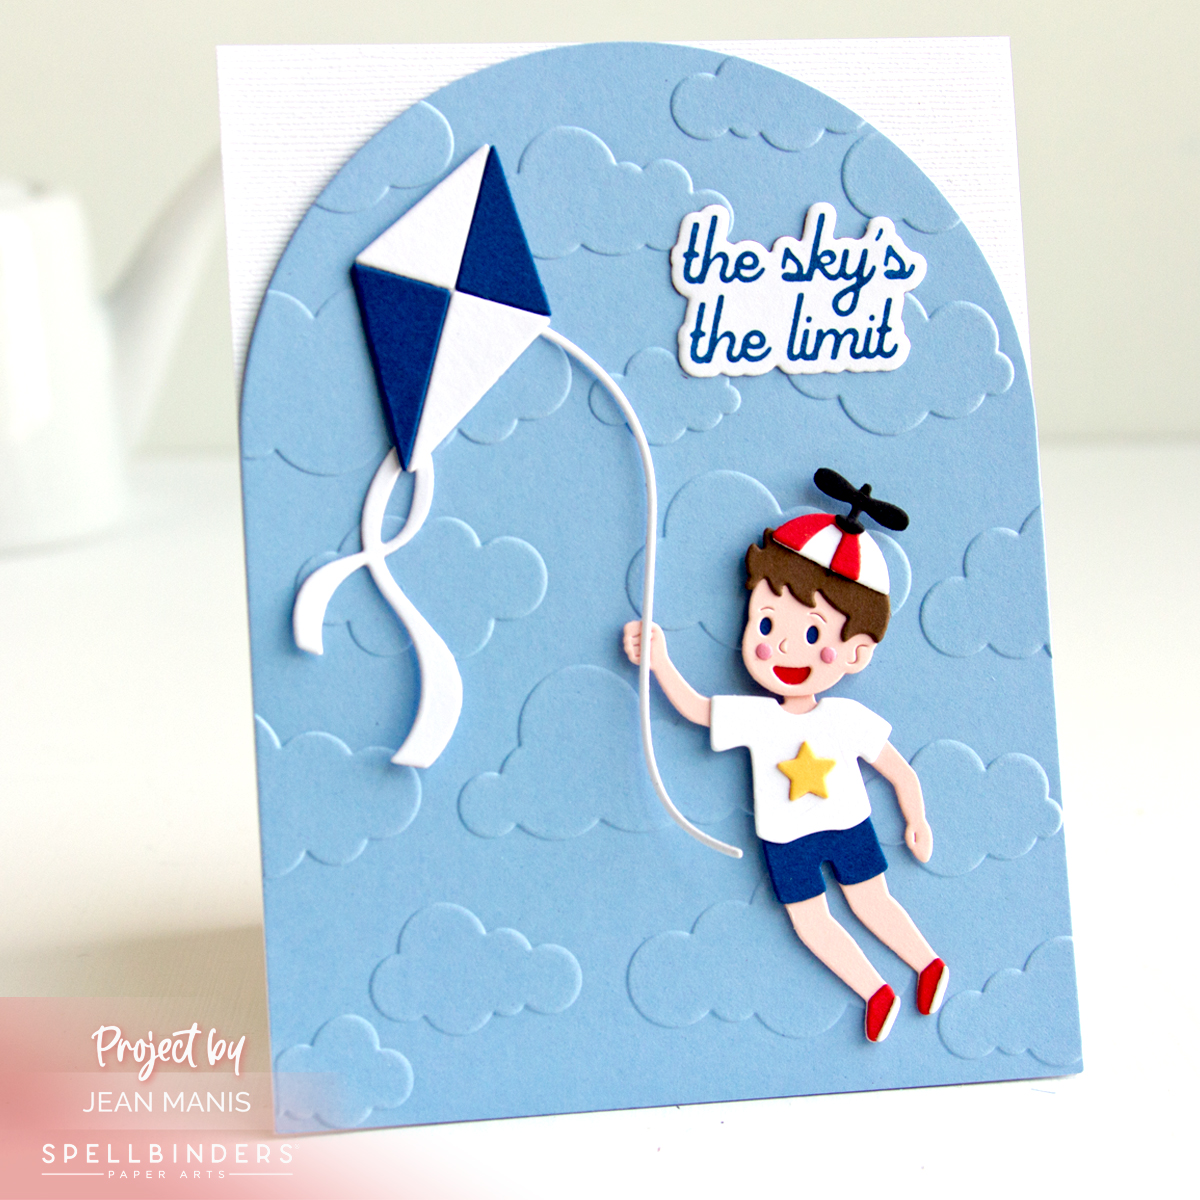
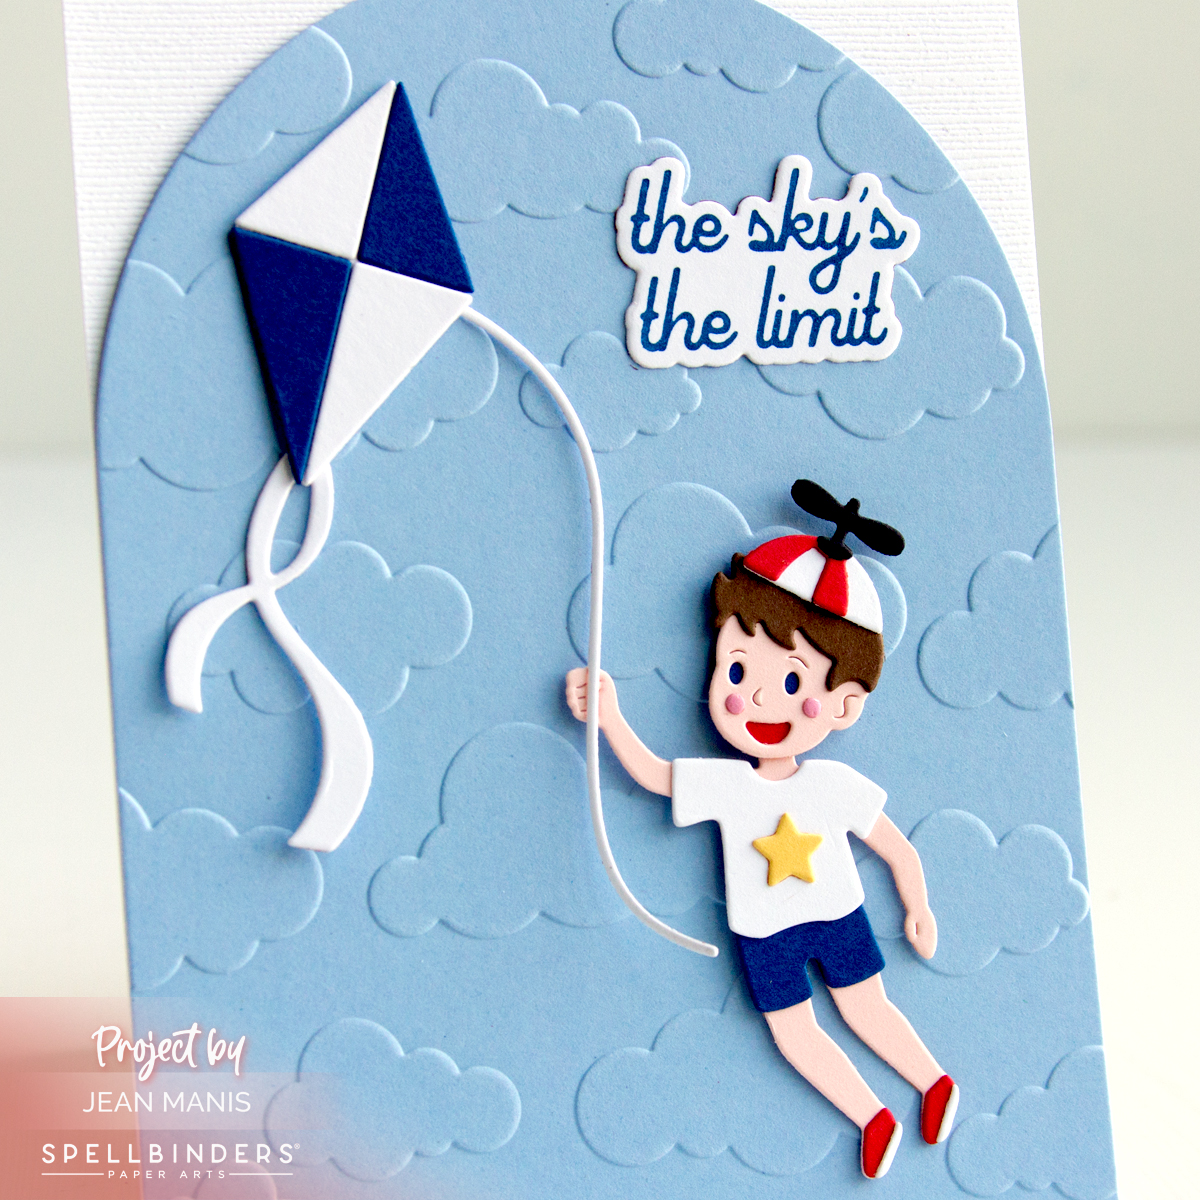
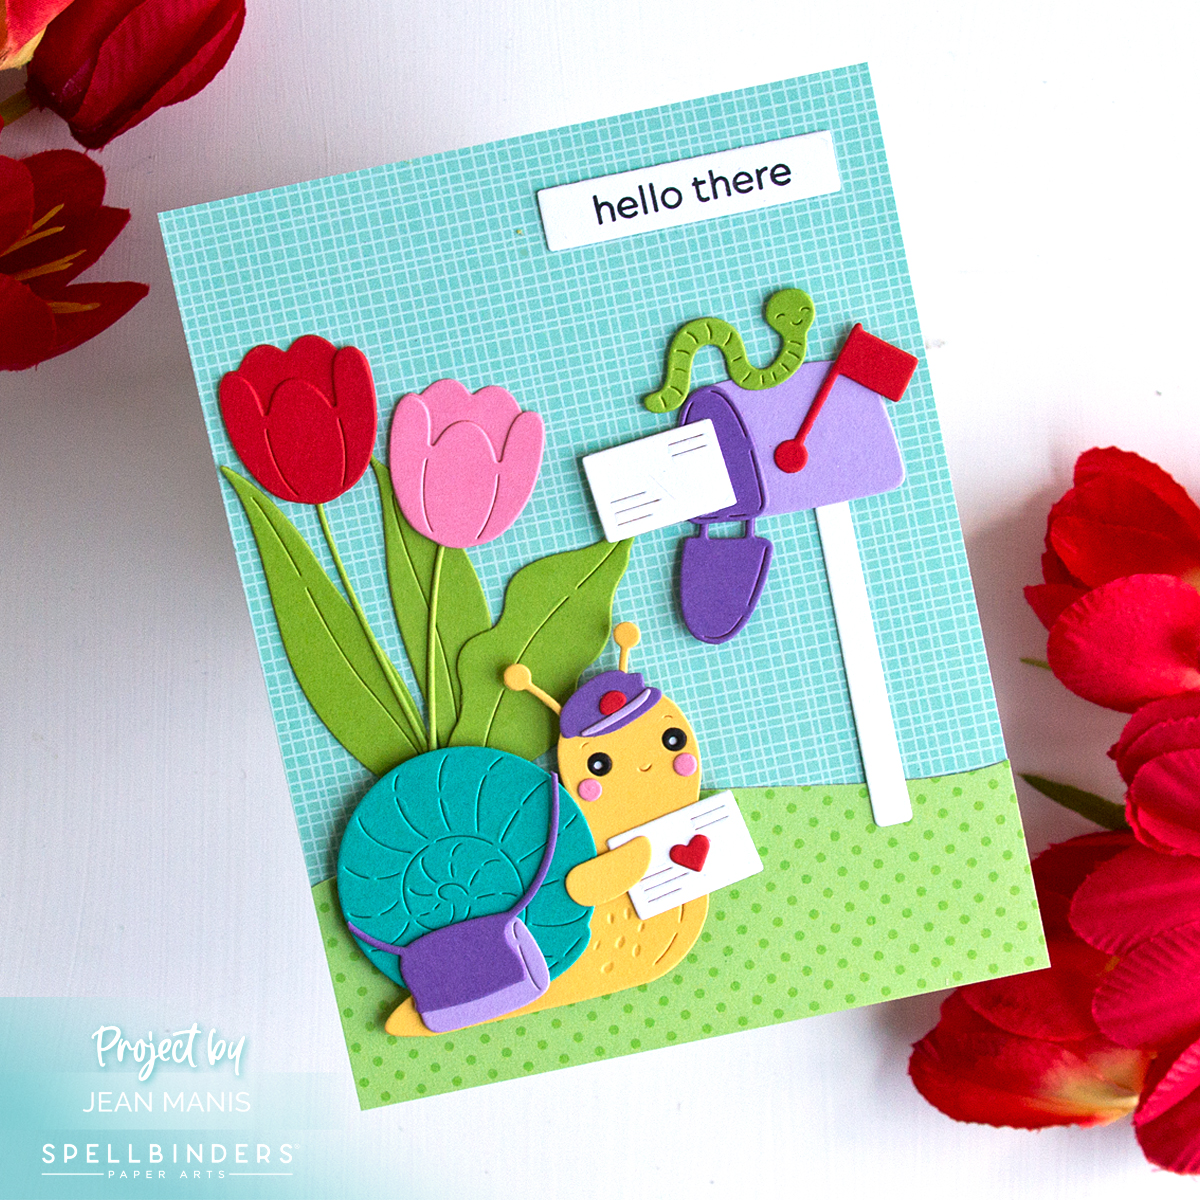
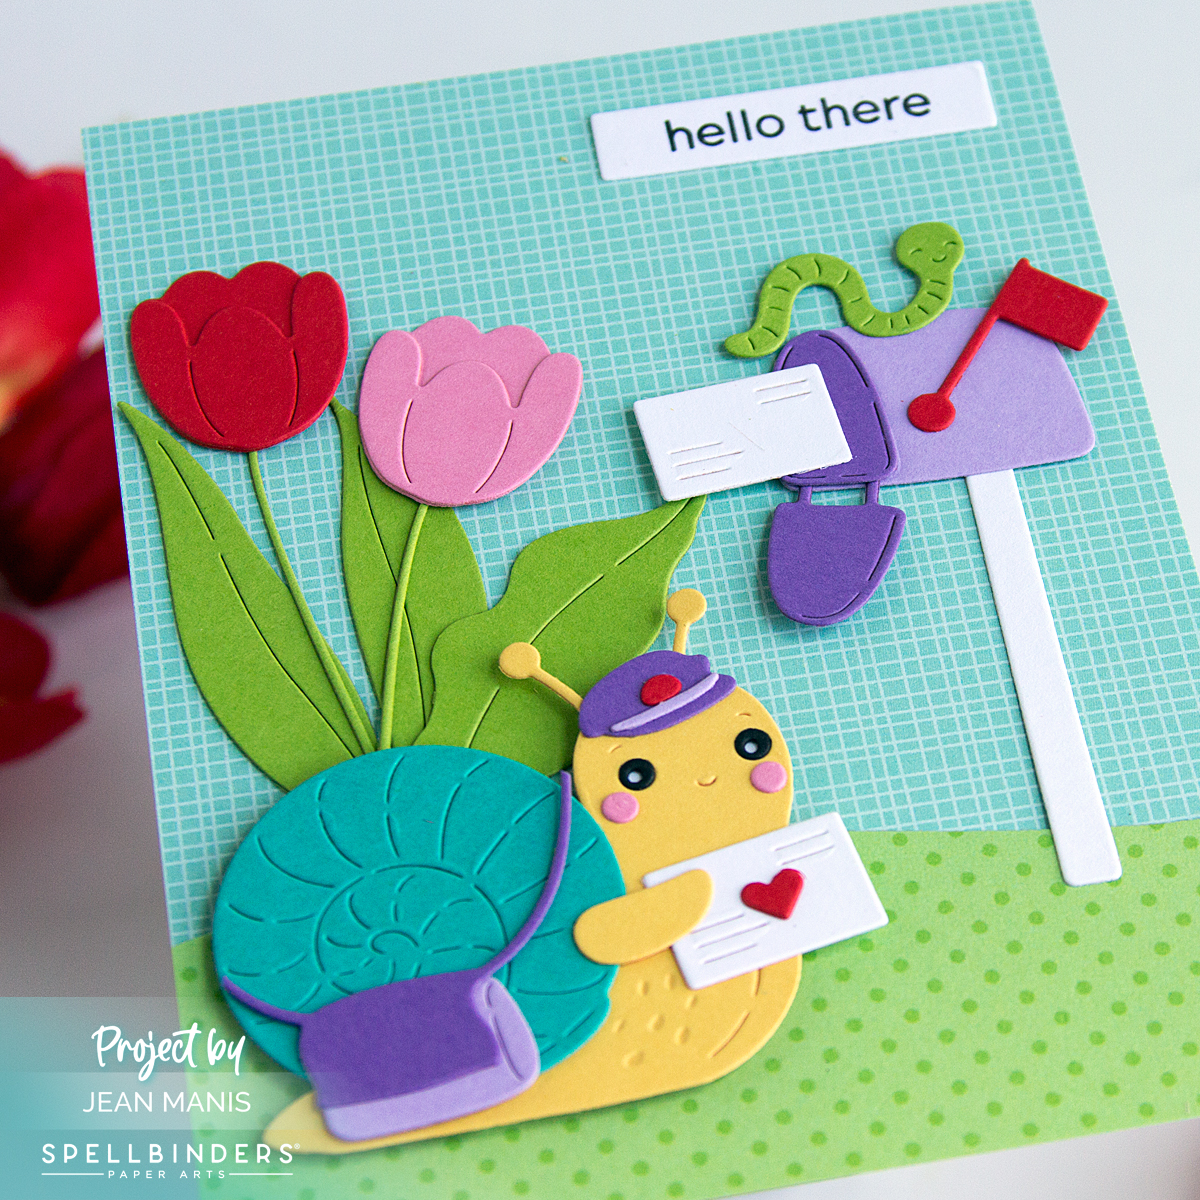
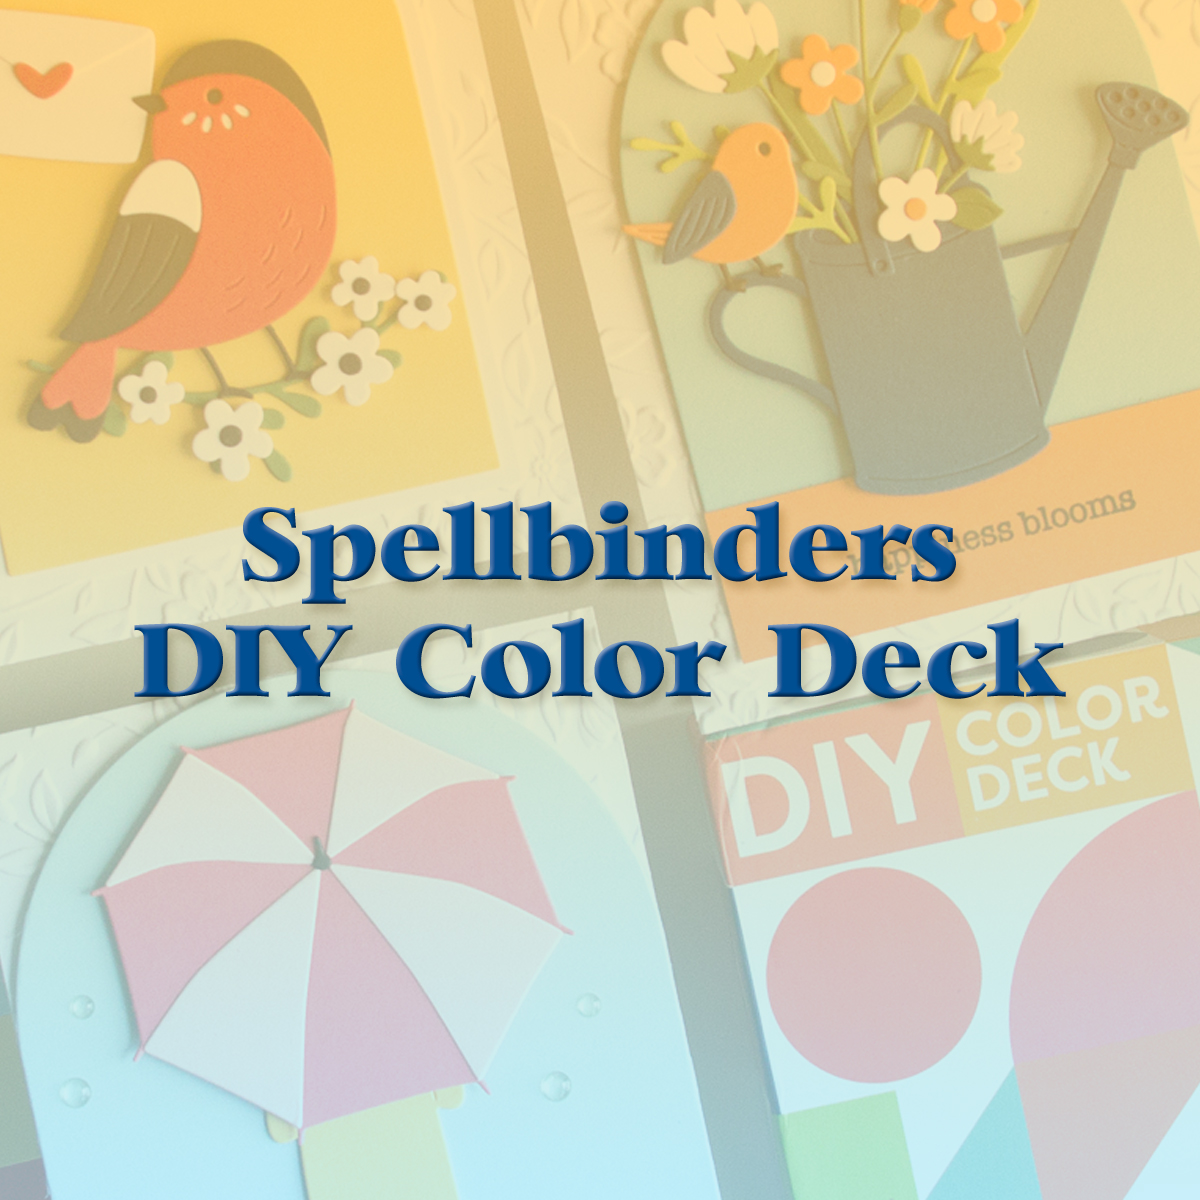
Ever feel stuck when picking colors for your cards? The new DIY Color Deck at Spellbinders is a game-changer—and I had the chance to try it out! In my latest guest post on the Spellbinders blog, I’m sharing three cards inspired by three different images in the deck. I stuck to just one die collection, one embossing folder, and one sentiment set to show how powerful color alone can be. Curious how it all came together? Head over to the Spellbinders blog to explore the full post and all the colorful details!

2025 Spring Cleaning Warehouse Sale


Spellbinders | Charming Frog Card

Hello! Want a fun and unique way to celebrate a new home? This charming handmade card features a crowned frog perched on a mushroom, ready to bring smiles! Created with products in the Jump for Joy Collection at Spellbinders, it’s a fun and whimsical way to celebrate a fresh start. With the playful sentiment, Enjoy Your New Pad, this card is sure to make any new homeowner feel right at home!

Spellbinders | Charming Frog Card

    • Use the curved die in the Frog Prince set to cut the background cardstock.
    • Stamp the Jump for Joy sentiment on the panel and attach to an A2-size card base.
    • Cut the Frog Prince pieces from a variety of cardstock colors and assemble.
    • Use the grass die in the Landscape Edges to create the ground. Trim and add to the prepared card base.
    • Cut additional elements—clouds and snail—with dies in the On Cloud Nine and Mushroom Mansion set.
    • Add elements to the card with dot and foam adhesive.

Spellbinders | Charming Frog Card


Soaring High | Spellbinders Up and Away

Hello! Celebrate life’s big and small victories with a card that soars! Created with the Up and Away die set, part of the Sky’s the Limit Collection by Simon Hurley at Spellbinders. This design captures the joy of a carefree day as a boy flies his kite against a bright, open sky. With the sentiment “The Sky’s the Limit,” this card is a perfect way to encourage a grandchild who’s reached a new milestone—whether it’s finishing a school year, winning a big game, or accomplishing a personal goal. Let them know their potential is endless!

Soaring High | Spellbinders Up and Away

      • Cut an arch of Cascade cardstock with the largest Essential Arches die. Dry-emboss the arch with the Head in the Clouds folder. Add to an A2-size card base.
      • Cut the kite and boy with dies in the Up and Away die set. Assemble.
      • Press the Soaring Sentiments plate in blue ink and cut with the coordinating die.
      • Add the kite, boy, and sentiment to the prepared card base with foam and dot adhesive.

Soaring High | Spellbinders Up and Away


Special Delivery! A Snail Mail Card

Hello! Who says mail delivery has to be boring? My latest card brings a delightful twist to happy mail with a charming little snail on a mission! Using the Snail Mail Post die set—this month’s Small Die of the Month offering at Spellbinders—I crafted a whimsical scene featuring a determined snail, a colorful post box, and cheerful tulips. This snail is ready to spread joy, one letter at a time!

A Snail Mail Card

    • Add patterned paper to an A2-size card base.
    • Cut snail, post box, and tulips with dies in the Snail Mail Post set from a variety of cardstock colors. Assemble.
    • Stamp Message Strips sentiment on Classic White cardstock in black ink and cut with a coordinating die.
    • Cut patterned paper with the sloped line die in the Snail Mail Post set to create the ground. Attach to card base.
    • Add elements to the card with foam squares and dot adhesive.

A Snail Mail Card


Spellbinders Lock & Key Mailbox

Hello! Step back in time with the Spellbinders Lock & Key Mailbox die set—the April Large Die of the Month Club release! This detailed vintage post box captures the romance of handwritten letters and classic correspondence. With the sentiment built right in, it serves as both the focal point and a time-saving element, making assembly effortless. Whether you’re crafting for a special occasion or simply sending a heartfelt note, this design brings nostalgia and charm to every creation.

Spellbinders Lock & Key Mailbox

    • Cover an A2-card base with patterned paper.
    • Cut the mailbox, letter, and flowers with dies in the Lock & Key Mailbox set. Use the mailbox outline die to cut black foam. Assemble the mailbox, backing the assembly with the foam piece. Adhere to the card base.
    • Assemble the flower and envelope, slipping elements into the mailbox slot. Glue key to the card.

Spellbinders Lock & Key Mailbox

Spellbinders Club Rewind Sale