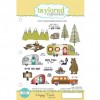
Welcome to Day 3 of the Taylored Expressions May Sneak Peeks! The wait if almost over! May products will be released tomorrow – Thursday, May 5 @ 7 AM PST! Today’s projects feature new patriotic products (good for Memorial Day, 4th of July, military, etc.)!
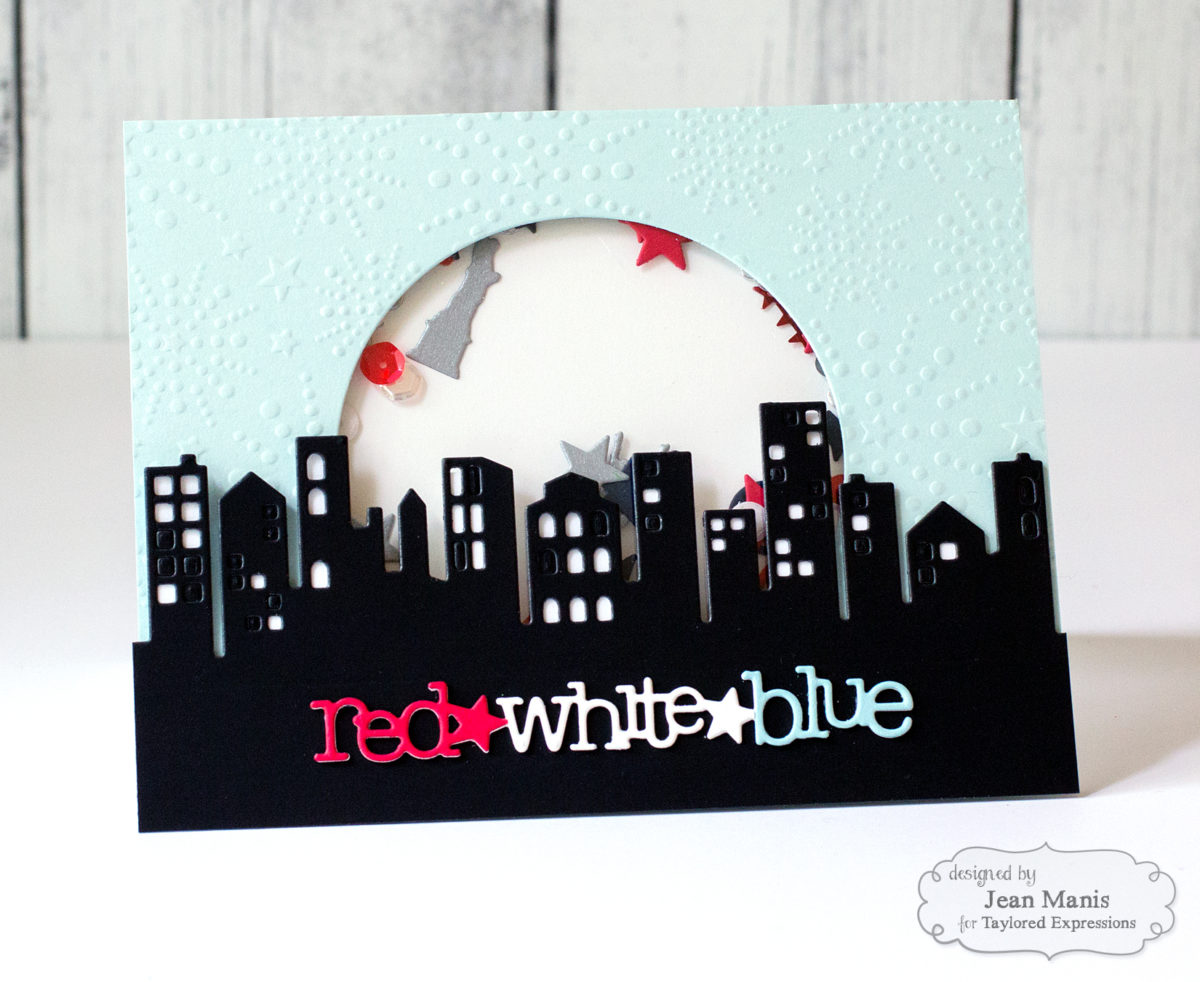
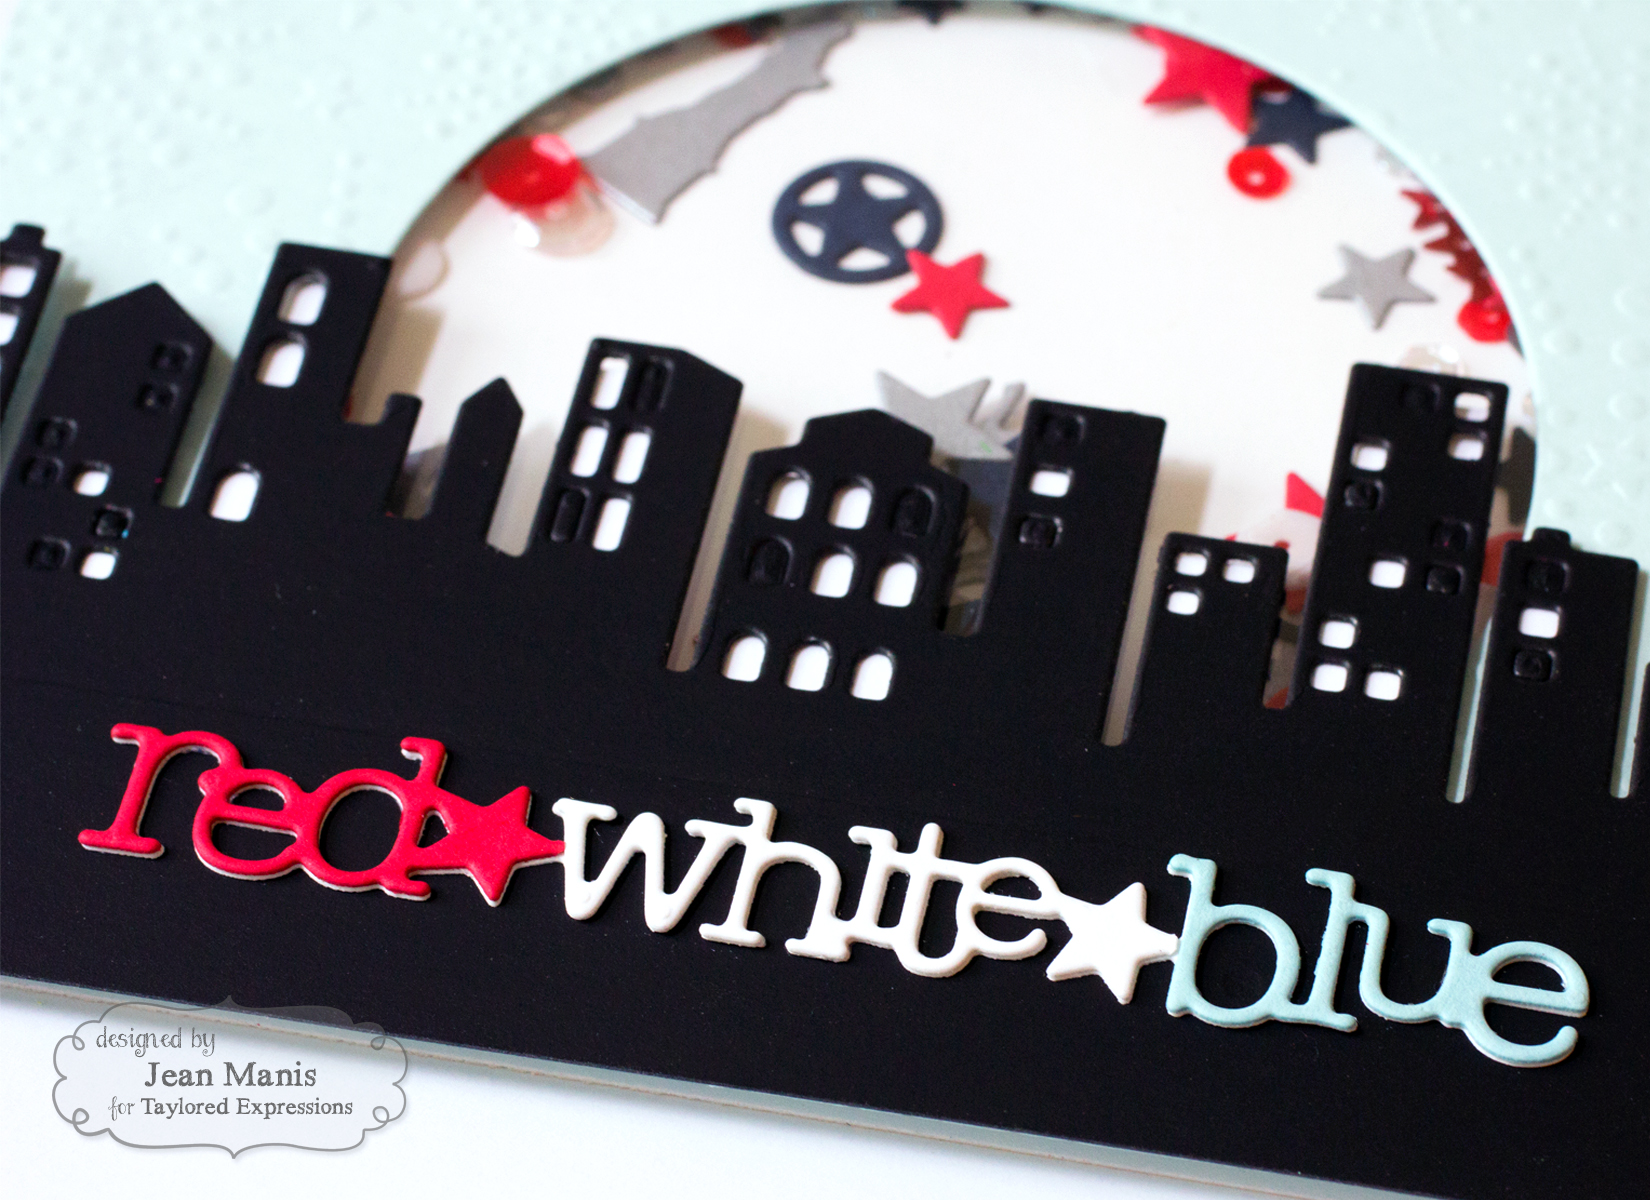
My first card illustrates a 4th of July celebration in the city.
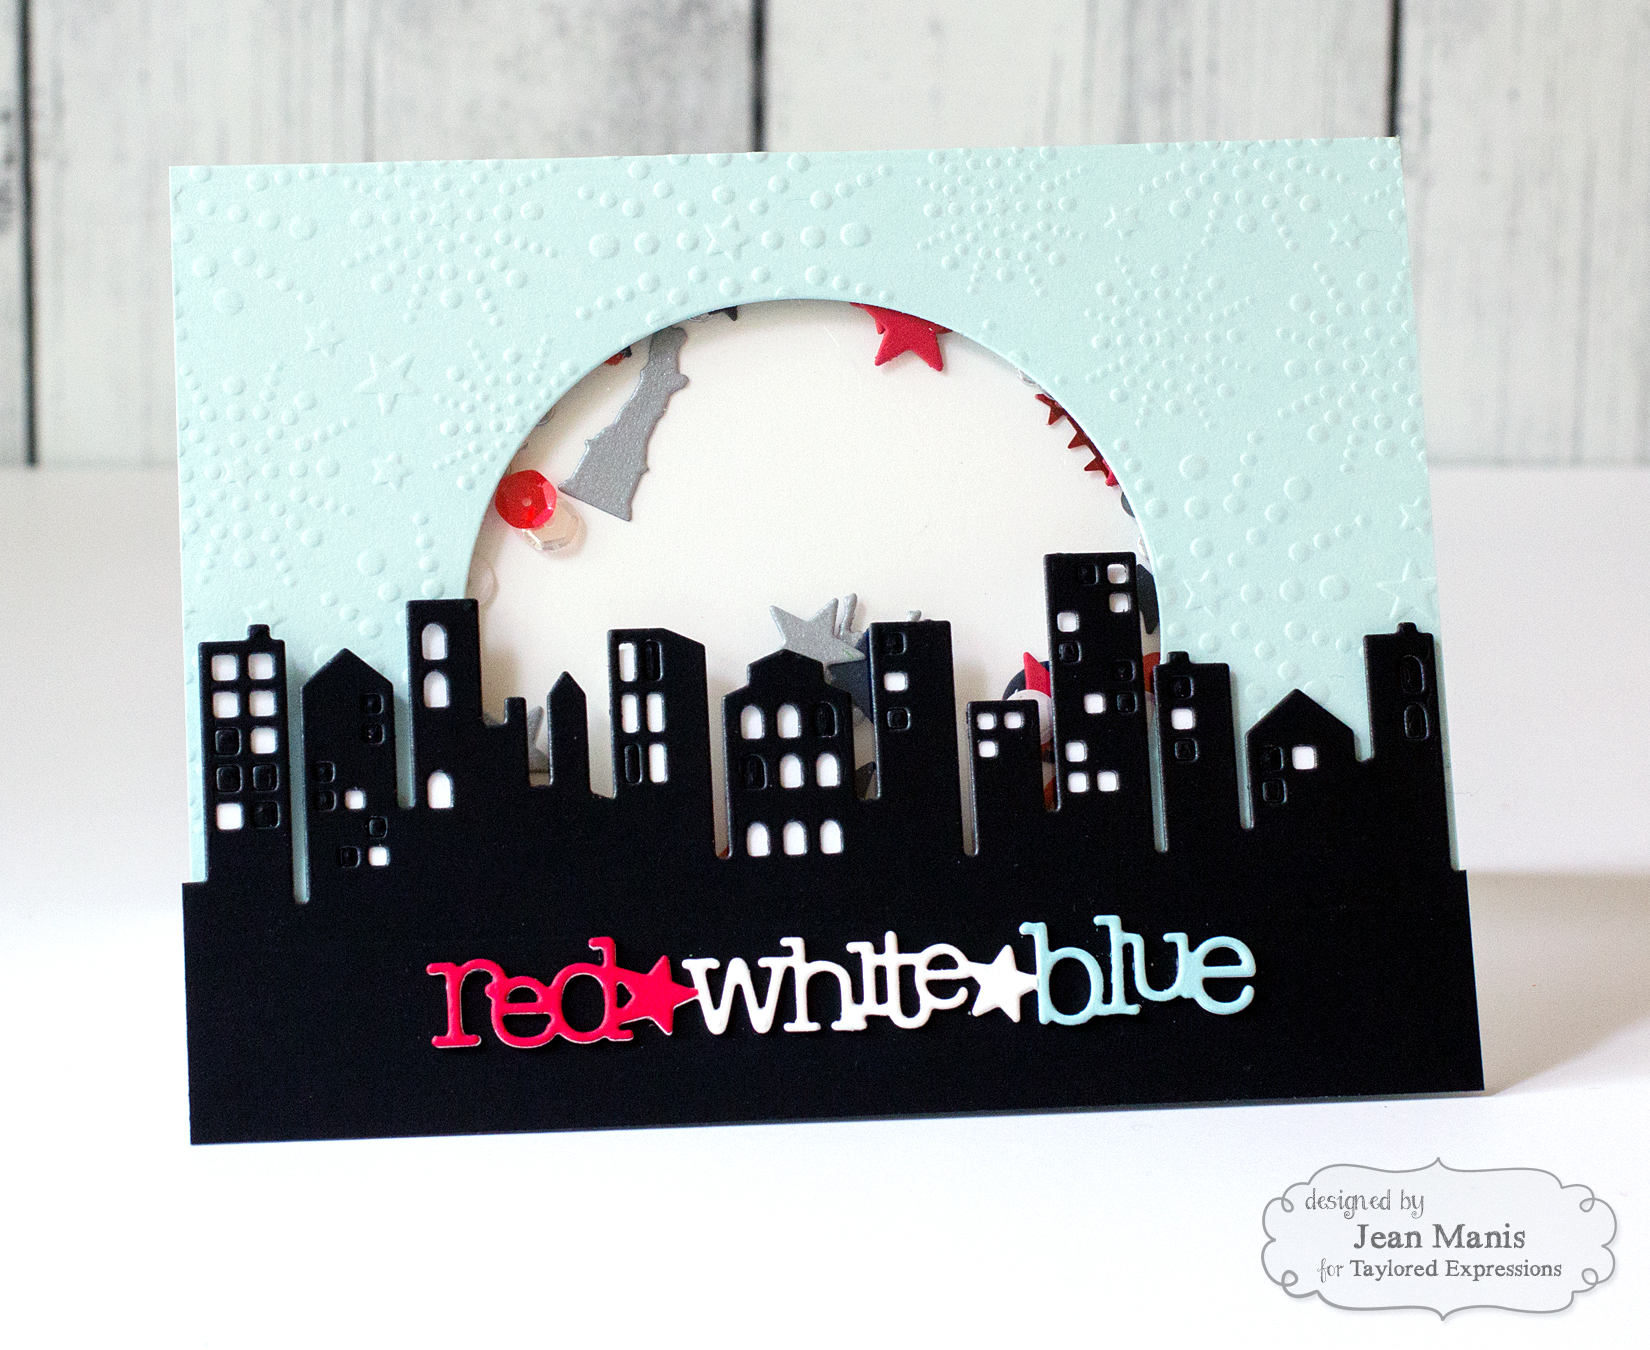
I created a shaker card, which I filled with pieces cut with the Little Bits – Patriotic Confetti die. (I also picked out red, clear and white sequins from several other TE sequin sets.) I backed the skyline with cardstock (I didn’t knock out all of the windows of the skyscrapers.) The sky was dry-embossed with the Fireworks folder, from which I cut a circle (backing the circle with an acrylic sheet). I cut the Americana Script from white cardstock and again from red, white and blue cardstock. I trimmed off the word “red” and one of the stars, trimmed off the word “white” and trimmed off the word “blue” (respectively from the red, white and blue cardstock sentiments) carefully adhering them to the sentiment cut from white.
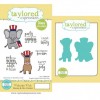
Supplies (items in bold will be released May 5):
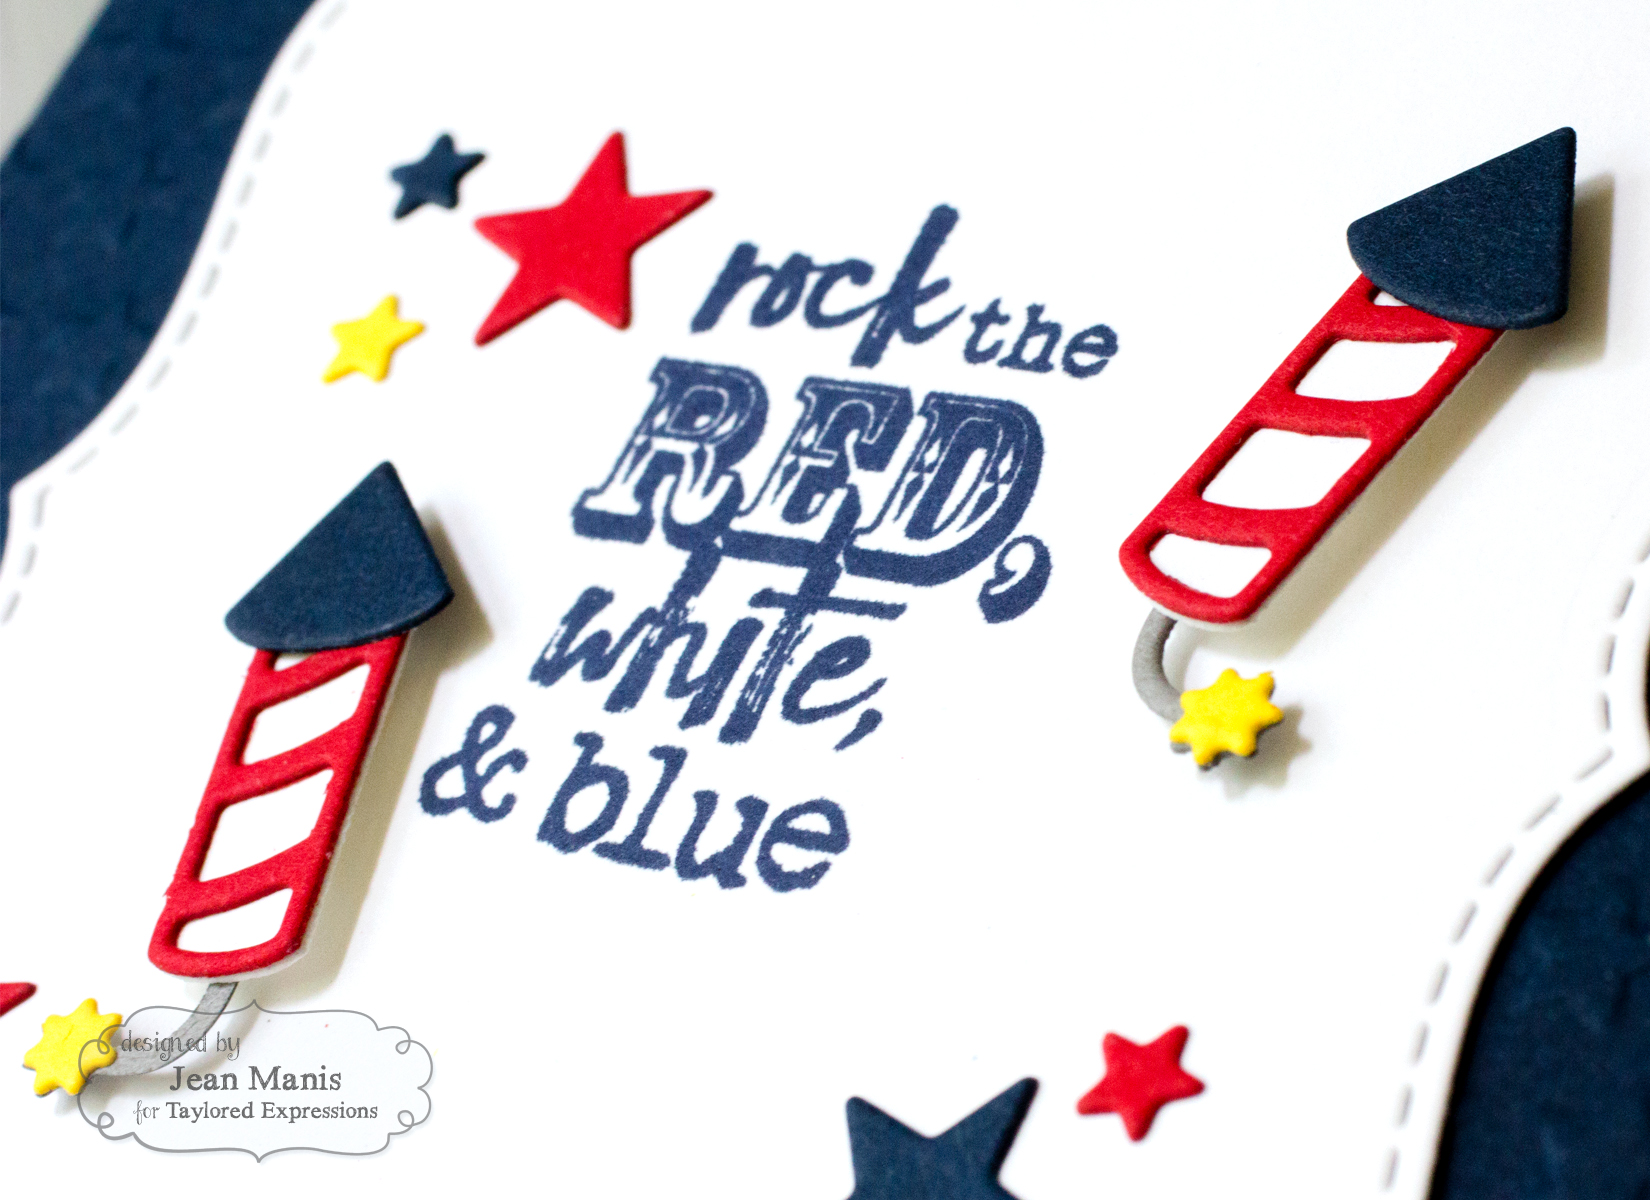
My next project combines the Little Bits – Fireworks and Little Bits – Patriotic Confetti with a stamped sentiment from the Patriotic Pals Stamp & Die Combo set.
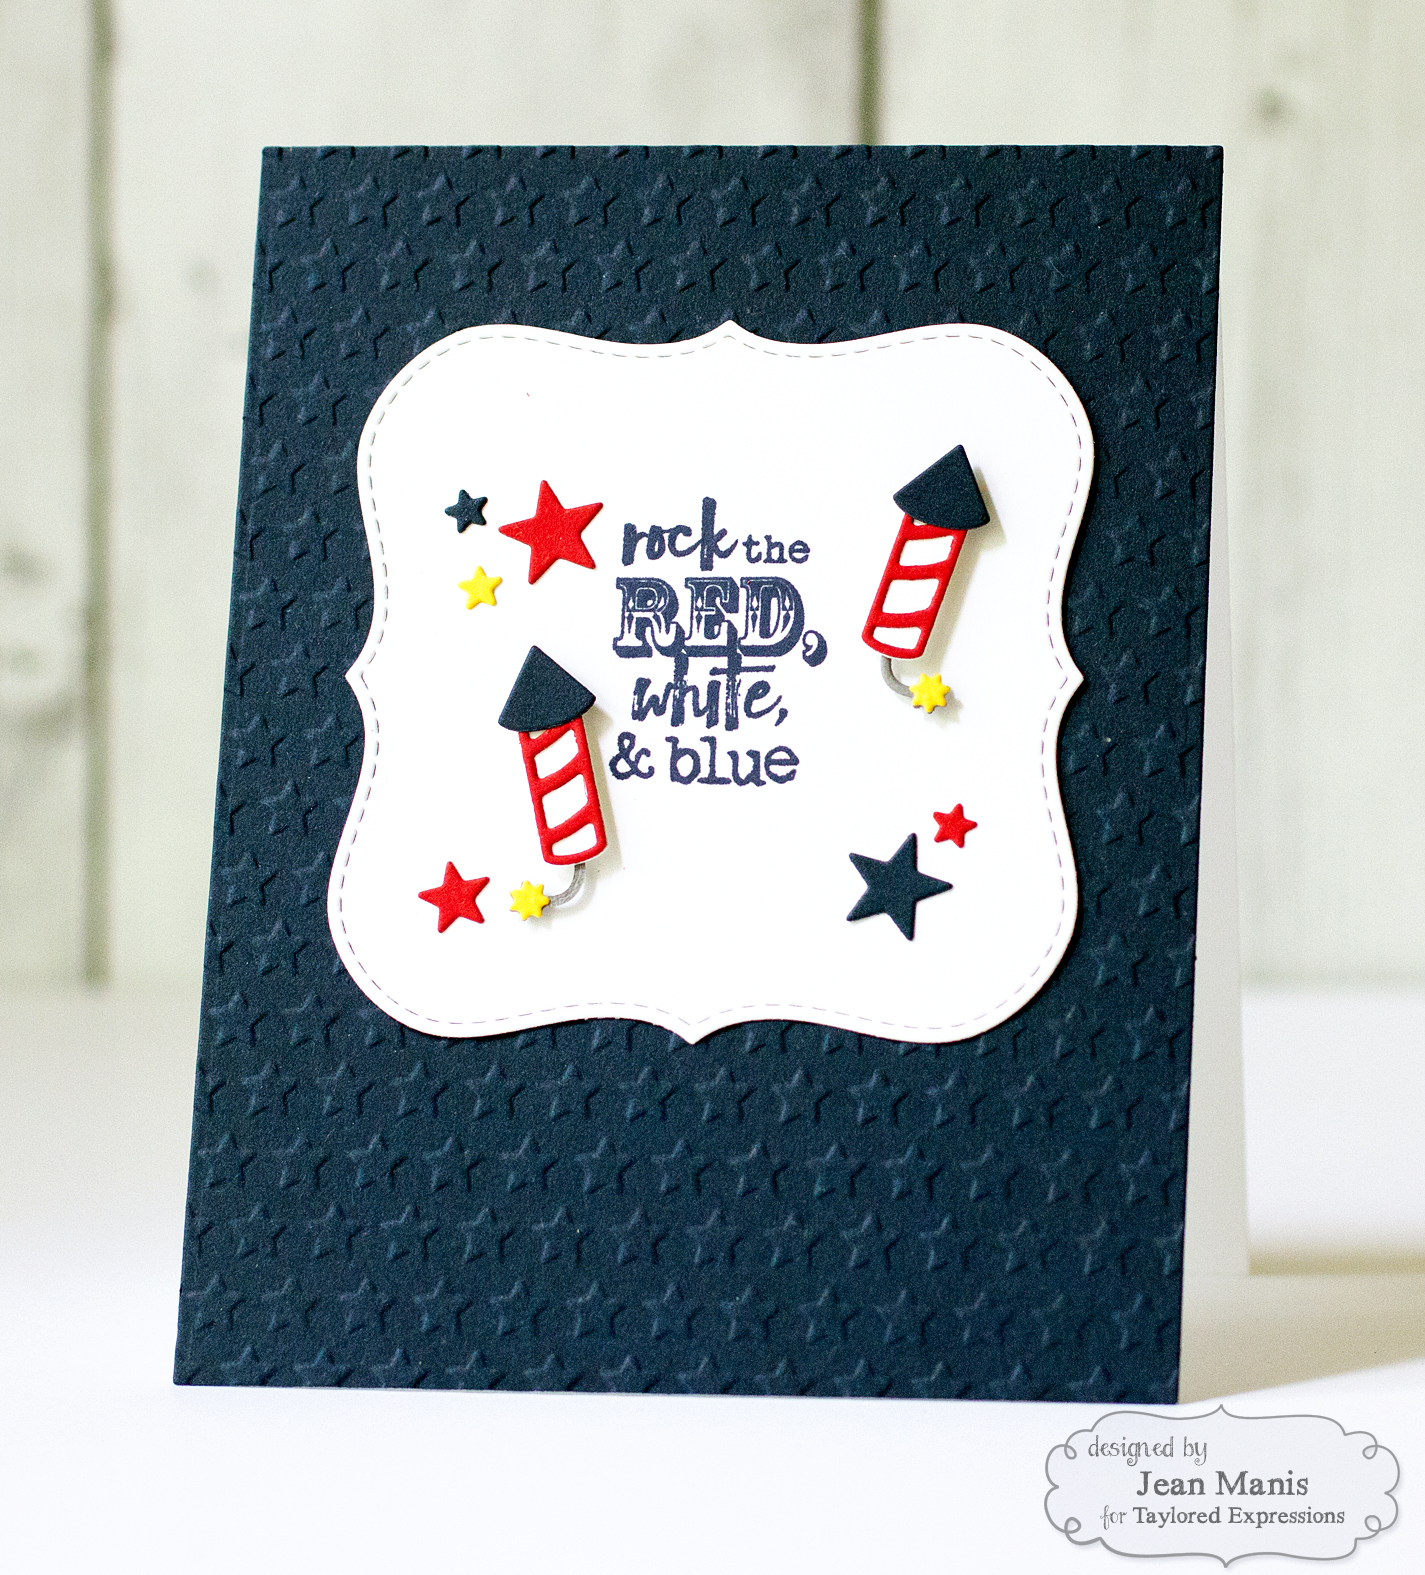
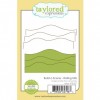
I cut the stamped sentiment with one of the Stitched Bracket Stacklets dies and attached the Little Bits pieces with glue and foam adhesive. The bracket was attached to a navy cardstock panel dry-embossed with the Lots of Stars folder. I’m a big fan of red, white and blue and the star motif!
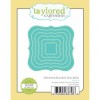
Supplies (items in bold will be released May 5):
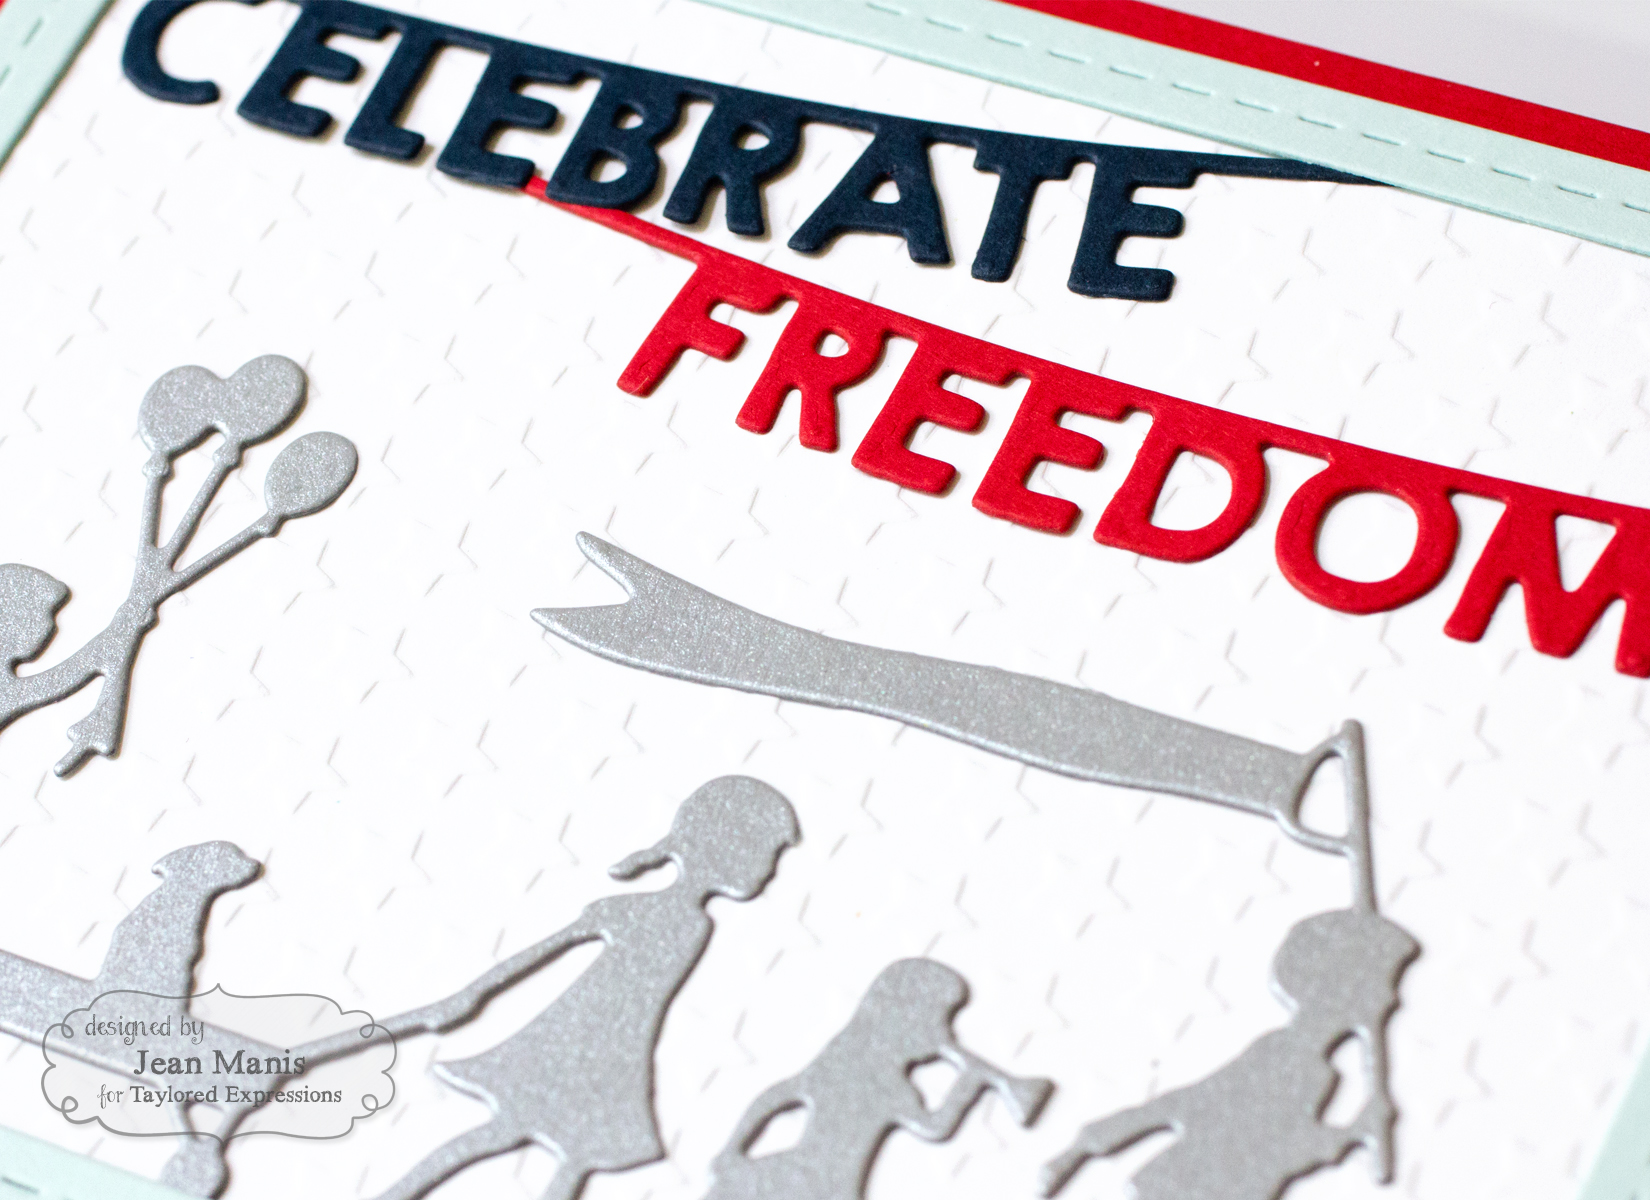
My final red, white and blue project is inspired by a hometown 4th of July parade (the neighborhood in which I grew up had one, and it was fun to have my sons participate in the same parade as well).
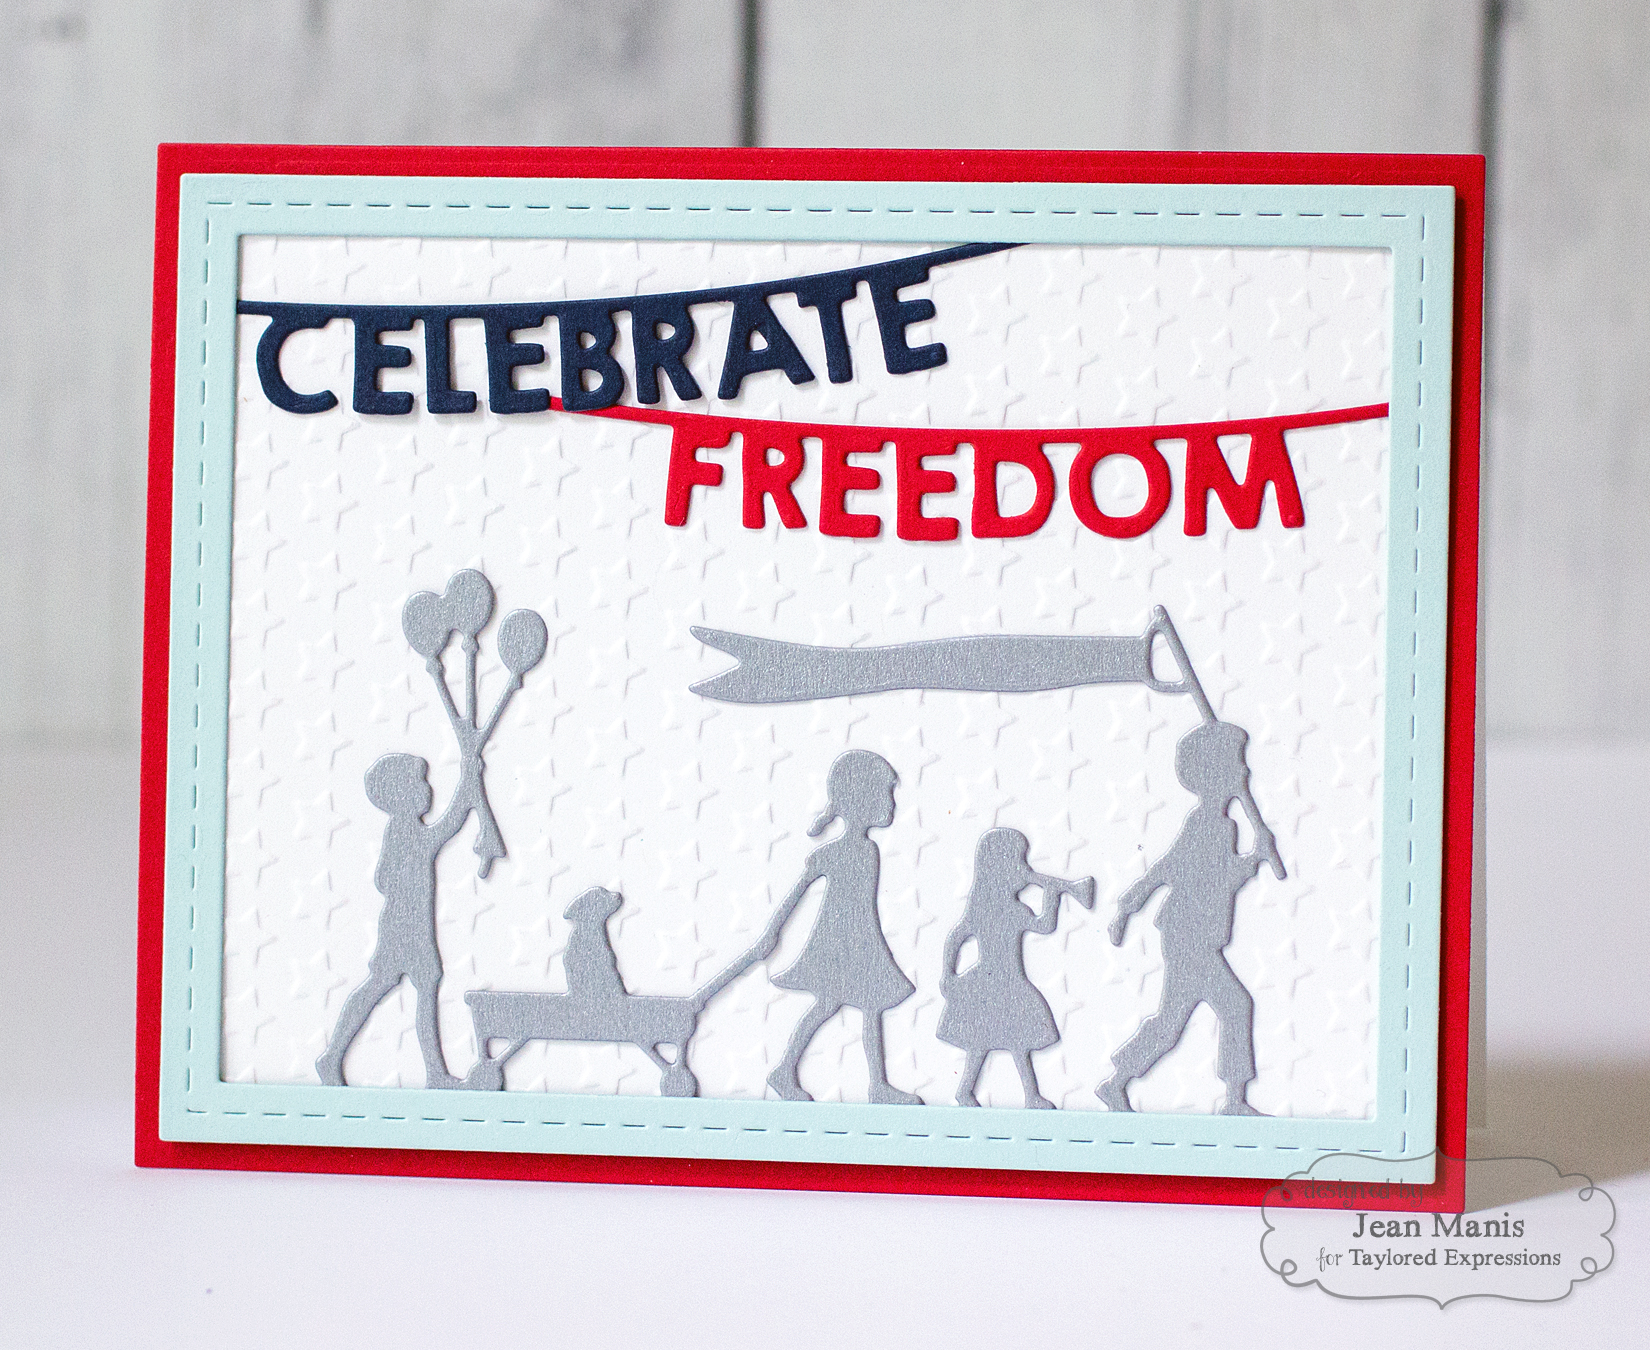
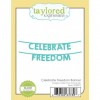
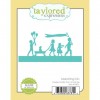
I used the Lots of Stars folder for the dry-embossed background, to which I added the Marching On silhouette, cut from silver metallic cardstock. I added the Celebrate Freedom Banner pieces (one tucked under the other) and finished the card off with a frame cut from the Stitched Frame Stacklets 1 set. These frames are handy for giving a finished feel.
Supplies (items in bold will be released May 5):
Taylored Expressions is celebrating Release Week with some fabulous giveaways! Visit the TE Blog to answer Taylor’s Question of the Day for a chance to win a prize from the latest release!
Thanks for visiting! Head on over to the TE Blog to see more projects and product information, as well as a complete list of participating designers!