CottageCutz | Gnome on Skis

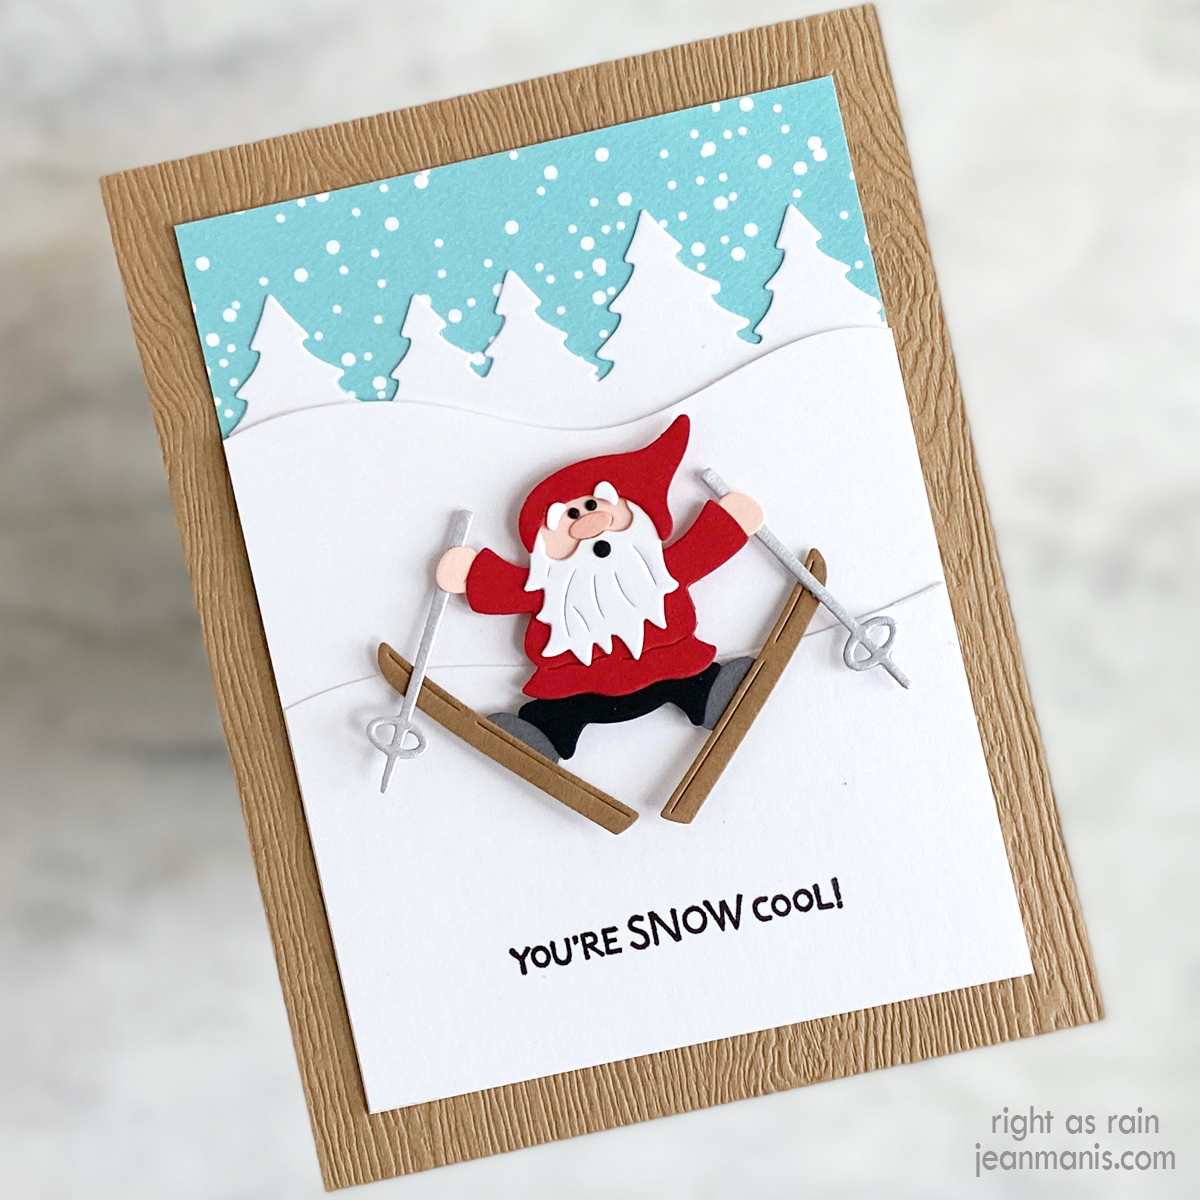
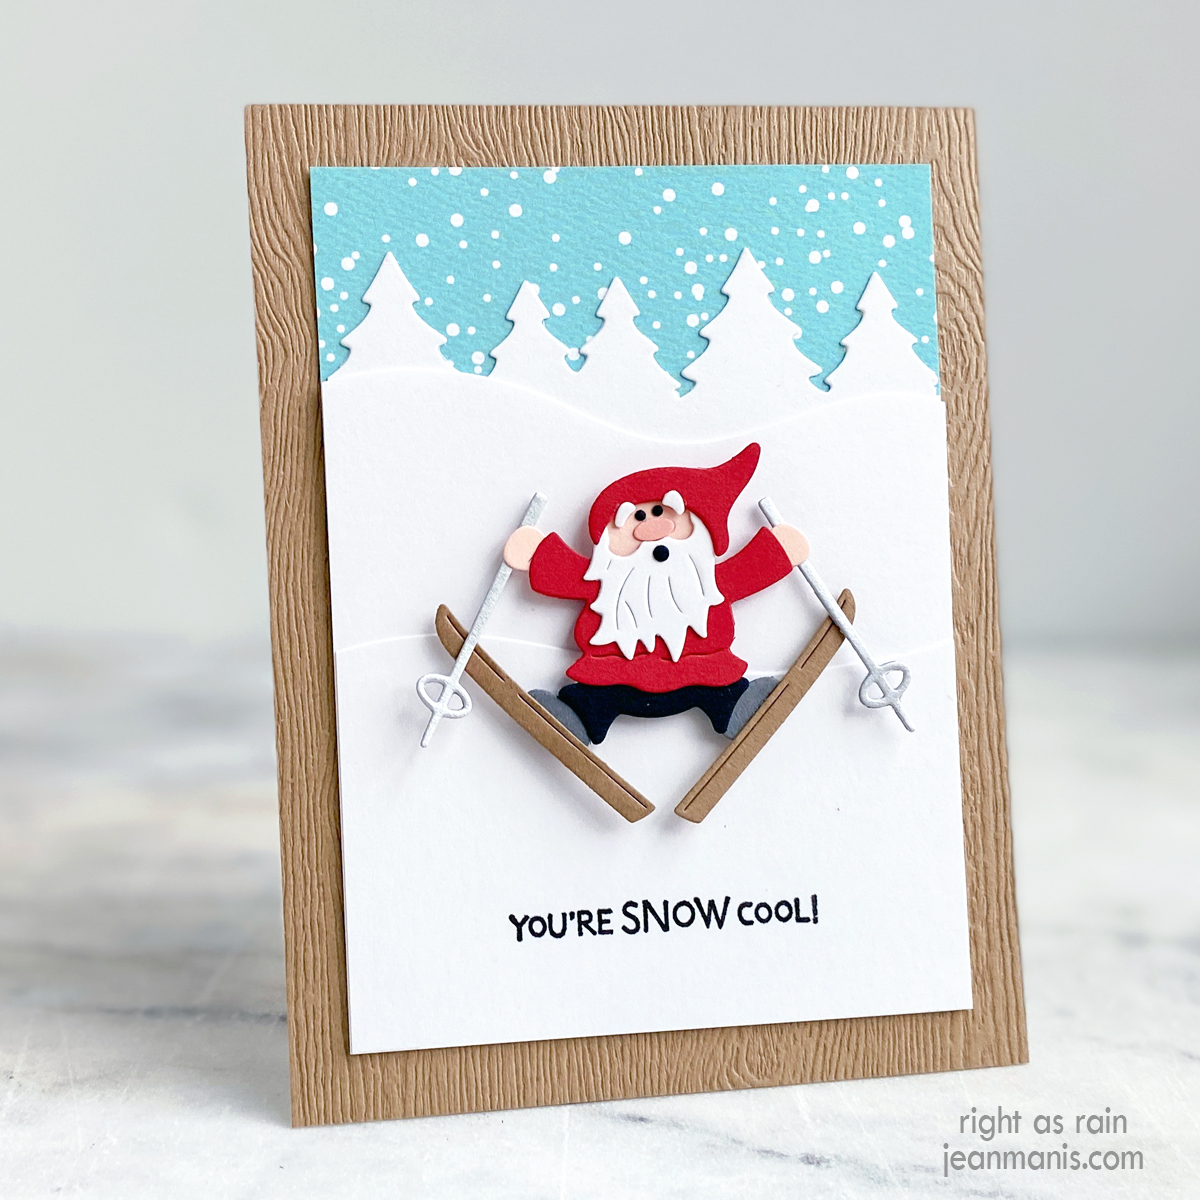
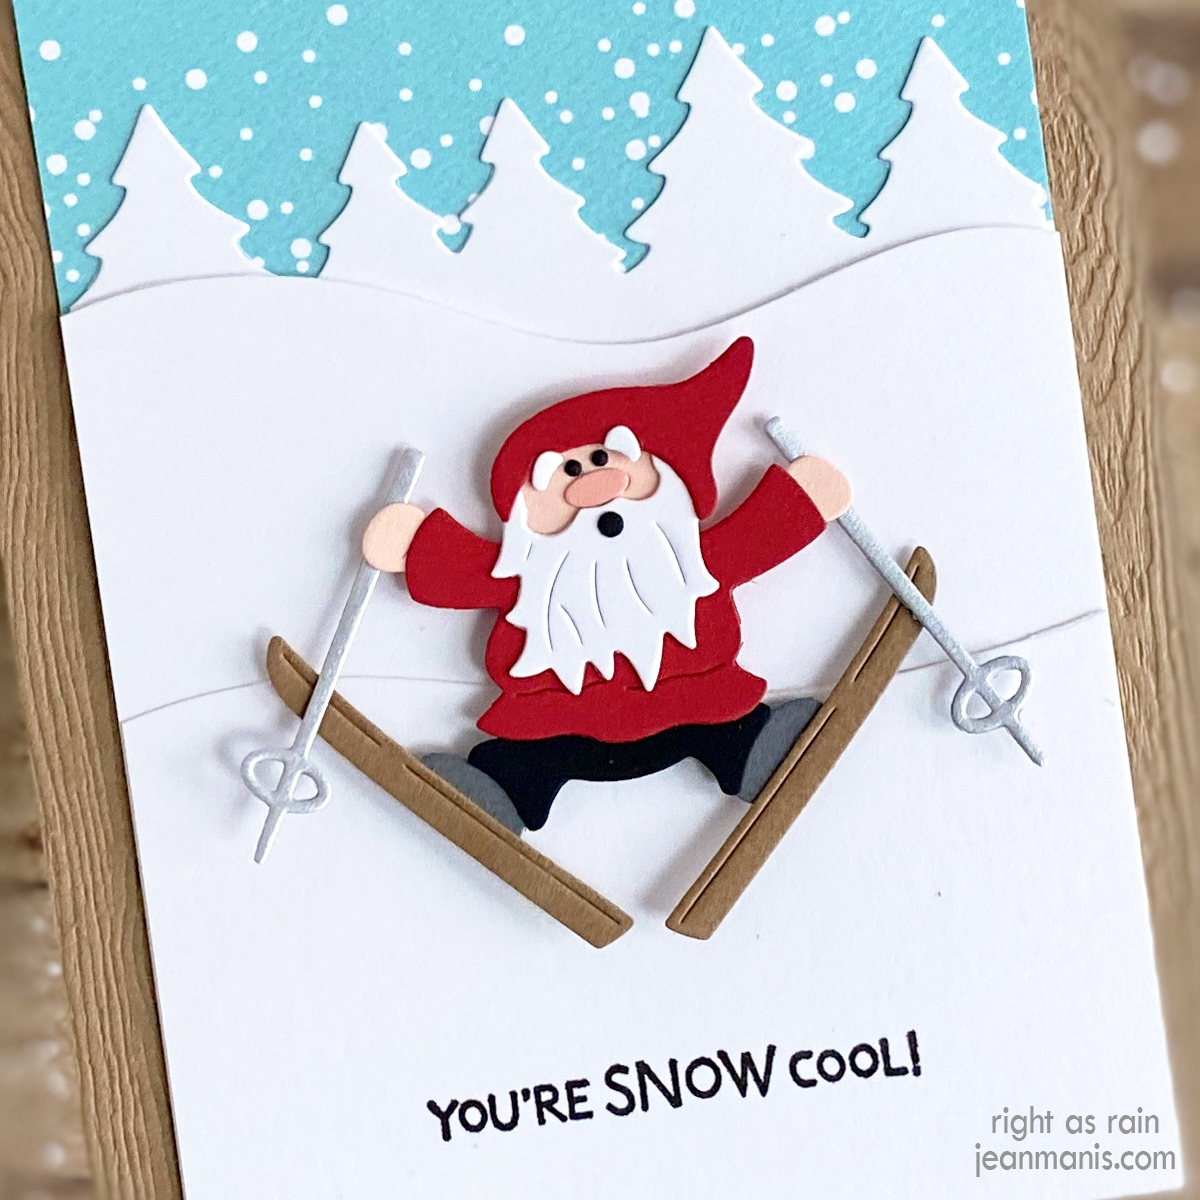
Hello! As you may have read, I am focusing on winter-themed cards to extend the season of the cute stamps and dies that are holiday-related. A skiing gnome adds a whimsical and charming touch to a card suitable for a variety of occasions including a winter birthday or friendship card. There is something endearing about a gnome navigating the slopes (or is he?)!
Cottage Cutz | Gnome on Skis

I have had the CottageCutz Skiing Gnomes die set for quite some time and it was gathering dust. As such, I am entering the card in the NBUS Challenge #57 (Never-Before-Used-Schtuff). The die set is still available directly from Scrapping Cottage or from Frantic Stamper.

    • To begin, I created an A2-size card base from Light Brown Woodgrain cardstock.
    • Next, I cut the gnome from a variety of cardstock colors and assembled him. There is no die in the set for the eyes or the mouth. I created the eyes using a die in the Impression Obsession Santa Mug die set and the mouth using a die in an older Taylored Expressions Little Bits set.
    • I used one of the Impression Obsession Tree Line dies to create the back of the landscape.
    • I stamped the sentiment in VersaFine ink using a stamp in the Stampin’ Up Snowbody Better set (the set is from several years ago, and I have never used it before) on to Snowdrift cardstock. I cut the top of the stamped panel measuring 3 1/2″ wide with a die in the MFT Snow Drifts die set (now retired). I cut another snowdrift panel with the other die in the same set.
    • I assembled the three landscape layers – tree line, snowdrift, and snowdrift with sentiment – and added the assembly (measuring 3 1/2″ wide by 4 3/4″ tall) to patterned paper. That assembly was added to the card base. Finally, I added the gnome with foam adhesive.
Cottage Cutz | Gnome on Skis


A Nautical Hello

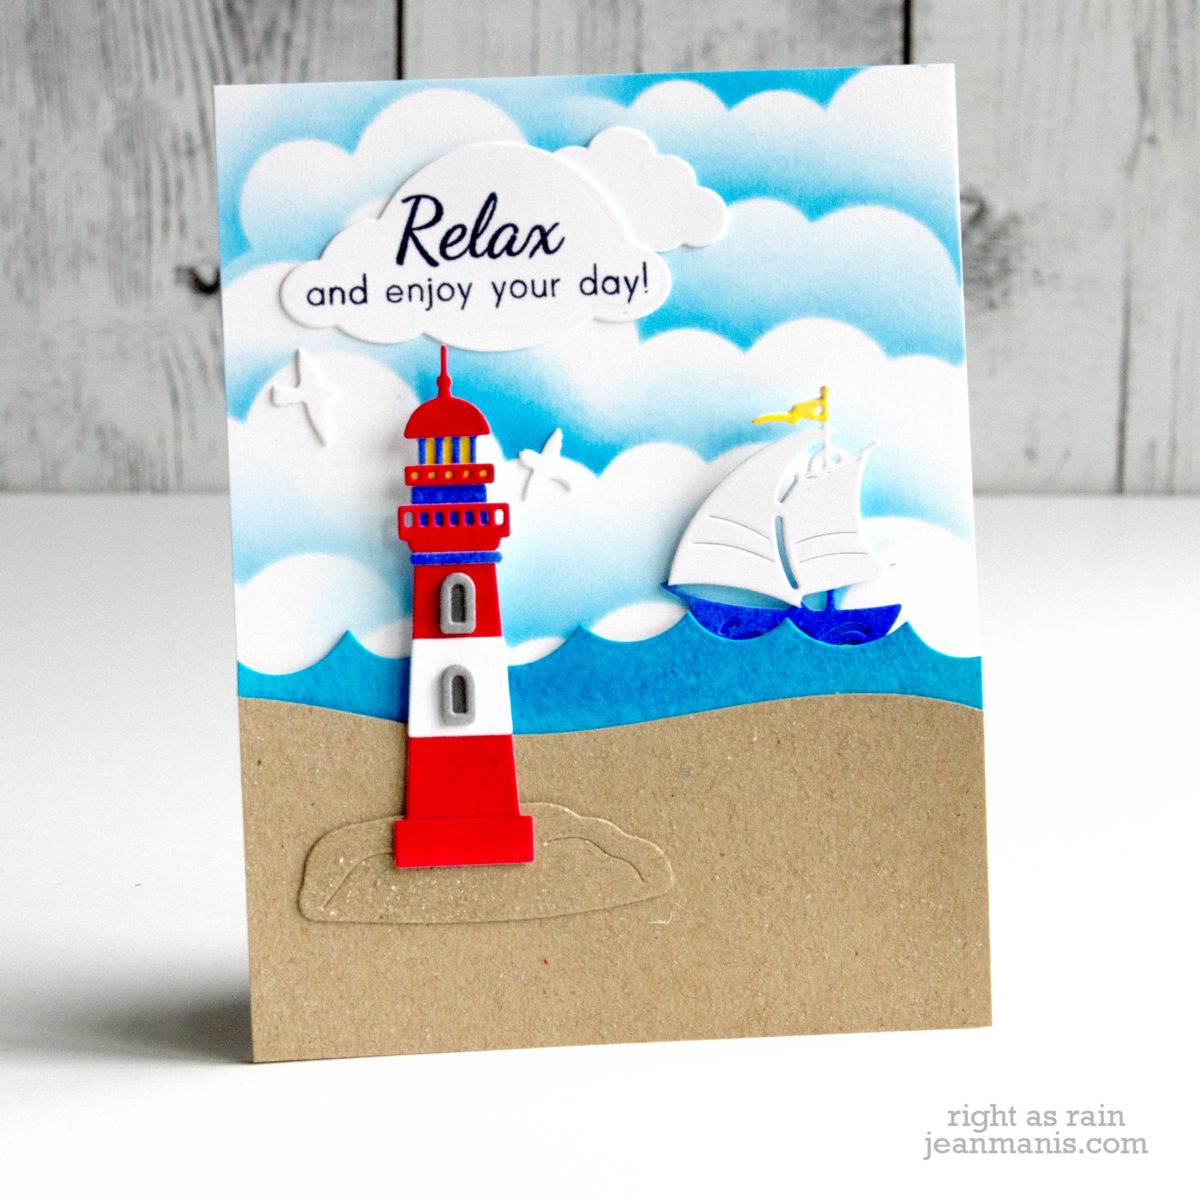
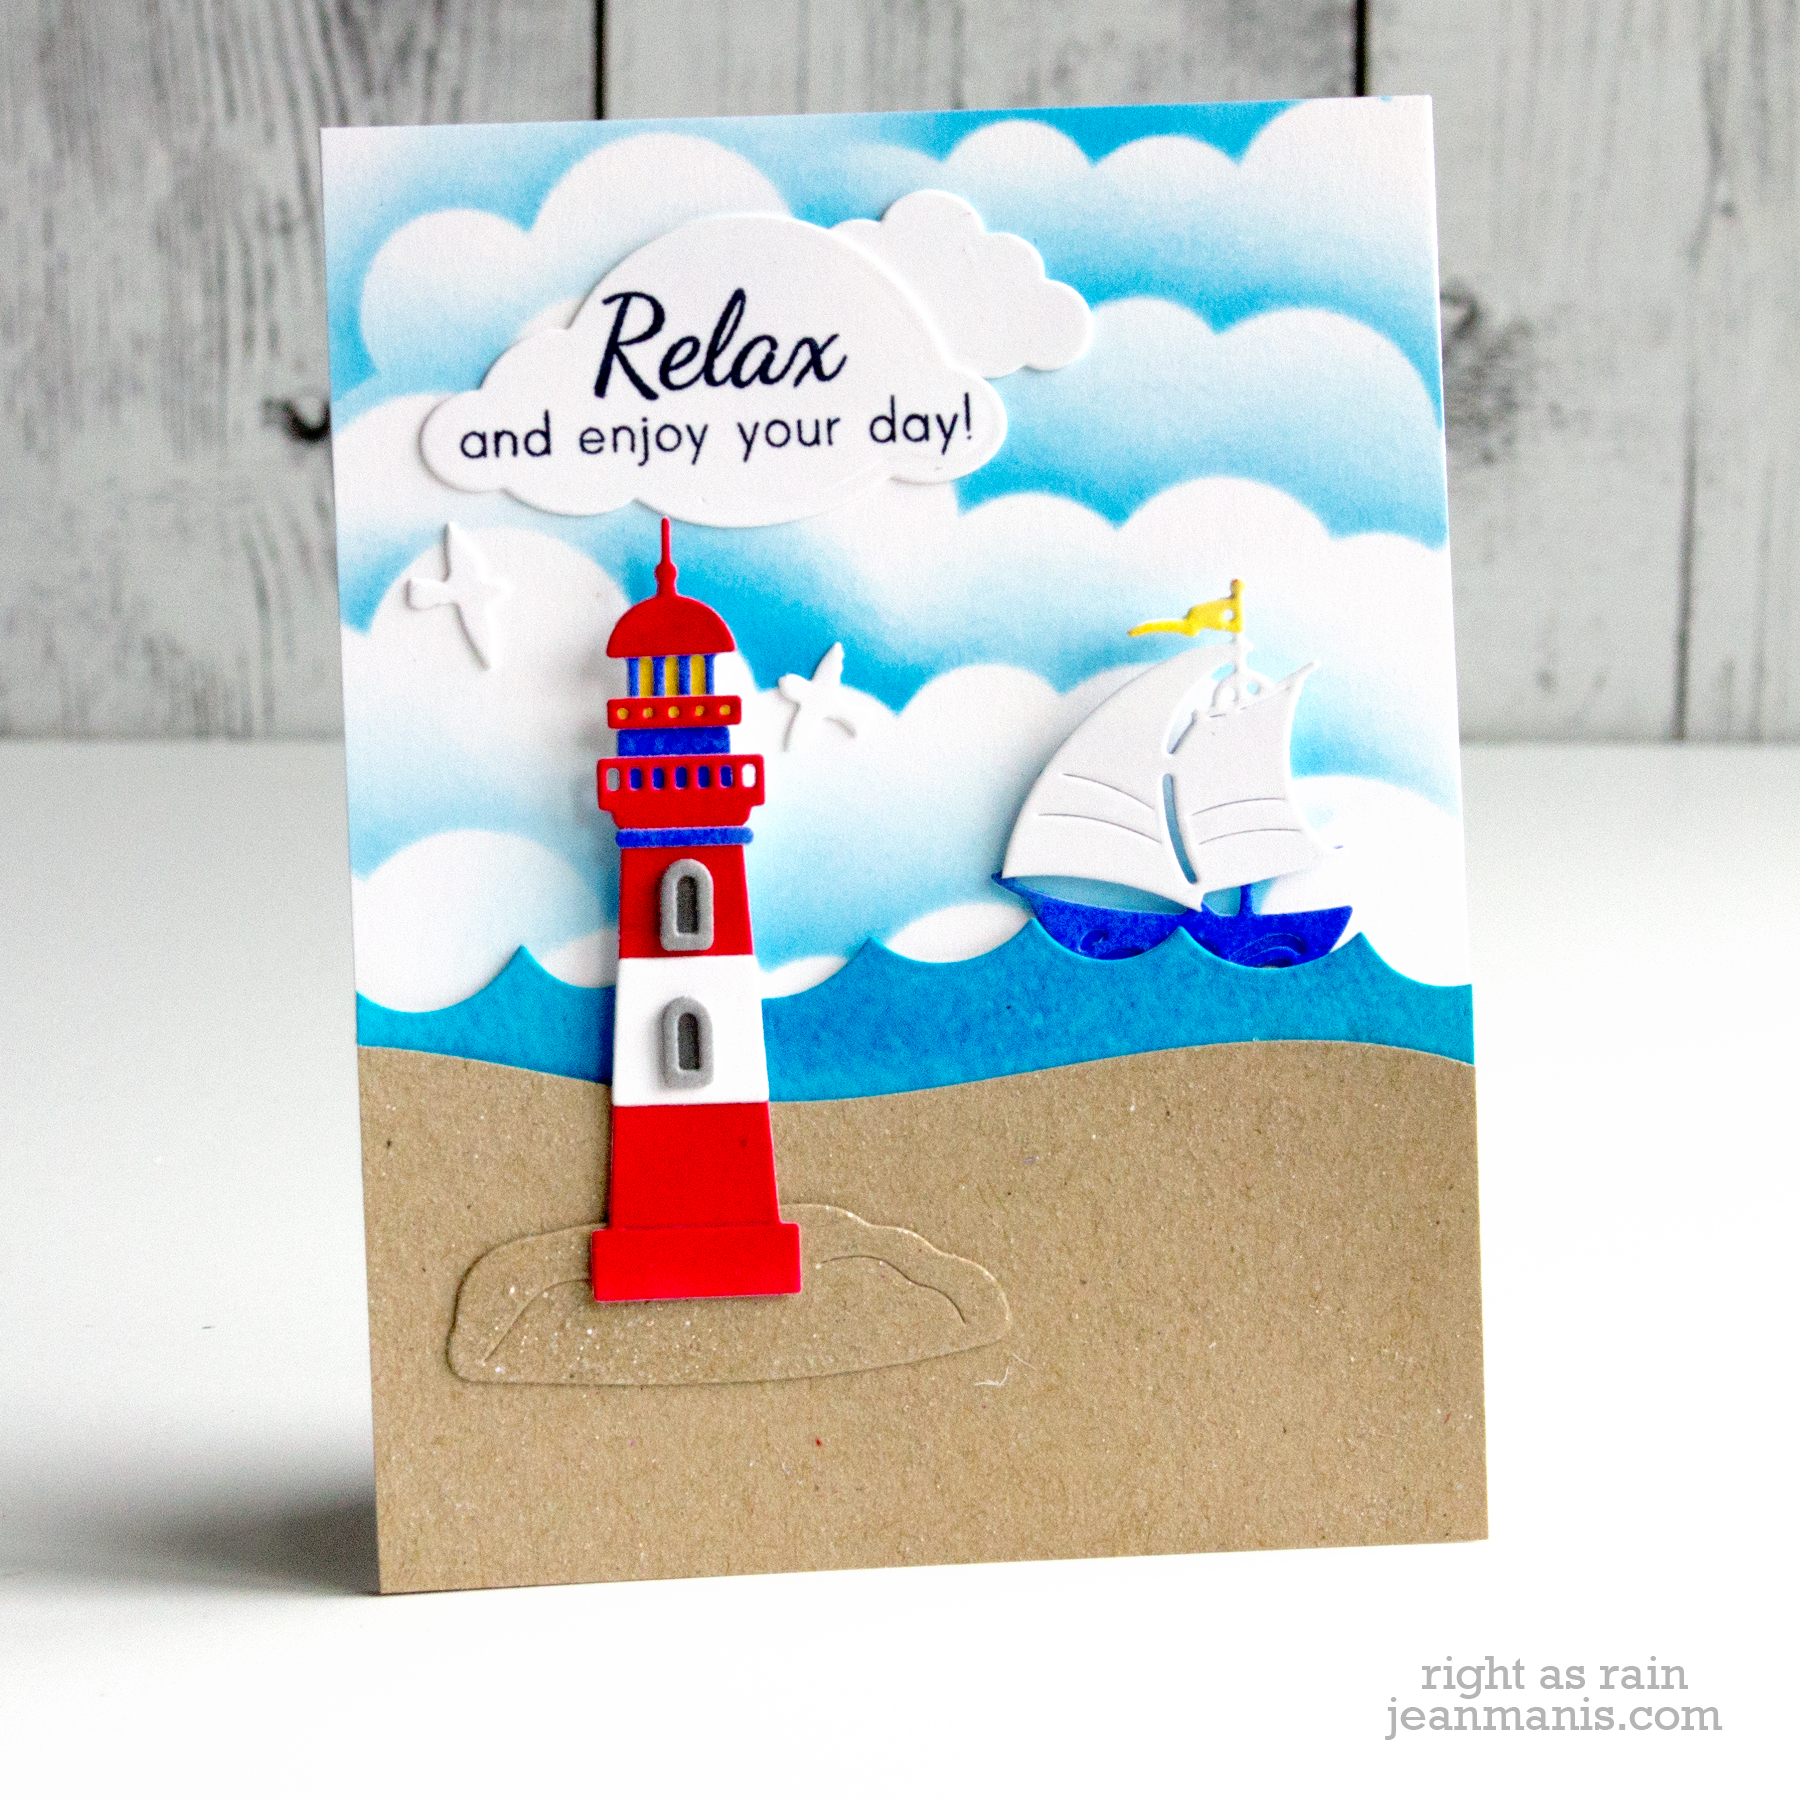
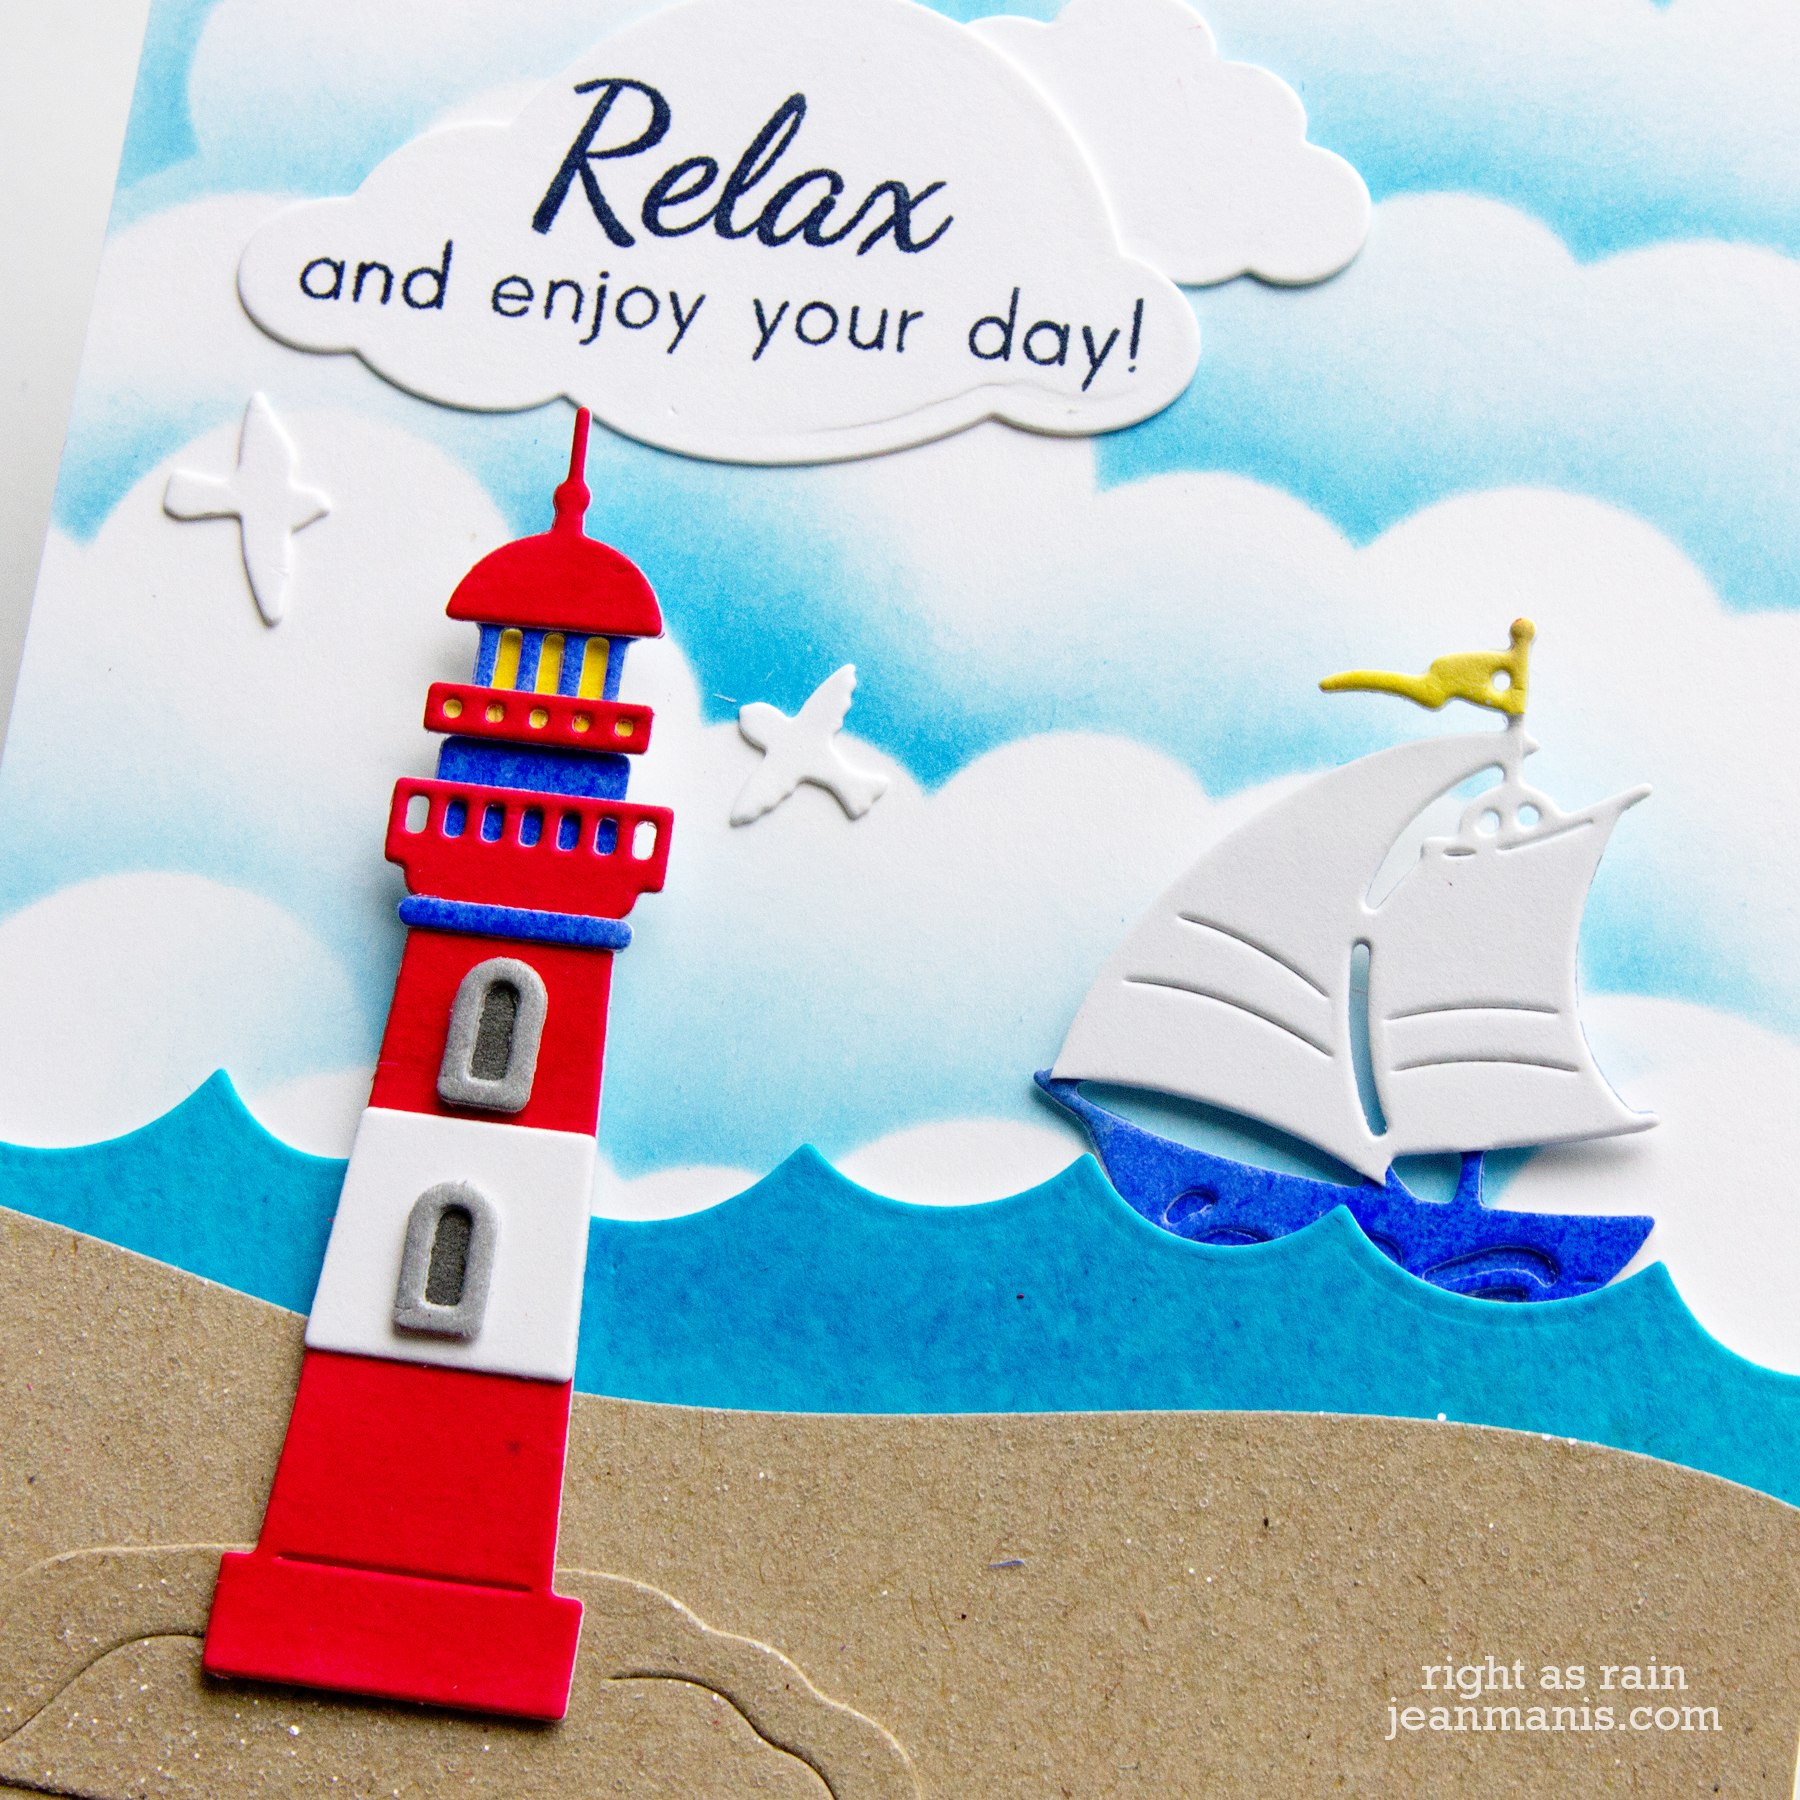
Hello! Today, I am sharing a nautical-themed card (one of my favorite themes) featuring the Cottage Cutz Lighthouse and Sailboat. As I have mentioned in previous posts sharing Cottage Cutz projects, the die-cutting and assembly is a bit like working a puzzle.

A Nautical Hello

  • I cut the boat, lighthouse, and wave from watercolor paper on which I had applied watercolor with the Ken Oliver – Color Burst powders.
  • I stamped white cardstock with the Papertrey Ink Flipping Out sentiment and cut it with the Impression Obsession cloud die.
  • The background was created with the MFT Cloud Stencil.
  • I cut the sandy beach from tan cardstock to which I applied Clear Rock Candy glitter.

A Nautical Hello

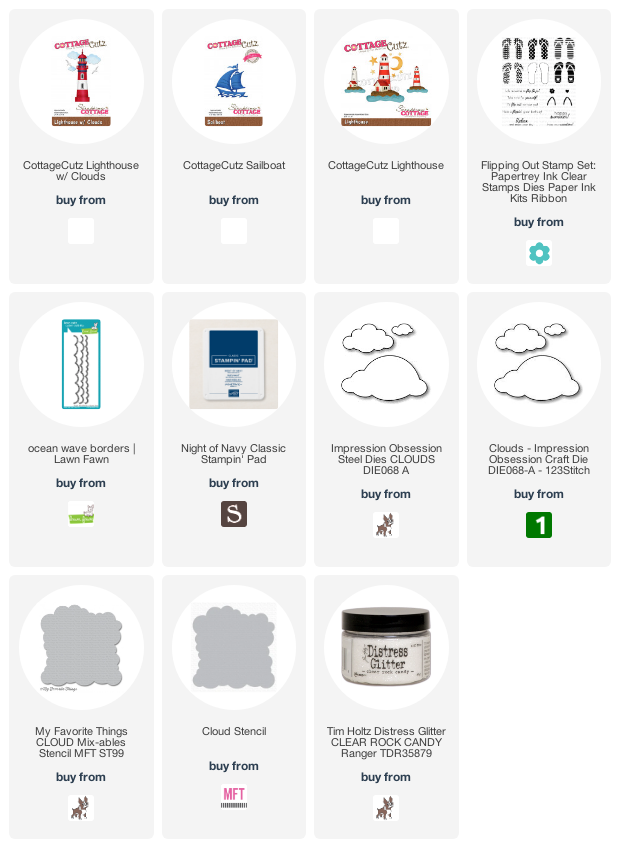
Supplies:

Cottage Cutz Garden Gnome (Tomte)

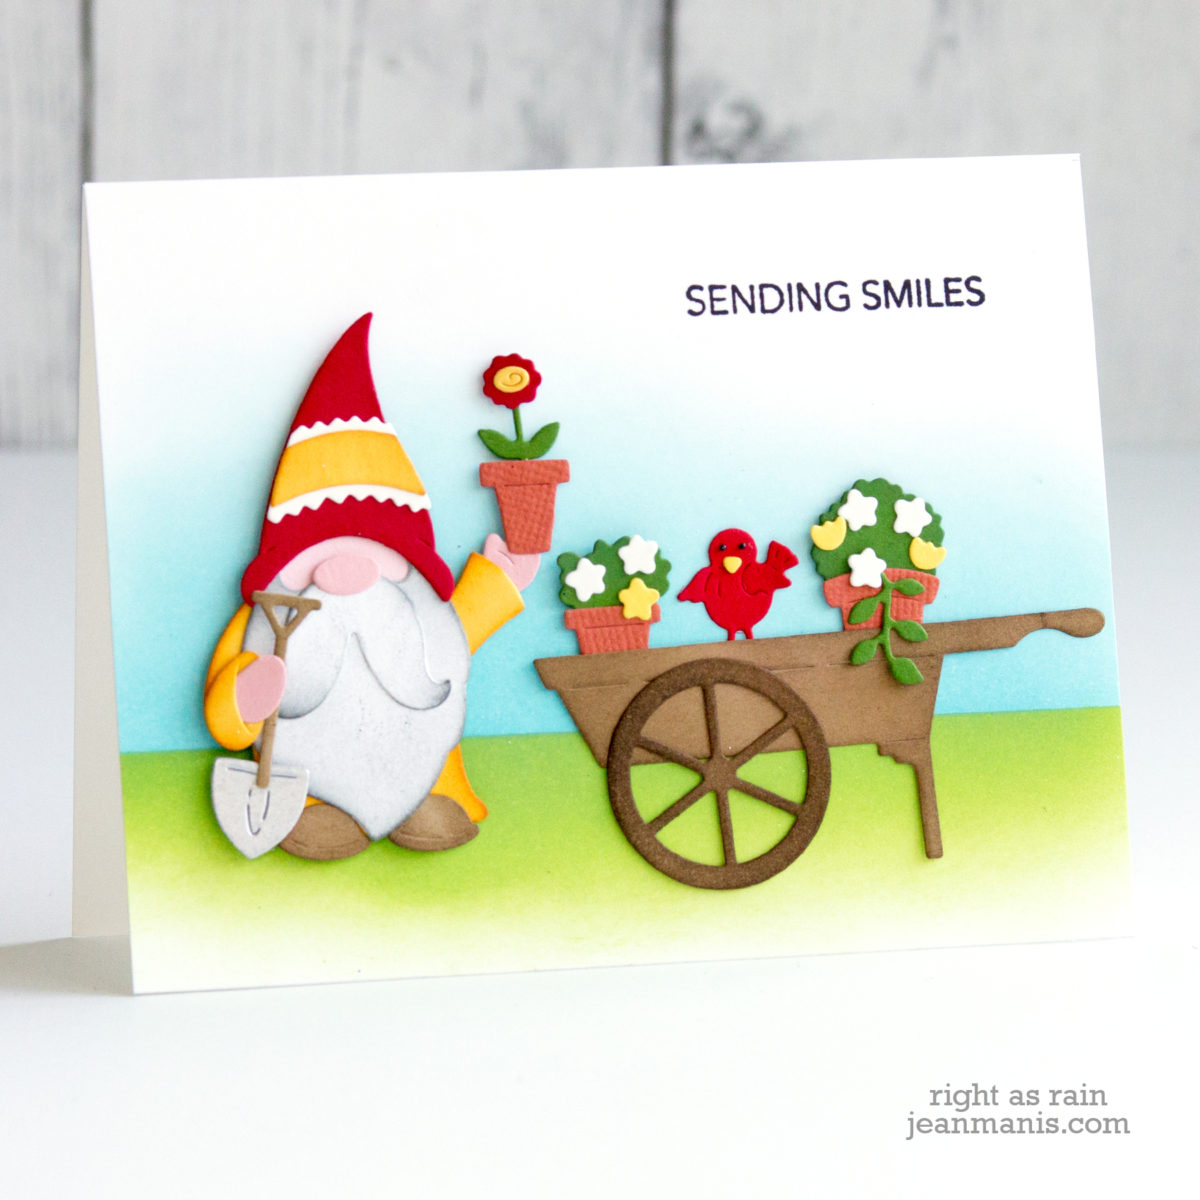
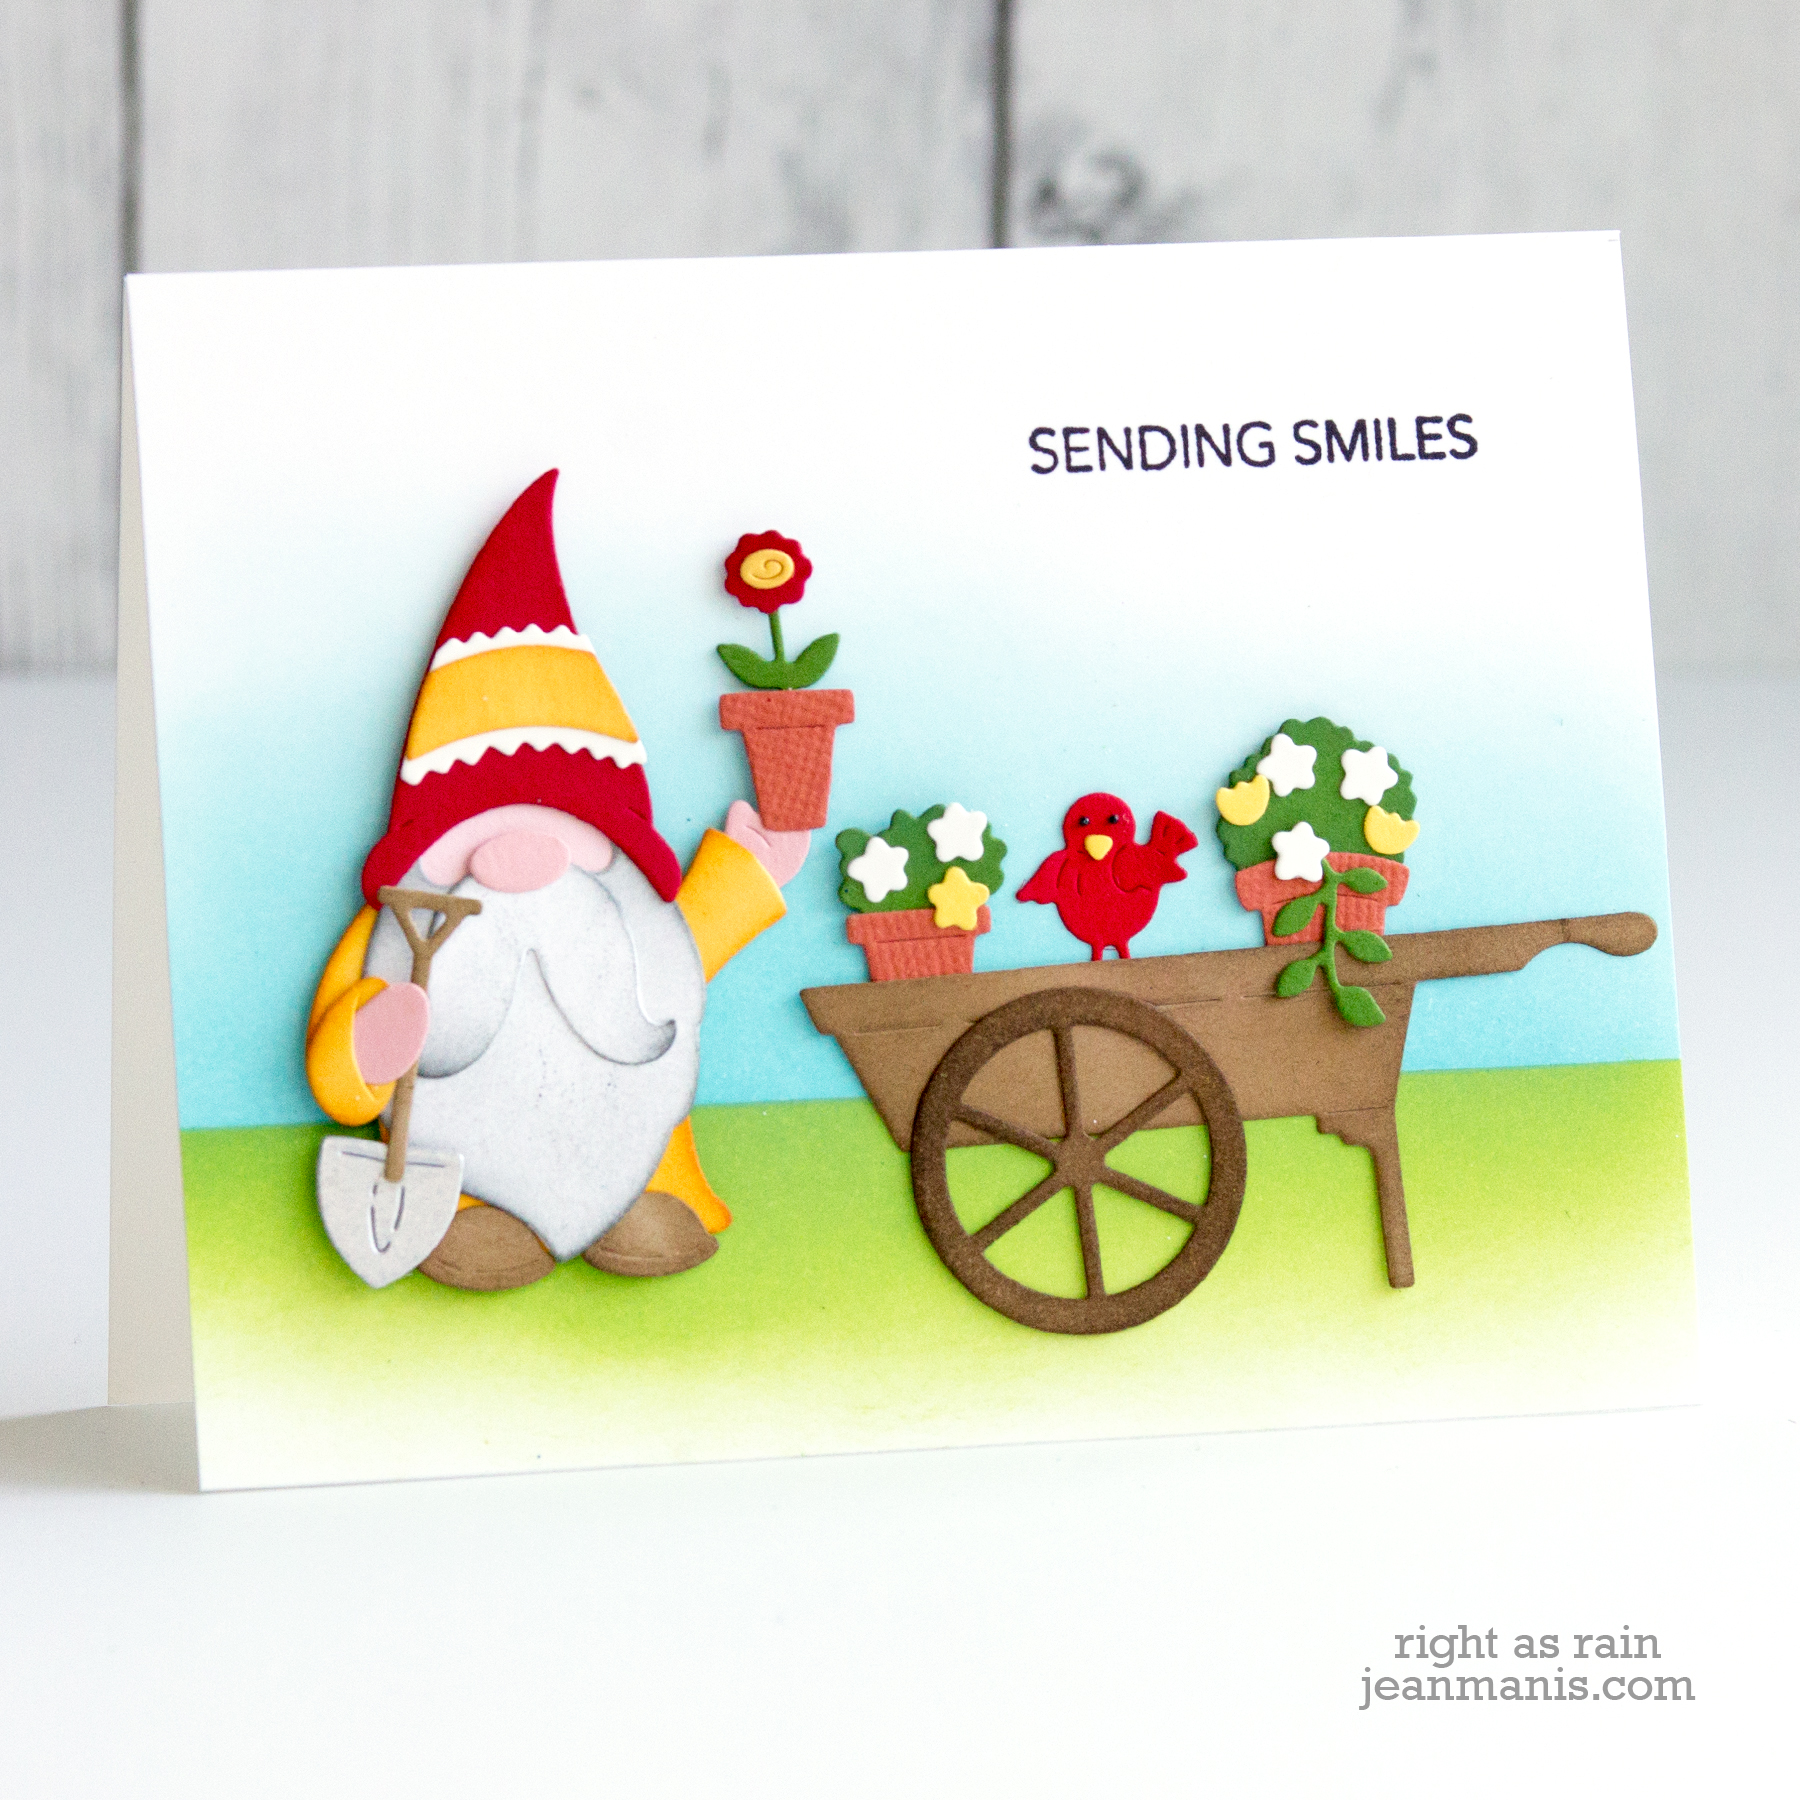
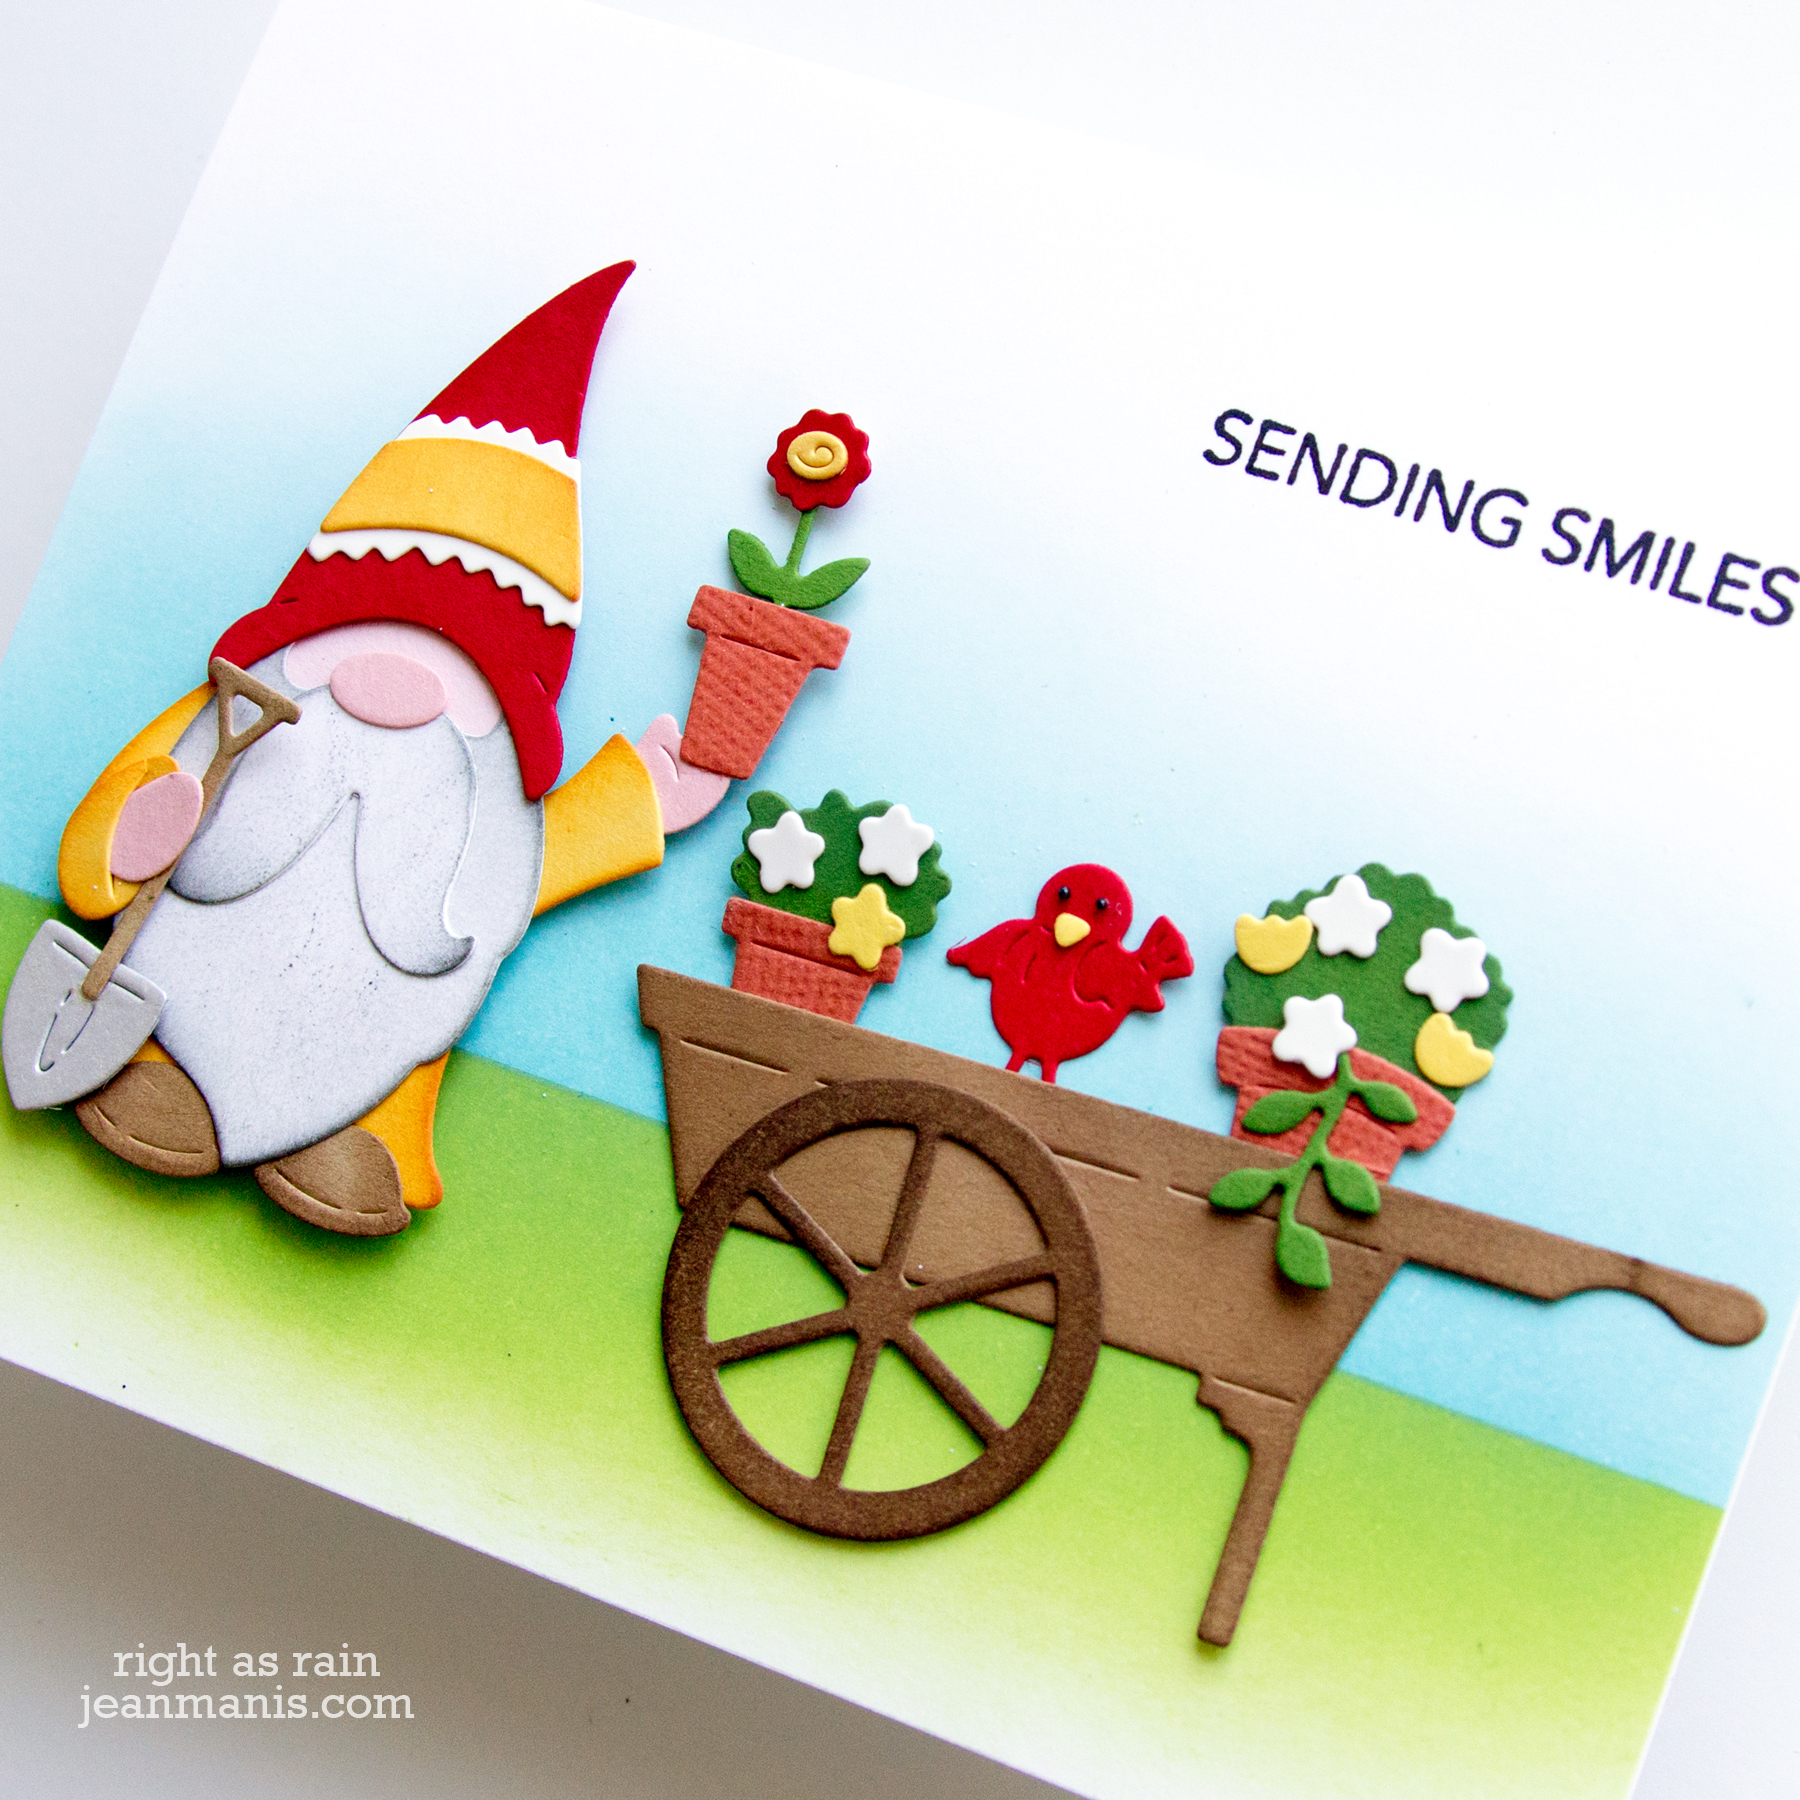
Hello! Today I am sharing a garden-themed card featuring the Cottage Cutz Flower Power Tomte. As I have mentioned in previous posts sharing Cottage Cutz projects, the die-cutting and assembly is a bit like working a puzzle.

Cottage Cutz Garden Gnome

  • I die-cut the tomte pieces from a variety of cardstock pieces, including some to which I applied Distress inks.
  • I cut the cart pieces with the Puppy in Garden Cart set, adding the Tomte set bird. (The eyes of the bird are microbeads; it was no small feat adding them!)
  • The assembled pieces were added to a card base on which I stamped the Happy Gnomies sentiment and created a horizon with Distress Oxide inks.

Cottage Cutz Garden Gnome

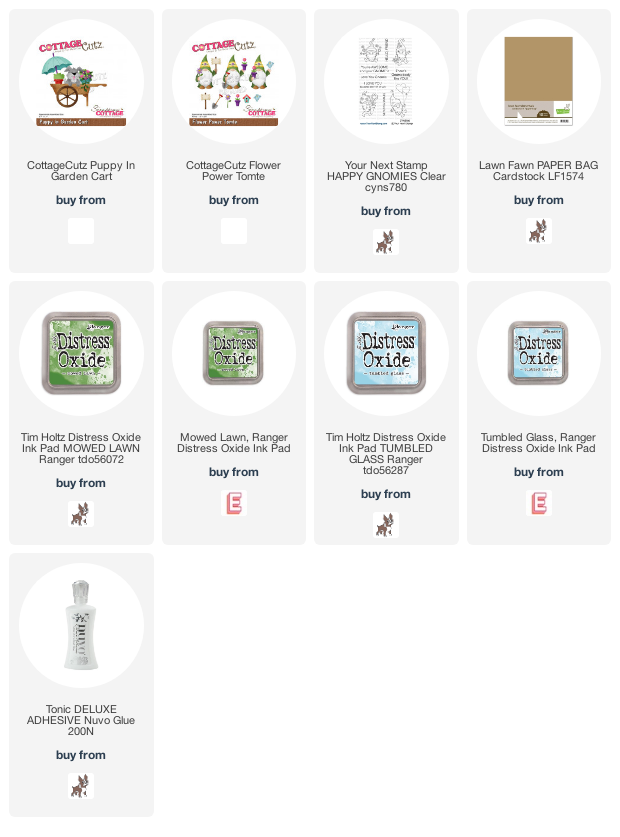
Supplies:

Cottage Cutz Nautical Hello

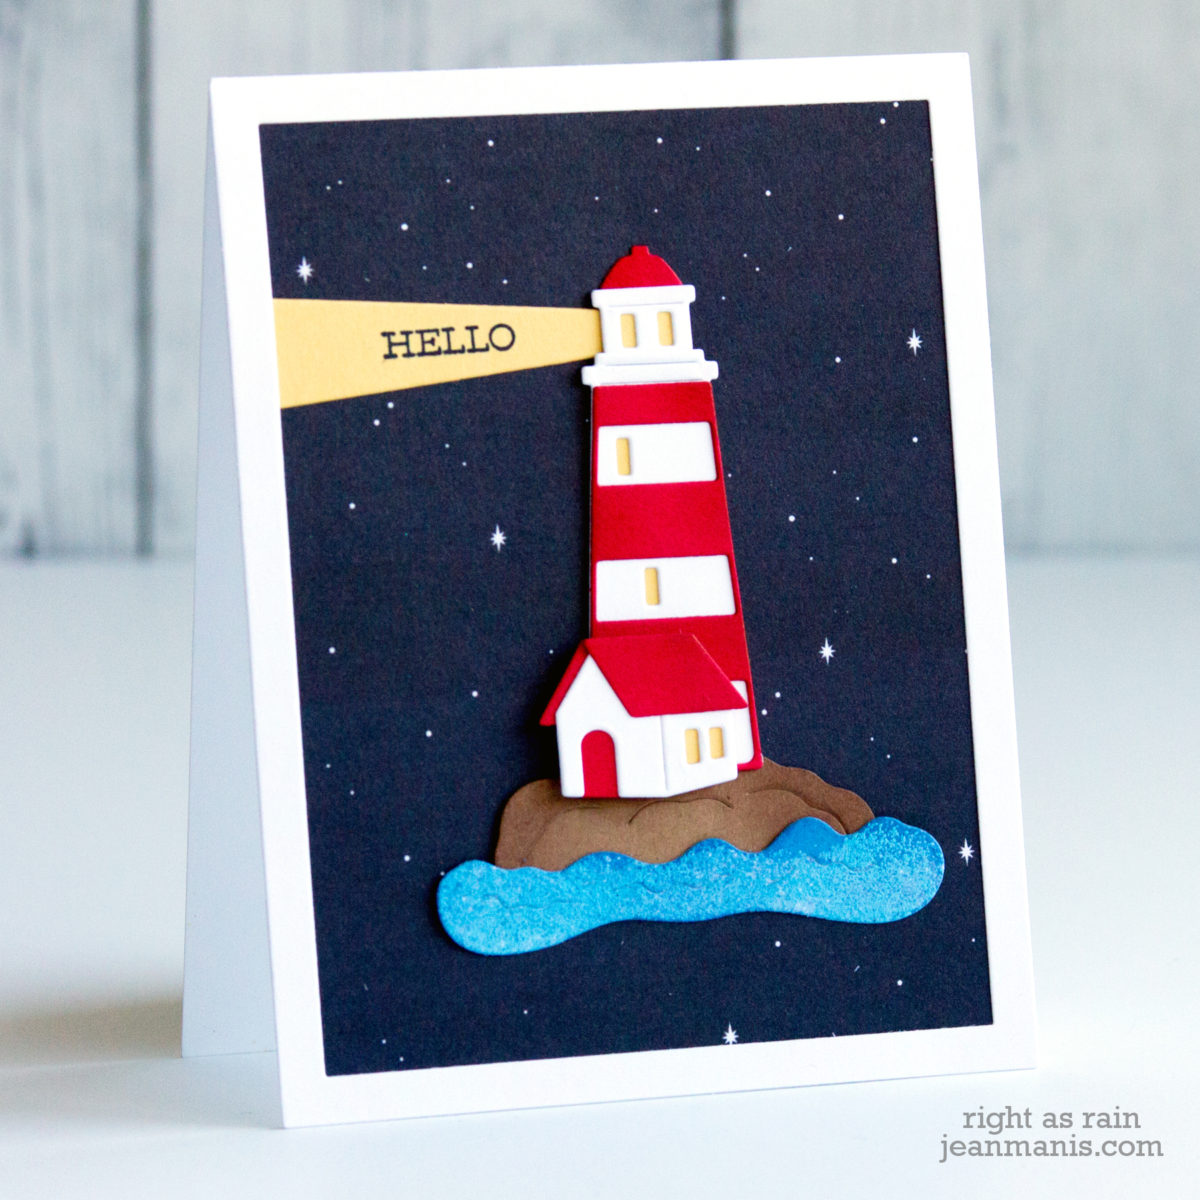
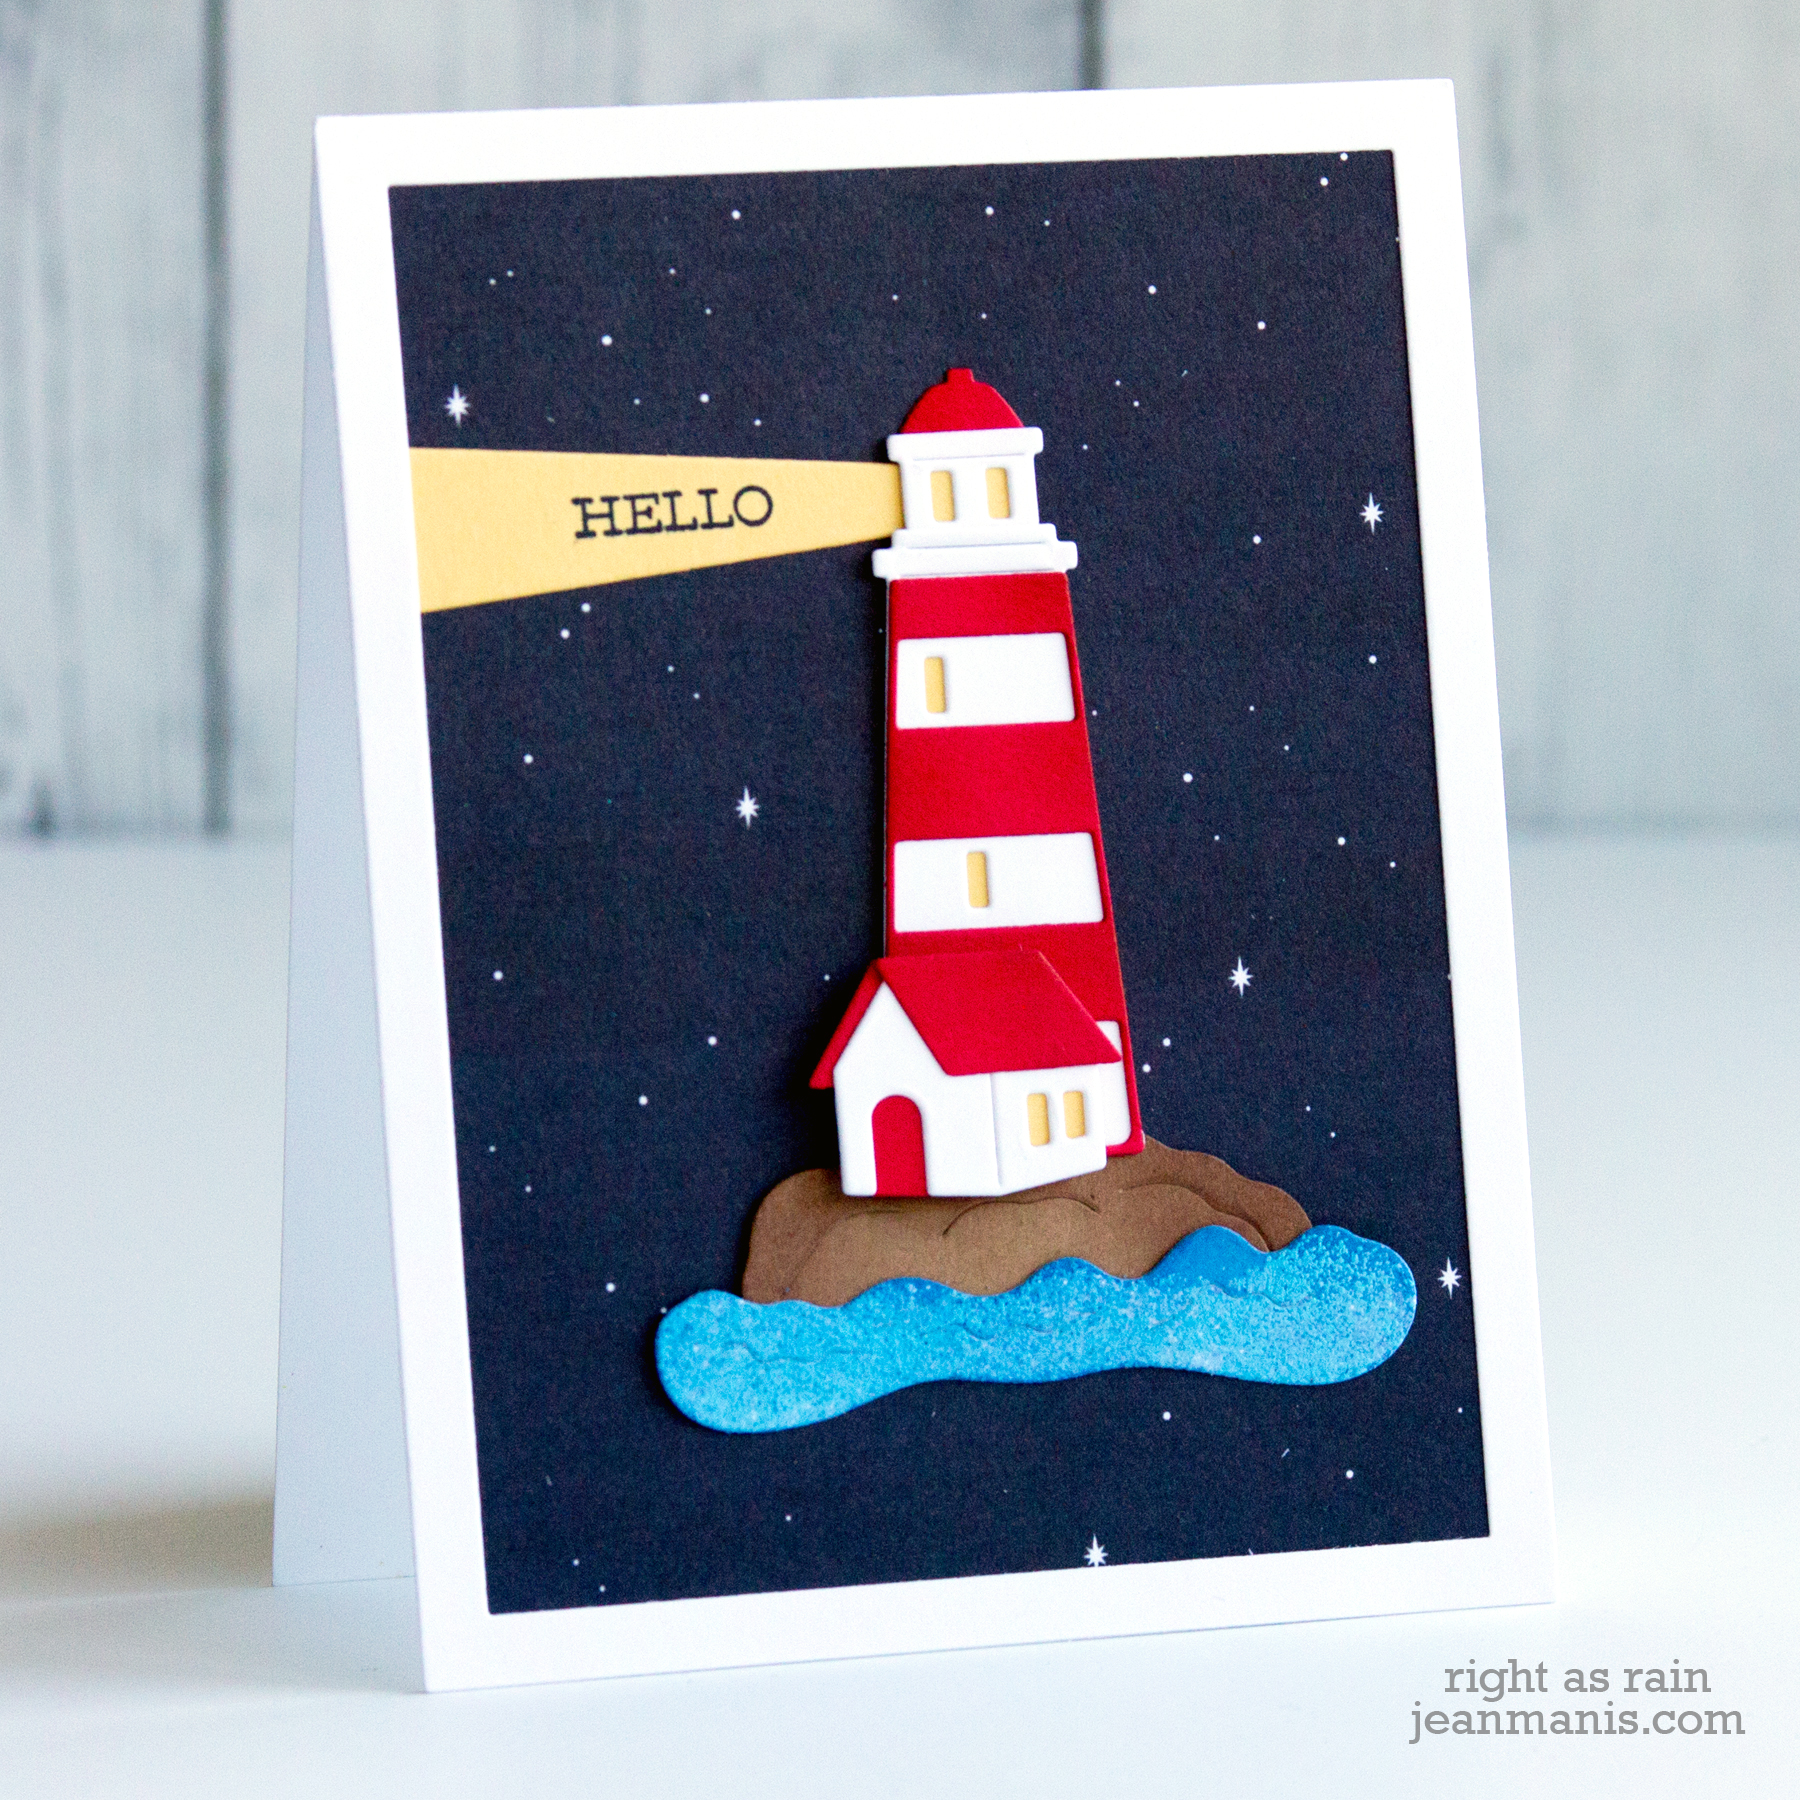
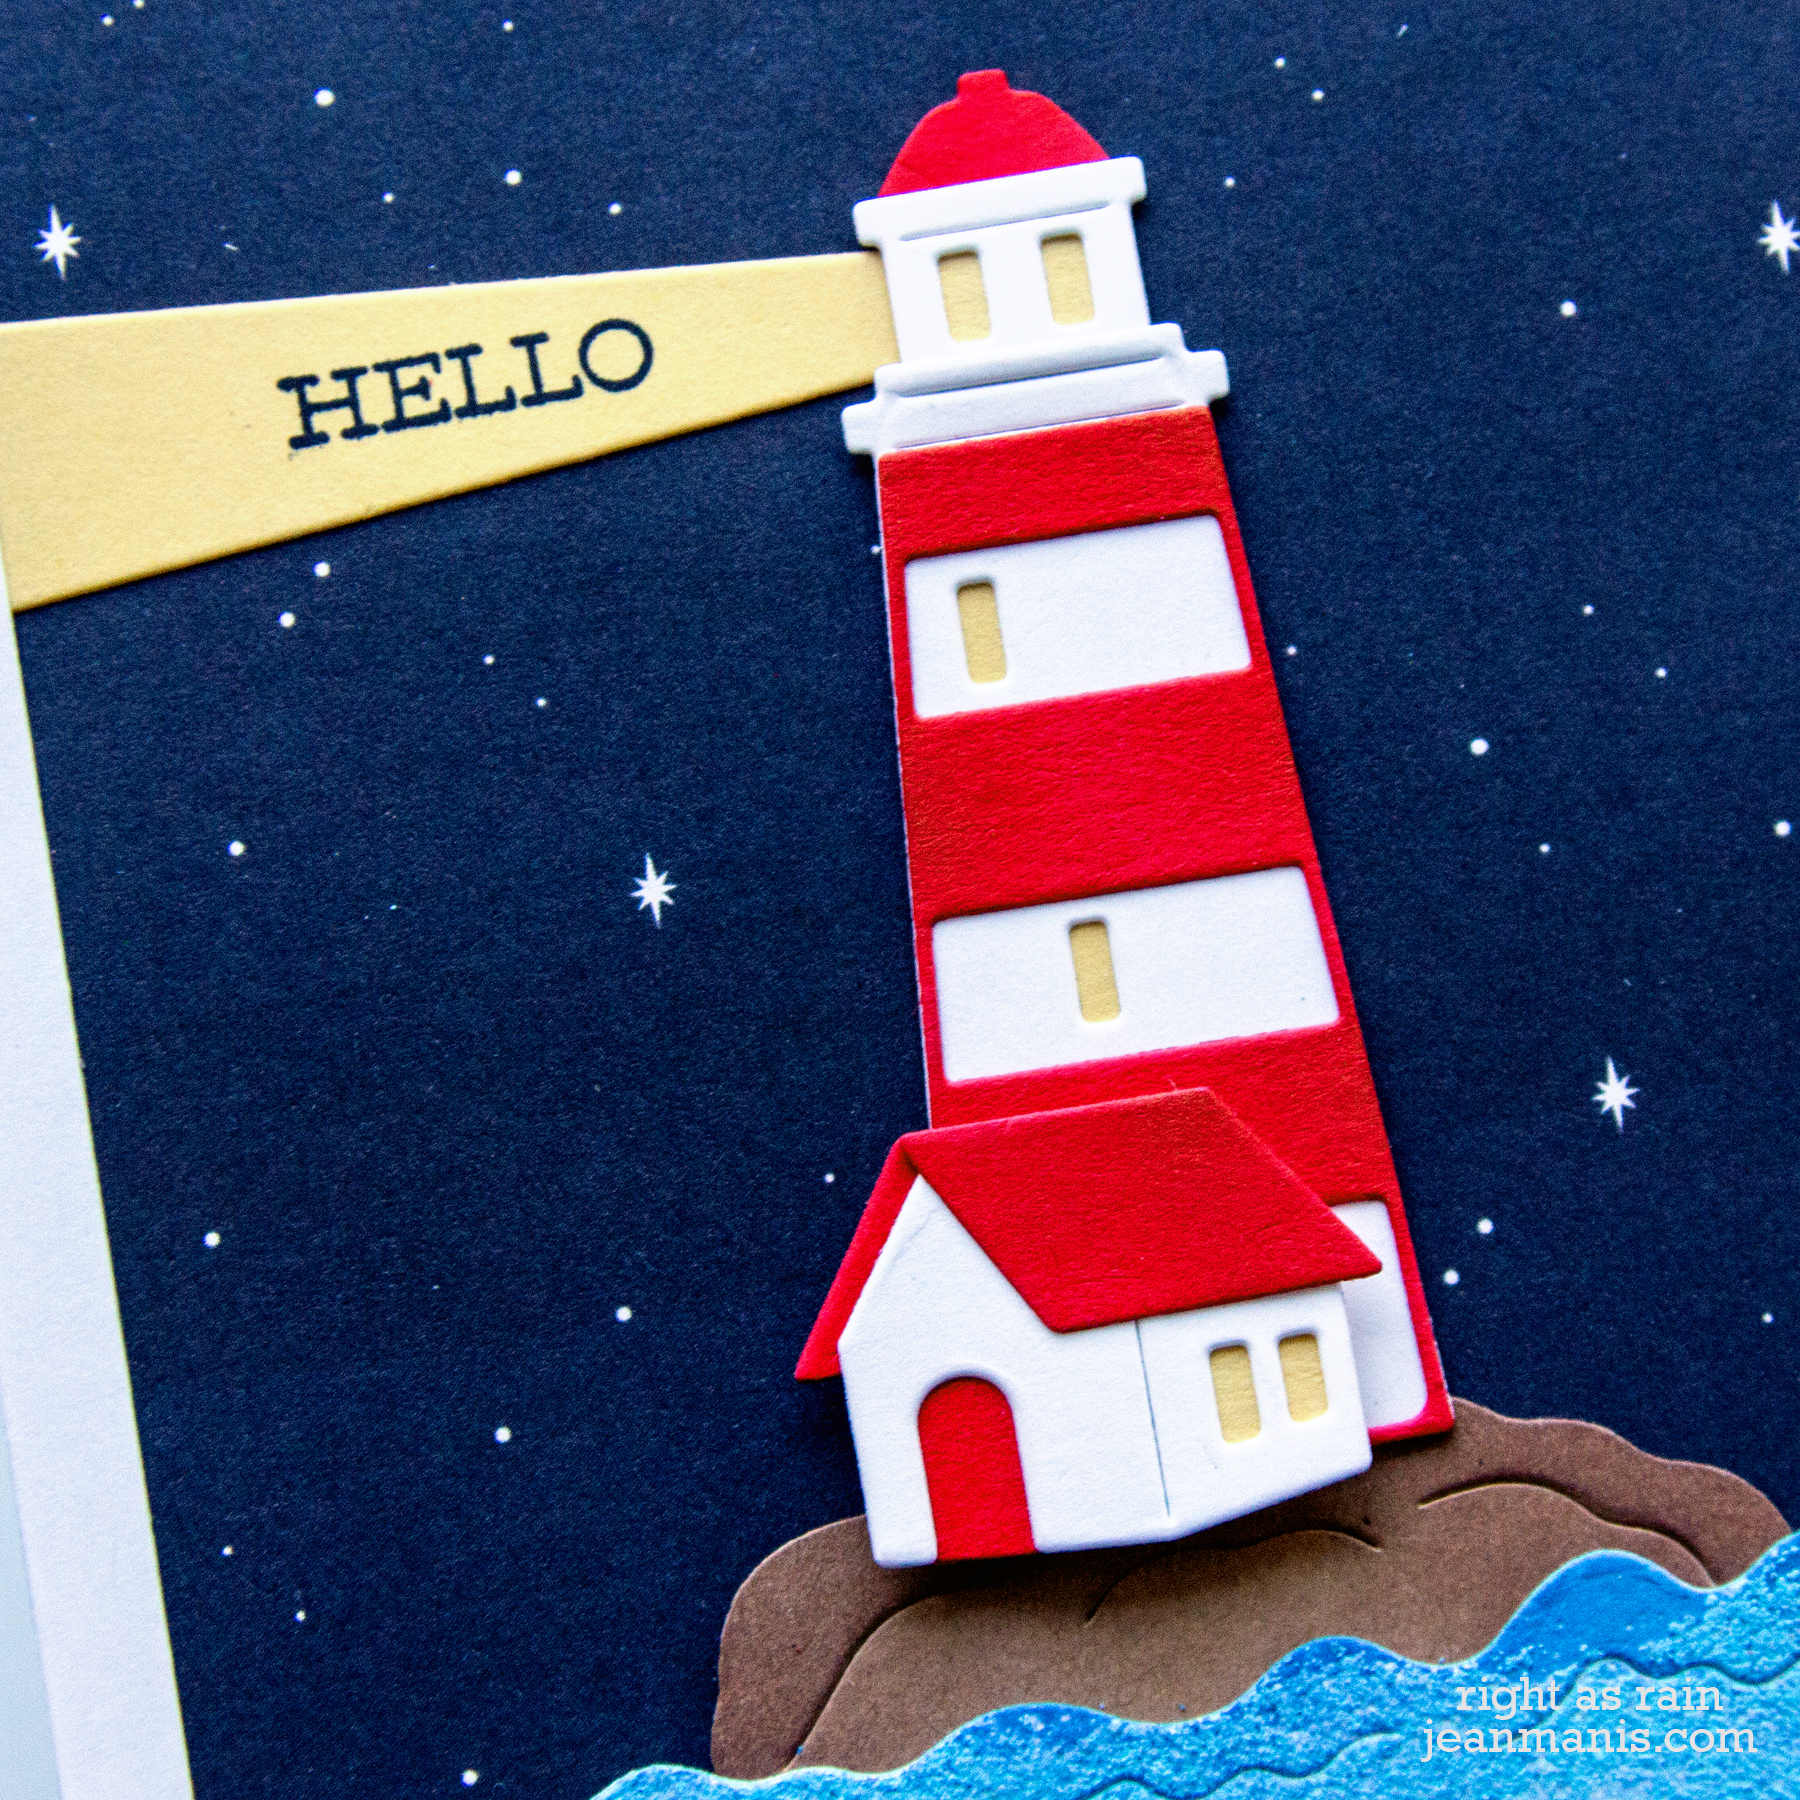
Hello! Today, I am sharing a nautical-themed card showcasing the CottageCutz Lighthouse die. If you have followed this blog for awhile, you may recall that nautical is one of my favorite cardmaking themes.

Cottage Cutz Nautical Hello

  • I die-cut the lighthouse from a variety of cardstock pieces and glued it together.
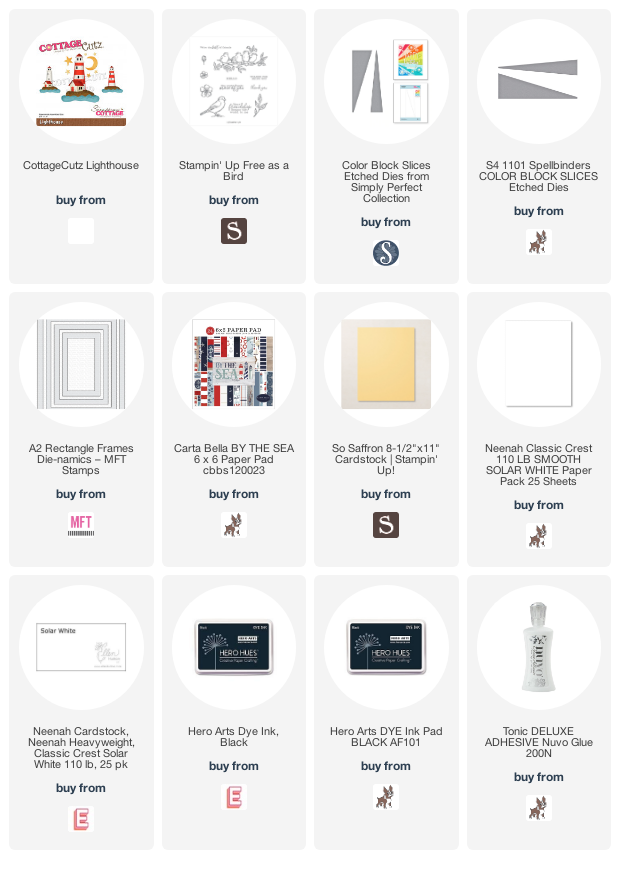
  • I stamped the Stampin’ Up sentiment on to a triangle cut with the Color Block Slices die set.
  • I added the lighthouse and stamped light ray to a patterned paper background and finished it with a frame cut with the A2 Rectangle Frames set.

Cottage Cutz Nautical Hello

Supplies:

Cottage Cutz – Spring Garden Scene

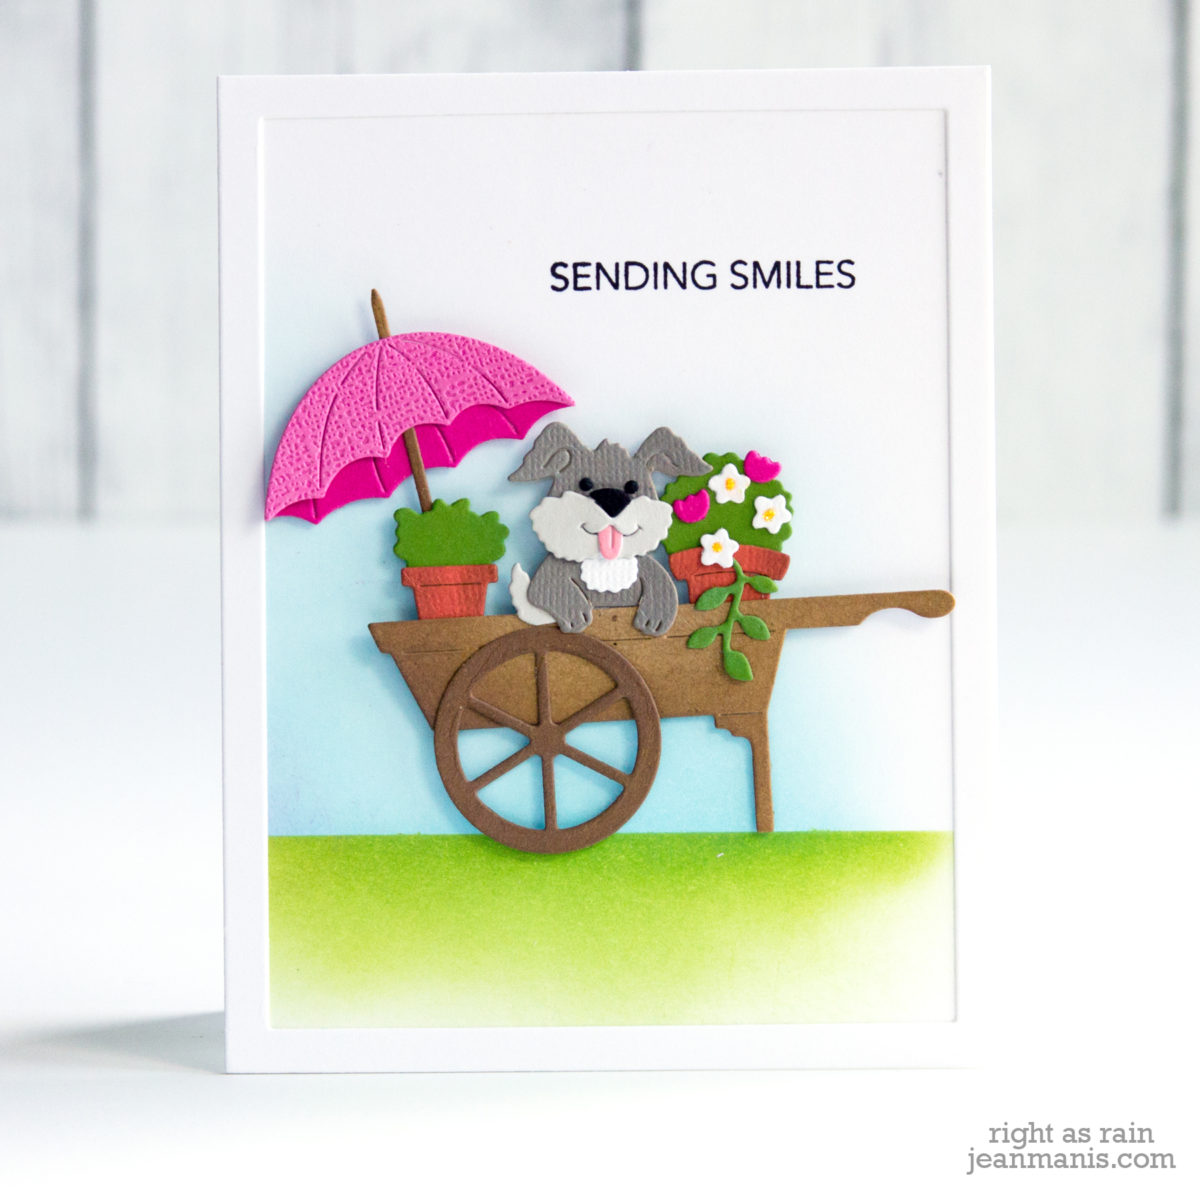
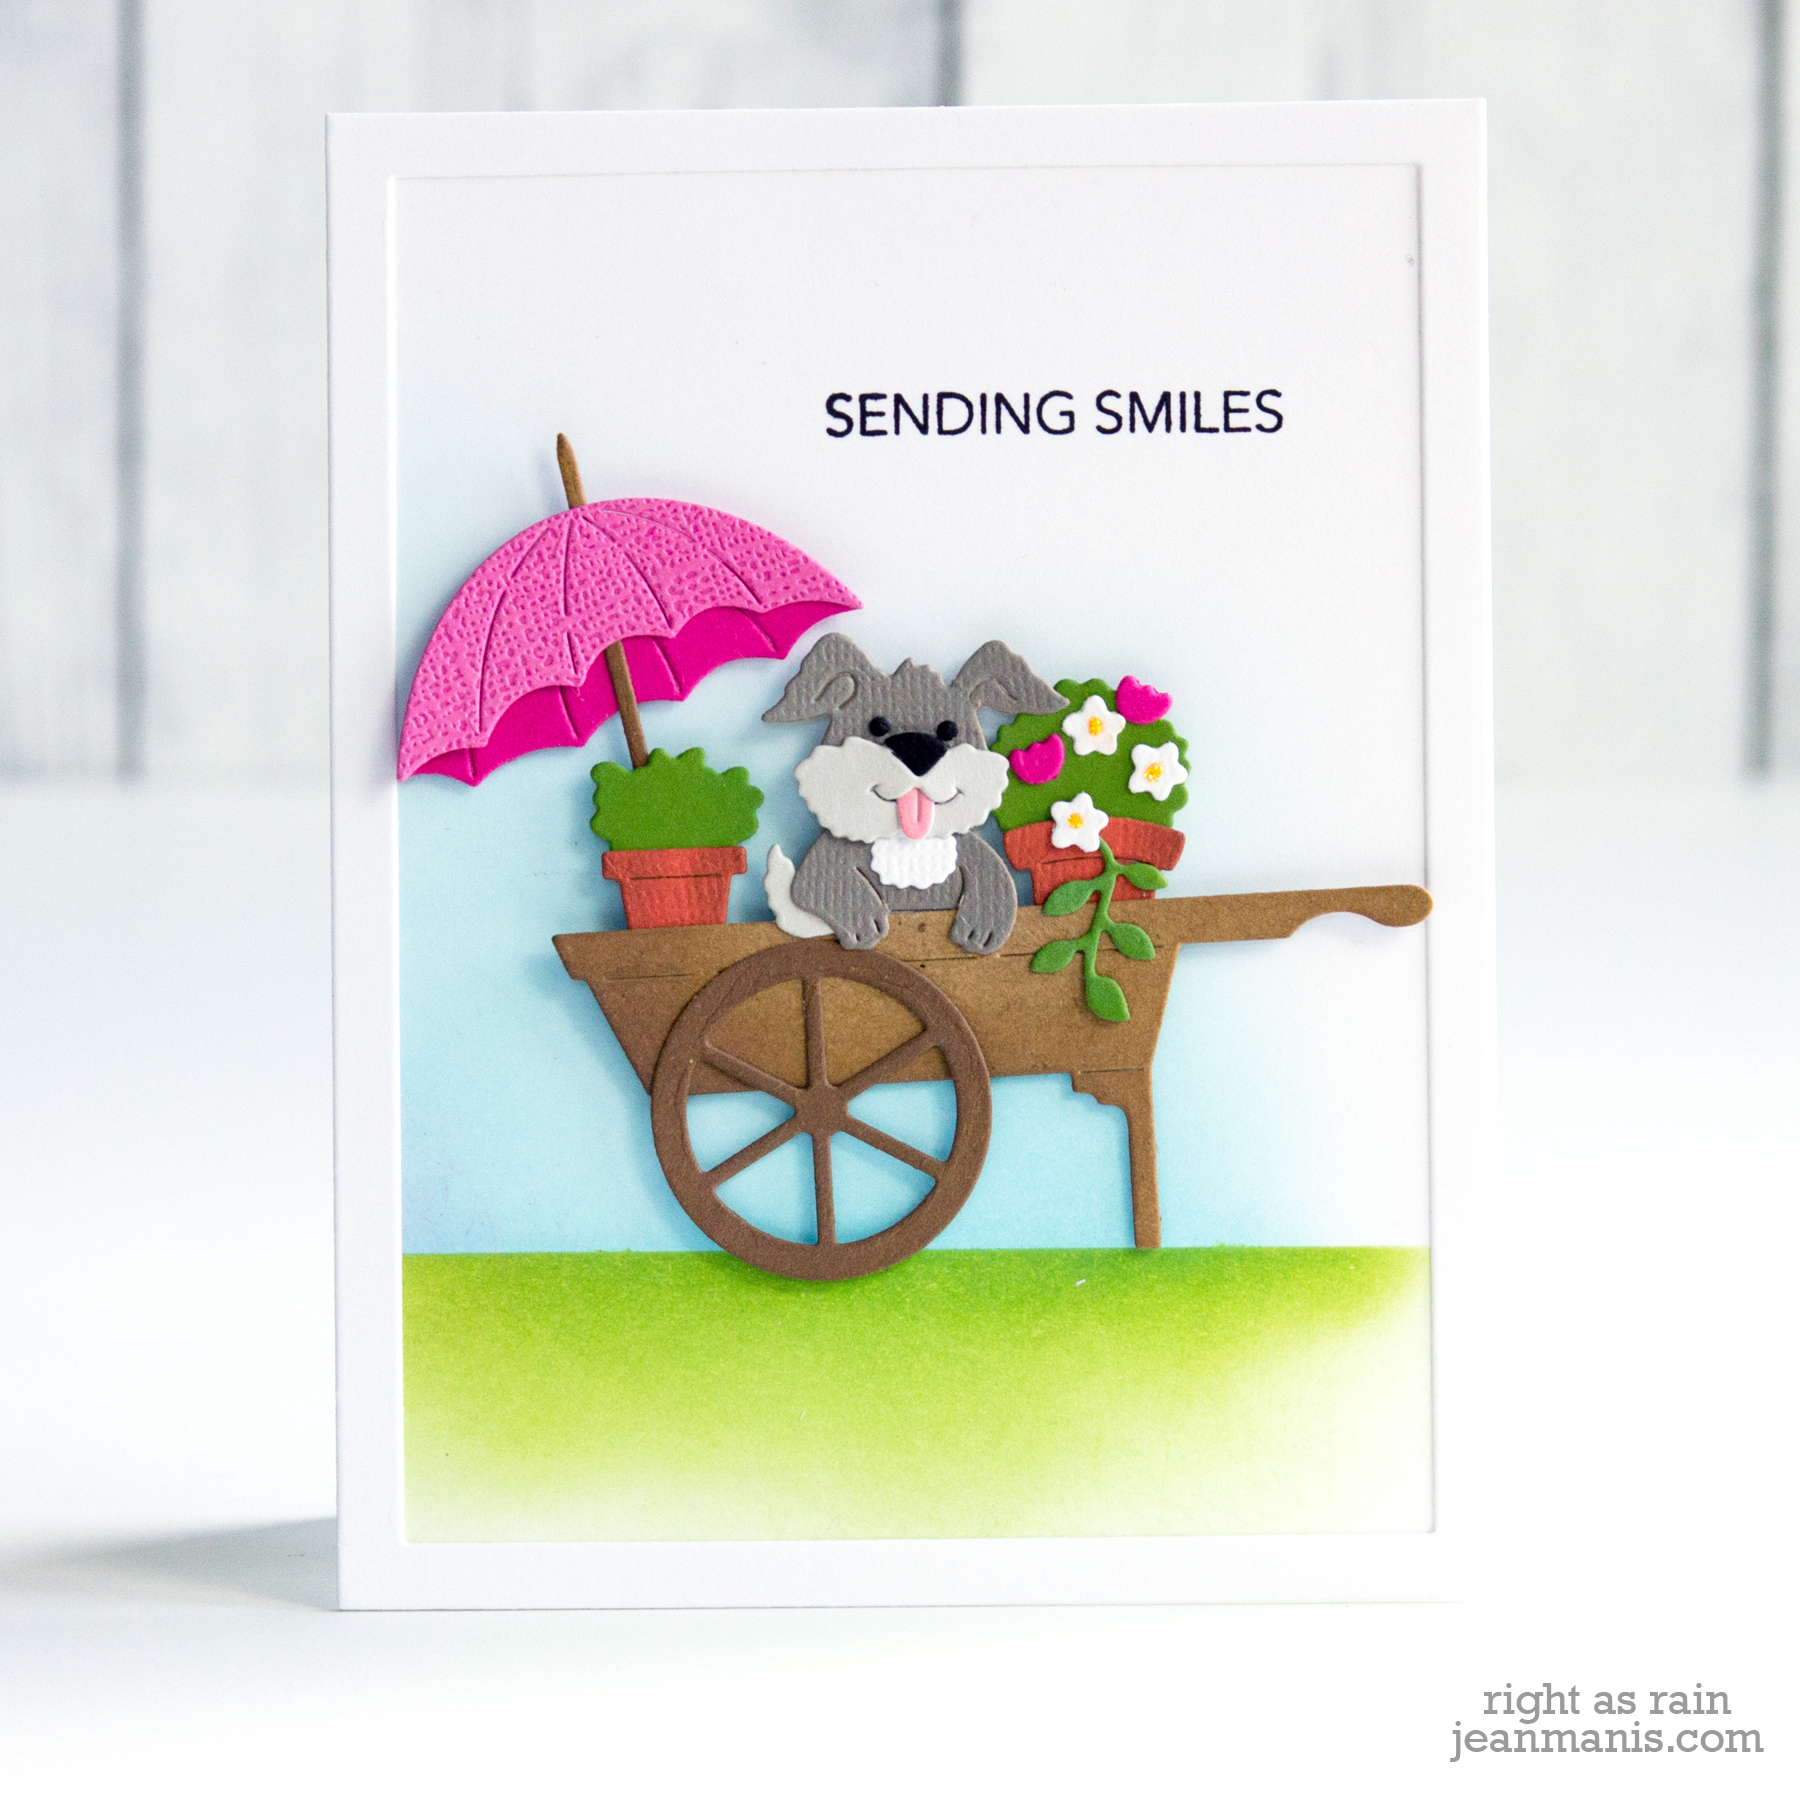
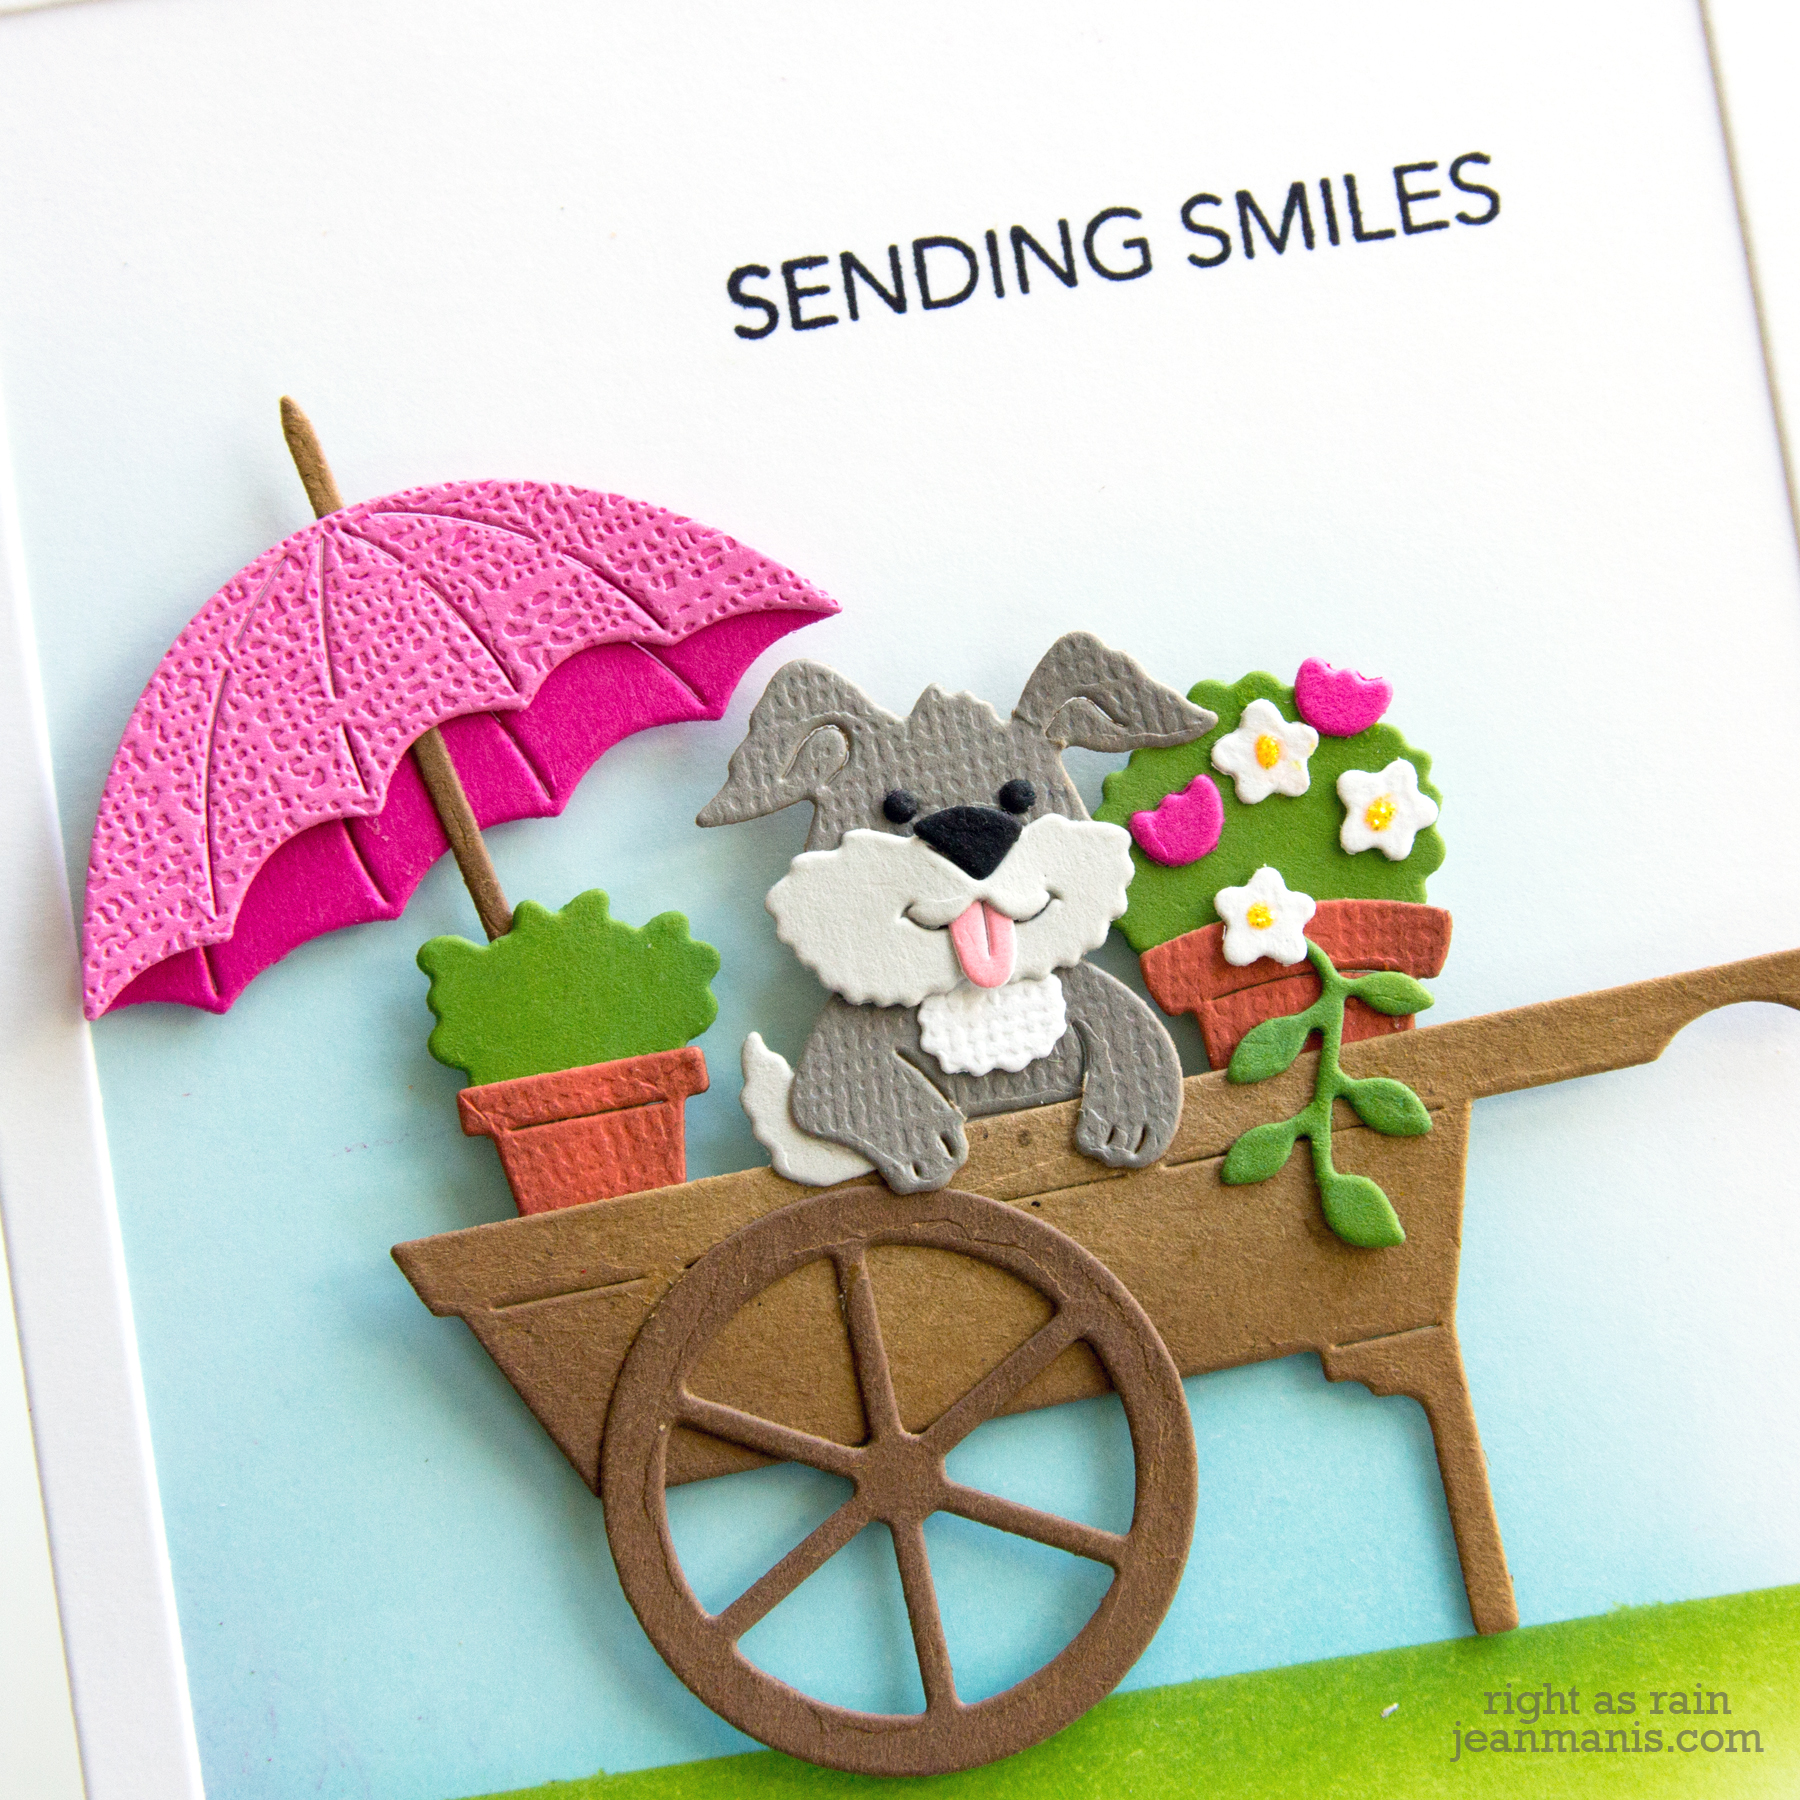
Hello! Today, I am sharing a spring-themed card created with the Cottage Cutz Puppy in Garden Cart set.  Working with these sets is a bit like working a jigsaw puzzle!

Cottage Cutz - Spring Garden Scene

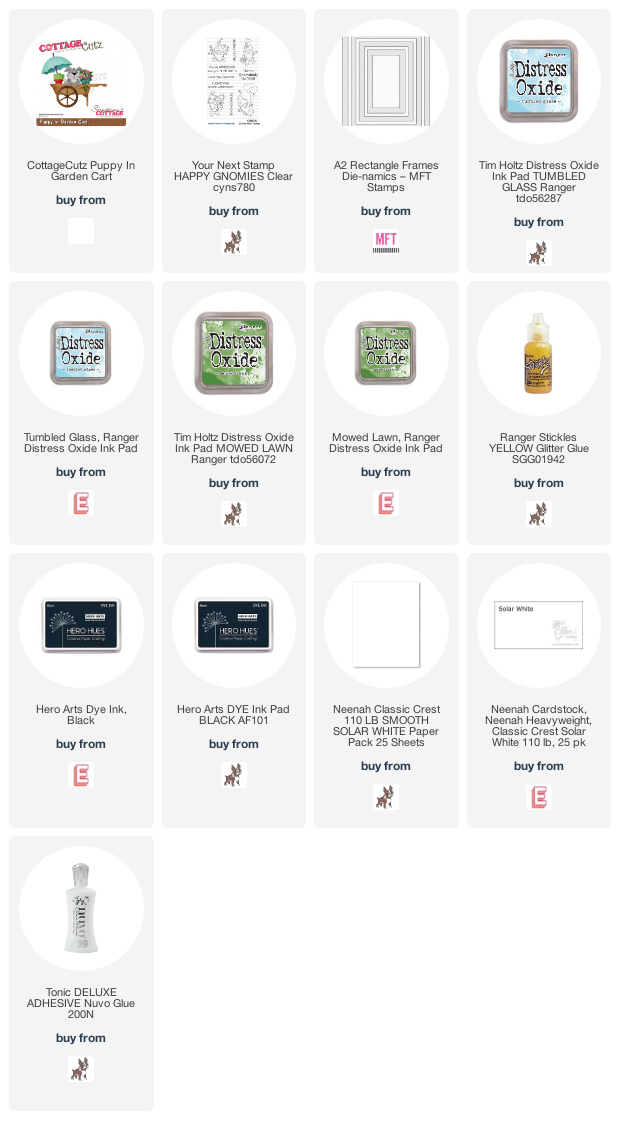
  • I die cut the cart, dog, plants, and umbrella from a variety of cardstock. To some I applied Distress Ink. I added Yellow Stickles to the centers of the flowers.
  • I stamped the Your Next Stamp Happy Gnomies sentiment on to a rectangular panel and added Distress Inks to create the horizon line.
  • I added a frame to the card base and added the assembled garden cart with foam adhesive.
Cottage Cutz - Spring Garden Scene

Supplies: