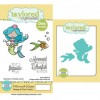
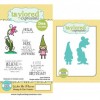
Today, I’m sharing a winter-themed friendship card in which I followed the Copic coloring by Debbie Olson using the Cool Day stamp set from My Favorite Things.
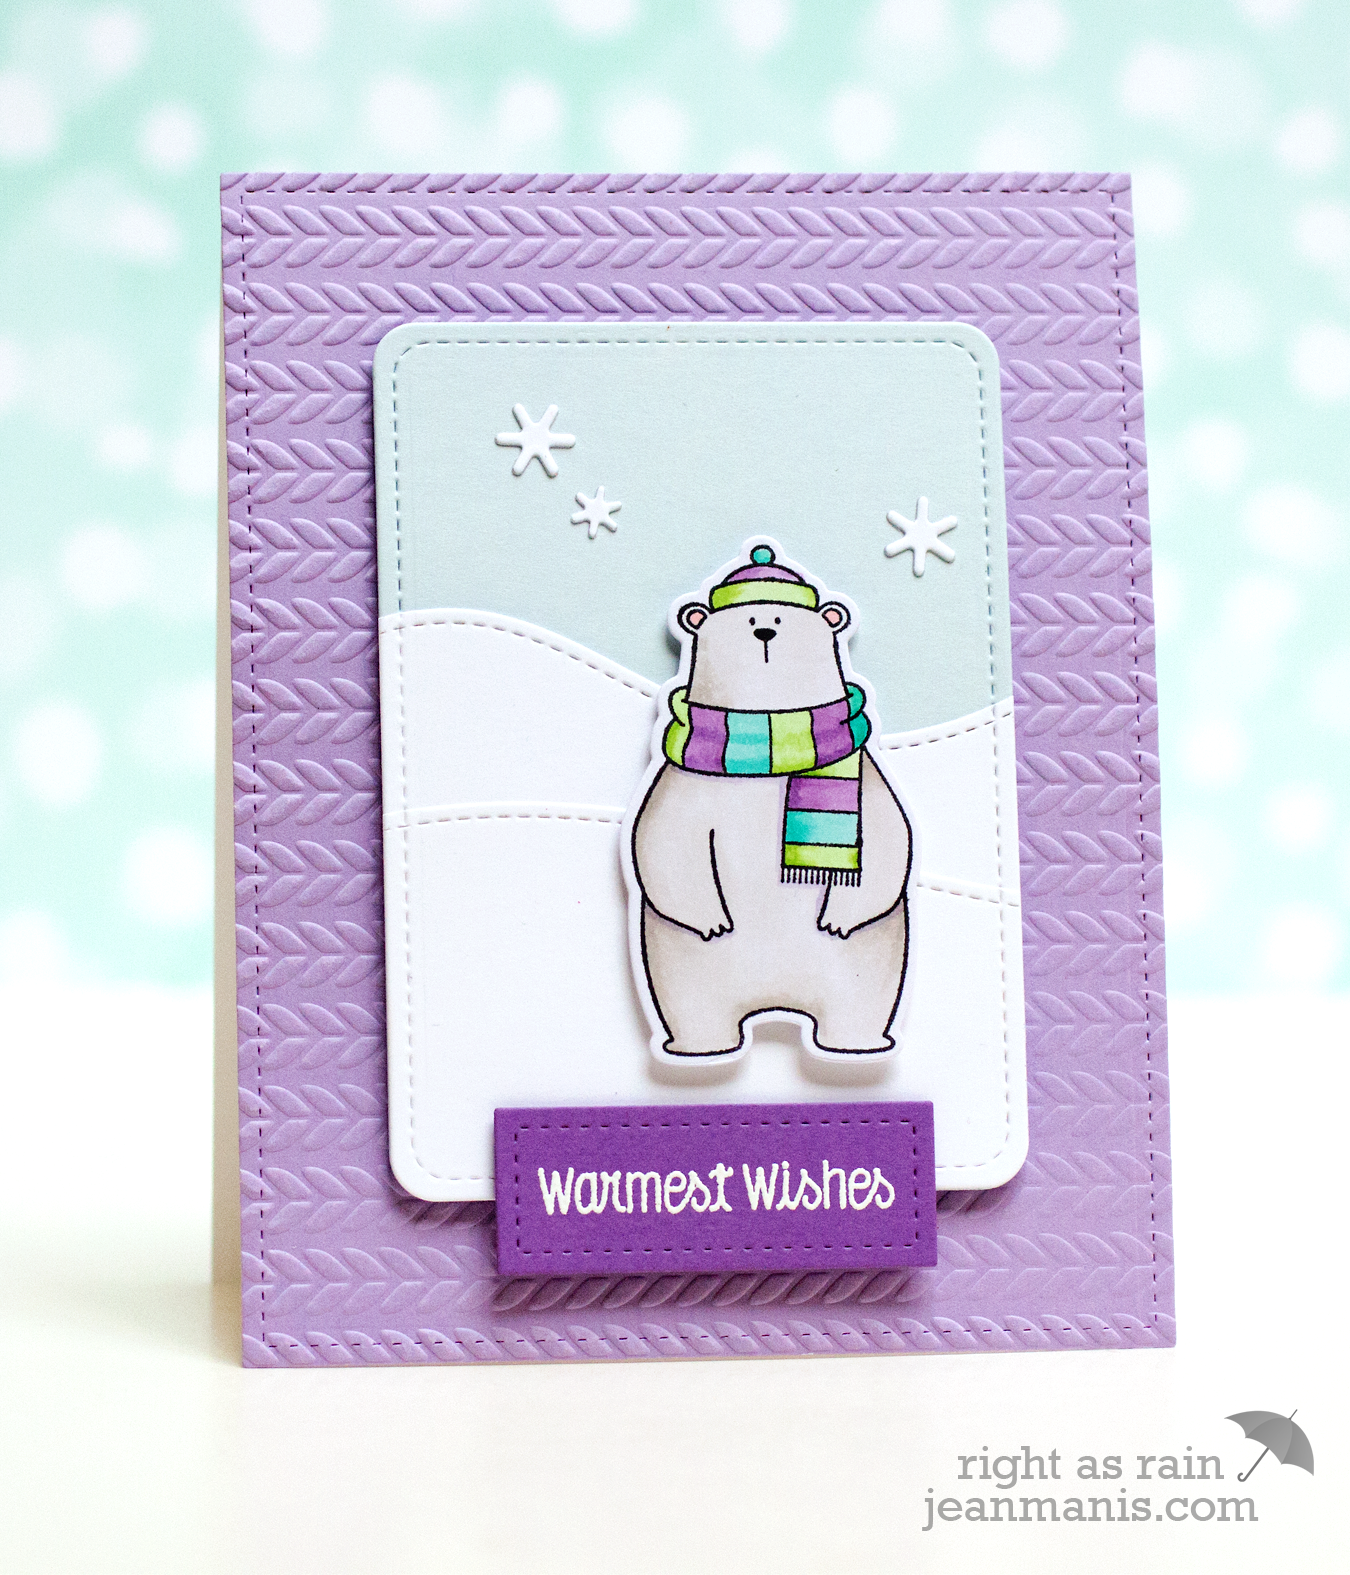
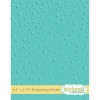
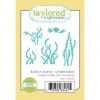
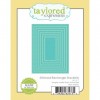
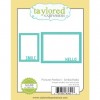
I colored the polar bear using most of the same Copic marker colors shown on Debbie’s card (I don’t own all of the ones she does, so made a few substitutions). I took the clues from the coloring of the scarf for the rest of the card. For the background, I dry-embossed a panel of cardstock cut with the largest stitched die in the Lawn Fawn Large Stitched Rectangle Stackables set. Keeping with the winter theme, I used the Taylored Expressions Cable Knit embossing folder. I heat-embossed a sentiment from the MFT Stamps Warmest Wishes and cut it with the smallest die in the Lawn Fawn Small Stitched Rectangle Stackables set. I used the rounded-rectangle die in the Stitched Journaling Card set to cut a background sky as well as cut two snowbanks, which I’d already cut with dies in the Lawn Fawn Stitched Hillside Border set. I finished off the background with a few snowflakes cut with the Lawn Fawn Mini Snowflakes set.
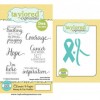
Supplies: MFT Stamps Warmest Wishes (sentiment)