Hello! I’m sharing a set of four handmade cards created with the Buon Appetito Collection at Spellbinders celebrating all things pasta! Each card features one or two die-cut pasta shapes paired with a punny sentiment that’s sure to make anyone smile. From bowties to spaghetti, these designs are perfect for food lovers and cardmakers alike.
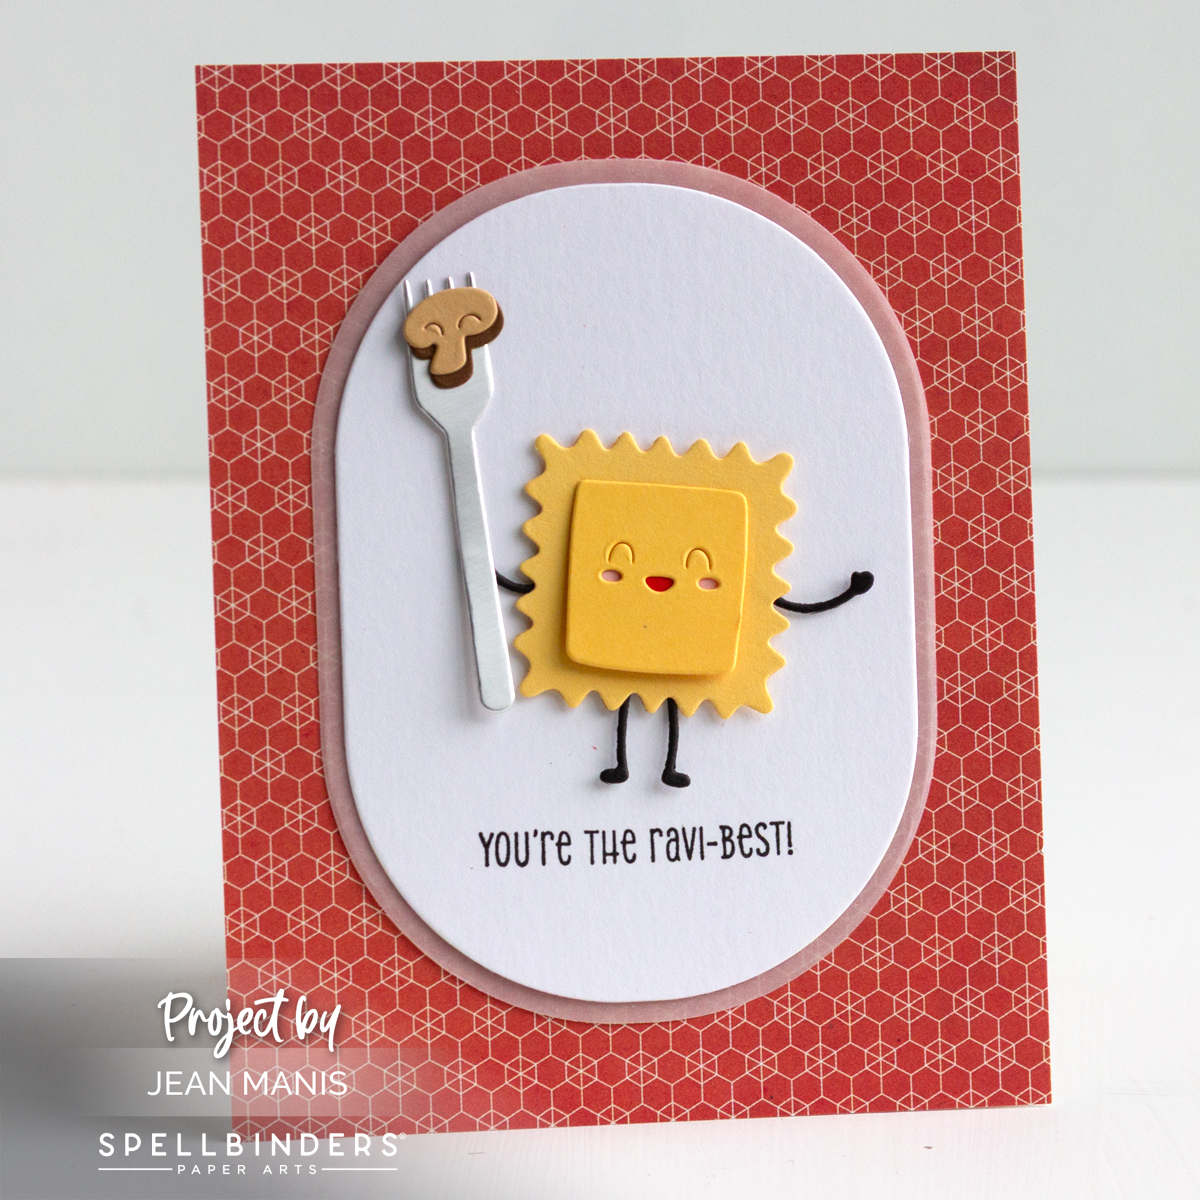
To begin, cover A2-size card bases with patterned paper.
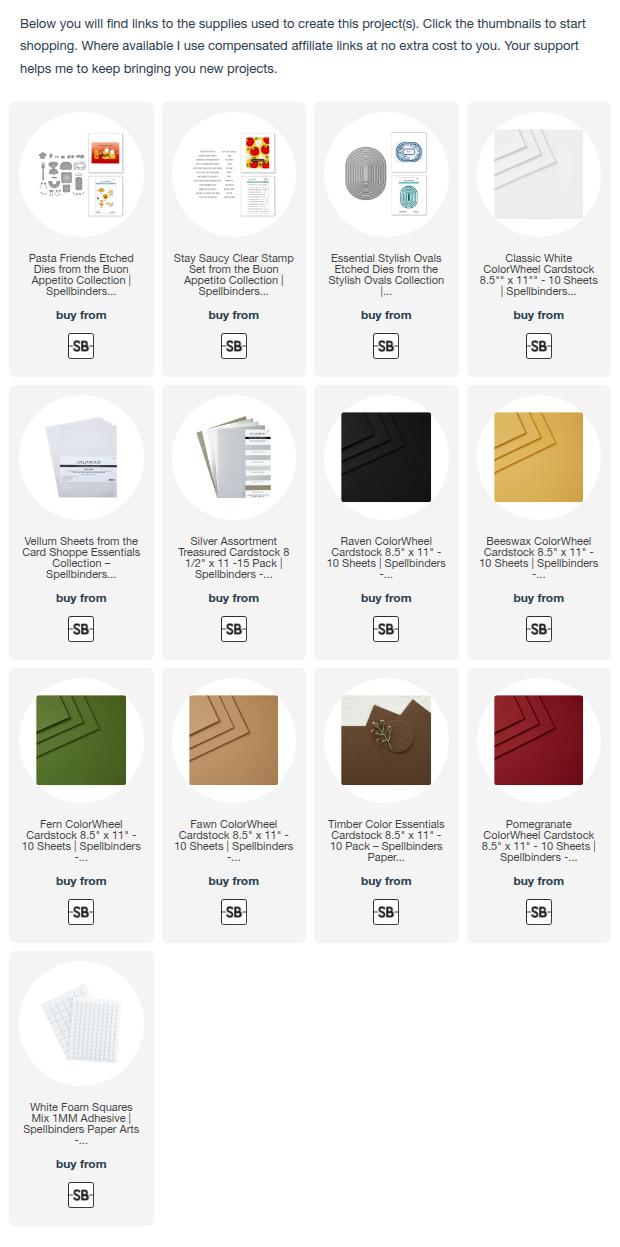
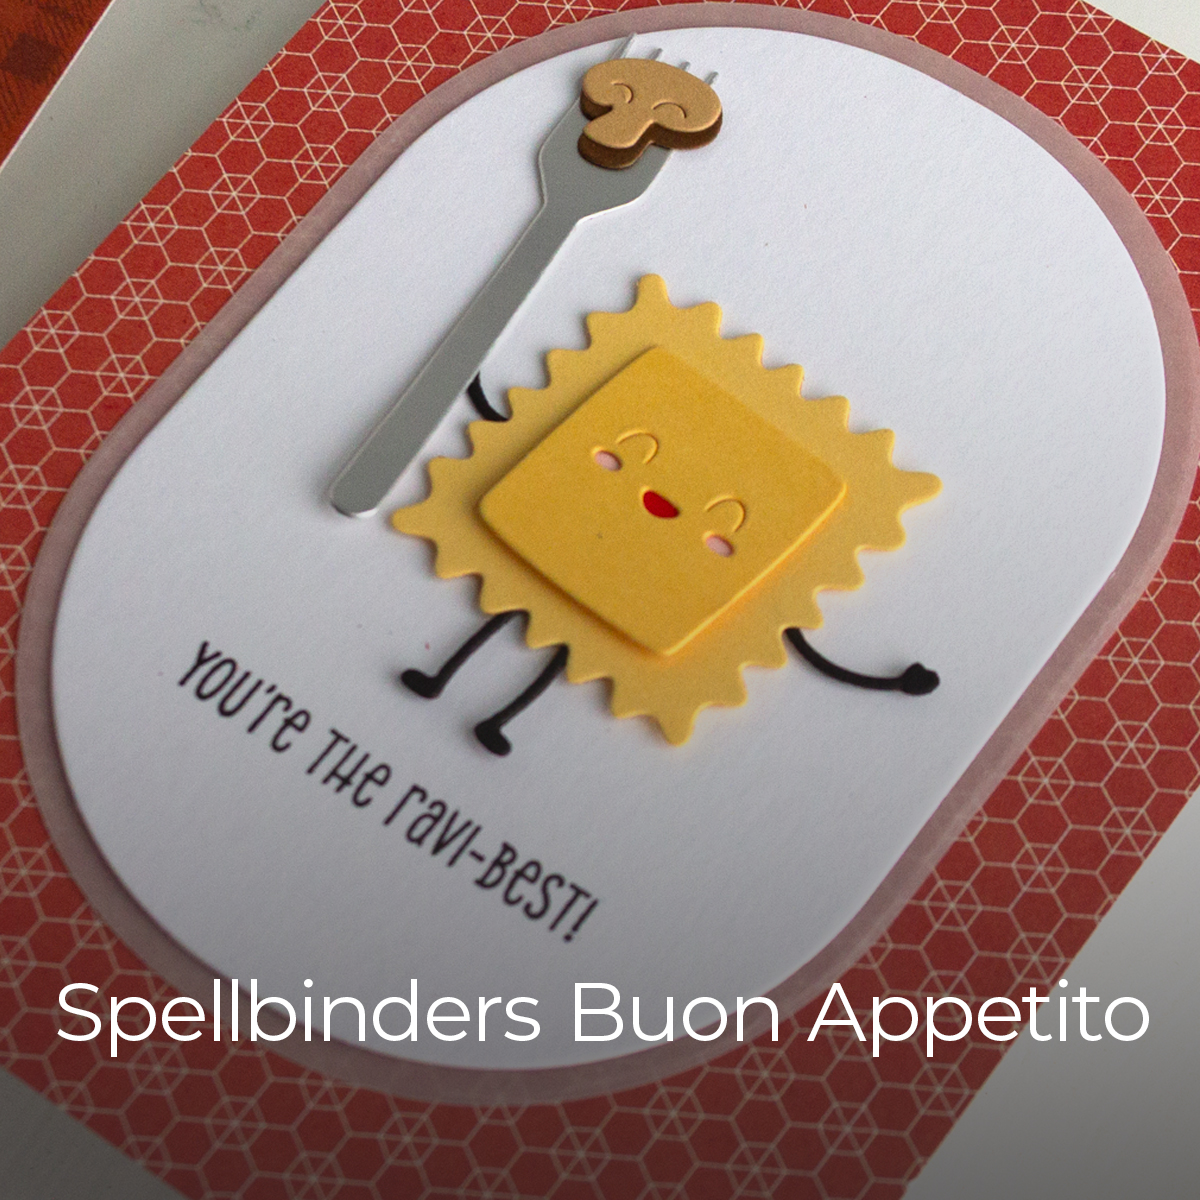
Cut pasta and accessories with dies in the Pasta Friends set. Assemble as needed.
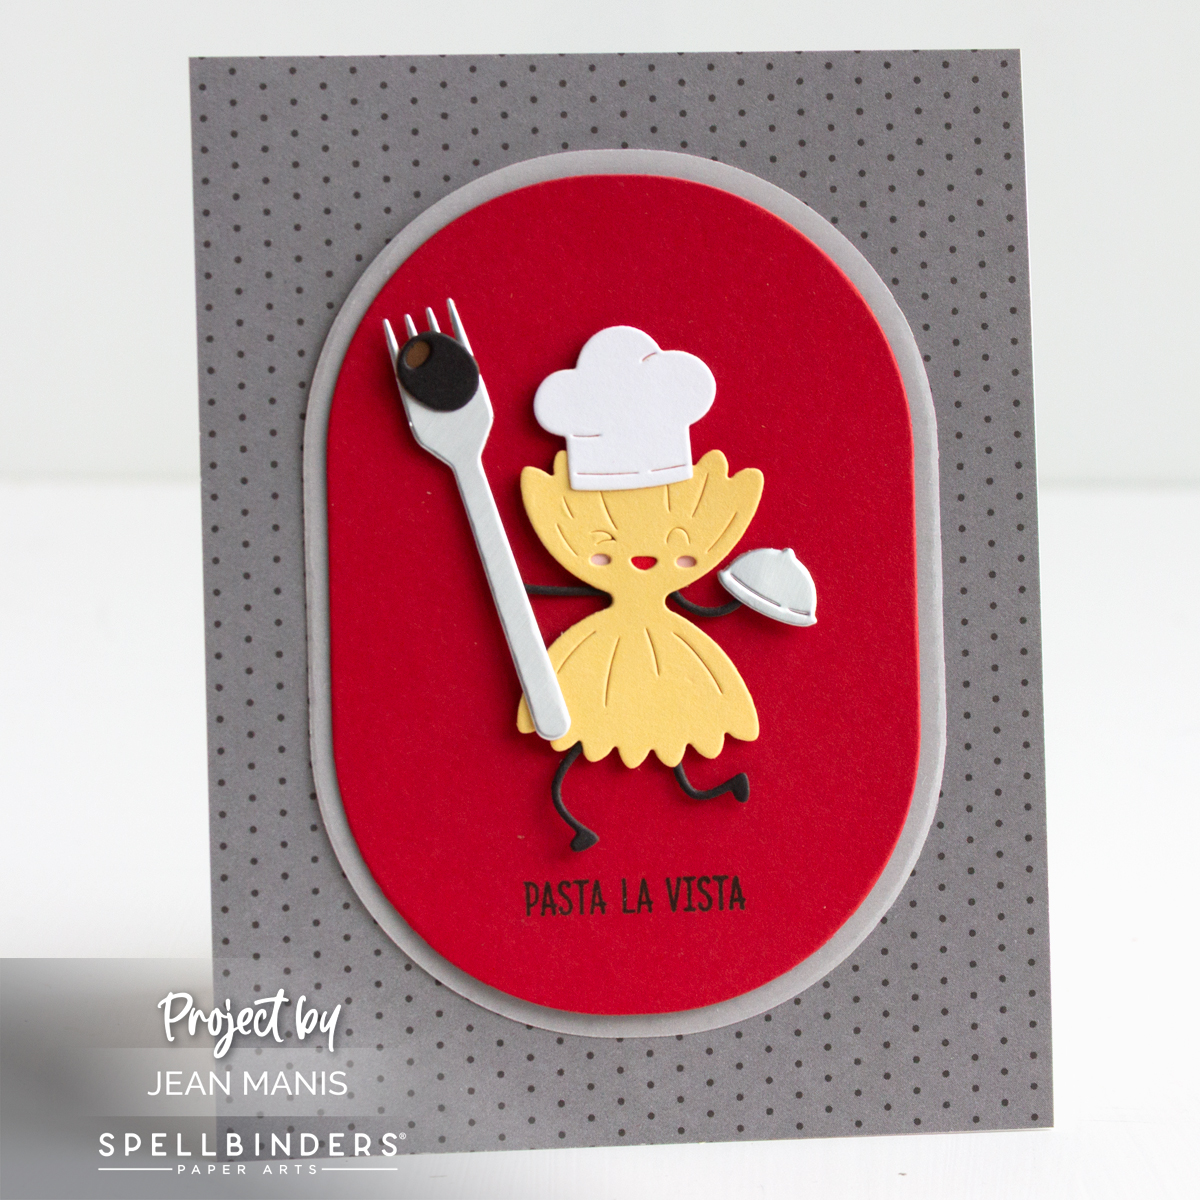
Stamp Stay Saucy sentiments onto cardstock and cut with a die in the Essential Stylish Ovals set.
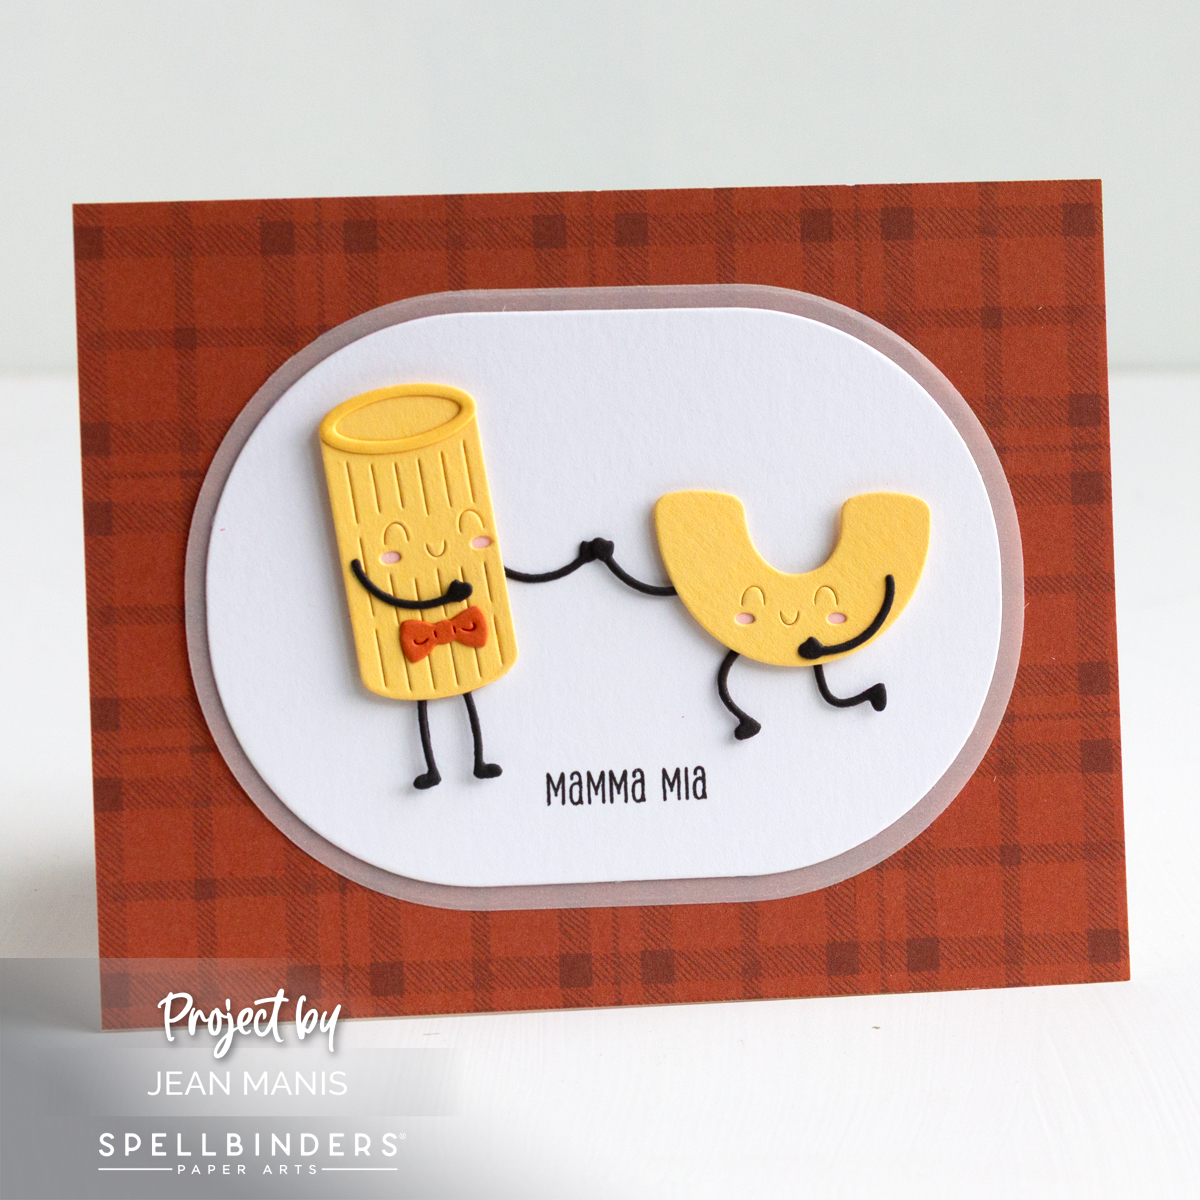
Add sentiment panels to vellum ovals cut with the next largest die. Add assemblies to prepared card bases.
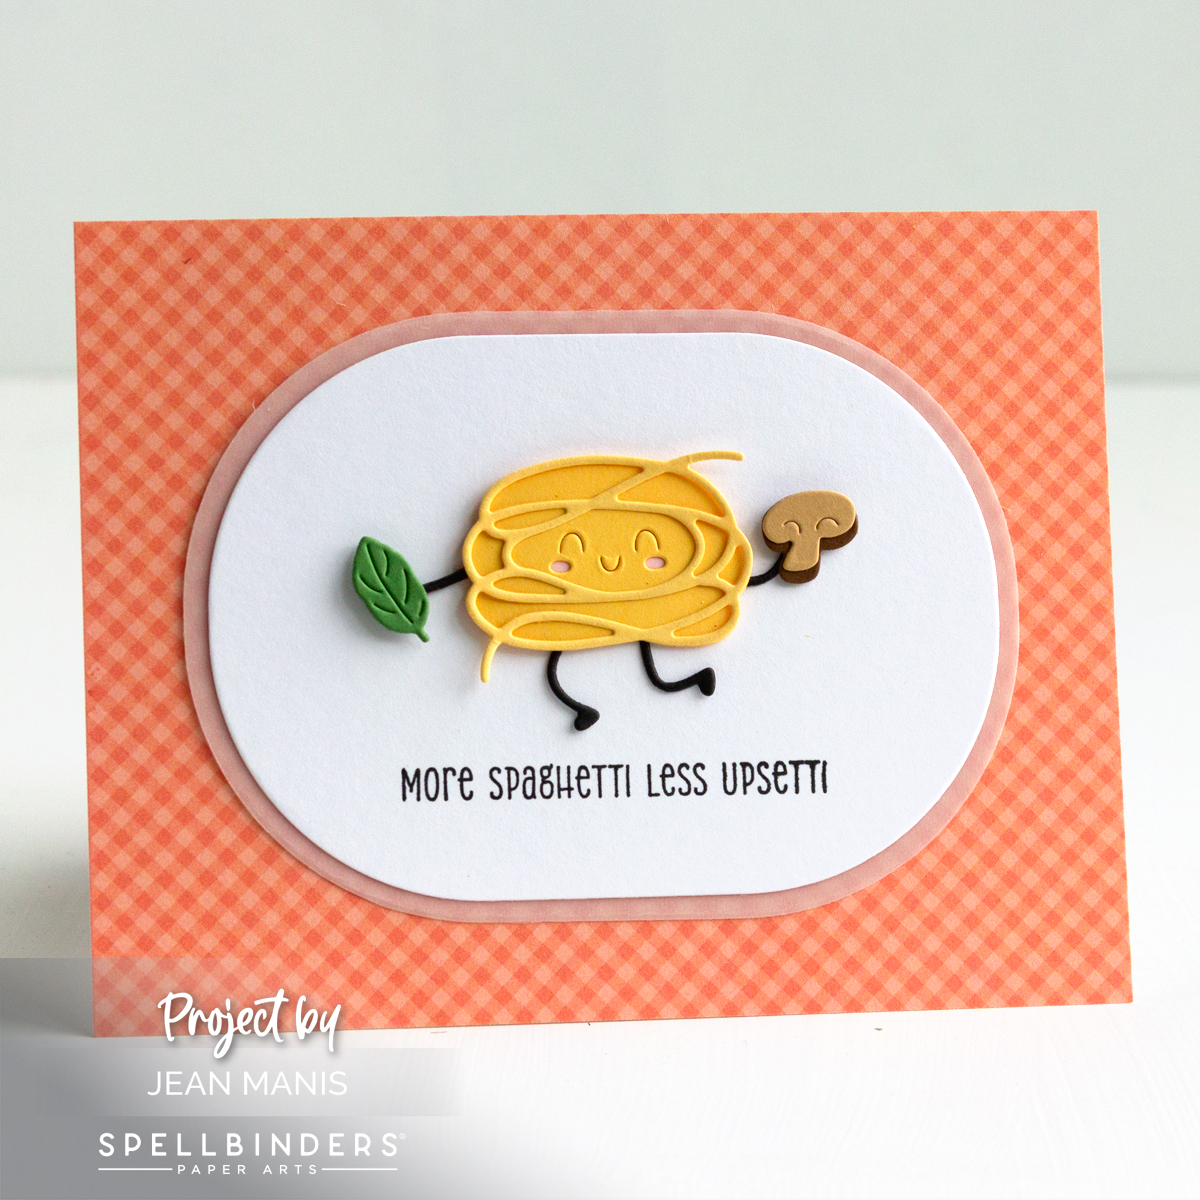
Add assembled pasta shape (or shapes) to cards with foam adhesive.