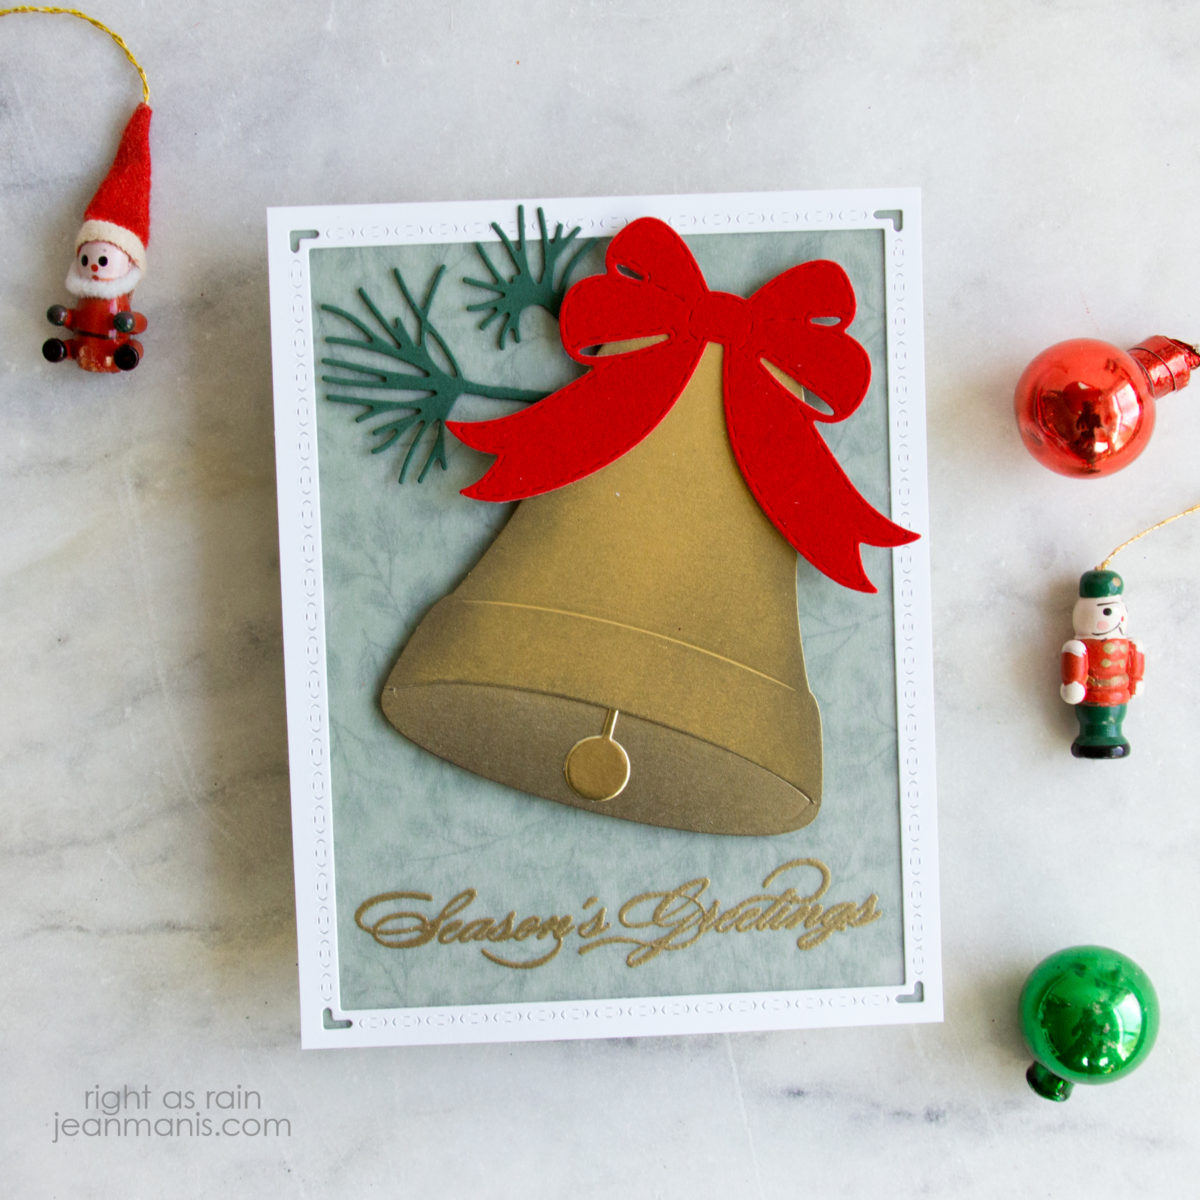
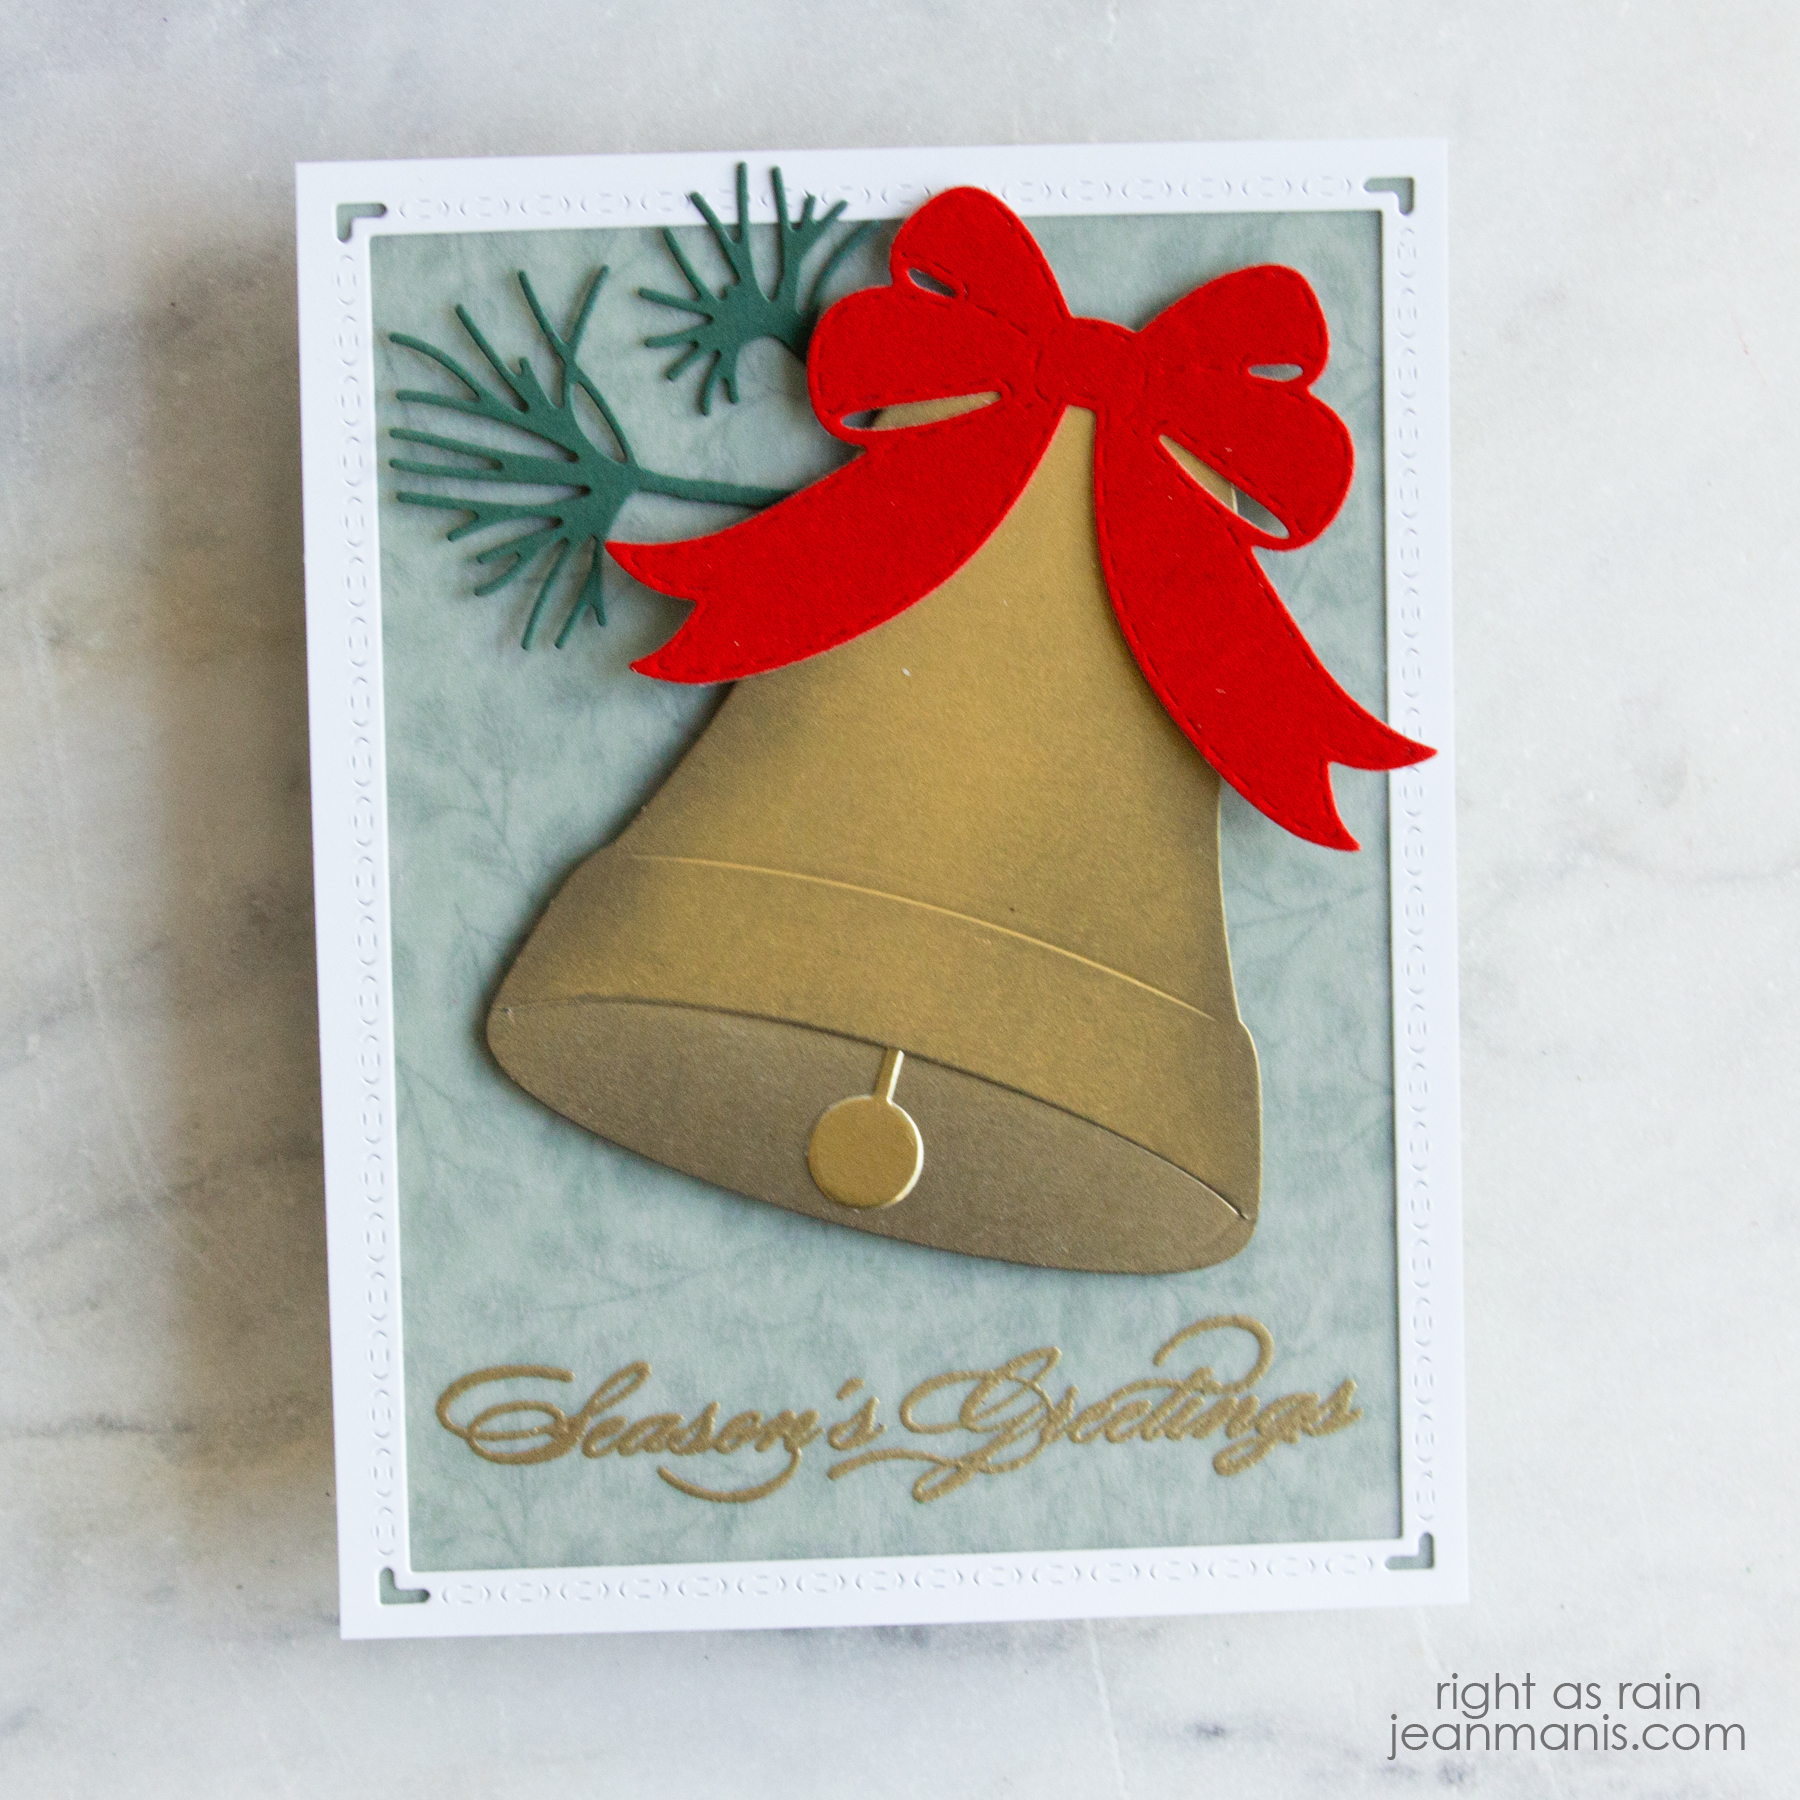
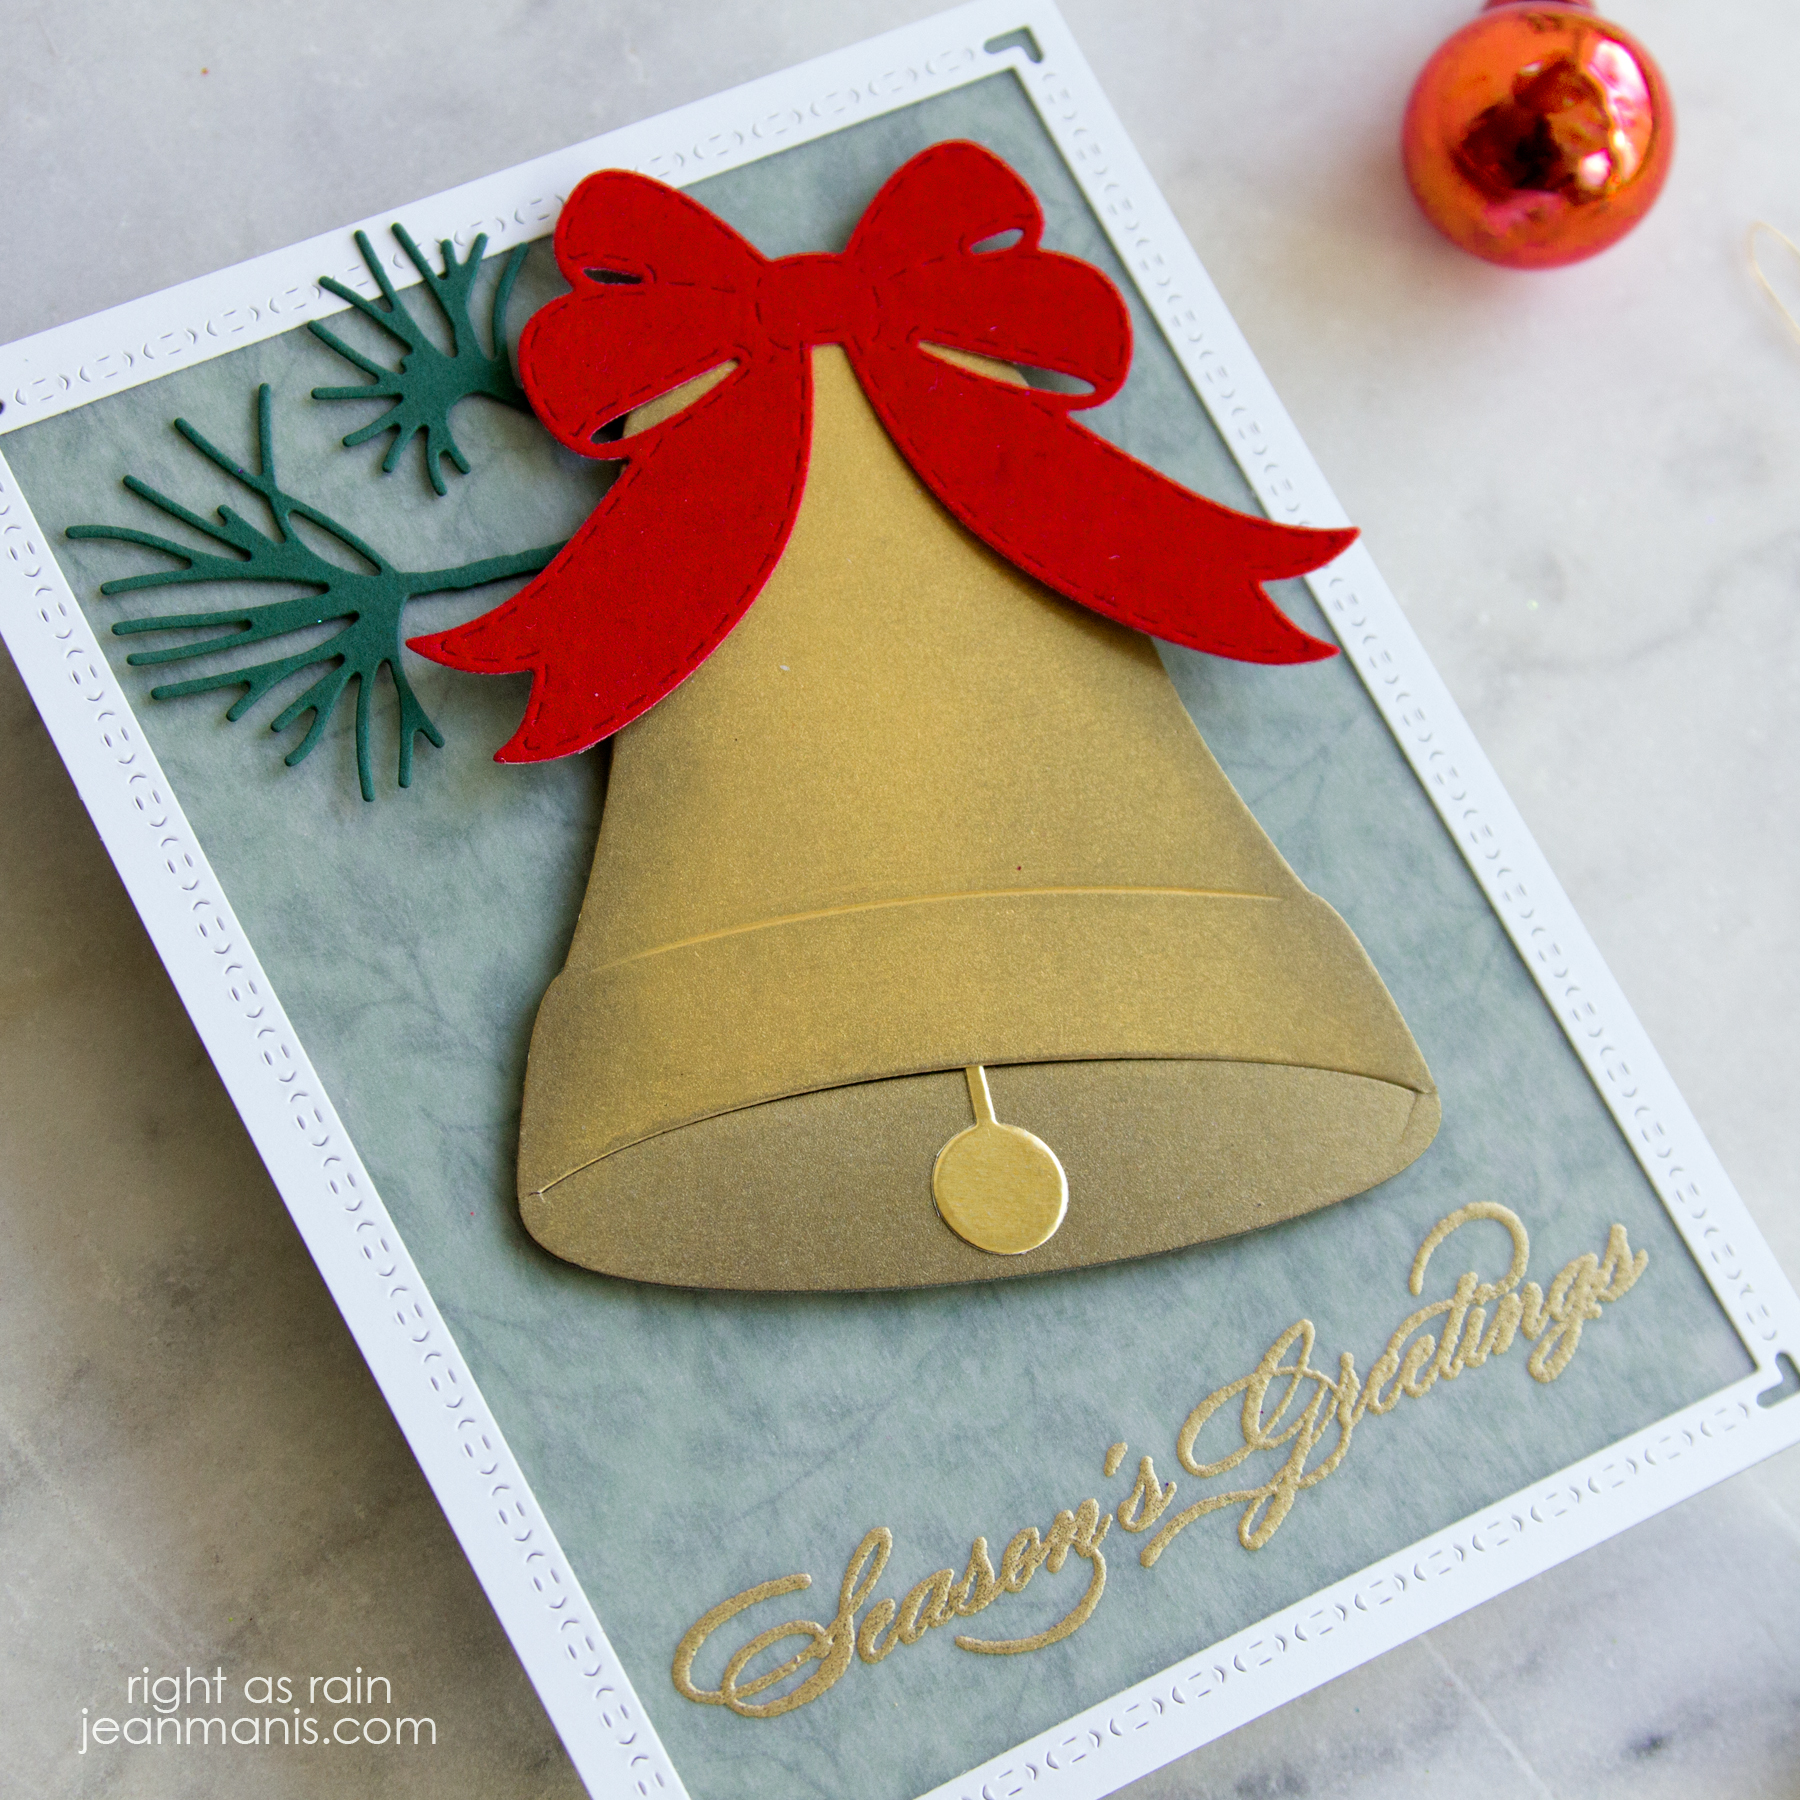
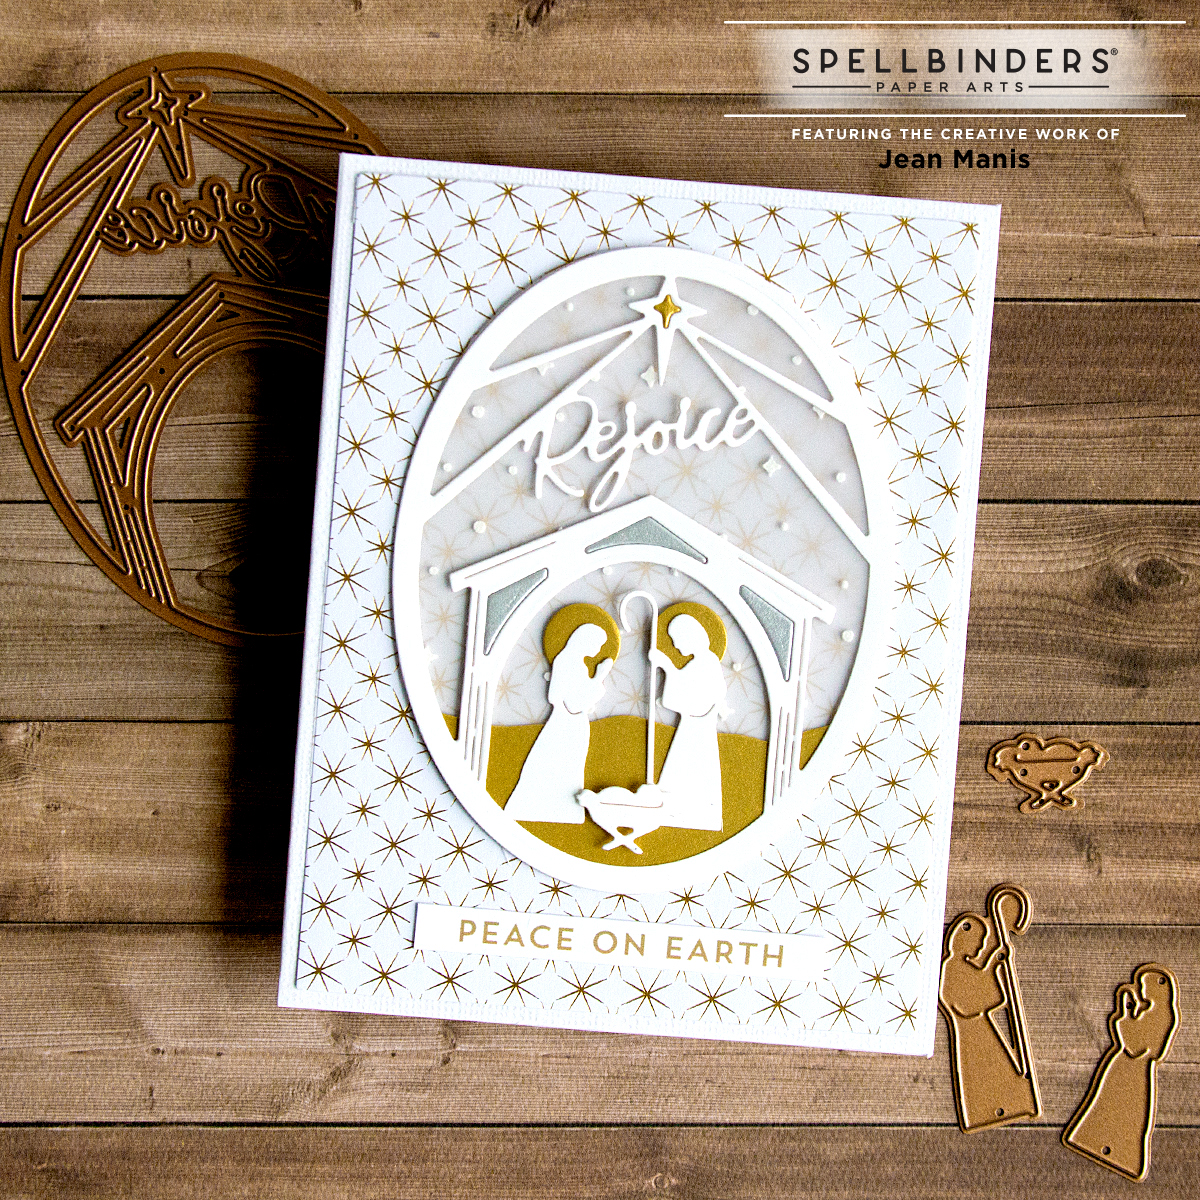
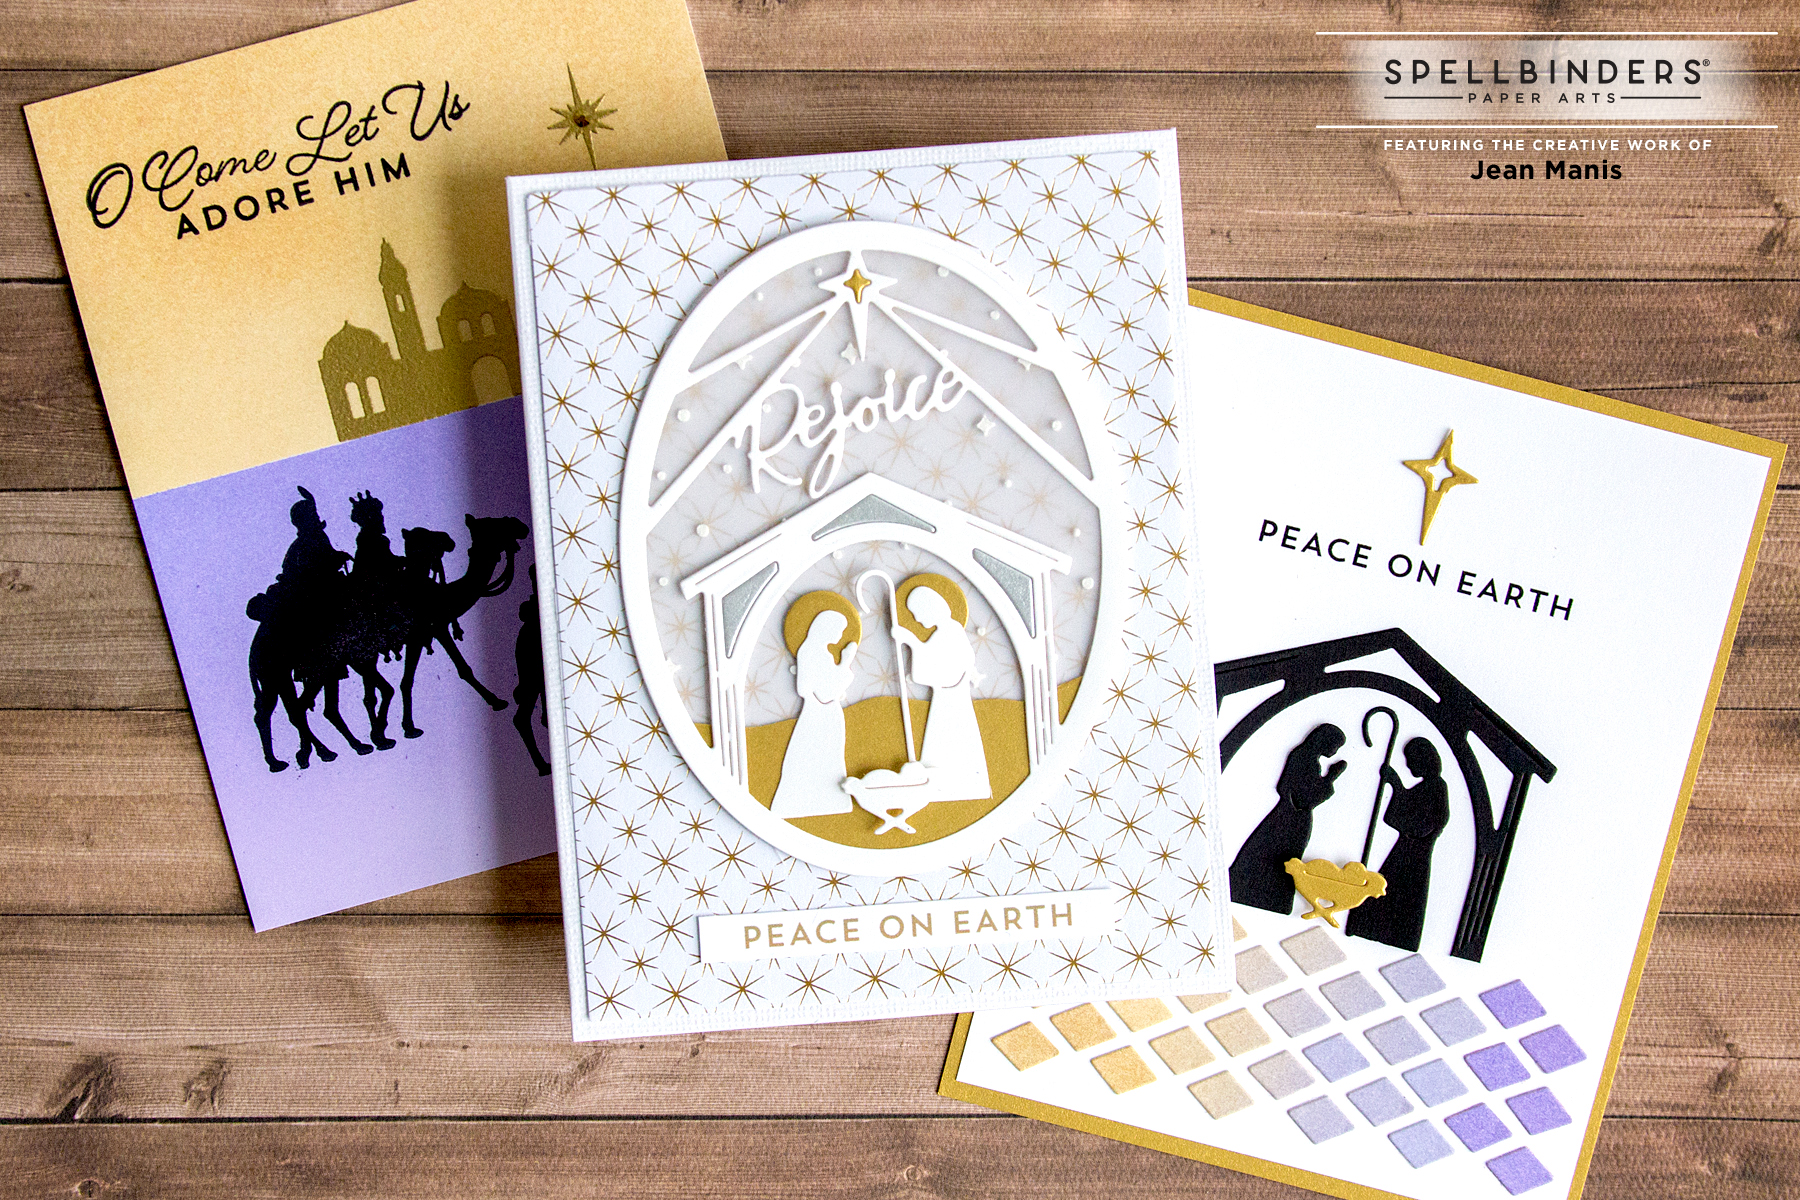
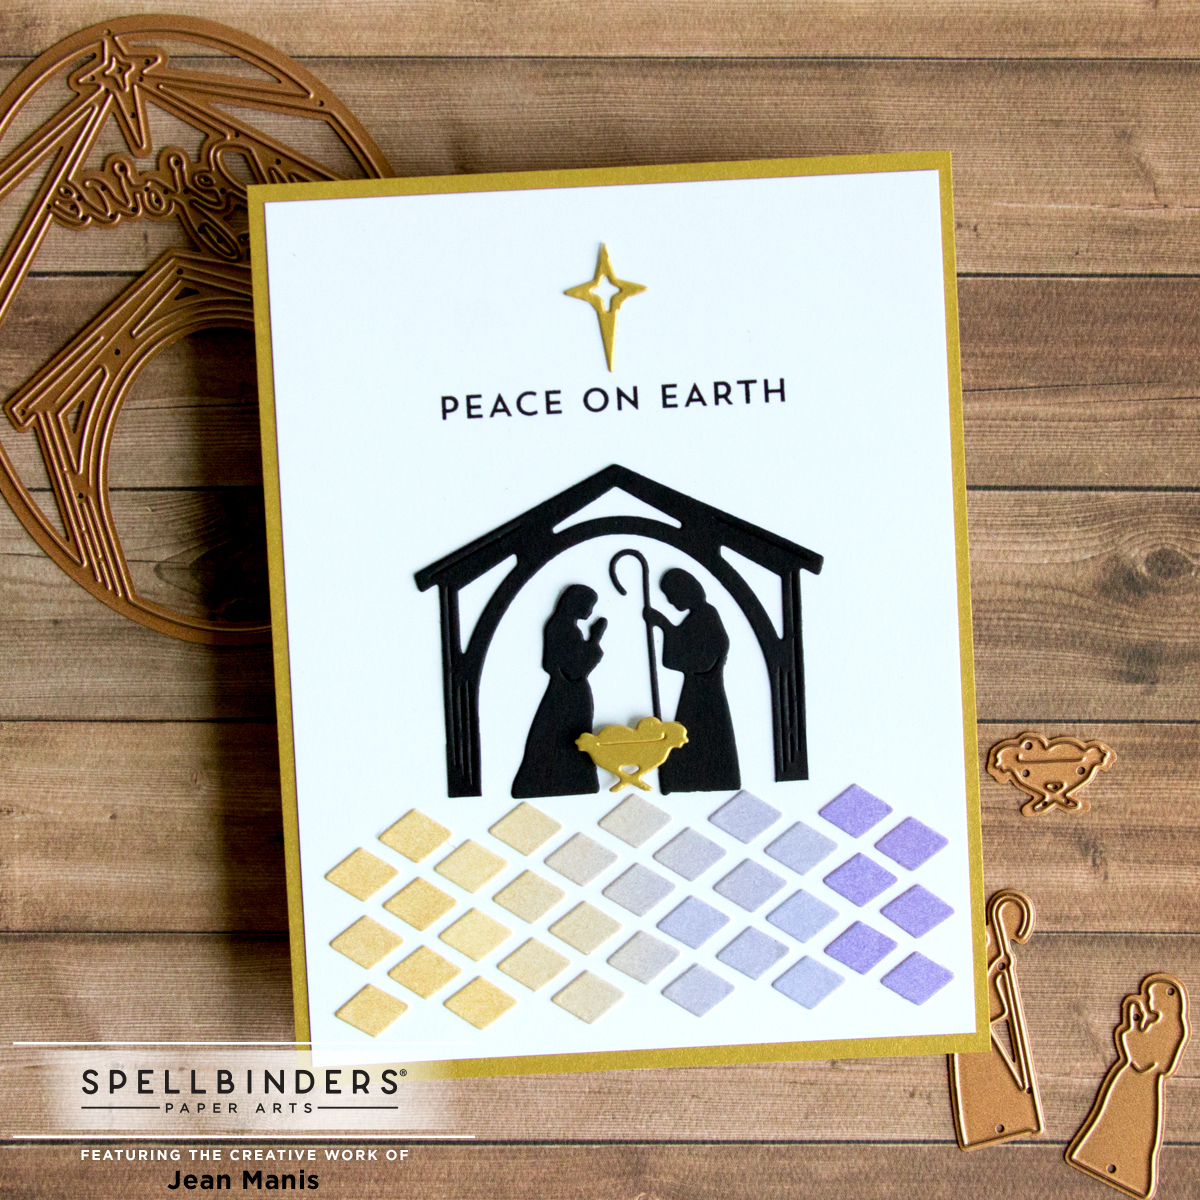
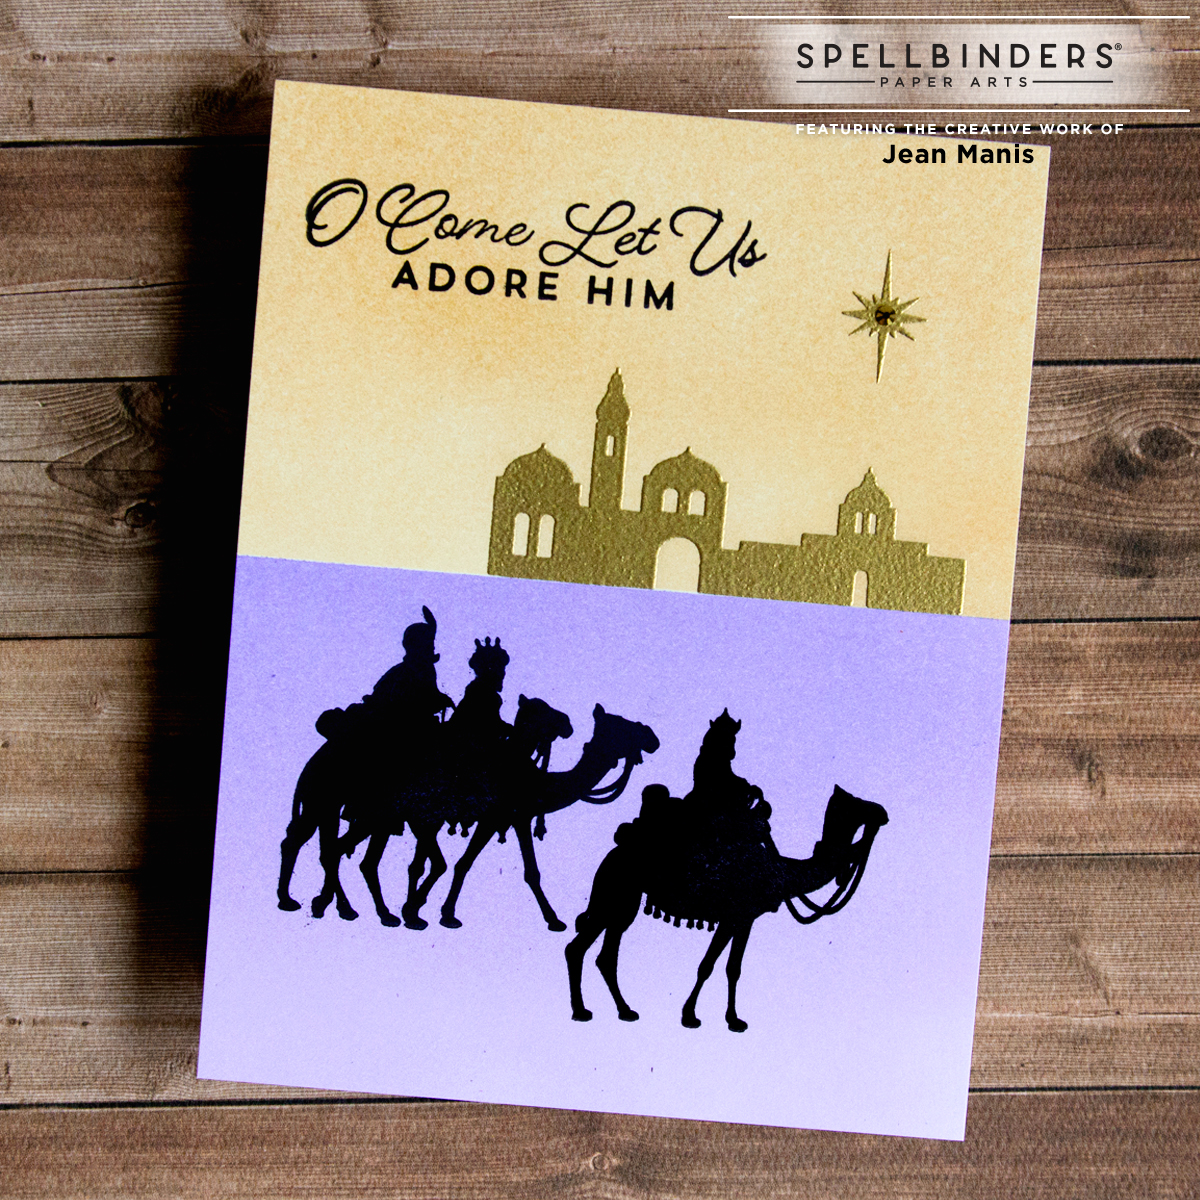
Hello! Today I am sharing another card created with supplies from the Spellbinders Christmas Traditions Collection. I posted about this collection and the Rejoice Nativity die set here.
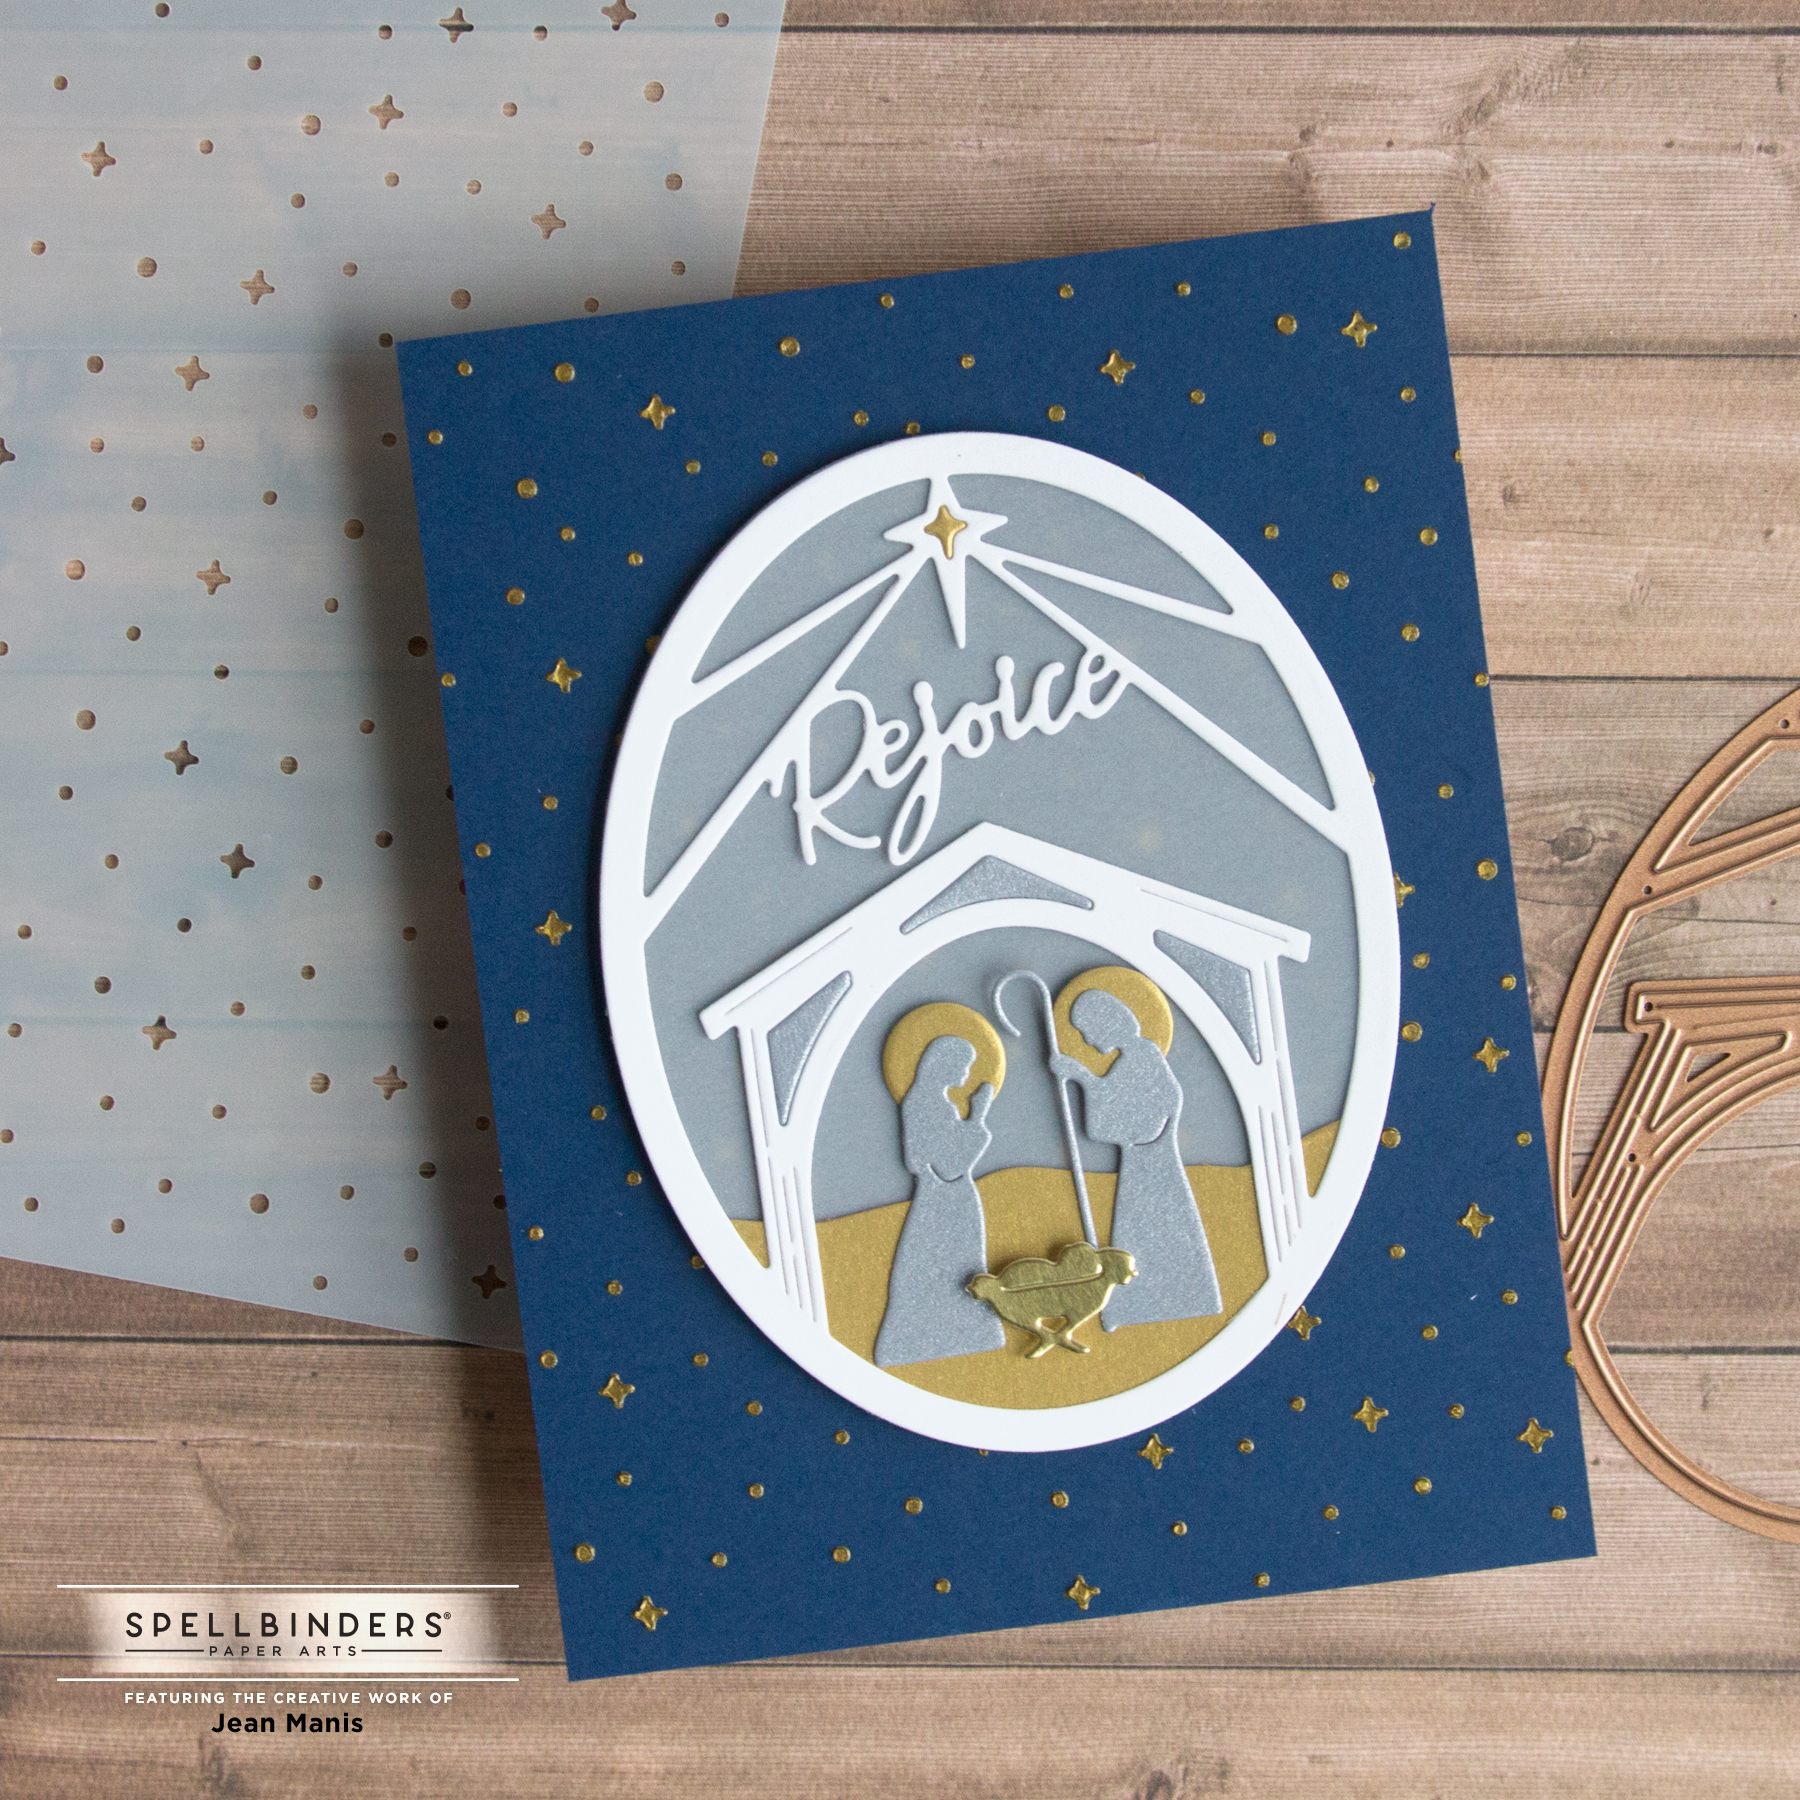
To begin, I stenciled All the Stars with gold gel on navy cardstock.
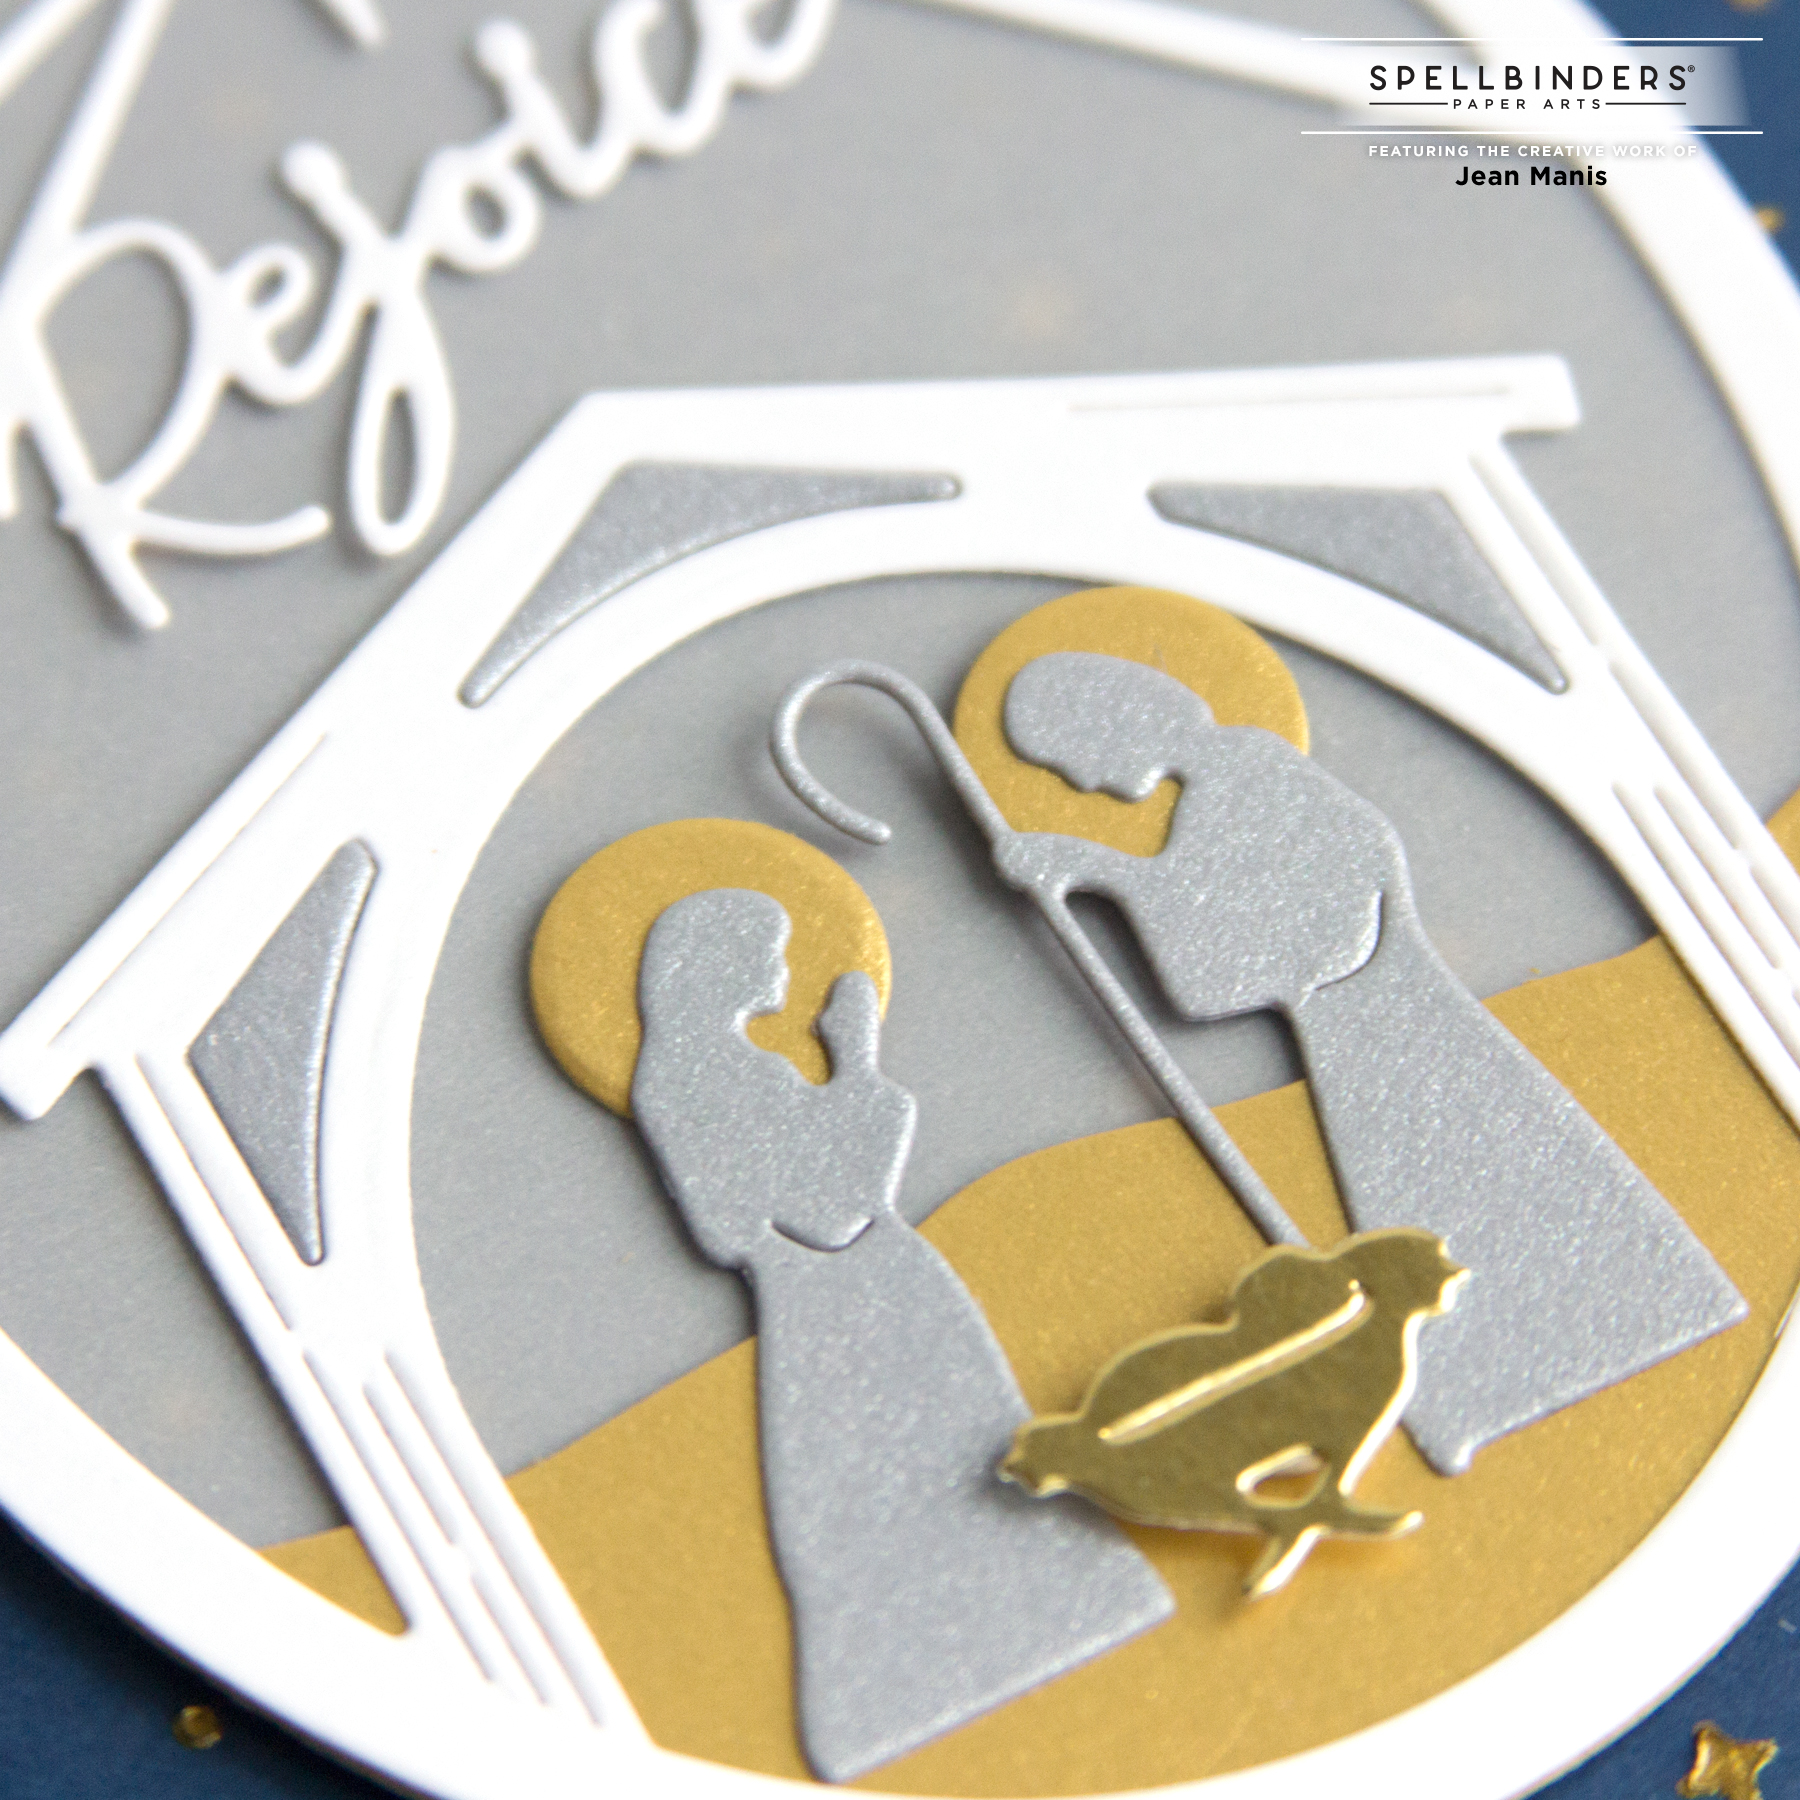
I die-cut the Rejoice Nativity set with Snowdrift, Brushed Silver, Brushed Gold, vellum, and gold foil cardstock and assembled the pieces.
Once the background was dry, I added the pieces to the card. This card came together quickly!