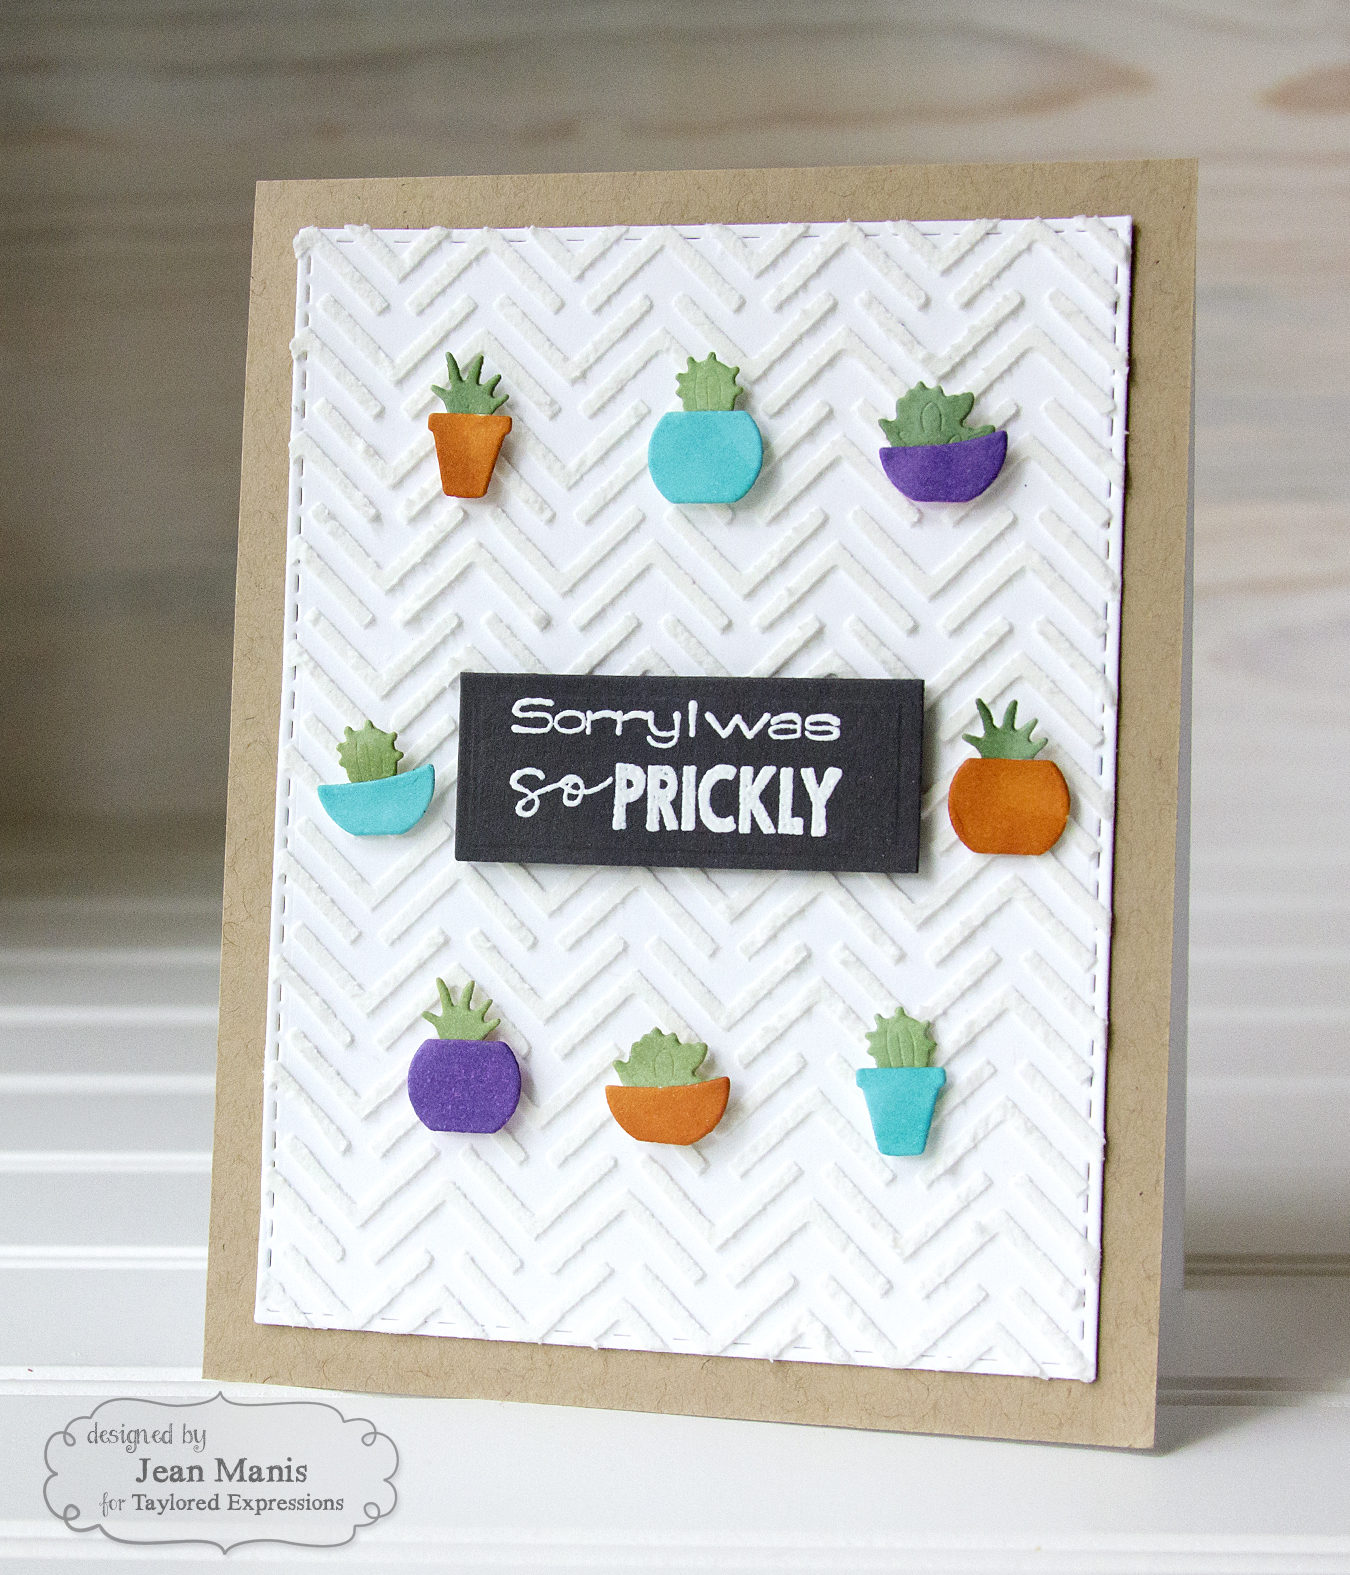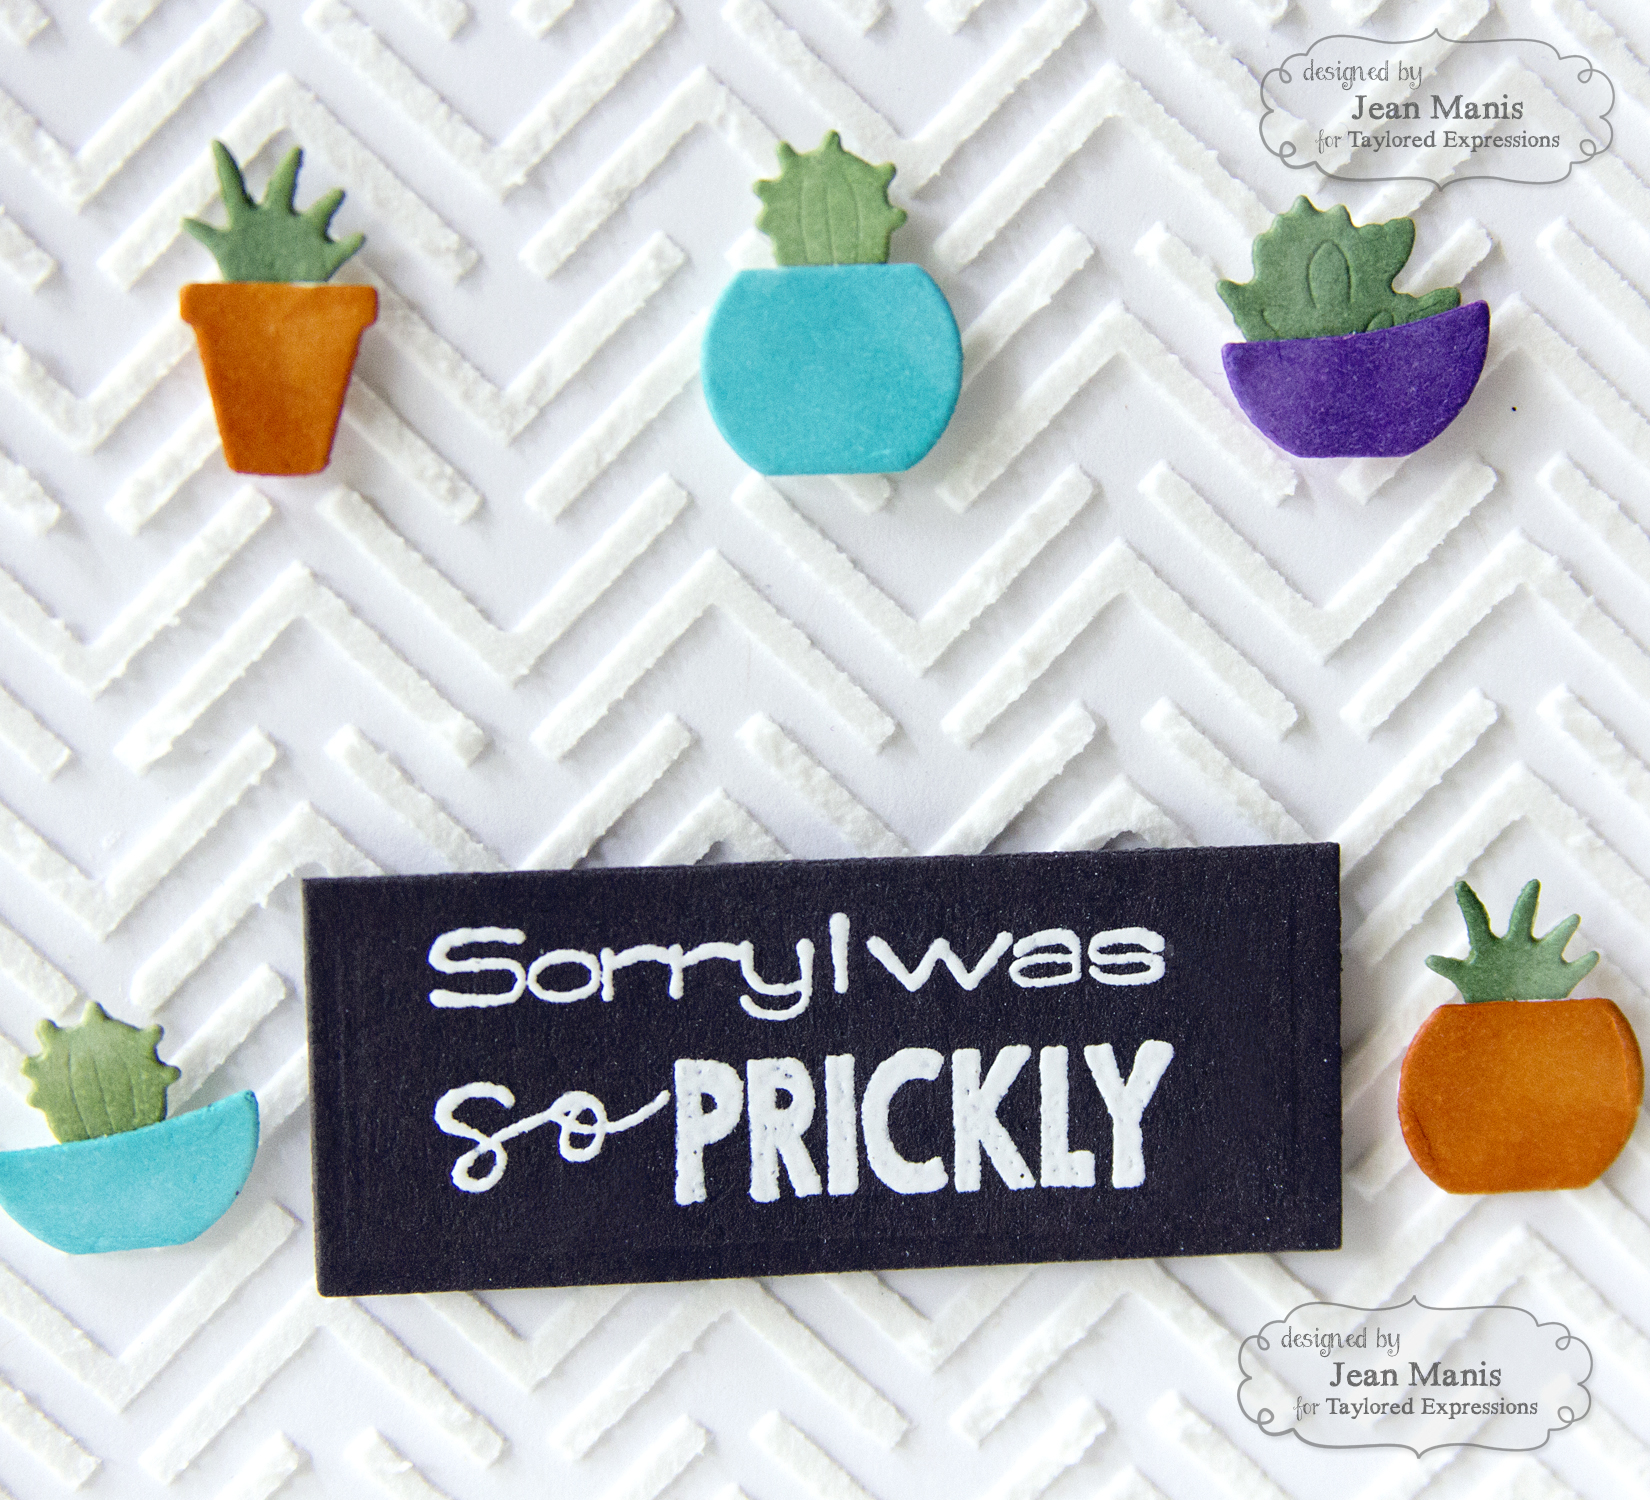
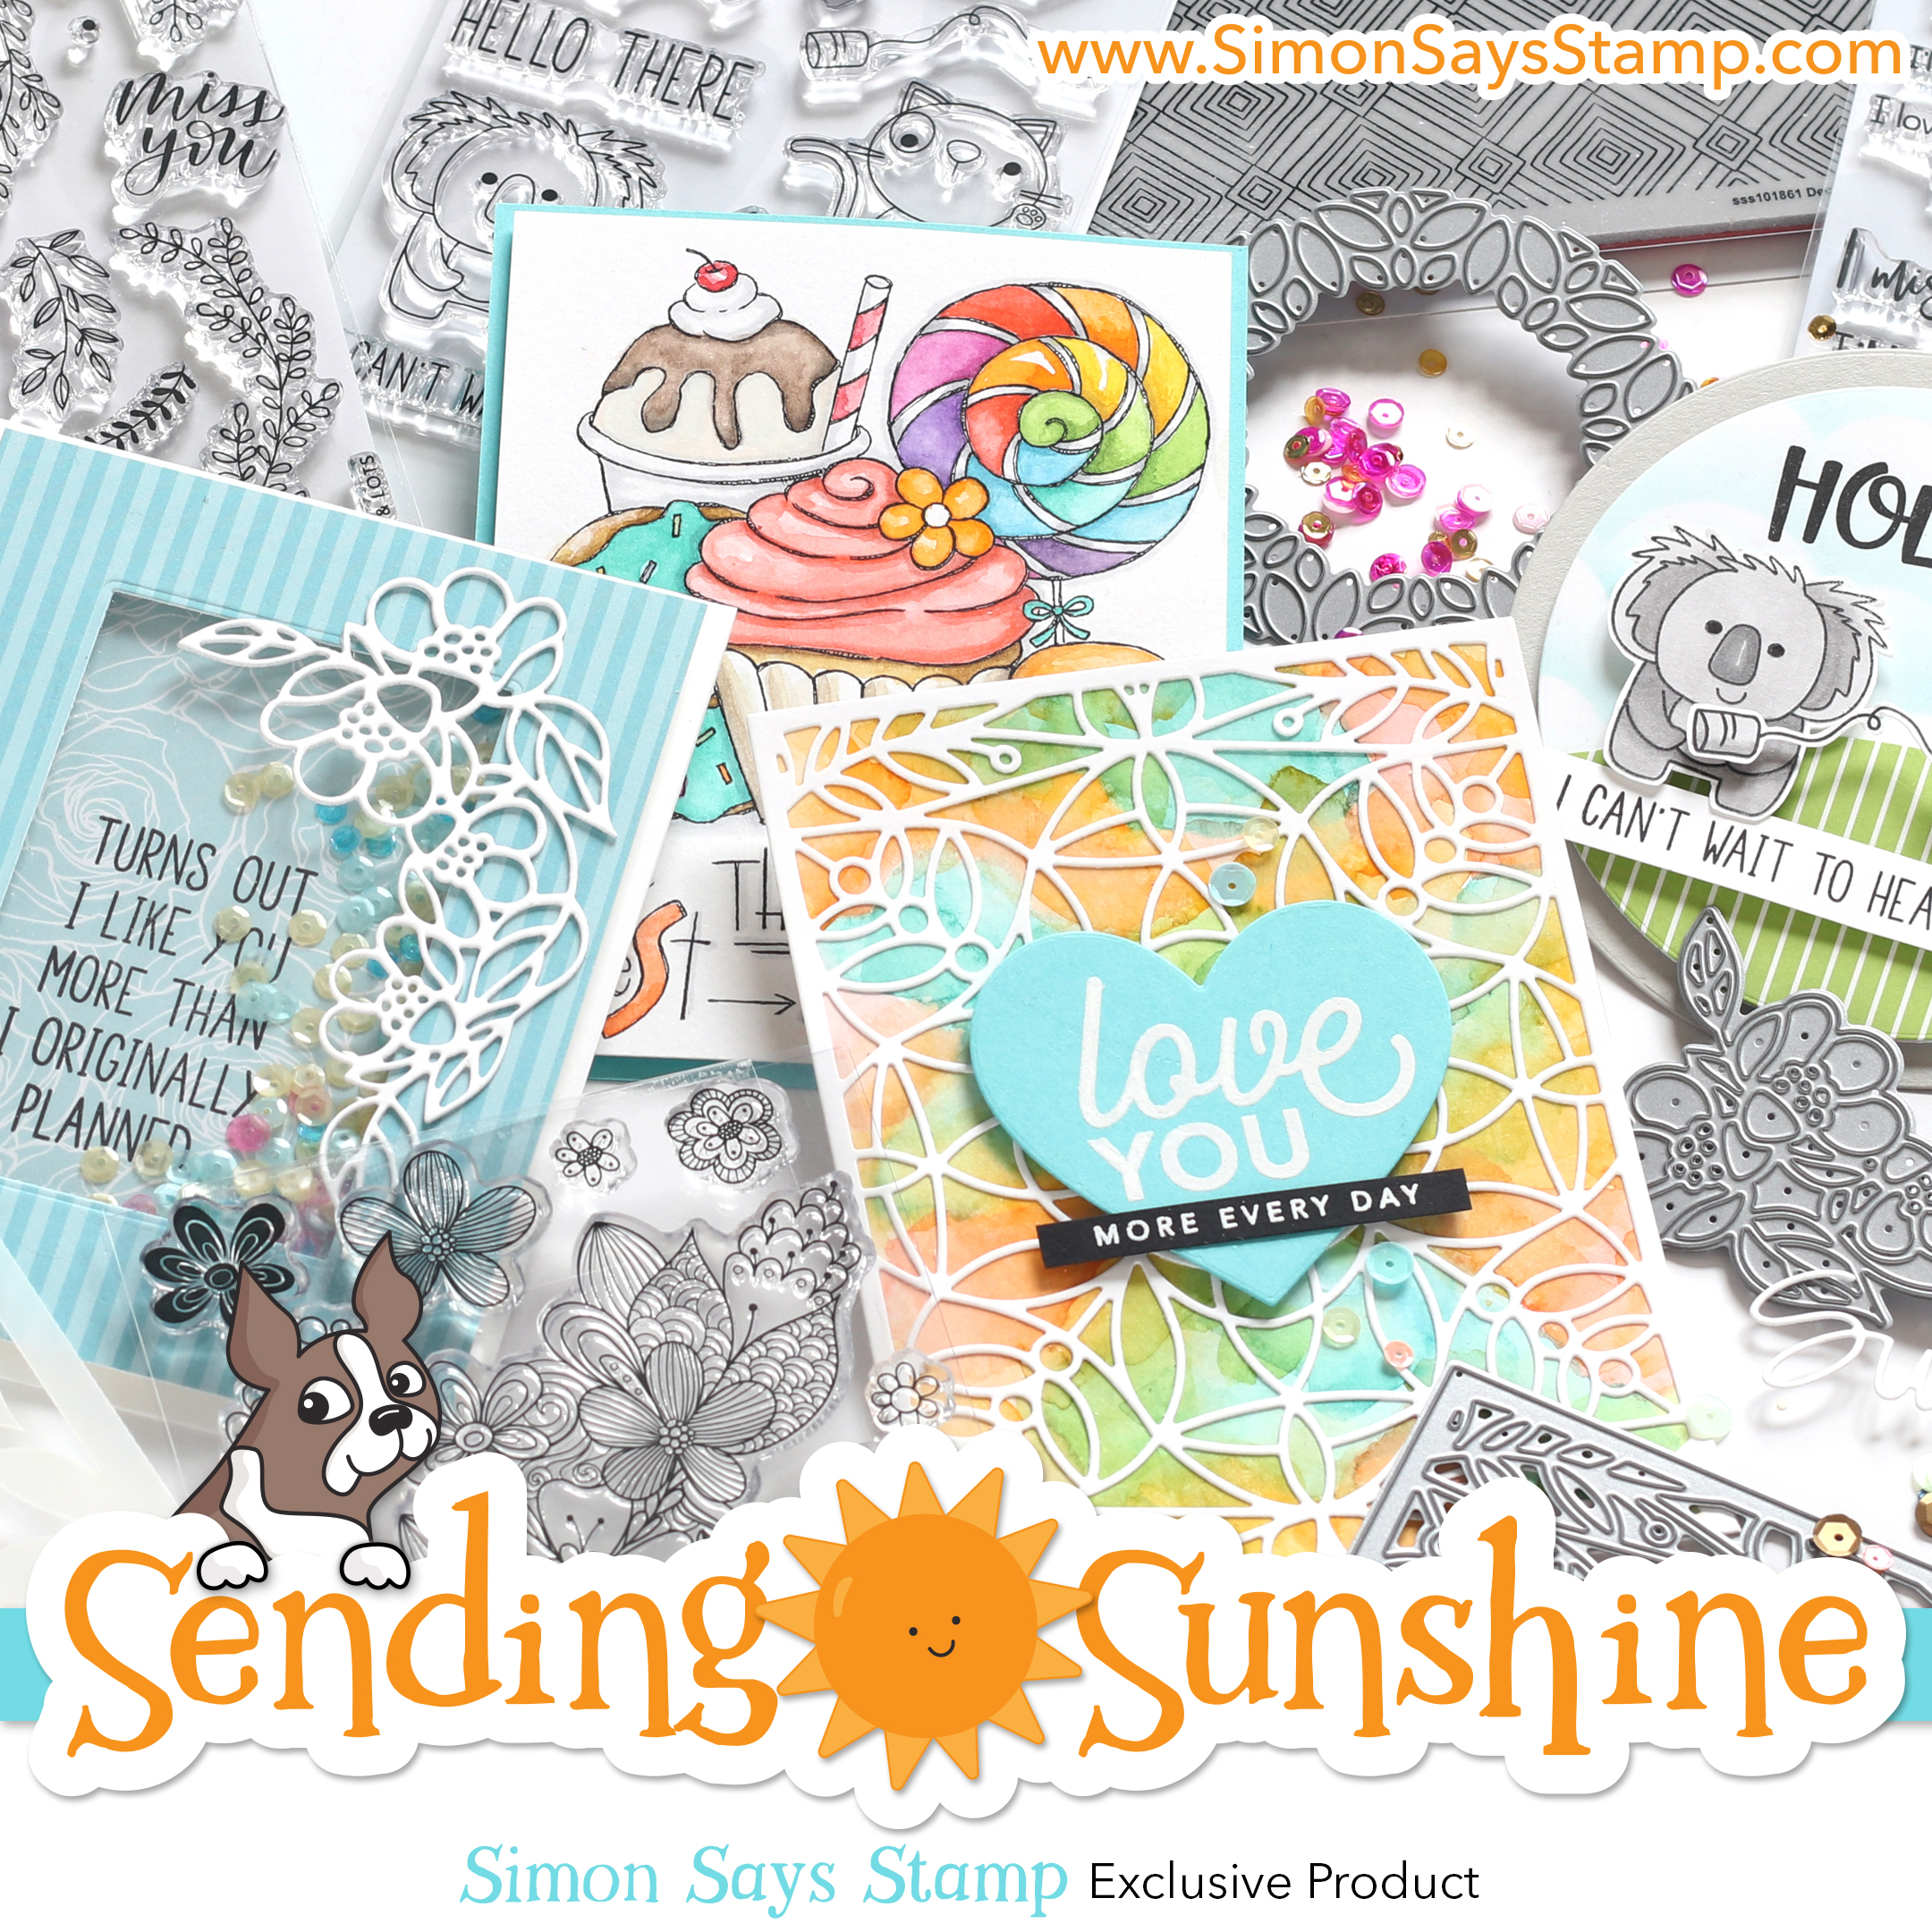
Hello! Today, I’m delighted to be sharing four projects featuring products from the Simon Says Stamp SENDING SUNSHINE release.
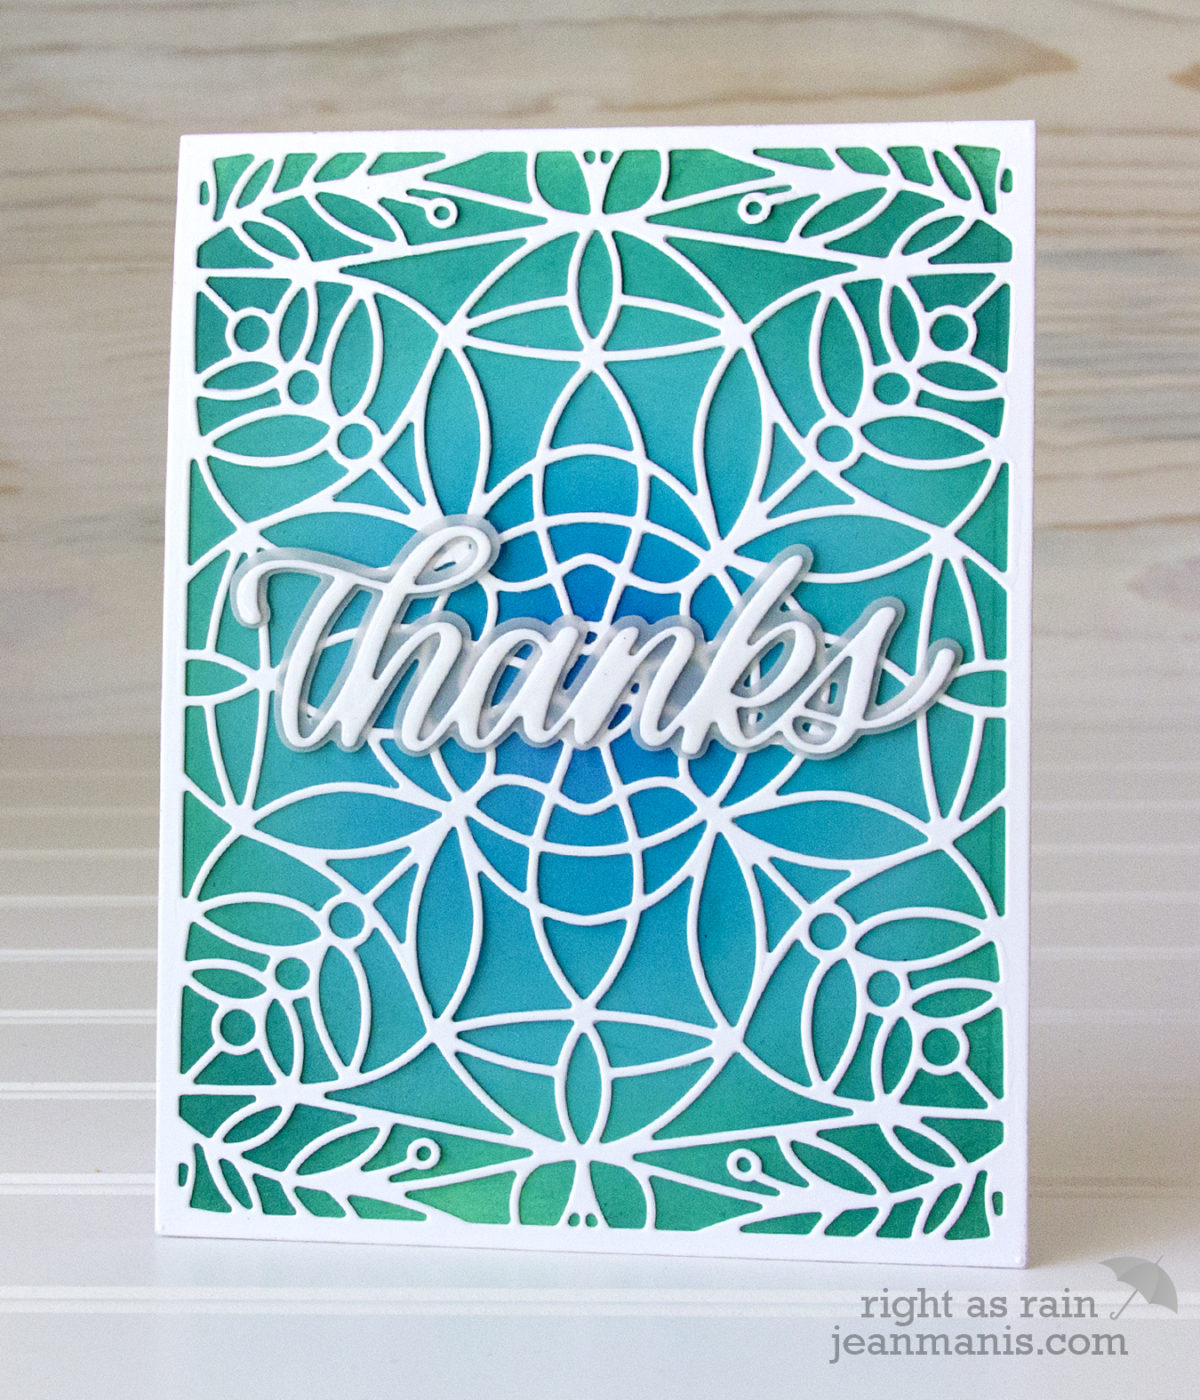
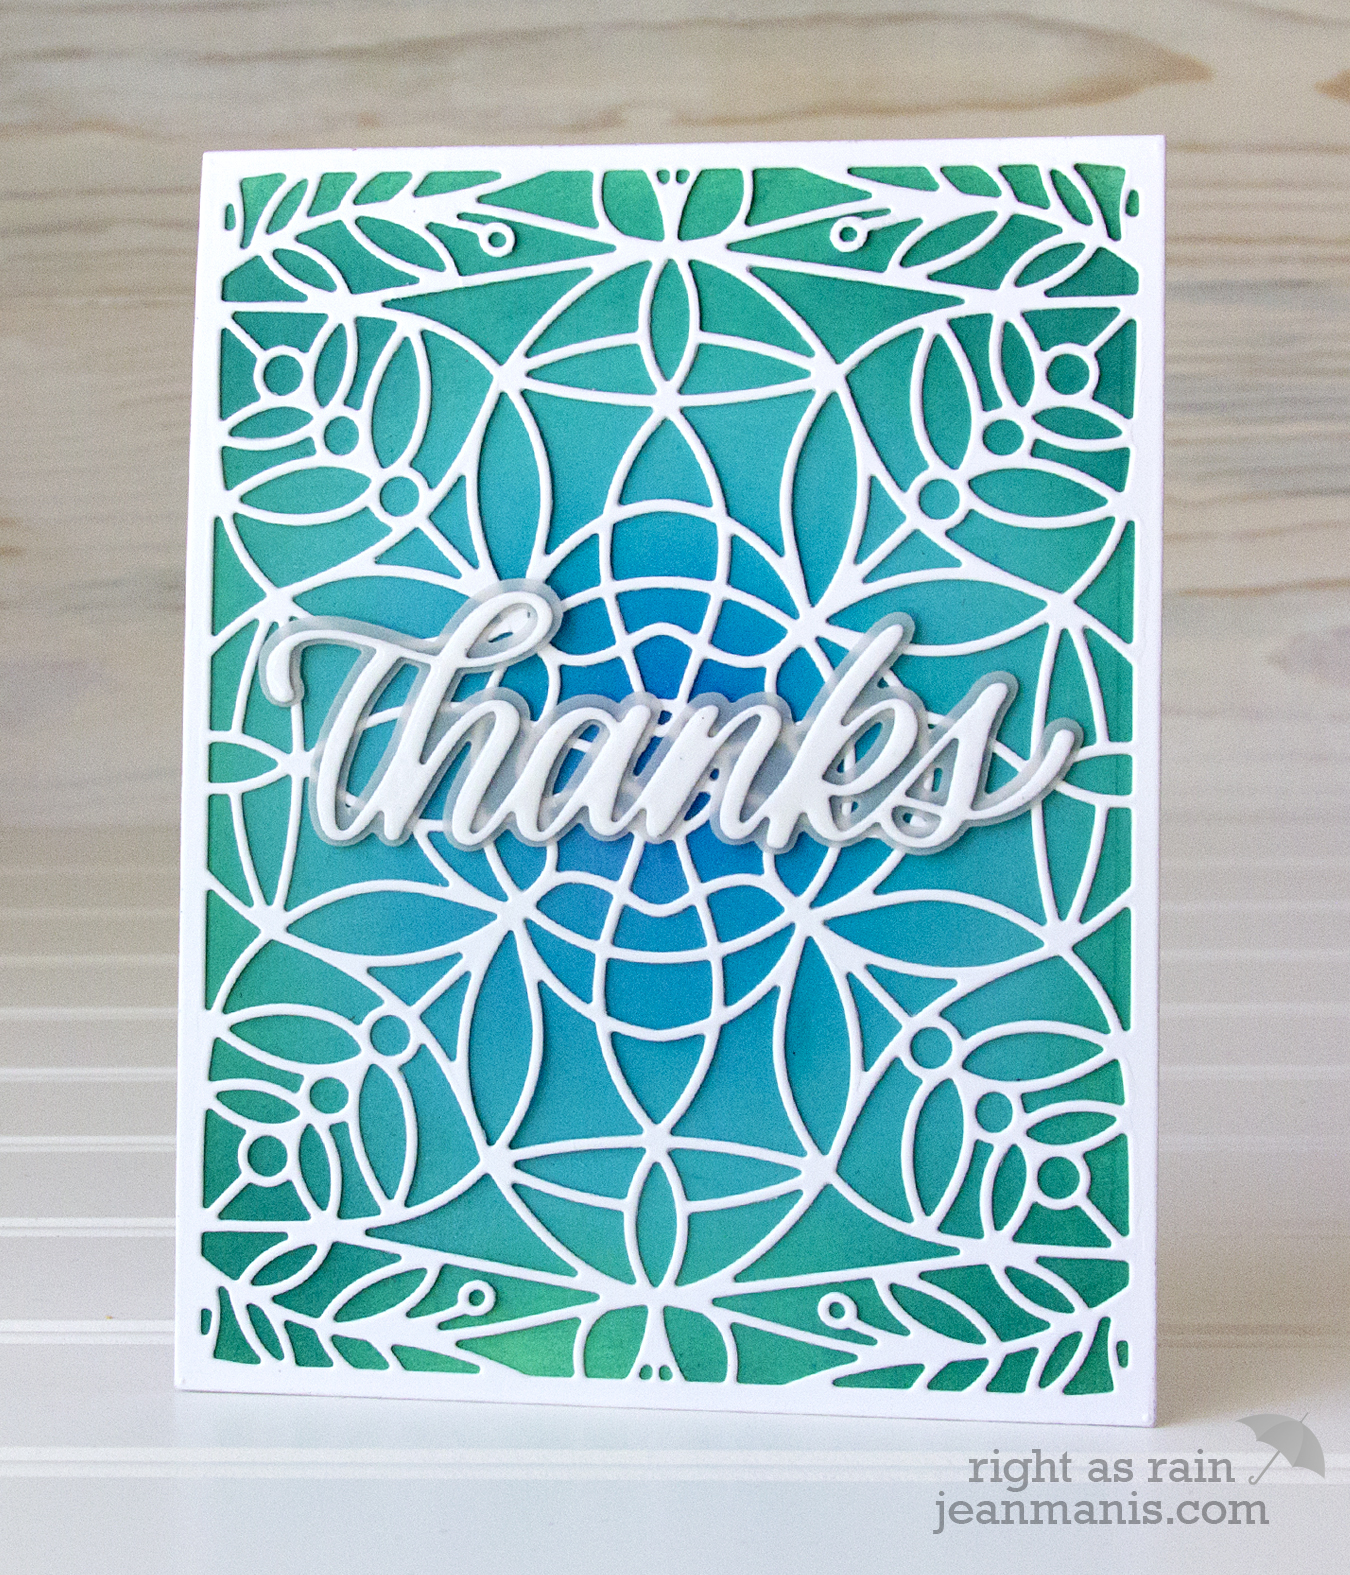
My first card showcases the Marilyn Full Card die–elegant and on-trend! I used the die to create an A2-sized overlay and adhered it on top of a cardstock panel, which I had colored with Cracked Pistachio, Peacock Feathers, and Blueprint Sketch Distress Oxide inks. I used the Big Thanks dies to create the sentiment.
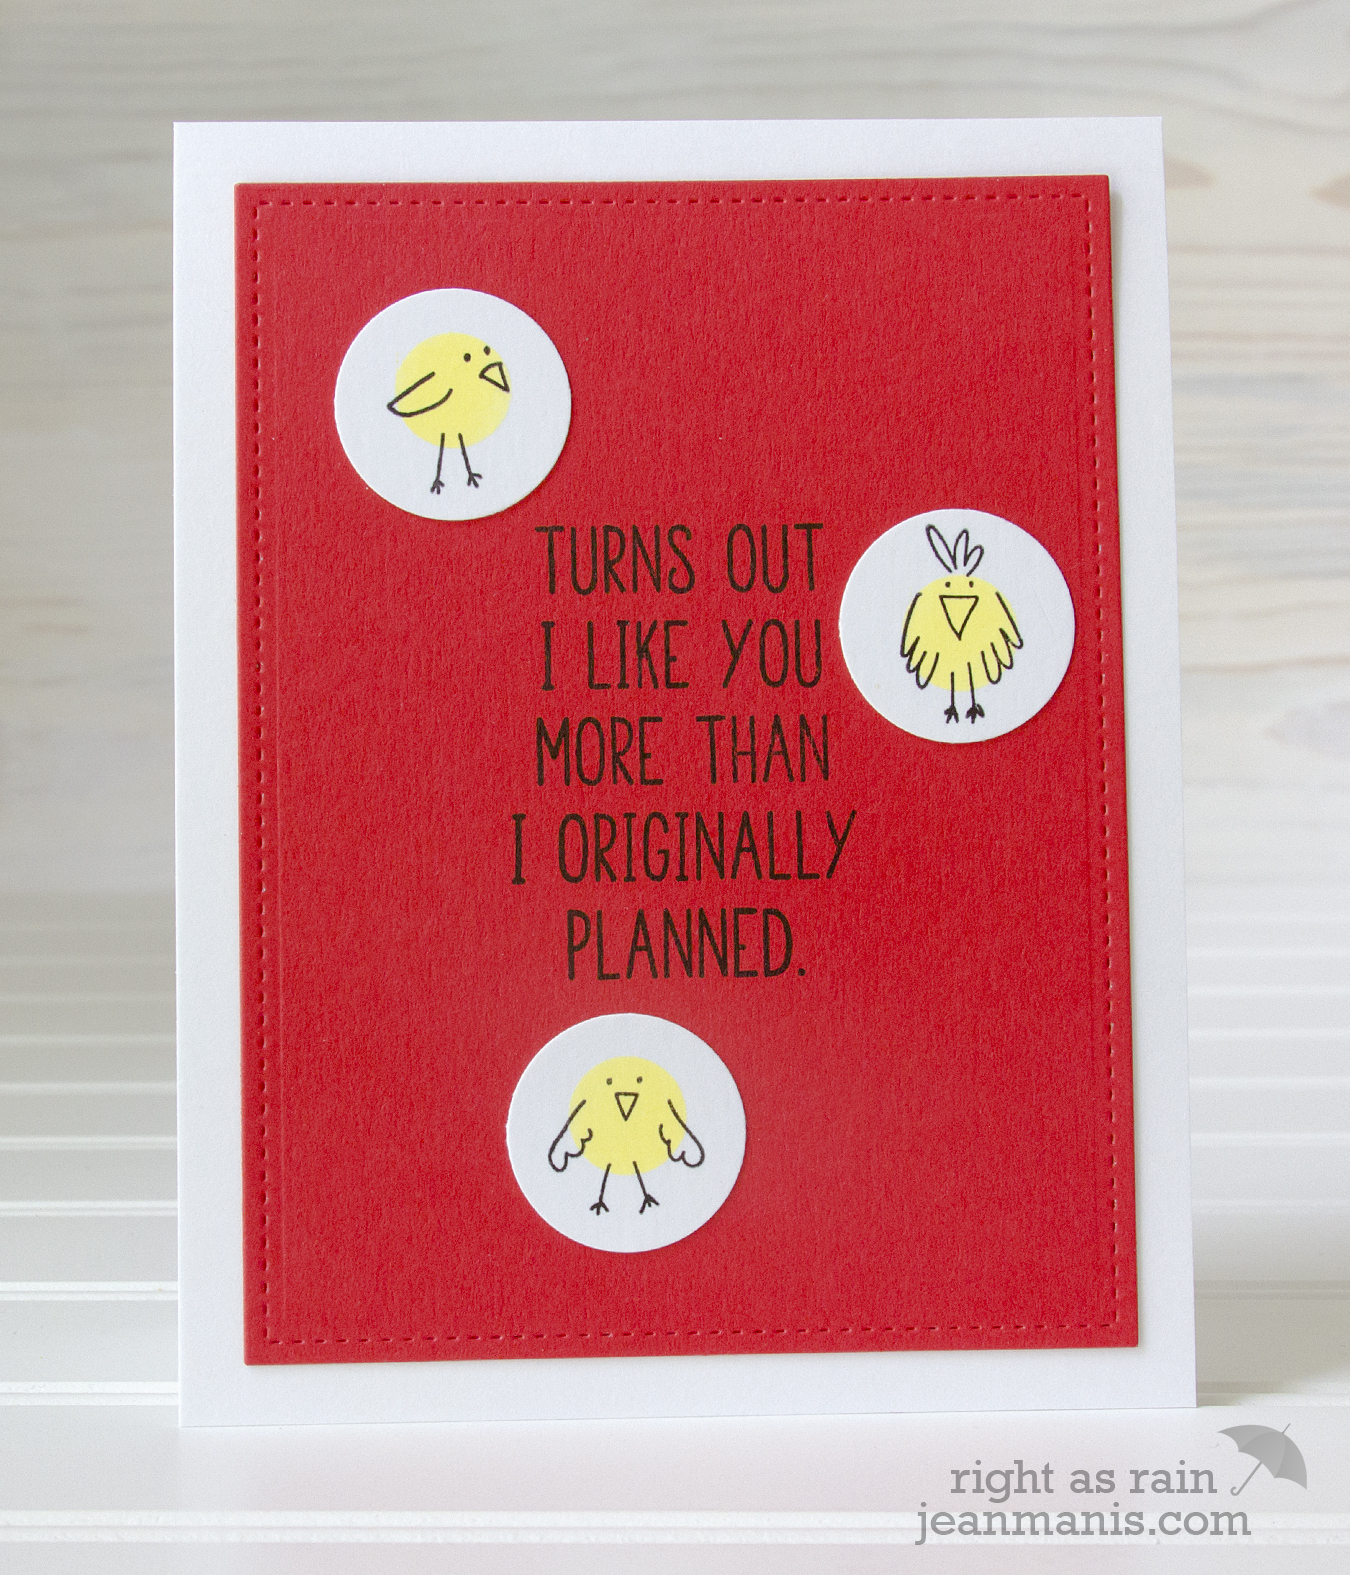
My next project combines a Playful Messages sentiment with images stamped with the previously released Fingerprint Doodles set.
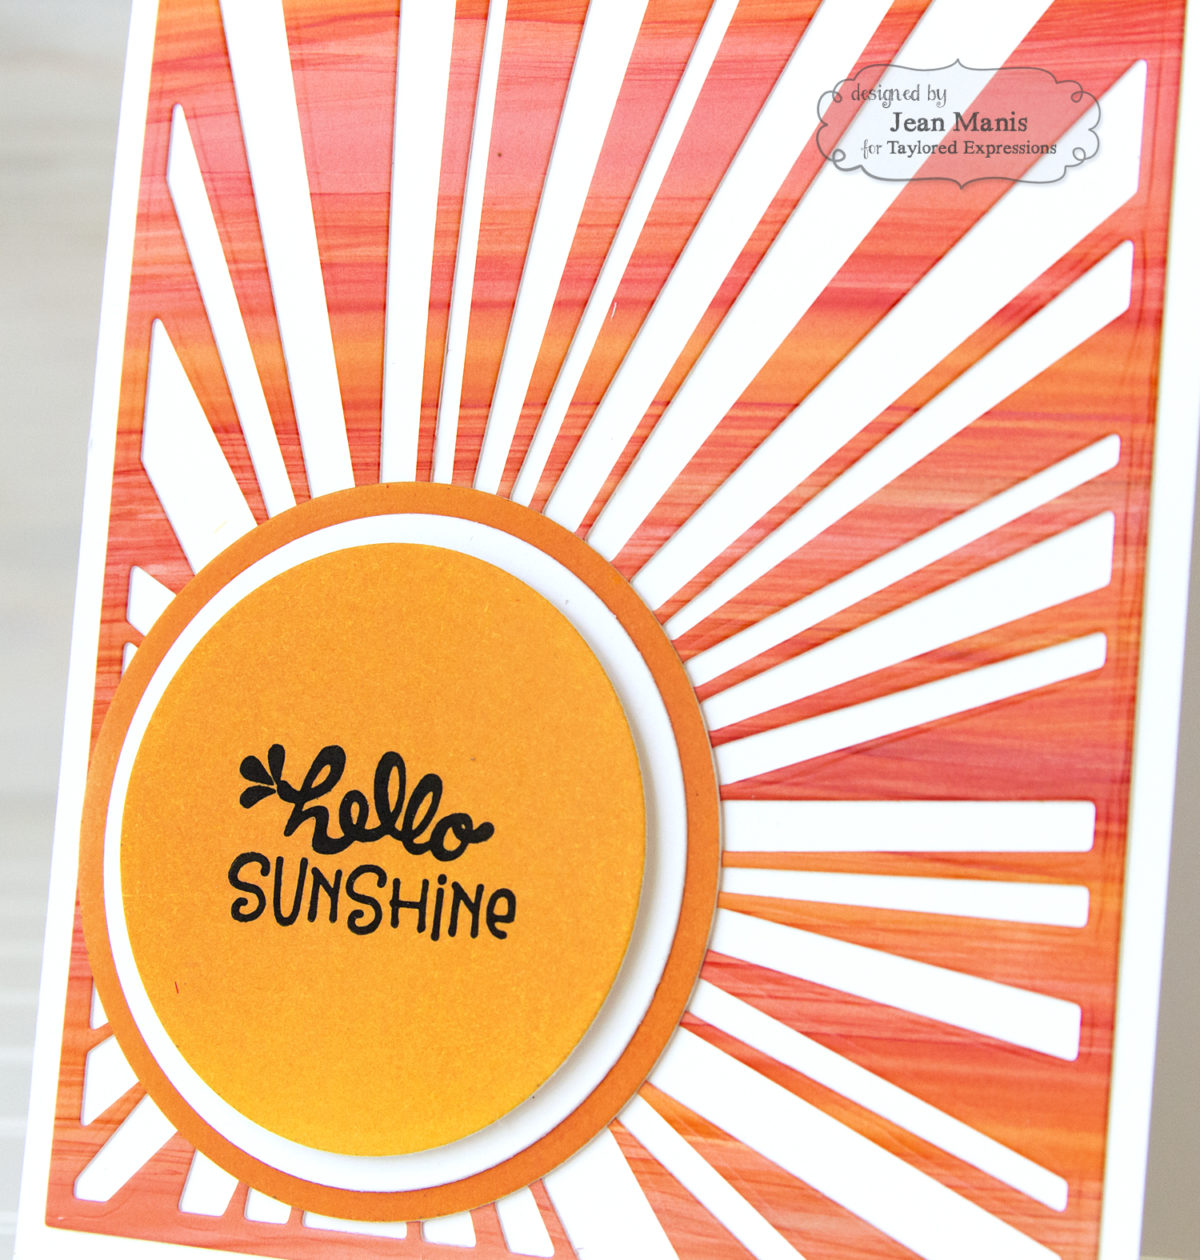
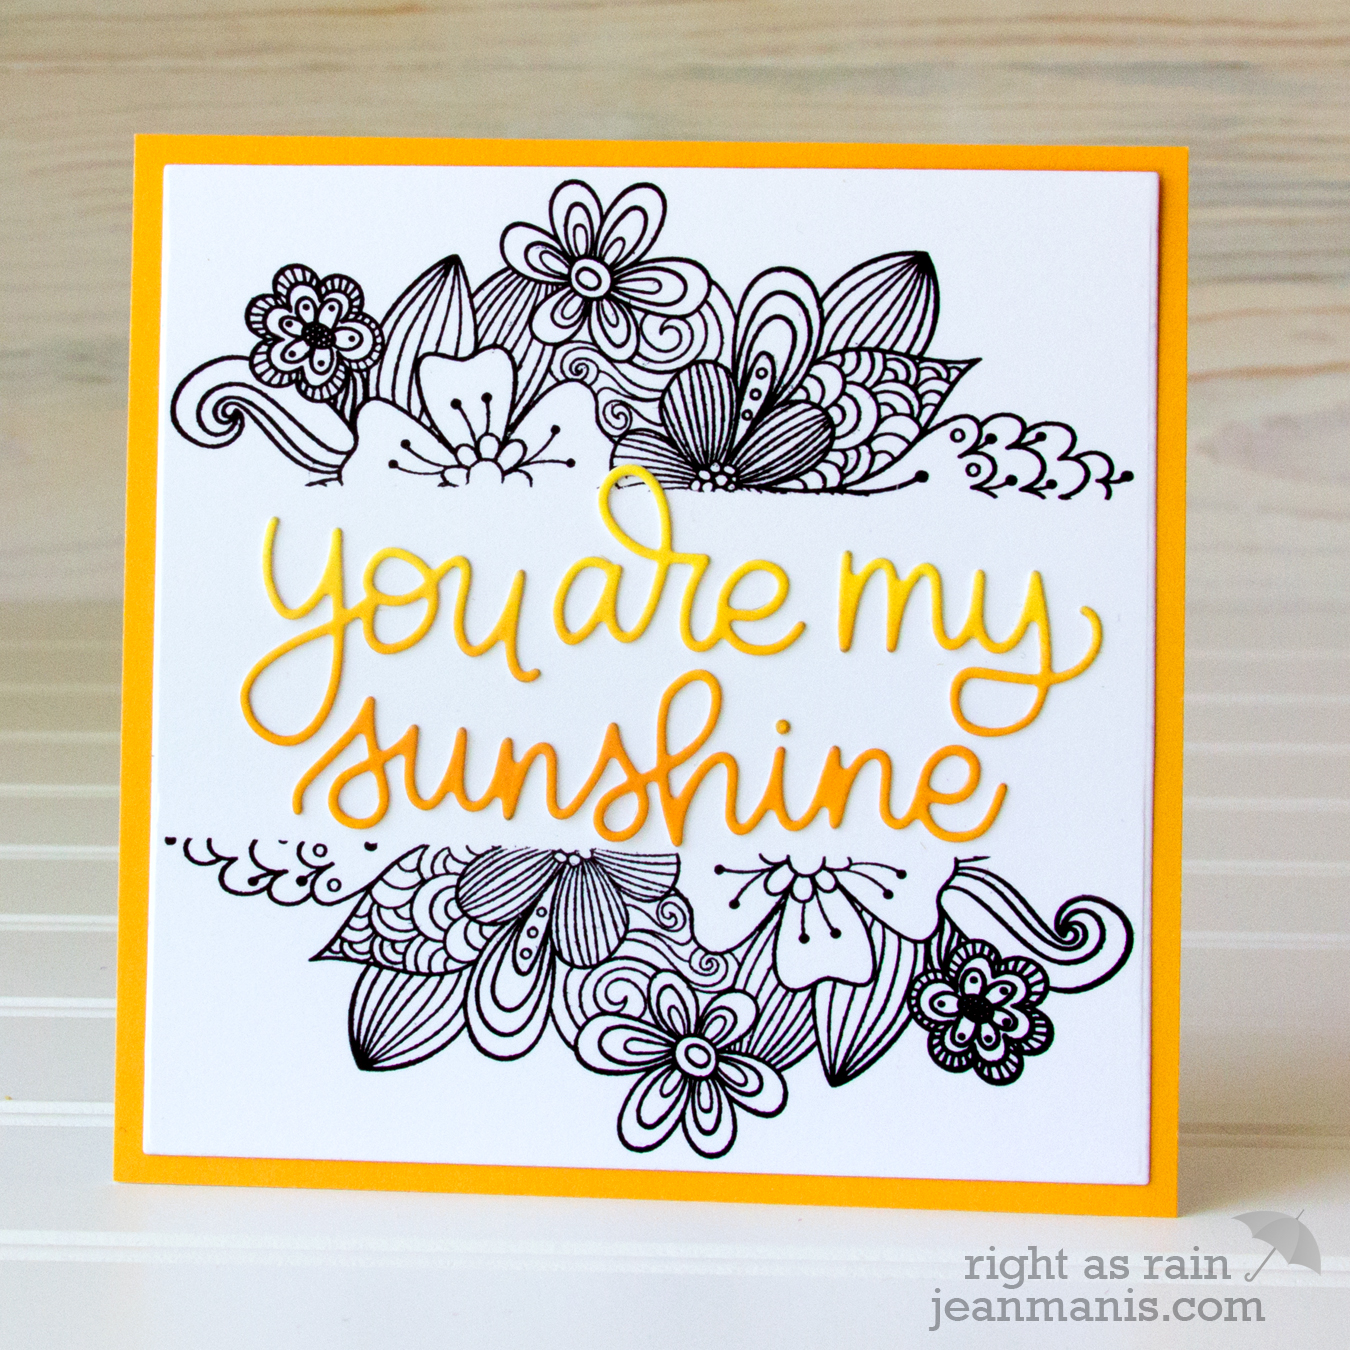
My next card is all about the sunshine! I die-cut the You Are My Sunshine sentiment from cardstock which I had colored with Distress Oxide inks in Squeezed Lemonade and Spiced Marmalade. I stamped an image from the Spring Flower Burst stamp set in black ink on either side of a masked portion (there is a coordinating die set for this stamp set as well). I adhered the sentiment in the area I had masked.
For my final card, I used the Star Stream die to add interest on the background of a friendship, encouragement, or graduation card (with a masculine feel), on which I included a Seeing Stars sentiment with die-cut pieces cut with the Space Journey set from cardstock in the Rainbow Pack.

Looking for more inspiration? Check out the Sending Sunshine Gallery. Additionally, head to the Simon Says Stamp Blog for two days of blog hopping on Thursday and Friday!
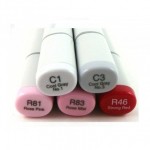
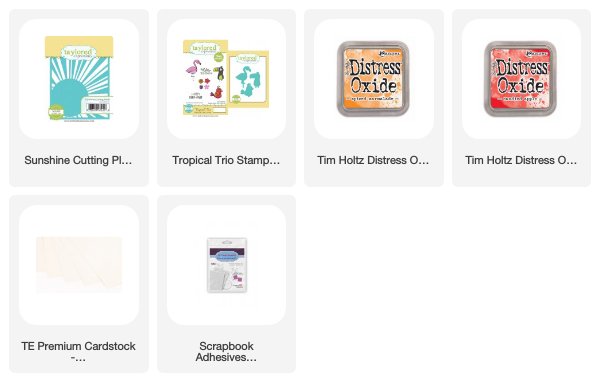
Supplies: