Lawn Fawn Butterfly Kisses

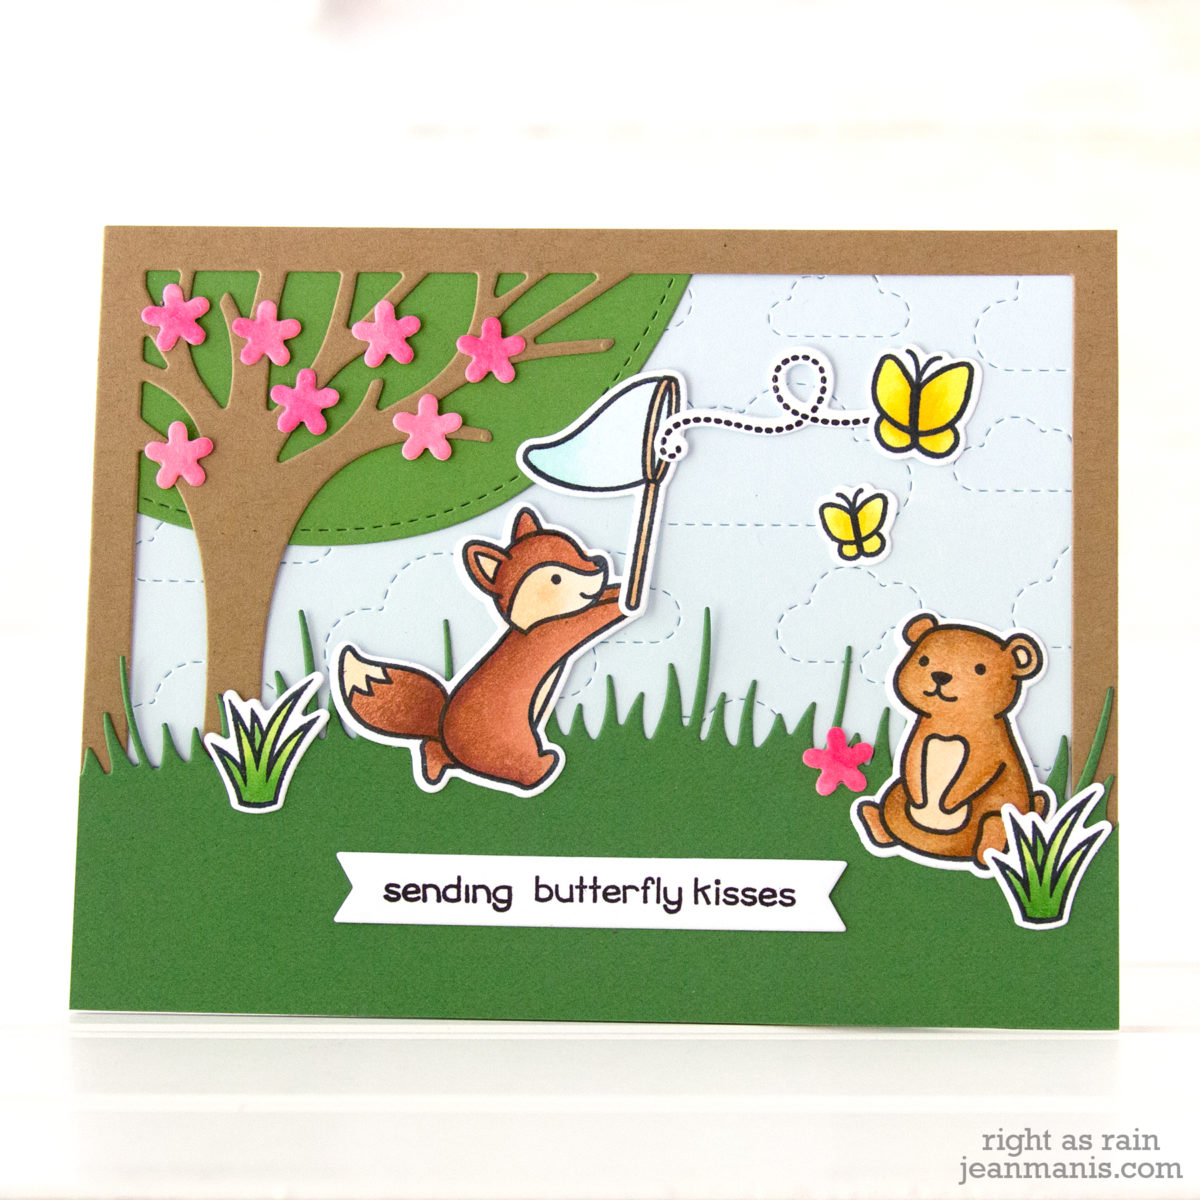
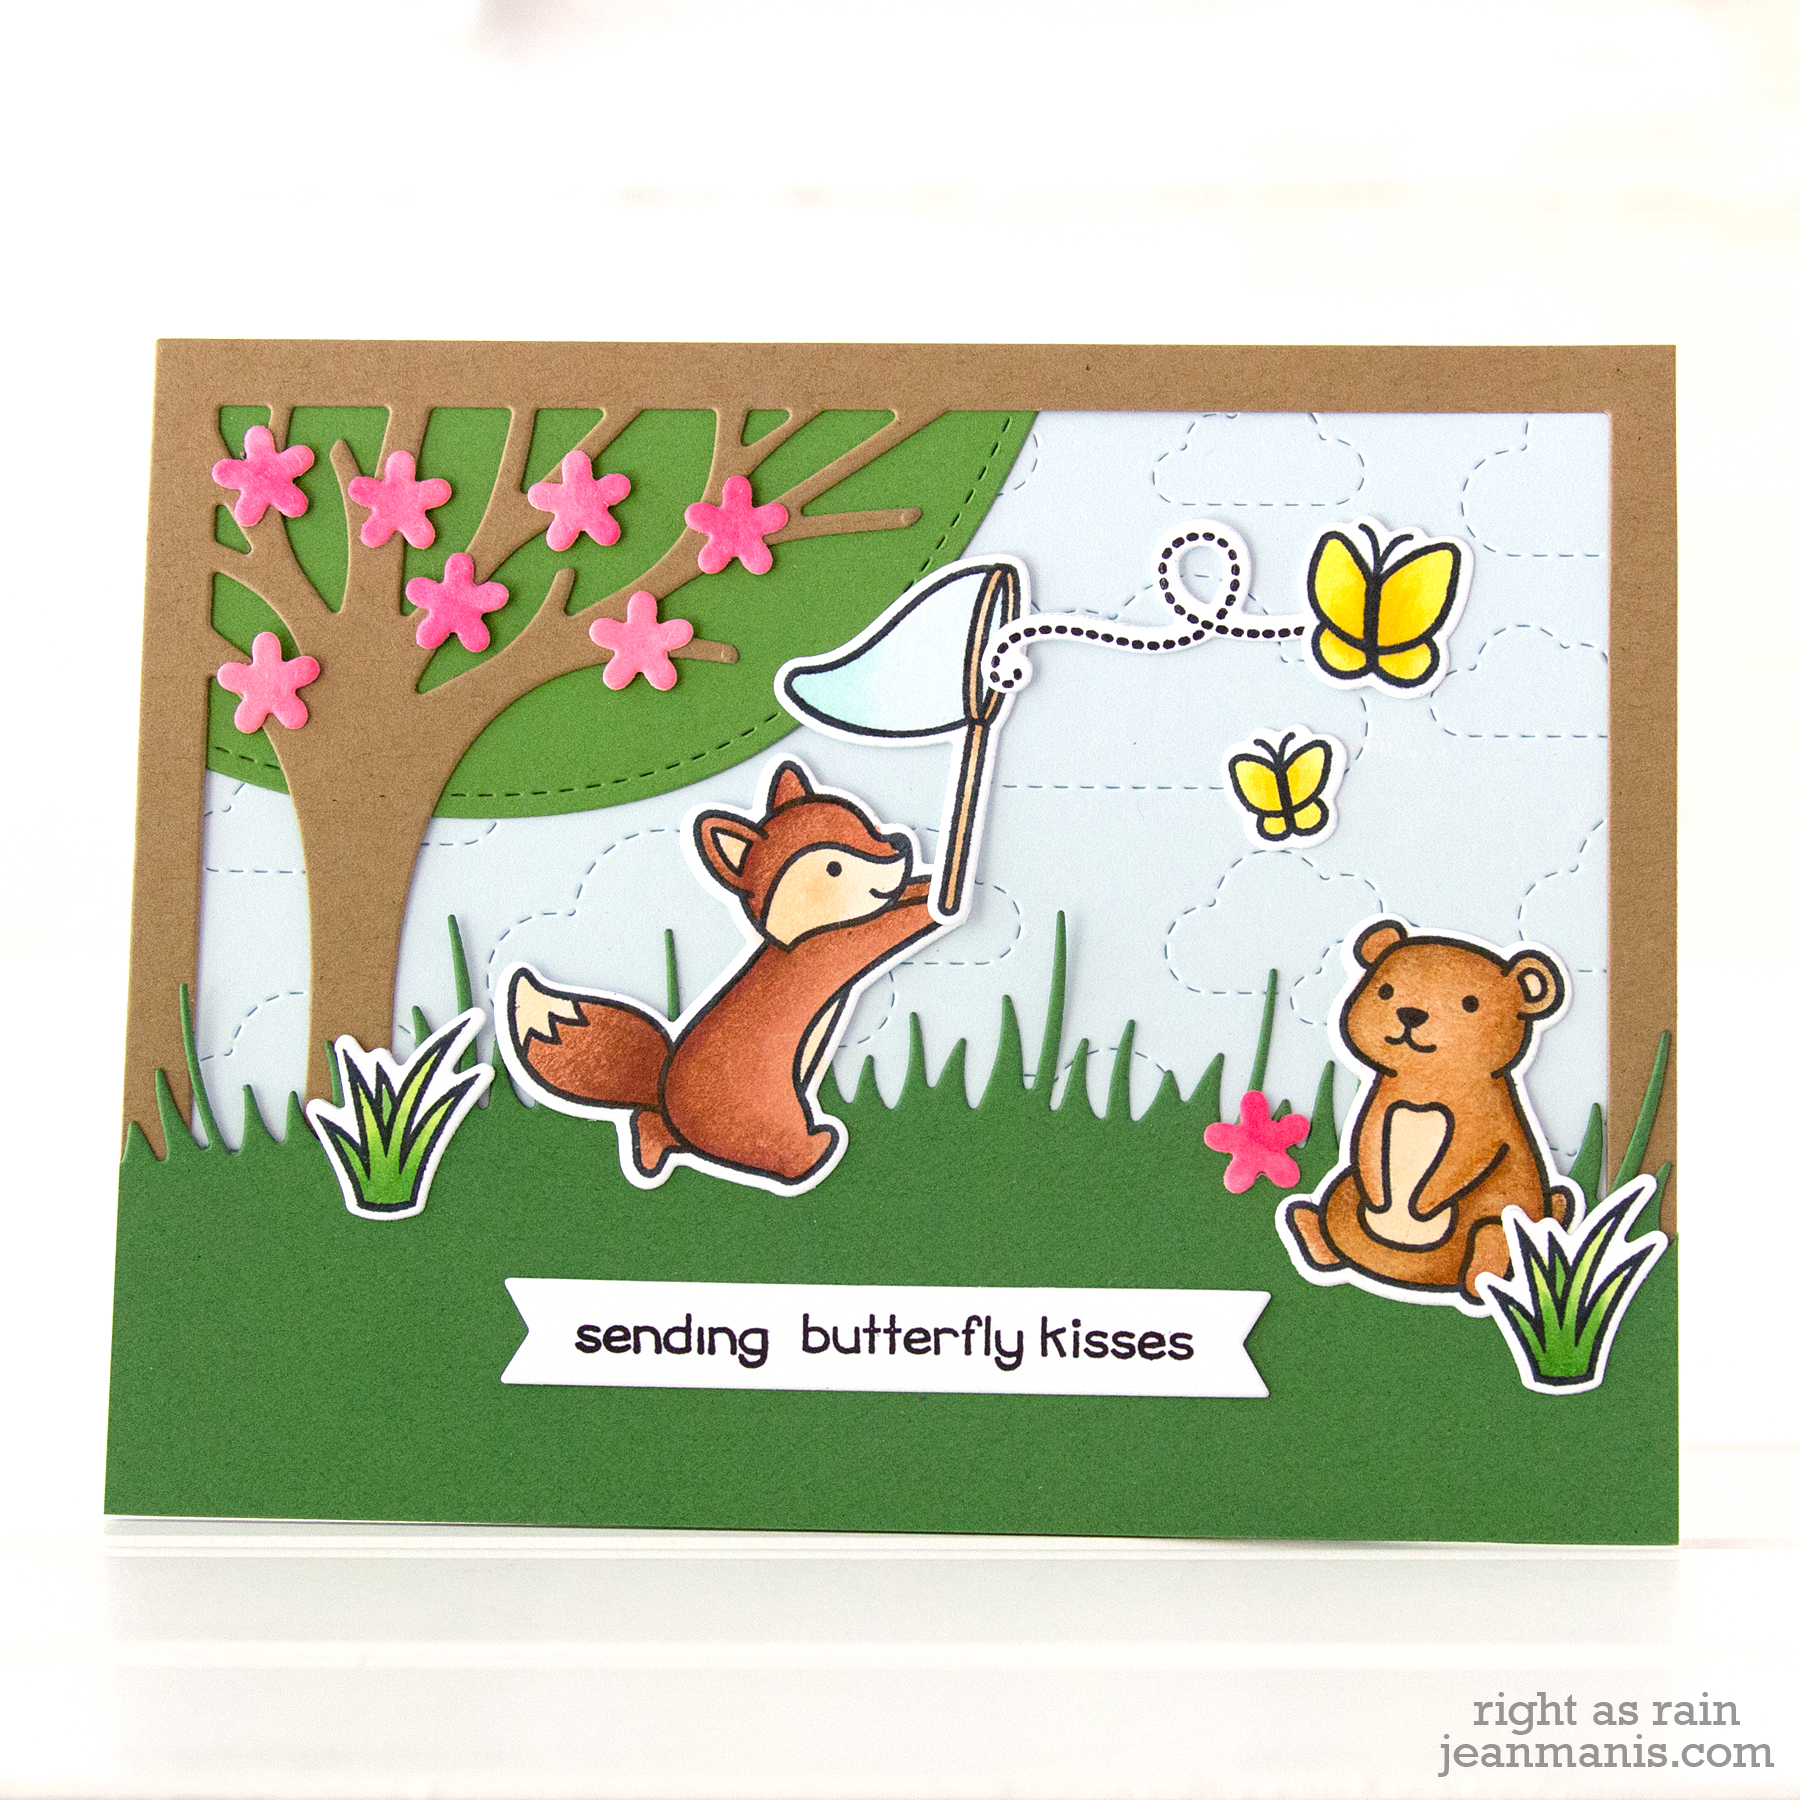
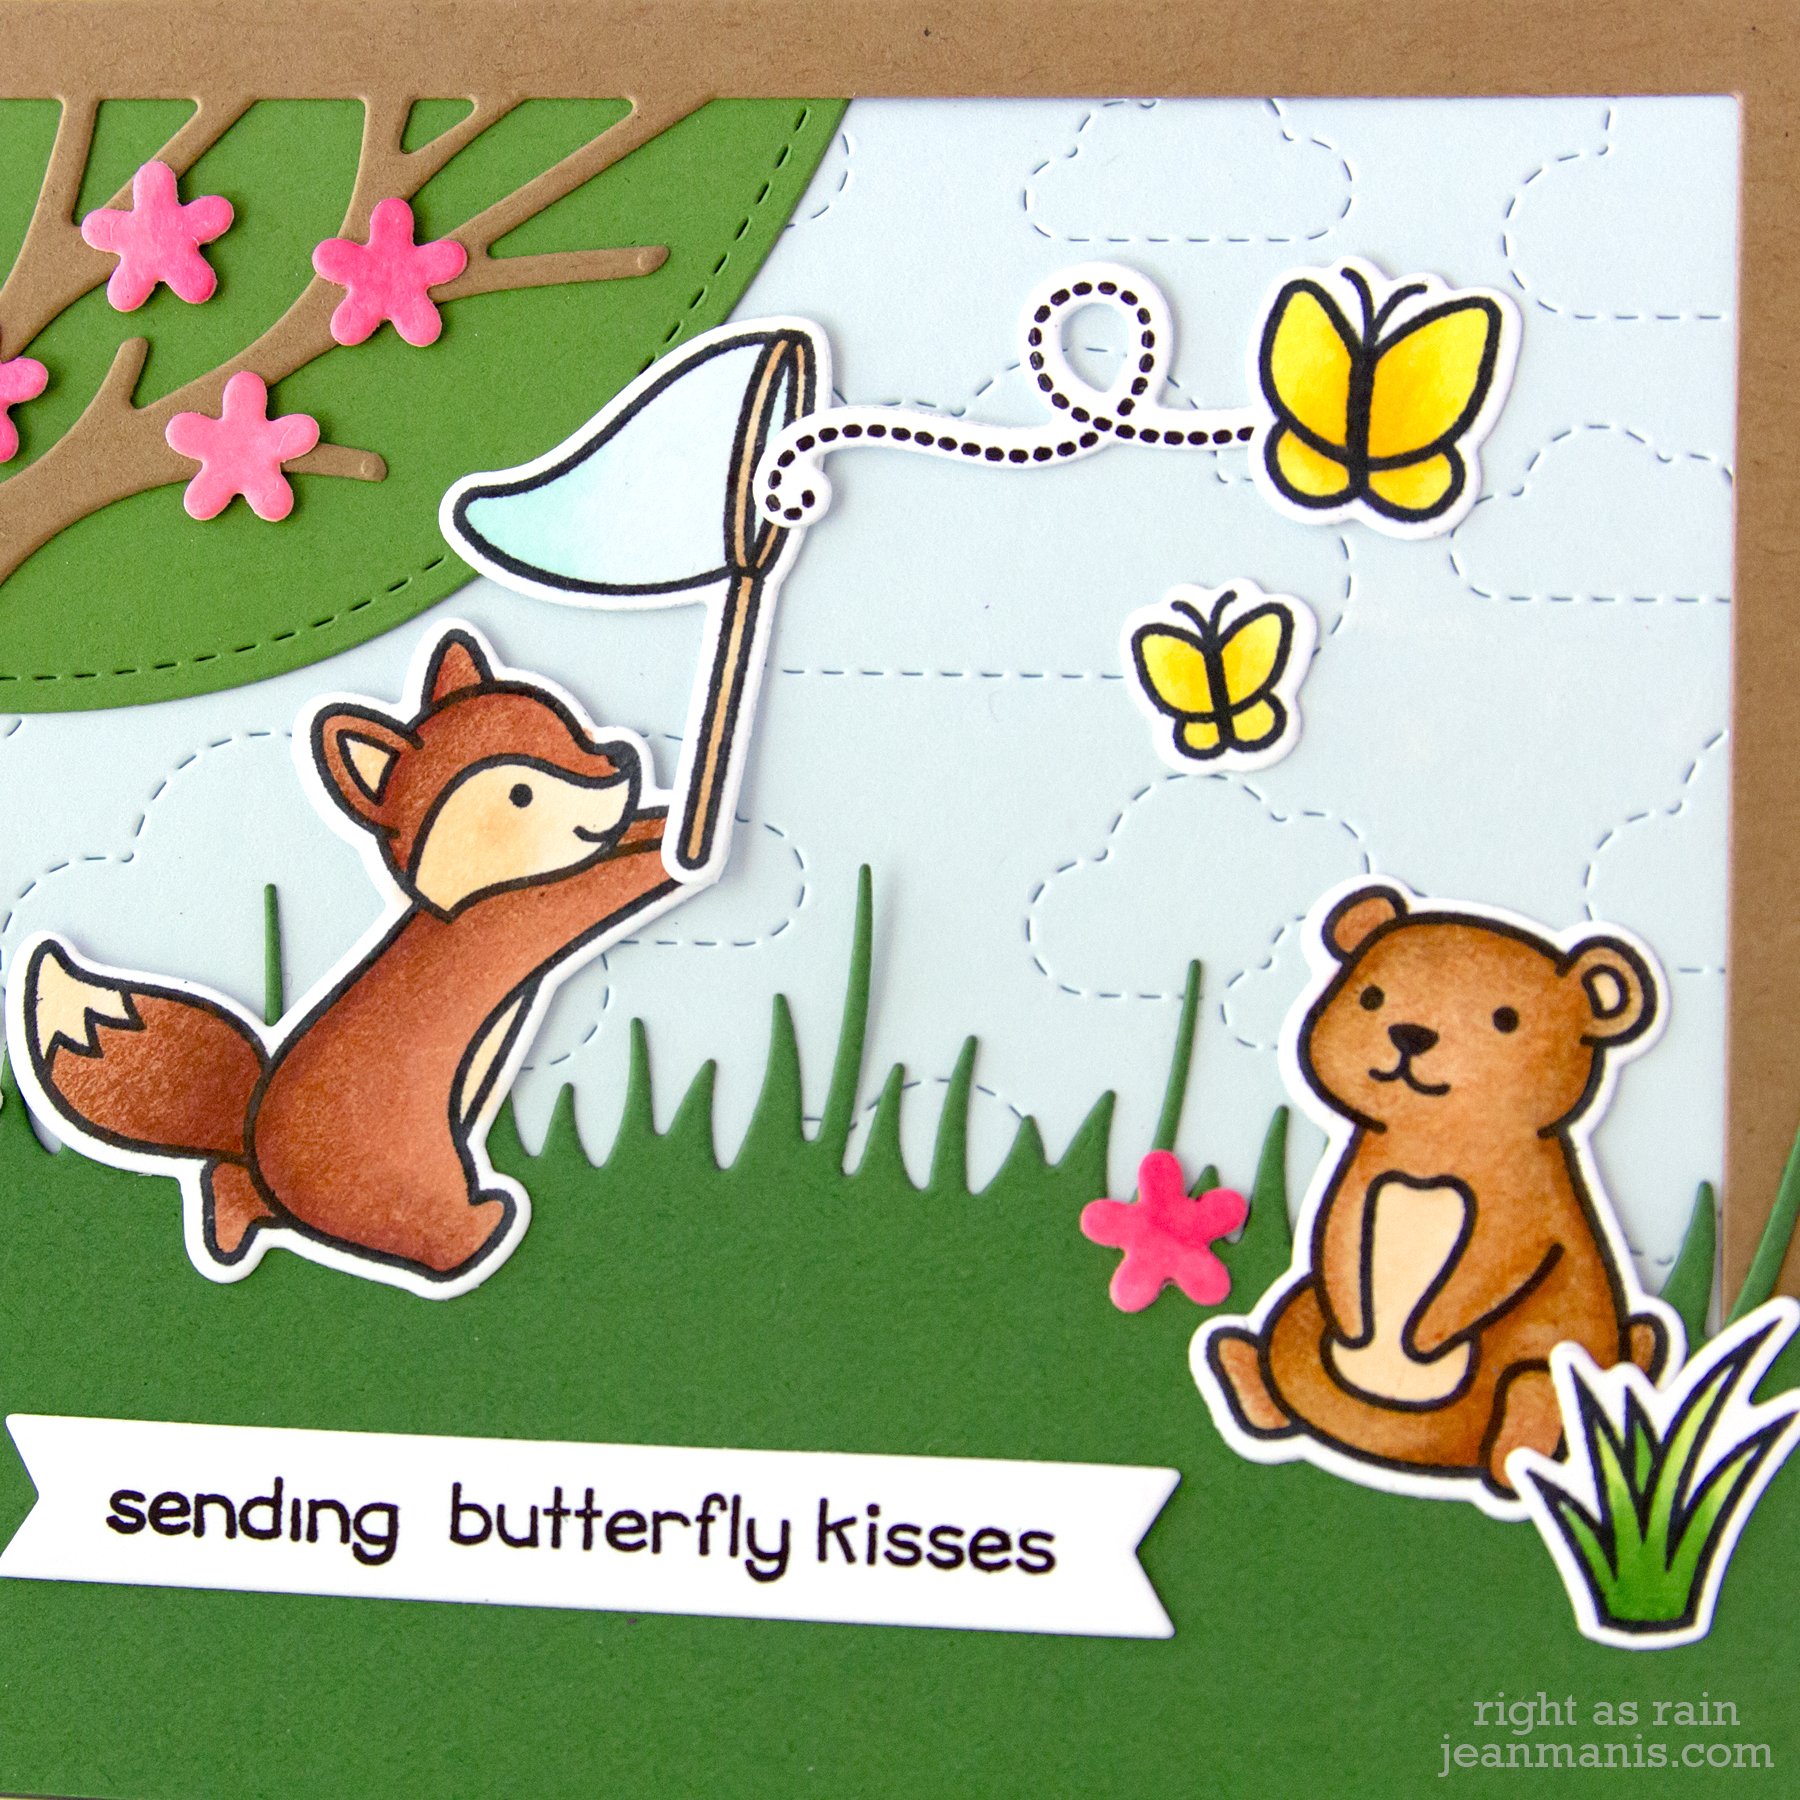
Hello! Today I am sharing a card created with the adorable Lawn Fawn “Butterfly Kisses” set. I bought the set as soon as it was released. Recently I had some time to Copic color (something that always takes a lot less time than I think it does.) I figured it was time to use the set since Lawn Fawn’s summer release is just around the corner! (I can’t believe that we are already through half of May!) I combined two of the critters from the “Butterfly Kisses” set with other Lawn Fawn products.
Lawn Fawn Butterfly Kisses

  • I stamped and colored the fox, the bear, the butterfly net, and several butterflies from the Butterfly Kisses set.
  • I cut the Leafy Tree Backdrop from Paper Bag cardstock.
  • I cut Noble Fir cardstock with one of the Meadow Border dies. I trimmed the piece and attached it to the front of the Leafy Tree frame.
  • I cut Icy Mint cardstock with the Stitched Cloud backdrop. I attached the piece behind the Leafy Tree frame.
  • I stamped the sentiment and cut it with the short Extra Sentiments banner die. I attached it to the grass.
  • I cut the flowers with the Spring Sprig die set from cardstock colored with Copic markers (I find that Copic-colored cardstock goes better with the Copic-colored images than solid cardstock). I attached these to the tree with liquid adhesive.
  • I added the Copic-colored images to the scene.
Lawn Fawn Butterfly Kisses

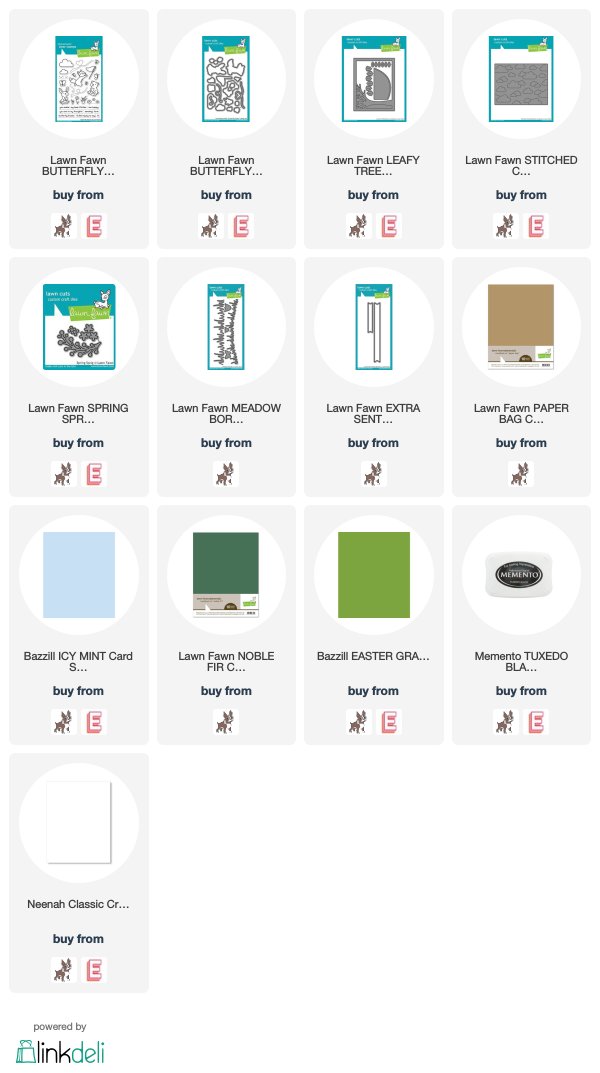
Supplies:

Lawn Fawn Hey There – Two Takes

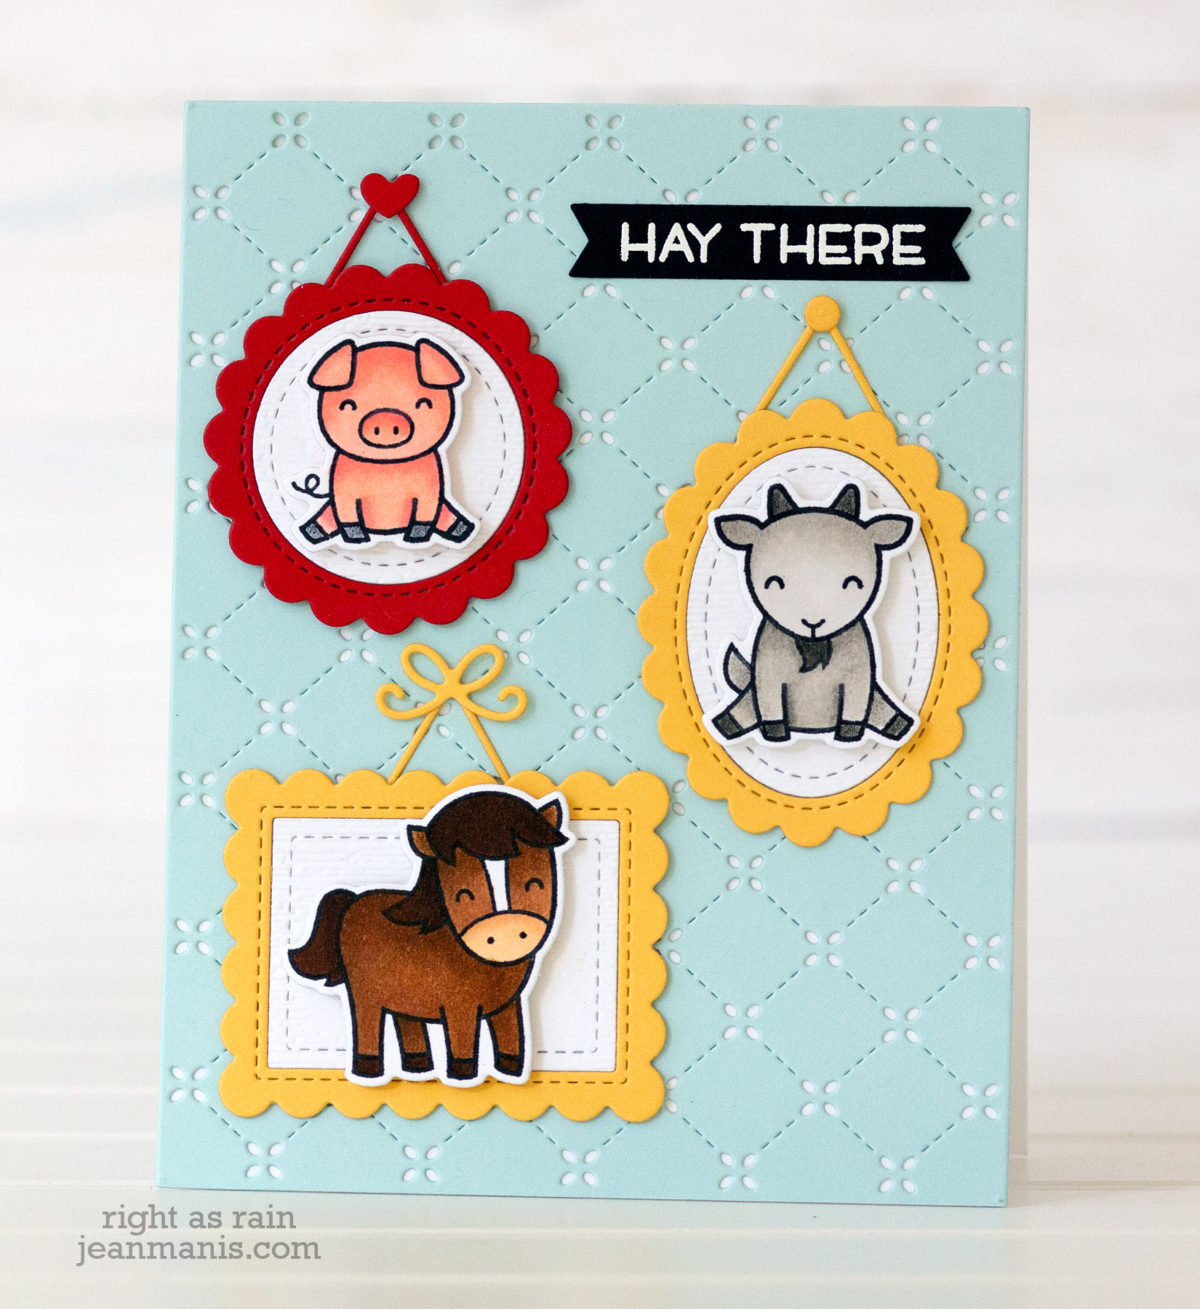
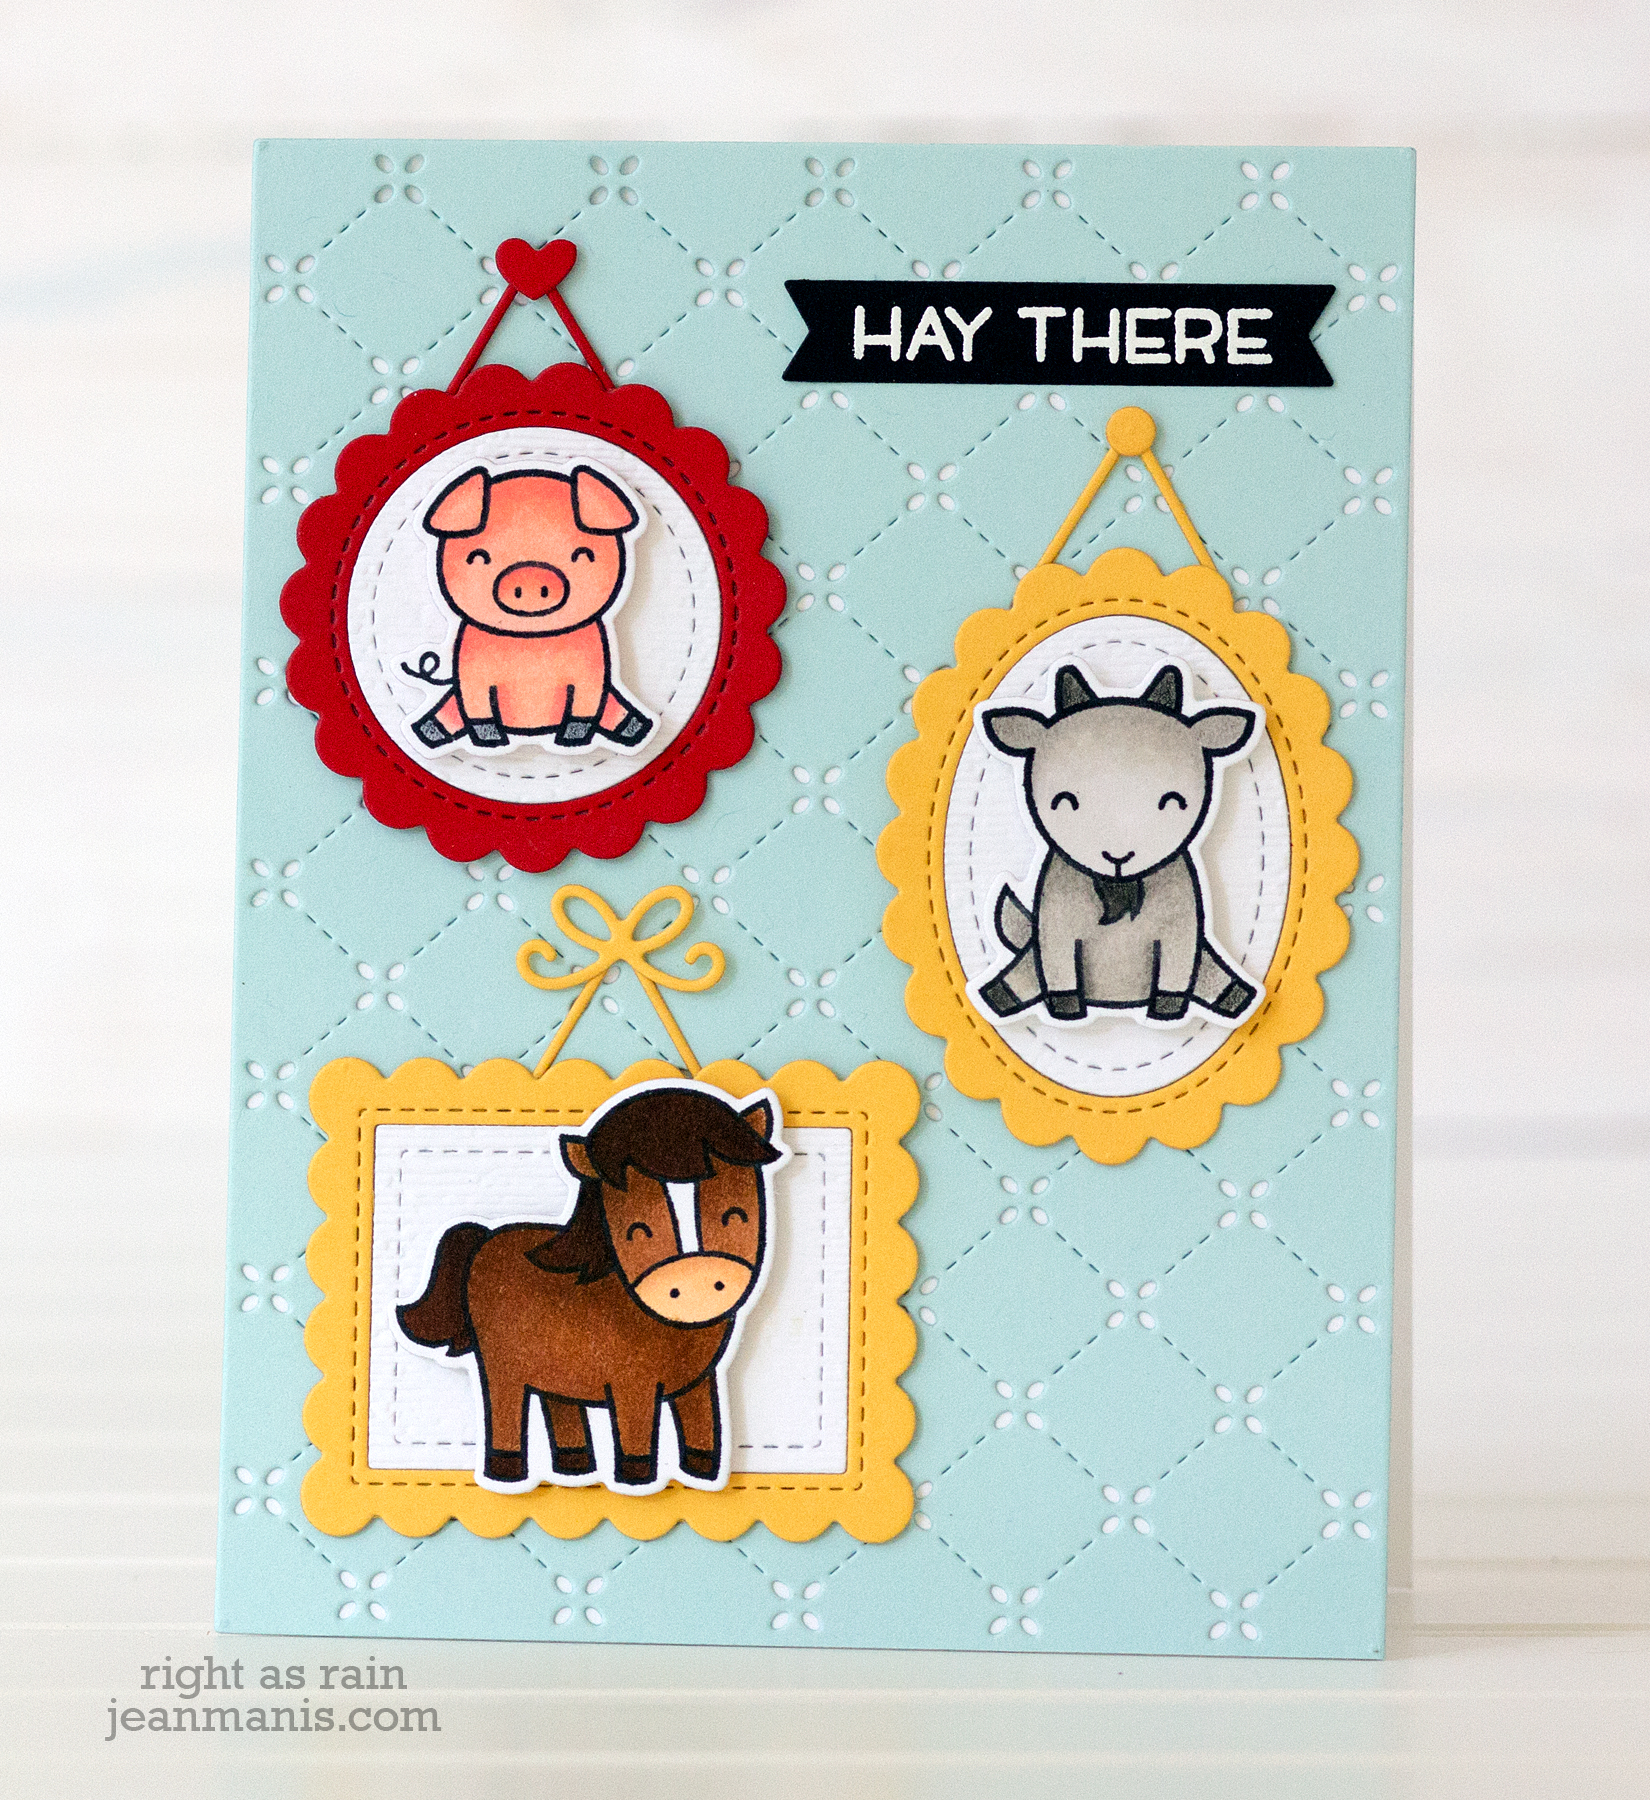
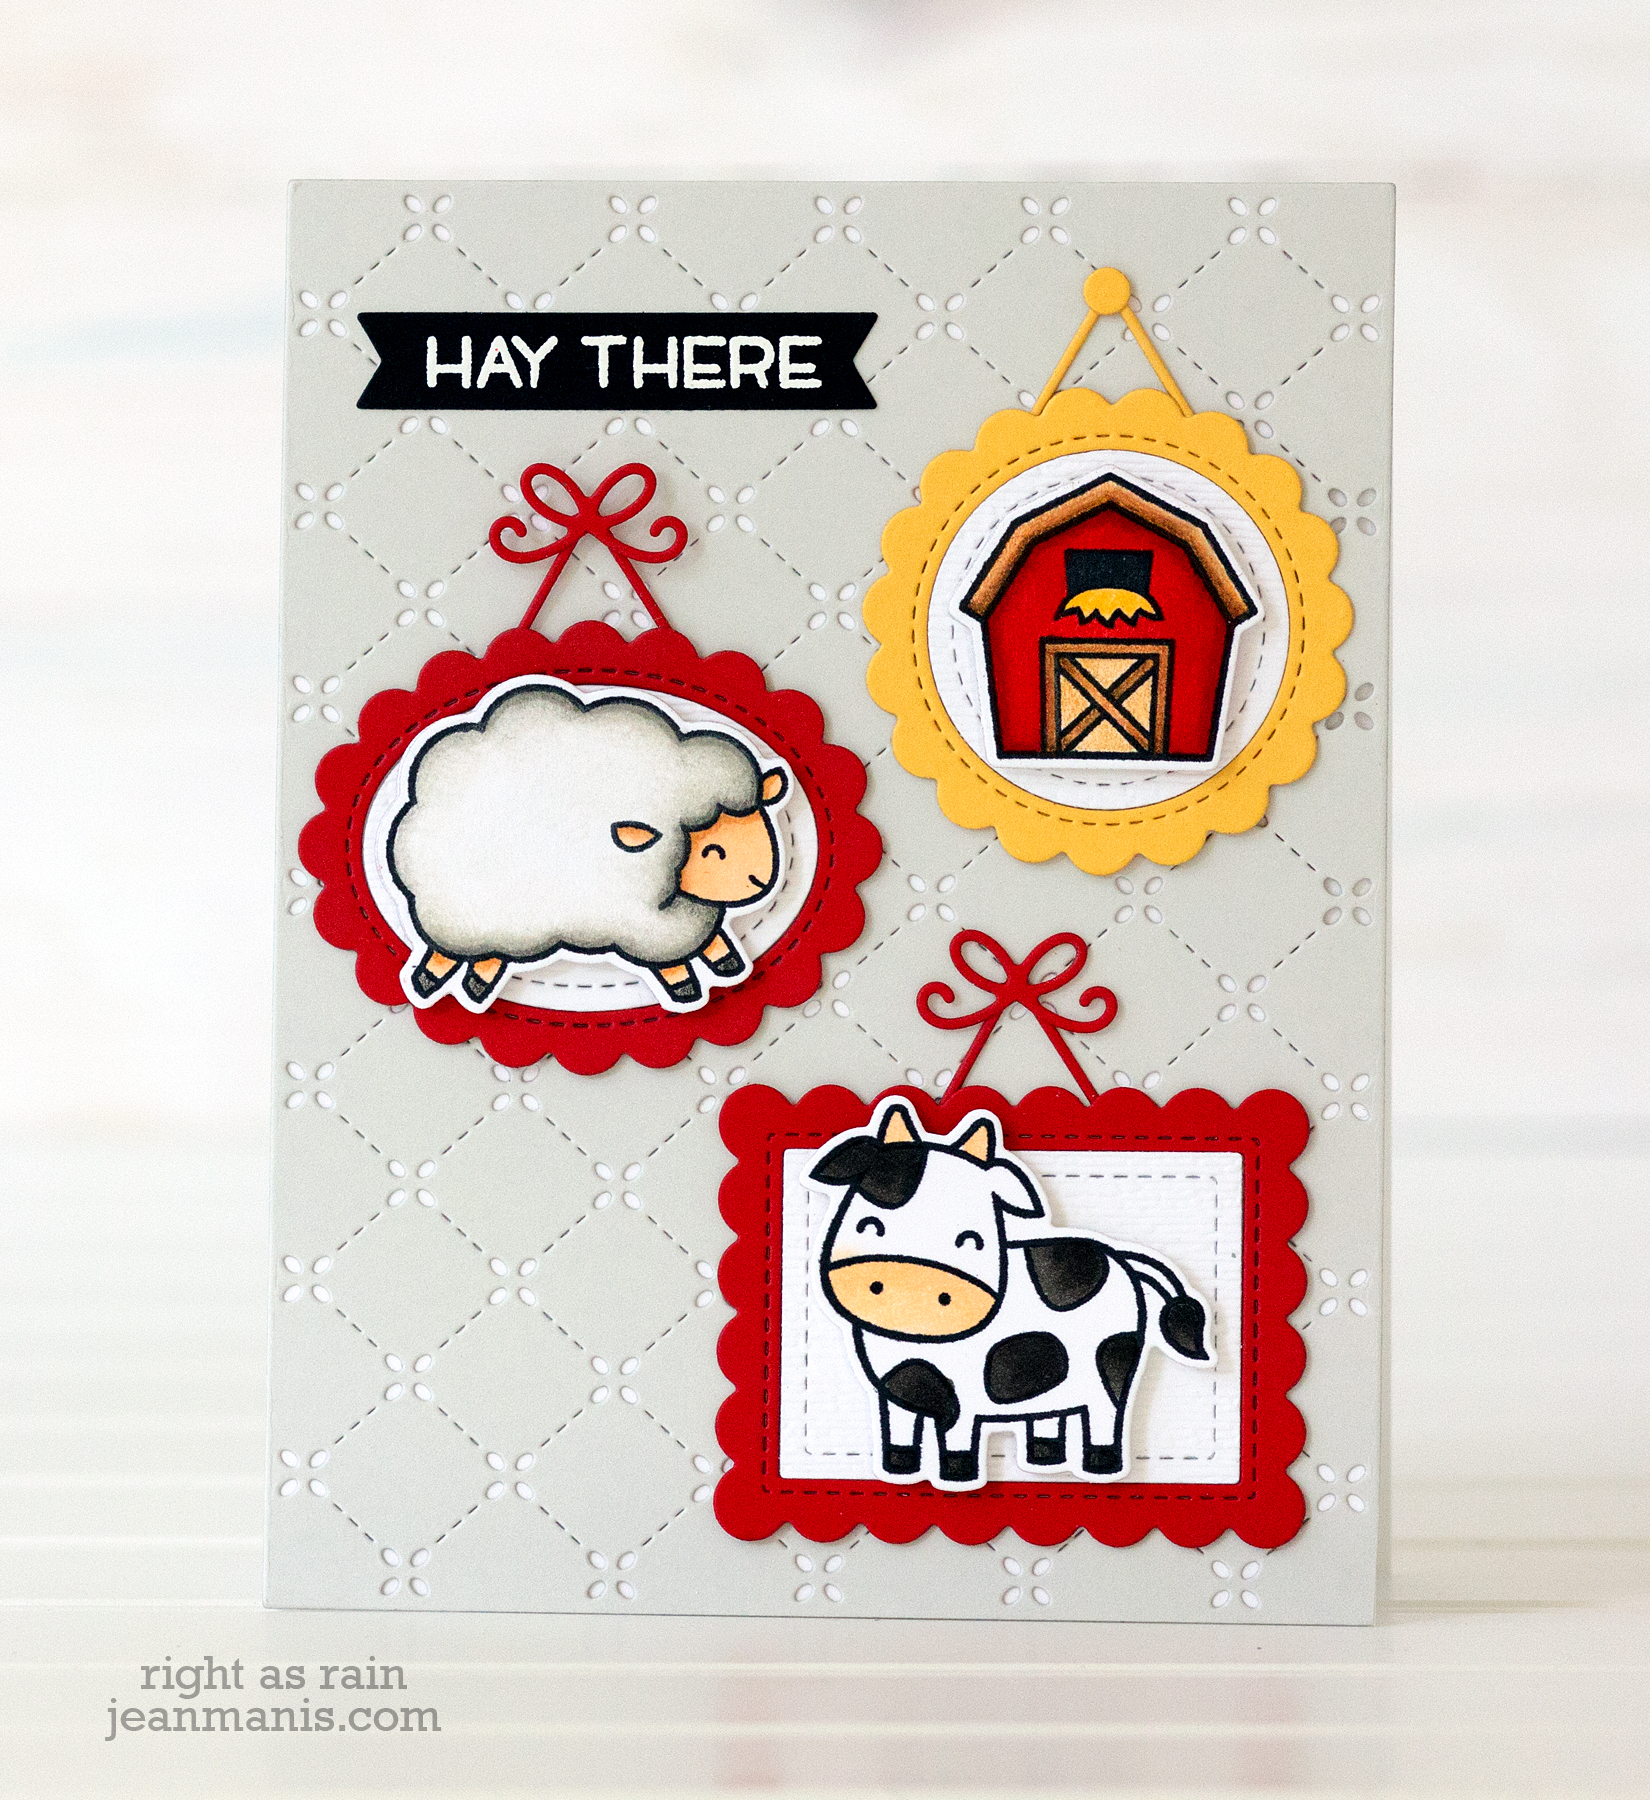
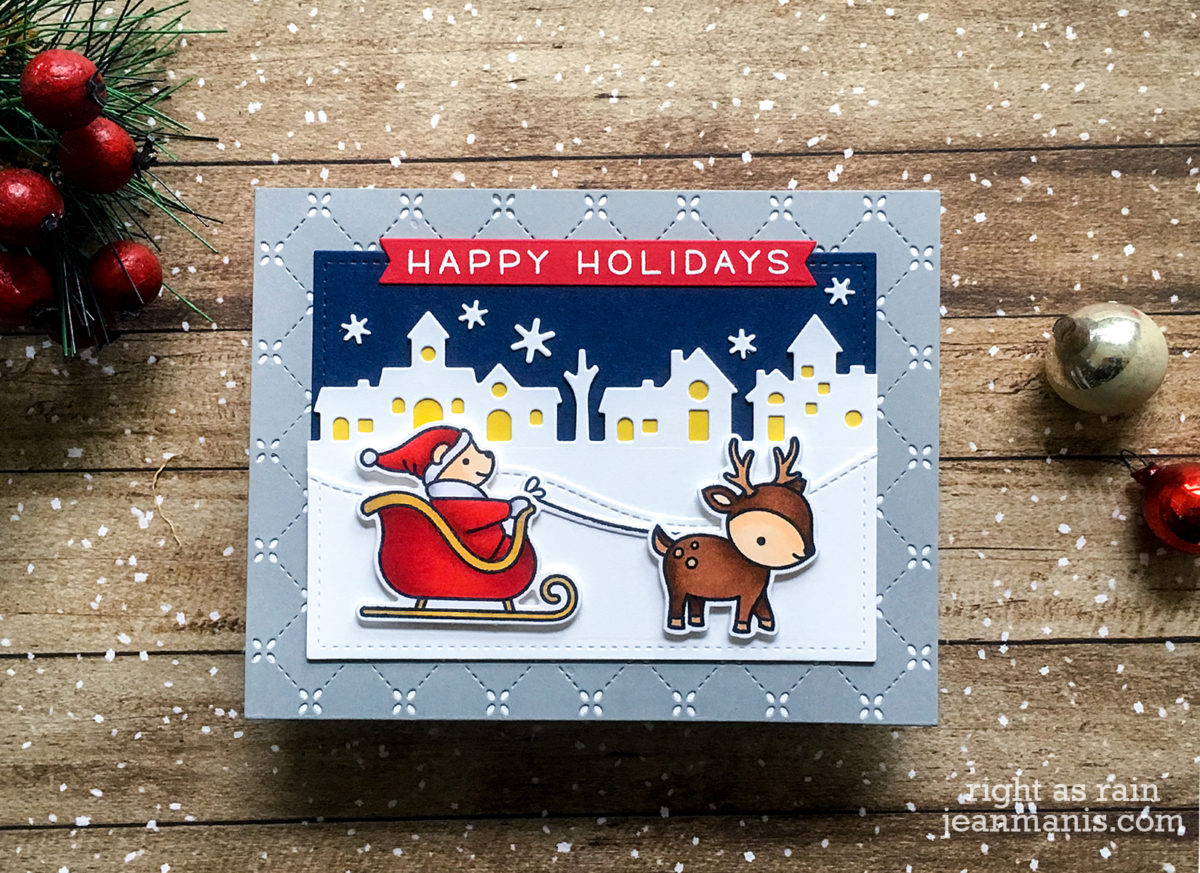
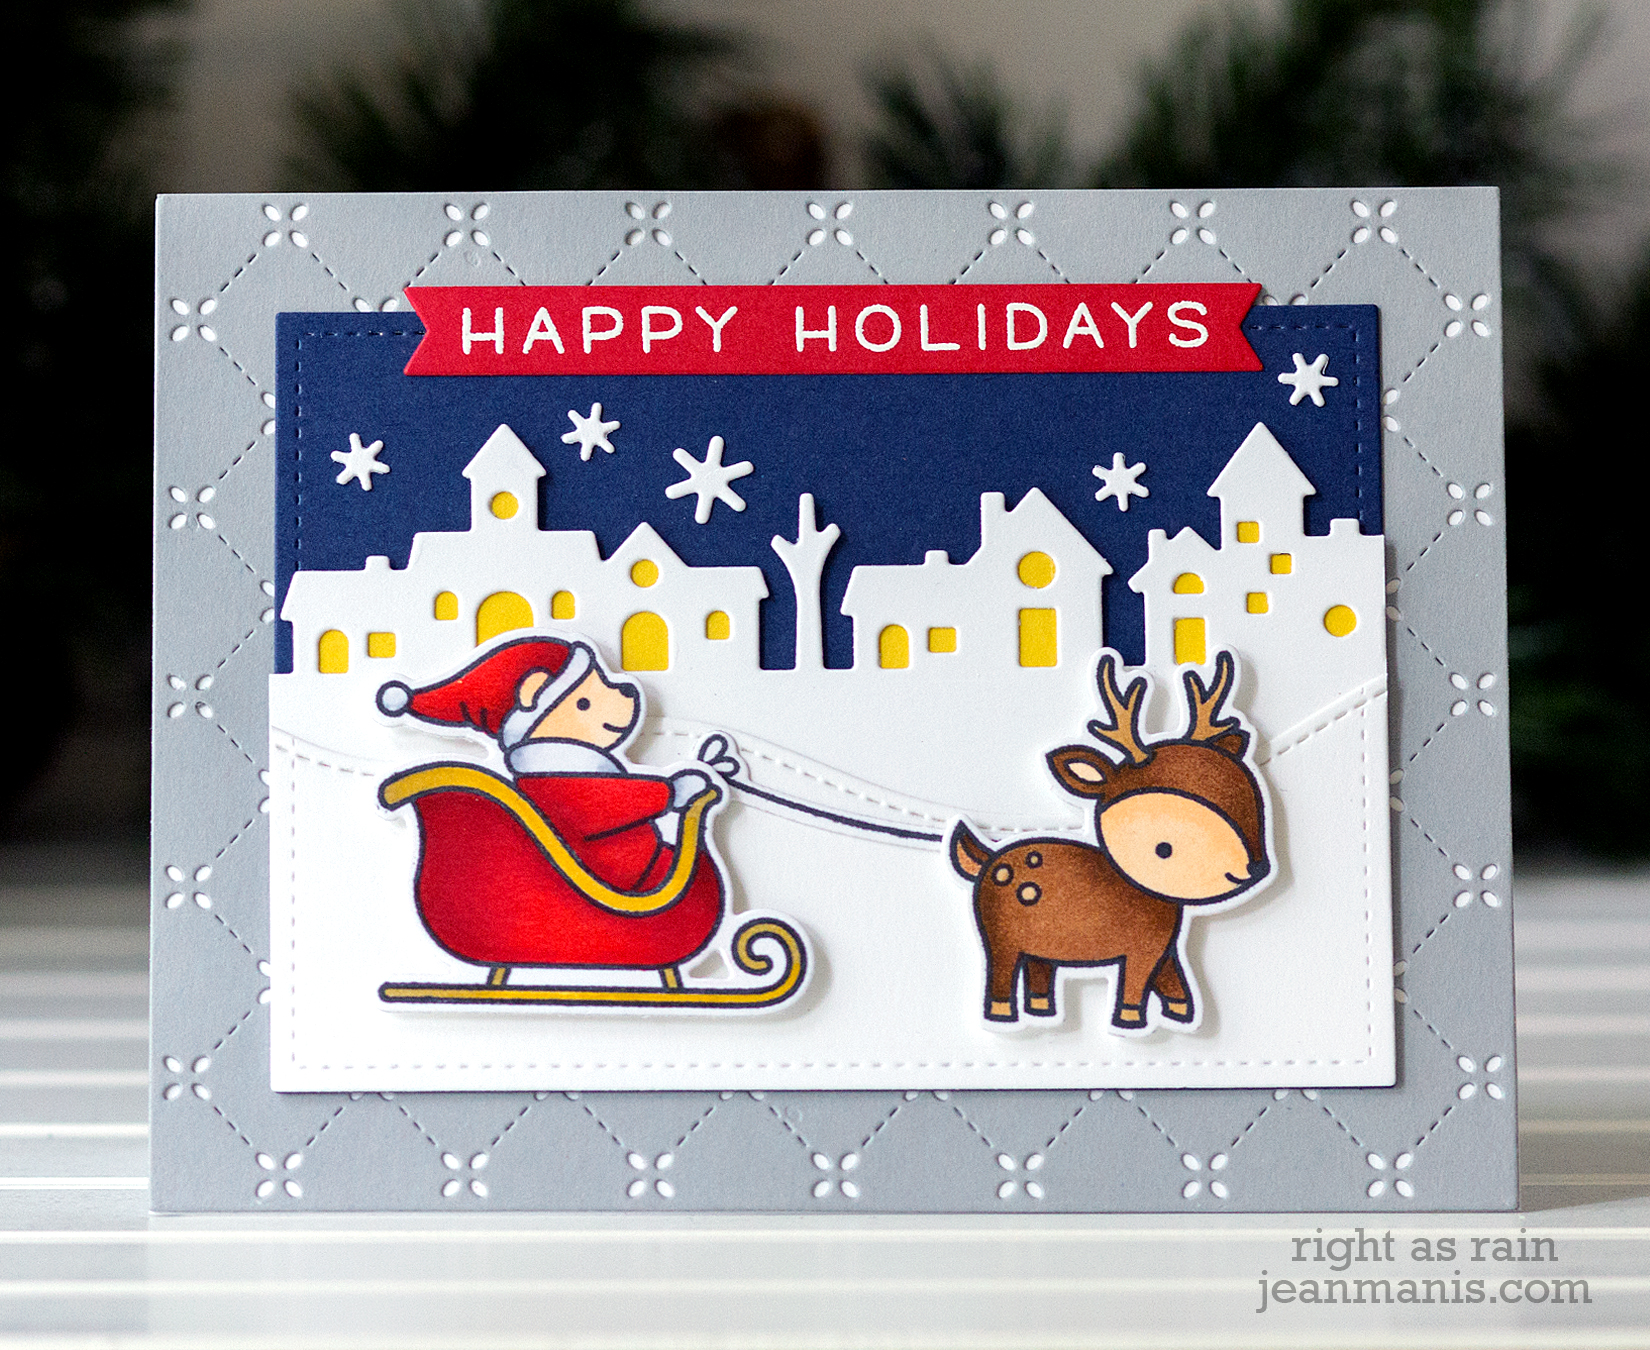
Hello! Today, I am sharing two cards of the same design featuring Lawn Fawn stamps and dies. I had some time this past weekend to break out my Copic markers and colored pencils, so I colored lots of critters!

Lawn Fawn Hey There Lawn Fawn Hey There

  • I stamped, Copic colored, and added color pencil to the cute critters from the Lawn Fawn Hey There set and cut them with their corresponding die cuts.
  • I created frames for the critters with the Mini Picture Frames dies. The white backgrounds were dry-embossed with the Subtle Dynamic Textured Impressions Embossing Folder from Stampin Up’.
  • I popped the critters up with foam adhesive in their frames.
  • I created the backgrounds with the Quilted Backdrop.
  • I heat-embossed the sentiment and cut it with the banner die (twice).

Thanks for dropping by!

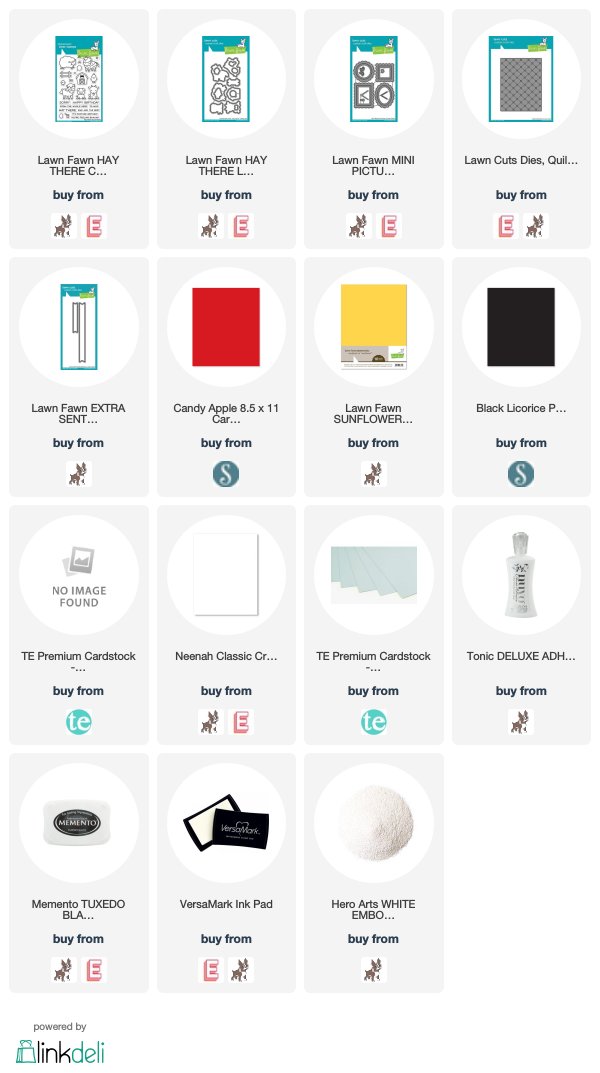
Supplies:

Fun Stampers Journey – You Are Loved

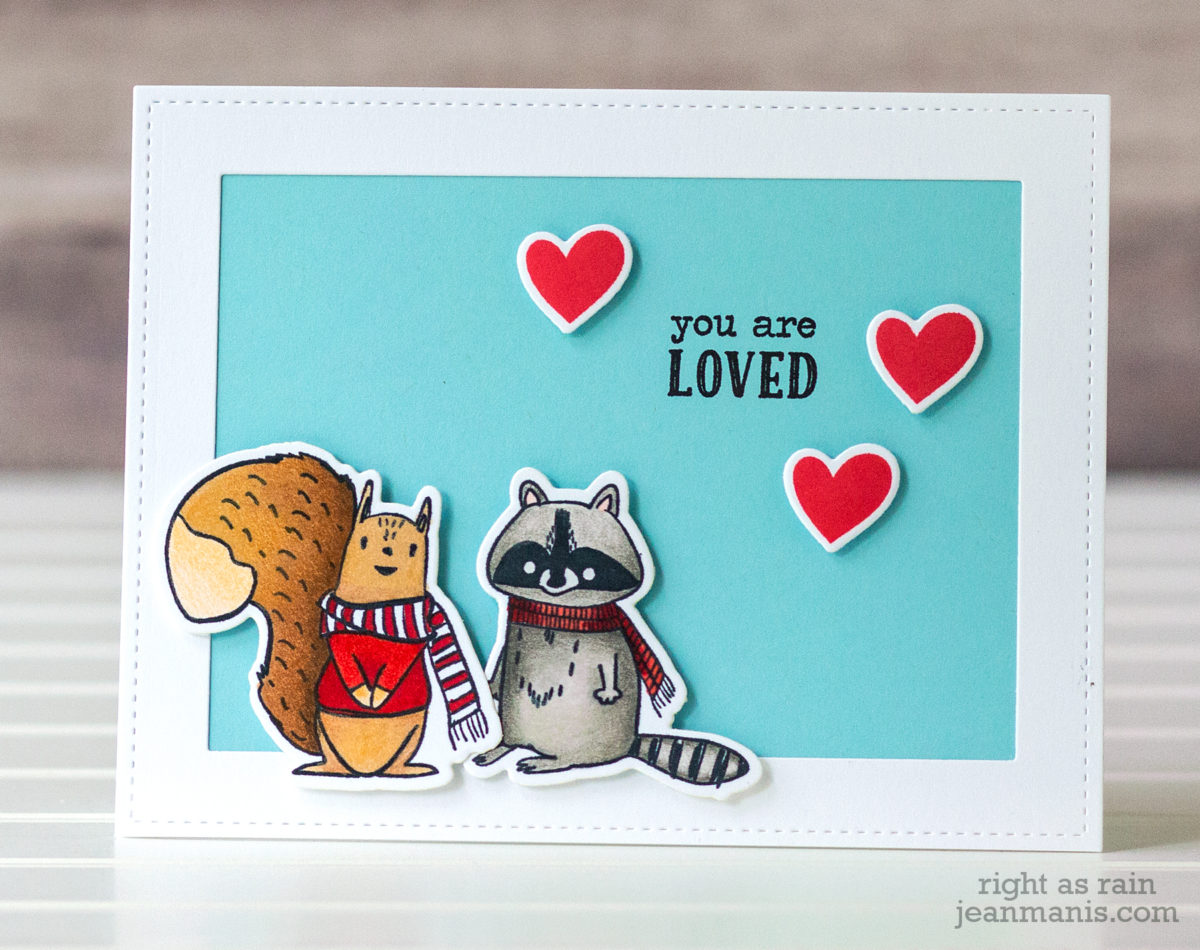
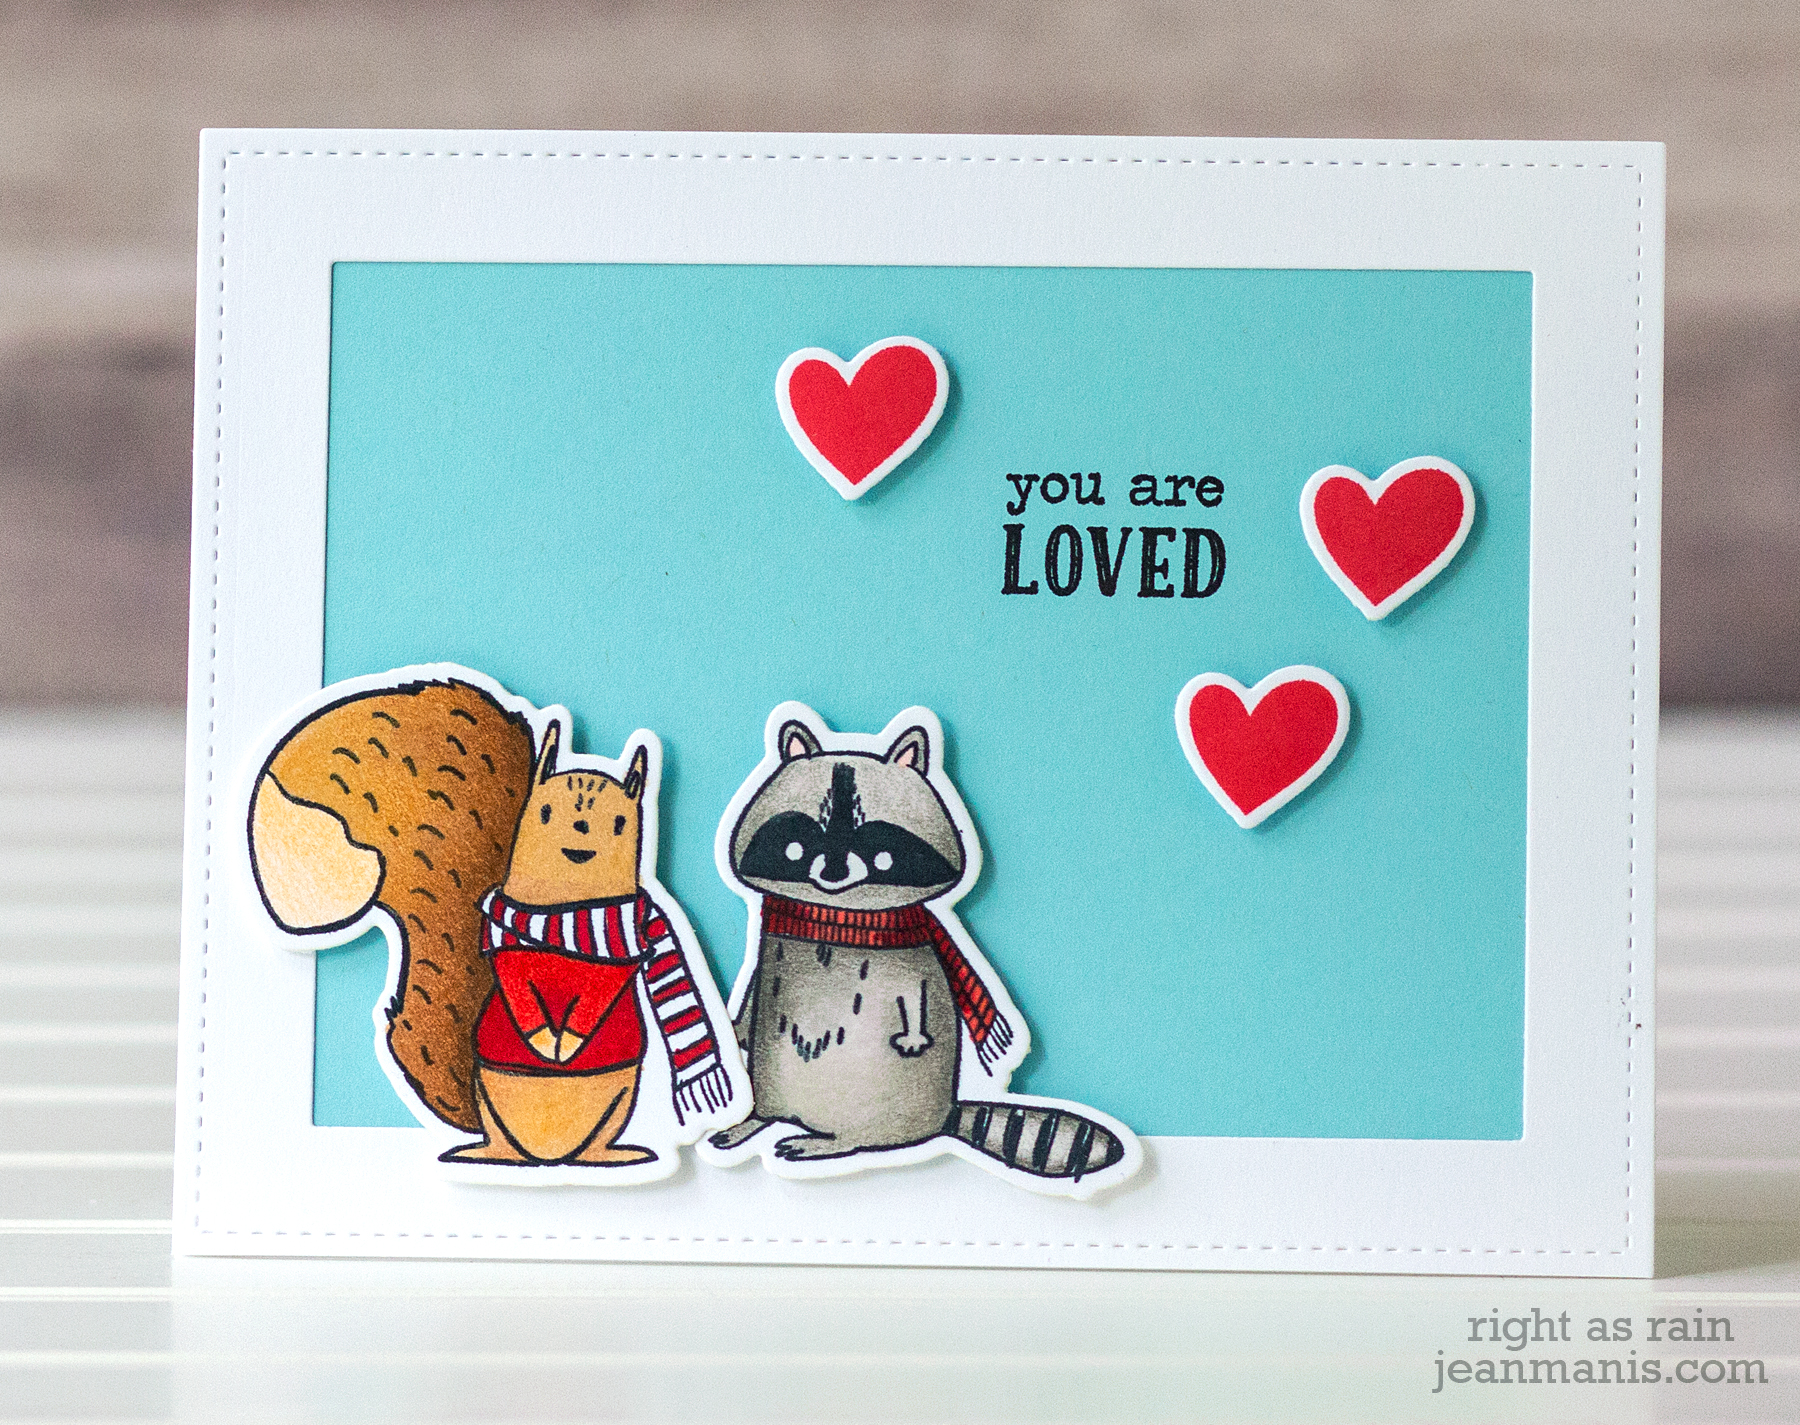
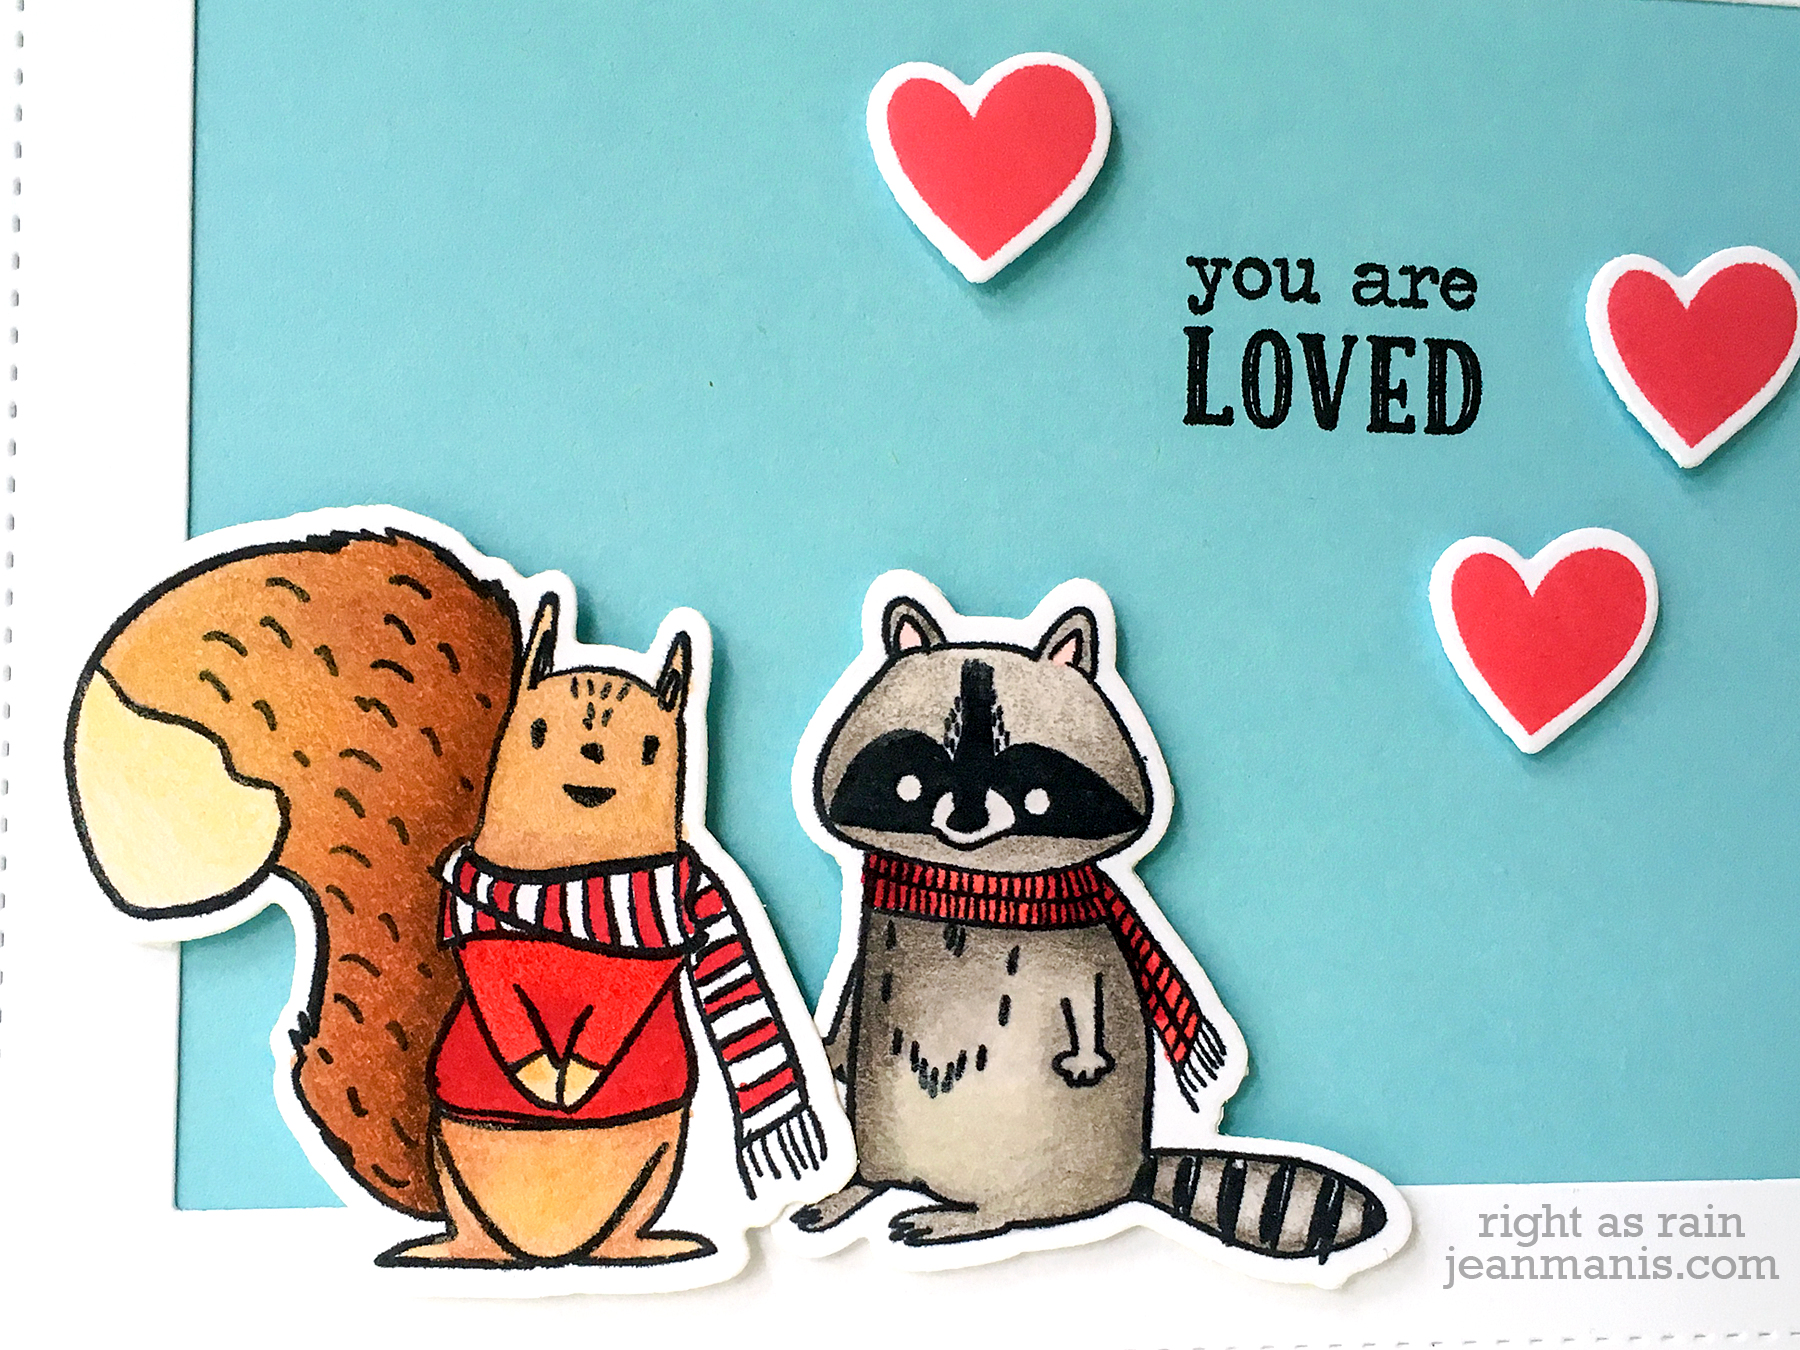
Hello! I am sharing a CAS winter-themed Valentine (or friendship card) featuring the Fun Stampers Journey It’s Cold Outside and Sending My Love stamp sets. Both stamp sets have coordinating dies.

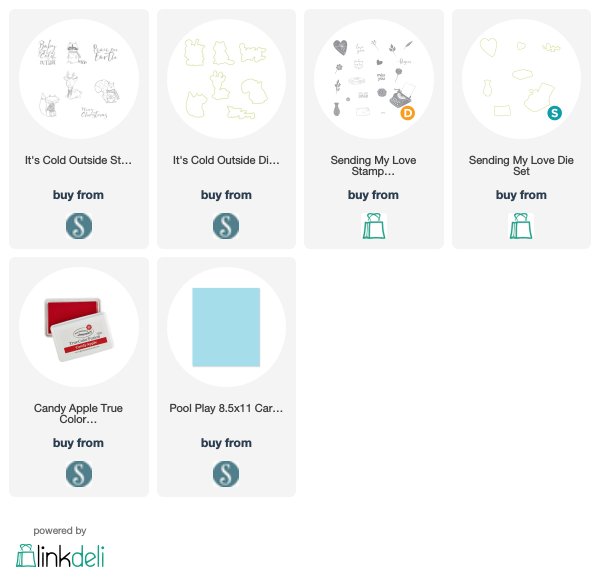
I used rectangle dies to create the card frame. I stamped the cute critters from It’s Cold Outside and colored them with Copic markers and colored pencils and cut them with their coordinating dies. I stamped the sentiment from Sending My Love on Pool Play cardstock, which I placed behind the frame. I stamped hearts from the same set with Candy Apple ink, which I cut with their coordinating die and added to the background with foam adhesive.

Fun Stampers Journey – You Are Loved

Supplies:

The 25 Days of Christmas Tags 2018 – Day 17 Avery Elle

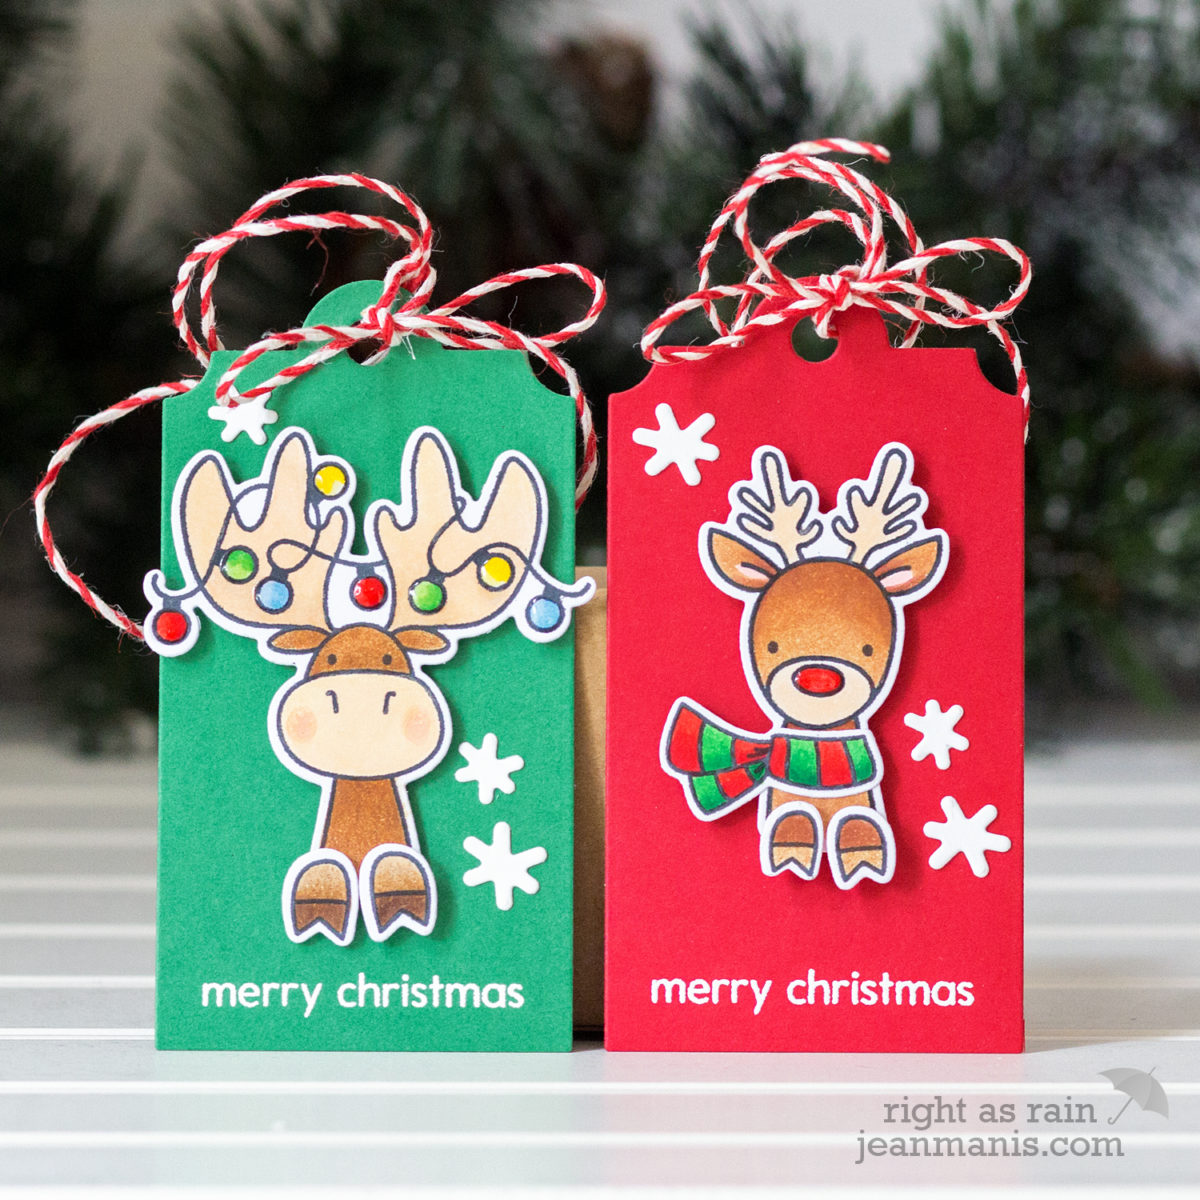
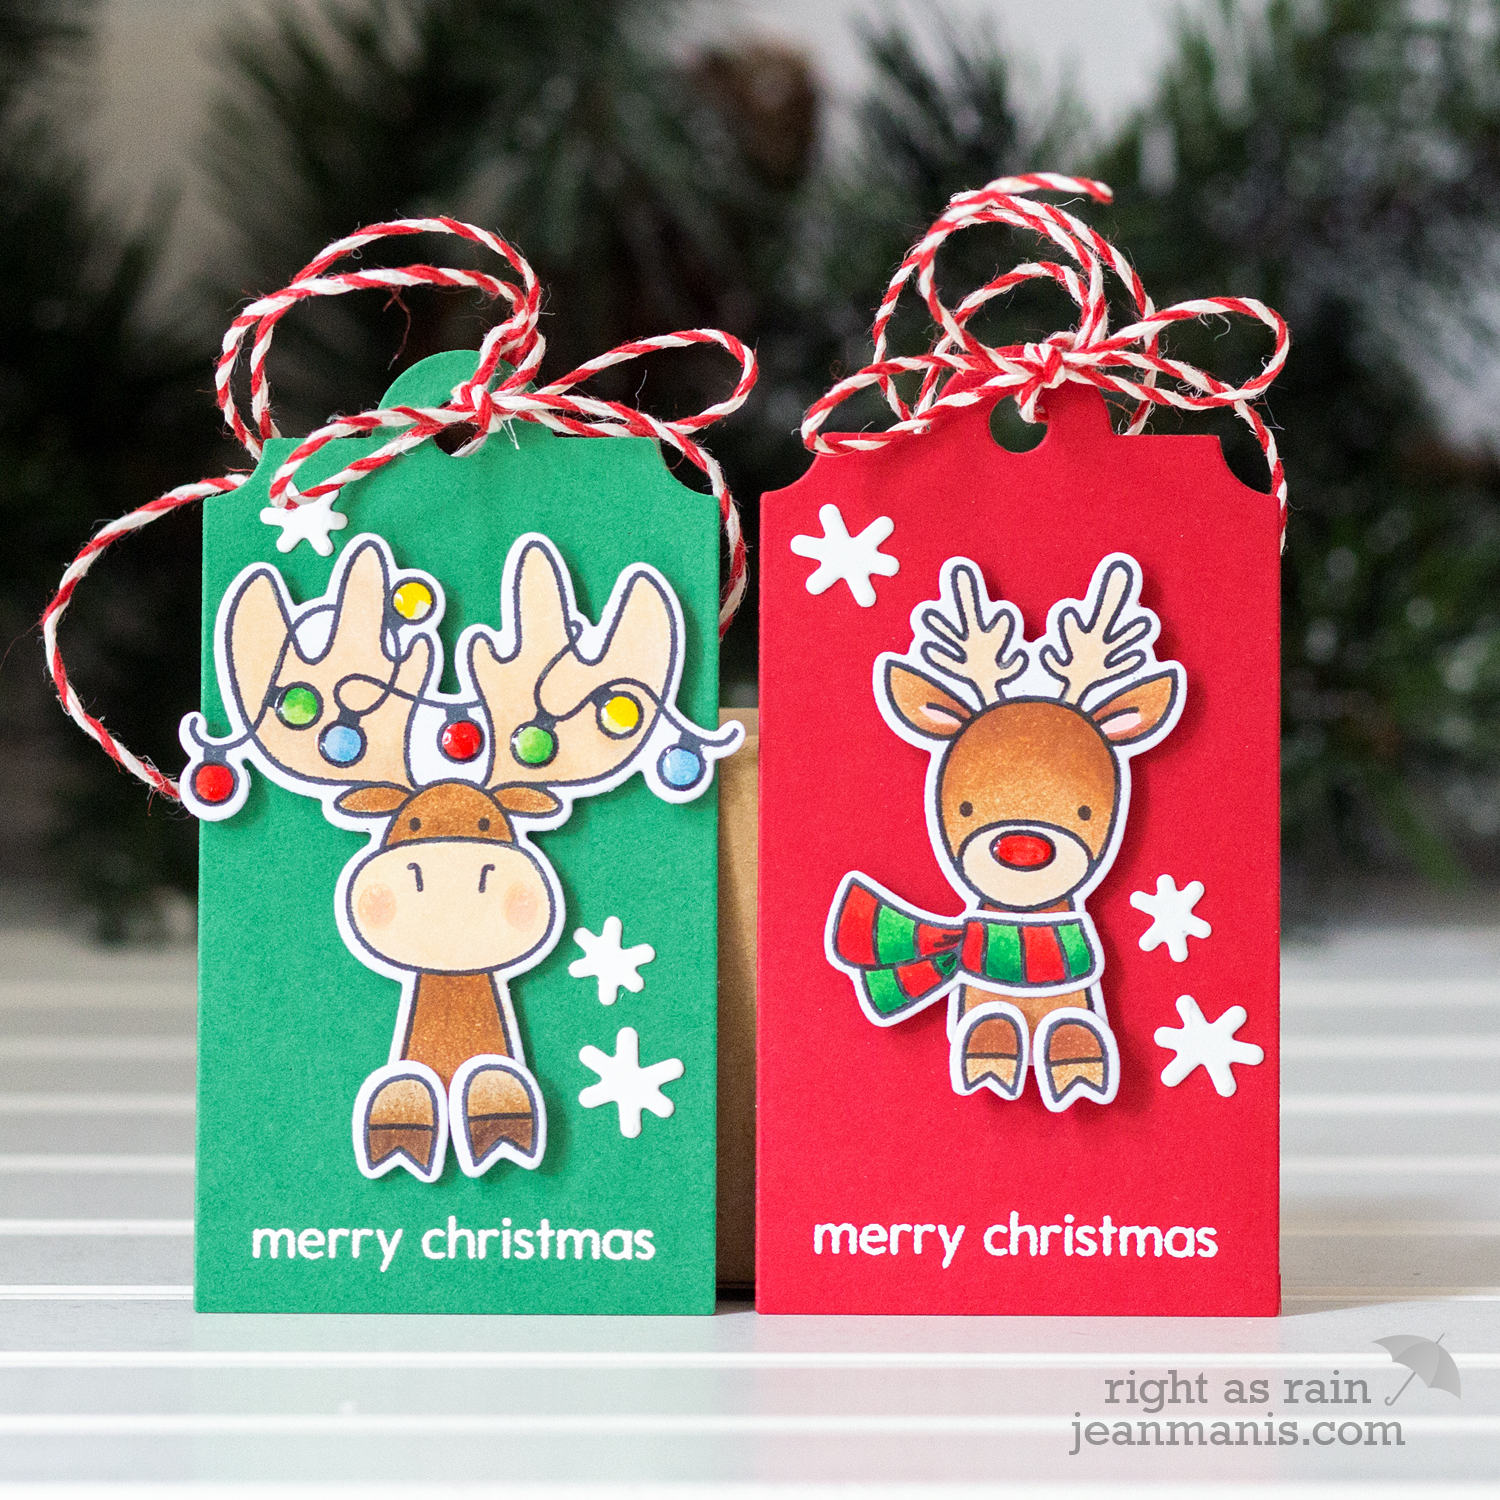
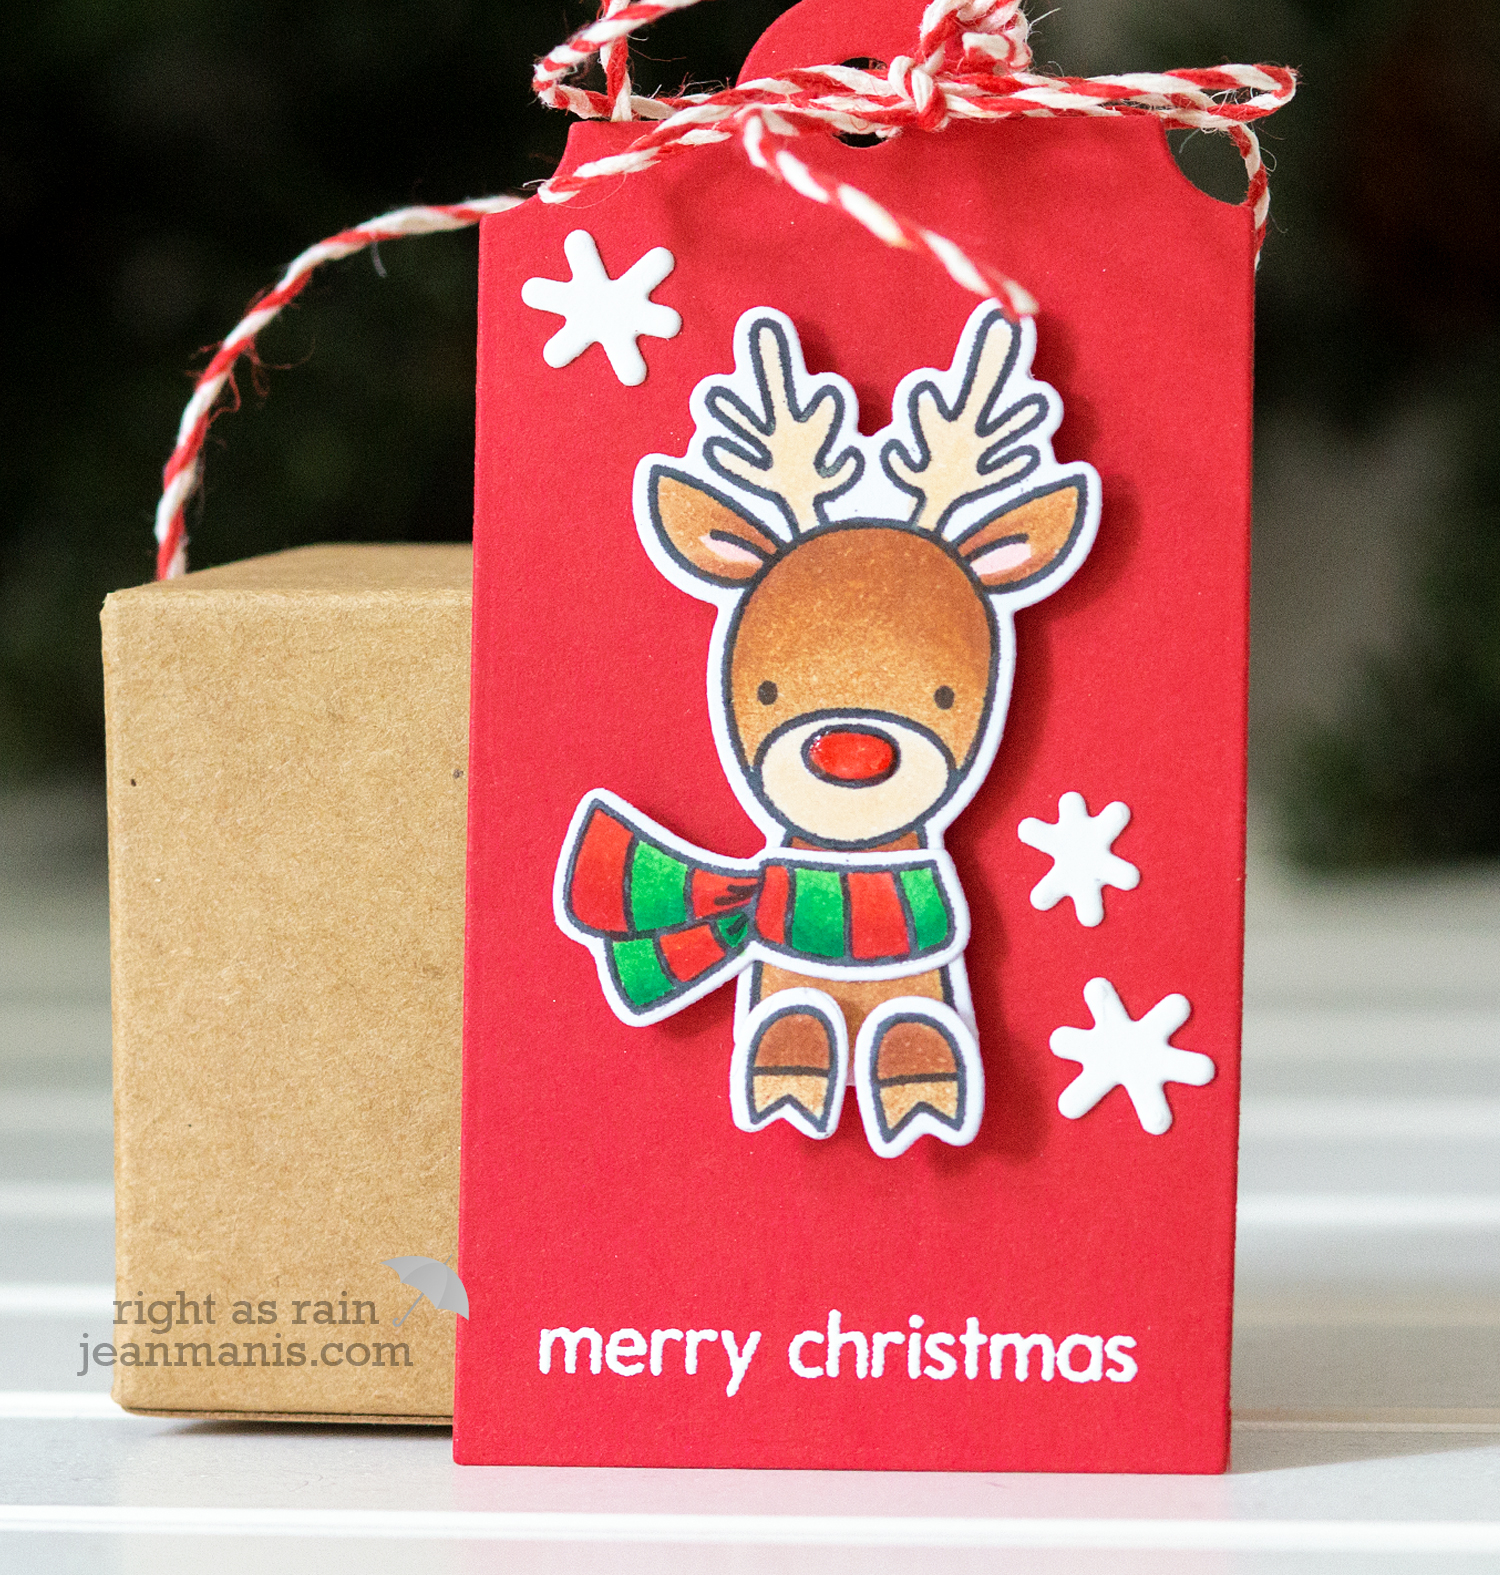
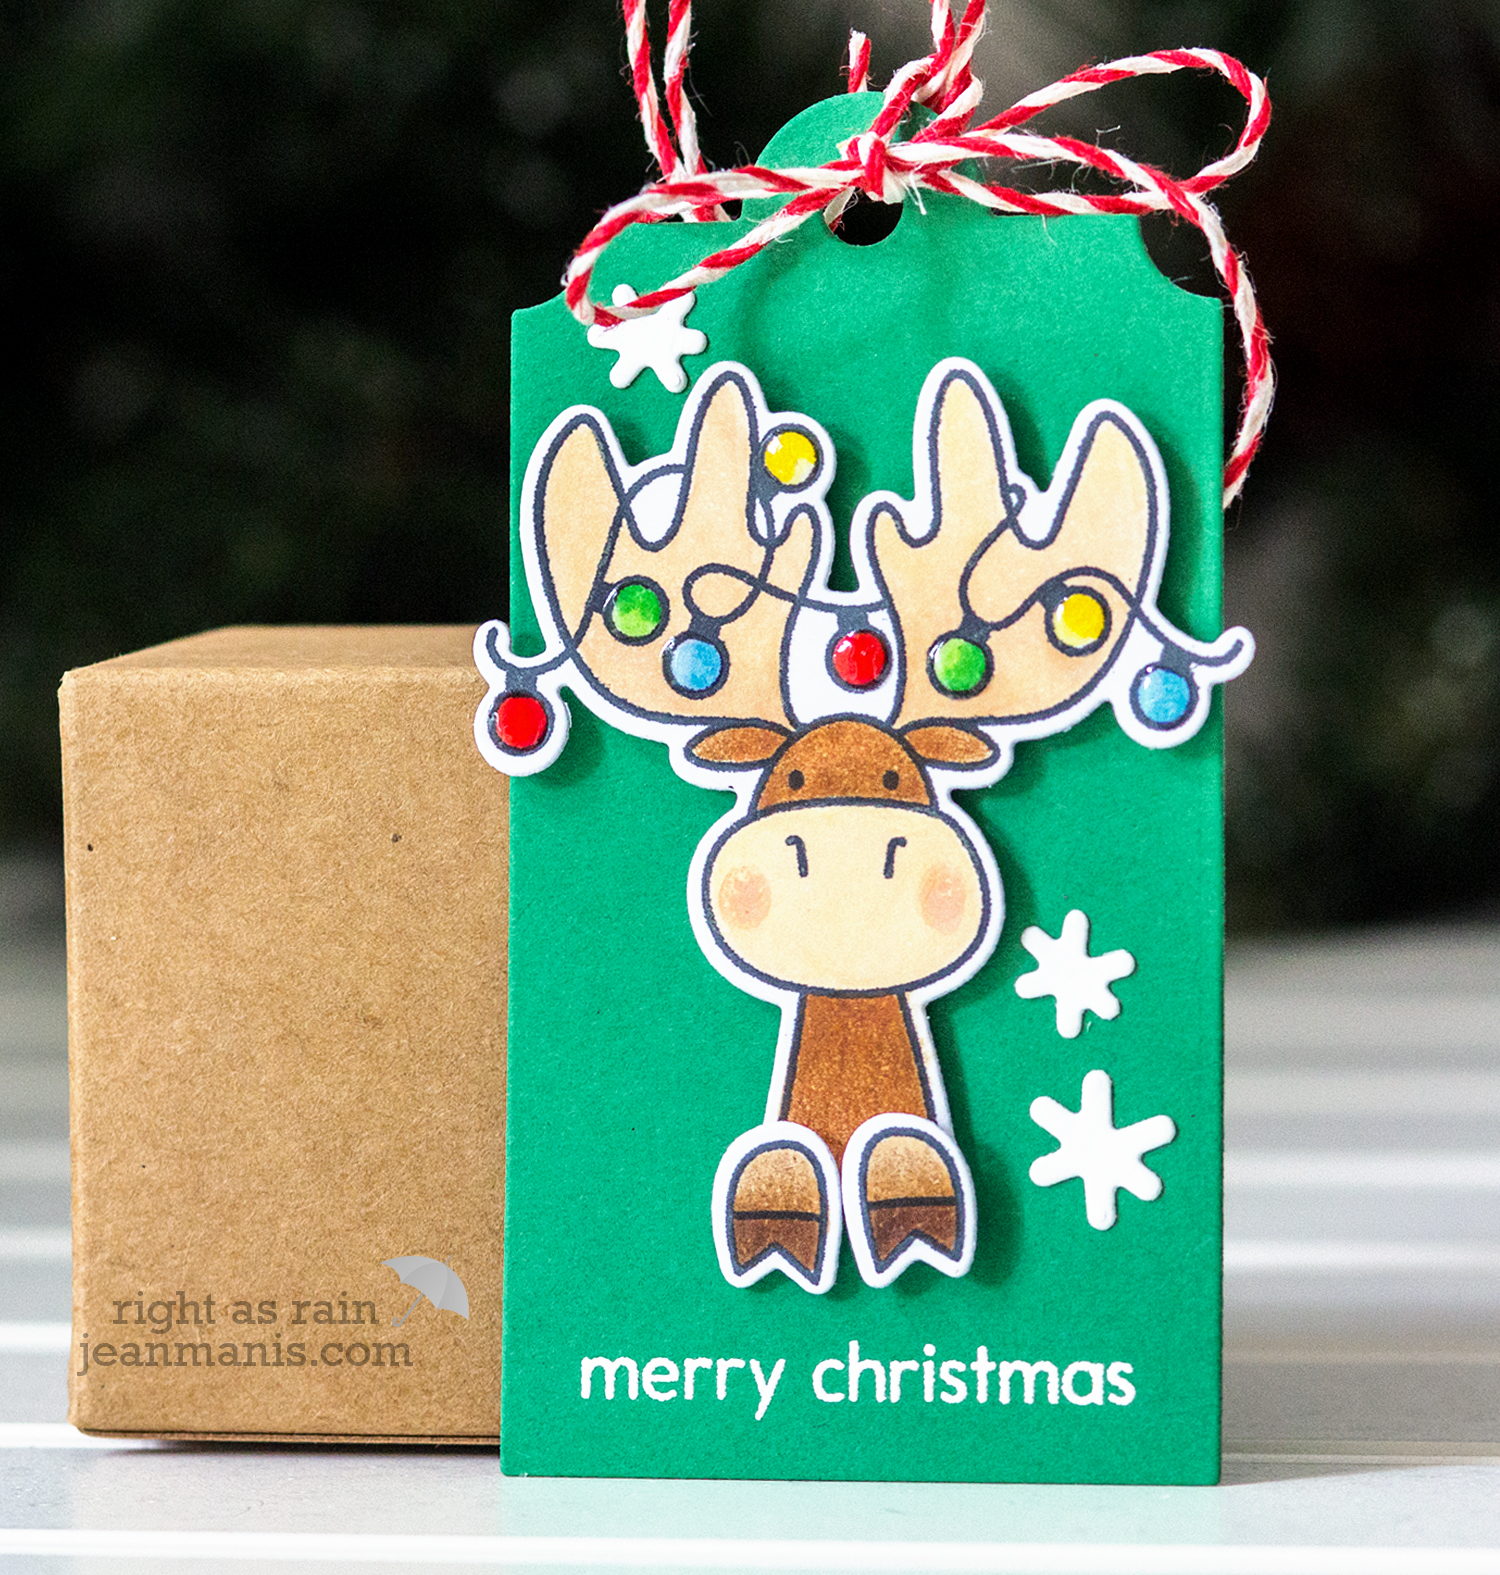
Hello! Today I am sharing two Christmas tags as part of the 25 Days of Christmas Tags event from Day 17 featuring Avery Elle. I was inspired by Tracey’s tag using the Avery Elle Polar Peek-A-Boo set.

The 25 Days of Christmas Tags 2018 – Day 17 Avery Elle

I stamped and Copic-colored the moose and deer from Polar Peek-A-Boo and cut the pieces with their coordinating dies. I added Nuvo Morning Dew (dries clear) to the lights on the moose and the nose of the deer.

The 25 Days of Christmas Tags 2018 – Day 17 Avery Elle The 25 Days of Christmas Tags 2018 – Day 17 Avery Elle

When the pieces were dry, I added the moose and the deer to tags cut from Stampin’ Up cardstock with the largest die in the Gift Tags set, on which I had heat-embossed the sentiment. I added snowflakes, cut with the now-discontinued Avery Elle Snow Caps die set, and twine.

Supplies: