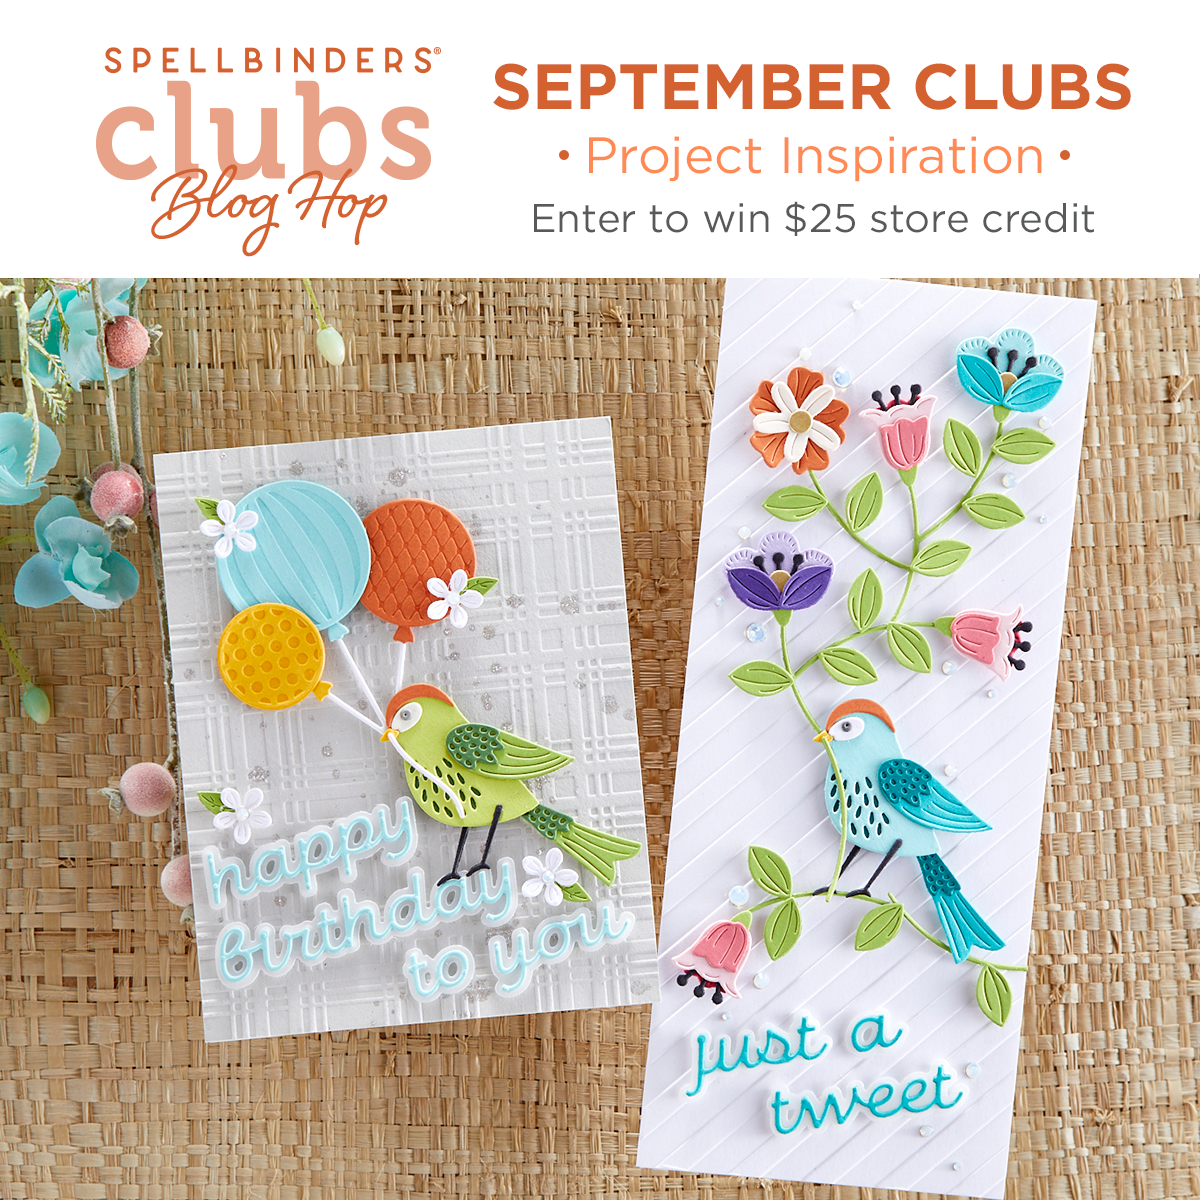
Hello! I am delighted to be participating in a blog hop sharing two projects created with the Spellbinders September 2021 Club Subscriptions. You should have reached me from the blog of Virginia Lu. (The entire list of participants is included at the end of my post.) For the hop, I created cards with this month’s Large Die of the Month kit “Just a Tweet” and the Clear Stamp of the Month Club “A Little Birdie Told Me.” I previously shared cards created with the Large Die of the Month here and the Clear Stamp of the Month here.
To celebrate this release, Spellbinders is giving away a $25 gift certificate to 3 lucky blog readers – selected from the comments on the Spellbinders blog. Giveaway closes on Sunday, September 19th, 11:59 pm MST. The winner will be announced in the blog hop post the following Wednesday. The winner is responsible for shipping cost, duties and taxes. Please note: store credit (gift certificate) cannot be applied to Club Subscriptions; store credit can be applied to shop past Club products, Club extras, and regular releases.
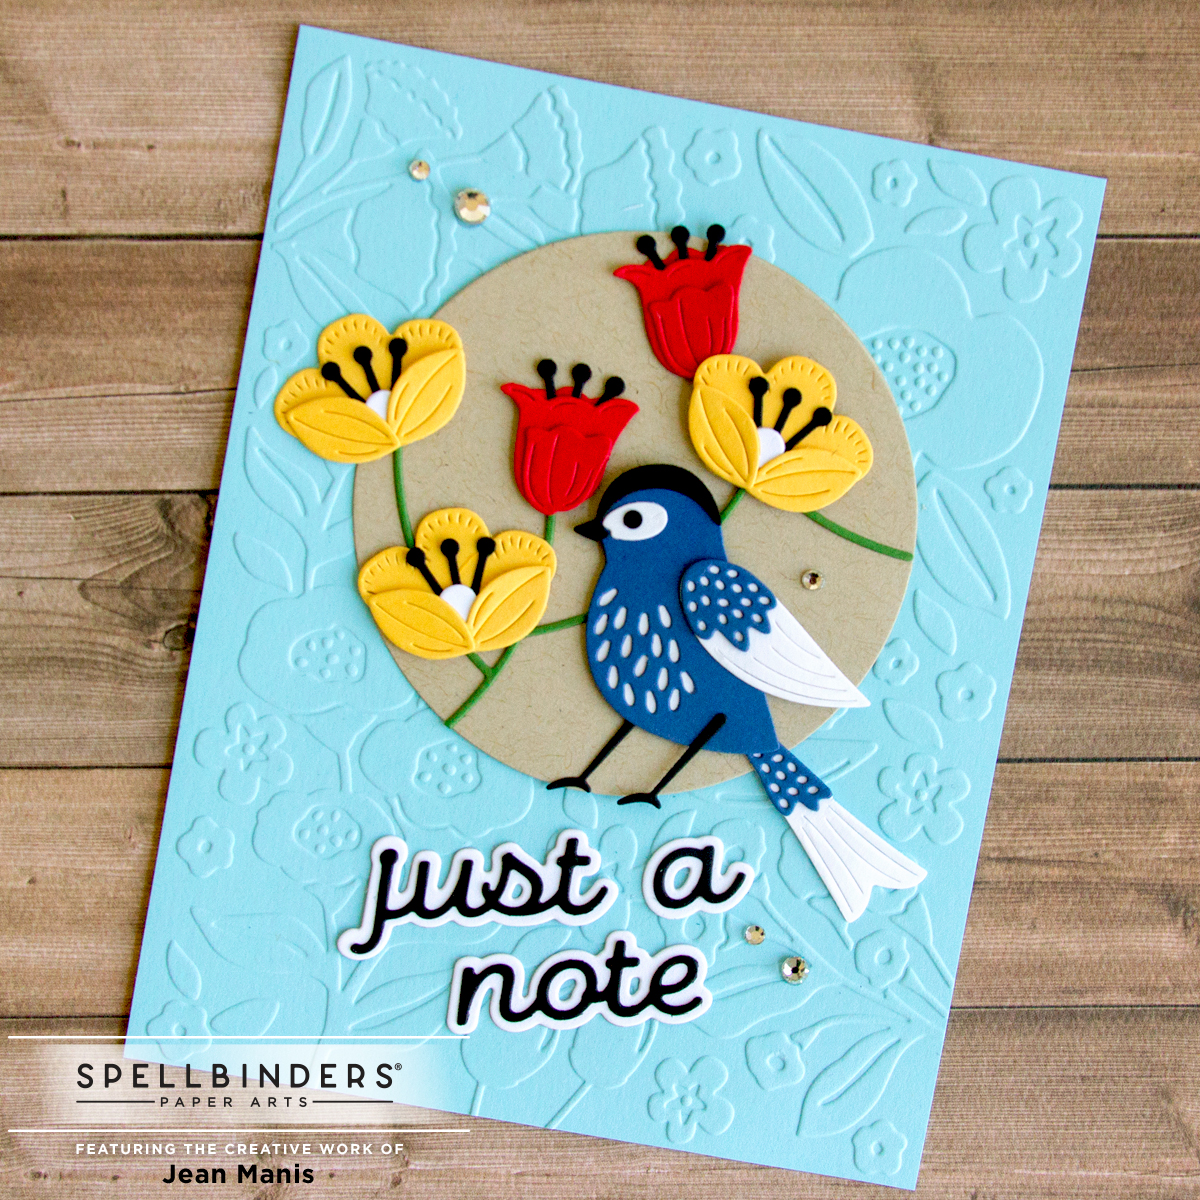
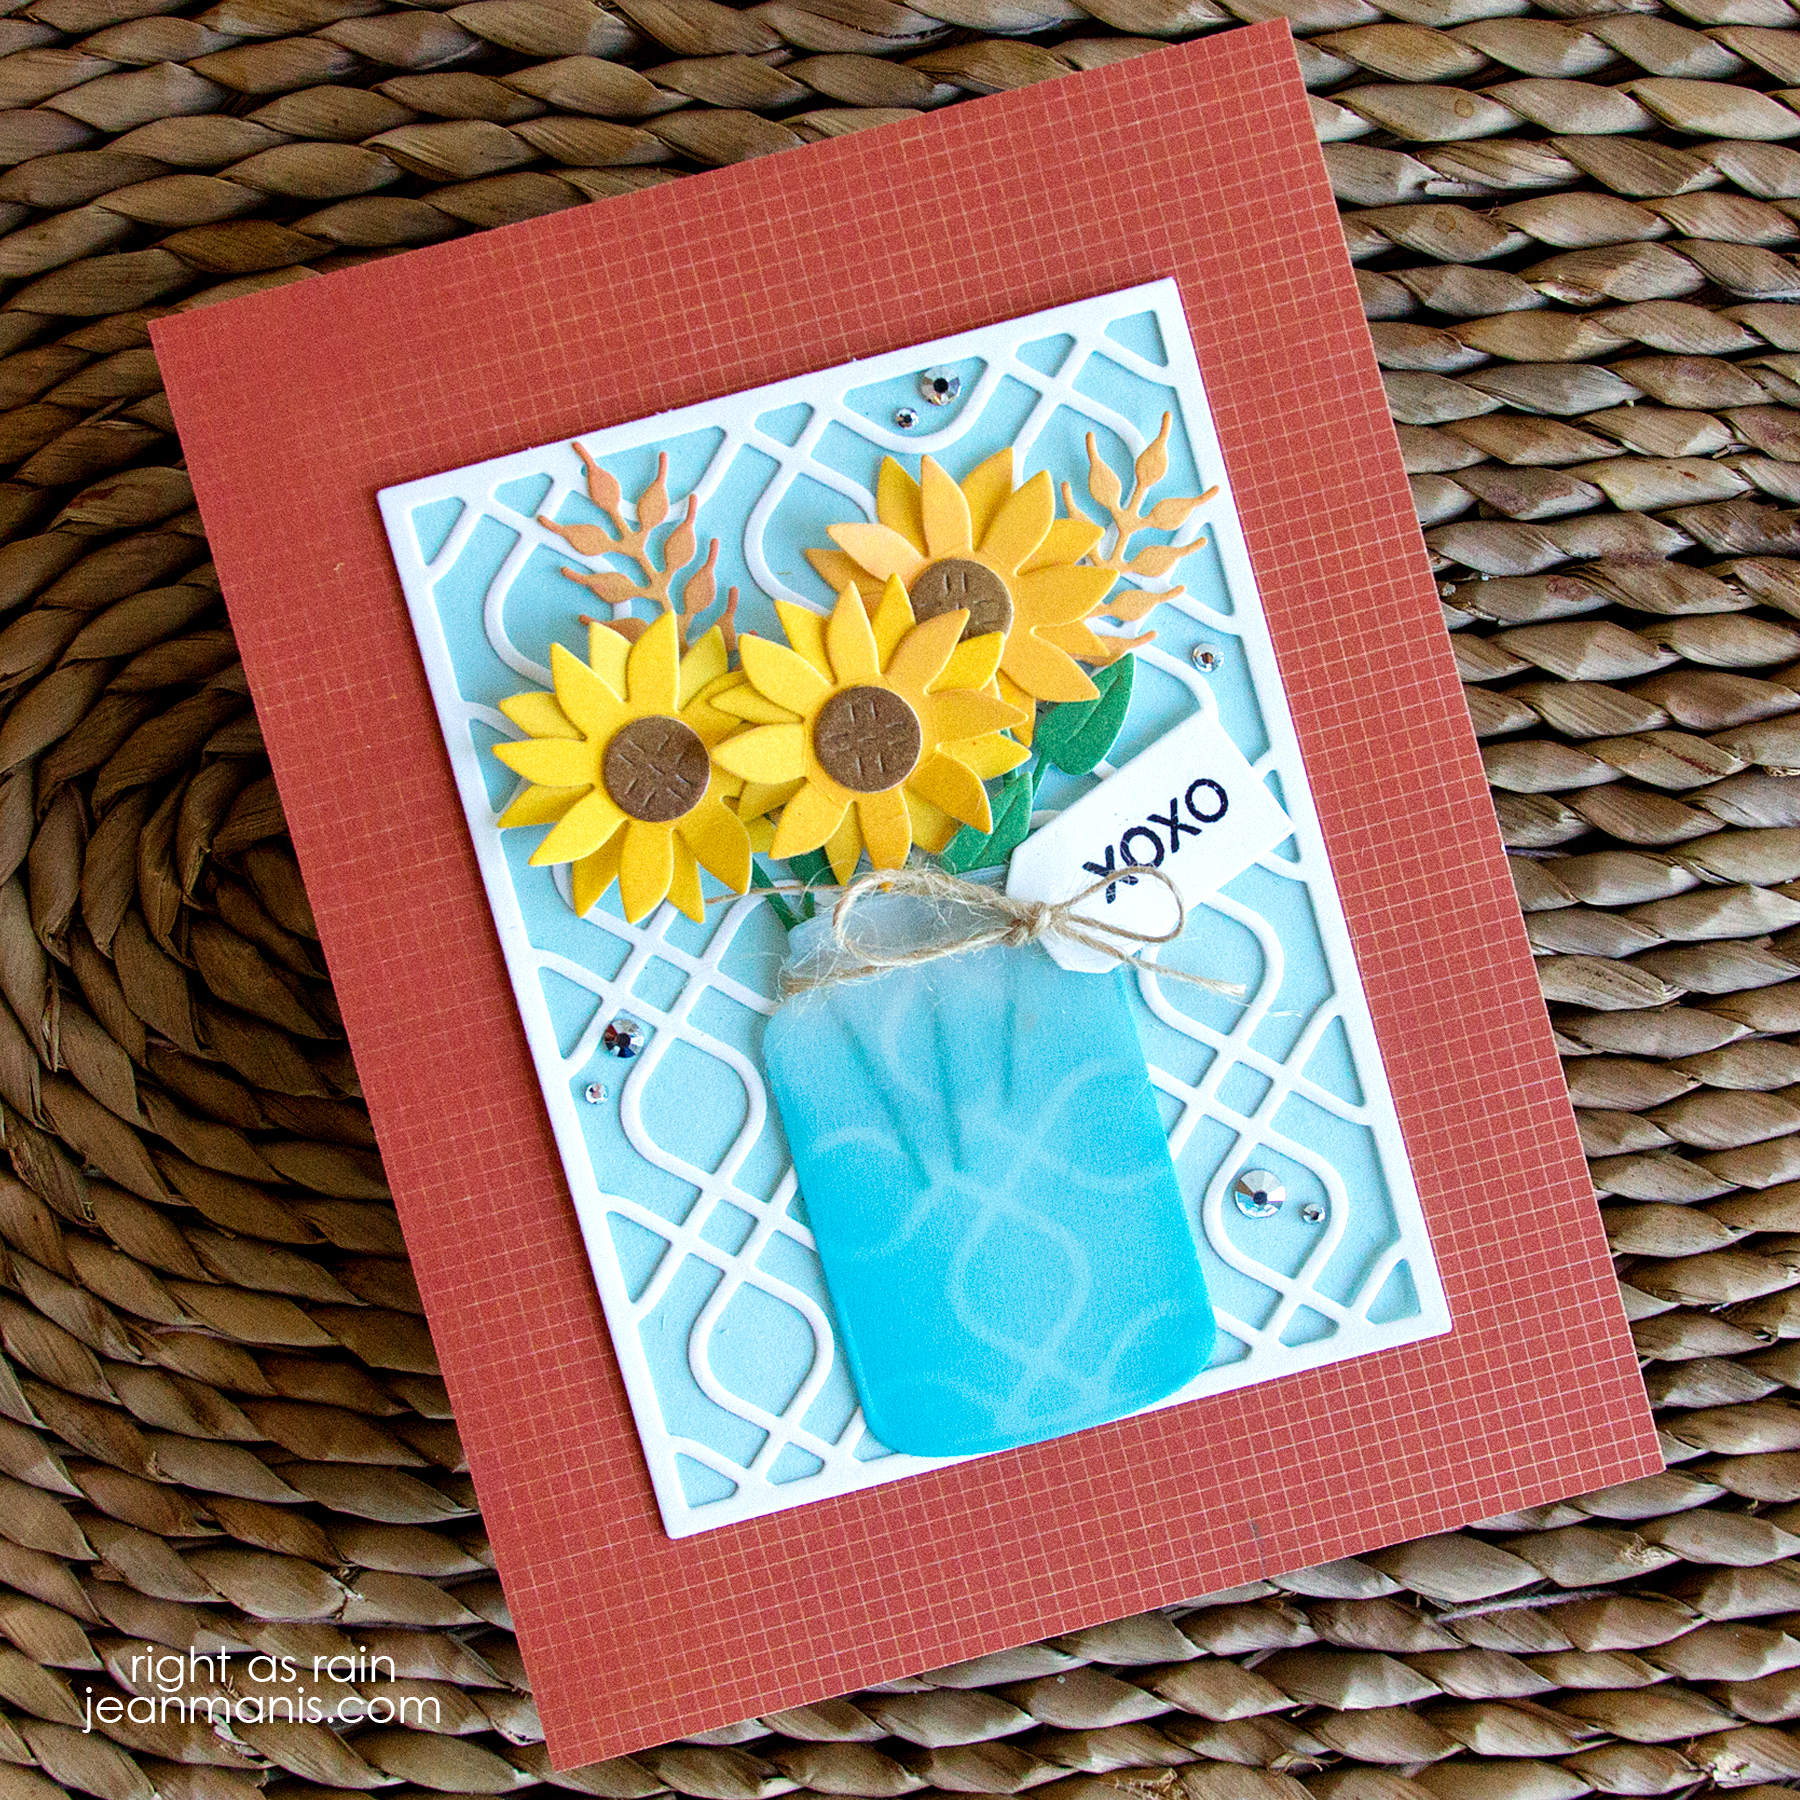
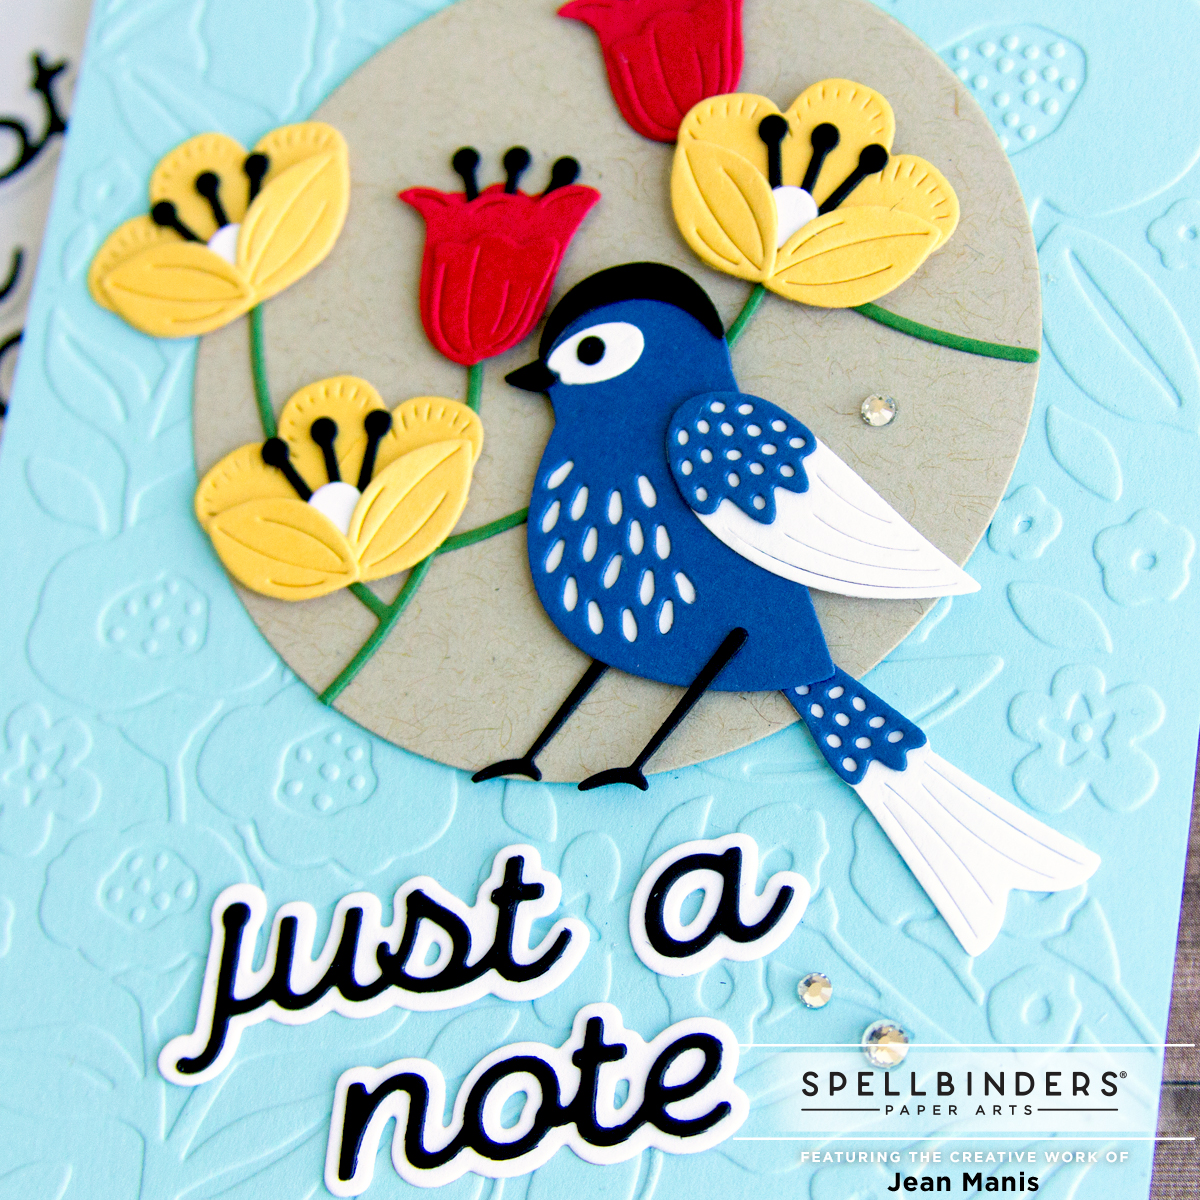
- Create background by dry-embossing light-blue cardstock with the Simply Perfect Florets folder. To put the focus on the bird and flowers, die-cut a 3-inch circle in tan cardstock with a die in the Essential Circles set. Attach to background.
- Die-cut Large Die of the Month bird, flowers, stems, and sentiment from cardstock, assemble, and adhere to card.
- Add Silver Mix Gems for embellishment.
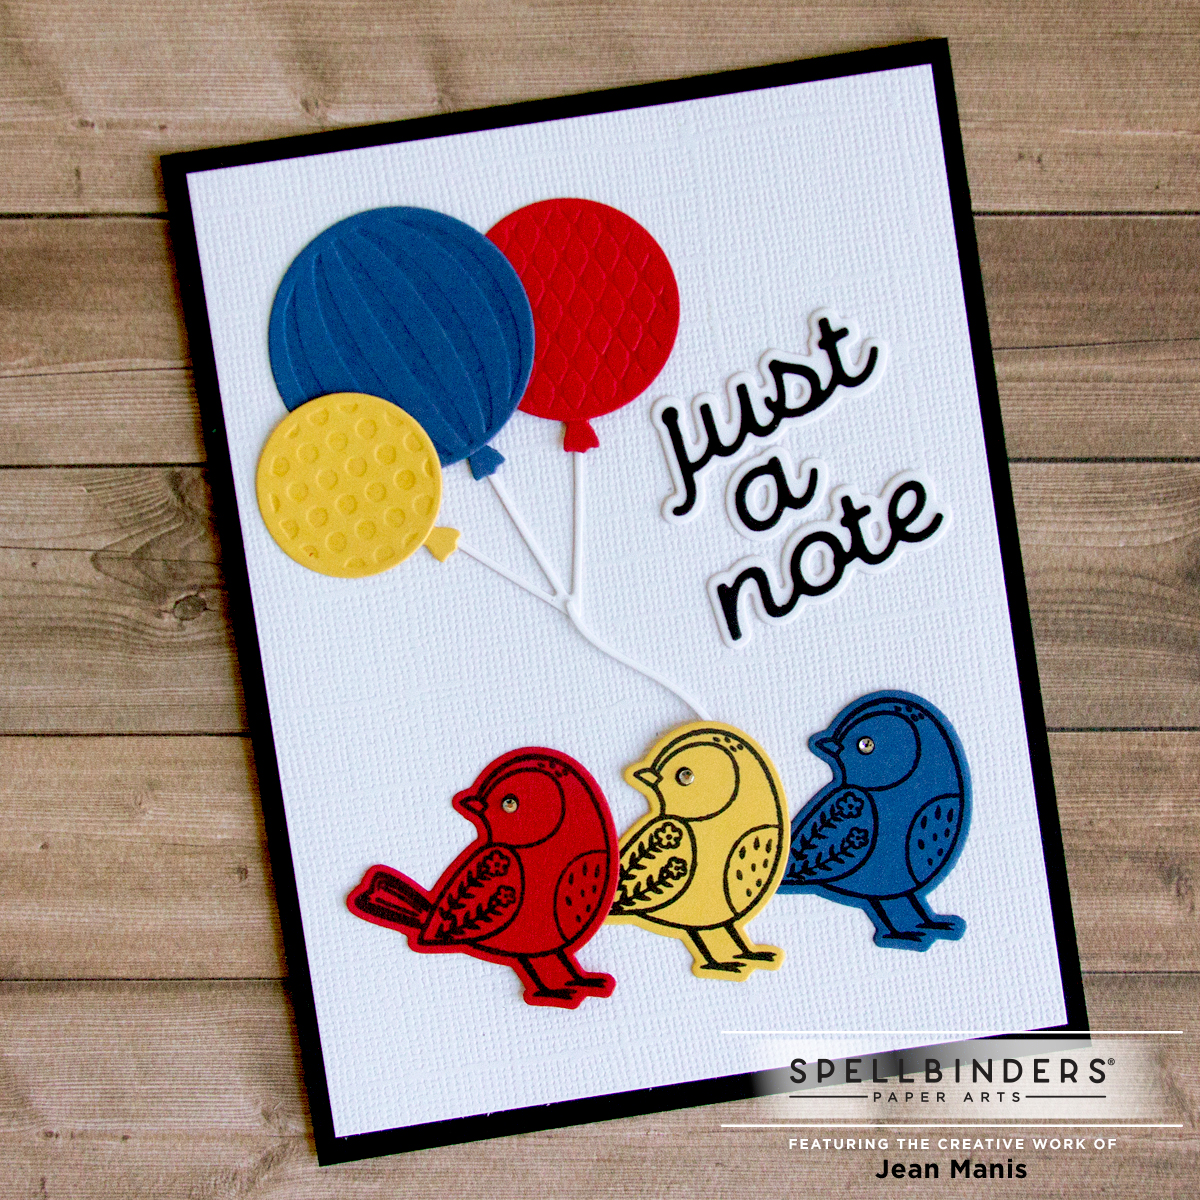
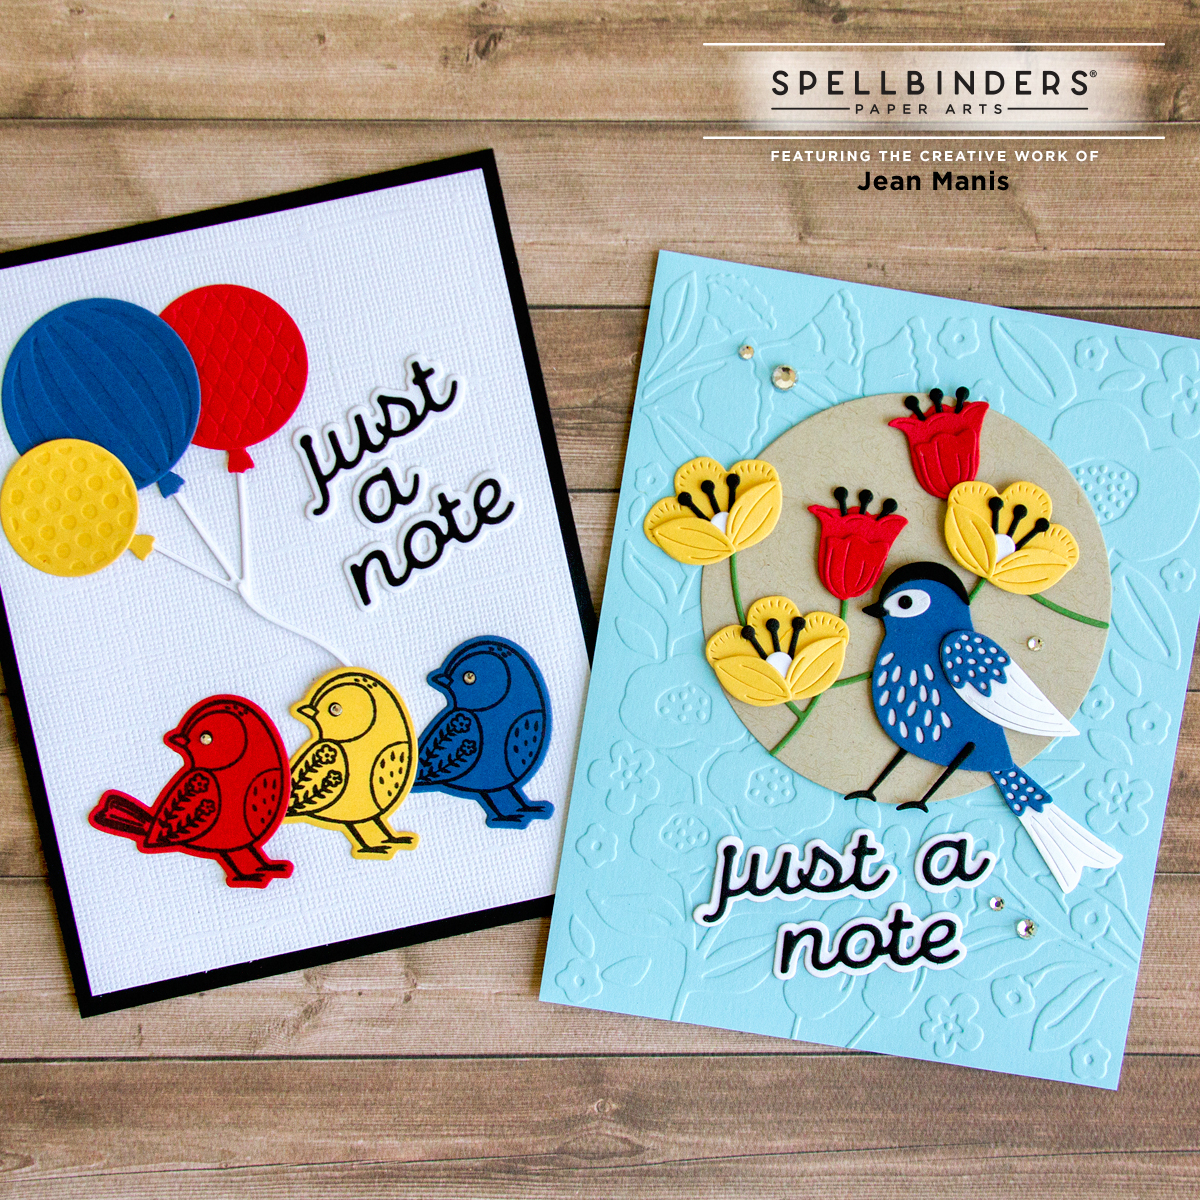
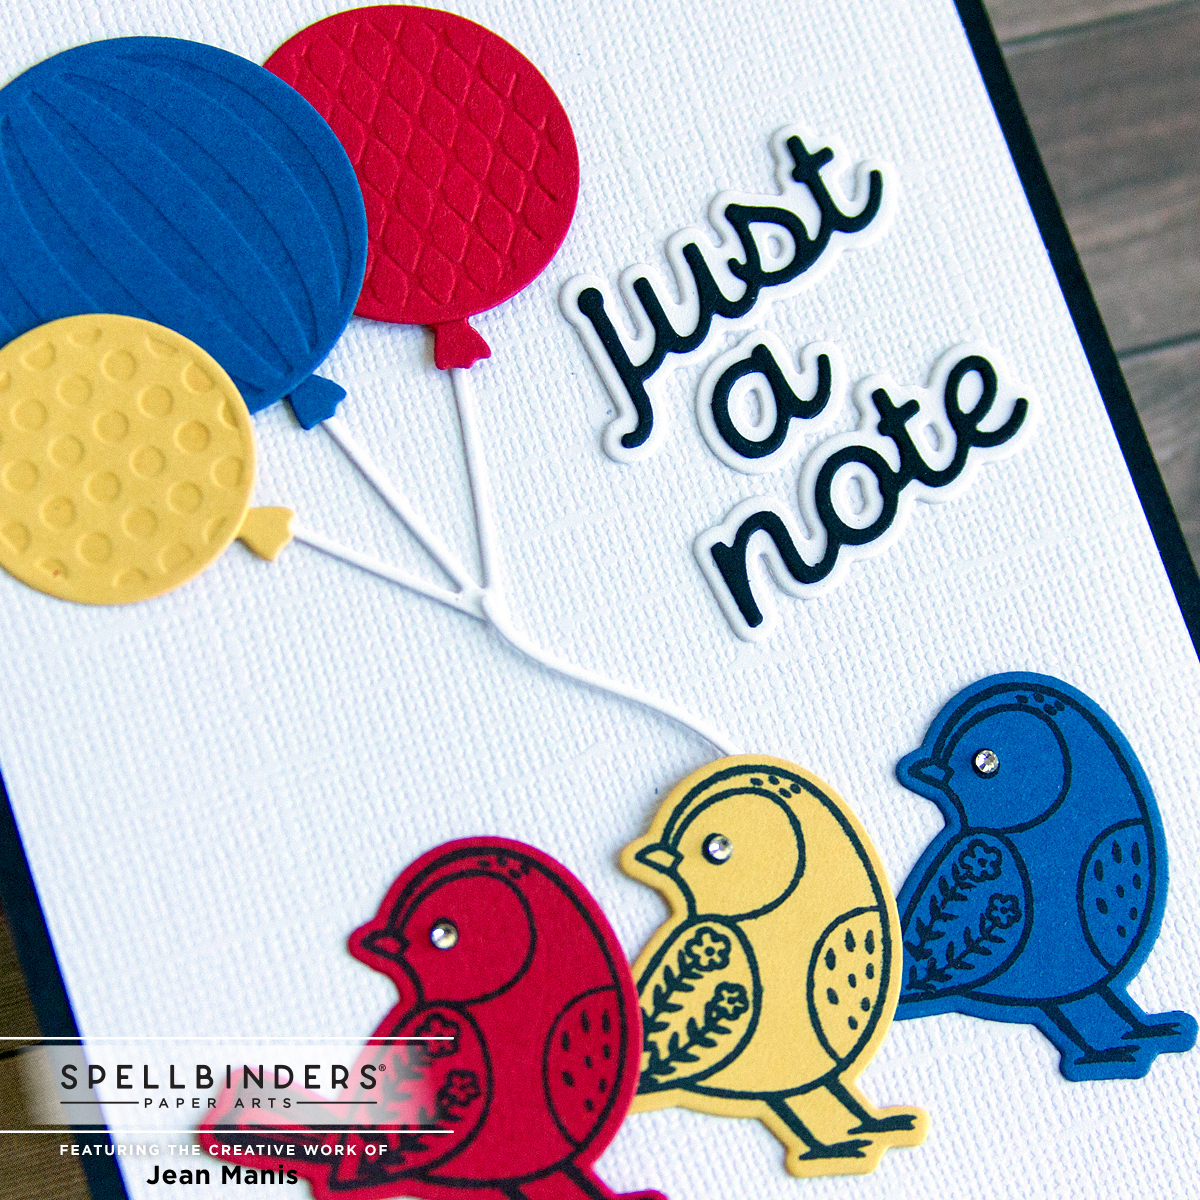
- In black ink, stamp the birds on to cardstock and cut with the coordinating die set (available separately).
- Die-cut balloons, balloon strings, and sentiment with dies in the Large Die of the Month set. As I have mentioned before, this set is jam-packed with dies! Assemble pieces as necessary.
- Add balloons, birds, and sentiment to card base.
- Add Silver Mix Gems for embellishment.
Thanks so much for stopping by! Head next to the blog of Jessica Vasher. Scroll for full blog hop list.
Spellbinders is having a HUGE Sale that runs until 9/19/21.
Blog Hop List:
Spellbinders Blog
Tina Smith
Yana Smakula
Sandi MacIver
Becky Roberts
Bibi Cameron
Annie Williams
Yasmin Diaz
Kristie Marcotte
Jenny Colacicco
Jill Hilliard
Rosemary Dennis
Jennifer Kotas
Betty Wright
Virginia Lu
Jean Manis<—you are here
Jessica Vasher
Ilina Crouse
Hussena Calcuttawala
Alanna Moses