A WOW Birthday

Hello! Today I am sharing a CAS birthday card in bright colors (for whatever reason I’m drawn to bright colors this past week). Let’s take a look.

A WOW Birthday

  • To begin, I die-cut the Paper Smooches balloons, the balloon strings (retired Taylored Expressions set), and the MFT Stamps WOW sentiment. I chose colors (Simon Says Stamp Lipstick Red and SU Daffodil Delight; I don’t know the manufacturer of the orange cardstock) to coordinate with the Echo Park patterned paper.
  • I heat-embossed the birthday sentiment on SU Tempting Turquoise cardstock. The sentiment panel and patterned paper panel were cut to be equal height so that the WOW letters were positioned between the two.
  • I assembled the papers on to a larger piece of white cardstock.  I then adhered the WOW letters with dot adhesive and the balloons (which I assembled with liquid adhesive) to the panel with foam adhesive.
  • The panel was added to a linen-textured card base.

Thanks for stopping by!

Supplies:

Inspired By Graphics on a Tissue Box

Hello! Today I am sharing a CAS Get Well card inspired by graphics on a tissue box created with Paper Smooches supplies.

Inspired By Graphics on a Tissue Box Inspired By Graphics on a Tissue Box

  • With the Paper Smooches Flowers 2 die set, I cut the flowers and centers from SU Smoky Slate and white cardstock. I cut the leaves from SU Gorgeous Grape cardstock.
  • I adhered the centers to the blooms and the blooms and leaves to the FSJ Oatmeal Cookie rectangle panel with dot adhesive.
  • I heat-embossed the Lovely Thoughts sentiment on SU Gorgeous Grape cardstock and cut it with a circle die. I used a slightly larger die to cut a mat in white cardstock.
  • With the sentiment circle and blooms adhered to the card, I felt the card needed something more. I added 4mm clear droplets for texture and additional visual interest.
  • I added the assembled panel to a card base with a linen texture.

Supplies:

The Smallest Things

Hello! Today I’m sharing a CAS inspirational/friendship card combining die-cutting, dry-embossing, and heat-embossing. Let’s take a look.

The Smallest Things

  • I die-cut the Sketched Blooms from both white cardstock and colored cardstock. I applied tape on the back of the diecuts to hold the colored centers.
  • I dry-embossed the blue rectangle background (cut with one of the Matting Basics dies) with the Inspire embossing folder. I added another rectangle in gray as a mat.
  • I heat-embossed the sentiment from the Pinkfresh Studio “My Favorite Things to Say” set and cut it with one of the dies in the Matting Basics sets.
  • I assembled the card on linen-textured card base. The sentiment is adhered with foam adhesive. The dry-embossed rectangle, its frame, and the blooms are attached with dot adhesive.

Supplies: SU cardstock – Calypso Coral, So Saffron, Flirty Flamingo, Pool Party, Smoky Slate


Paper Smooches Mason Jar Bouquet

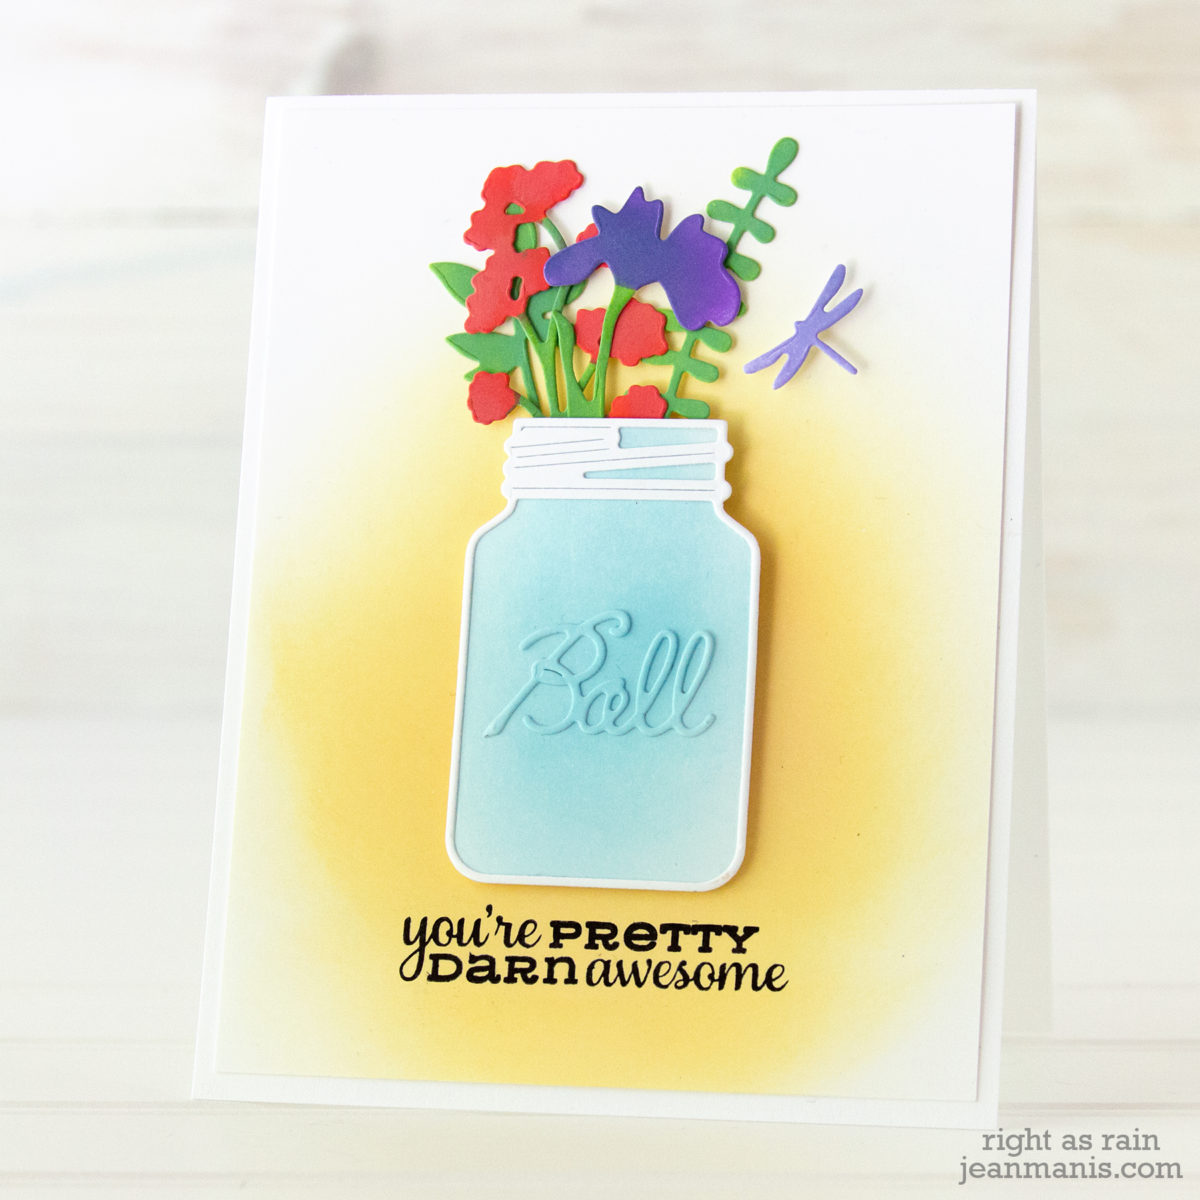
Hello! Today I am sharing a Mason Jar bouquet created with a combination of Paper Smooches products. I recently purchased the Mason Jar die set; it has been on my list for a long time!

Paper Smooches Mason Jar Bouquet

Here are the steps I took when I made this card, along with commentary:

    • I stamped the Botanical stems/floral sprays in Fizz and Aquamarine on patterned paper. I’m a big fan of orange and teal together.
    • I cut and assembled the Mason Jar. I’m all in on die cuts of any kind!
    • I stamped the sentiment in VersaFine black on patterned paper and adhered the patterned paper pieces together. I really like the orange and white gingham paper.
    • I adhered the Mason Jar over the stamped floral pieces.
    • I die-cut flowers with the Flowers and Flowers 2 die sets from patterned paper. I added a white drop to their centers. The drop helped the flowers stand out.
    • When the flowers were dry, I attached them to the stamped stems/floral sprays with foam adhesive. Without the dimension from the foam adhesive, these flowers just blended into the stems/floral sprays.
    • I adhered a twine bow to the Mason Jar. This card needed texture and the twine gave it the right touch.

Thanks for stopping by!

Supplies: Paper Smooches Mason Jar, Flowers, and Flowers 2 die sets; Paper Smooches Botanicals 2 and Lovely Thoughts stamp sets

Spellbinders + FSJ – Die-cut Window Scene

Hello! Today I am sharing a spring-themed window scene on which I have used Spellbinders and Fun Stampers Journey products. I’ve also included details about a huge Online Warehouse Sale for the two companies at the end of my post. Let’s take a look at the card!

Spellbinders FSJ - Die-cut Window Scene

  • I used the Fun Stampers Journey Window View die to cut the window pieces.
  • I  dry-embossed yellow cardstock (SU So Saffron) with the FSJ Bright Days embossing folder and attached it behind the window. The embossing folder depicts the sun and its rays. I placed the sun portion in the lower right-hand corner.
  • I attached the window assembly to a Sea Glass card base.
  • I cut the birds and foliage with the A Little Birdie die set (SU Flirty Falmingo, SU Calypso Coral, SU Granny Apple Green, Neenah white) and added them to the front of the window.
  • I added yellow enamel dots to the white flowers.
  • I heat-embossed the Every Moment sentiment on SU Bermuda Bay and cut it with a circle die.

Spellbinders FSJ - Die-cut Window Scene

Before you head off, the Spellbinders FSJ Online Warehouse Sale is now on! This HUGE sale will run from now through Thursday, March 21st and includes $1, $2, $3, $5, & $10 Deals.

Spellbinders FSJ Online Warehouse SaleSupplies: