Hello! Welcome to Day Two of the Taylored Expressions December Sneak Peeks featuring products designed for creating Valentine’s Day cards as well as classroom/friend treats! The December products will be released Thursday, December 8 @ 7 AM PST!
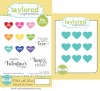
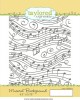
I’ve got three Valentine’s Day-themed projects today. My first features the Conversation Hearts embossing folder.

To create the background, I inked the Conversation Hearts folder before dry-embossing the Strawberry Milkshake cardstock. To the front I added the Brushstroke Valentine sentiment and two hearts created with the Filled with Love Stamp & Die Combo set, keeping with the conversation heart theme.

Supplies (items in bold will be released December 8):
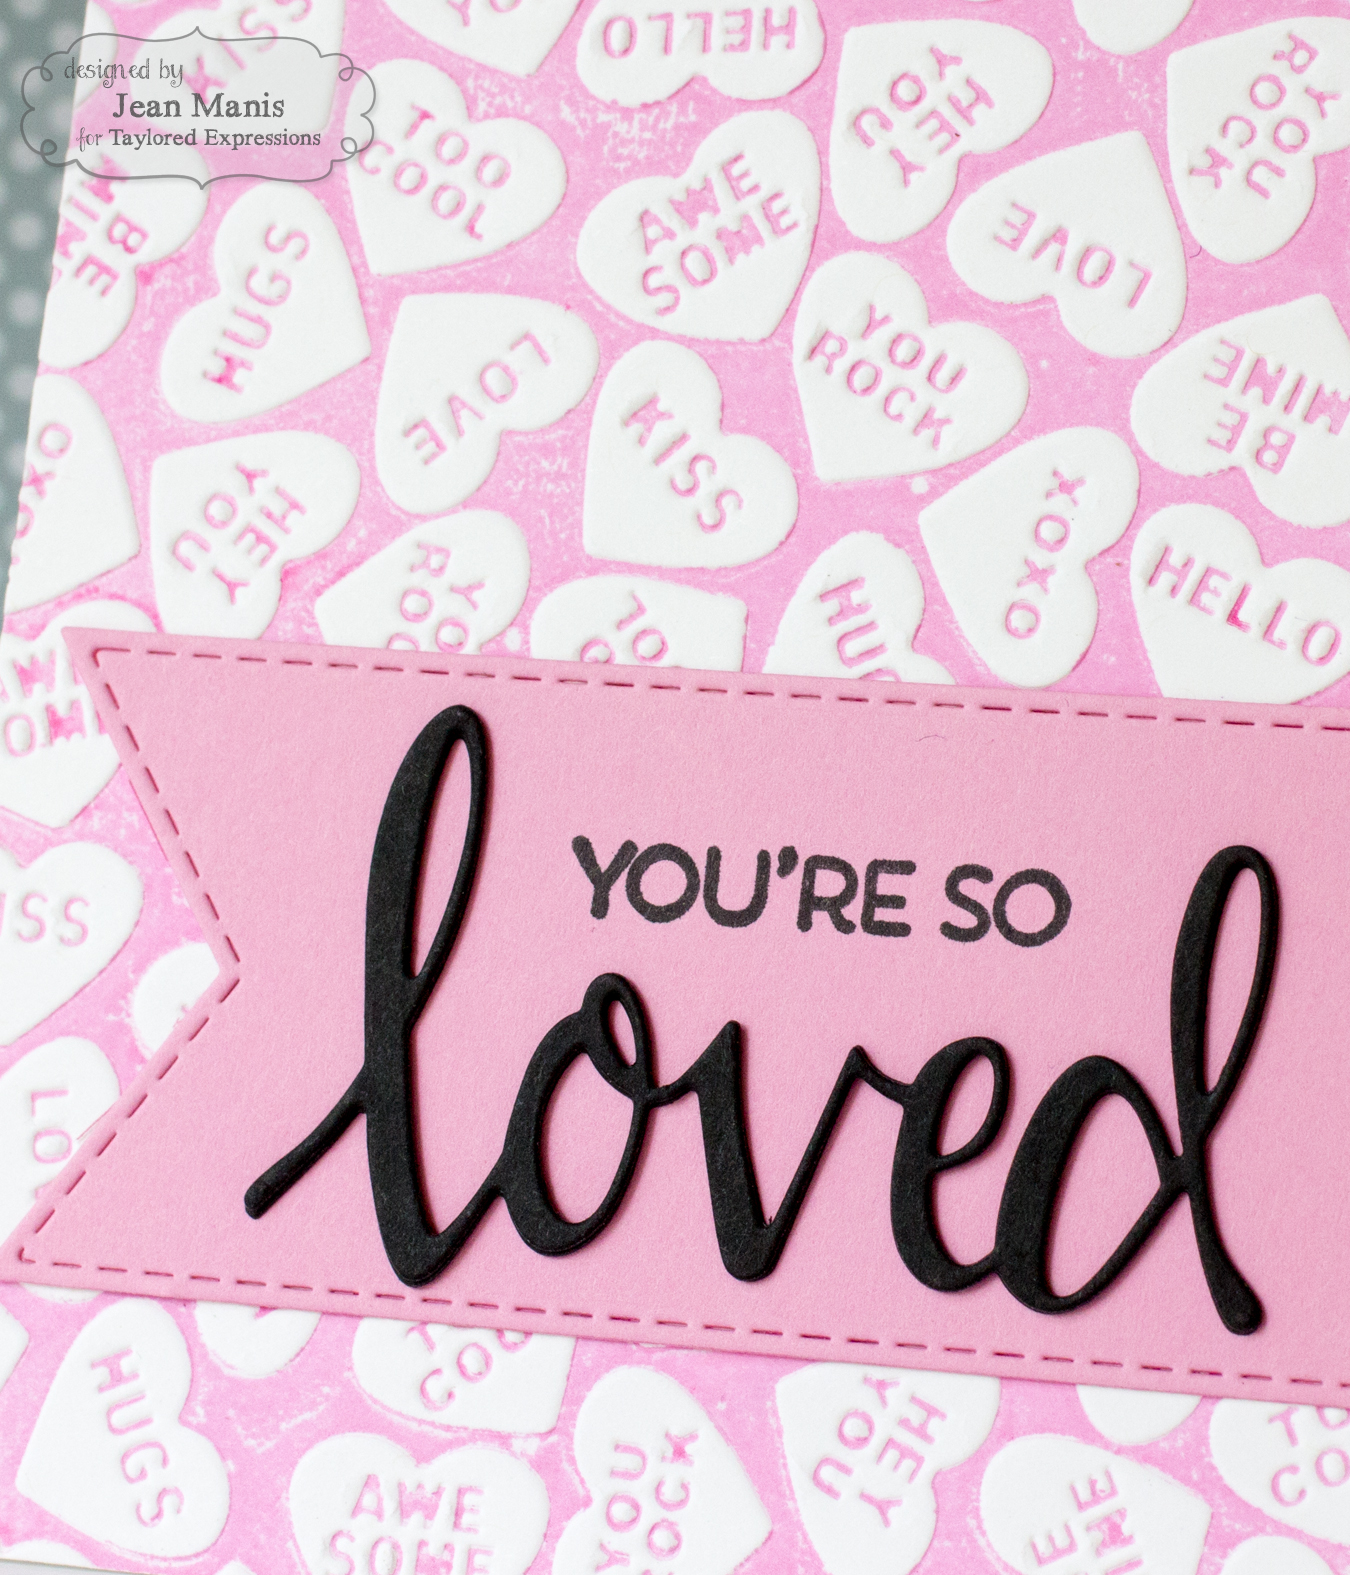
I used a similar technique on my next card, pairing the dry-embossed background with a different sentiment.

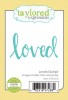
To create this version, I inked the Conversation Hearts folder with Strawberry Milkshake ink and dry-embossed Sugar Cube cardstock. I stamped Strawberry Milkshake cardstock with the sentiment from How Sweet It Is and paired it with the die-cut Loved Script.
Supplies (items in bold will be released December 8):
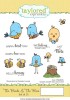
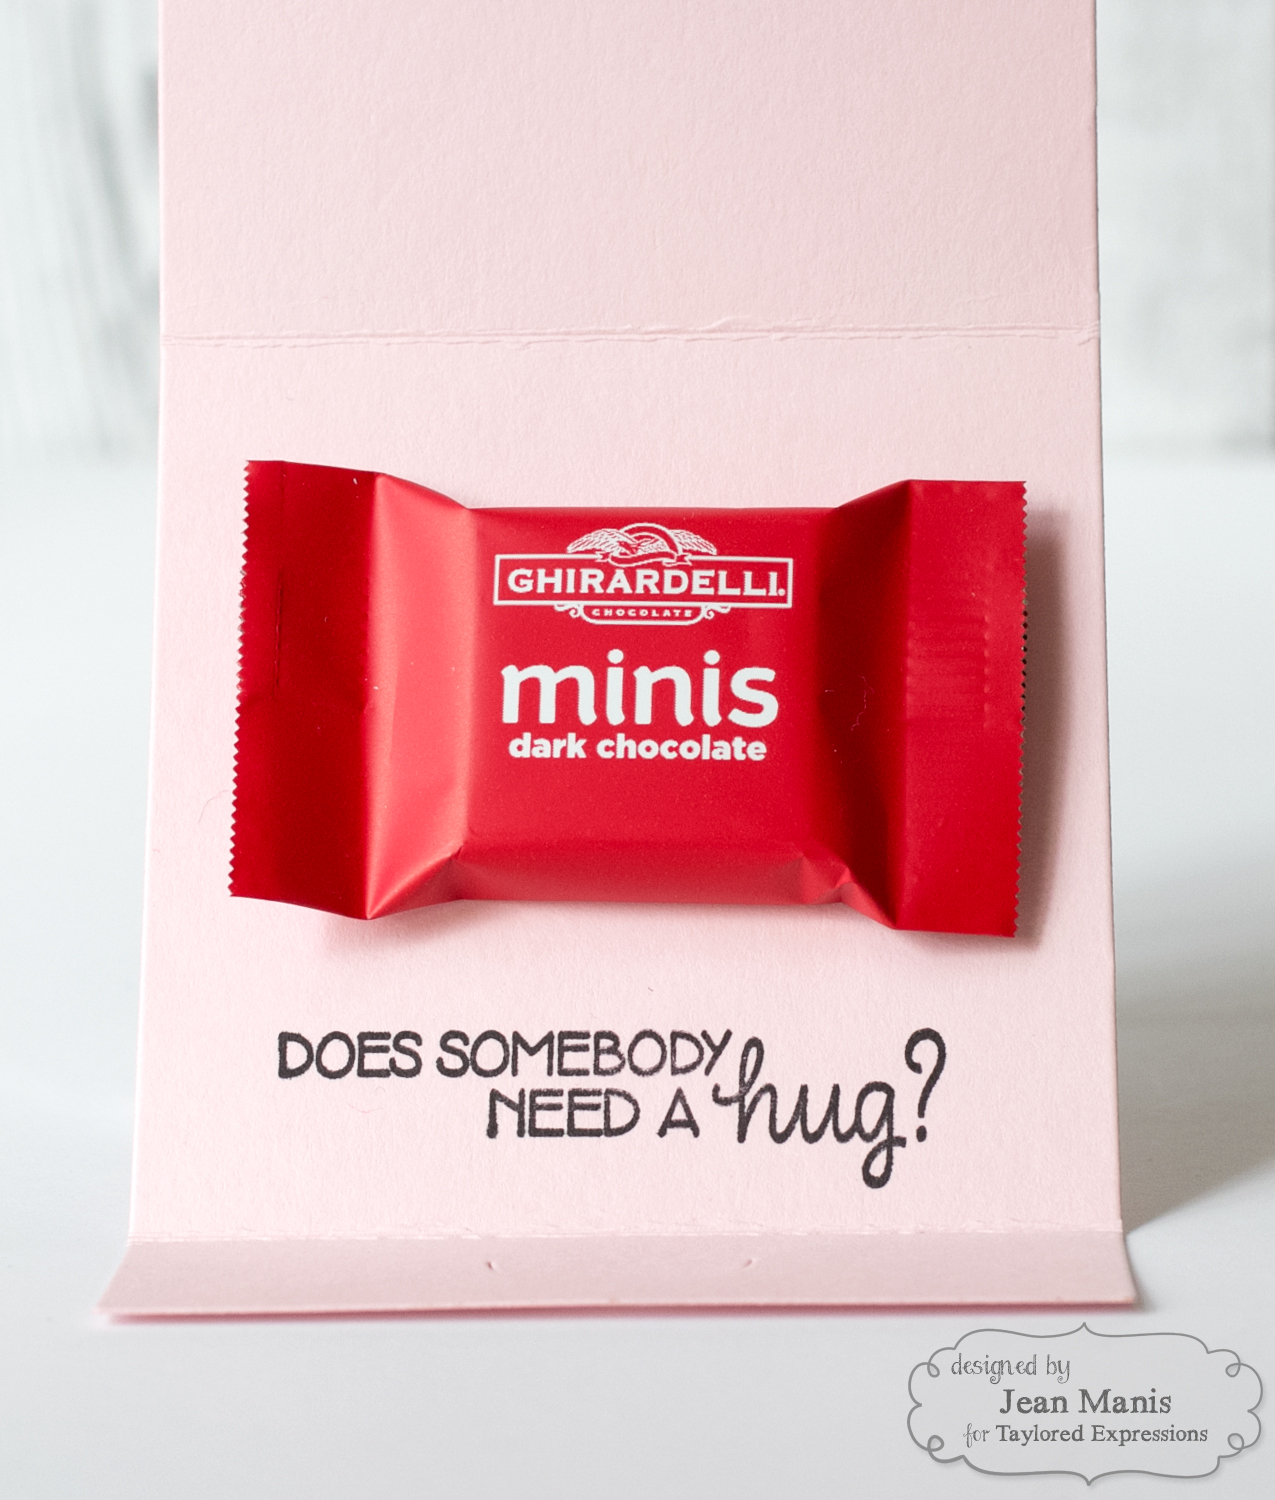
Need a Hug? My final project today is a classroom treat created with Roly Poly Sentiments and Roly Poly – Panda.

I attached the assembled panda, holding a heart stamped with one of the Roly Poly Sentiments, to a Tuck & Close Notecard which I stamped on the inside with another sentiment from the same set. I added a chocolate treat!

Supplies (items in bold will be released December 8):
Taylored Expressions is celebrating Release Week with some fabulous giveaways! Visit the TE Blog to answer Taylor’s Question of the Day for a chance to win a prize from the latest release!

Thanks for visiting! Head on over to the TE Blog to see more projects and product information, as well as a complete list of participating designers!


 Hello! Today I’m a guest over in the