The giveaway is now closed. Thanks for participating!
Welcome to the Essentials by Ellen Blog Hop! I’m delighted to be part of the unveiling of a brand-new line of high-quality Clear Stamp Sets and Designer Dies, designed by Julie Ebersole exclusively for Ellen Hutson LLC.
This collection reflects an eclectic mix of images, sentiments and art styles that are sure to appeal to a wide range of tastes! Just in time for holiday crafting, the entire release is available now at Ellen Hutson LLC. All Essentials by Ellen Stamp Sets and Dies arrive in signature packaging with a durable clear envelope and a labeled card stock backer for convenient storage and organization. Die packaging features an attached magnetic sheet, to ensure that even the smallest of your dies is stored securely! Enjoy and happy World Card-making Day!
I crafted my first card with the Twelve Days stamp set.
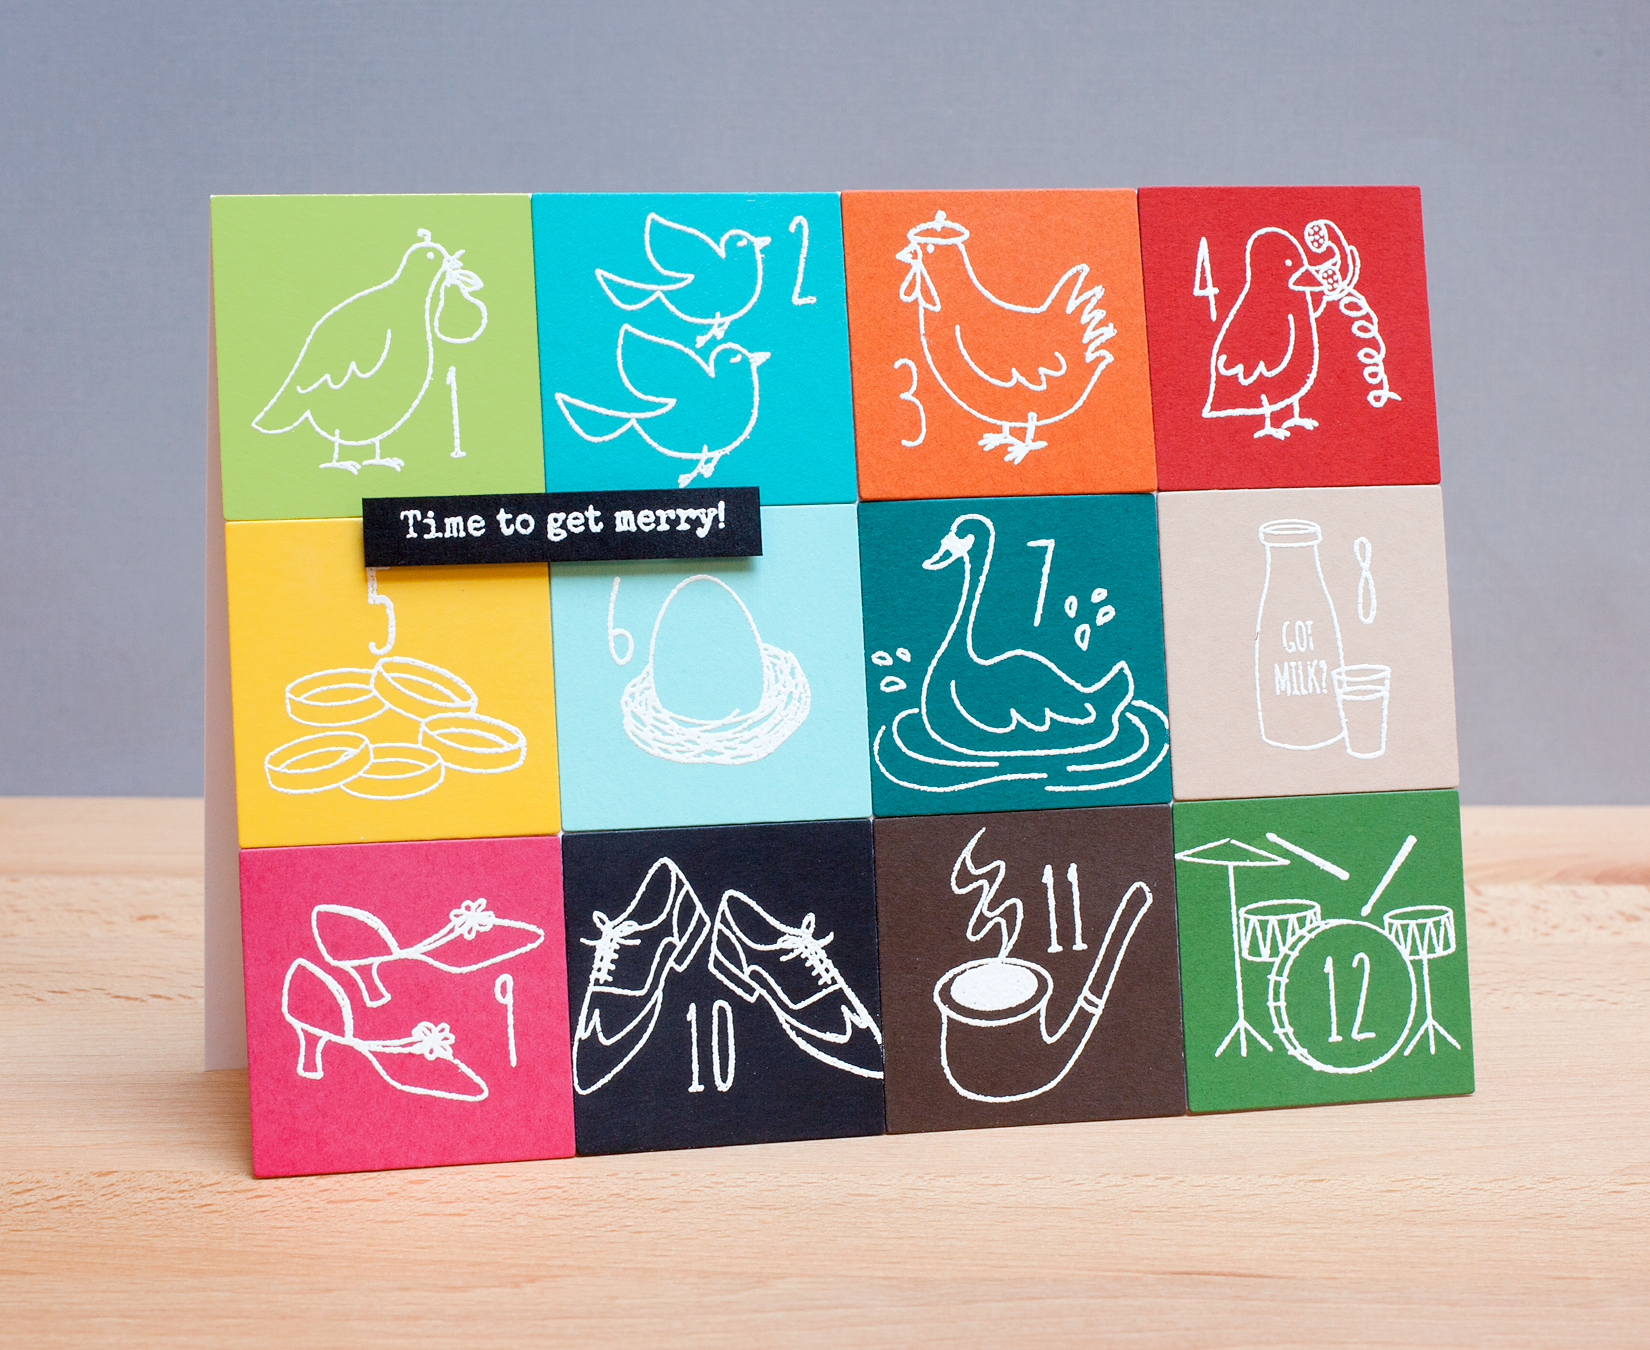
I stamped and heat embossed the twelve images on squares cut with a die from the Lifestyle Crafts nesting set. The sentiment is from ‘Tis the Season.
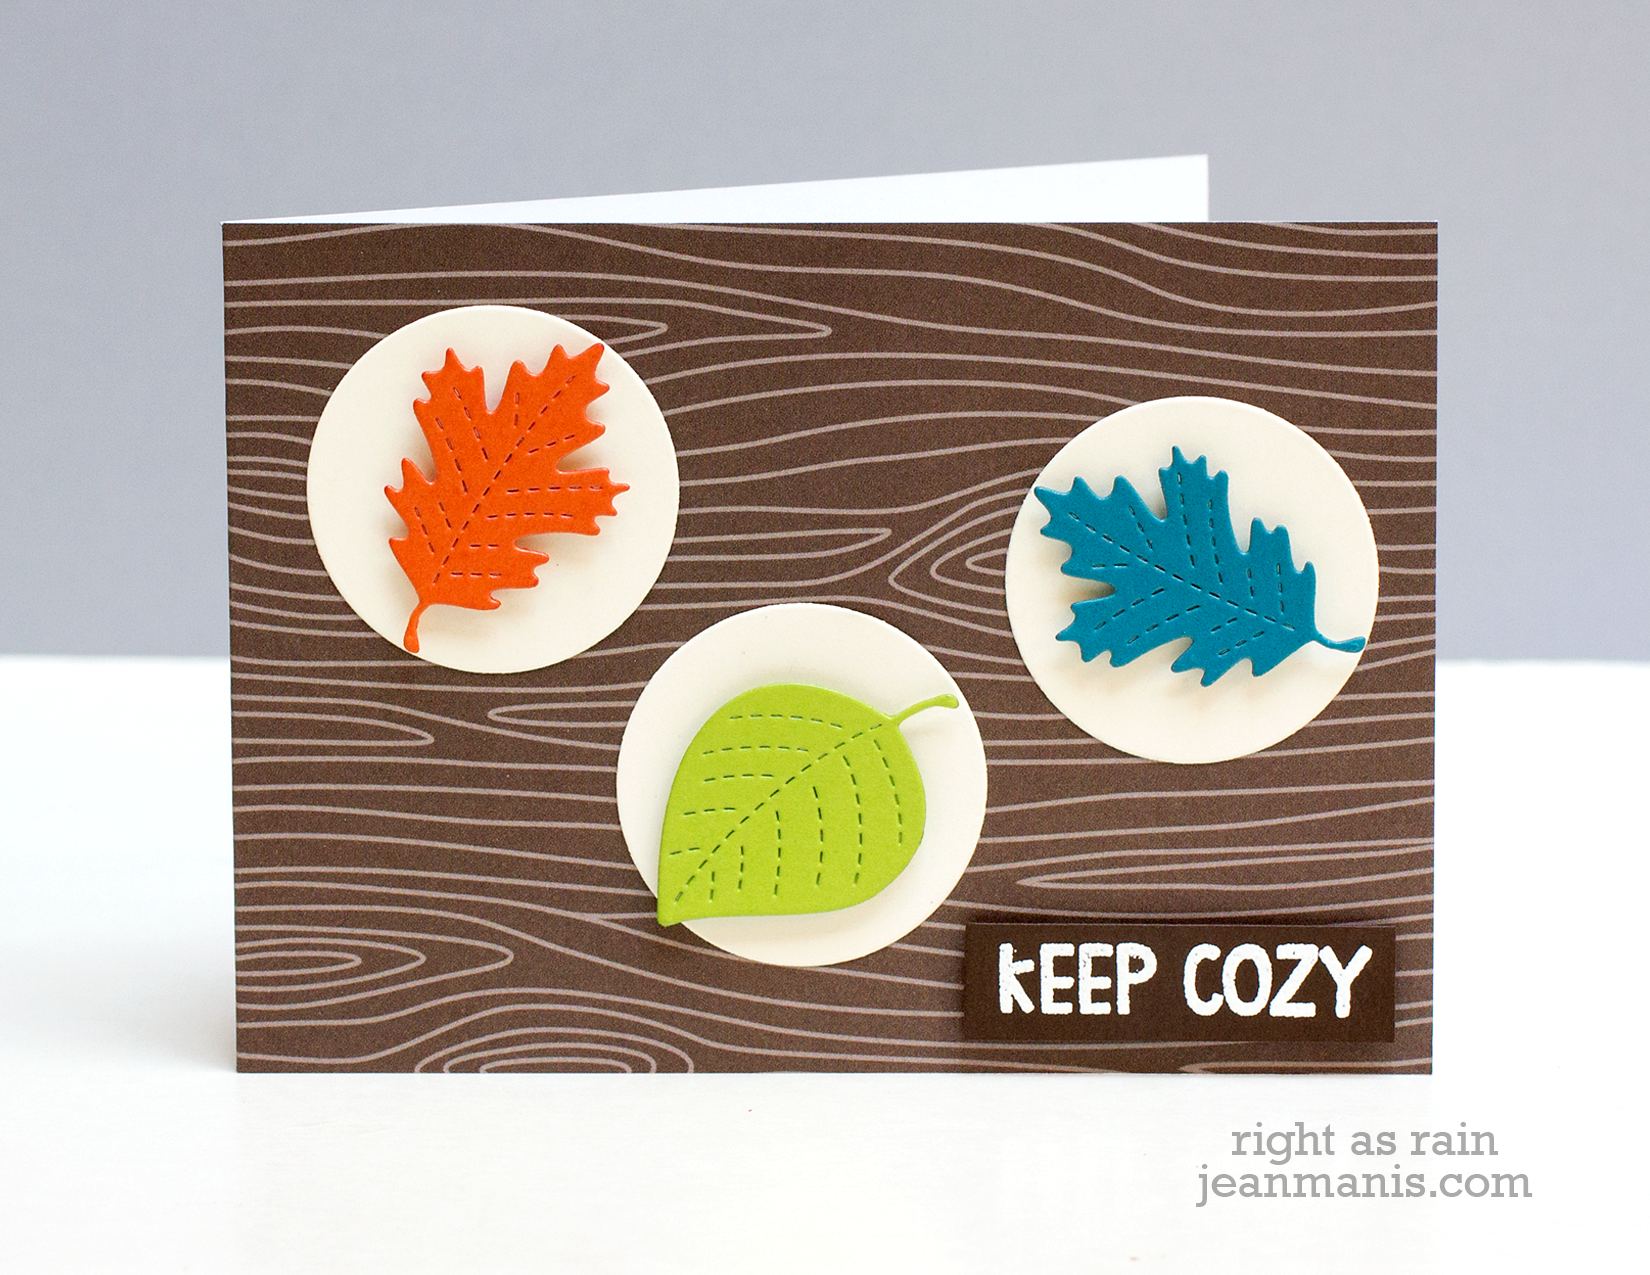
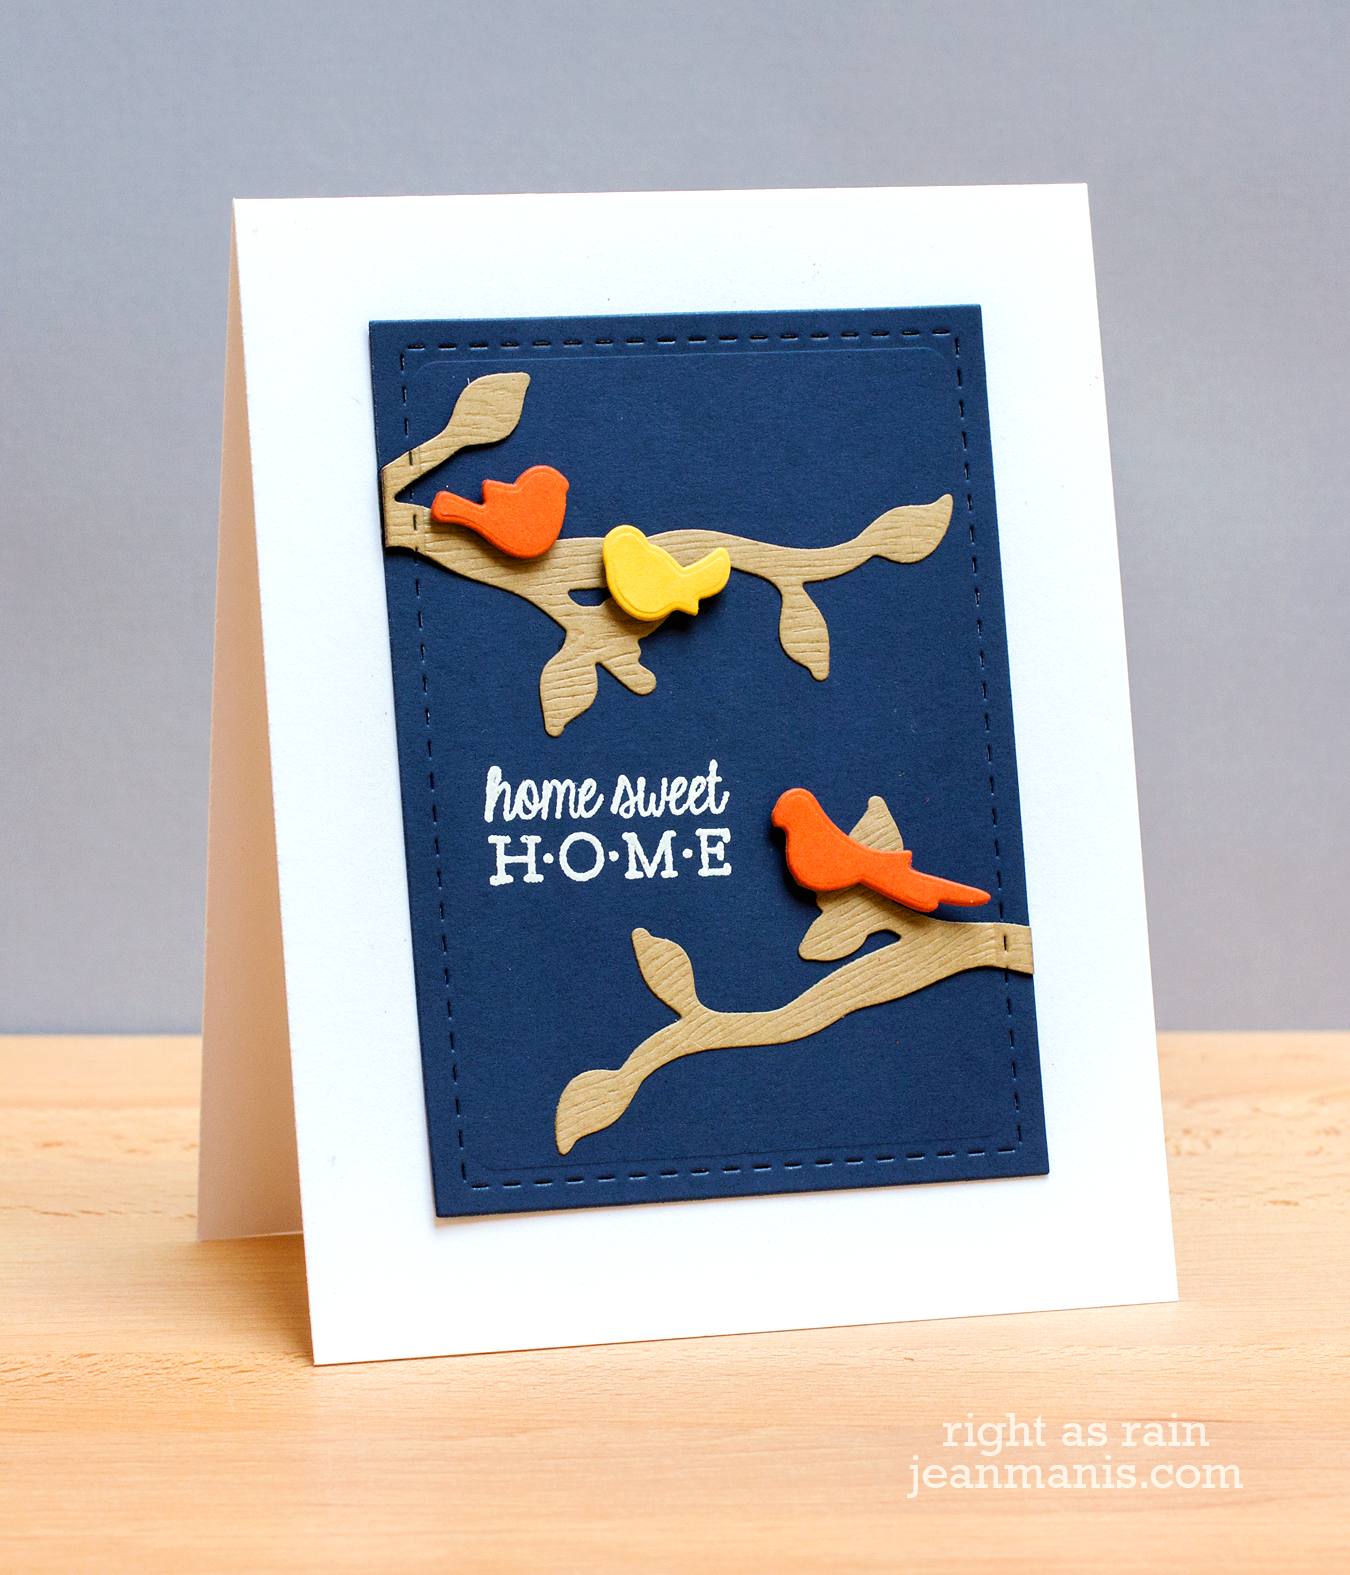
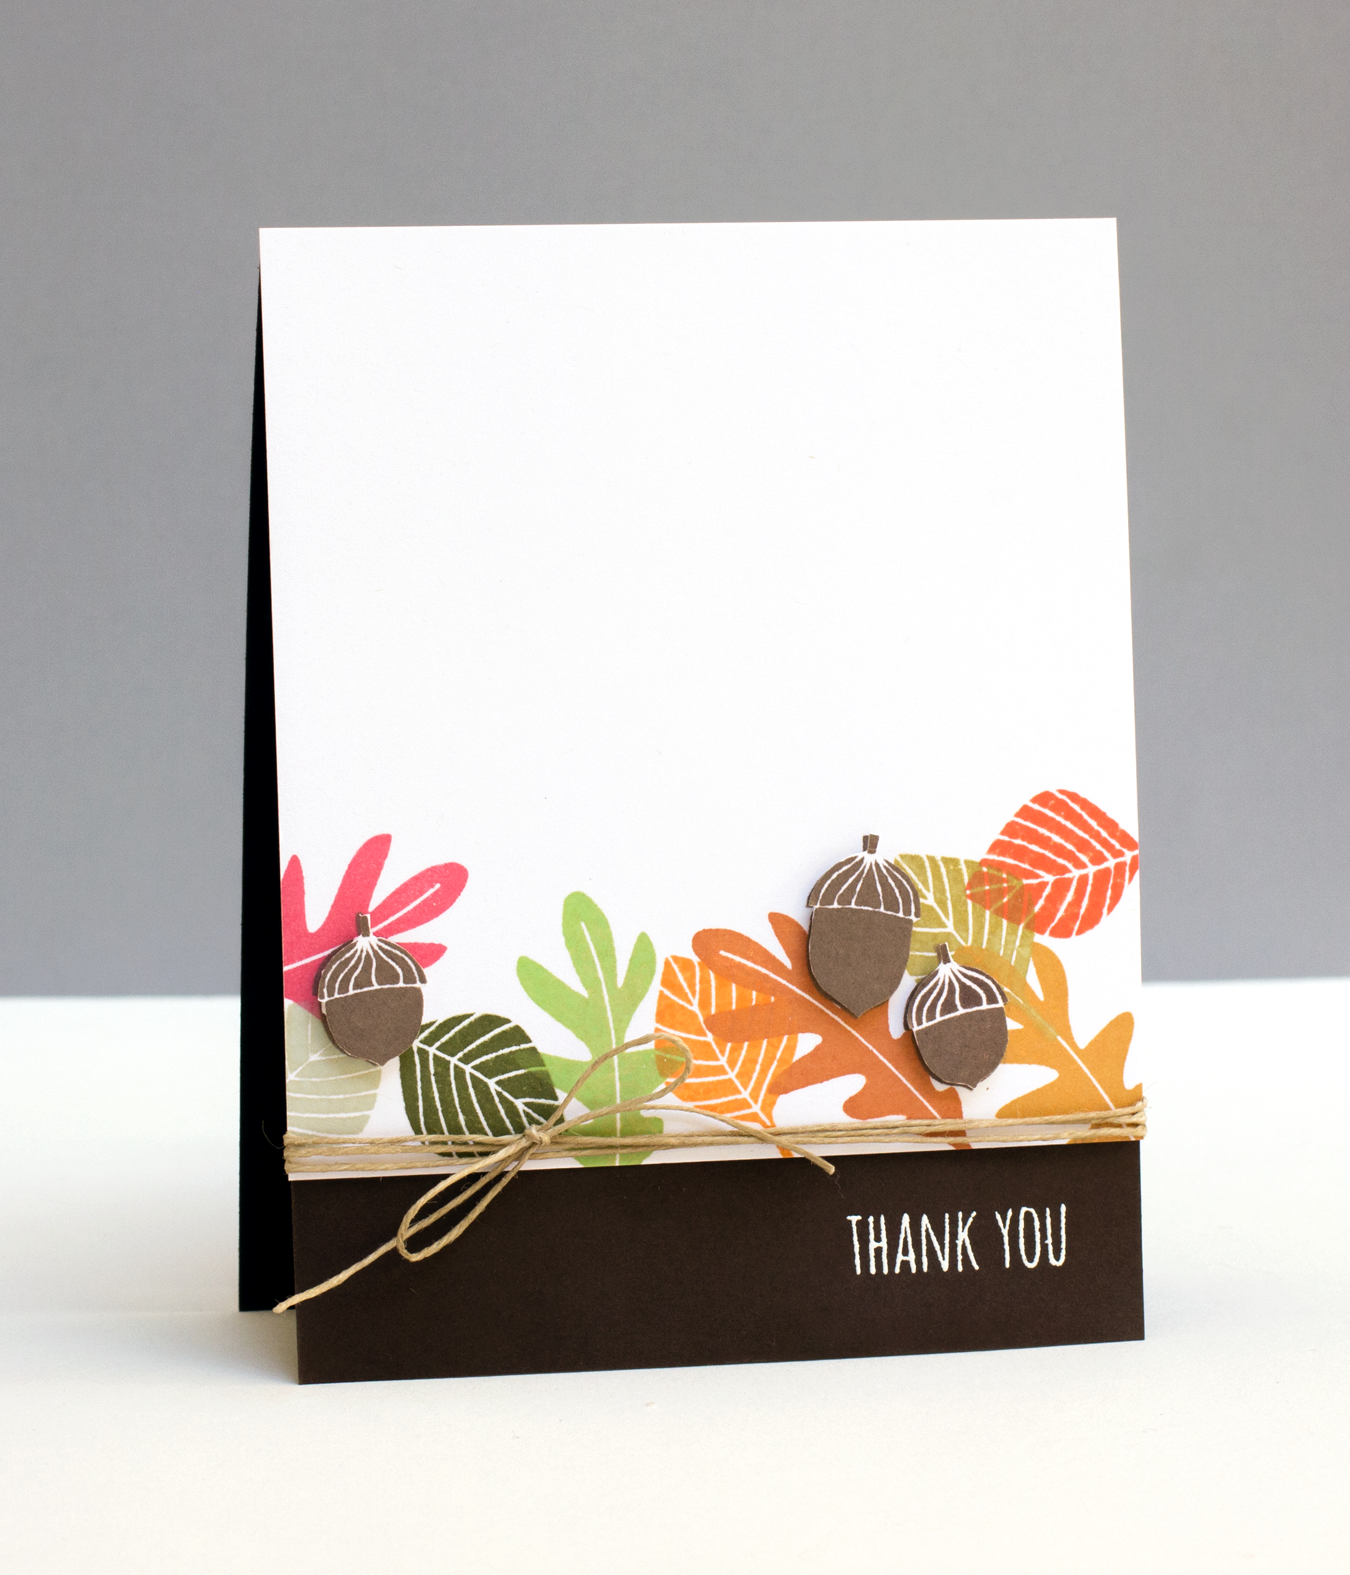
My next card features the Autumn Acorns stamp set. I stamped two of the leaves in the set in a variety of shadow inks, popping up some acorns with dimensional tape.
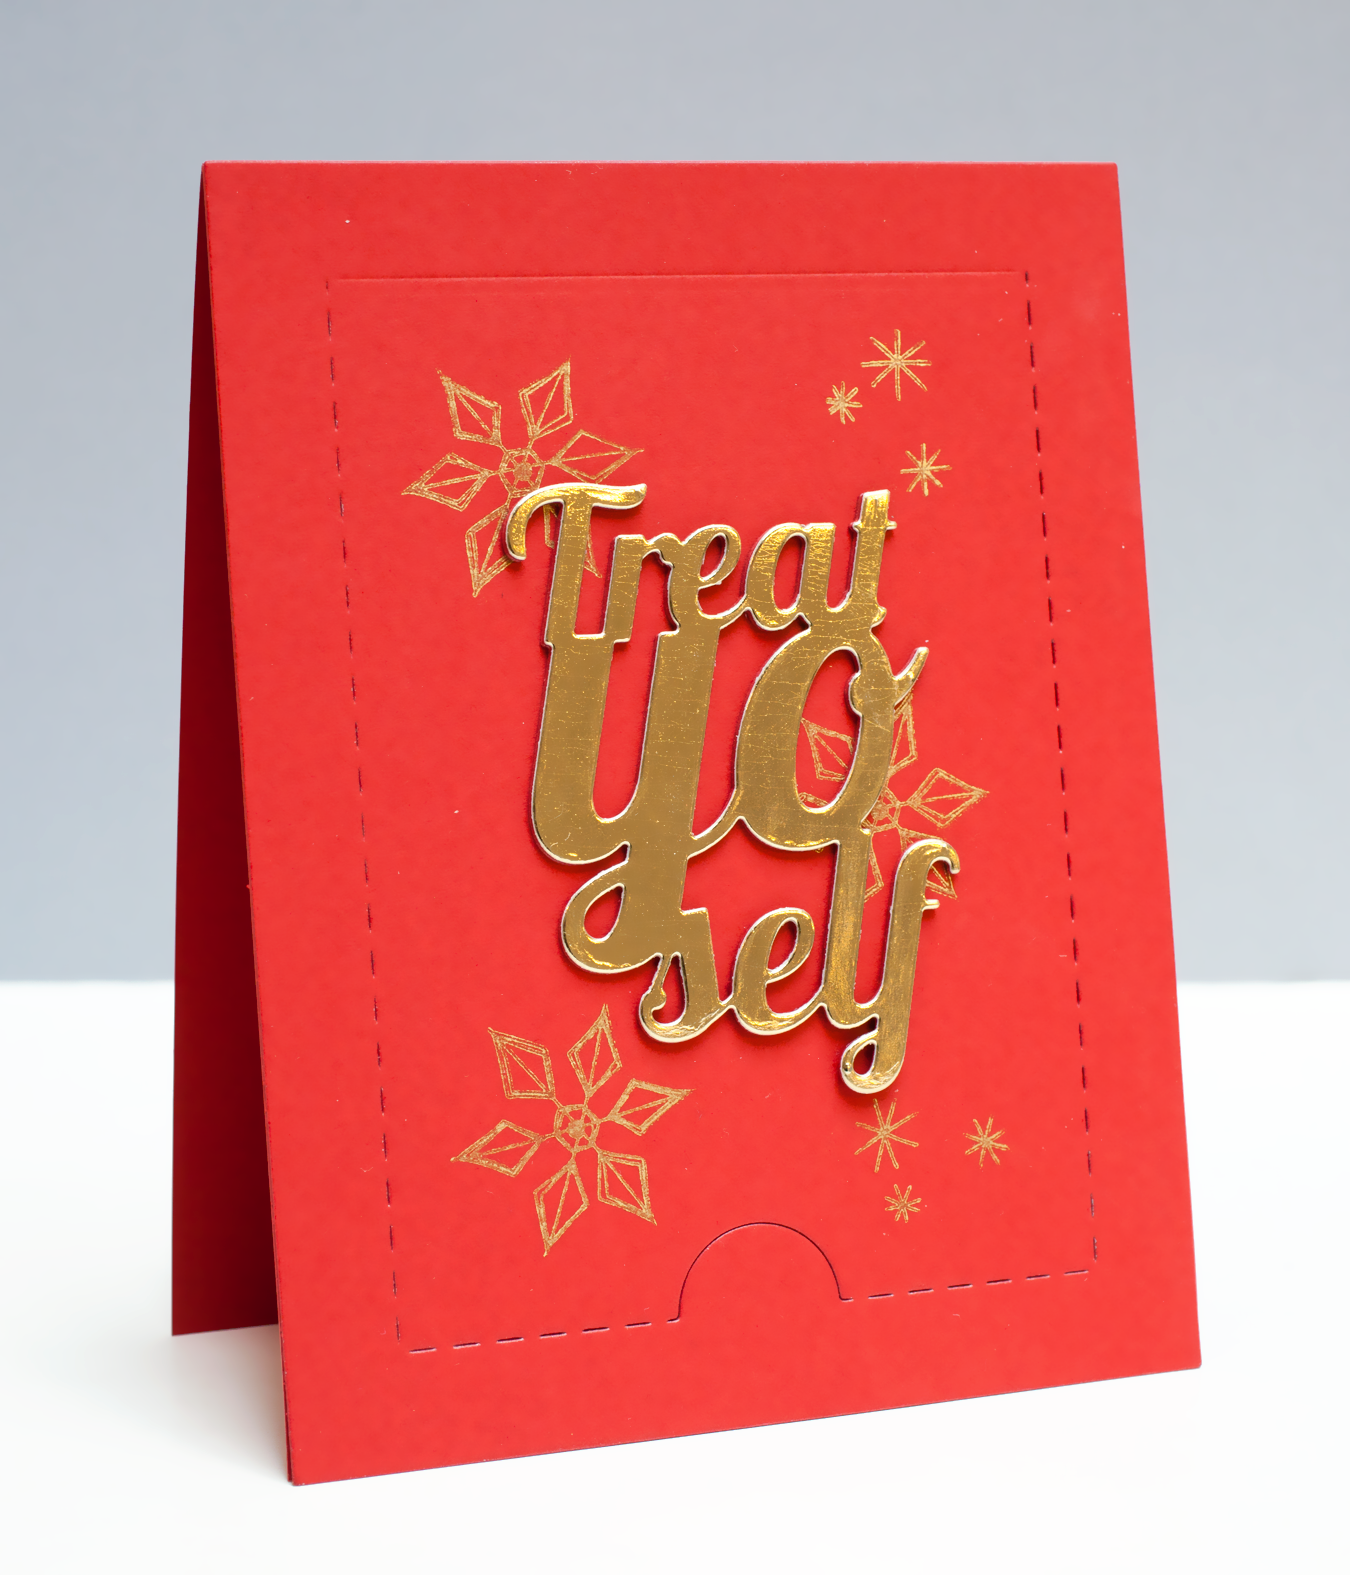
My final card, concealing a gift card, combines the Treat Yo Self die, the Zipper Panel die, and Christmas Scribbles. The snowflakes were stamped in gold ink, the die cut in gold and added to a die cut in the card’s red base color for extra dimension.