Today, I’m sharing a Halloween card featuring die cuts. Yes, it is still August, but I can feel the weather changing! So I’ve been looking at fall crafts and foods (did someone say pumpkin bread?!) on Pinterest and thinking about autumn! I’m eagerly awaiting new product releases featuring fall and winter items, so while I wait, I’m playing with some of my favorites from previous seasons.
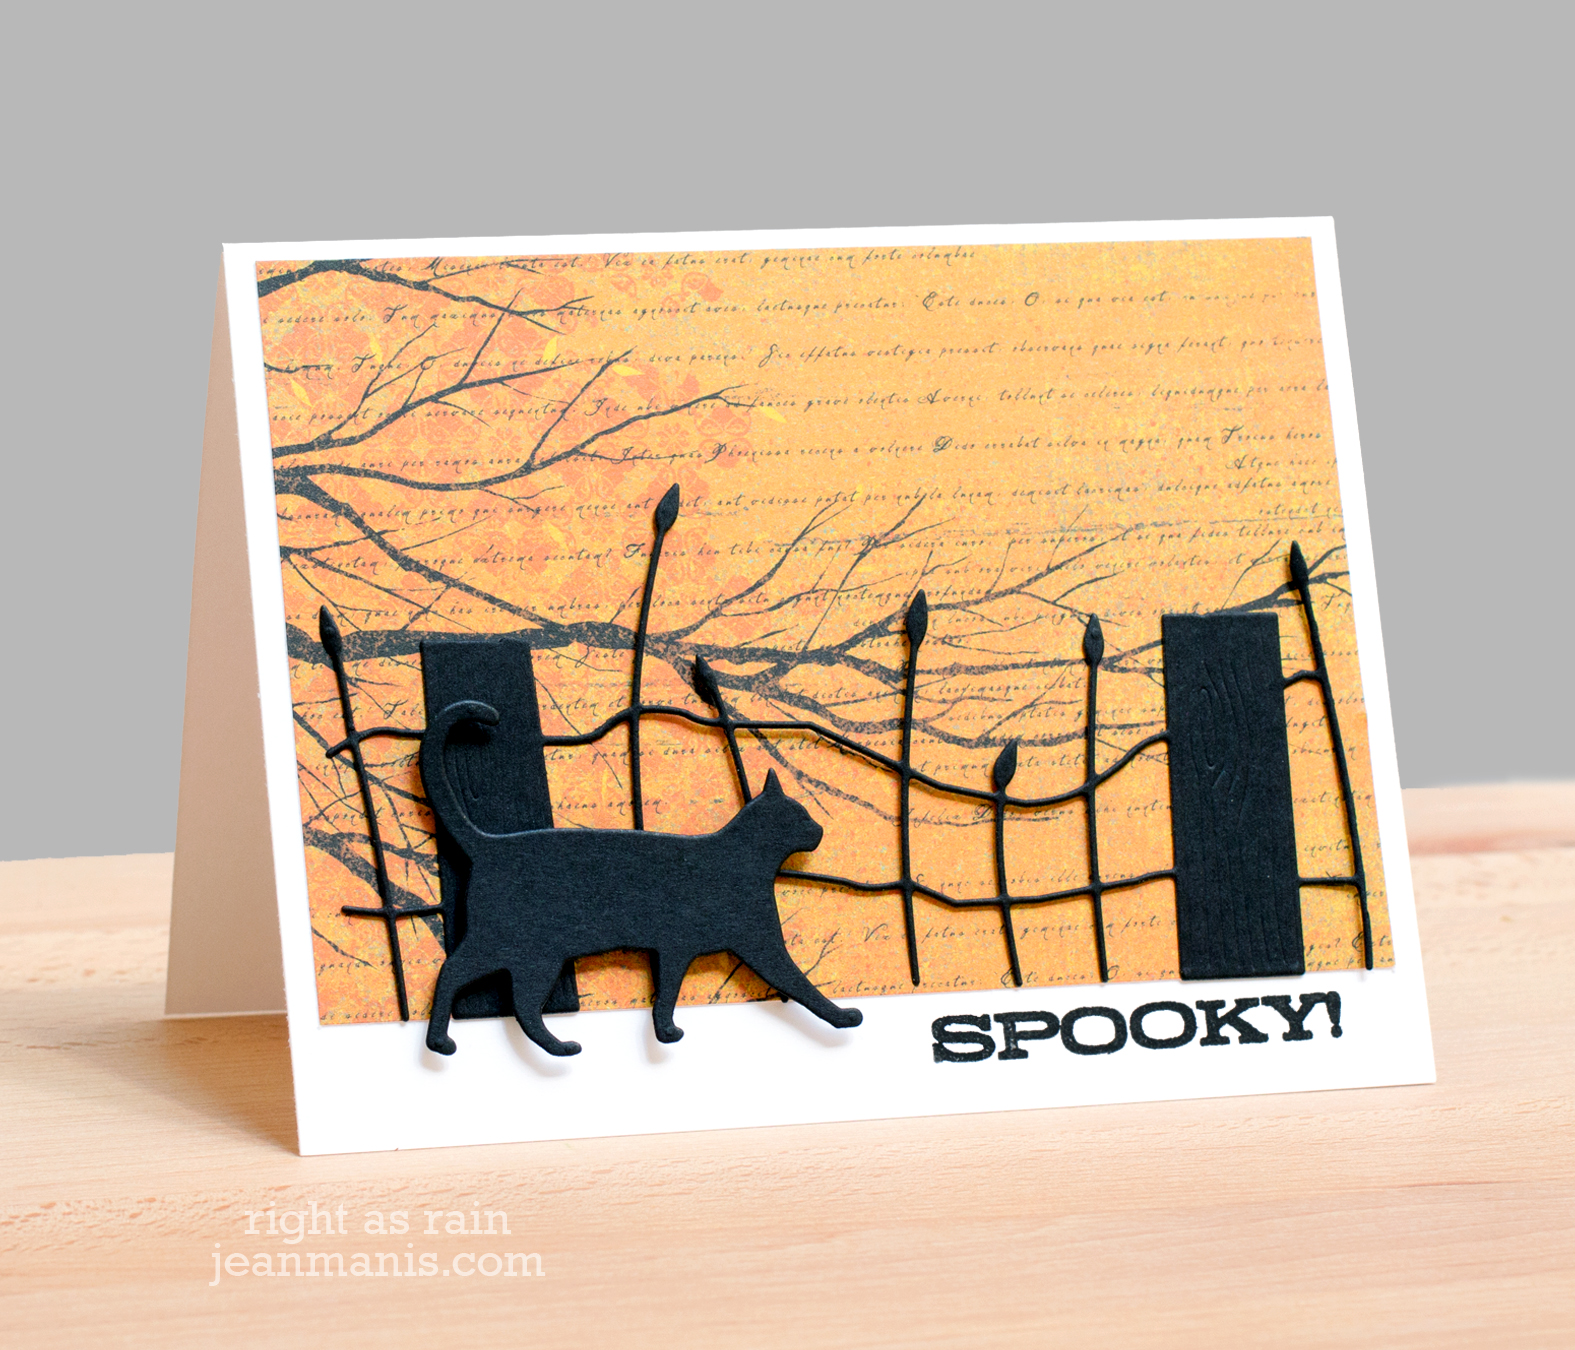
I have several Memory Box patterned paper pads (now discontinued) with fall patterns. The Memory Box weather fence die cut was attached directly to the patterned paper panel, and the cat was adhered with dimensional adhesive. The sentiment is from one of my favorite Hero Arts Halloween sets released last year.
Supplies: Poppystamps Large Walking Cat; Memory Box Weathered Fence; Hero Arts Ghostly Greetings
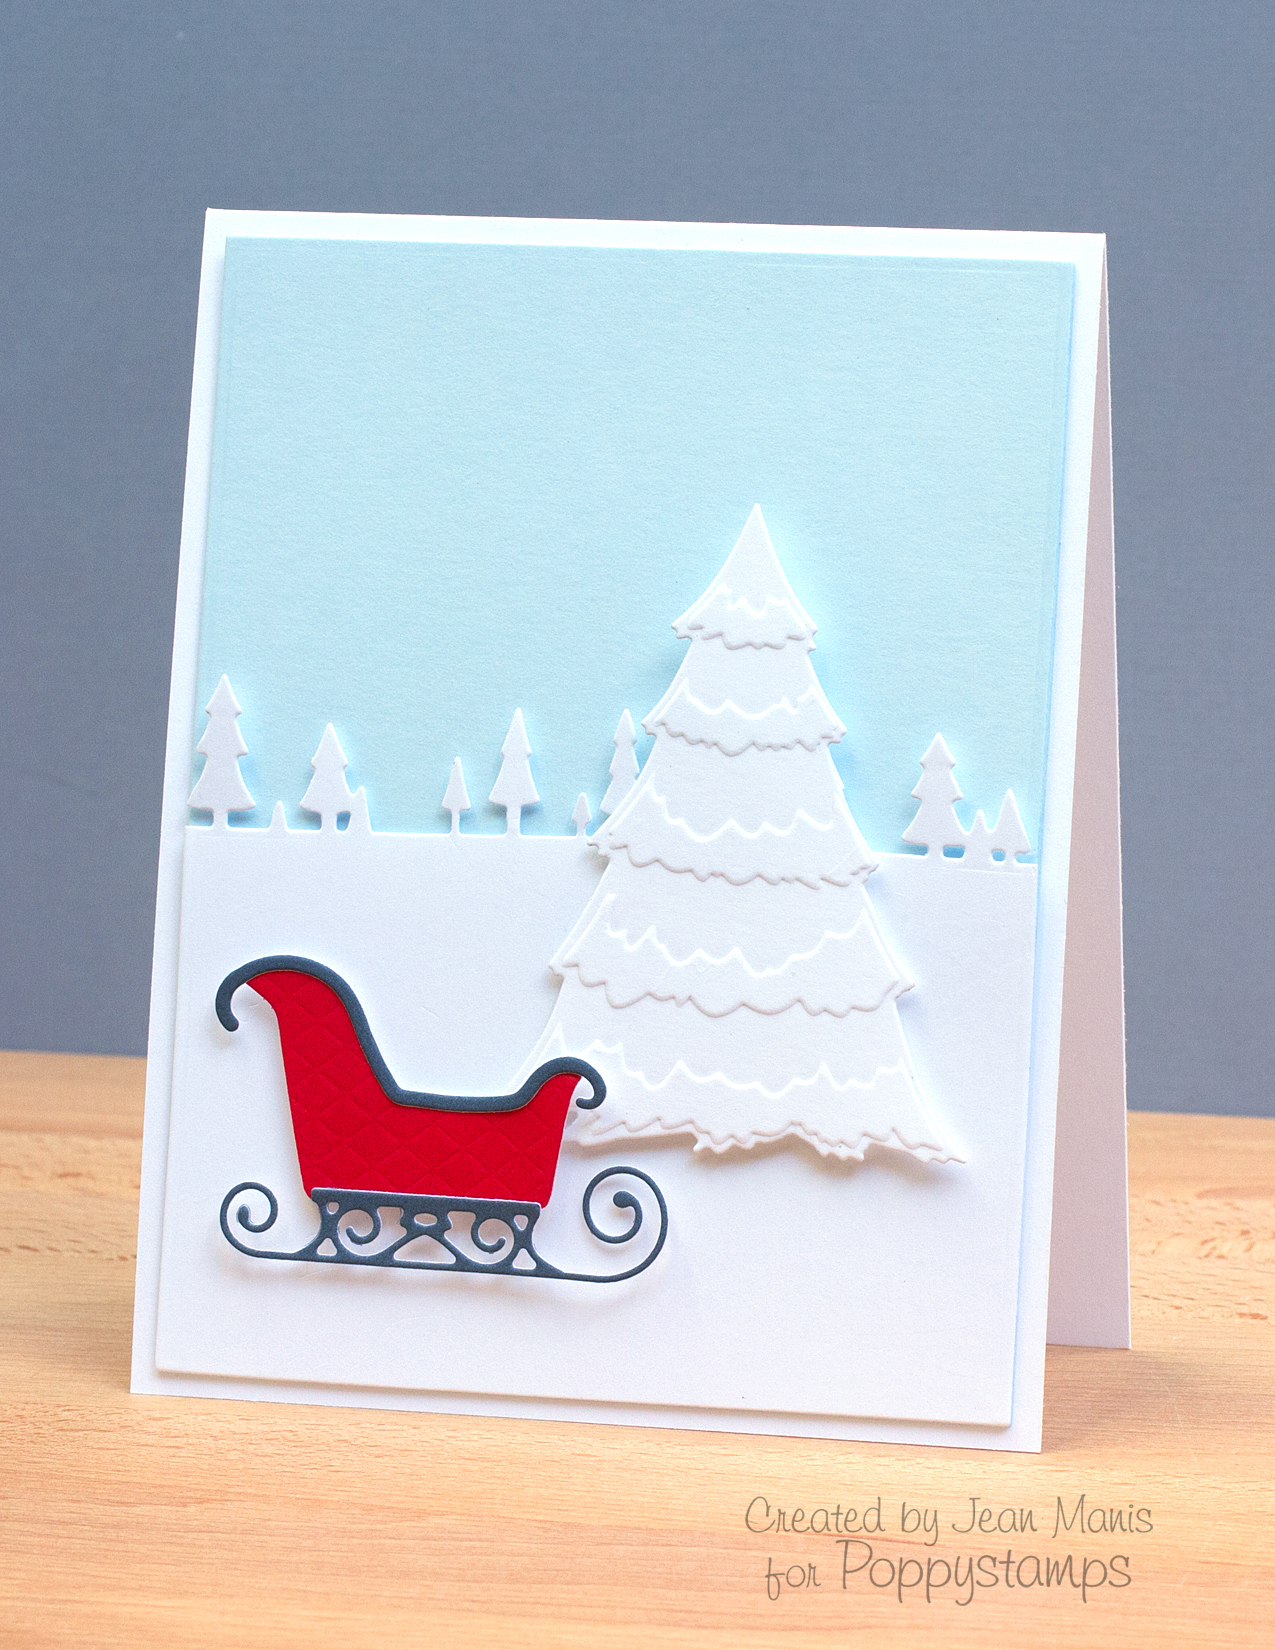 To create the winter scene, I paired the Snow Flocked Tree with a snowy backdrop, which was cut using the Pine Tree Border. For some color, I added Santa’s Magic Sleigh in the foreground.