I’ve been playing with Taylored Expressions stamps and dies this month, and today, I’m sharing a card created with the Hangin’ Out – At the Beach stamp set. It’s hot here in the Pacific Northwest, unusually so for the region, and the beach sounds like the perfect place to be at the moment!
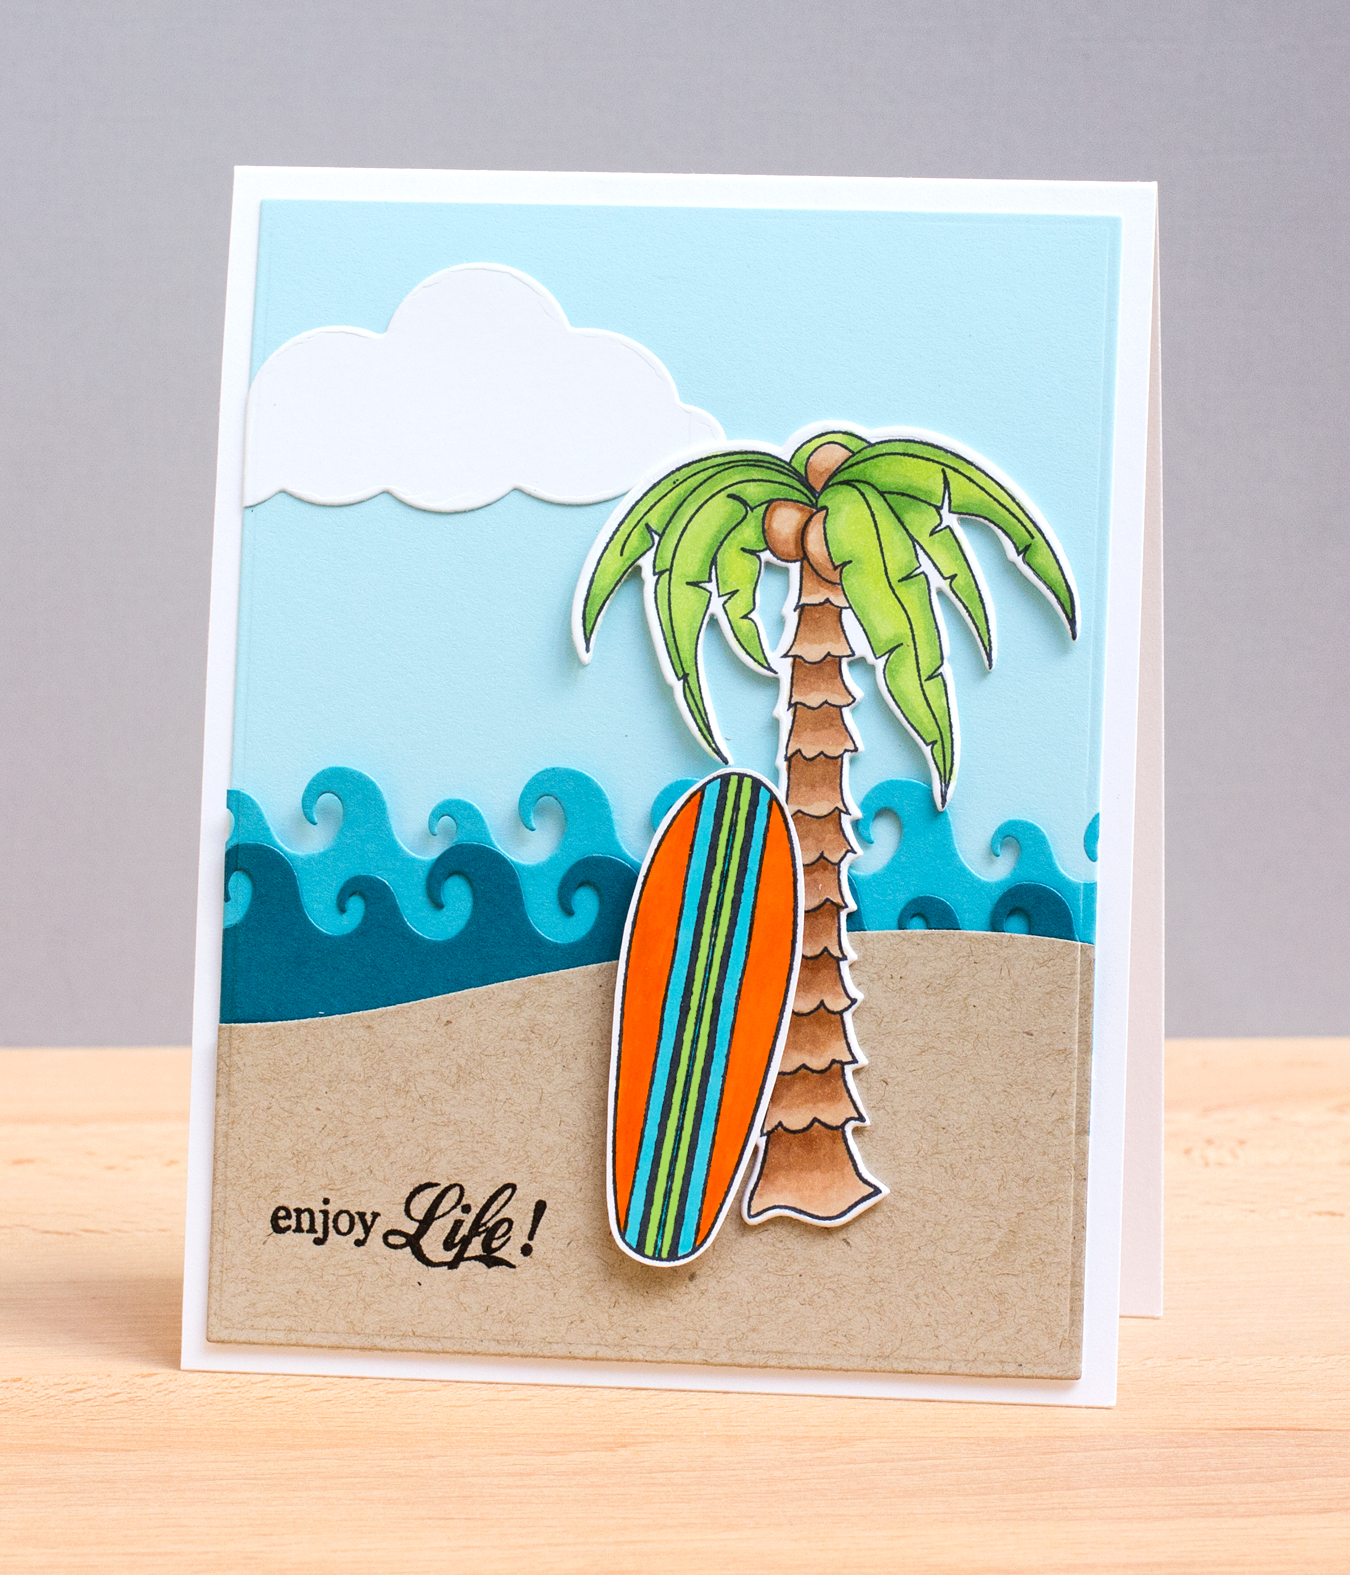 I colored the palm tree and the surfboard with Copics; I stamped both on Gina K layering weight cardstock. I used the coordinating die to cut the palm tree; I fussy cut the surfboard. I used the Mama Elephant die set to cut the sandy hill, placed in front of two lines of waves cut with the Taylored Expressions Wave Border.
Hope you’re staying cool wherever you are today!
Supplies: Taylored Expressions Hangin’ Out – At the Beach stamp set, Wave Border die, Palm Tree die; Stampin’ Up cardstock (waves); Mama Elephant Landscape Trio; MFT Blueprints 1; Memory Box Marshmallow Clouds