The Giveaway is now closed. Thanks to all for the sweet comments!
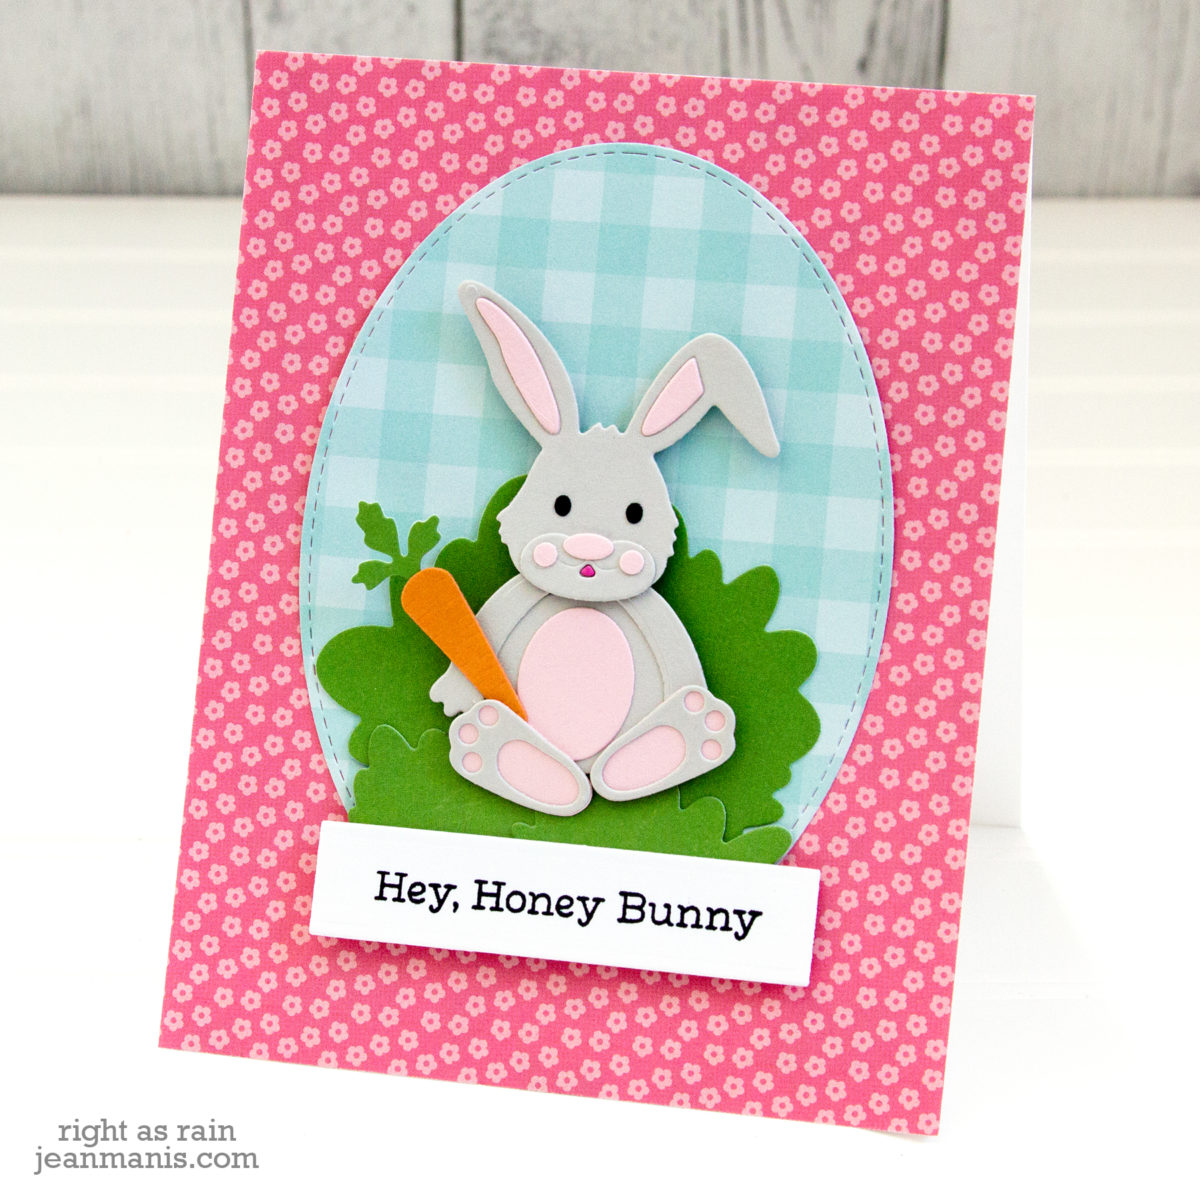
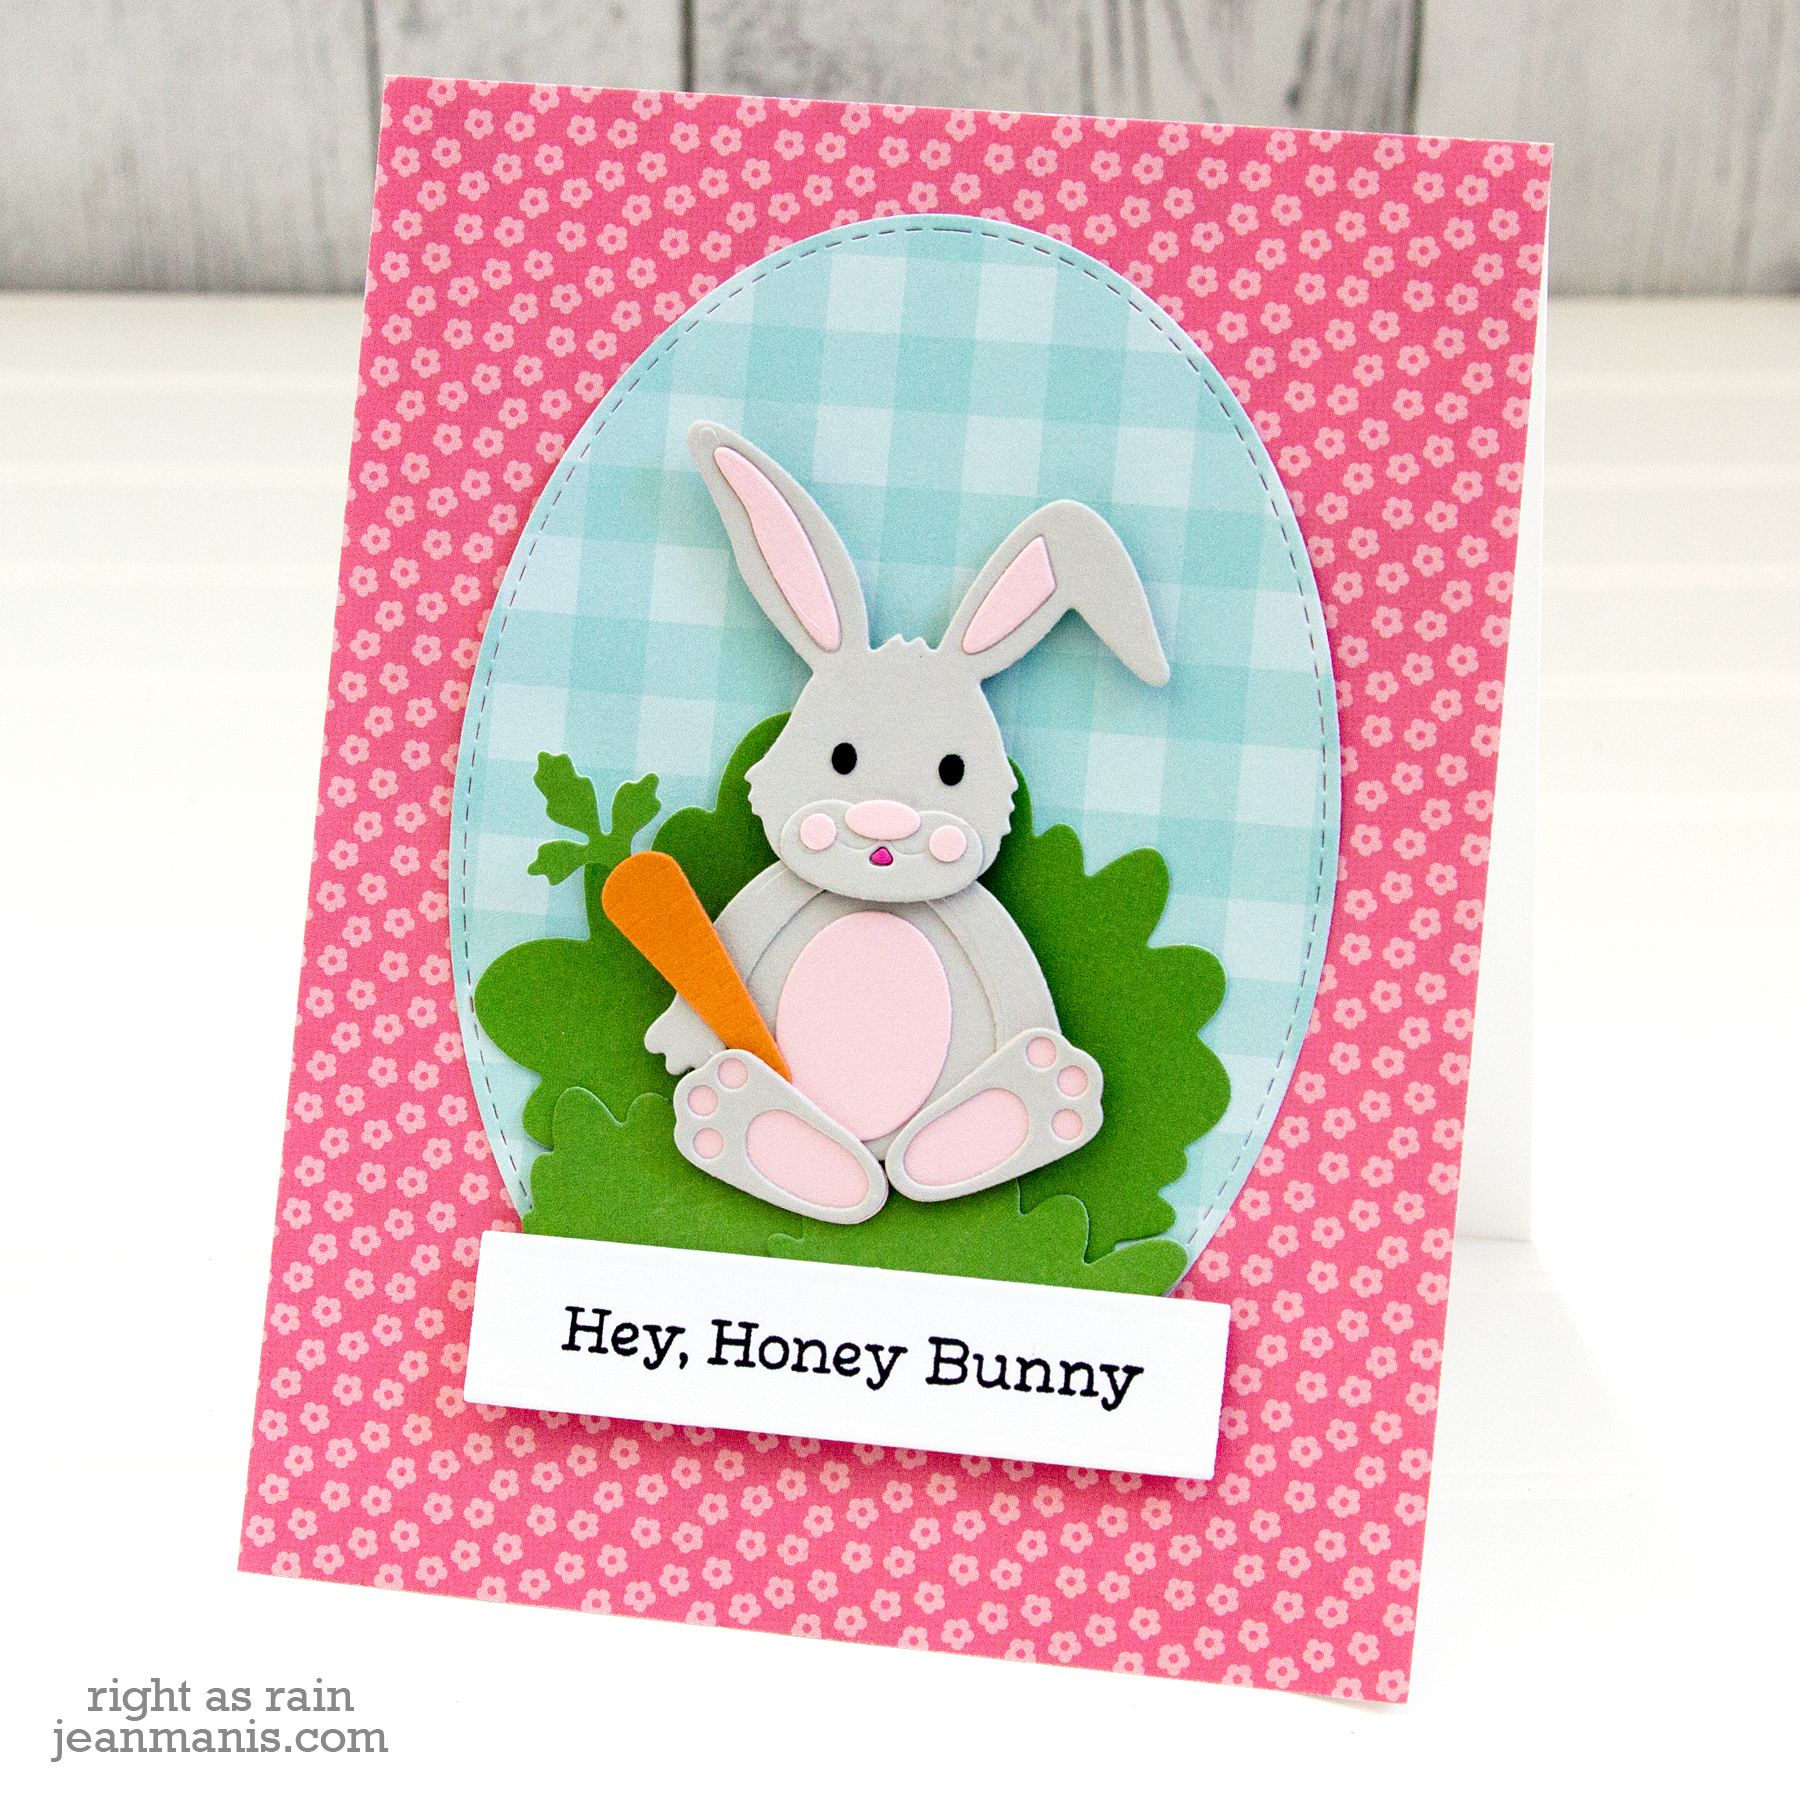
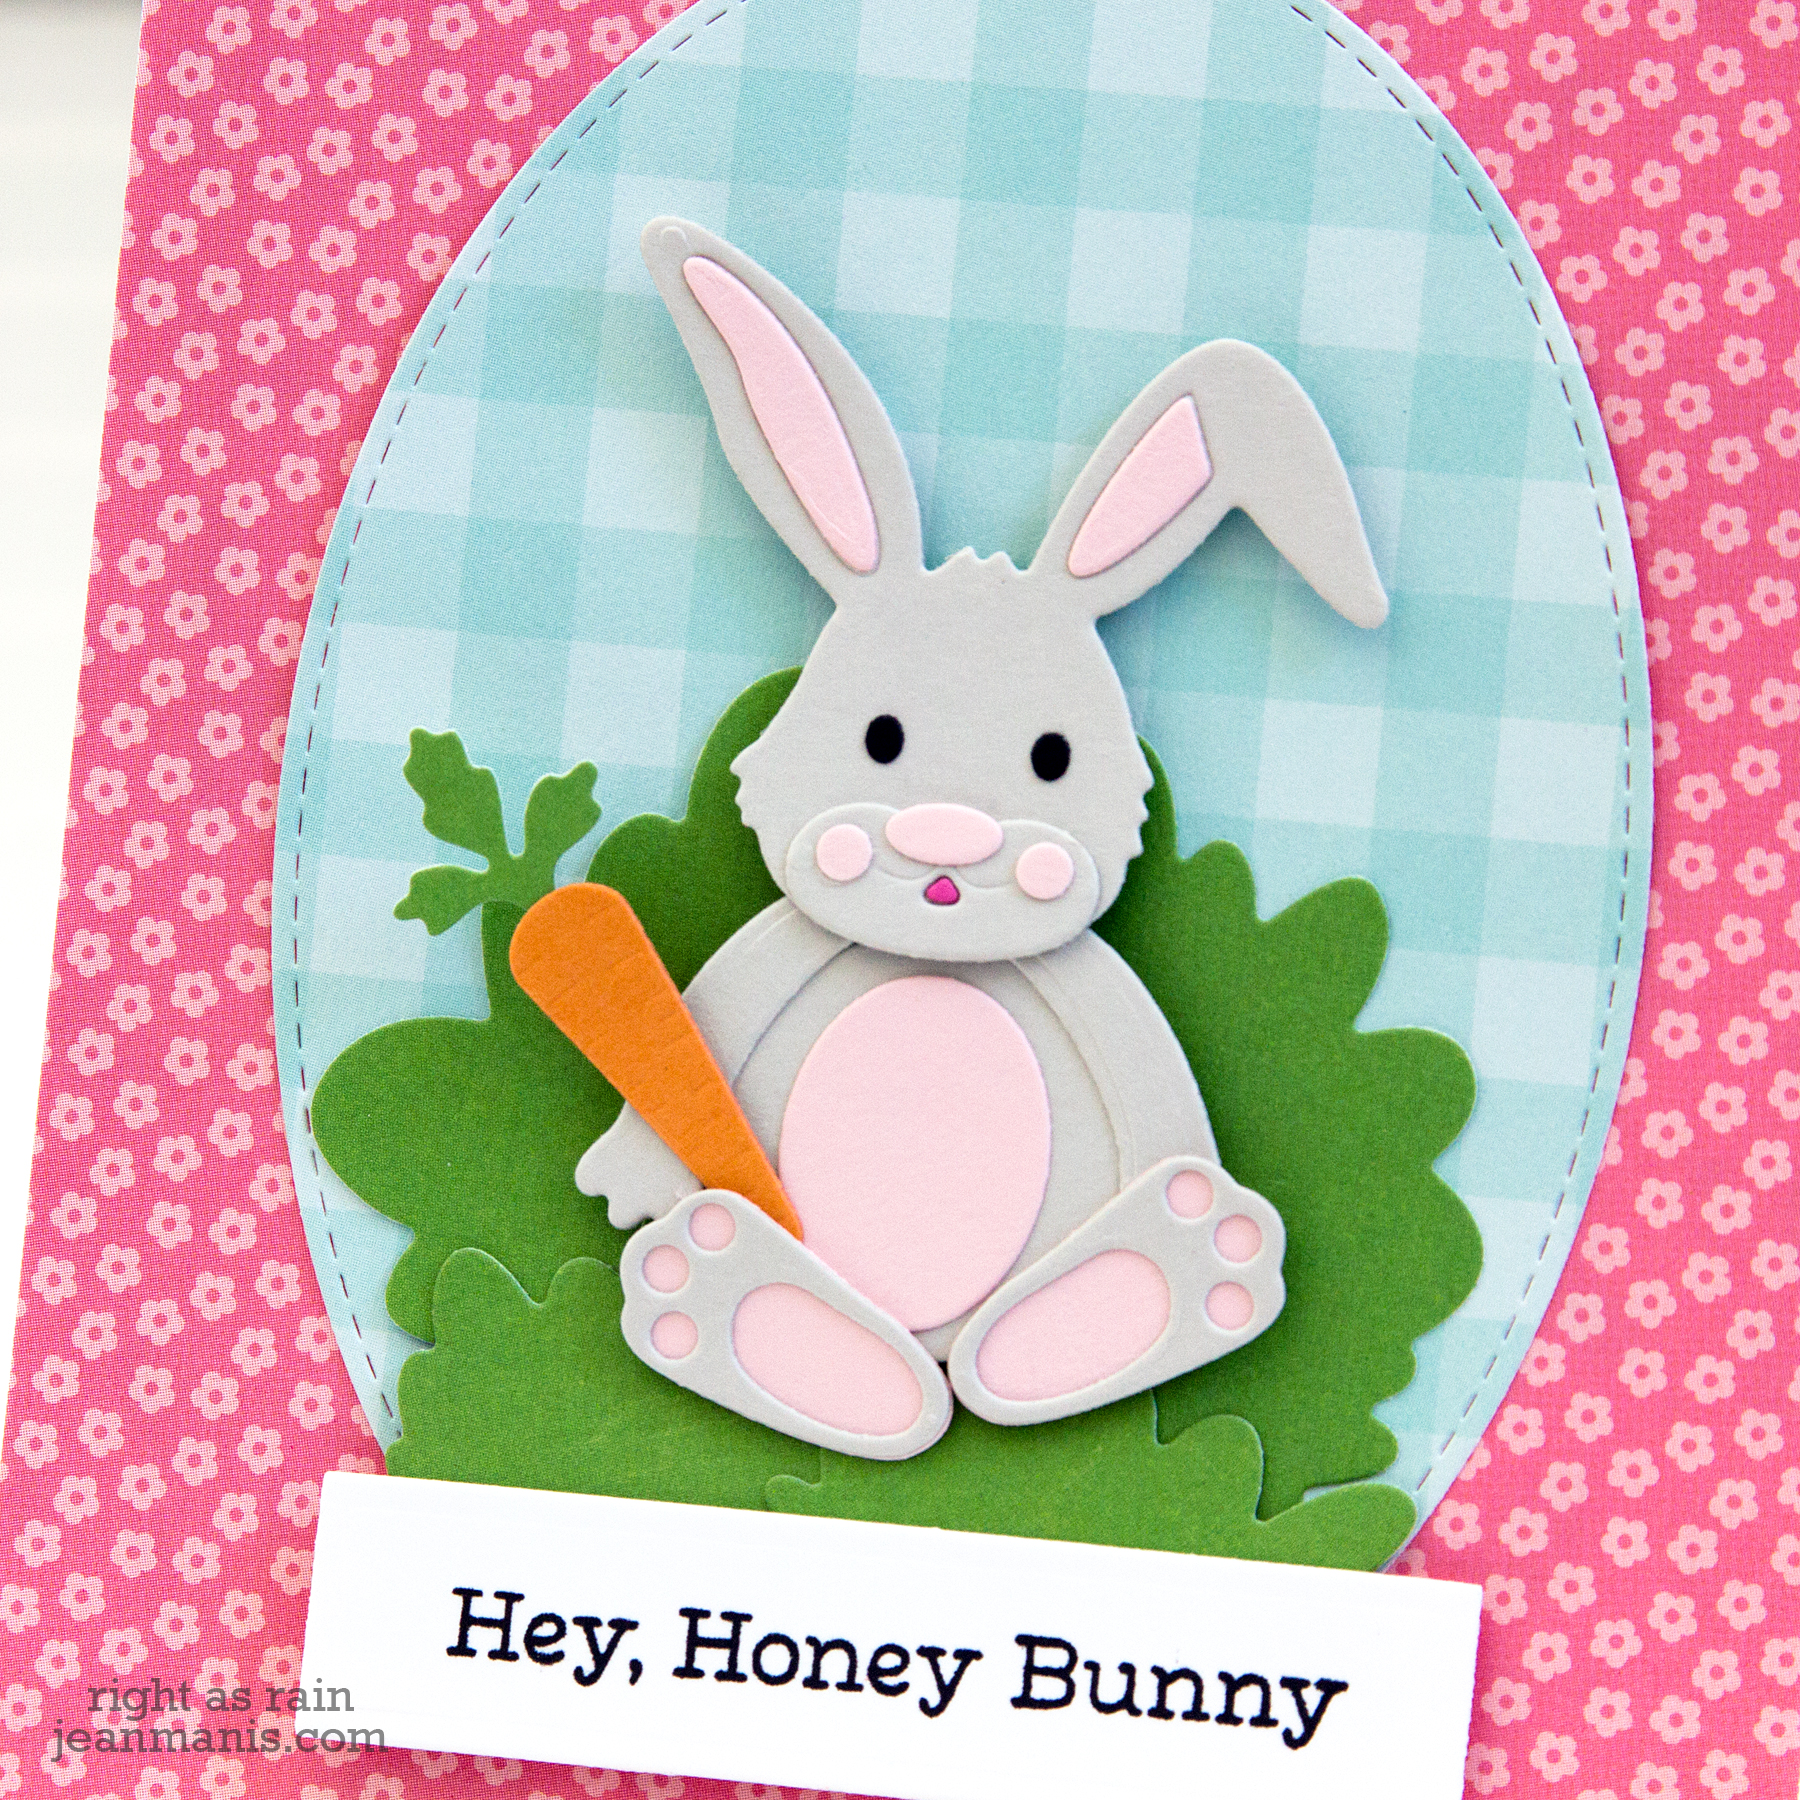
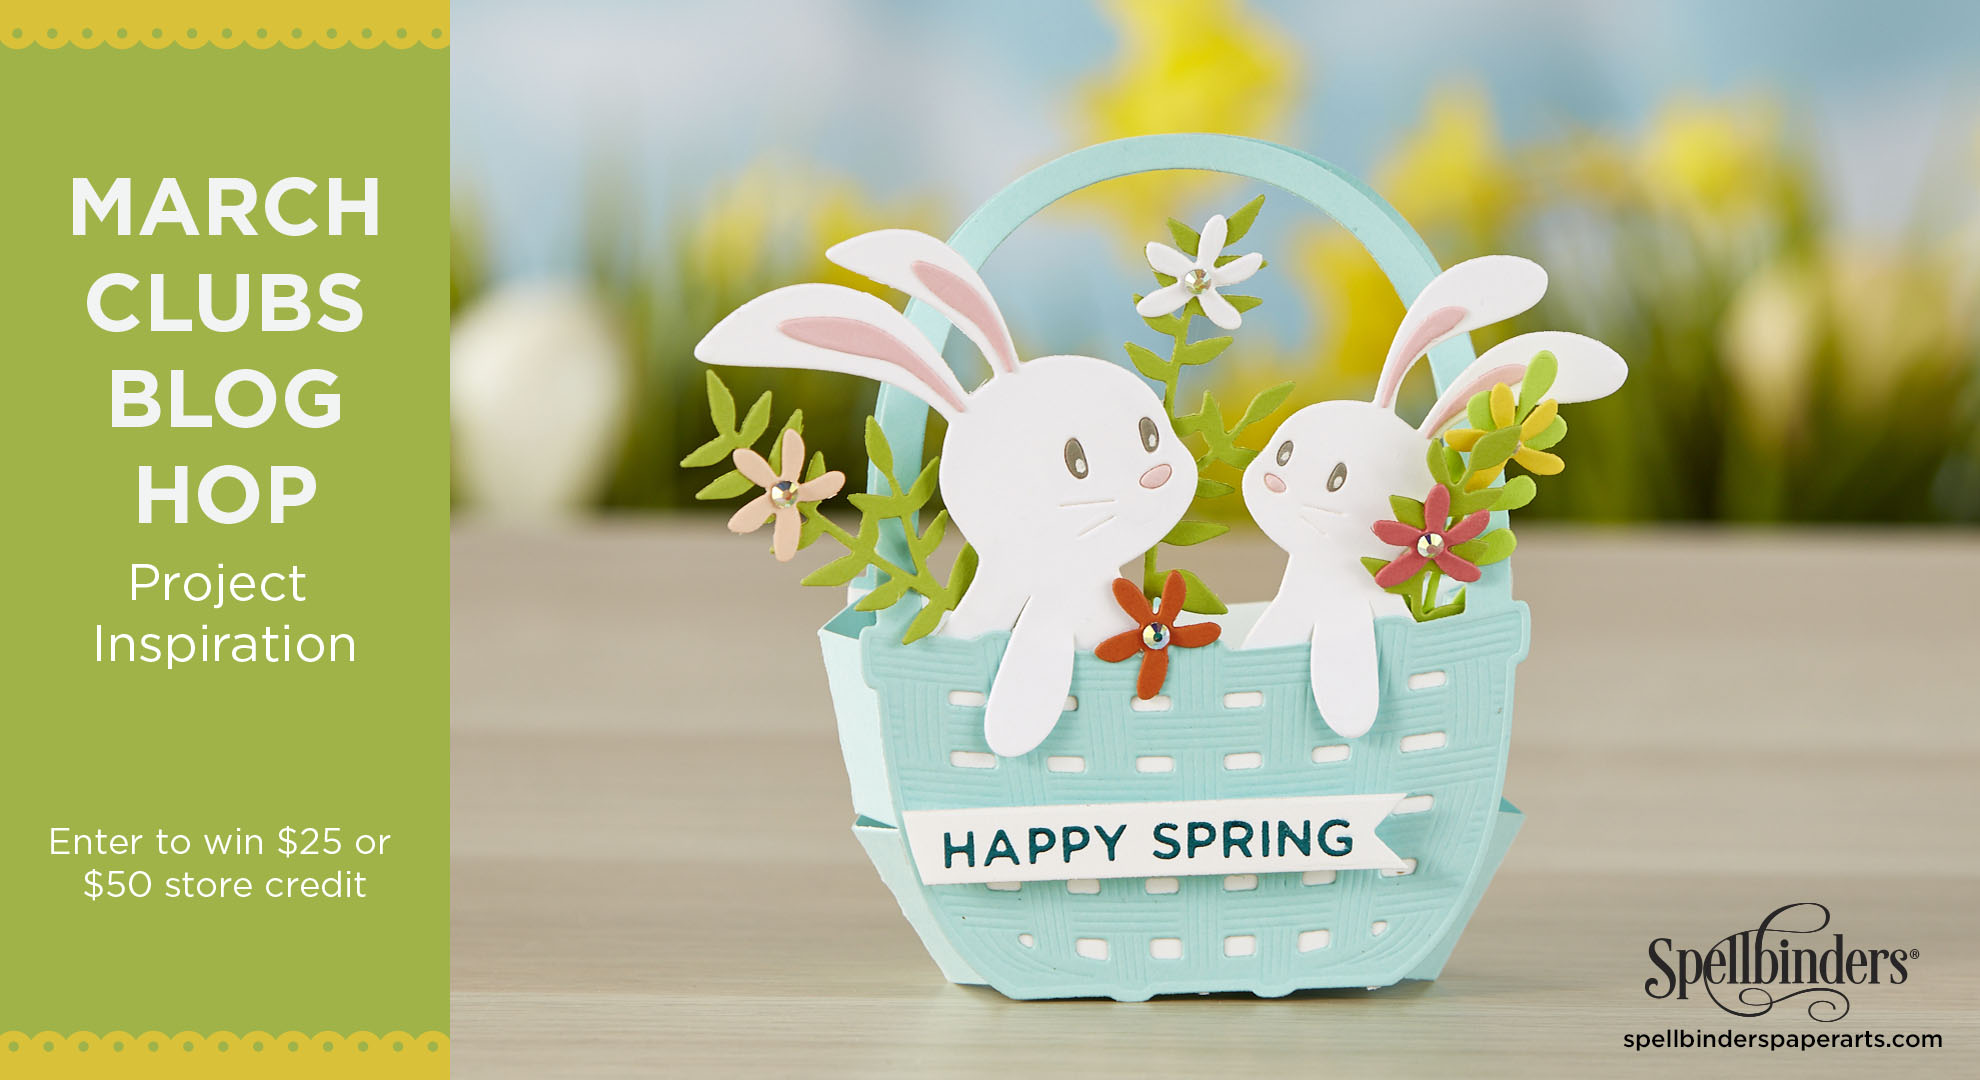 Hello! Today I am delighted to be participating in a blog hop along with a number of other crafters sharing projects created with Spellbinders March 2020 Club Subscriptions. I am sharing a spring- / Easter-themed gift-card project created with the March Small Die of the Month kit – “24 Carrot.” You should have reached me from the blog of Bibi Cameron.
To celebrate this release Spellbinders is giving away a $50 gift certificate to 5 lucky blog readers – selected from the comments on the Spellbinders Blog. Hop along for additional chances to win. Giveaway closes on Sunday, March 22, 11:59 pm EDT. The winner will be announced on the Spellbinders Blog post the following Tuesday. The winner is responsible for shipping cost, duties, and taxes.
Additionally, I will be drawing a winner to receive a $25 gift certificate from the comments on my blog. Deadline is Friday, March 20 at 11:59pm EDT. The winner is responsible for shipping cost, duties, and taxes.
Please note, store credit (gift certificates) cannot be applied to Club Subscriptions. Store credit can be applied to shop past Club products, Club extras and regular releases.
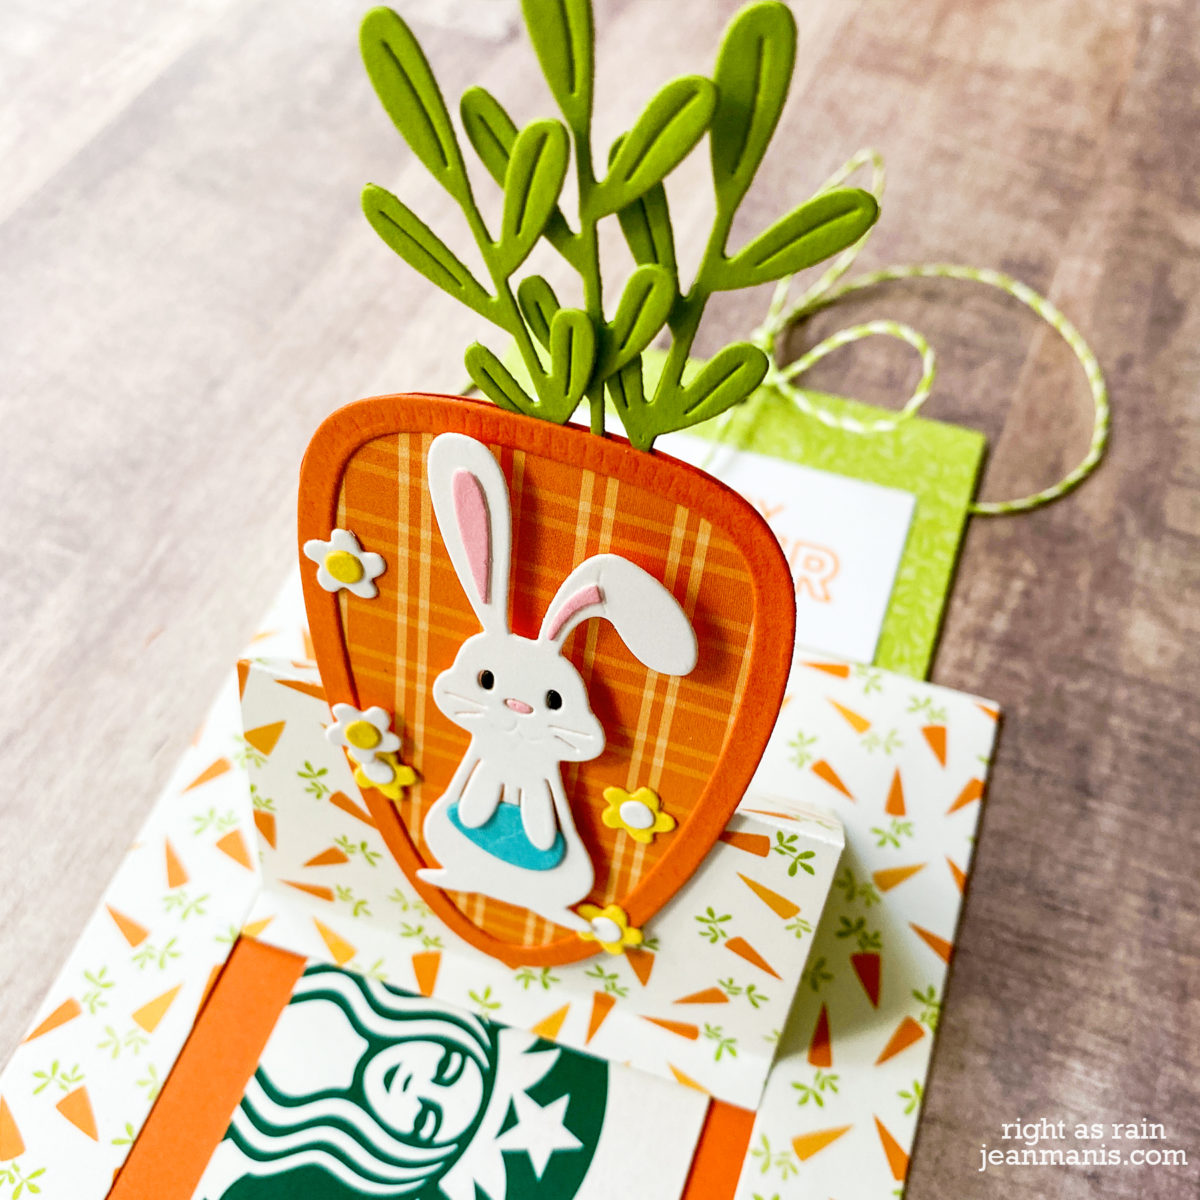
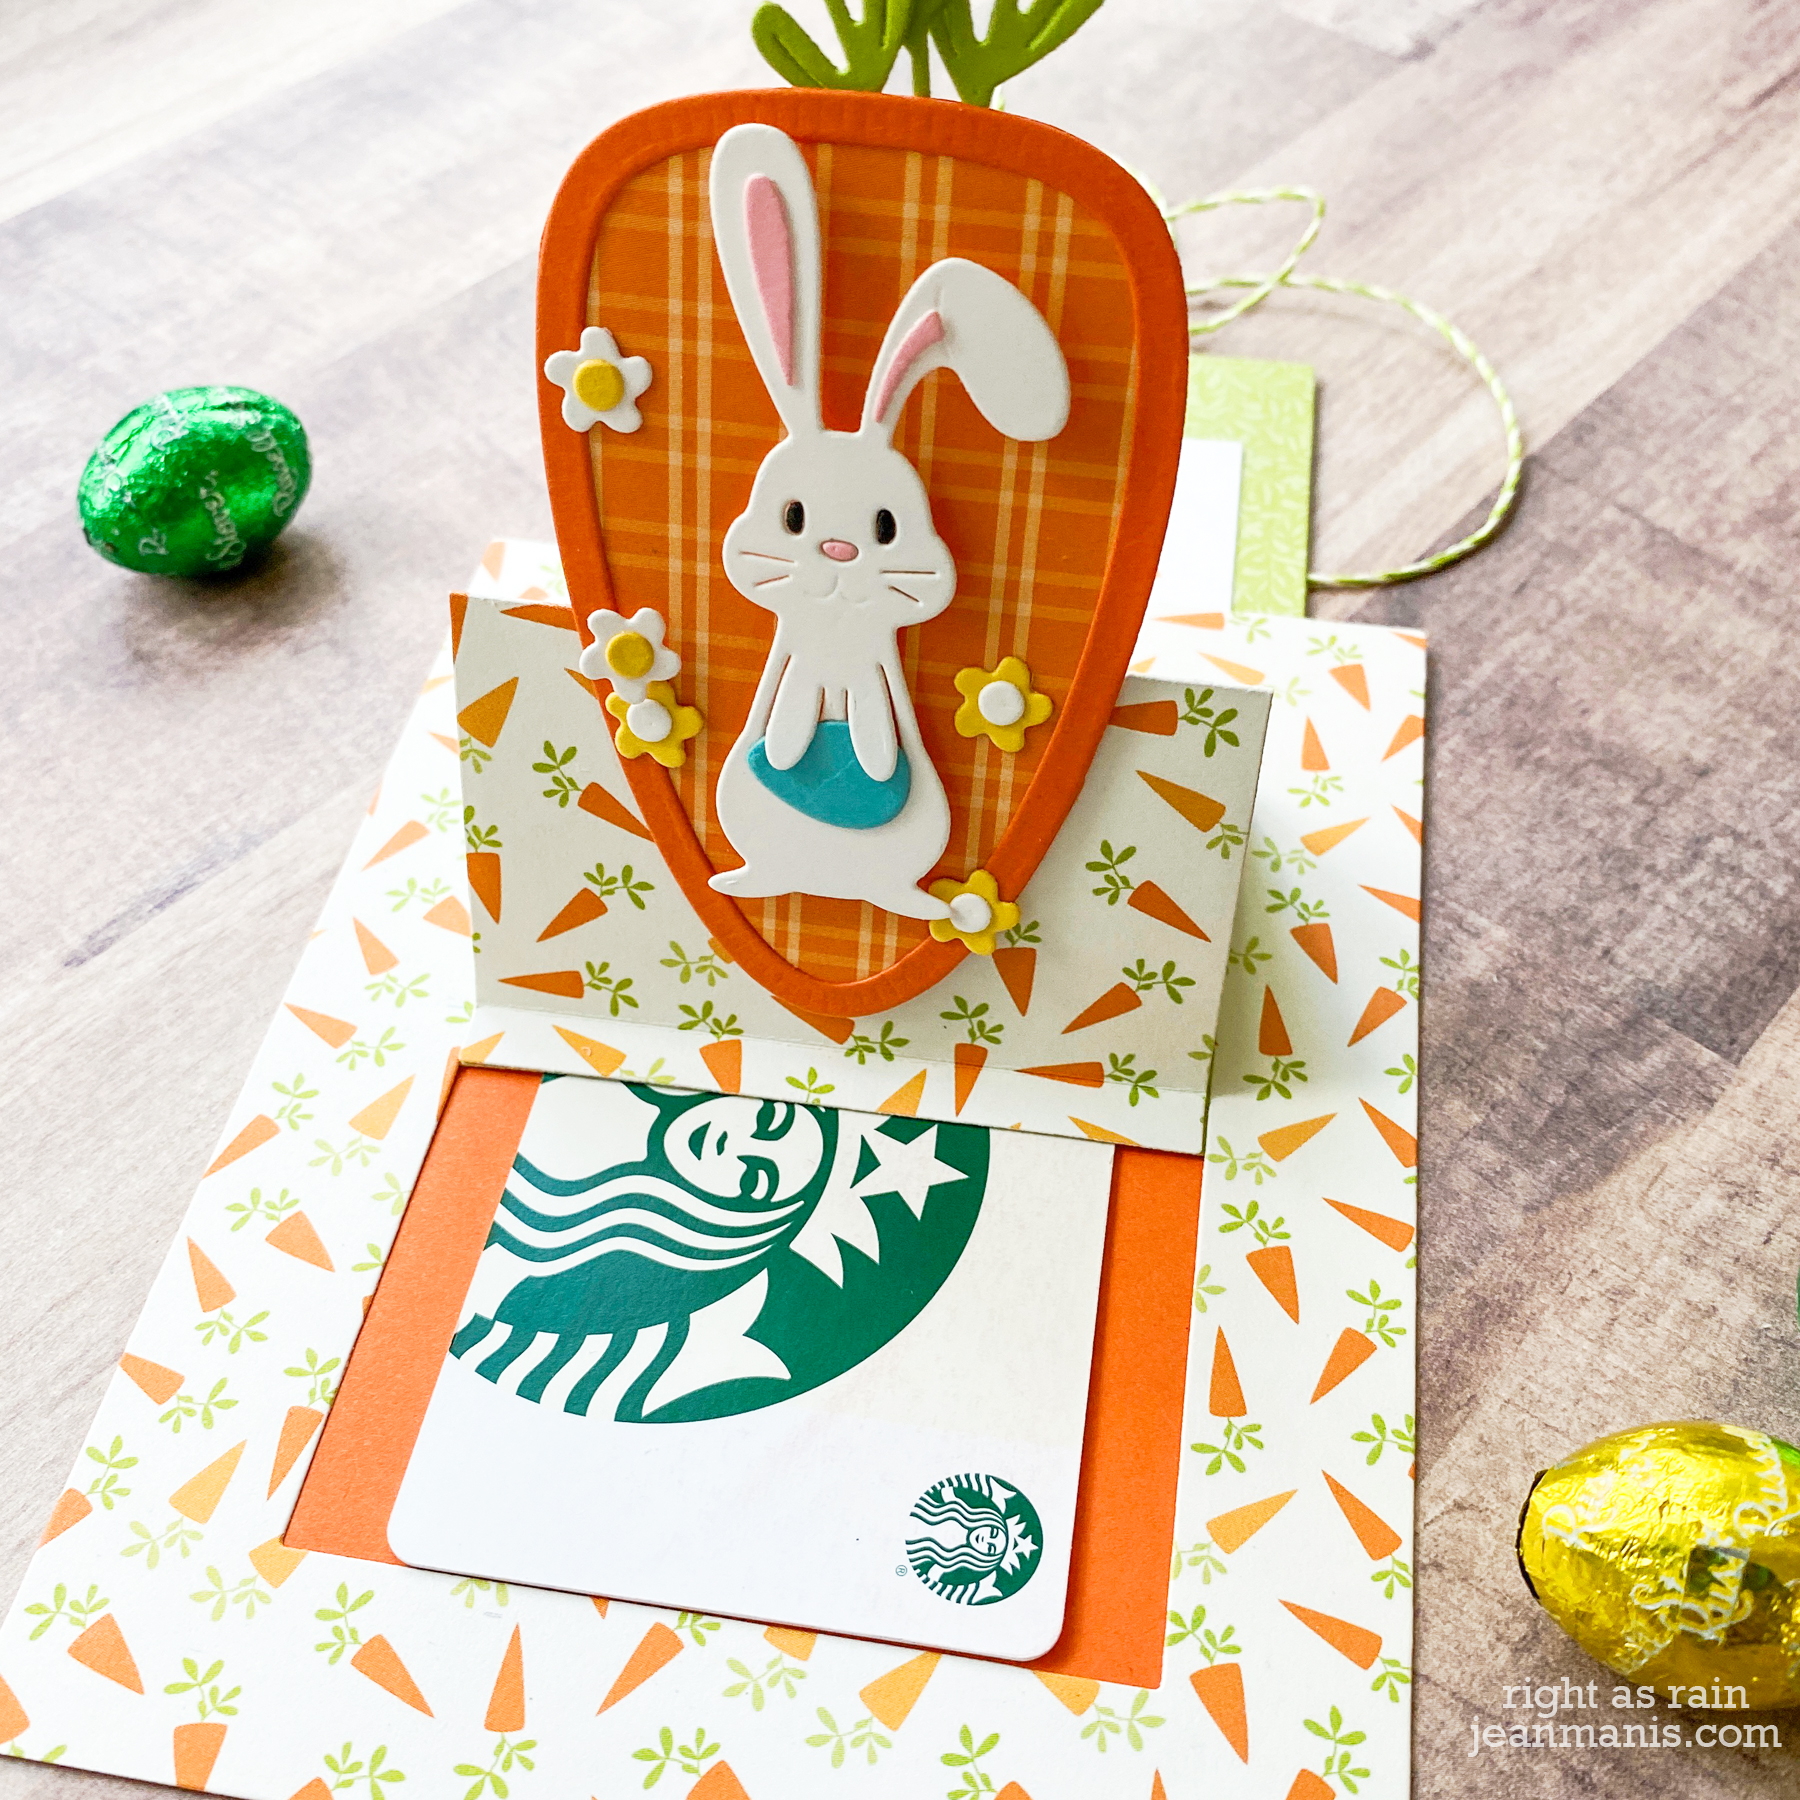
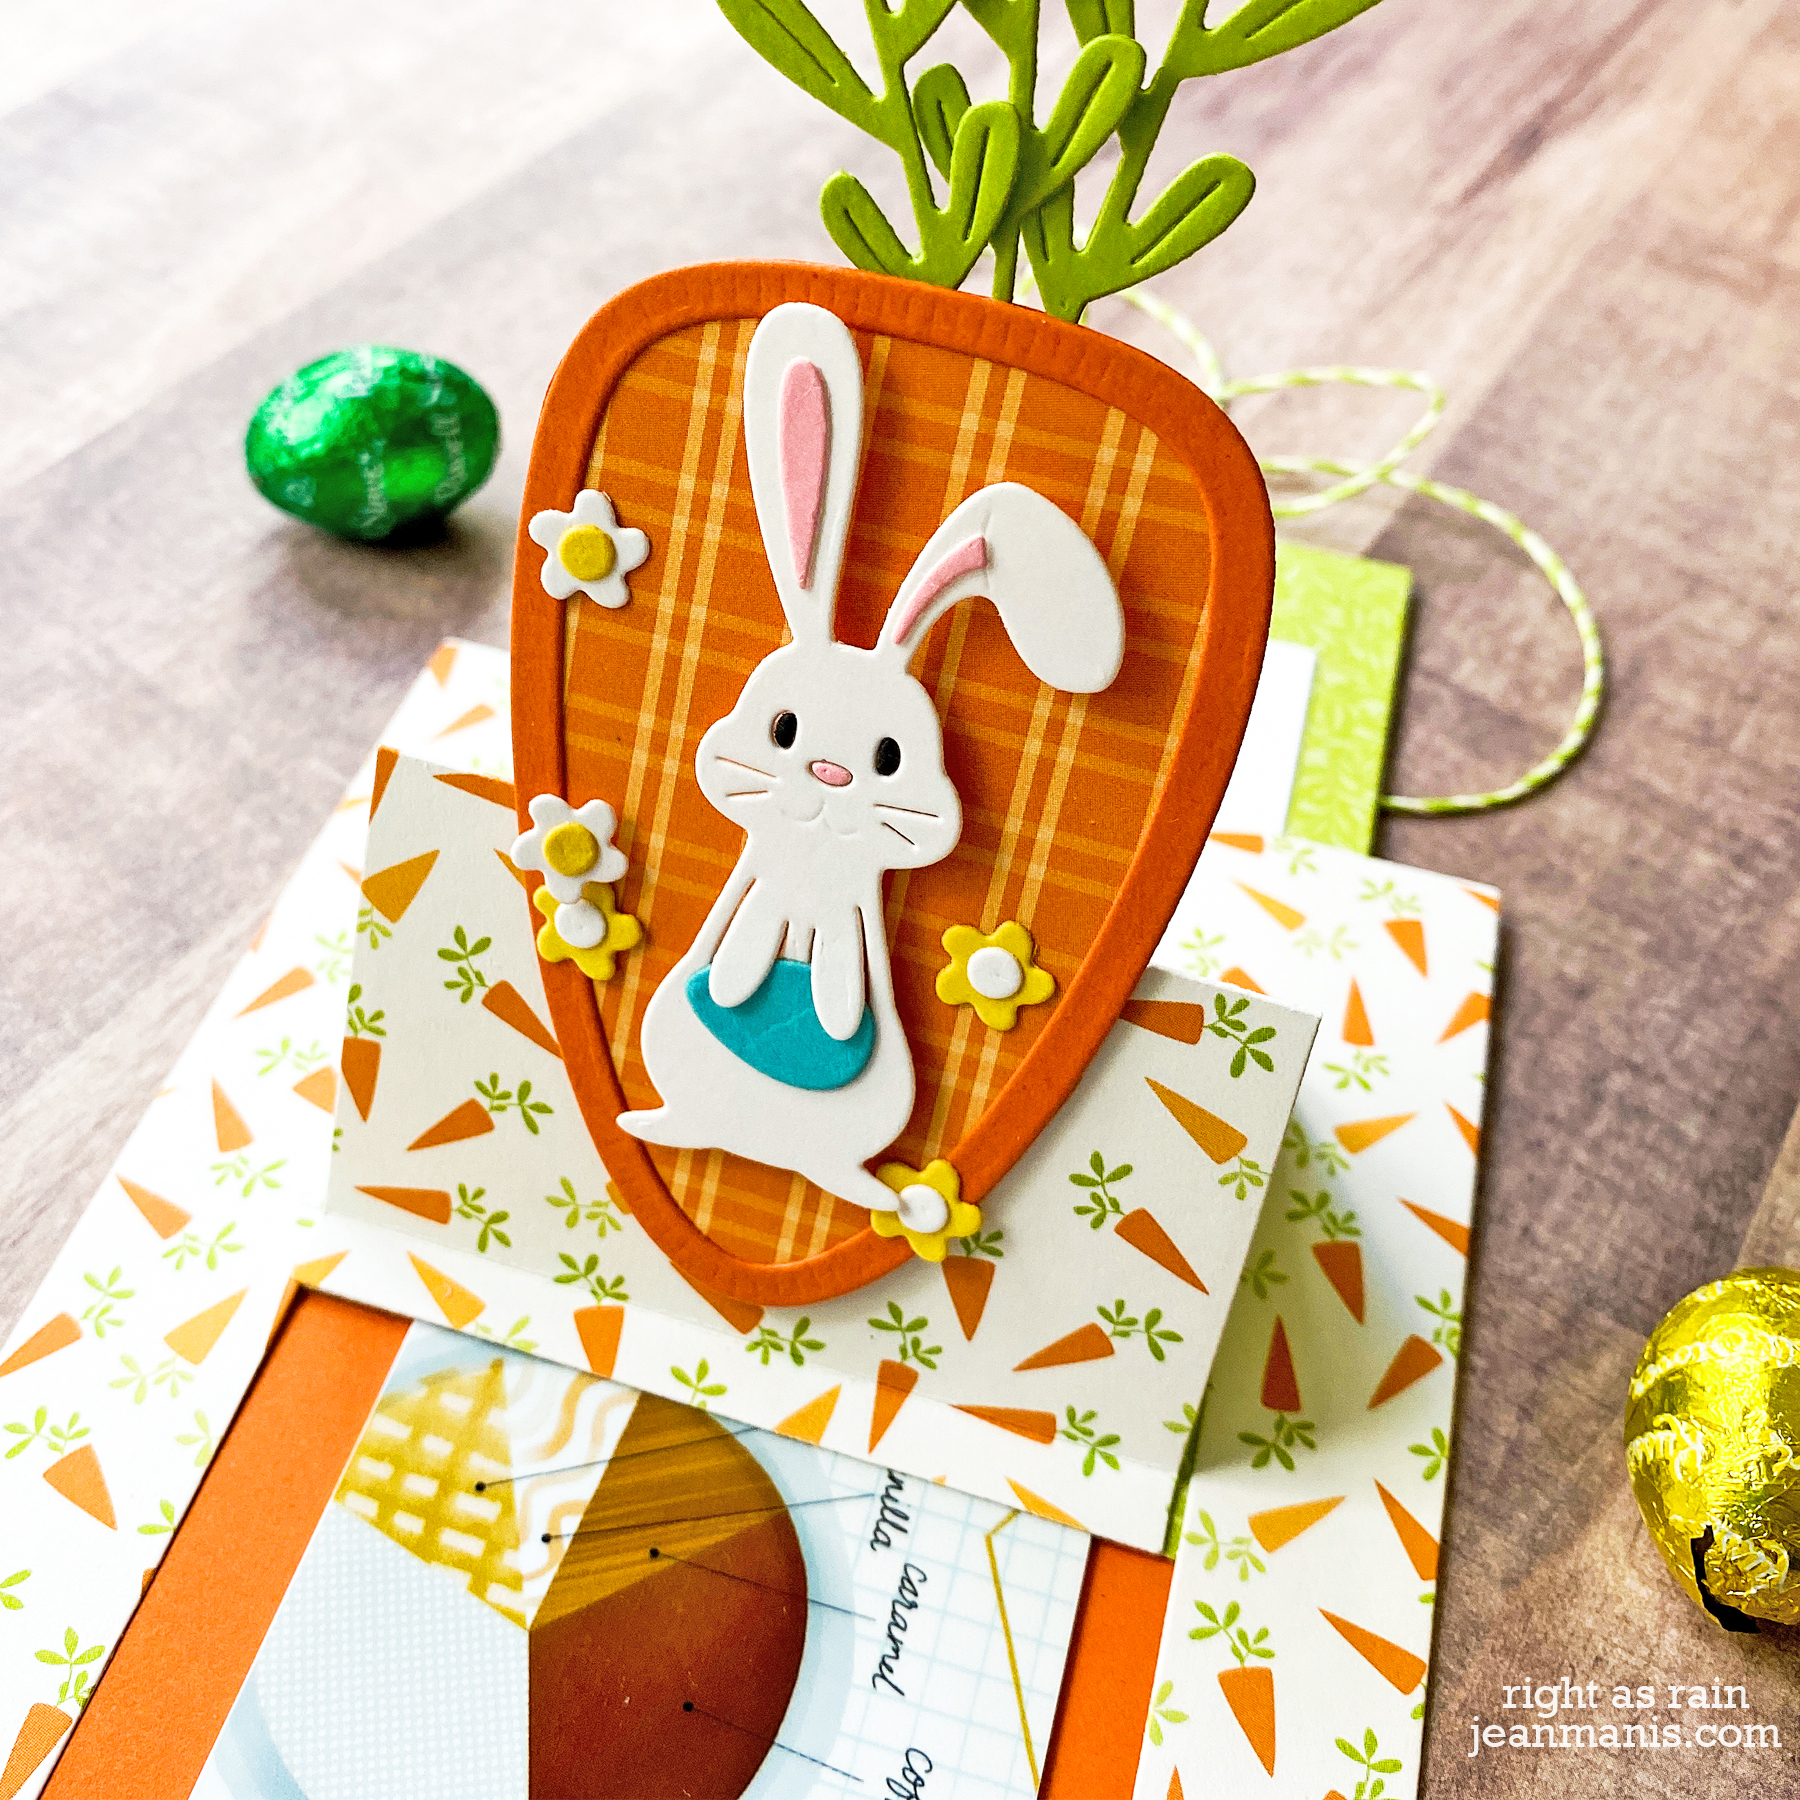
I used the Festive Wreaths Slider Card to create a gift card slider card, cutting the pieces from patterned paper and solid cardstock. The area revealed easily fits a gift card. I used a Starbucks gift card because that’s one of my favorite gift cards to receive!
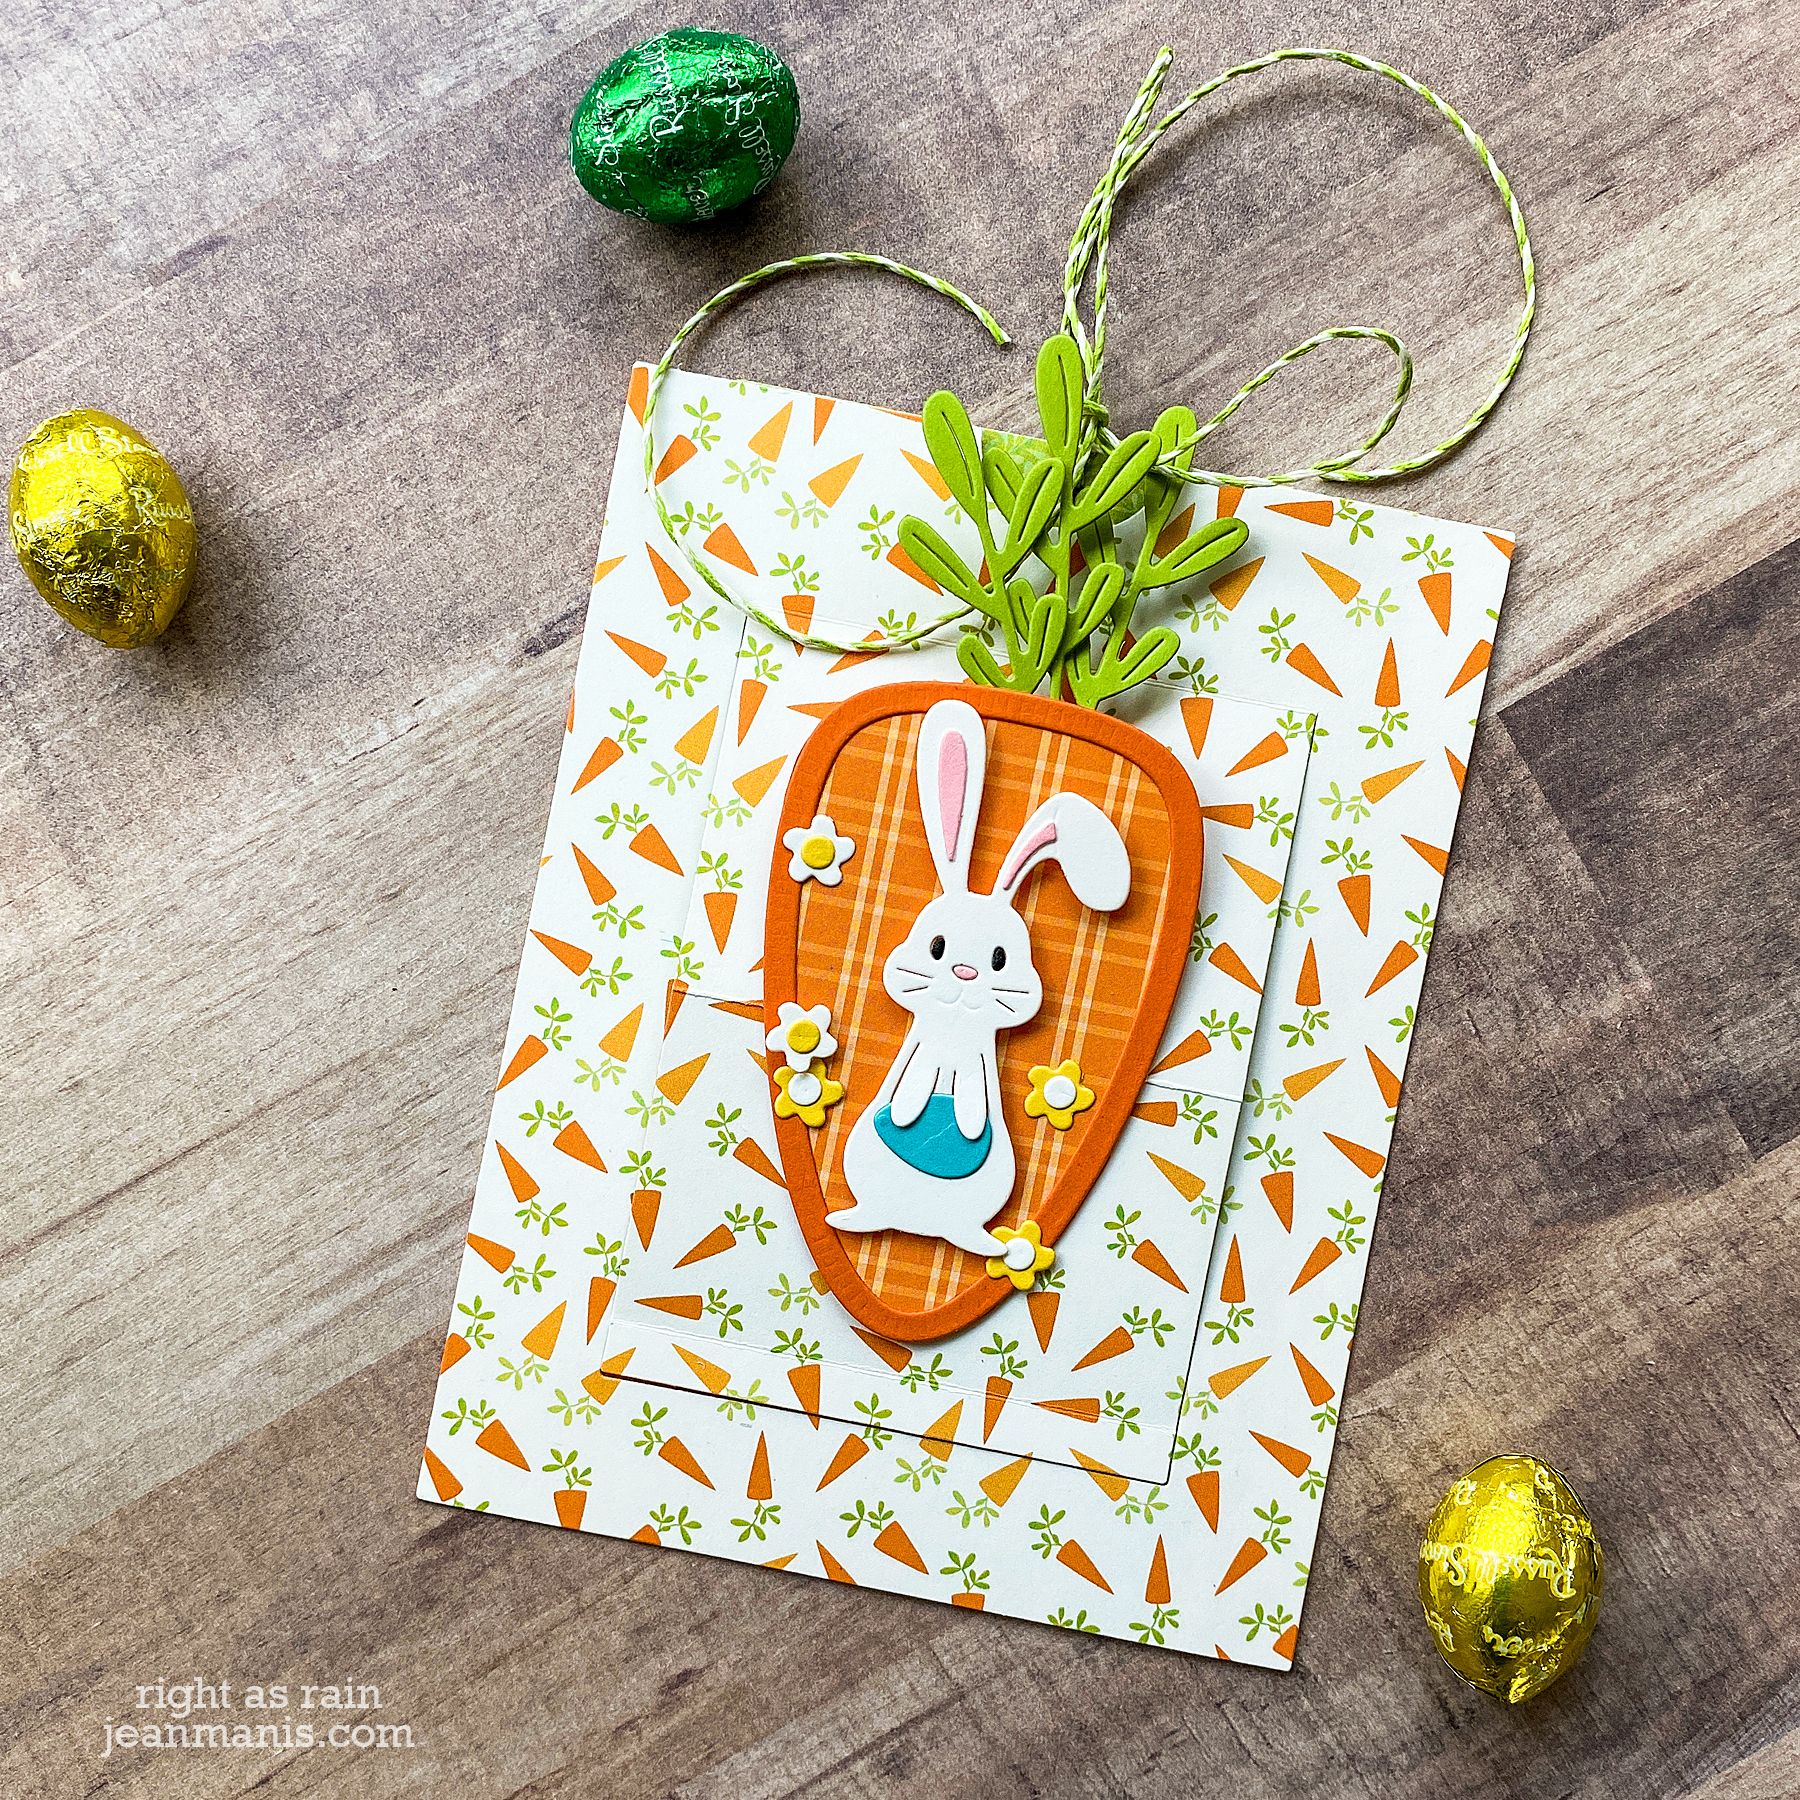
- I die-cut the bunny, carrot, and flowers with the March Small Die of the Month kit.
- I used the negative piece of the carrot to trace the carrot shape on to patterned paper which I glued behind the carrot frame.
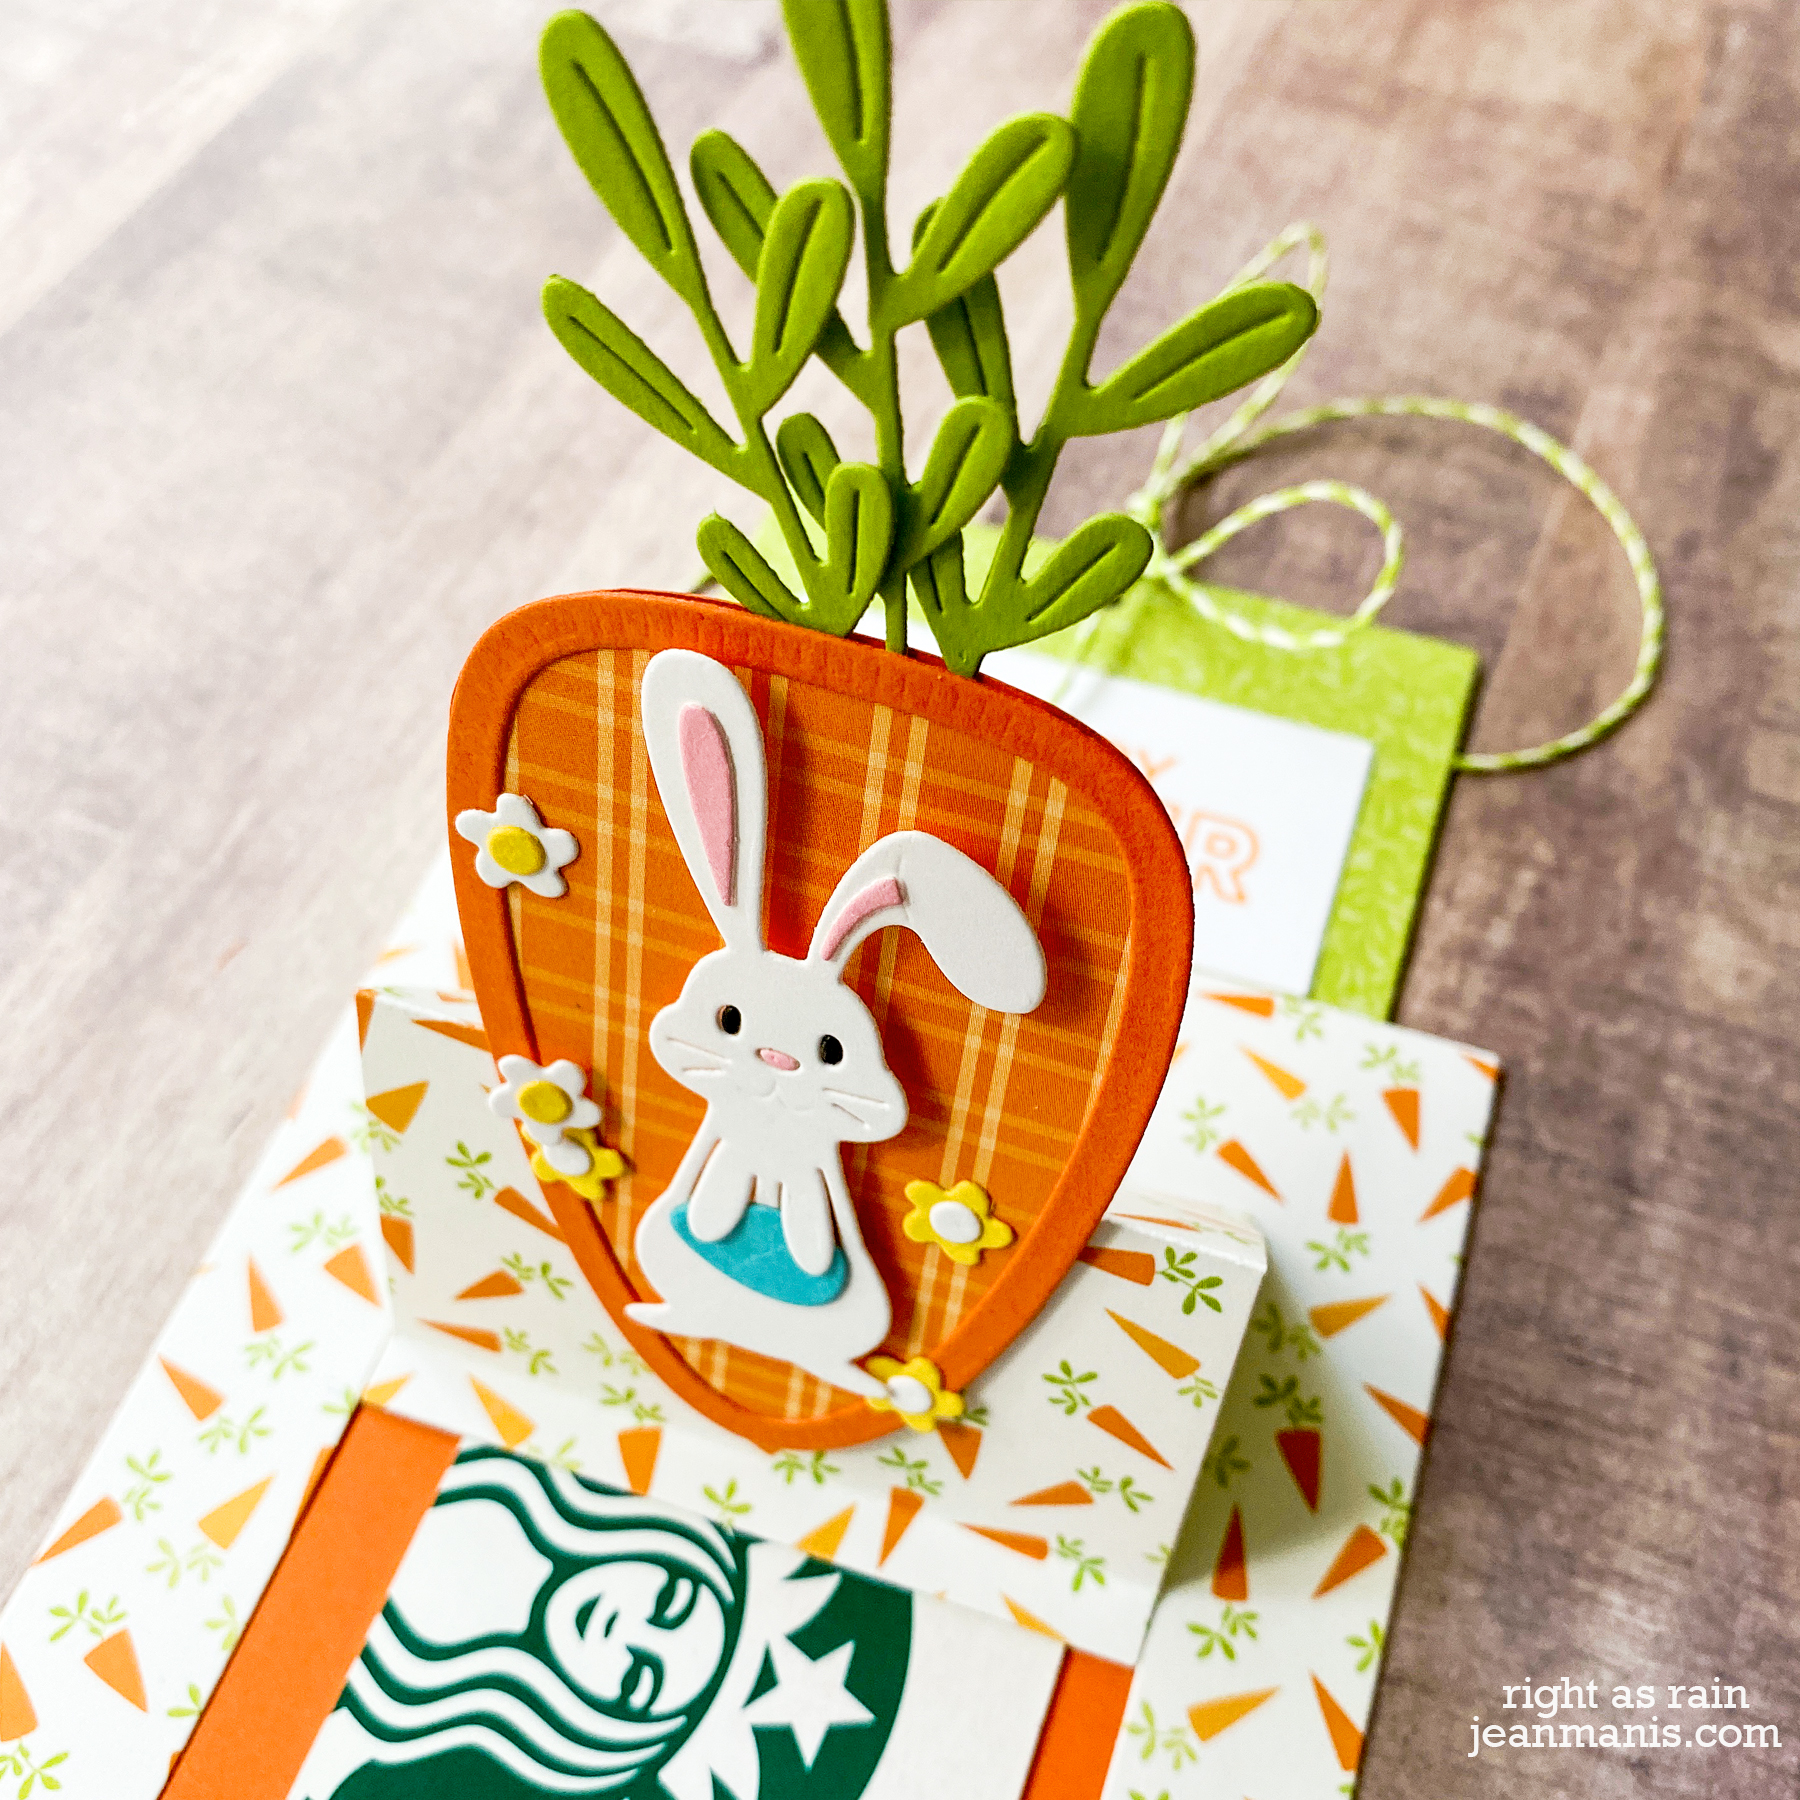
- I attached the rabbit and flowers, as well as the carrot tops, to the carrot and then attached the assembled to the slider.
- I stamped a sentiment on to white cardstock, cut it with a rectangular die, and added that to the top part of the insert.
- The lower portion accommodates the gift card. I added twine through the hole of the insert with which to pull the insert.
Now it’s time to head to the blog of Henriëtte van Mierlo.
Blog Hop Order:
Spellbinders Blog
Yana Smakula
Nichol Spohr
Tina Smith
Bibi Cameron
Jean Manis
Henriëtte van Mierlo
Daniel West
Gemma Campbell
Dina Kowal
Virginia Lu
Jenny Colacicco
Jill Hilliard
Joy Baldwin
Jennifer Snyder
Marie Heiderscheit
Ashley Tucker
Svitlana Shayevich
Rebecca Luminarias
Brenda Noelke
Kathy Clement
Linda Parker
Varada Sharma
Hussena Calcuttawala
Jeanne Jachna
Michelle Short
Yasmin Diaz
Laurie Willison
Ilina Crouse
Laura Volpes
Alicia Havranek
Channin Pelletier
Michelle Zerull
Annie Williams
Sheri Holt
Norine Borys
Ivana Camdzic
Desiree Kuemmerle
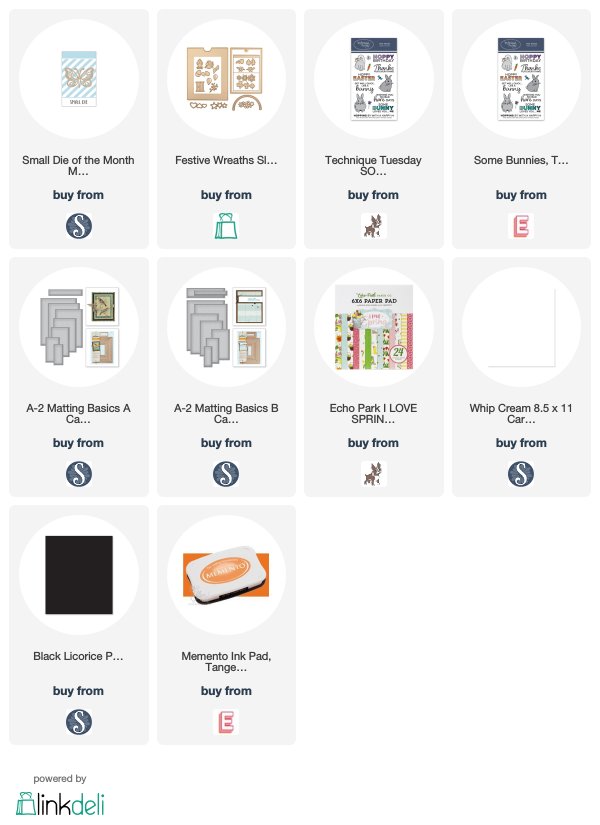
Supplies: