Hero Arts | Cozy Critter

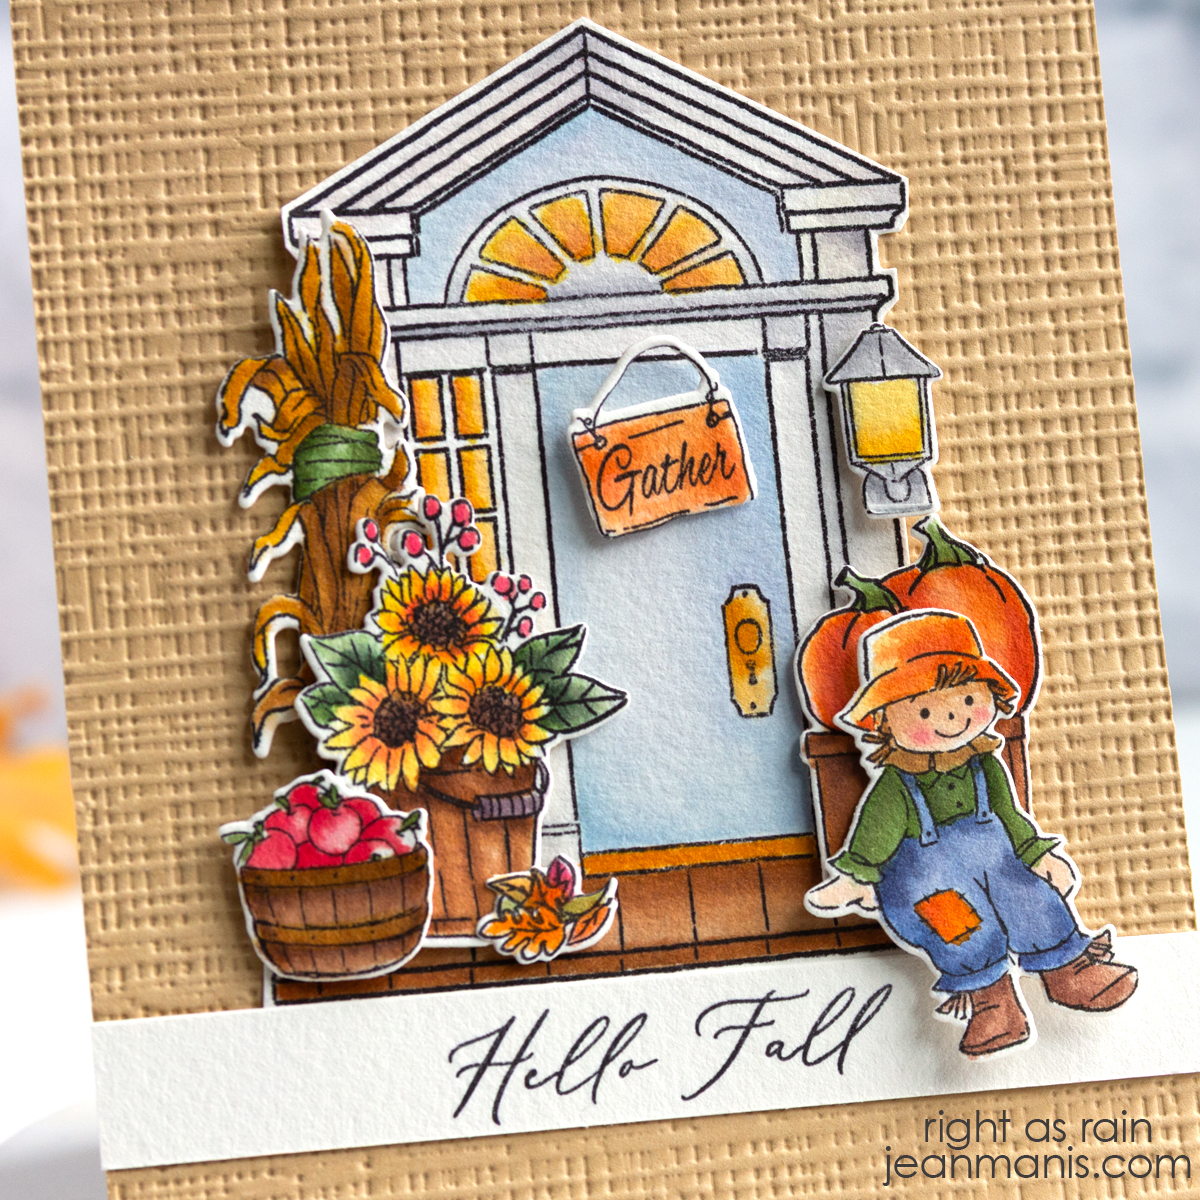
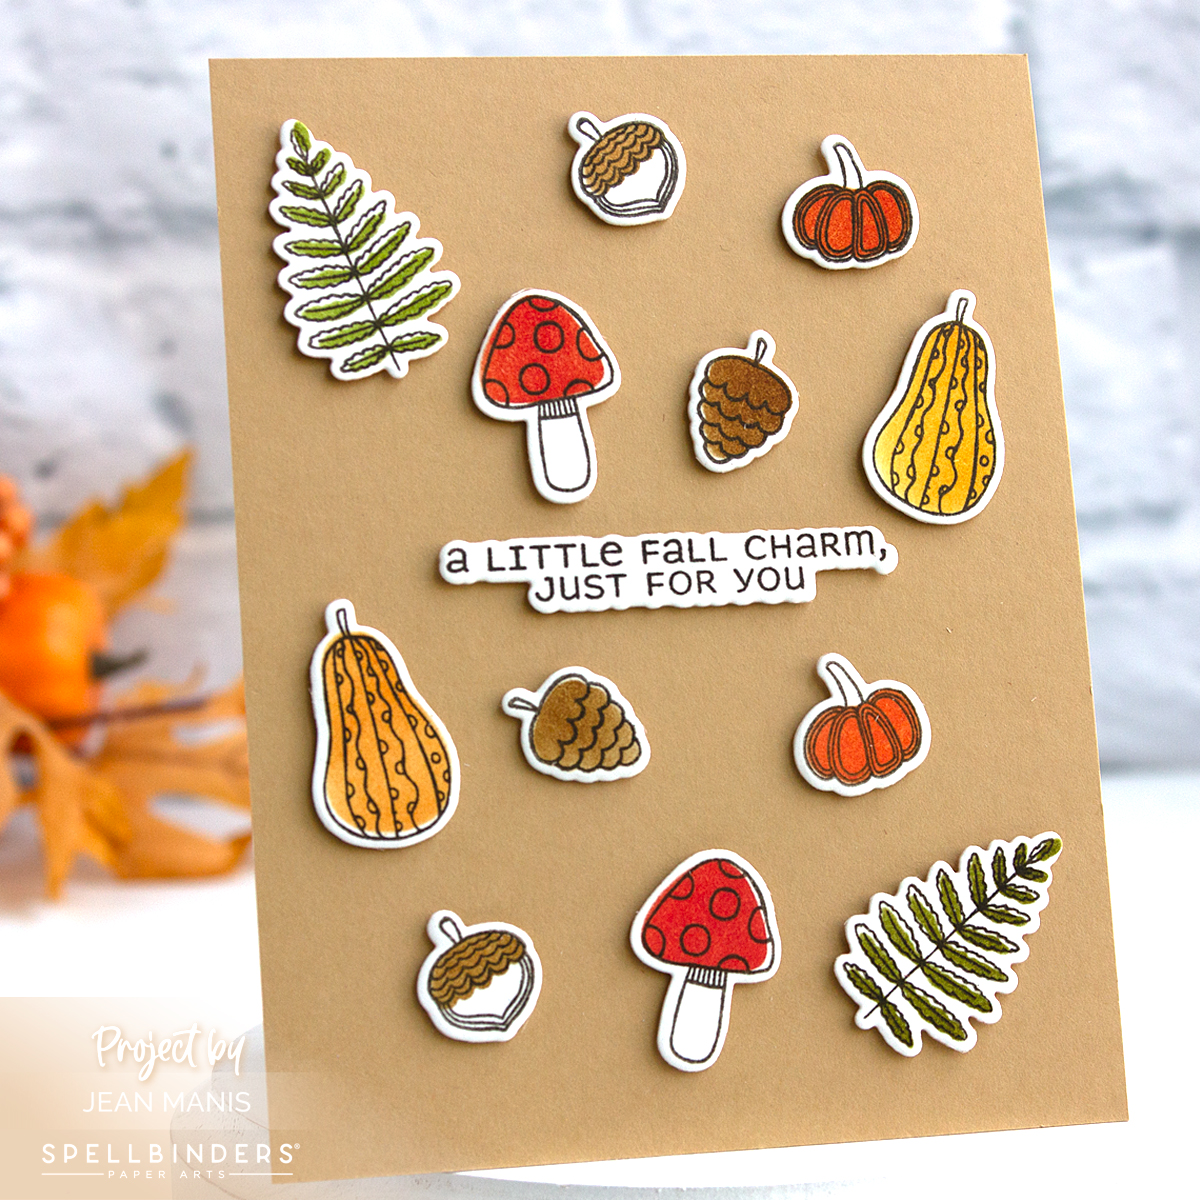
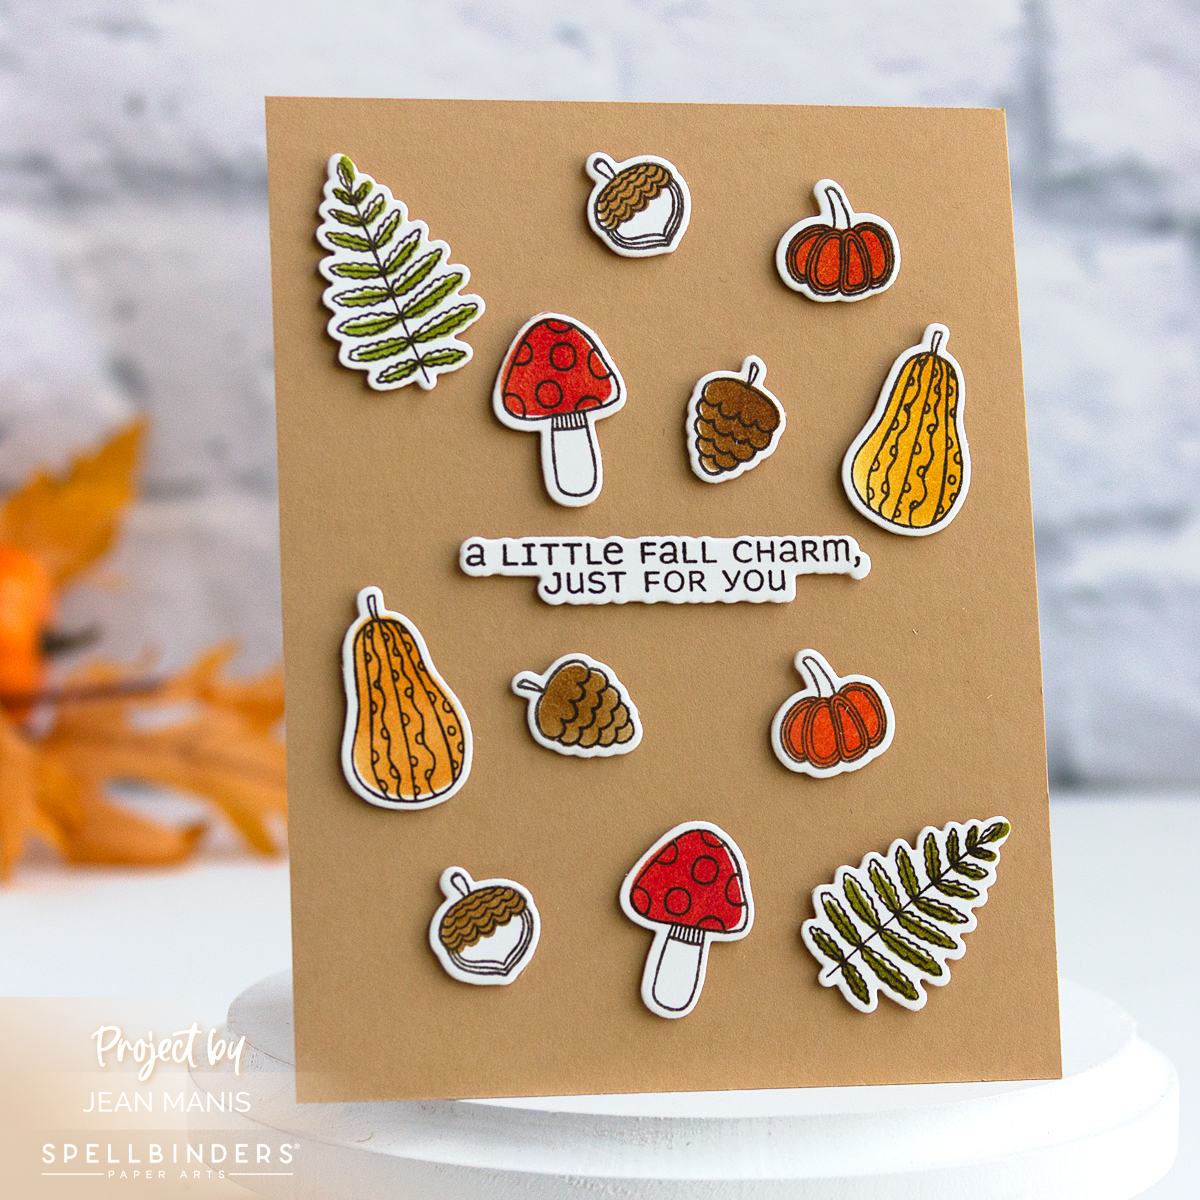
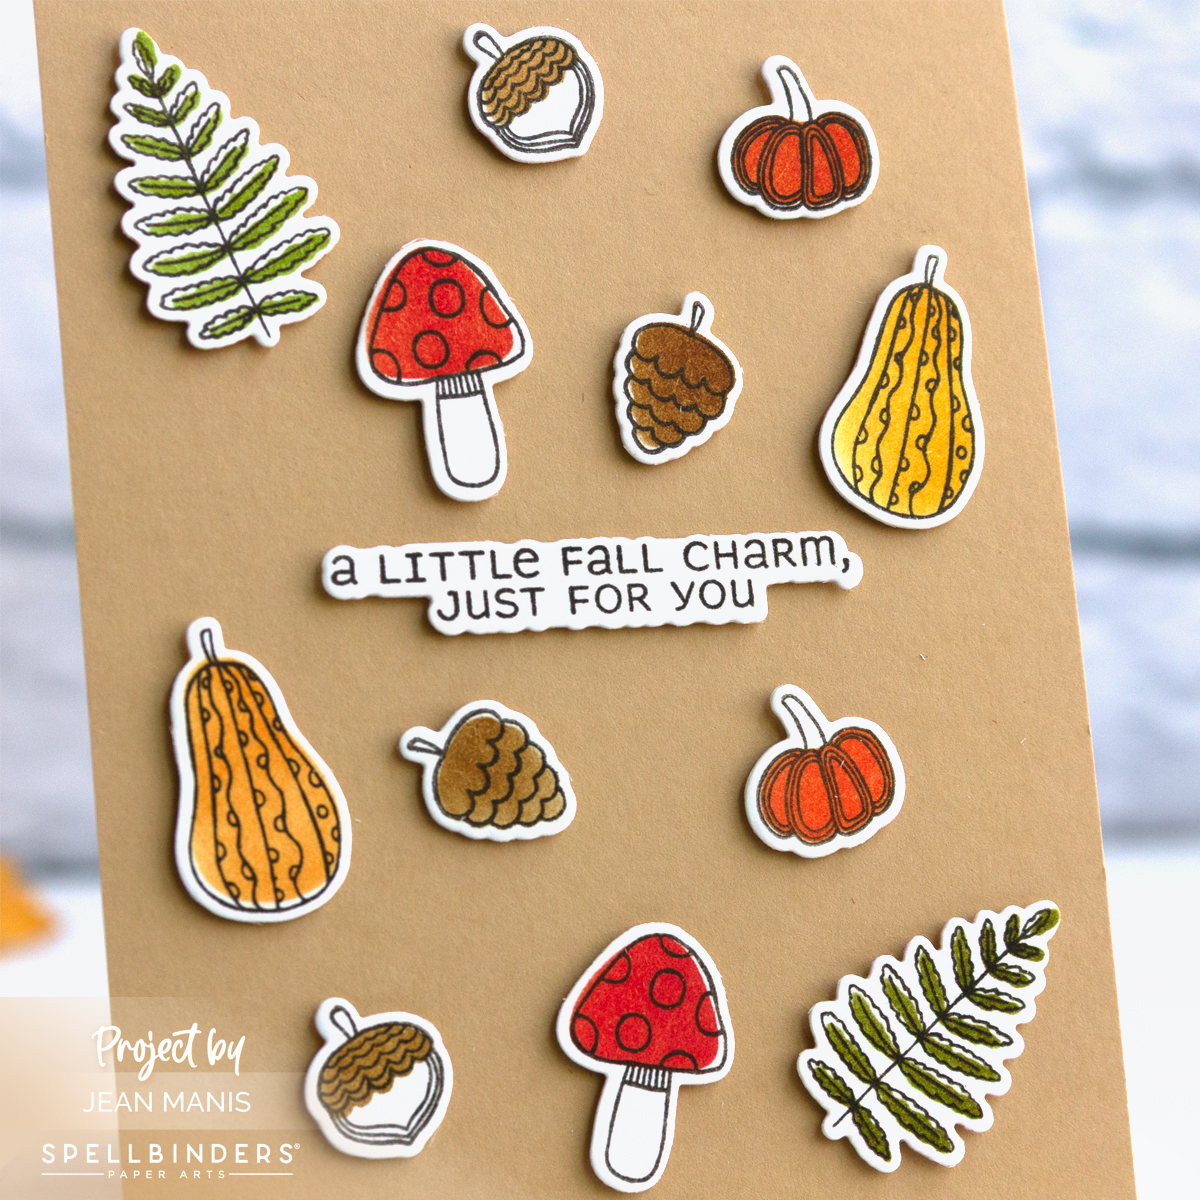
Hello! There’s nothing better than snuggling under the covers when the days turn crisp, and this handmade card captures that cozy feeling perfectly. I used the Hero Arts September 2025 Die Set of the Month Cozy Critters to create a whimsical design that feels straight out of a fairy tale.

Hero Arts September 2025 Die Set of the Month Cozy Critters

    • Cover an A2-size card base with patterned paper.
    • Cut bed, pillow, quilt, and fox from a variety of cardstock colors using dies in the Hero Arts Studio Cozy Critters set. Assemble.
    • Stamp the CM569 Hero Arts Autumn Messages sentiment on white cardstock and cut with a banner die.
    • Assemble card elements and add to the card base.

Whether you’re crafting for friends, family, or just enjoying some creative time, this set is sure to bring smiles and a touch of storybook charm to your fall projects.

Hero Arts September 2025 Die Set of the Month Cozy Critters

Affiliate links are used when available at no extra cost to you.

Elizabeth Craft Designs | Handcolored Mums

Hello! Today I’m sharing a handmade card, created with Elizabeth Craft Designs die sets, that features mums arranged in a rustic oak barrel.
Elizabeth Craft Designs | Handcolored Mums
I handcolored the blooms to match the mums currently in our garden, and I encourage you to take inspiration from nature when choosing your own colors.
Mums in the Garden

    • Cover a 5″ x 7″ card base with a patterned paper panel. I used paper from 49 and Market.
    • Cut the Florals 32 (flower petals and leaves) and barrel (the Floral Foliage 1 set) pieces from Soft Finish cardstock. Color with Distress Inks. Shape petals and leaves with tools if desired. I use tools from Dress My Craft, Heartfelt Creations, Spellbinders, and McGill. Assemble.
    • The Florals 32 die set doesn’t specifically make a mum; rather, it’s a versatile floral design that can be colored and shaped to resemble many fall favorites like zinnias, asters, or dahlias. I chose to make mums because of the ones blooming in our garden, but the set easily adapts to other seasonal flowers depending on your inspiration.
    • Glue Taken for Granite Prills to the centers of the flowers.
    • To keep the flowers in the spotlight, I added a small “hello” tag tucked into the bouquet. Stamp sentiment (I used a retired stamp from Stampin’ Up) in Archival Potting Soil ink and cut with a tag die.
    • Add the assembled items to the prepared card base.

Fall is the perfect season to look closely at nature’s colors and let them guide your crafting.

Elizabeth Craft Designs | Handcolored Mums

Distress Ink Colors: Squeezed Lemonade, Seedess Preserves, Peeled Paint, Rustic Wilderness, Vintage Photo, Walnut Stain, Lost Shadow, Hickory Smoke

Cozy Fall Card with Big Mouse

Hello! Fall is one of my favorite seasons to craft for, and today I’m sharing a cozy handmade card that captures the warmth of autumn. I used the Big Mouse die along with the coordinating Fall Accessories set, both from Elizabeth Craft Designs, to dress the mouse for the season. To finish it off, I created a playful custom sentiment that reads “Fall Y’all,” cut with a letter die set. This card is full of charm and a fun way to celebrate the beauty of fall.

Cozy Fall Card with Big Mouse

    • Dry-emboss cardstock with the Honey Bee Burlap folder. Add to card base. Cut a strip of the Scary Stories patterned paper and add to base.
    • Cut Big Mouse and Fall Accessories from a variety of cardstock colors and assemble. The large pumpkin is from the ECD Hay Ride die set (now discontinued).
    • Add sentiment with die-cut letters (I used a set from Taylored Expressions).


Celebrate Fall with a Pumpkin-Themed Card

Hello!  Today, I’m sharing a fall card featuring pumpkins created with the Elizabeth Craft Designs Autumn Pumpkins die set. The background, a 49 and Market patterned paper, adds an elegant touch with minimal effort. A heartfelt sentiment, “May the bounty of the season fill your heart and home,” completes this simple yet meaningful card, perfect for spreading autumn cheer.

Celebrate Fall with a Pumpkin-Themed Card

    • Stamp the Penny Black sentiment in Potting Soil ink on to the patterned paper. Trim and add to an A2-size card base.
    • Next, cut the pumpkins and leaves from soft finish cardstock with dies in the Autumn Pumpkins set. Color with Distress Inks and assemble as needed. Shape the leaves for additional depth.
    • Cut additional flowers with dies in the Floral Greenery 1 set. Fill flower centers with prills.
    • Lastly, add the pumpkins, leaves, and flowers to the prepared card base with foam adhesive and glue.

Celebrate Fall with a Pumpkin-Themed Card


Penny Black Autumn Greetings

Hello! Autumn is a time of warm colors, crisp air, and cozy vibes, and what better way to capture the beauty of the season than with a handmade card? Today, I’m sharing a fall-themed card featuring a die-cut pumpkin adorned with vibrant flowers and leaves. This card brings together all the wonderful elements of fall. I’ve used products exclusively from Penny Black, both new and old, to create it.

Penny Black Autumn Greetings

    • Stamp the Autumn is Calling sentiment in black ink on Sea Glass cardstock. Trim as necessary and add to an A2-size card base.
    • Dry emboss Algae cardstock with the Texture embossing folder. Add strip to the sentiment panel.
    • Cut a frame with the largest die in the 51-709 Stitched Frames set from a 4 1/4″ x 5 1/2″ cardstock panel. Add frame to the card background.
    • Cut Pumpkin Blooms elements from Soft Finish cardstock. Apply Distress inks to color.
    • Cut 51-002 Leaves from Soft Finish cardstock. Apply Distress inks to color.
    • Add pumpkin and leaves to card front with dot and foam adhesive.

Penny Black Autumn Greetings

Affiliate links are used when available at no extra cost to you.