CAS Winter Comfort Card

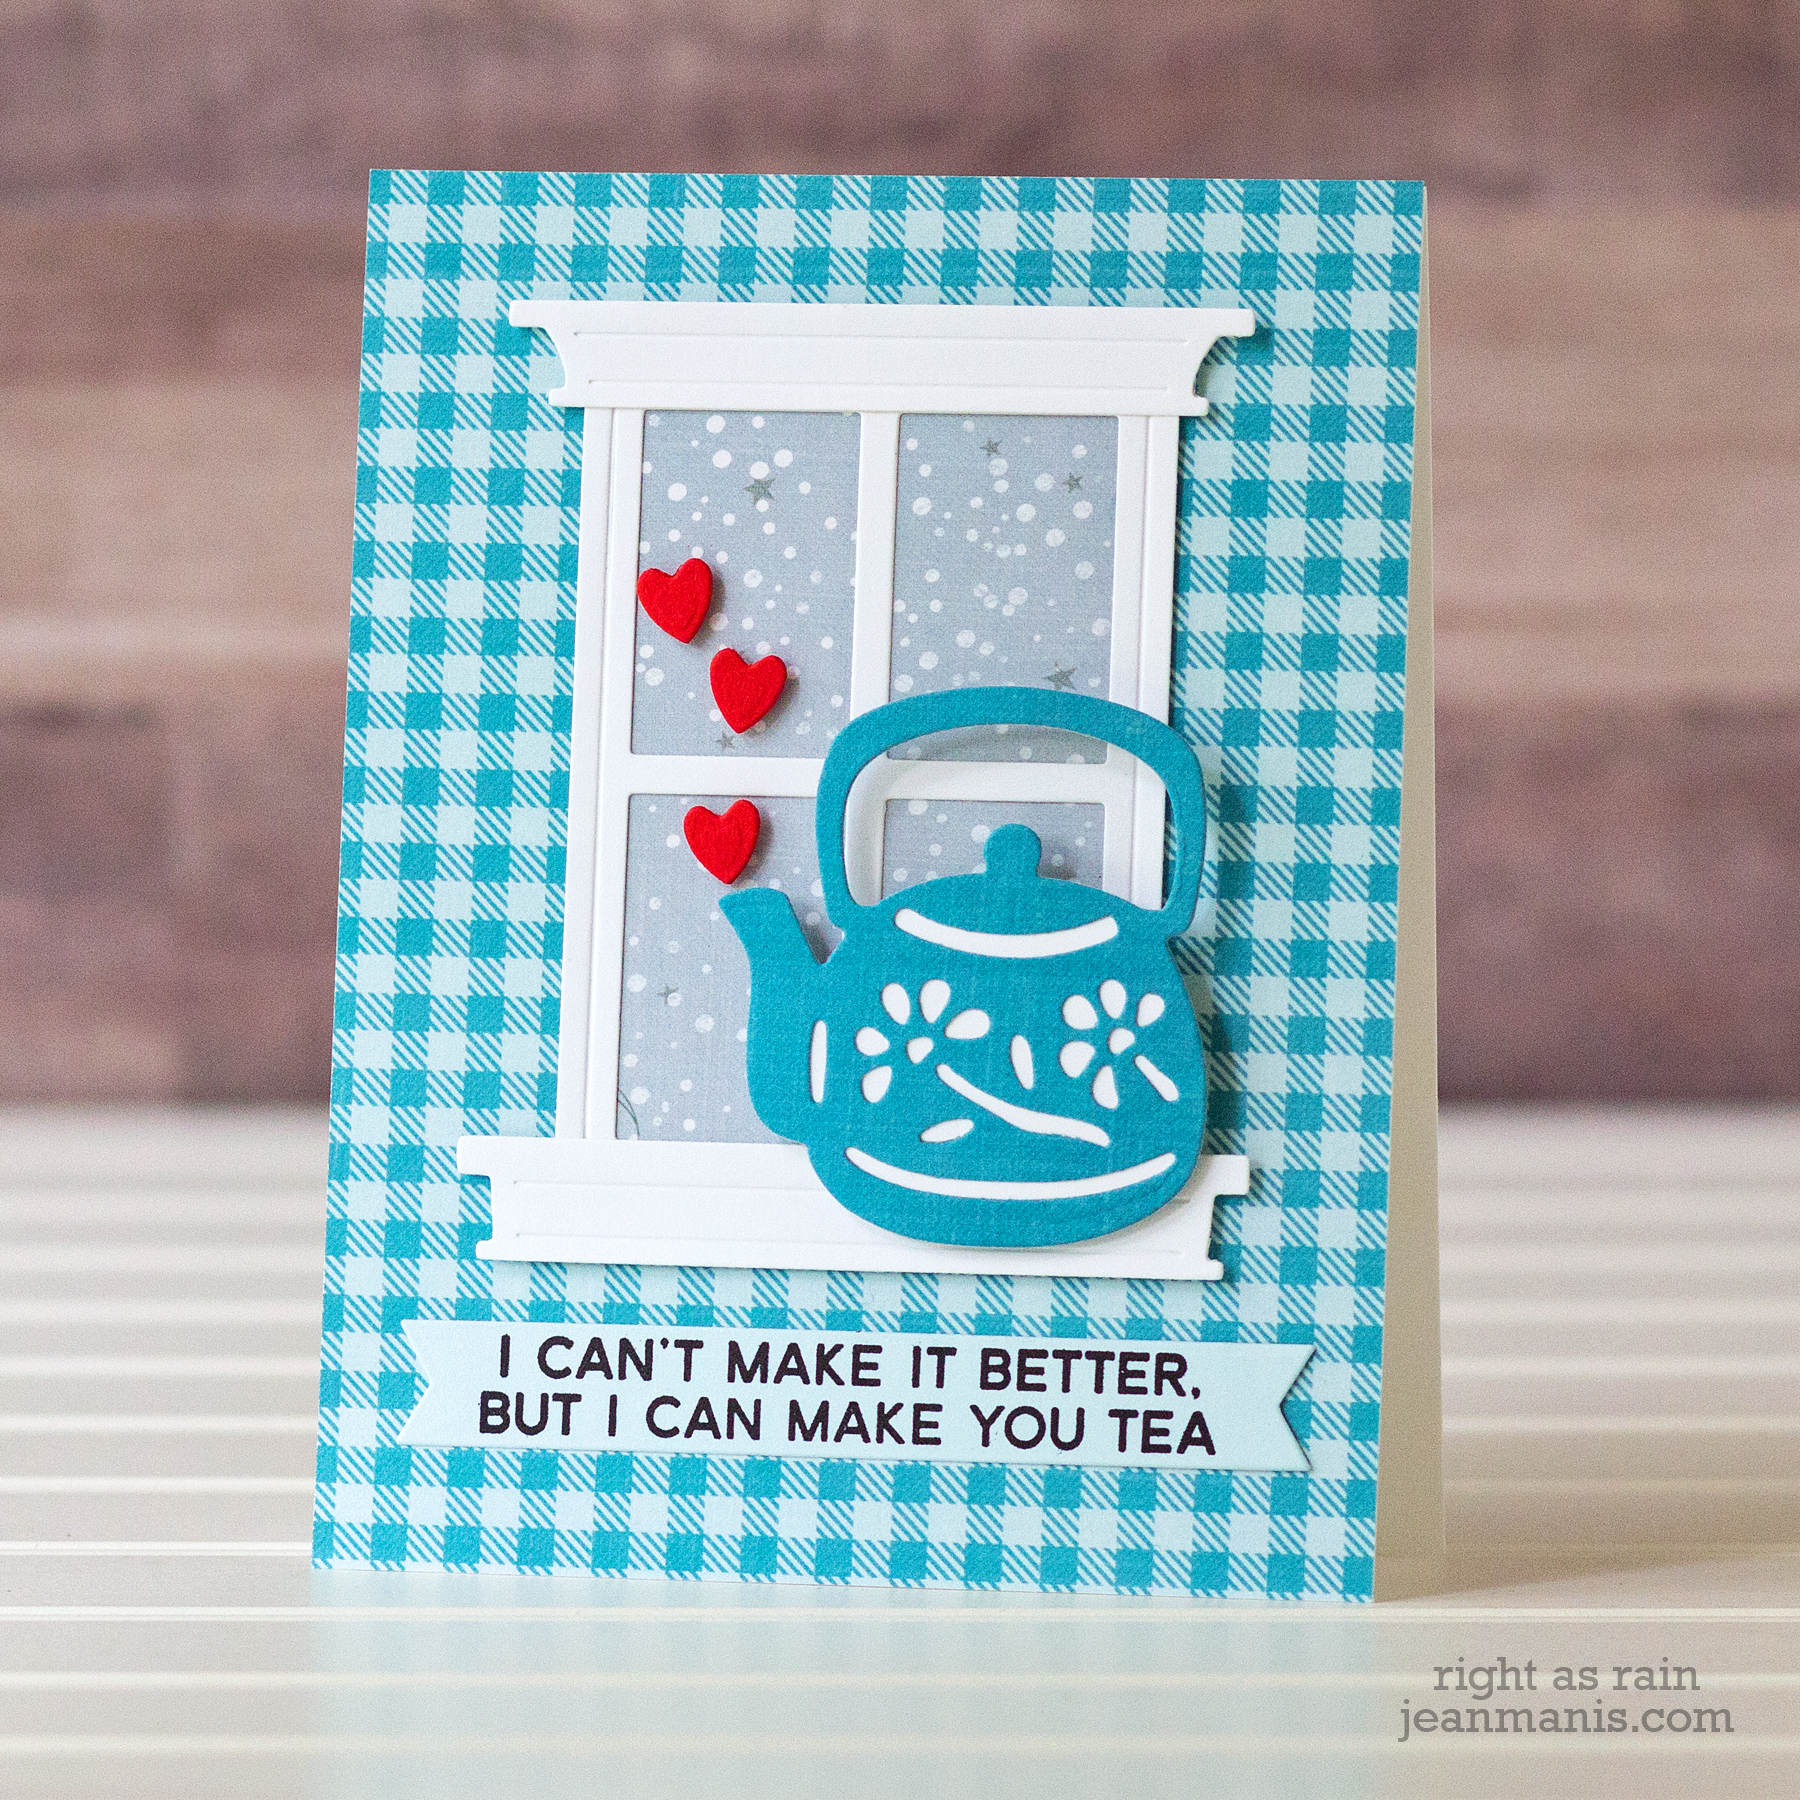
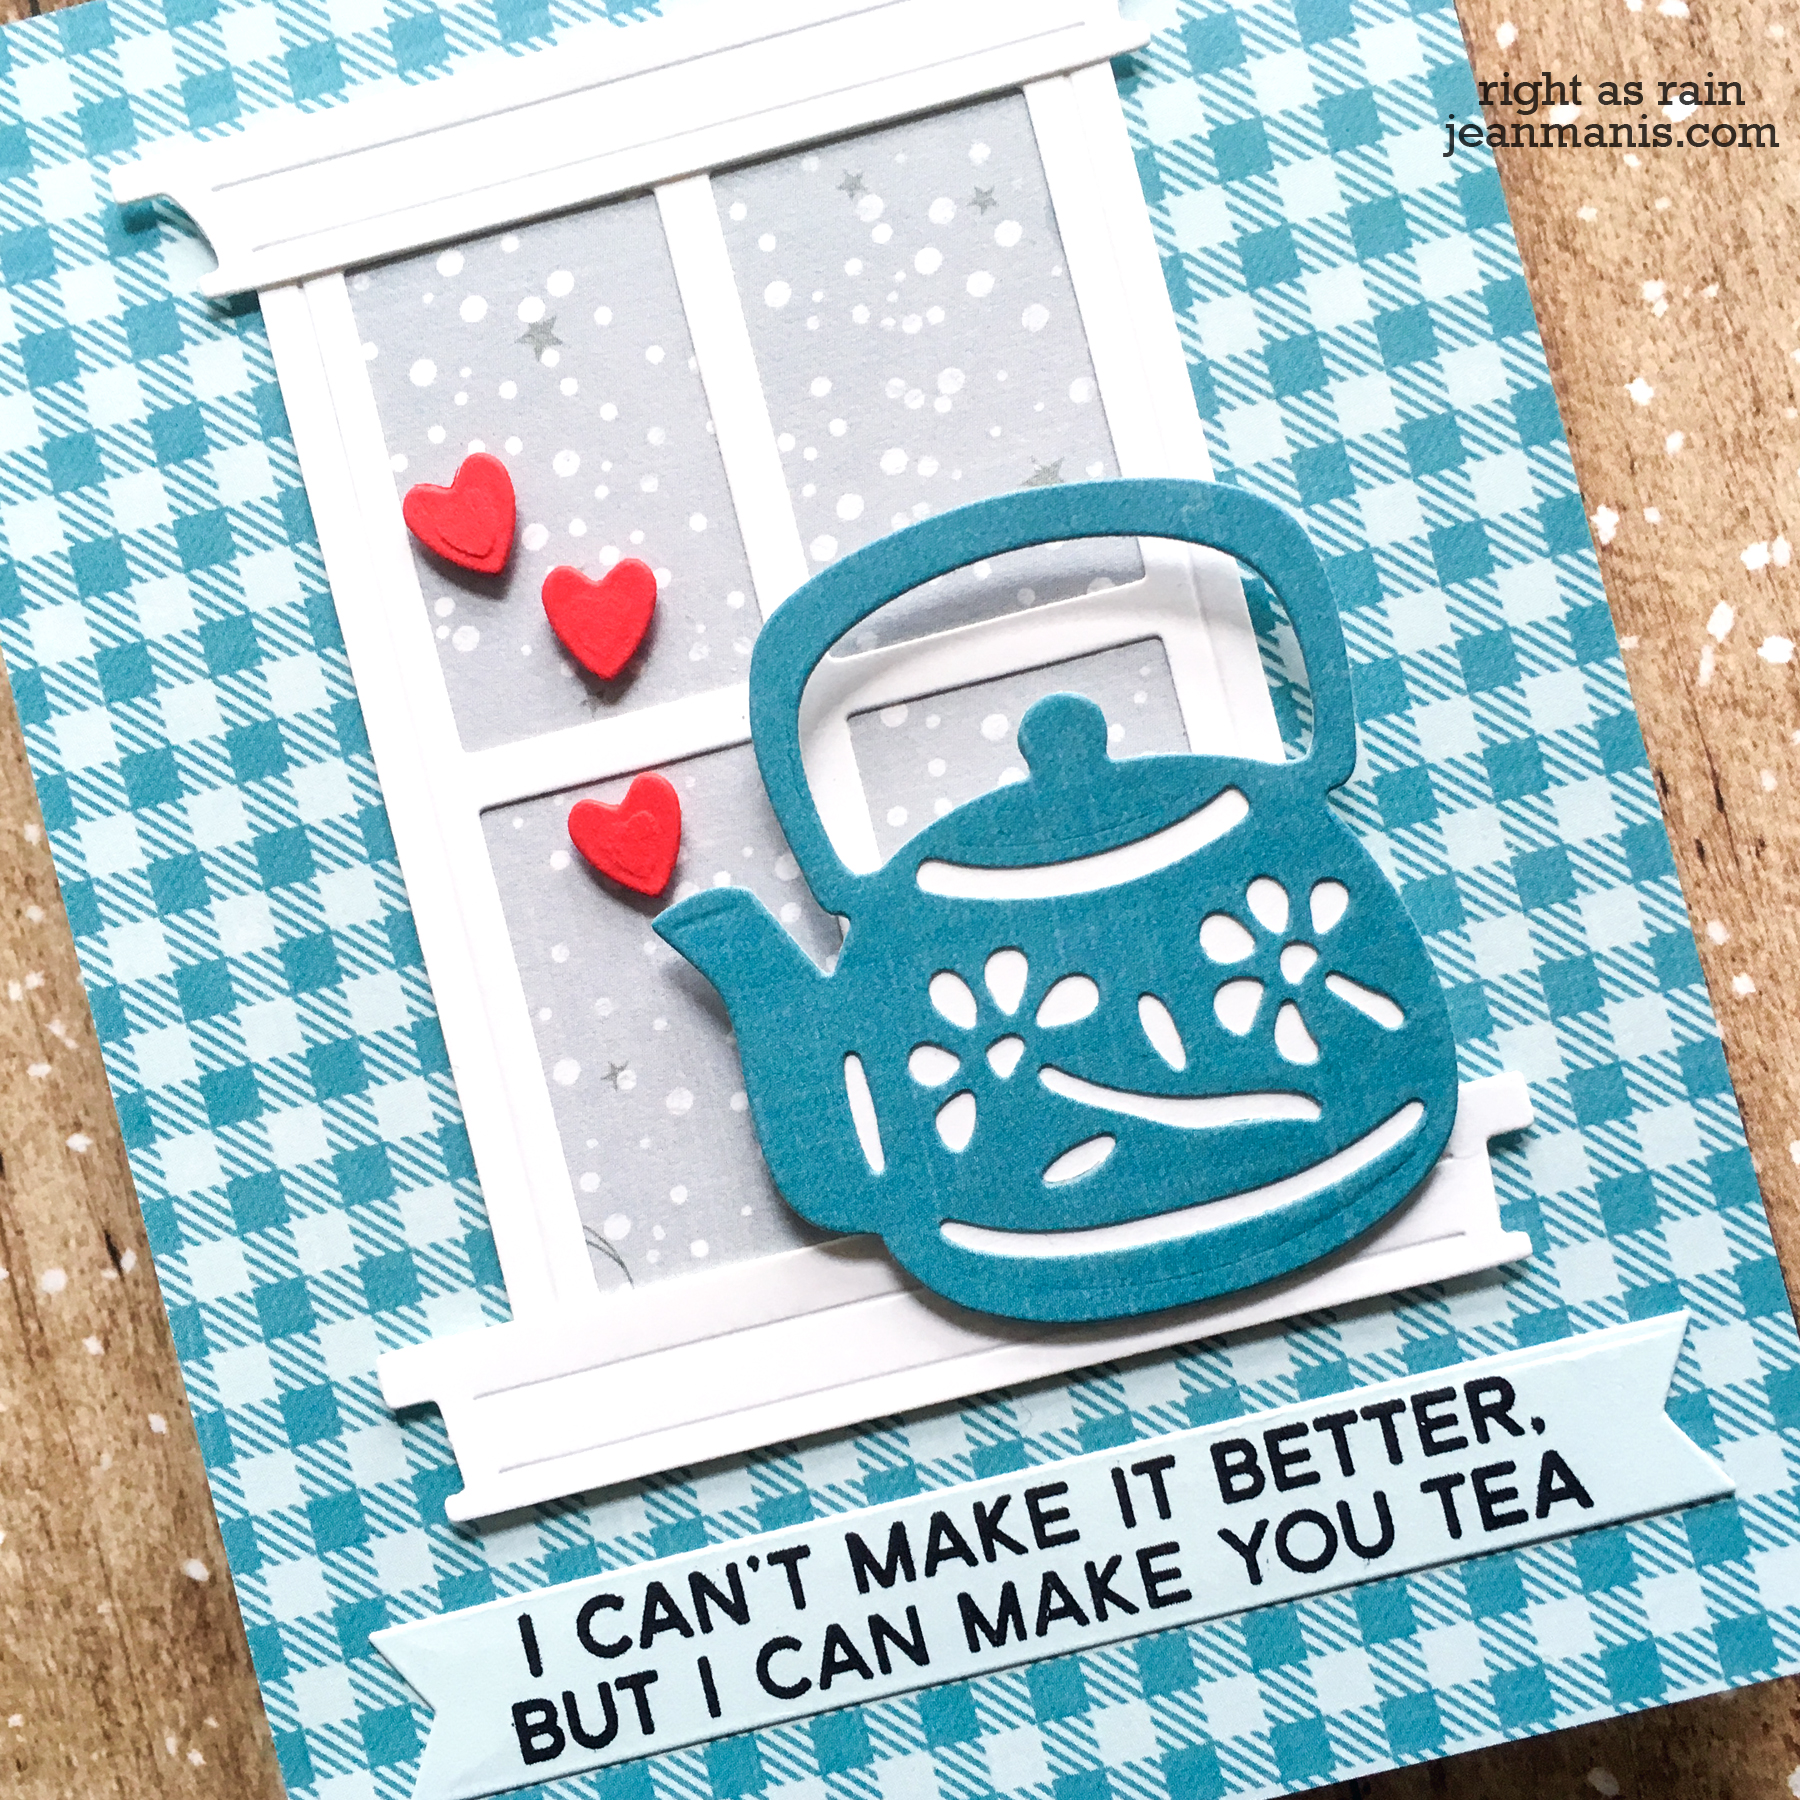
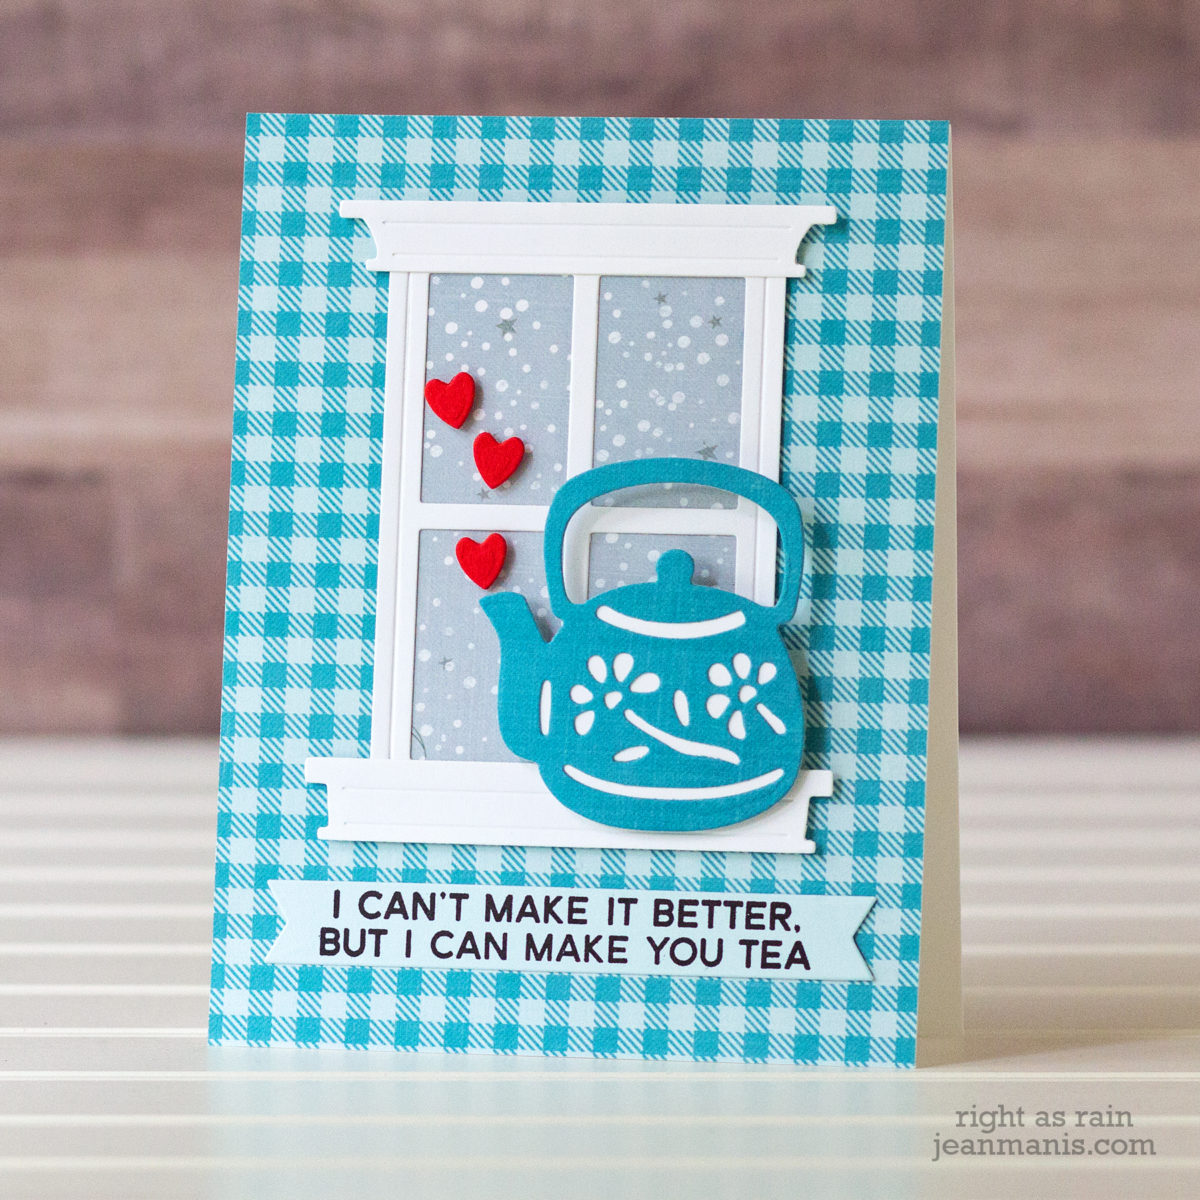
Hello! Today, I am sharing a CAS winter-themed card featuring dies from Spellbinders and Fun Stampers Journey. I wanted to convey a sense of comfort with the teapot and hearts set against a window, which I cut with the Fun Stampers Journey Window View die set.

CAS Winter Comfort Card

The teapot was cut with one of the dies in the Spellbinders Tea Pots by Sharyn Sowell die set; the hearts are included in the Spellbinders  Gingerbread Boy Garland Tag set. I used Echo Park patterned paper from my stash along with a sentiment from My Favorite Things Cup of Tea.

CAS Winter Comfort Card

Supplies:

Fun Stampers Journey – You Are Loved

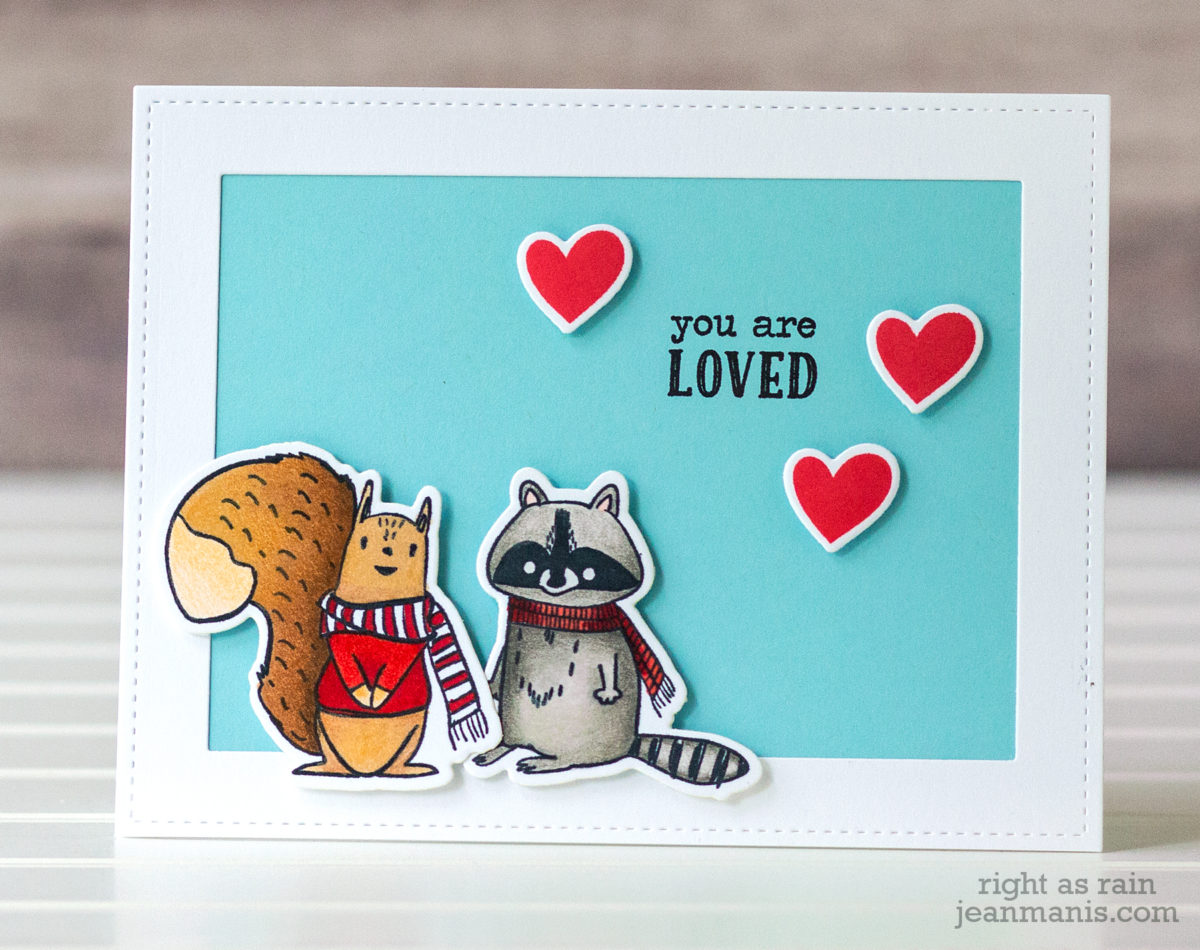
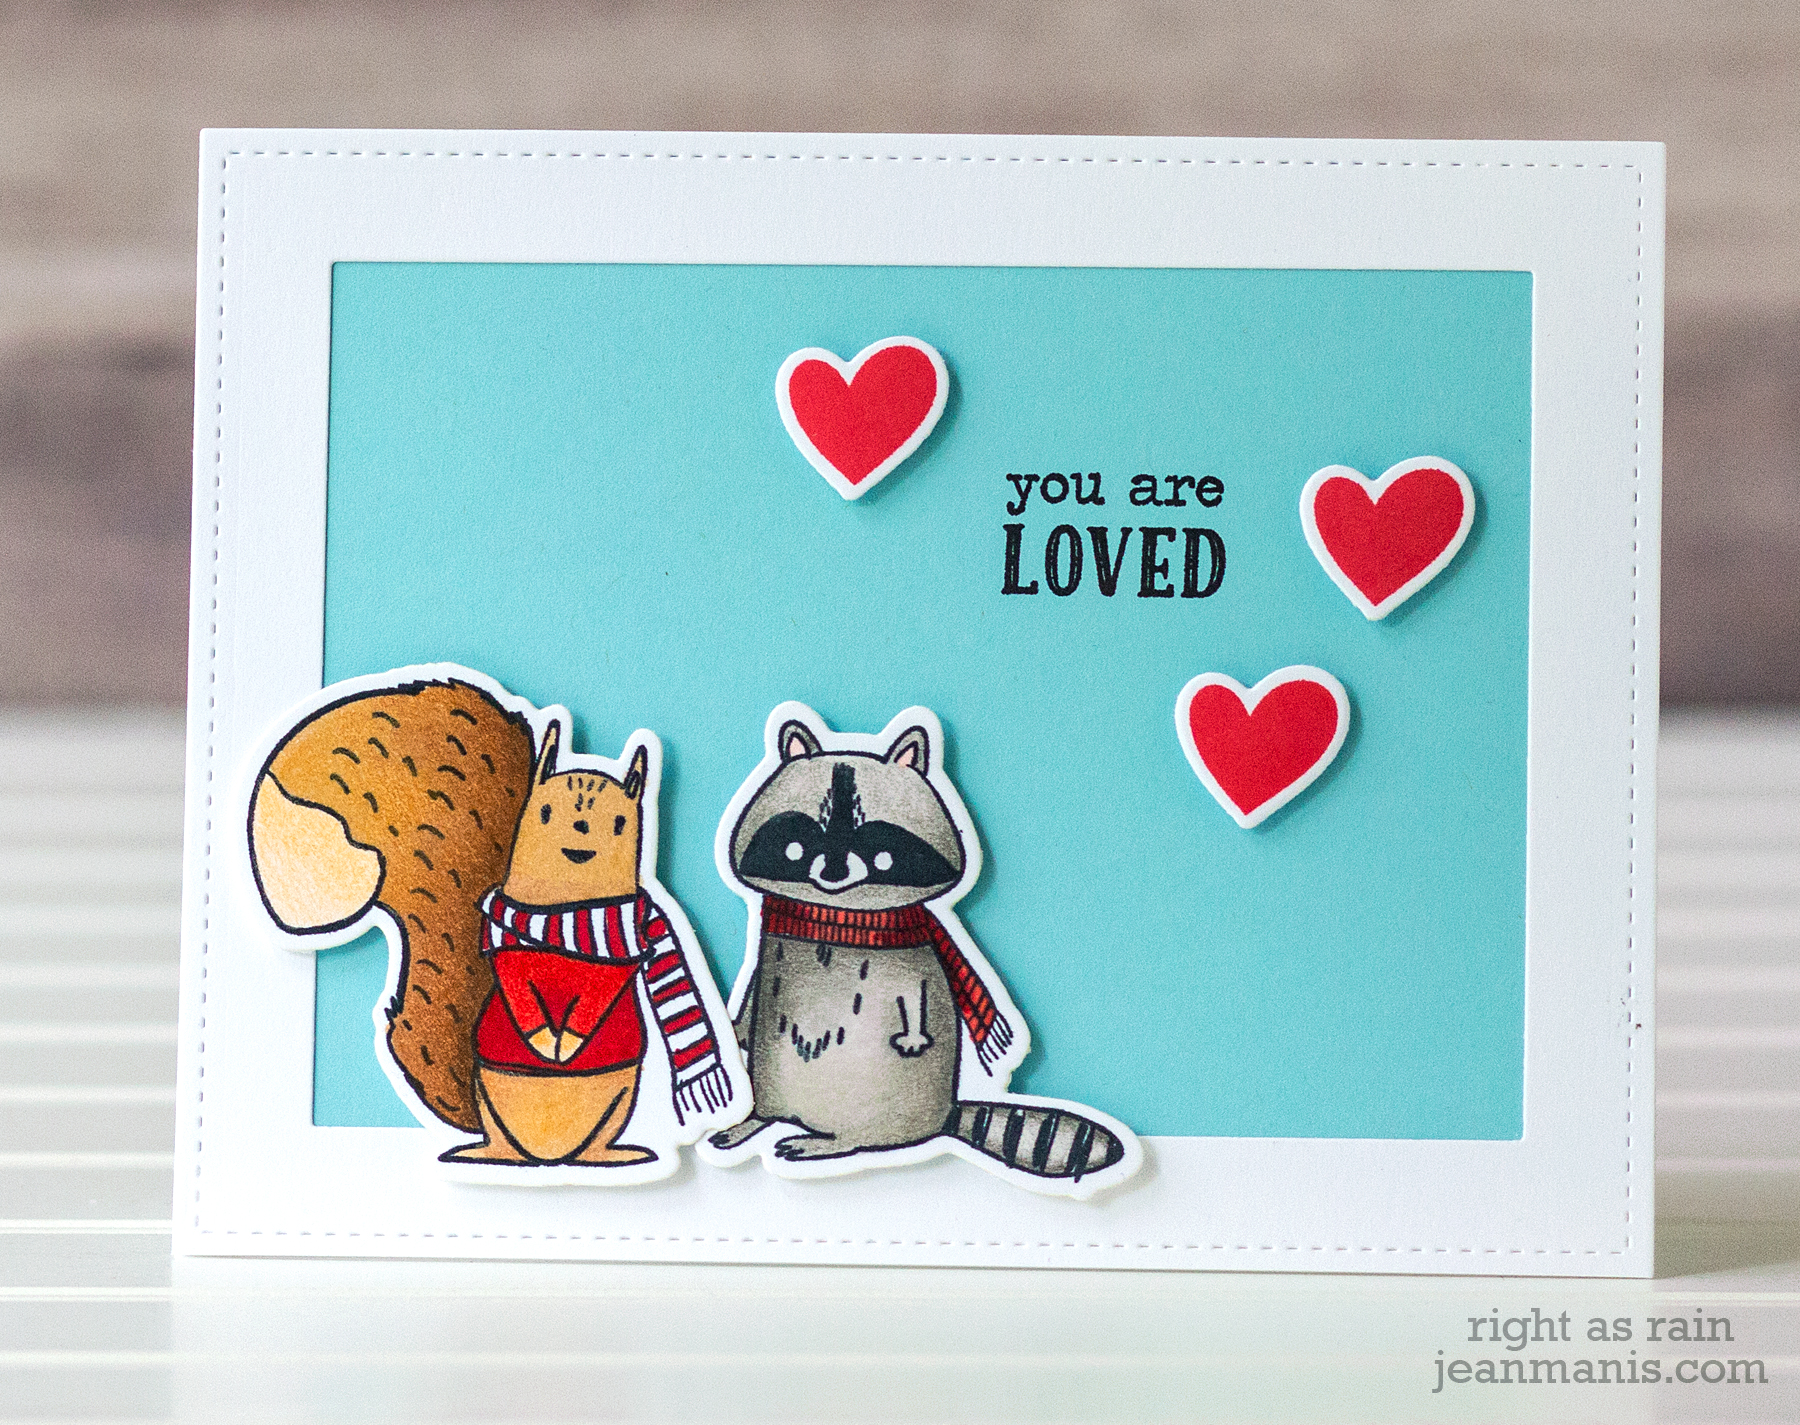
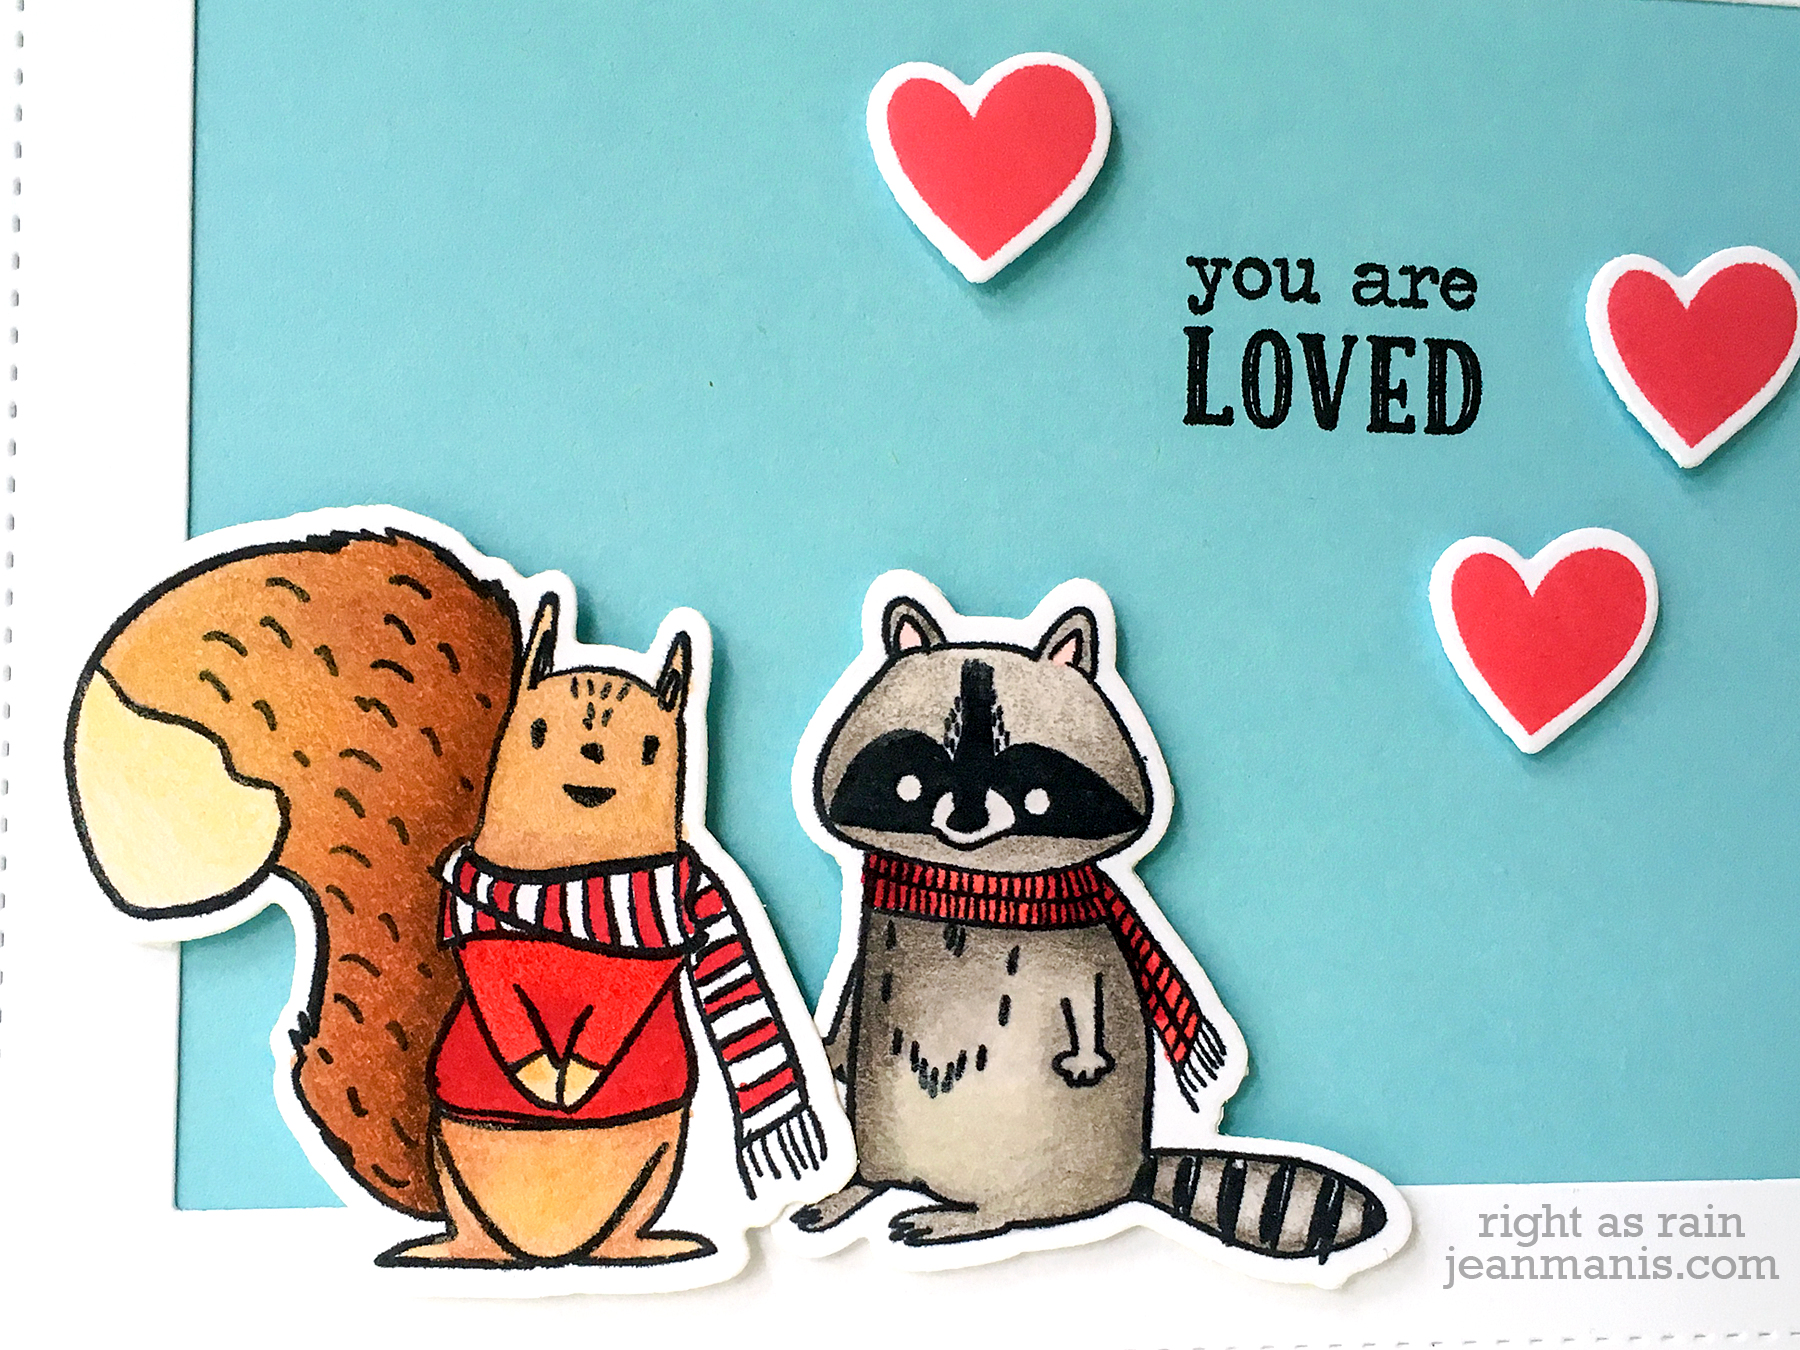
Hello! I am sharing a CAS winter-themed Valentine (or friendship card) featuring the Fun Stampers Journey It’s Cold Outside and Sending My Love stamp sets. Both stamp sets have coordinating dies.

I used rectangle dies to create the card frame. I stamped the cute critters from It’s Cold Outside and colored them with Copic markers and colored pencils and cut them with their coordinating dies. I stamped the sentiment from Sending My Love on Pool Play cardstock, which I placed behind the frame. I stamped hearts from the same set with Candy Apple ink, which I cut with their coordinating die and added to the background with foam adhesive.

Fun Stampers Journey – You Are Loved

Supplies:

Spellbinders Exquisite Splendor Collection by Marisa Job

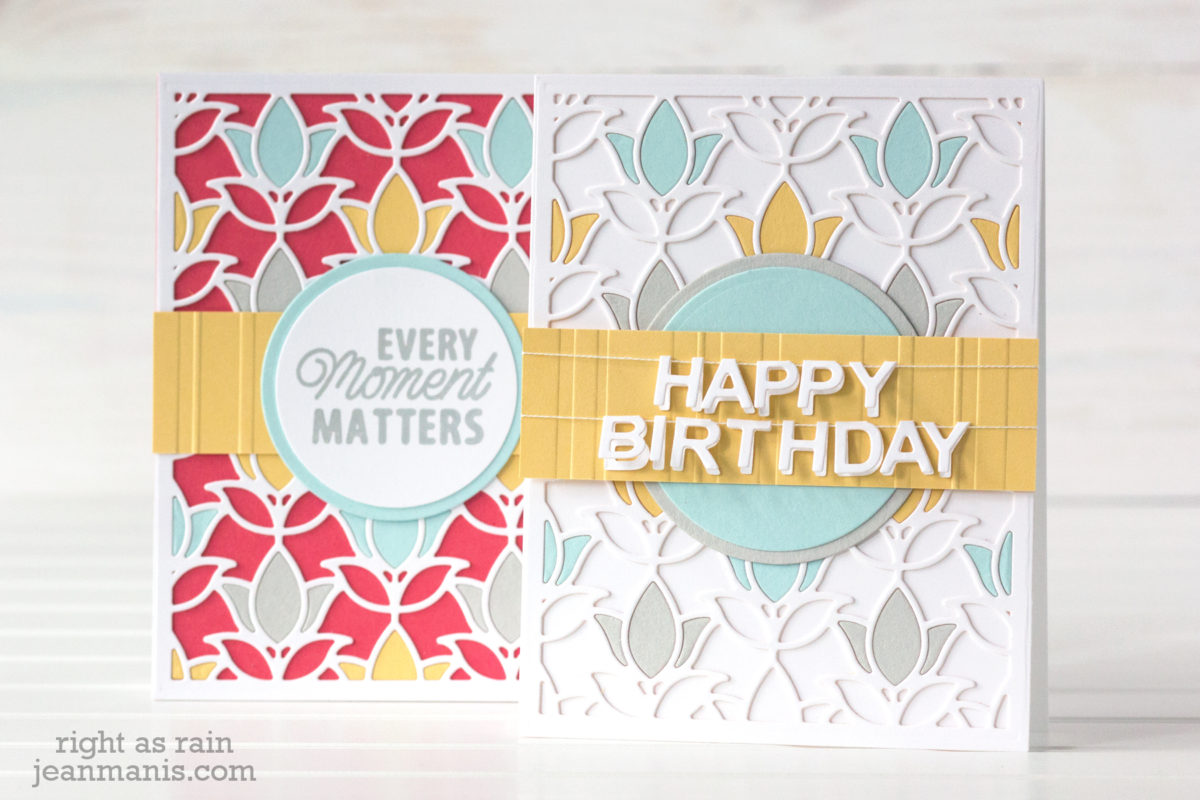
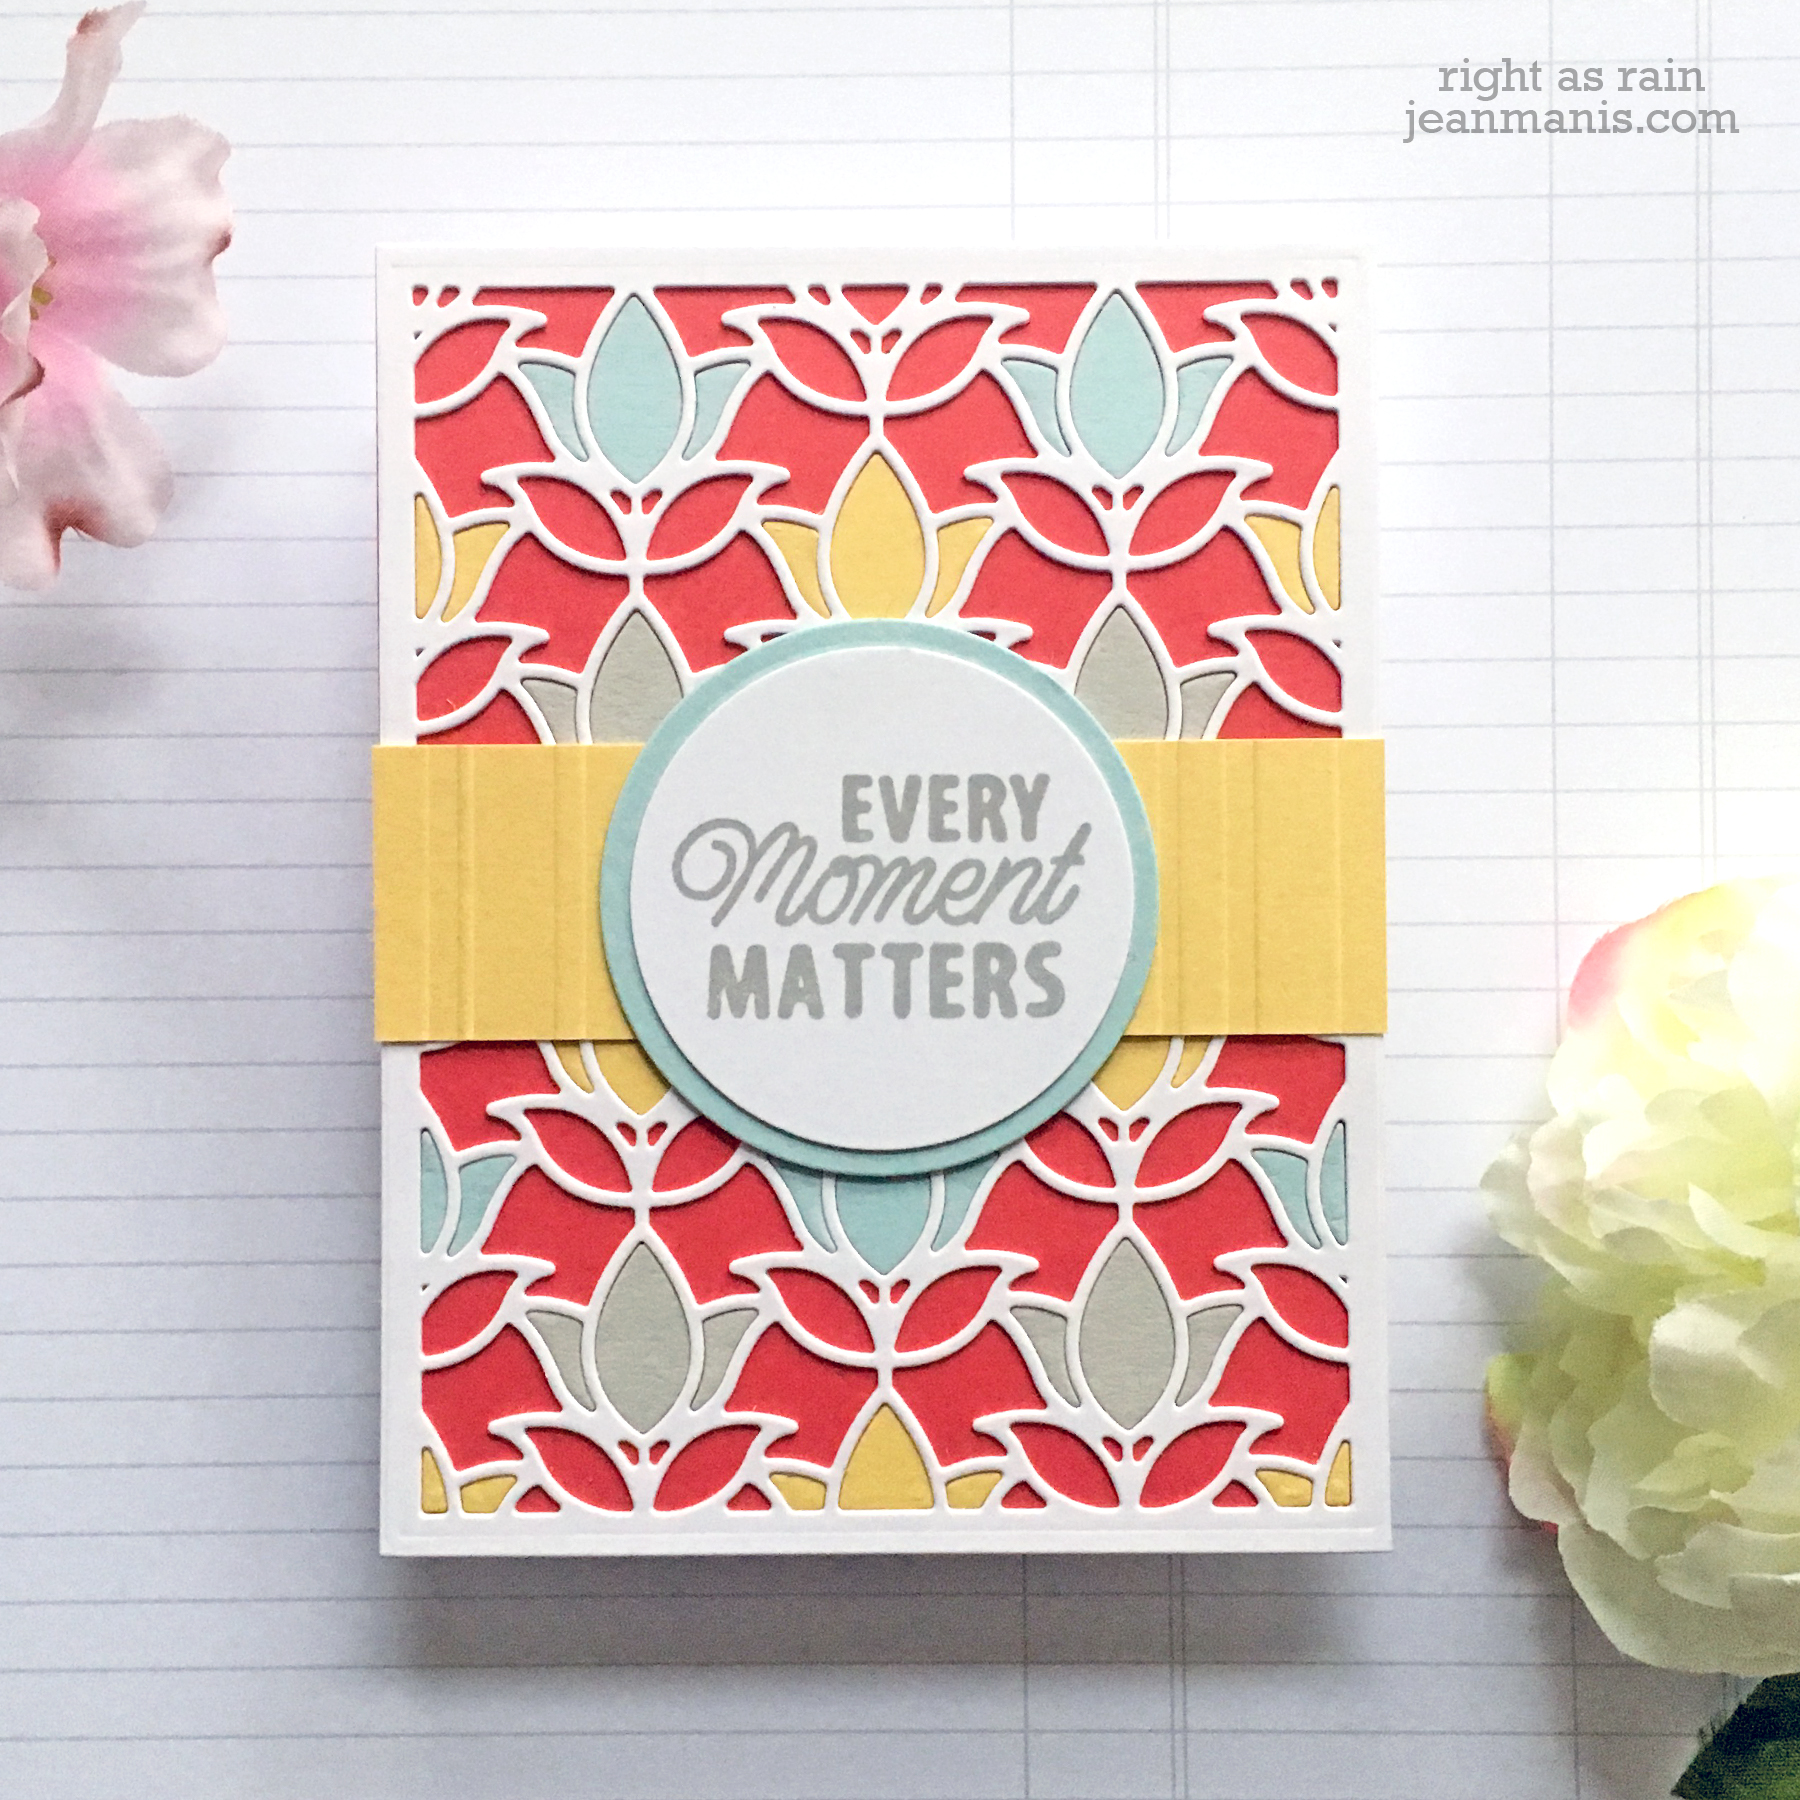
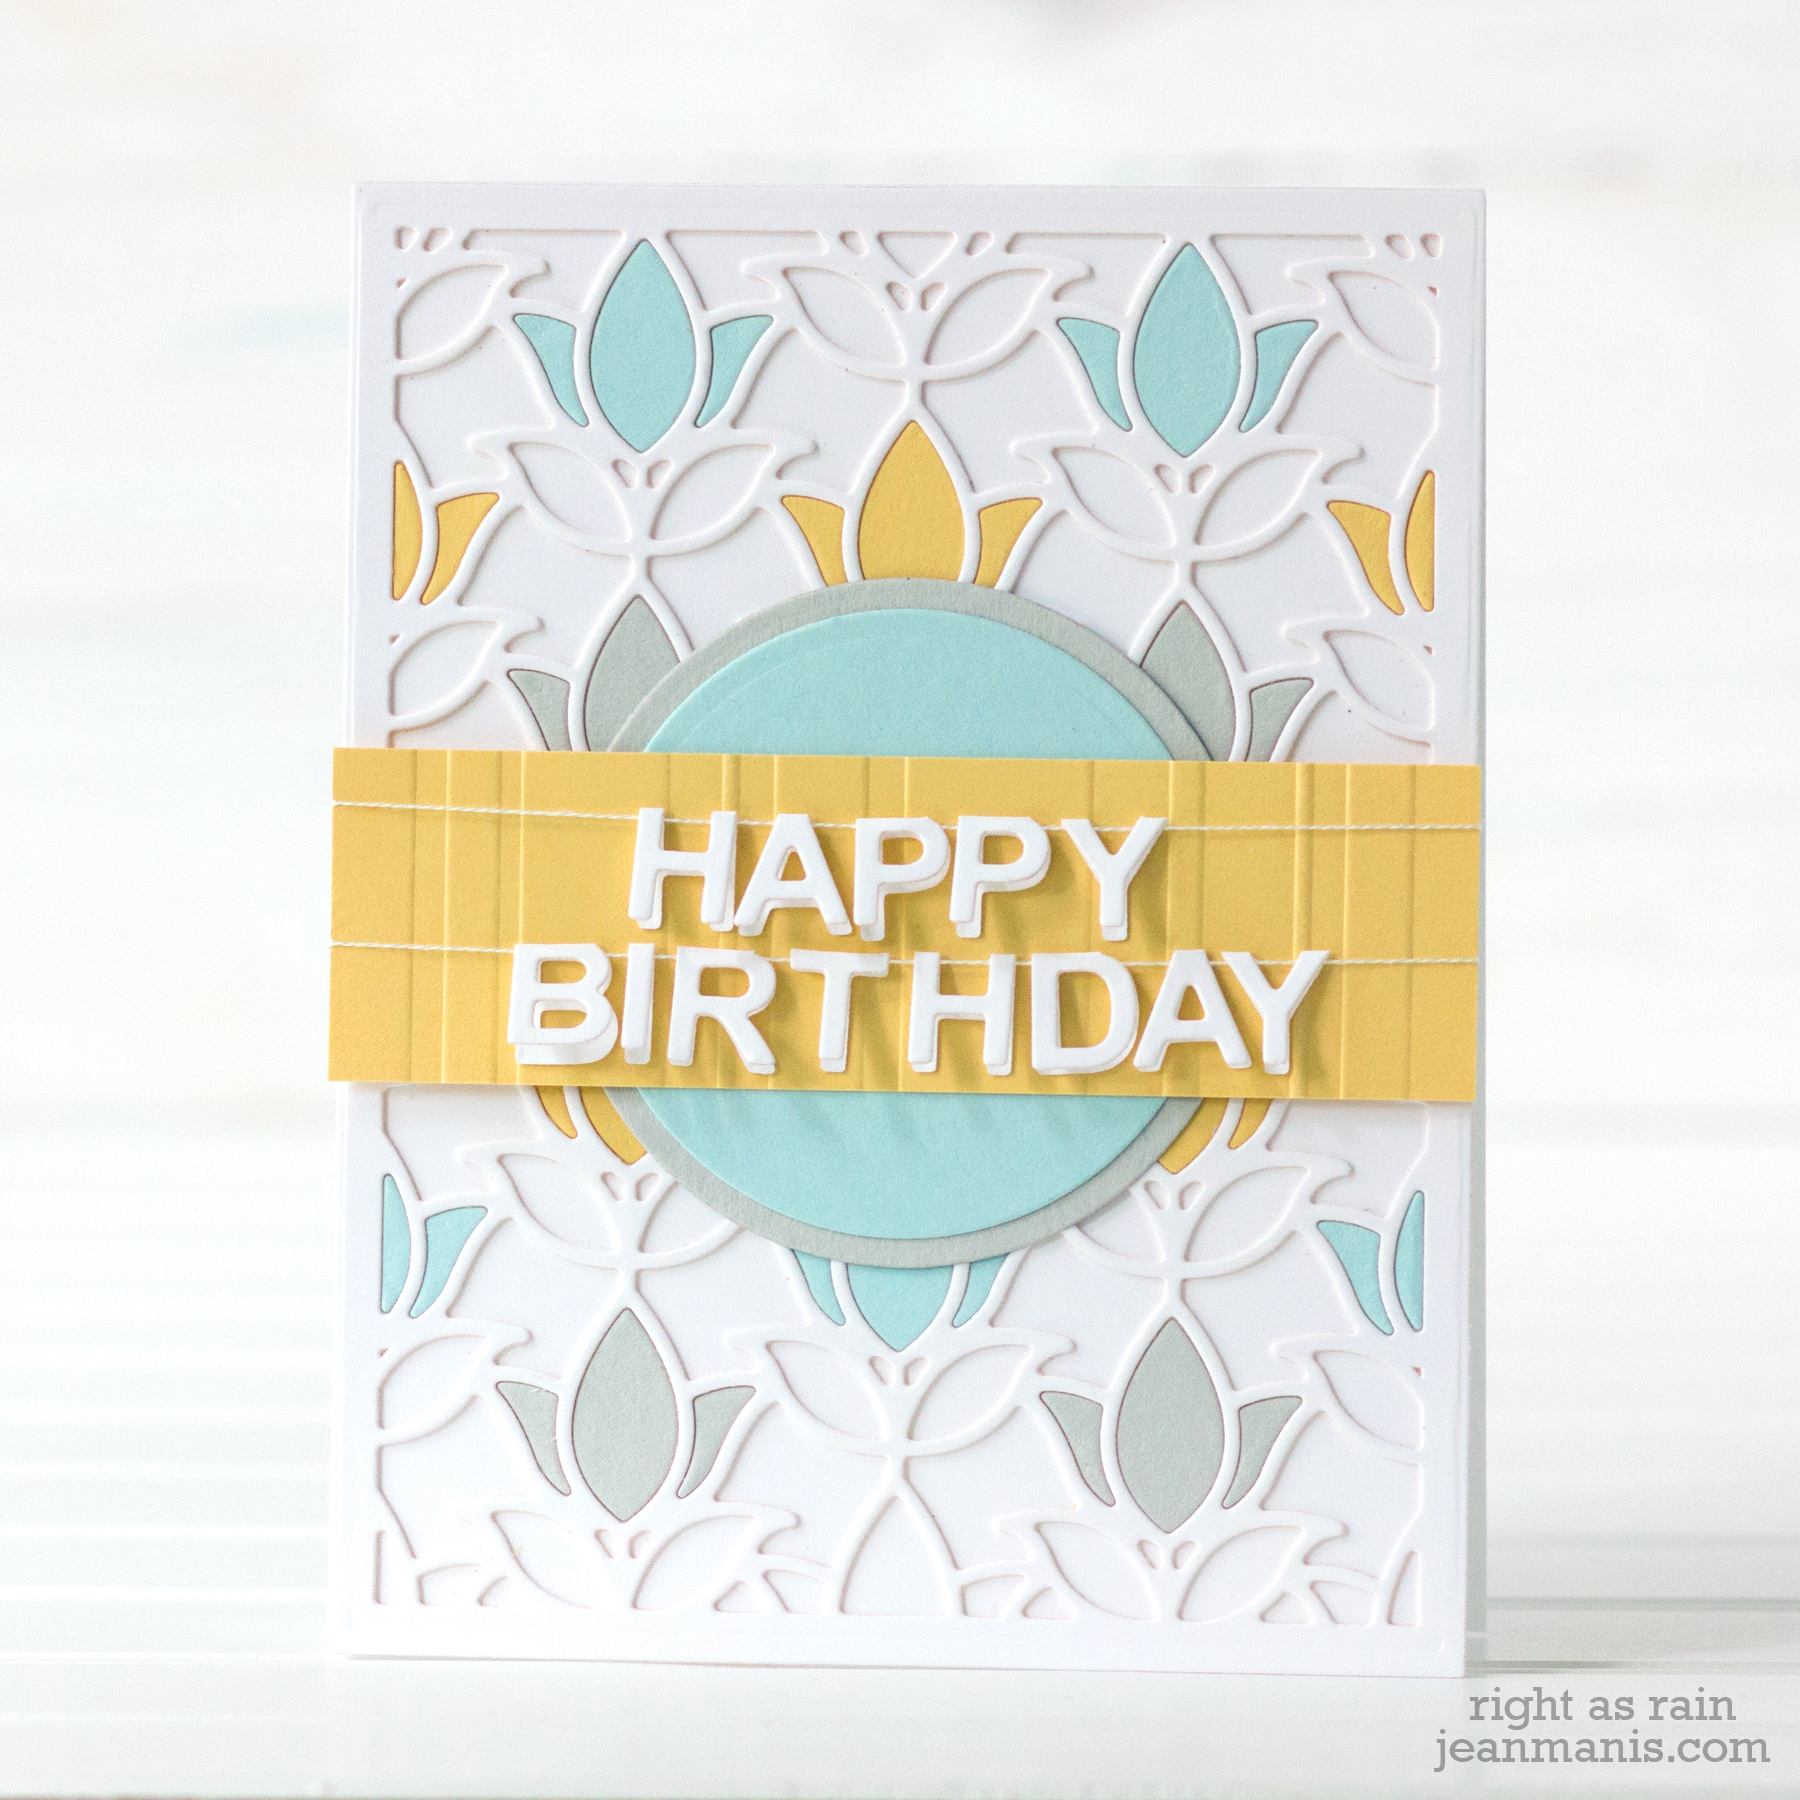
Hello! Today I am sharing two projects created with the recently-introduced Spellbinders Exquisite Splendor Collection by Marisa Job – beautiful botanical dies that can be used for a number of occasions including birthdays and weddings! I used the Tulip Flower Frame Card Creator die set to create the background for both of my CAS cards. Let’s take a look.

Spellbinders Exquisite Splendor Collection by Marisa Job

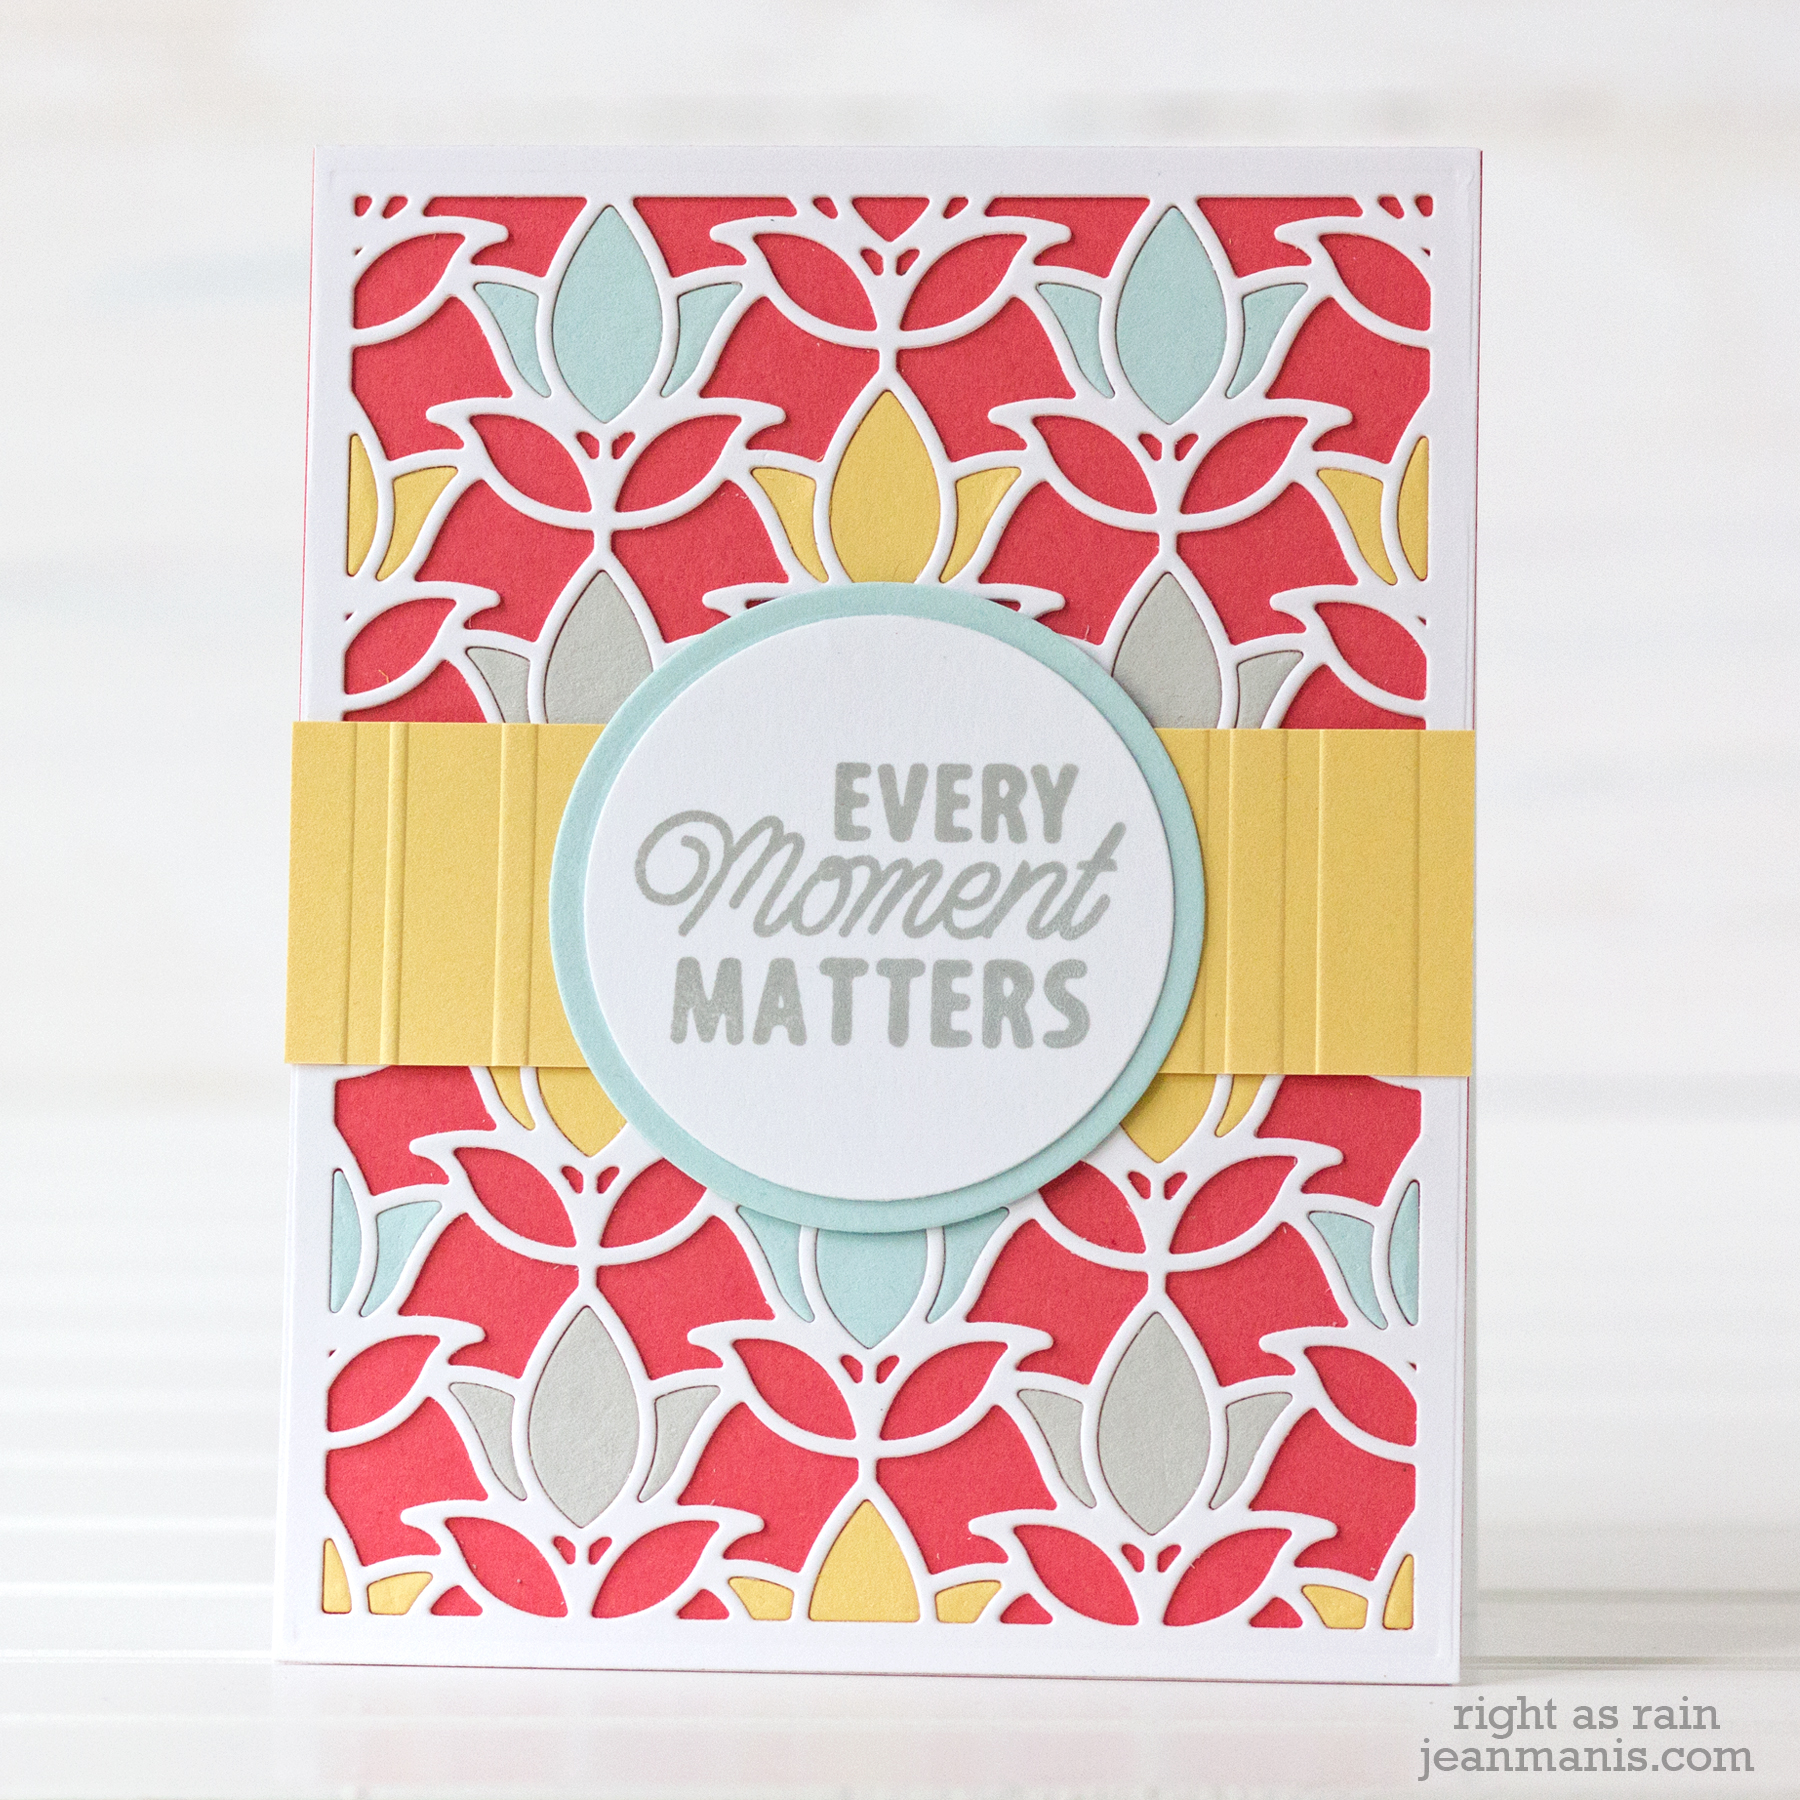
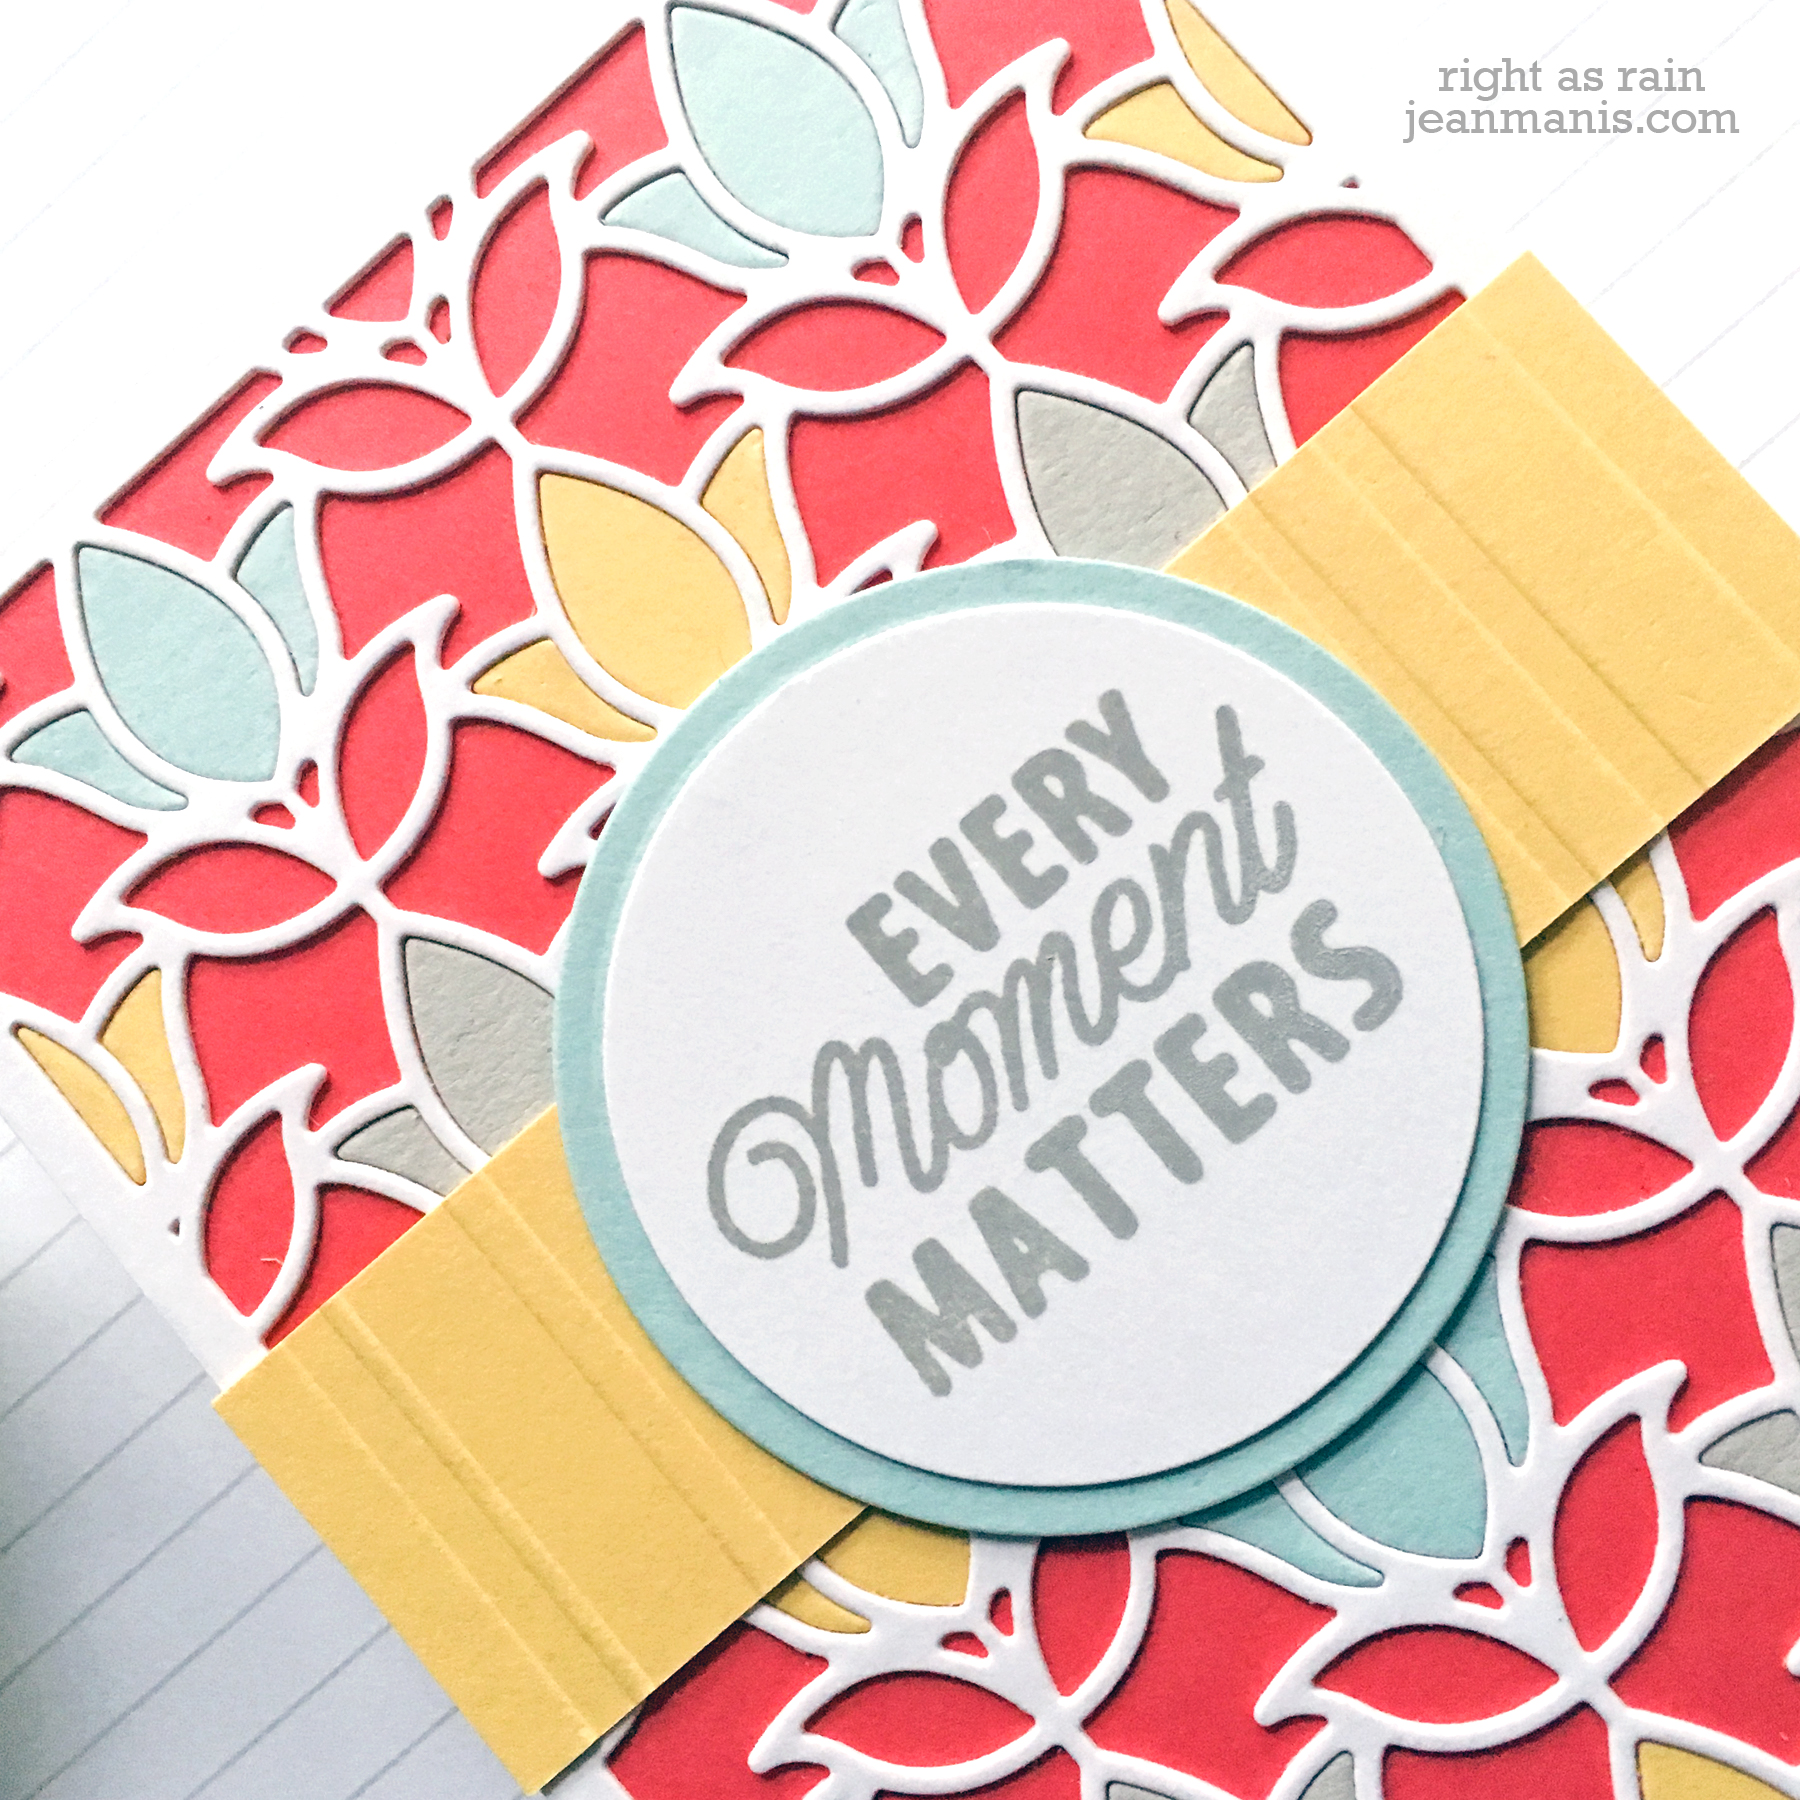
On my first project, I began by cutting the card panel with the rectangle die in the Tulip Flower Frame Card Creator set, (the set includes an A2 size 4.25 x 5.50 in. outline frame and an intricate tulip design insert), from Whip Creme cardstock. I then cut the tulip design from the A2 panel. I did this a second time and adhered the layers together. I backed the assembly with coral cardstock. I used the tulip design to cut soft blue, soft yellow, and soft gray pieces which I adhered to the coral base with glue. Having the two layers makes this technique easy!

Spellbinders Exquisite Splendor Collection by Marisa Job

Spellbinders Exquisite Splendor Collection by Marisa Job

I dry-embossed a strip of soft yellow cardstock with the Beach Towel embossing folder and added a sentiment stamped with the Every Moment stamp set, cut with a Spellbinders circle die.

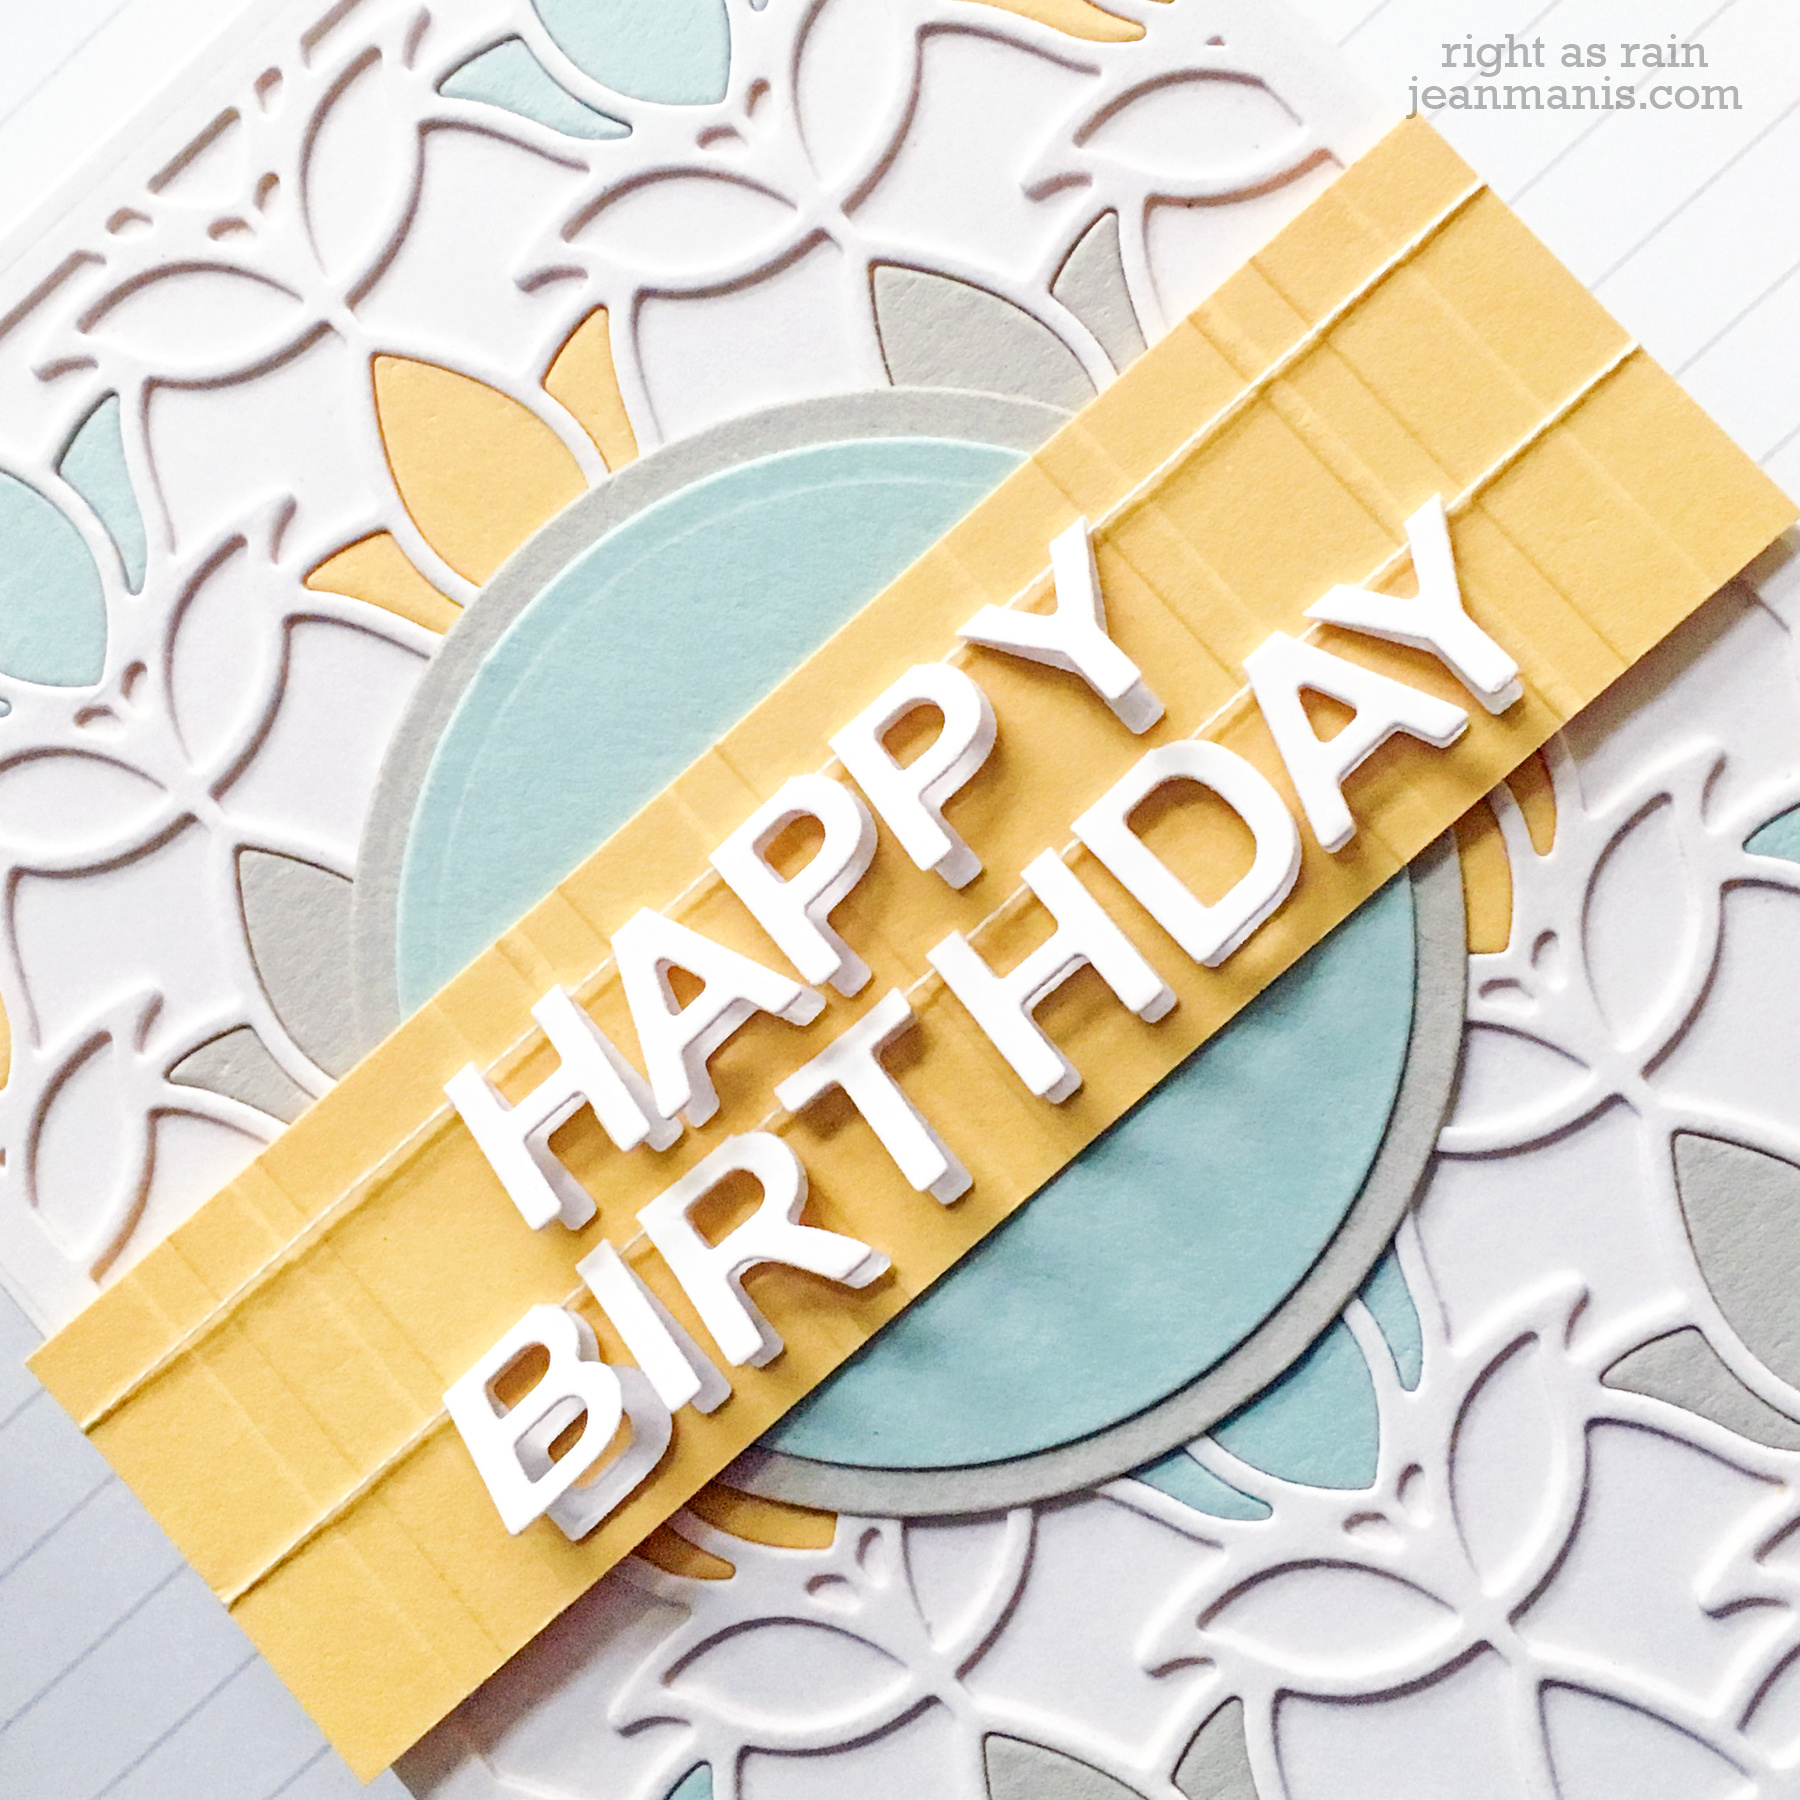
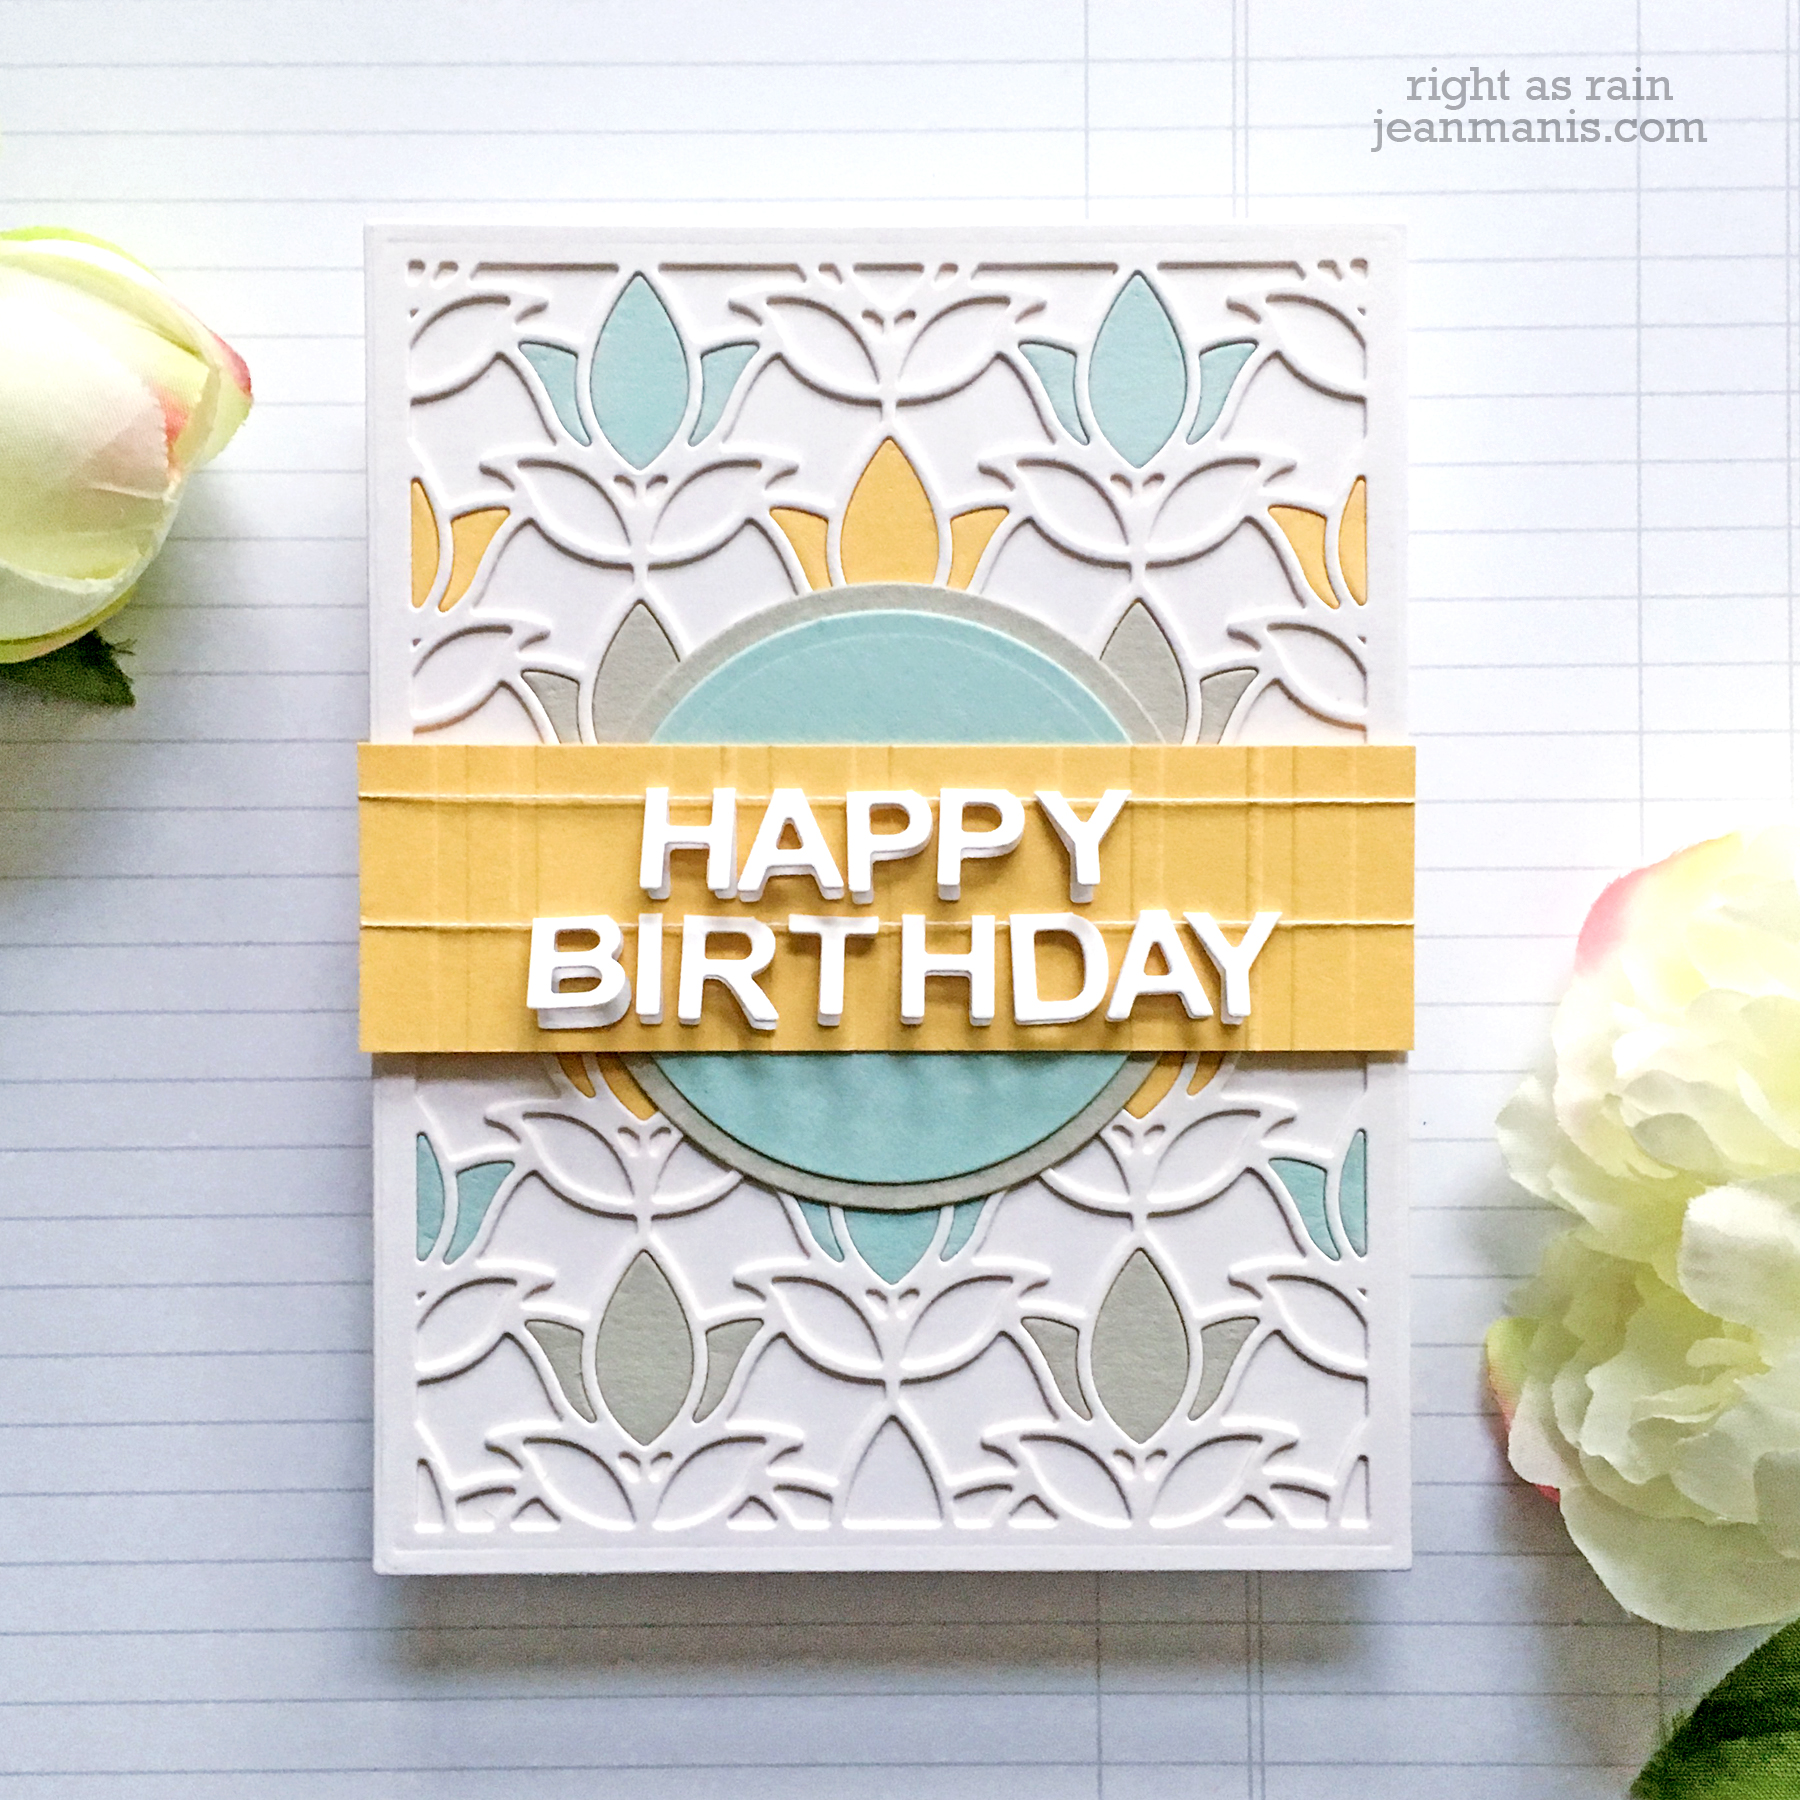
My second project is of a similar design, and I followed the same steps as for my first card. I created the sentiment with the Happy Birthday Banner, another die set in the Exquisite Splendor Collection.

Spellbinders Exquisite Splendor Collection by Marisa Job

I adhered the sentiment letters to a single piece of floss with liquid adhesive and attached the ends of the strings to the back of the dry-embossed strip, which was then adhered to the card base.

Spellbinders Exquisite Splendor Collection by Marisa Job

Spellbinders Exquisite Splendor Collection by Marisa Job

Thanks for visiting today!

Spellbinders New Collections Inspiration Blog Hop

Spellbinders New Collections Inspiration Blog Hop

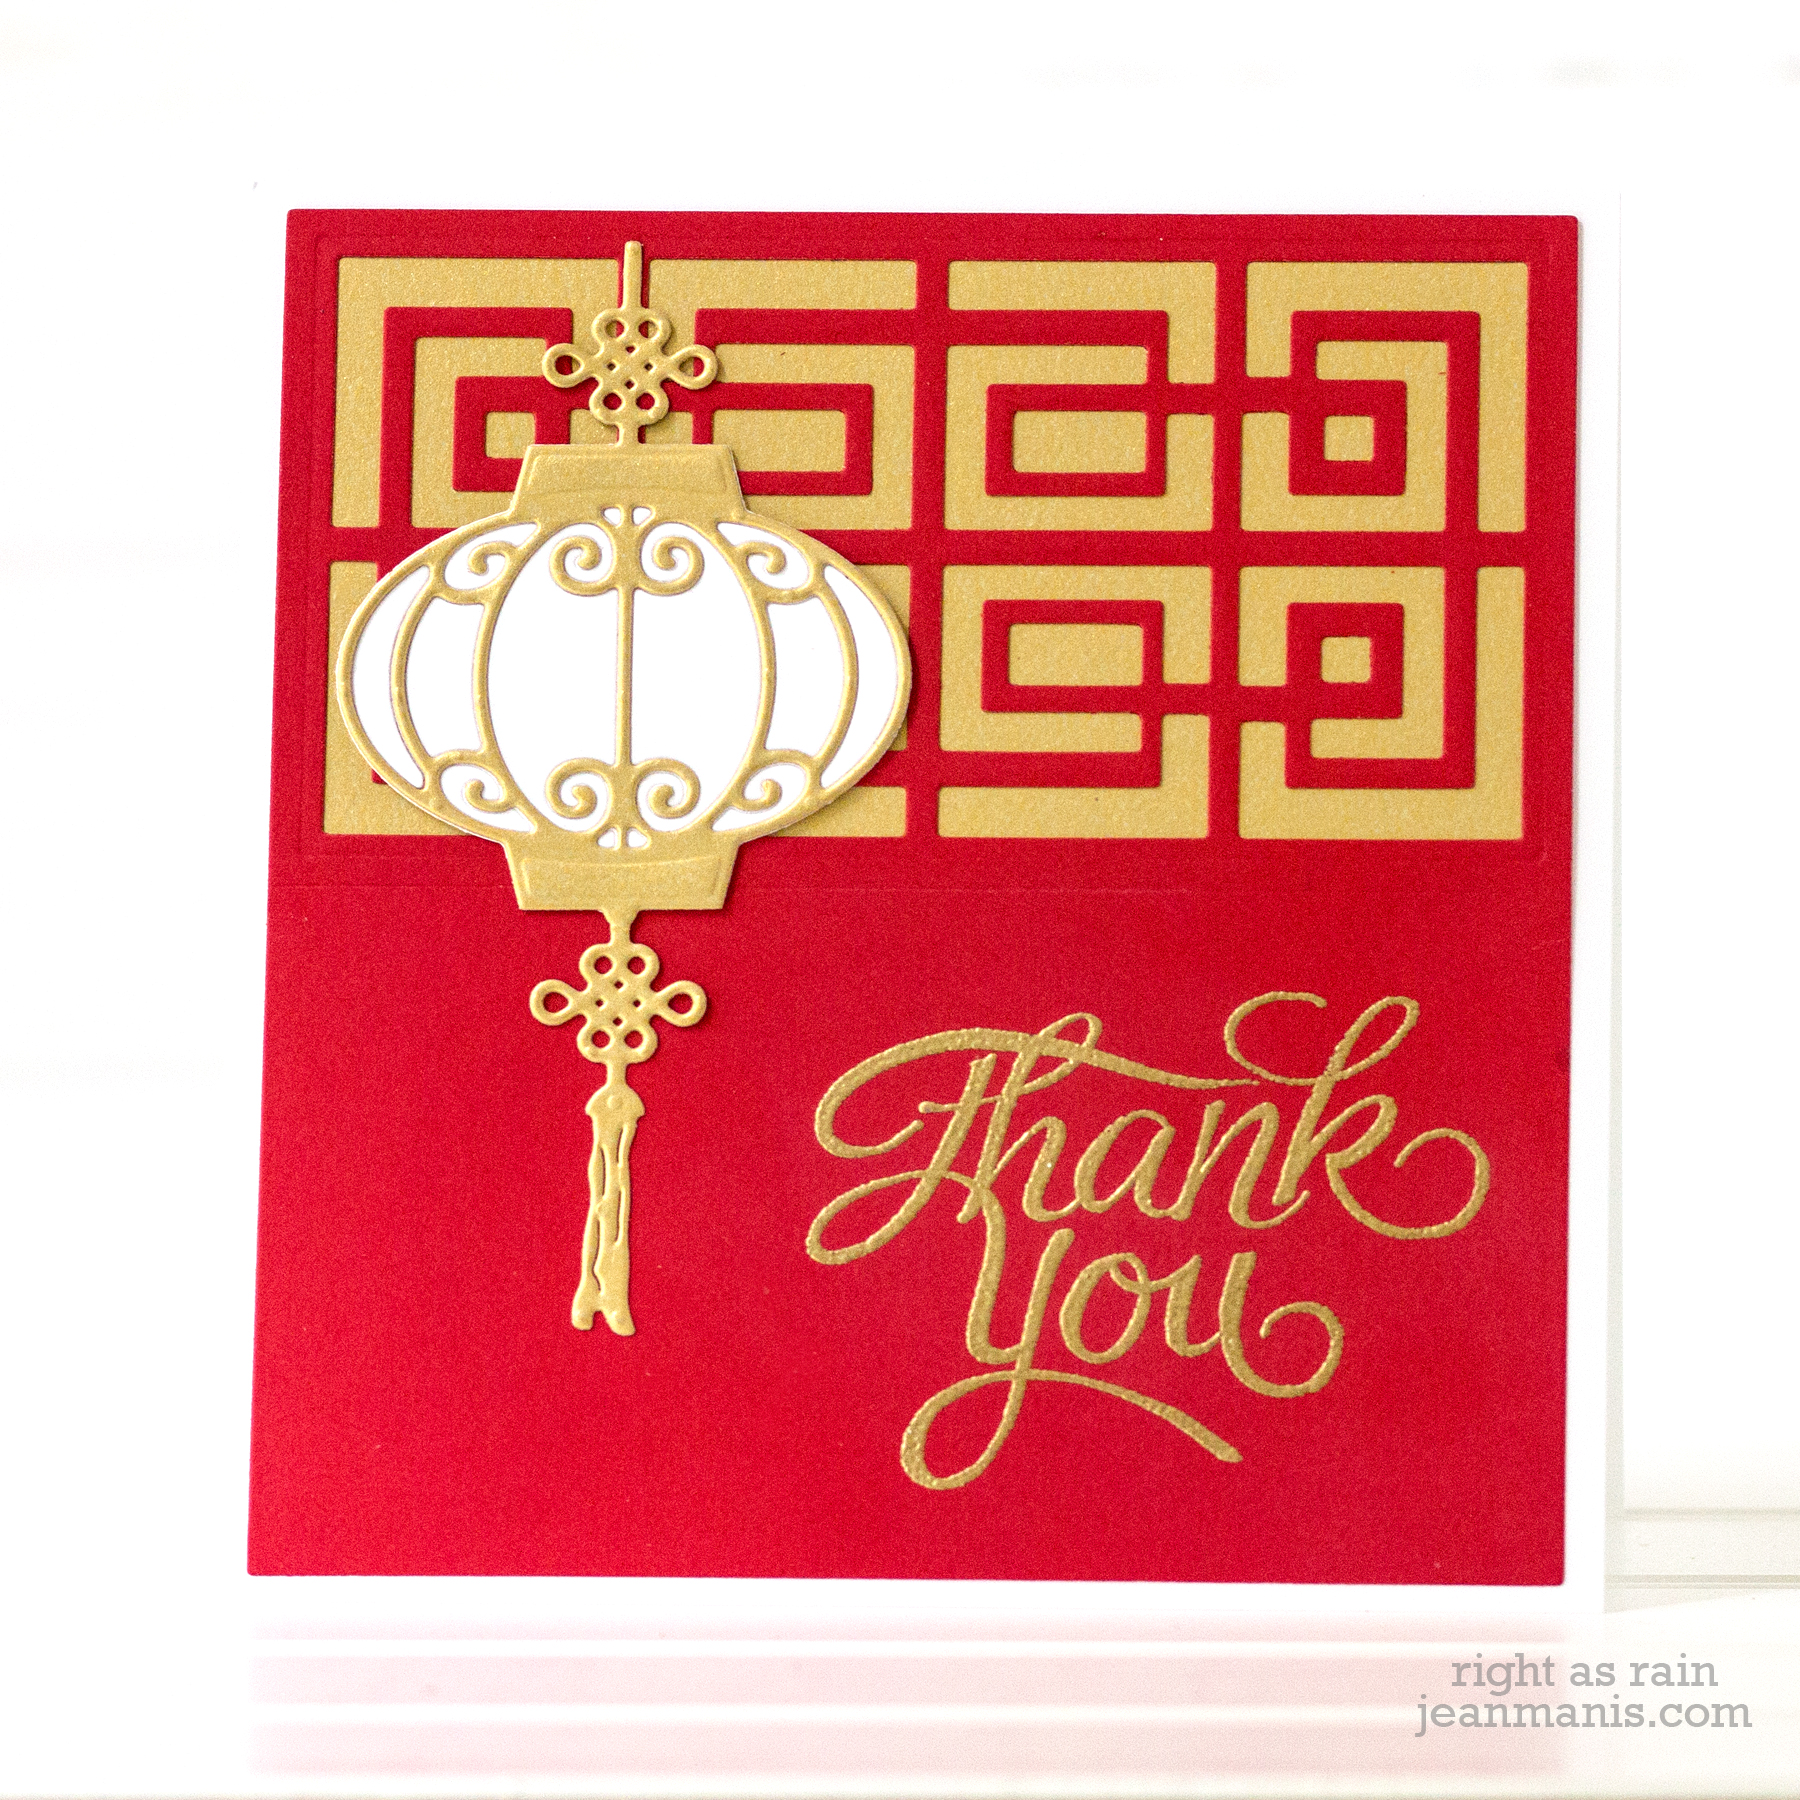
Hello! I am delighted to be sharing four cards created with the Spellbinders Collection Destination China by Lene Lok as part of the New Collections Inspiration Blog Hop. You should have arrived from the blog of Caly Personthe blog hop begins at SpellbindersThe entire list of participants is included at the end of my post.

To celebrate this release, Spellbinders is giving away a $50 gift certificate to one blog reader – selected from the comments across all of the blogs in the hop. Giveaway closes on Sunday, December 23 at 11:59 pm EDT. The winner will be announced in the blog hop post the following Monday. Winner is responsible for shipping cost, duties, and taxes.

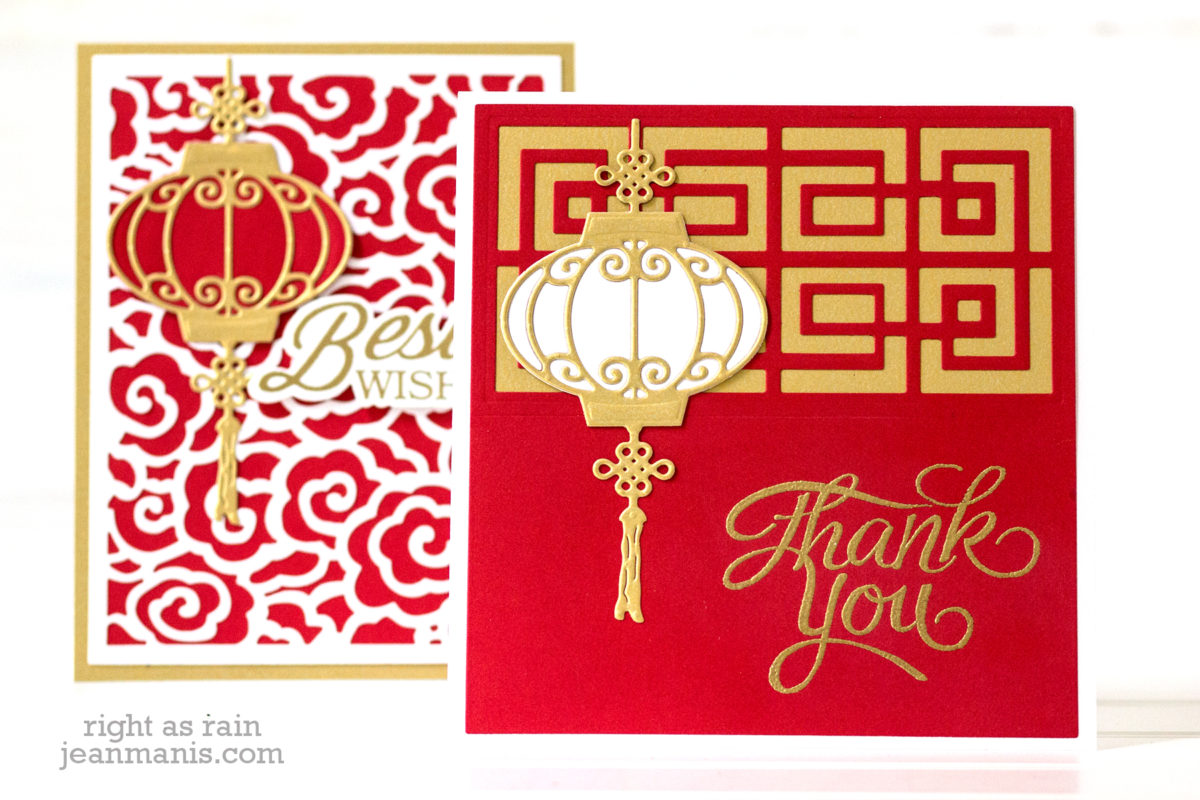
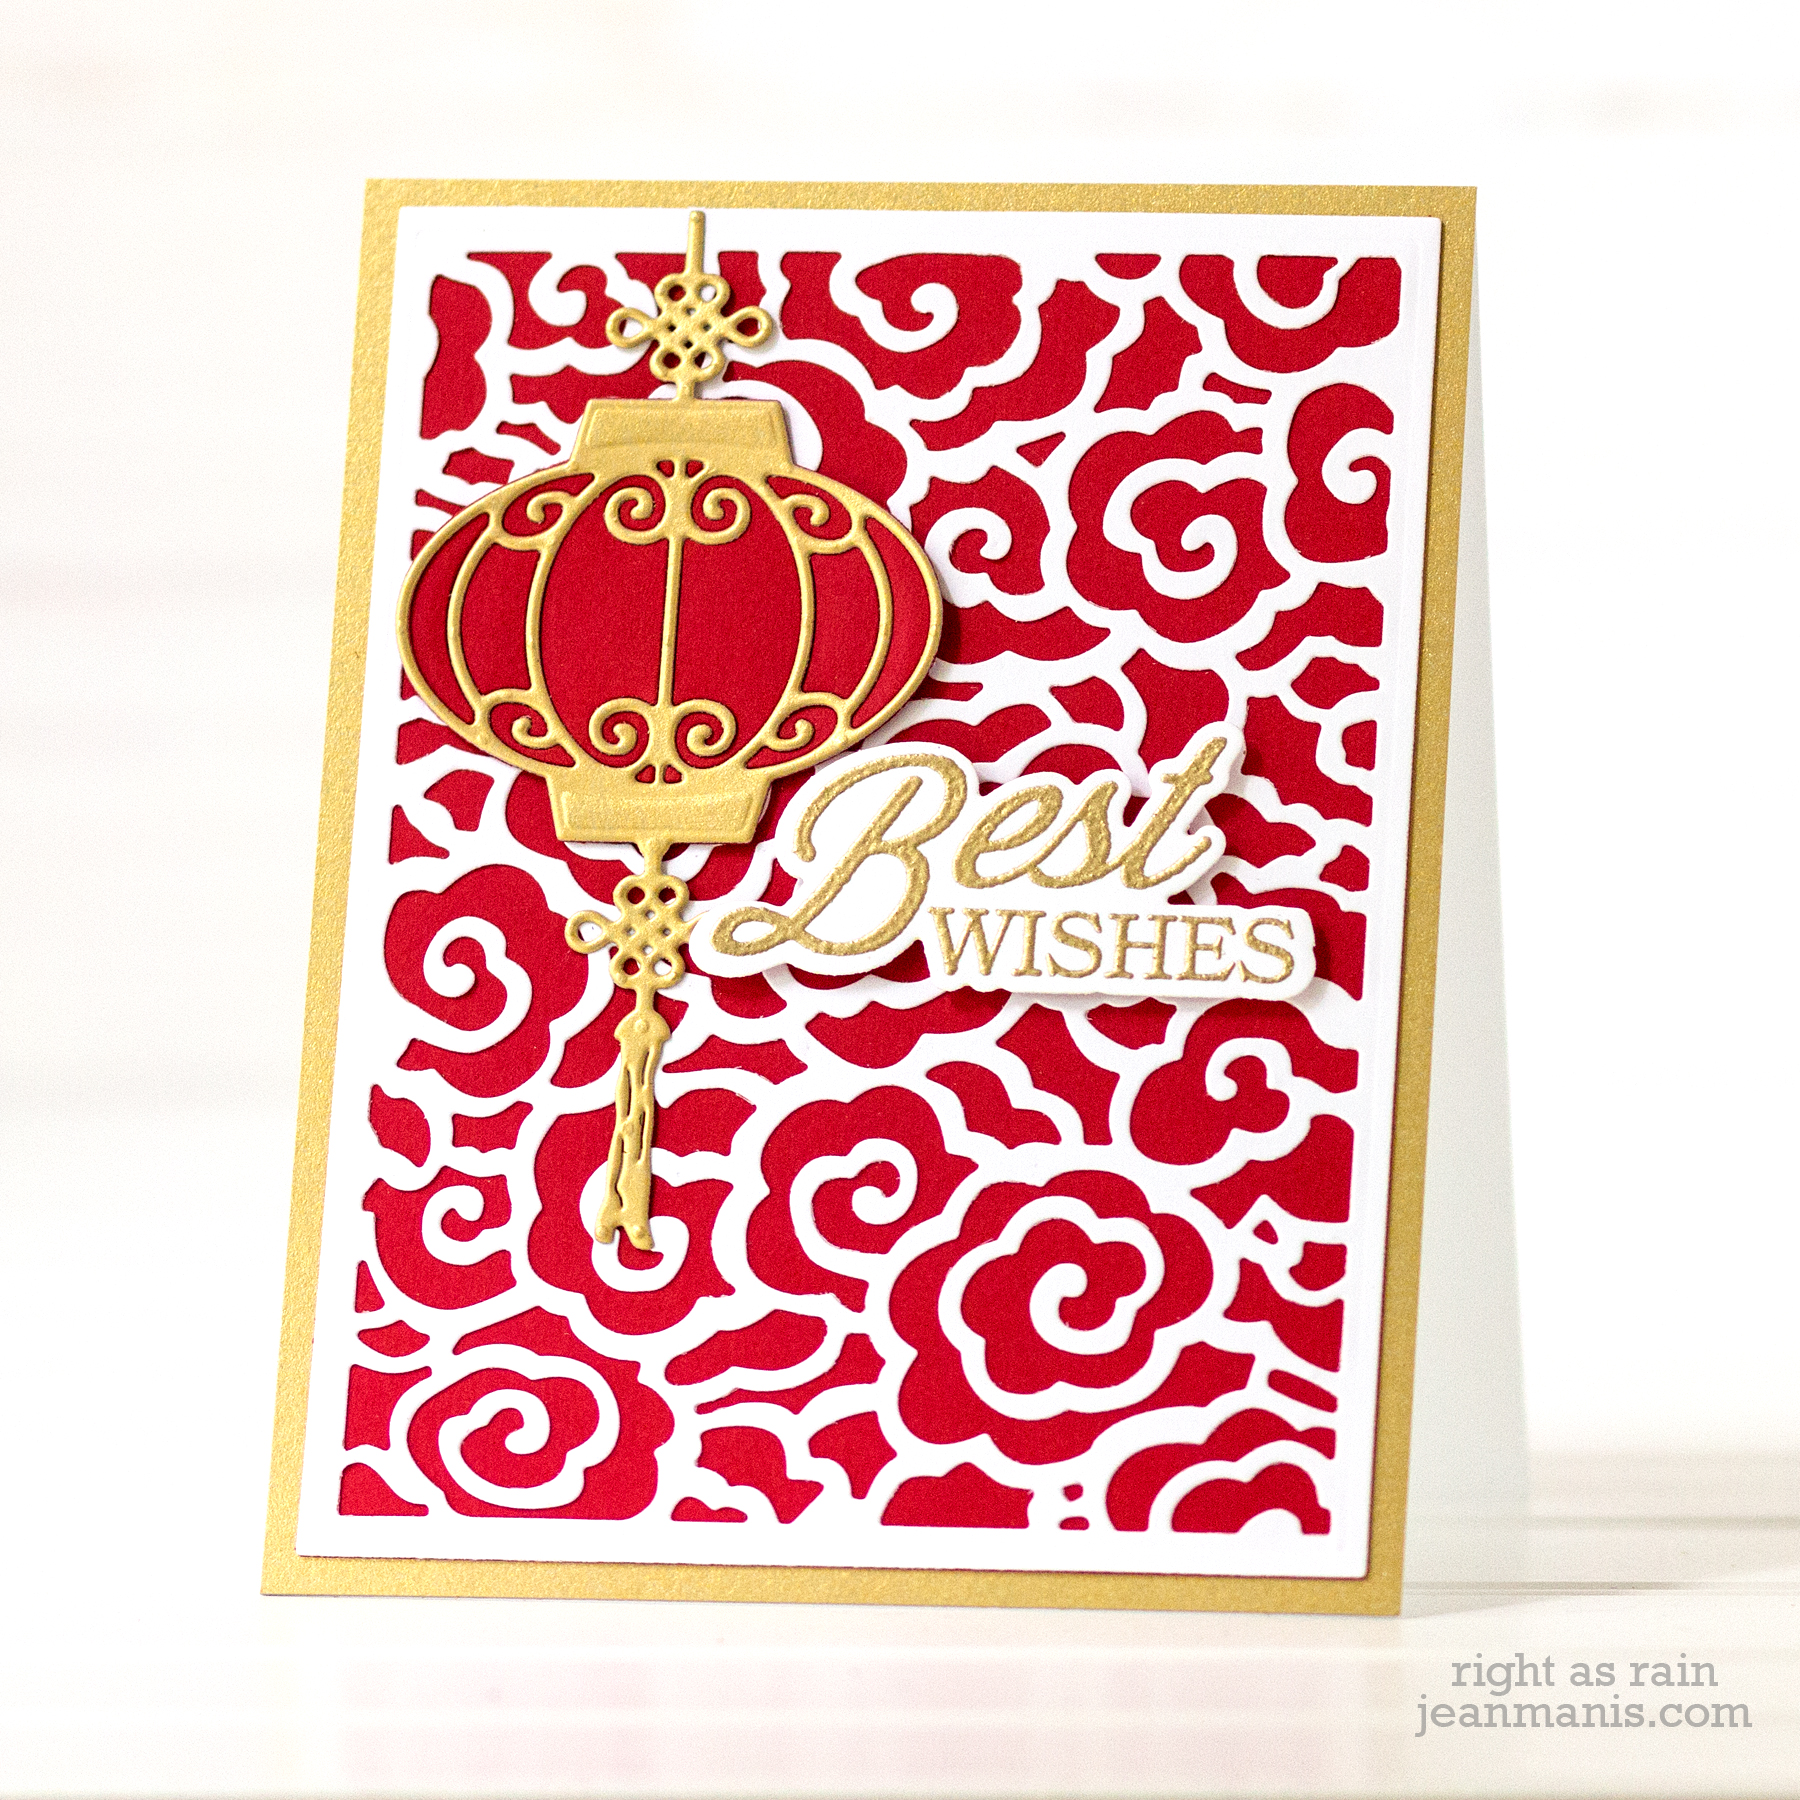
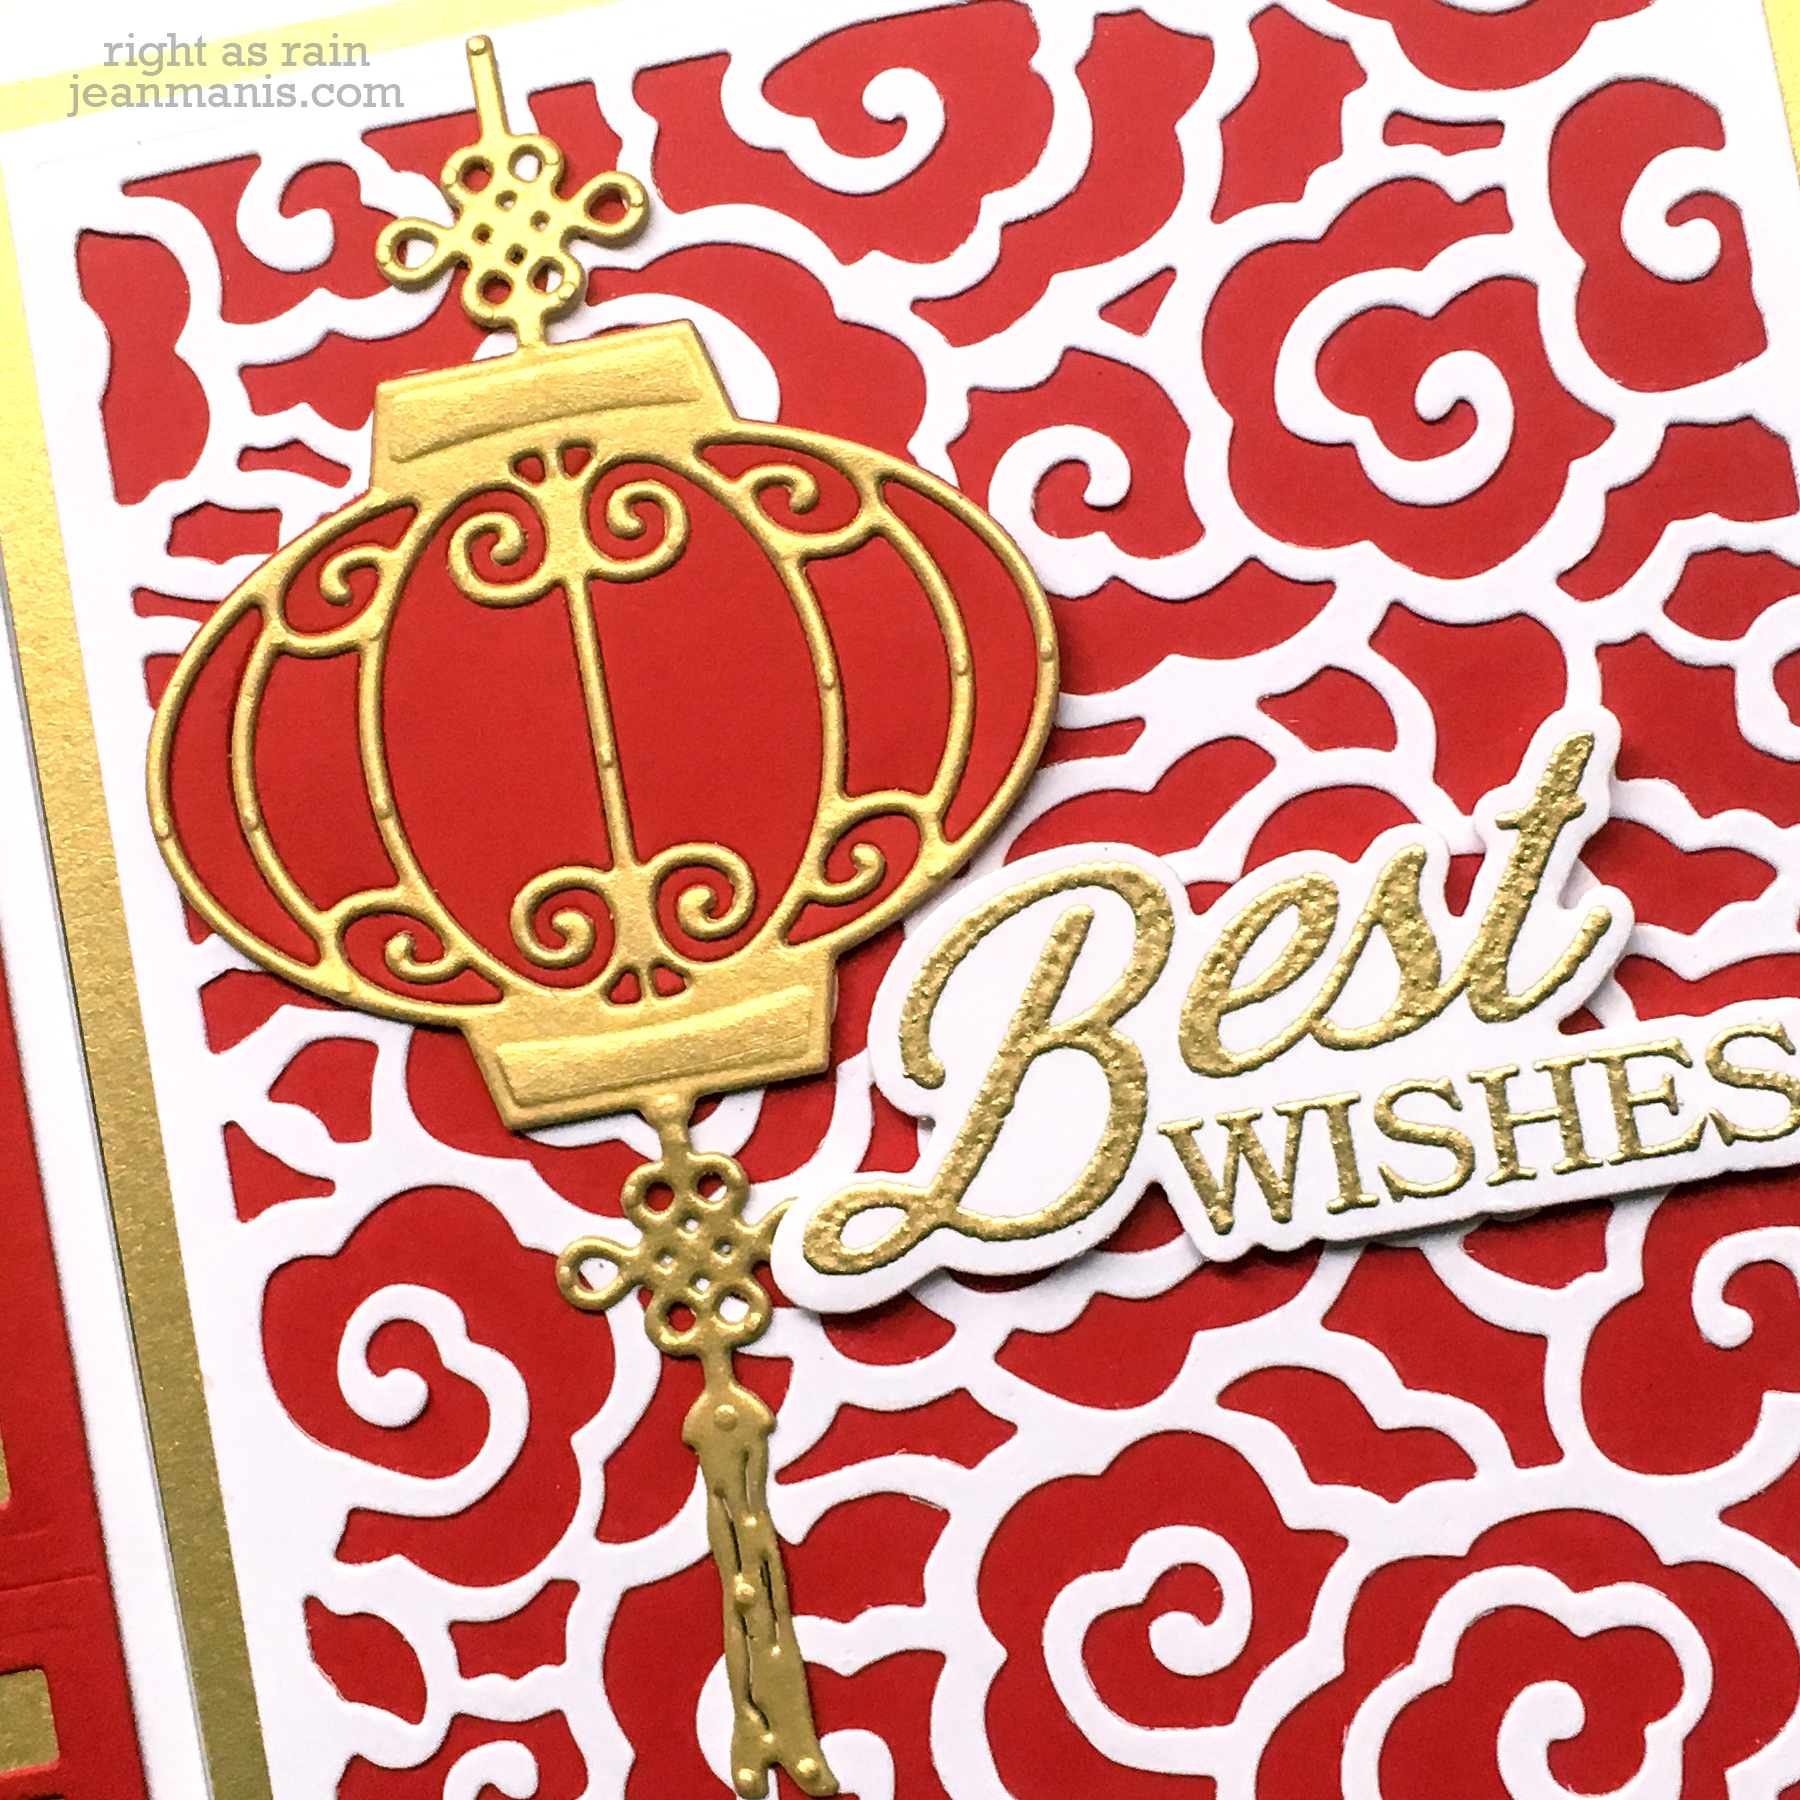
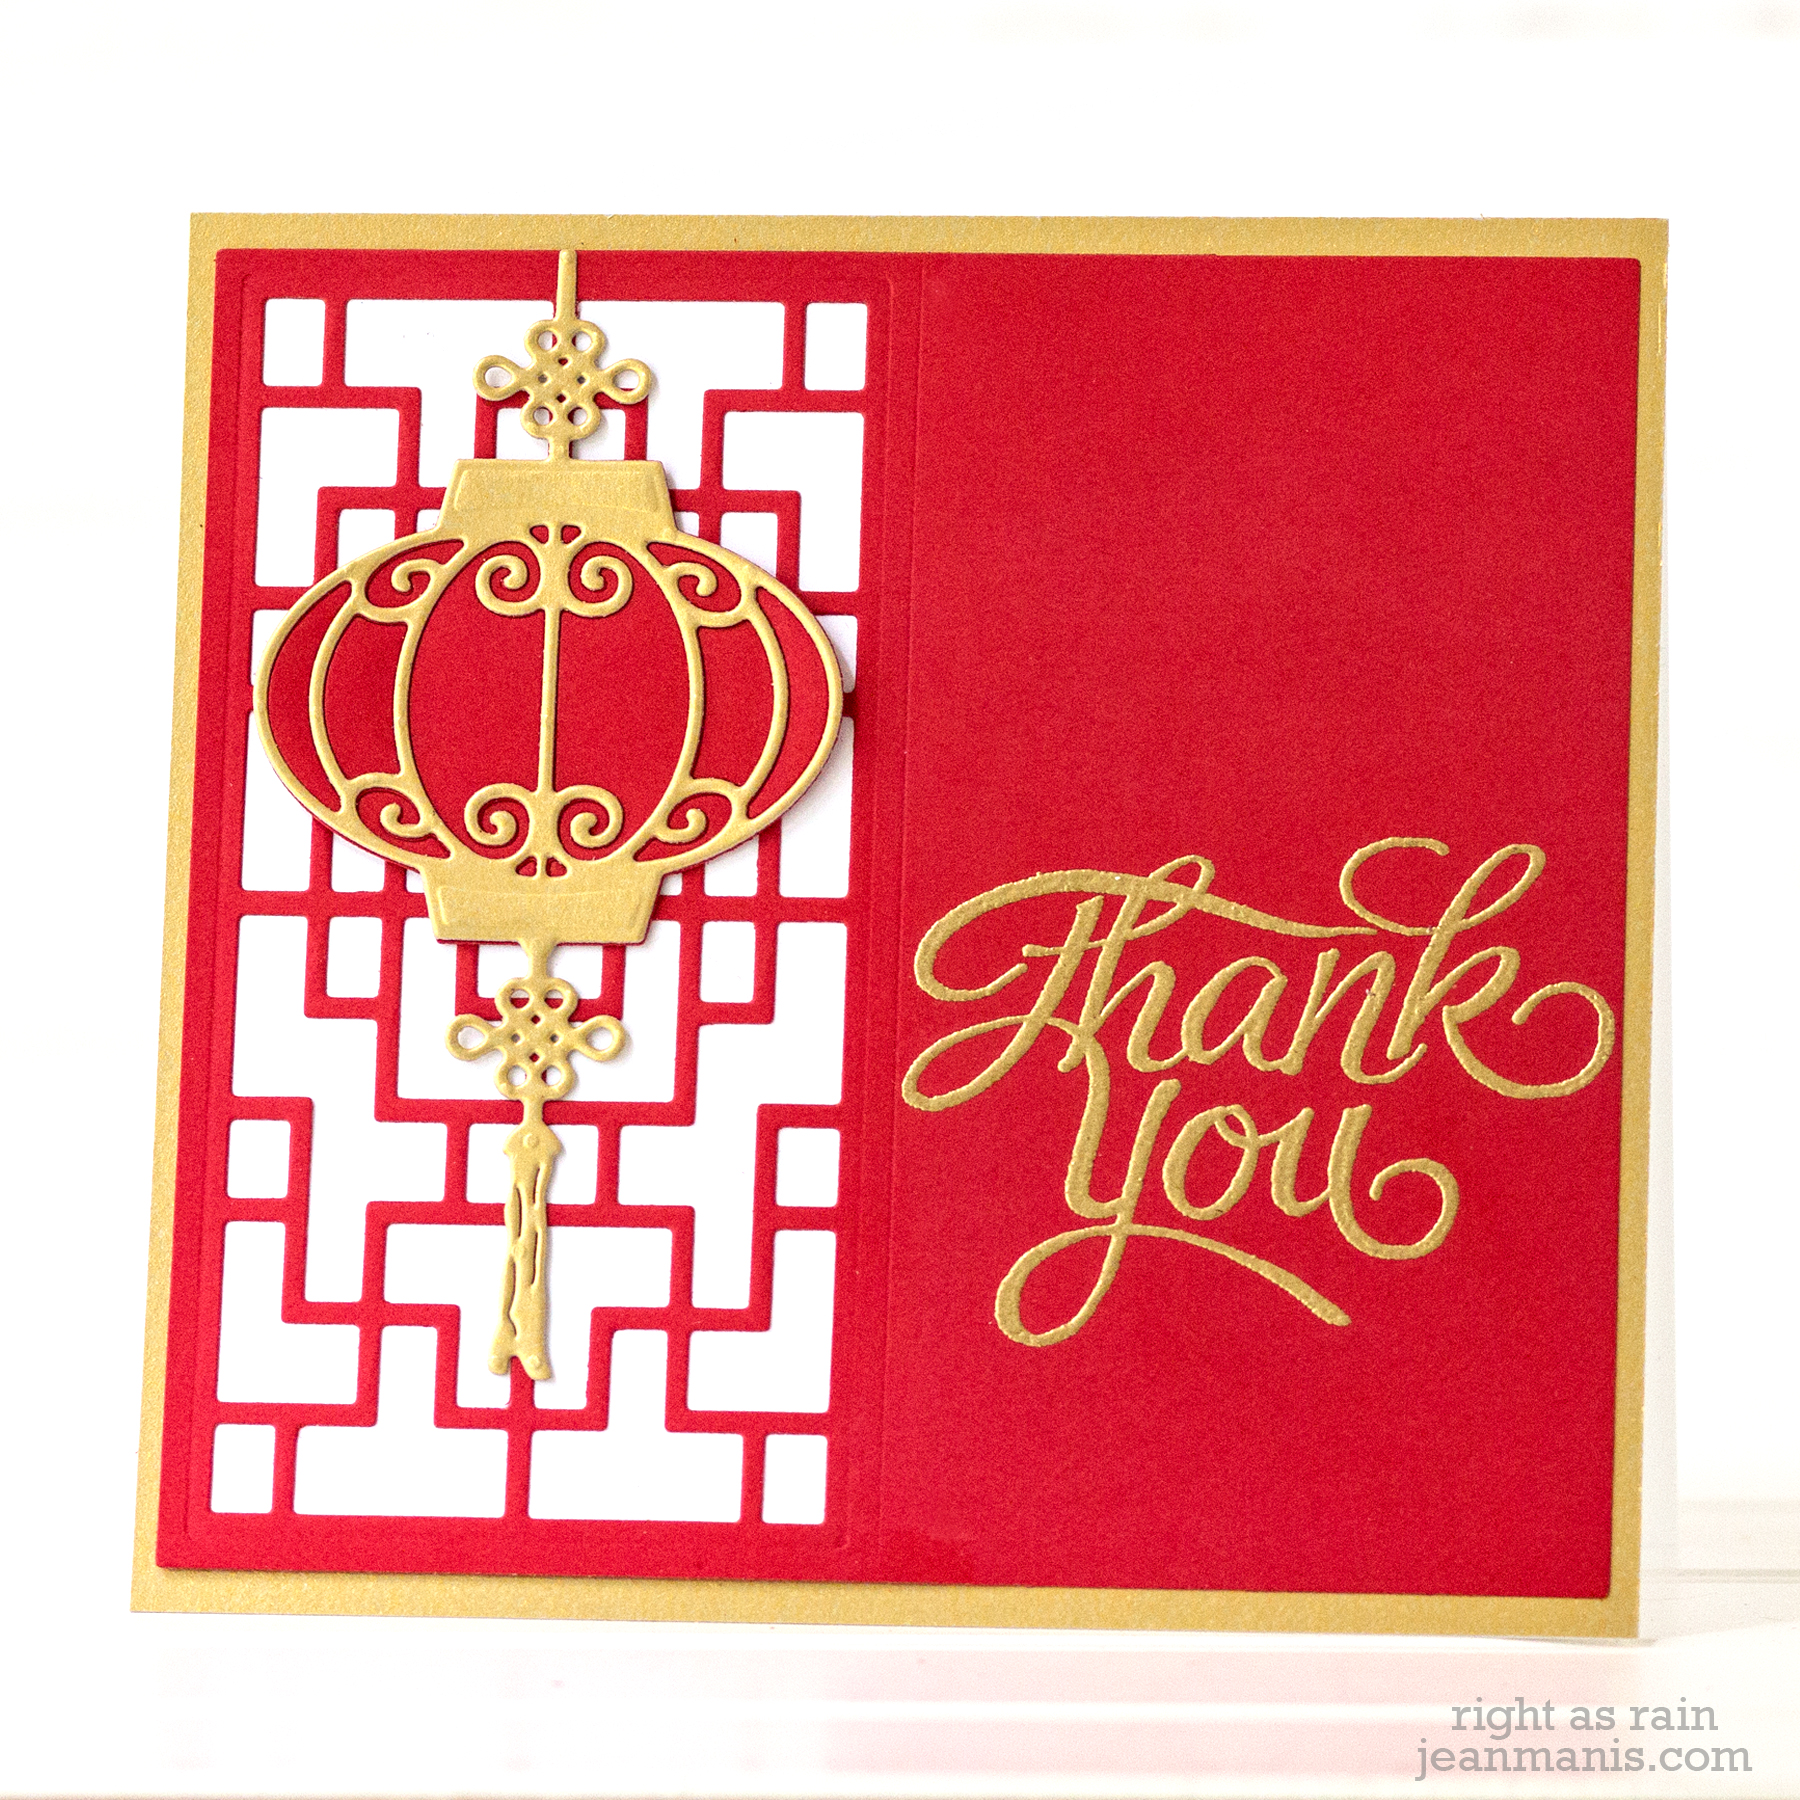
My first project combines the Shapeabilities Lucky Clouds die with one of the shapes in the Shapeabilities Lanterns set.

Spellbinders Destination China by Lene Lok

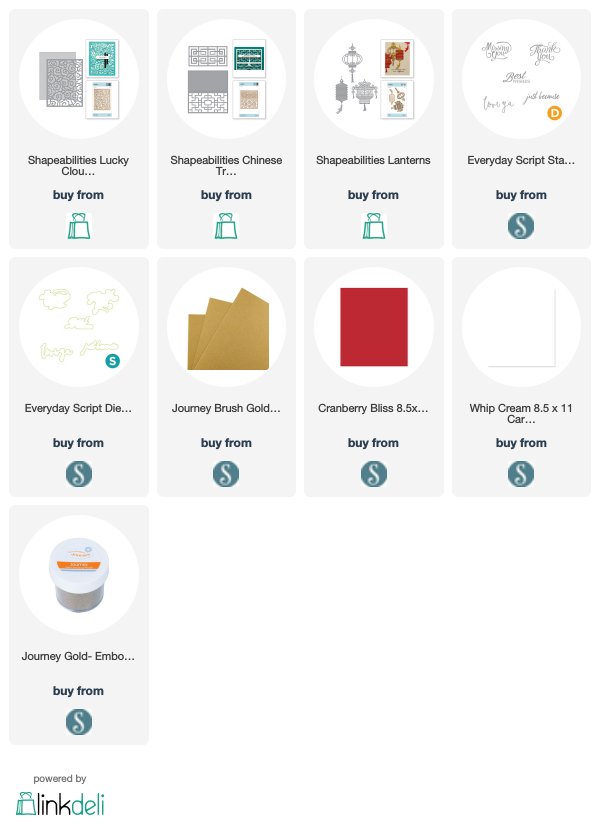
I cut Whip Cream cardstock with the two Lucky Clouds dies (a rectangle and the detailed design). I backed the die-cut piece with Cranberry Bliss cardstock and added the assembly to a Brush Gold card base. I cut the Lantern from Brush Gold cardstock and from Cranberry Bliss, adhering the two together. I gold heat-embossed the Everyday Script sentiment and cut it with its coordinating die.

Spellbinders Destination China by Lene Lok

My next two designs combine the Shapeabilities Chinese Traditional Fence die set with the Shapeabilities Lanterns. On both, I heat-embossed the Everyday Script sentiment on to Cranberry Bliss cardstock and then cut the cardstock with the Chinese Traditional Fence dies.

Spellbinders Destination China by Lene Lok

Spellbinders Destination China by Lene Lok

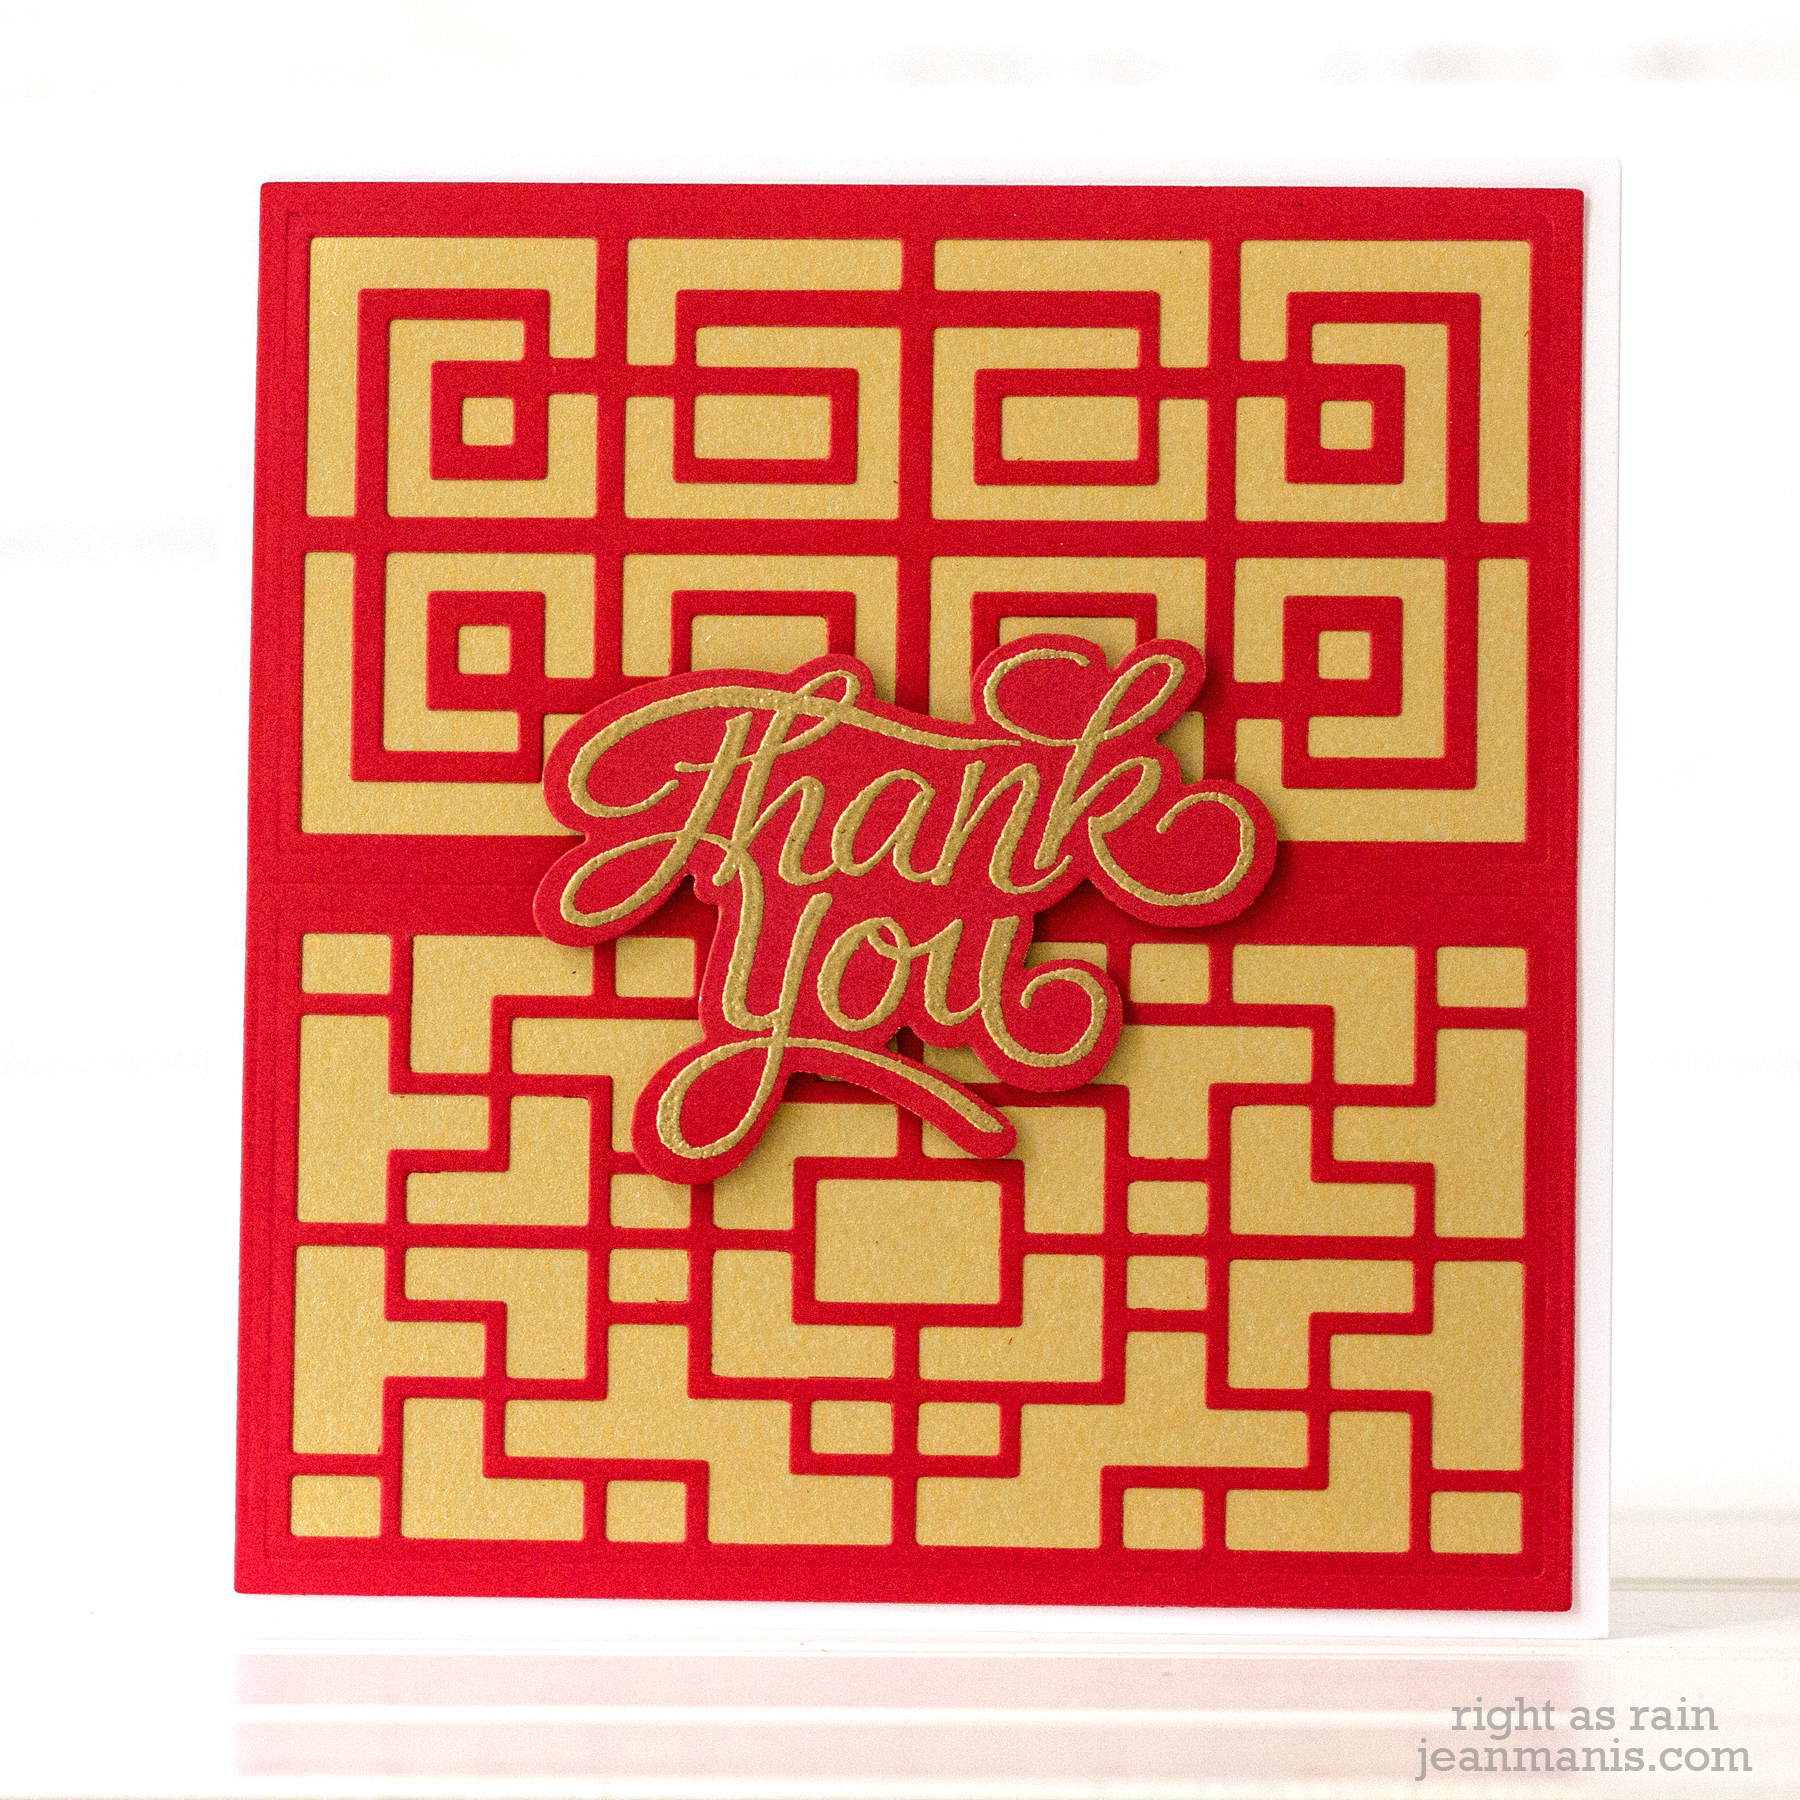
My final card was created with the Chinese Traditional Fence set highlighting the detailed beauty of the designs. I added a heat-embossed Everyday Script sentiment to the center with foam adhesive.

Spellbinders Destination China by Lene Lok

Thank you so much for visiting!

Blog Hop Participants:
Spellbinders
Marisa Job
Desiree Kuemmerle
Hussena Calcuttawala
Jennifer Snyder
Erum Tasneem
Anita Kejriwal
Sharyn Sowell
Mayline Jung
Anna Komenda
Brenda Noelke
Deepti Malik
Tina Smith
Mona Tóth
Ilda Dias
Laura Volpes
Kaja Vezenšek
Caly Person
Jean Manis

Supplies:

Fun Stampers Journey November Bloom Box – Cup of Tea

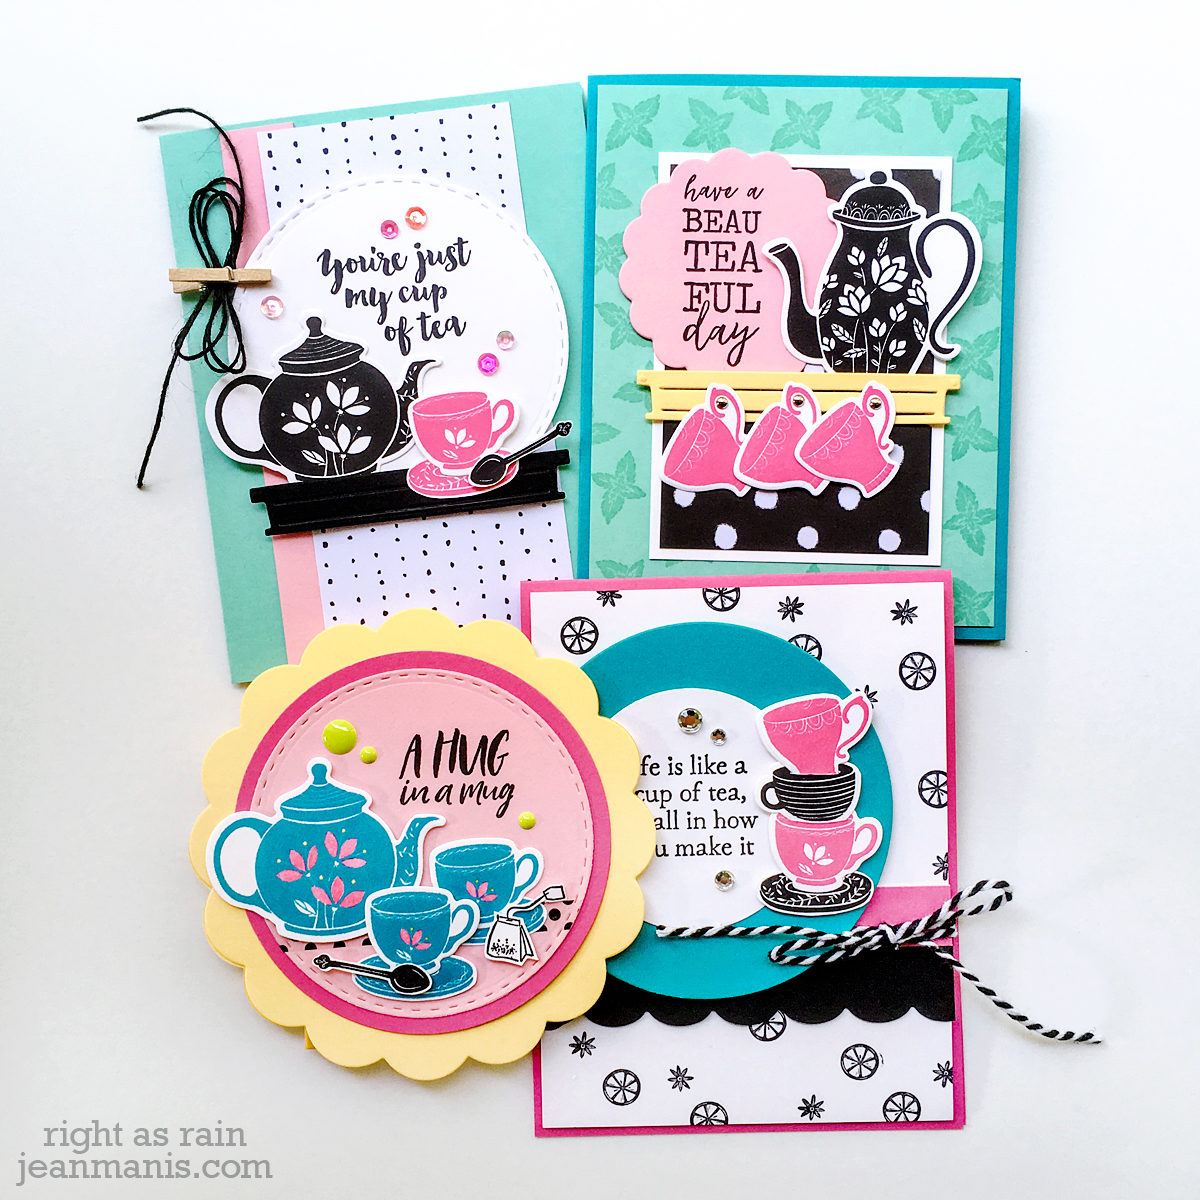
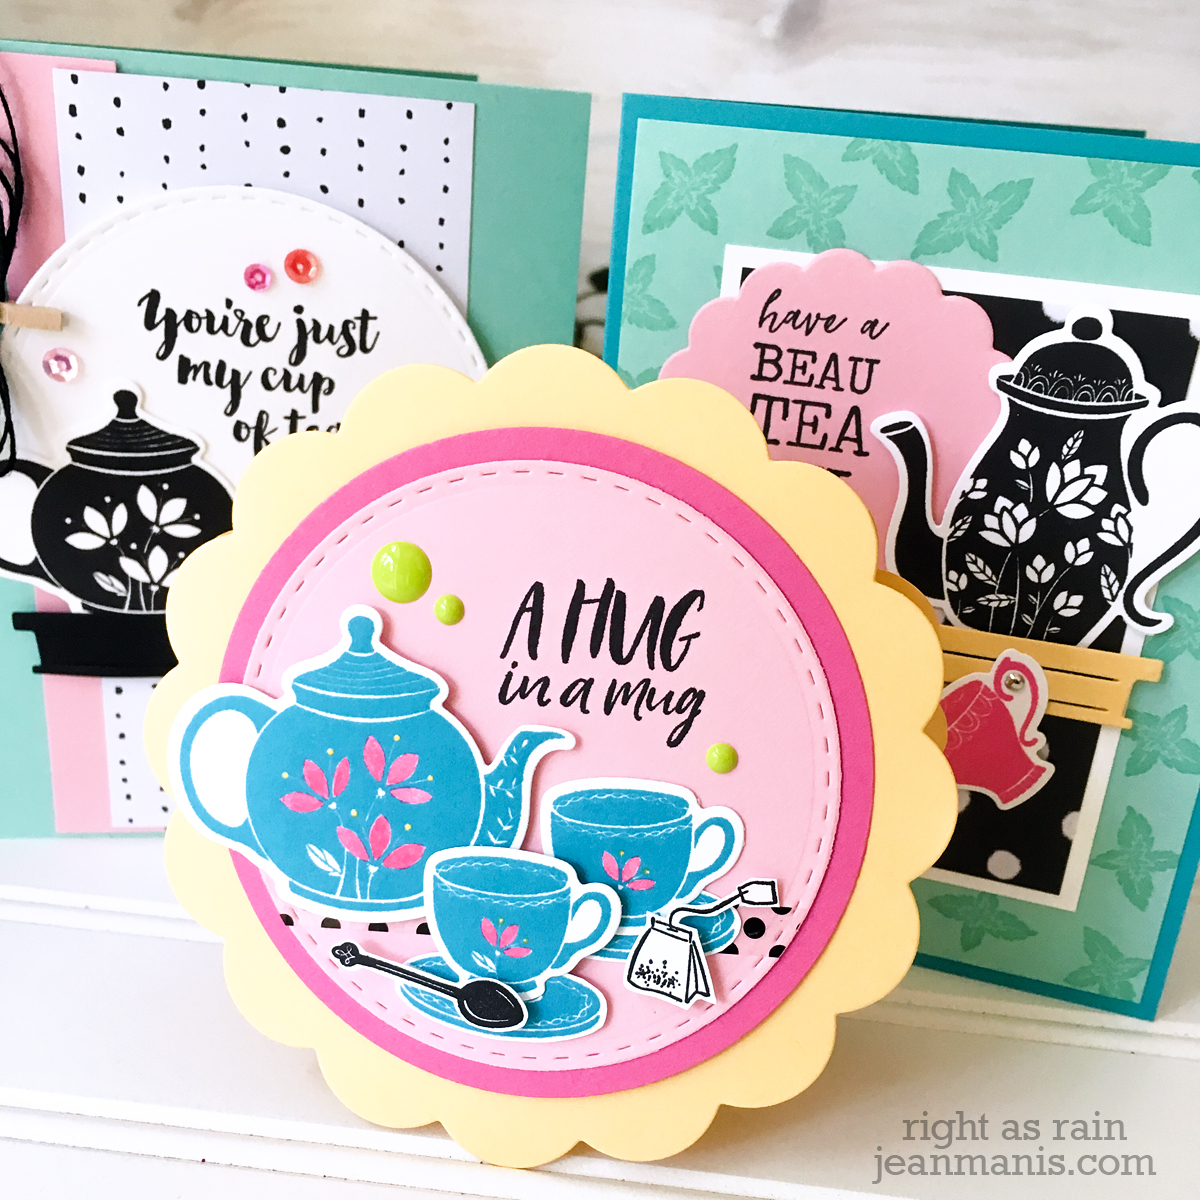
Hello! Today, I am delighted to share four cards created with the November Bloom Box from Fun Stampers Journey.
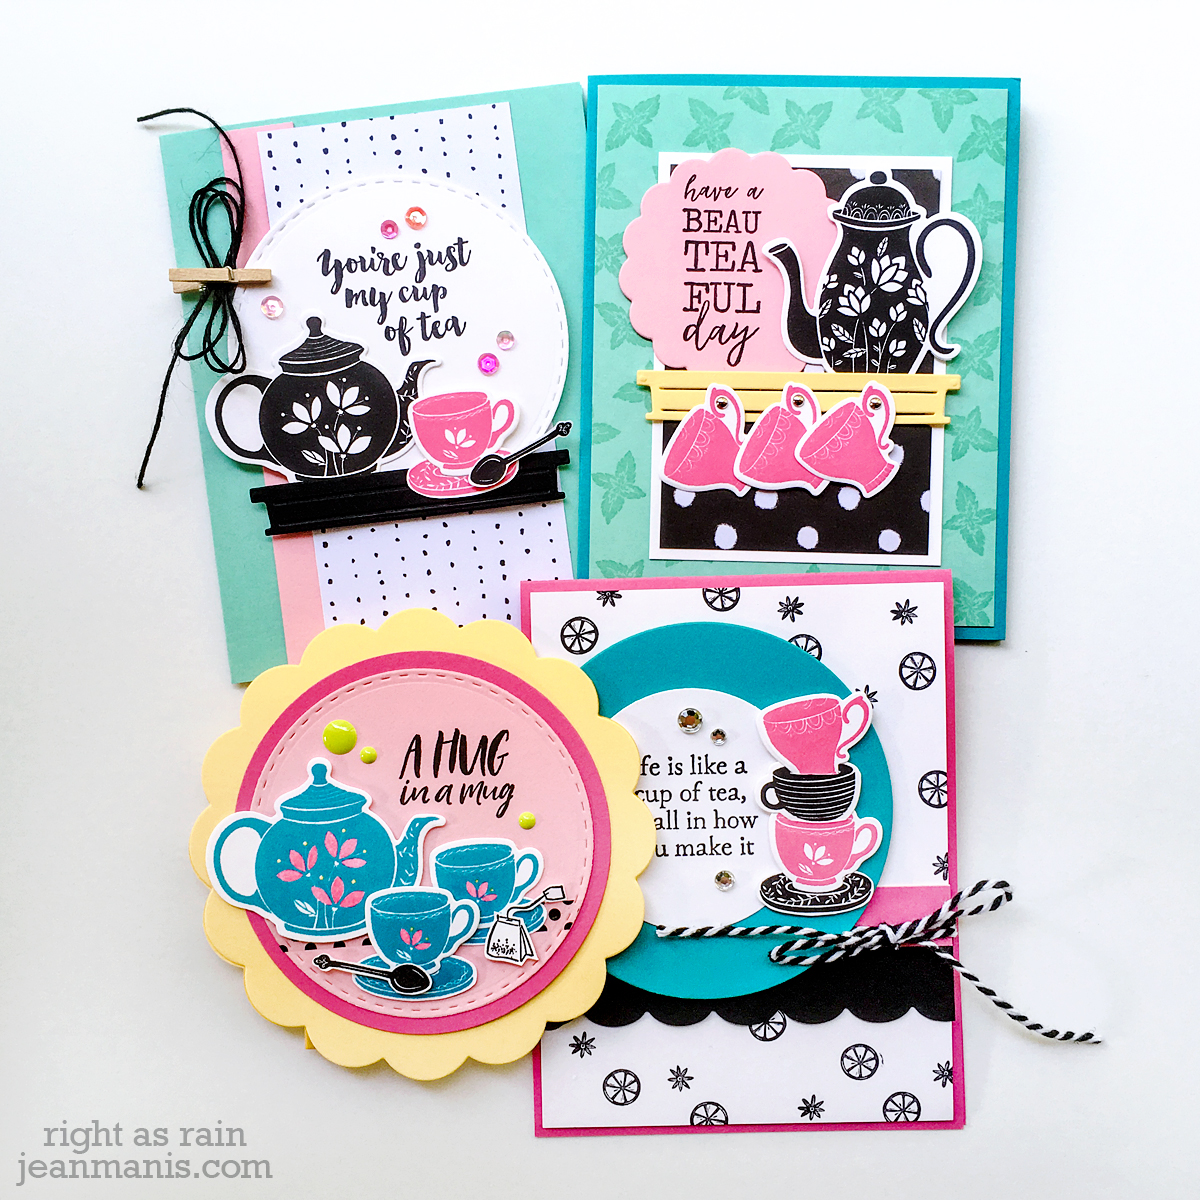
Fun Stampers Journey November Bloom Box - Cup of Tea

The November Bloom Box includes four pre-designed and kitted cards – the Cup of Tea stamp set, card bases, patterned paper, solid cardstock, ribbon, embellishments, and a step-by-step instruction booklet. (There is a Cup of Tea coordinating die set available for purchase.) All you need to add are a few inks and adhesives. The box has something for everyone – from new cardmakers to seasoned pros. The recipes provided for the cards can be followed exactly or changed up.

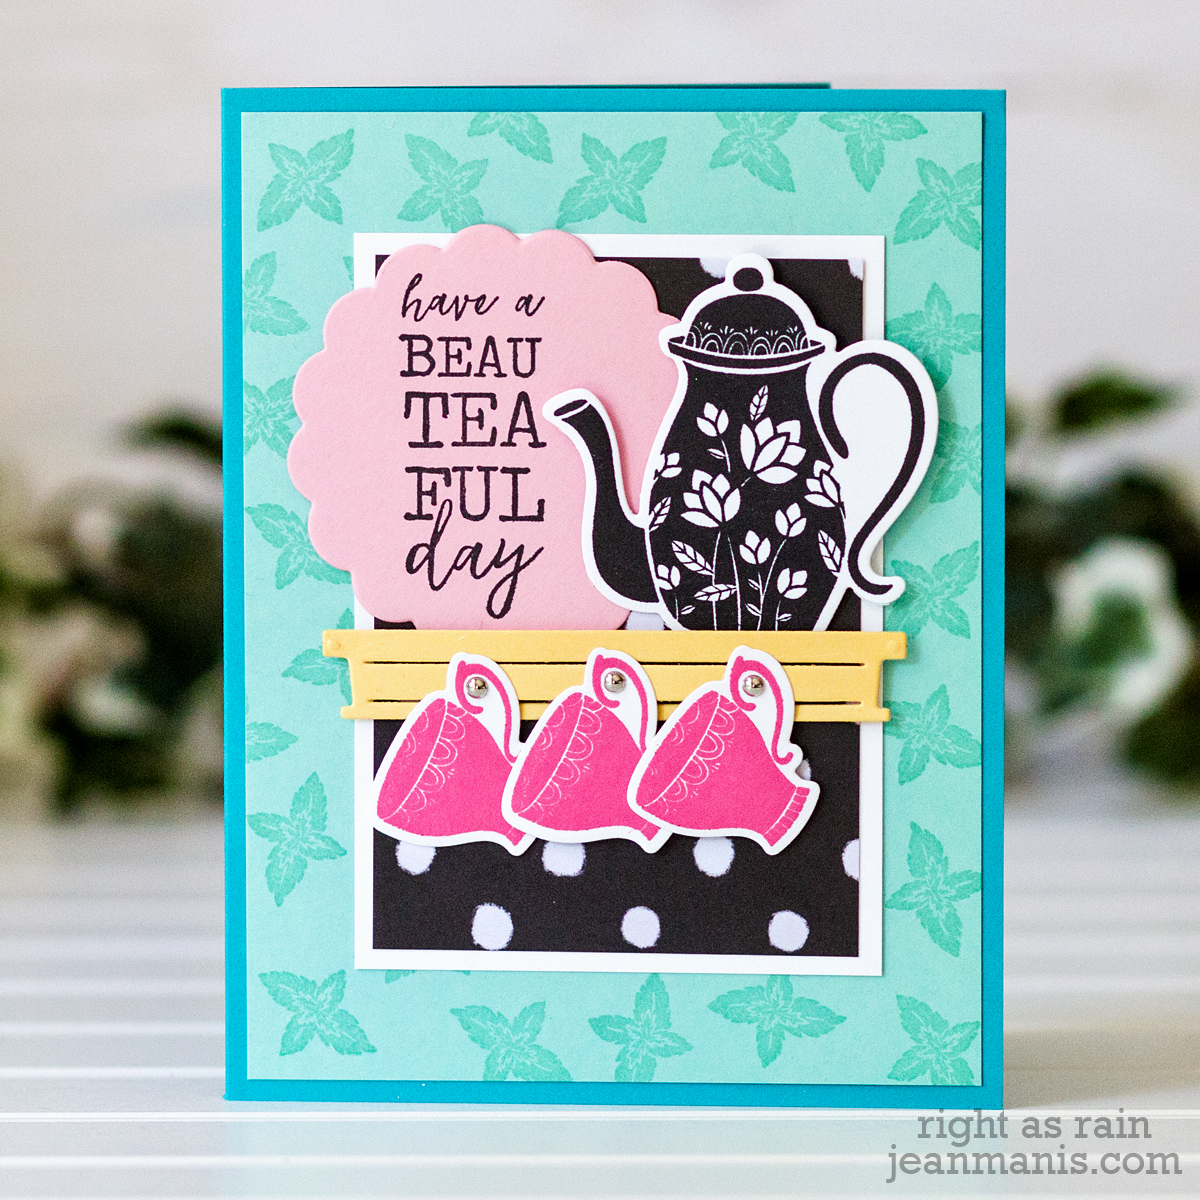
On my first card, I followed the “recipe” in the step-by-step instruction booklet (with just a few tweaks).
Fun Stampers Journey November Bloom Box - Cup of Tea

  • I stamped the tea pot in black ink on Whip Cream cardstock. I used the Cup of Tea die set to cut the tea pot.
  • I stamped the tea cups in Watermelon ink on Whip Cream cardstock and cut them with the corresponding die.
  • I stamped the mint leaf stamp in Cool Pool ink on the Cool Pool cardstock to create a tone-on-tone background. (The booklet called for teal ink to match the card base.)
  • I stamped the sentiment on the Bubble Gum scallop.
  • I followed the directions for assembly.
Fun Stampers Journey November Bloom Box - Cup of Tea

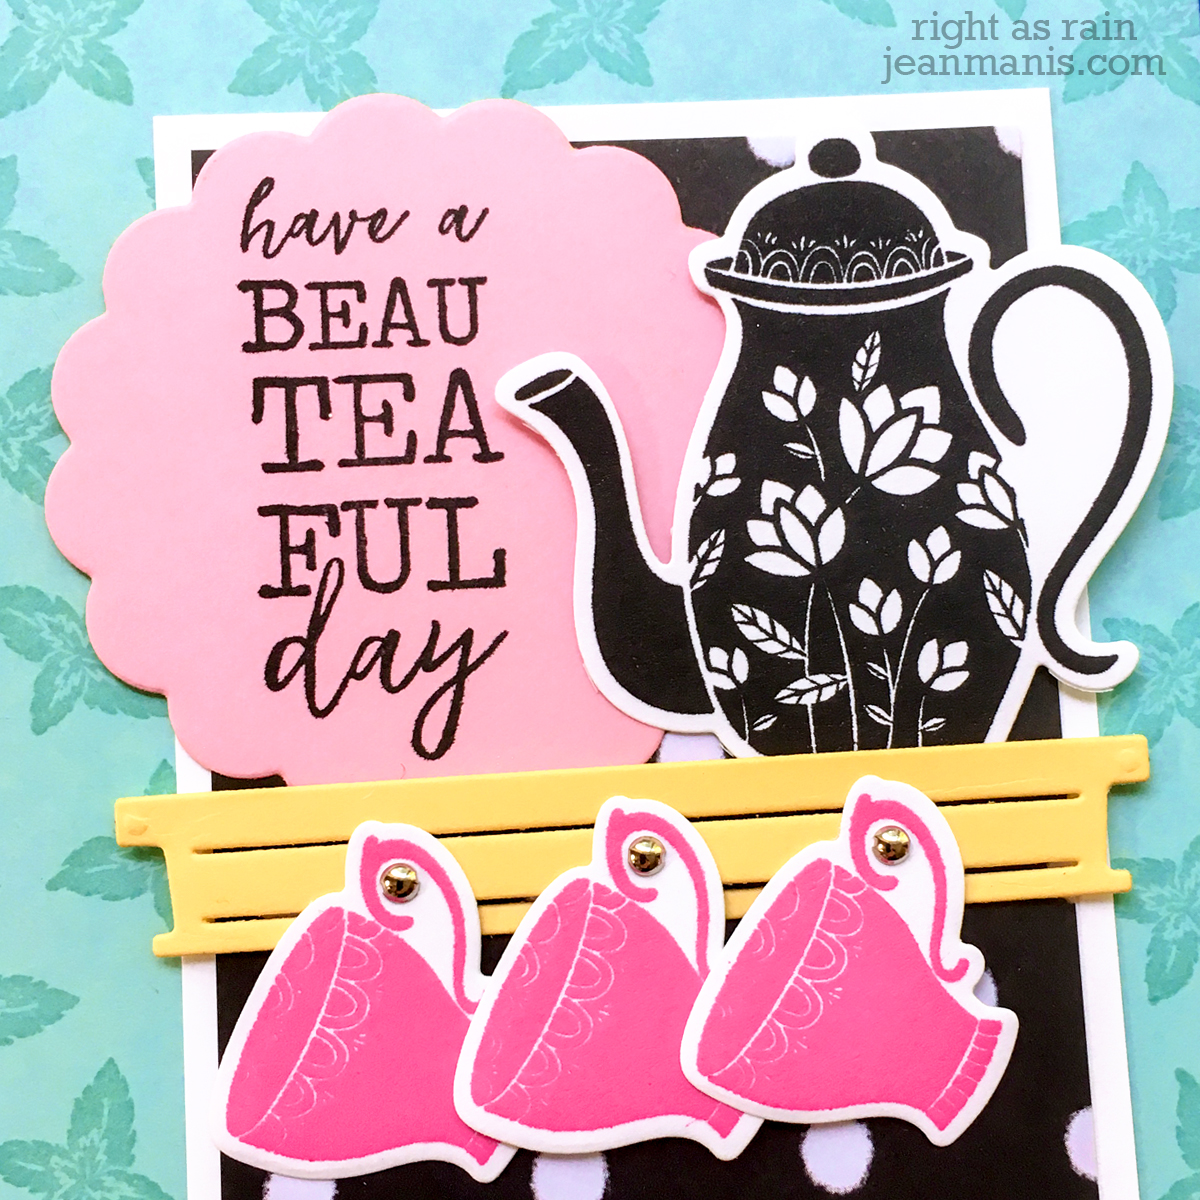
I particularly liked the fun way in which the tea cups hang on the shelf. The shelf and the small brads were provided in the kit. I liked this idea so much I purchased the Window View Die Set separately, which is the set that was used to cut the shelf. This is a fun design that could easily be varied!

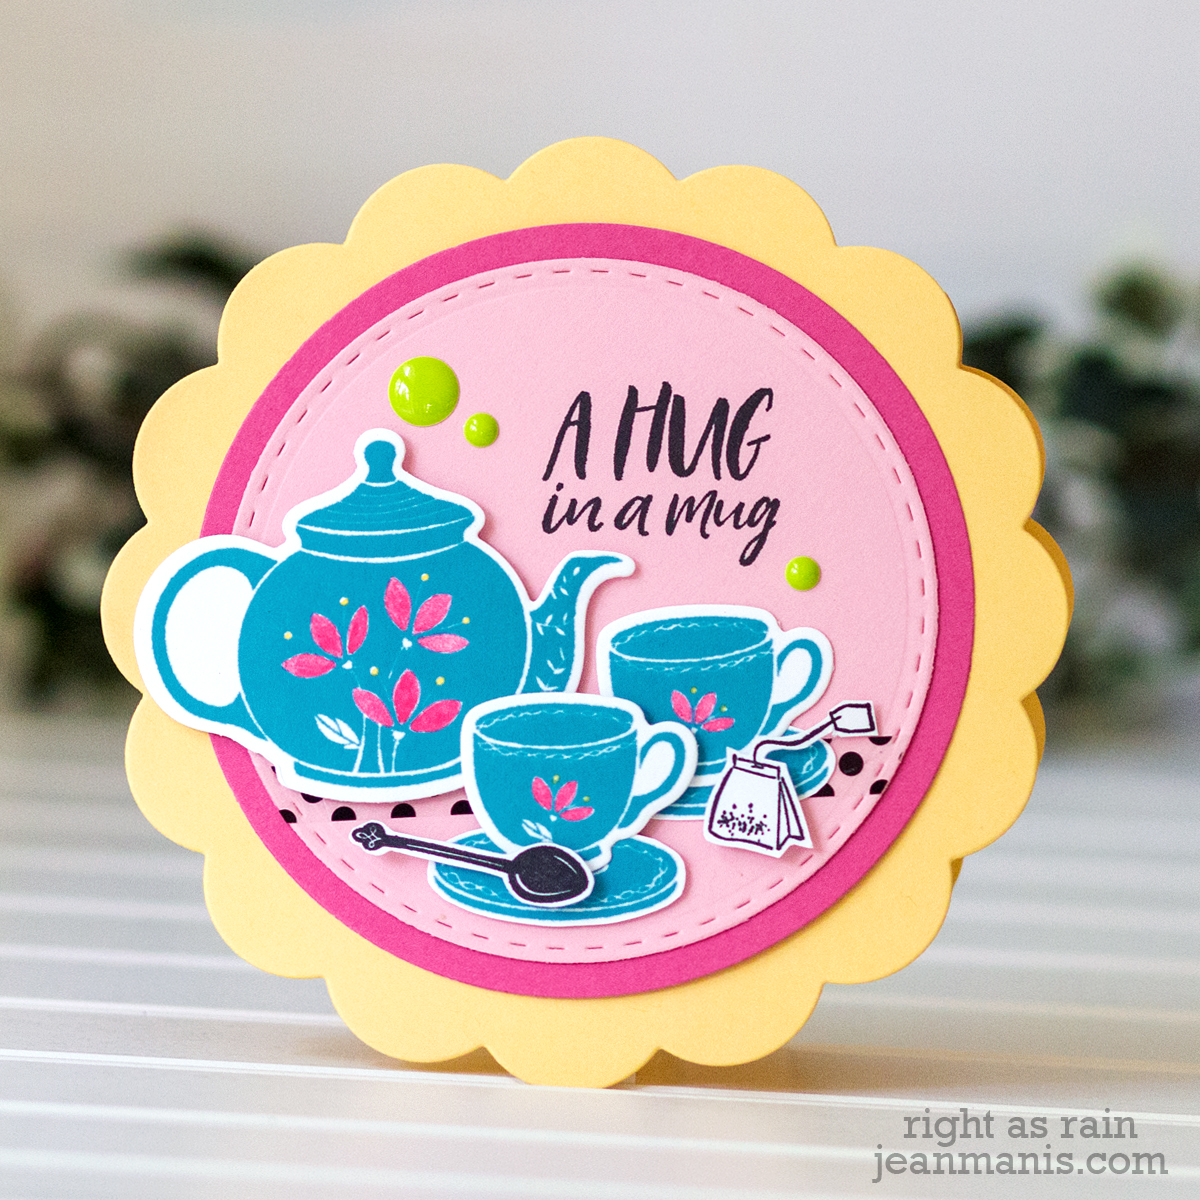
On my next card, I again followed the instruction booklet’s design with a few simplifications.
Fun Stampers Journey November Bloom Box - Cup of Tea

  • I created the card base by scoring the back scallop and adhering the cardstock above the scored line to the card front.
  • I stamped the tea pot and cups on Whip Cream cardstock and used the Cup of Tea die set to cut them. I stamped the saucers, spoon, and tea bag and fussy cut them.
  • I added a small amount of watercolor to the tea pot and cups (the booklet’s instructions called for more watercoloring, but I decided I wanted a cleaner look).
  • I stamped the sentiment on the Bubble Gum stitched circle and added a Deco Strip across the circle.
  • I followed the directions for assembly.

There were a lot of fun details on this card including the addition of the Deco Strip and the Sweet Candy Drops (both provided in the box). I tend to forget about details like these, and I know I will be incorporating these into future projects.

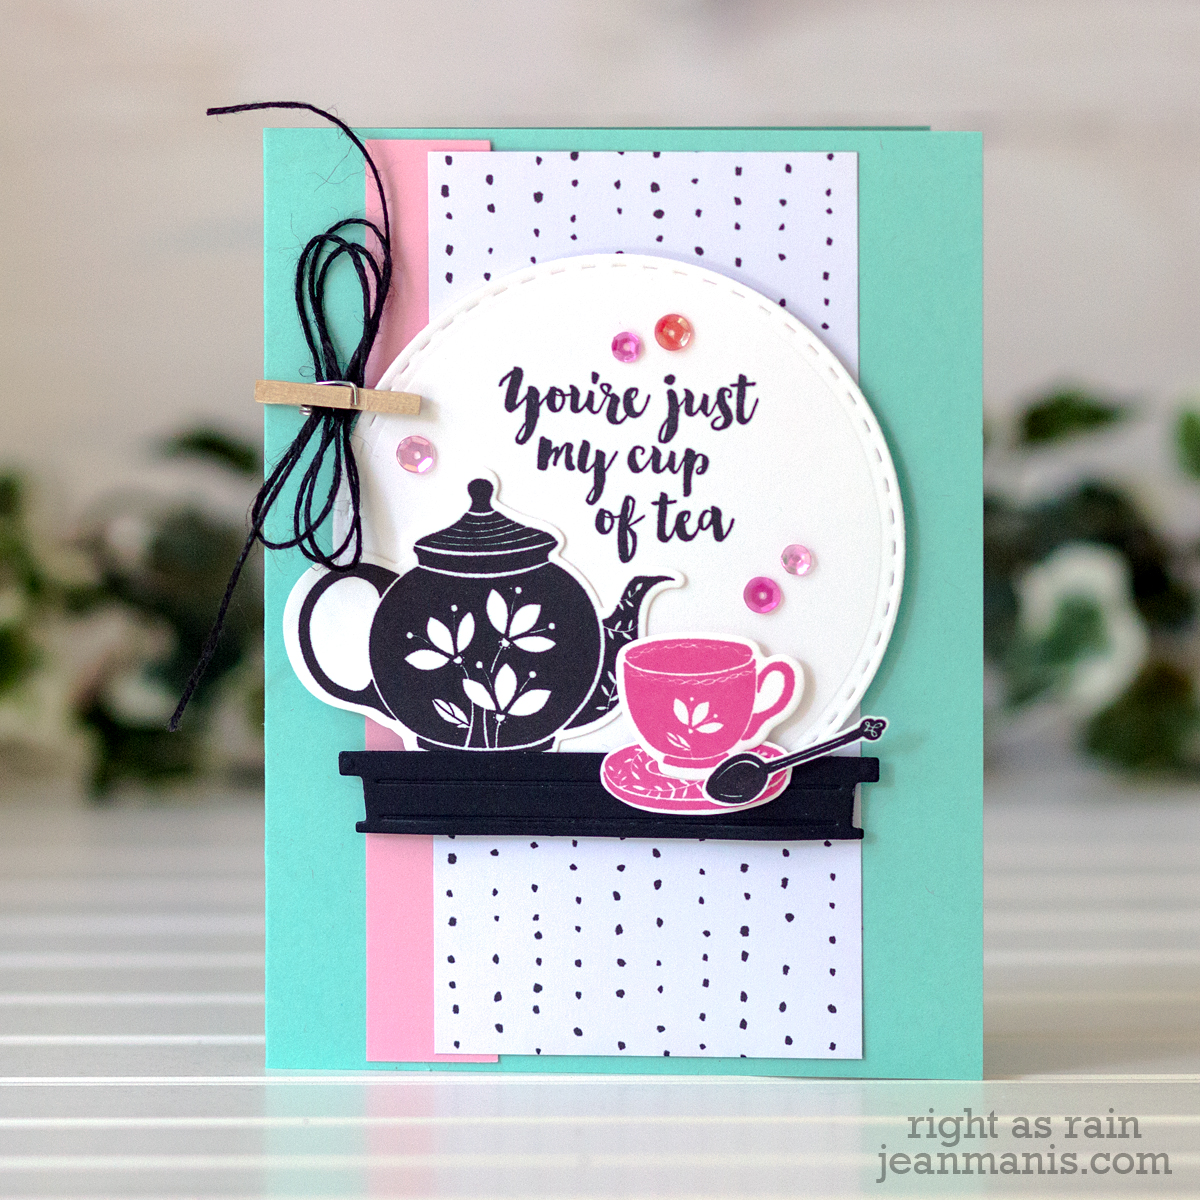
For the next card, I changed the orientation shown in the booklet and made a few simplifications.
Fun Stampers Journey November Bloom Box - Cup of Tea

I liked the shelf idea of the first card and replicated it on this card by cutting Black Licorice card stock with one of the dies in the Window View Die Set. The mini clothes pin and twine was another fun touch which I have never tried before.

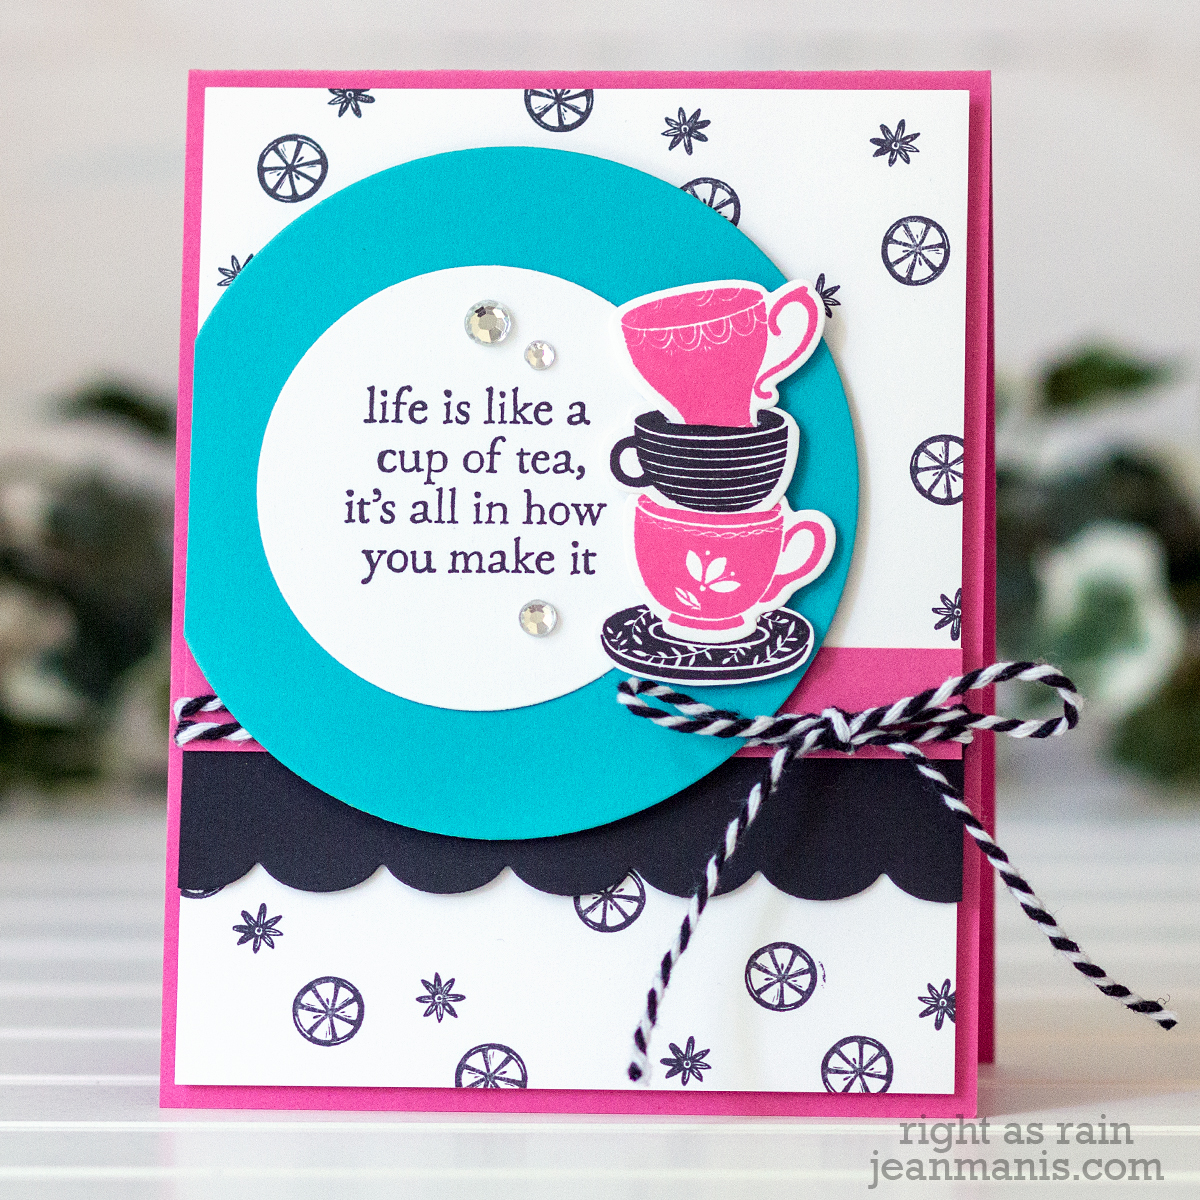
For my final card, I made a few simplifications from the instruction booklet.
Fun Stampers Journey November Bloom Box - Cup of Tea

I used fewer saucers in the stack than the design in the booklet. The booklet shows how to create a slit in the cups in order to stack them. I stamped the background Whip Cream cardstock with just two of the smaller stamps in the Cup of Tea set in black ink (the booklet example used more of the set’s small stamps and in a variety of ink colors). I substituted the pink ribbon in the kit for a strip of Watermelon Fusion cardstock, and used black and white twine rather than the ribbon.

Parting thoughts about the kit:

  • There is a lot of value to the designs shown in the kit. The designs easily lend themselves to modification; I am already thinking of ways in which I can change things up a bit.
  • The kit introduced me to color combinations I might not have otherwise used.
  • A new cardmaker would be able to use the kit to create interesting cards that are anything but beginner in their looks. They could then decide to make future supply purchases based on what they particularly liked about the various designs such as circle dies, scallop dies, scallop edgers, and so forth.
  • In my own cardmaking, I plan to more often stamp a background with small stamps and add more jewels/drops/sequins for textural interest.
Fun Stampers Journey November Bloom Box - Cup of Tea
Supplies: