
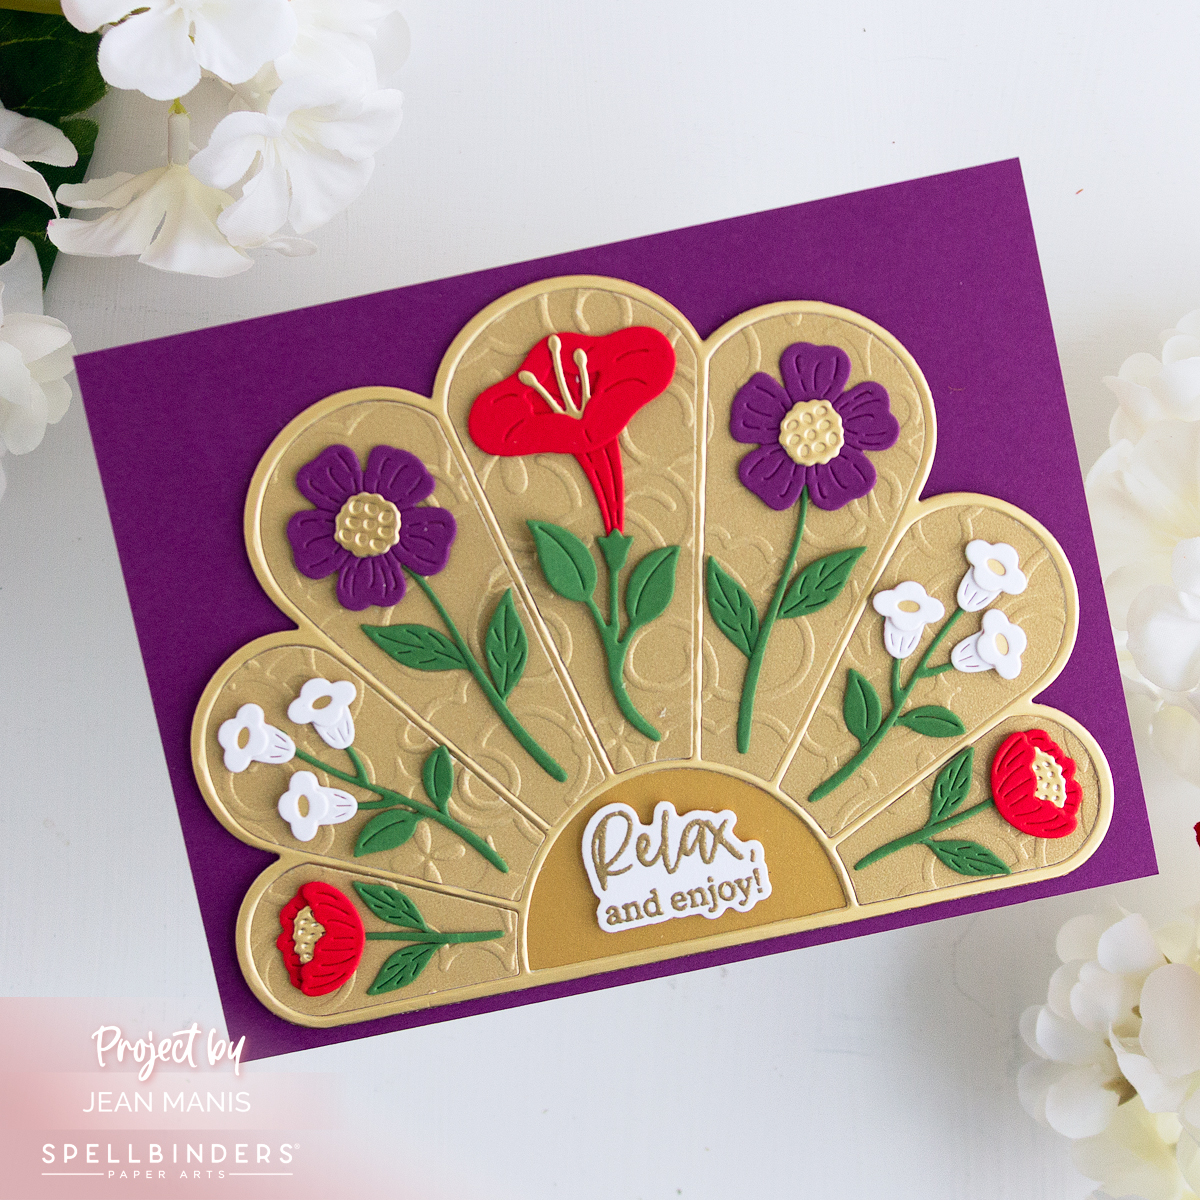
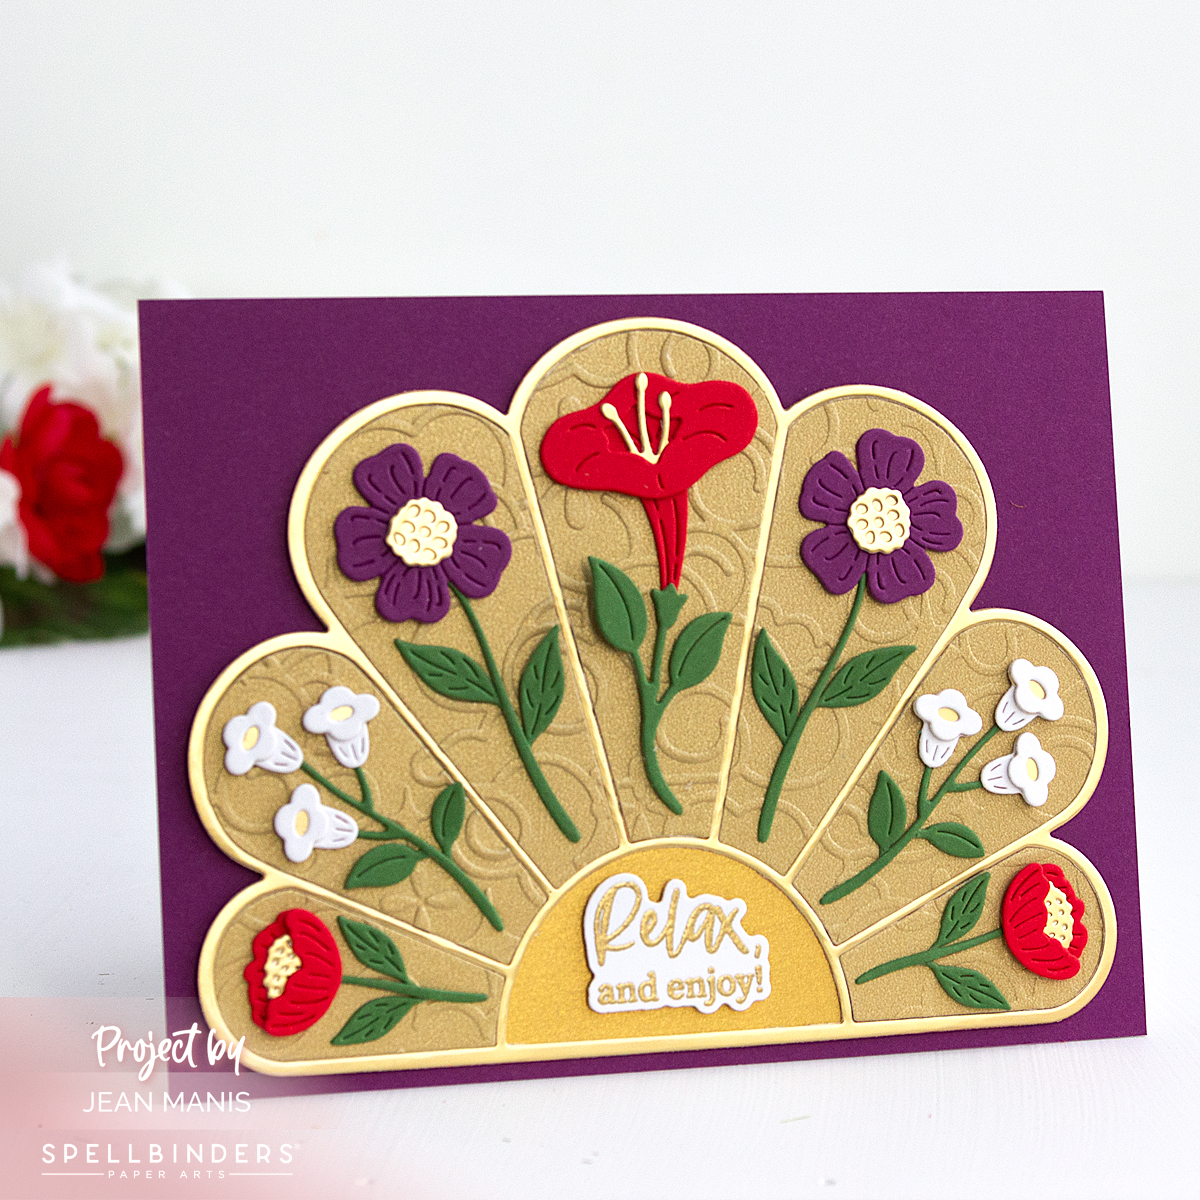
Hello! Today, I am sharing a card created with the January Die of the Month for Spellbinders. The structure of the die did most of the work. The set cuts a graceful fan shape, and I dry-embossed the individual fan pieces to add subtle texture before layering them together. The floral elements sit on top of the fan. I chose a rich palette of deep, saturated colors from the ColorWheel cardstock that feel especially welcome this time of year. A simple sentiment is included at the bottom of the frame, keeping the emphasis on the design and texture of the card.
-
- Create an A-2 size card base from Violet cardstock.
- Use the Sunny Stems set to cut the fan pieces from Gold Treasured cardstock. Emboss the interior pieces of the fan with the Cloud Nine folder, the January 2026 embossing folder offering, and add to the fan frame. Add the assembly to the card base.
- Cut the Sunny Stems from a variety of cardstock colors and assemble. Add to the frame.
- Heat-emboss in gold the Fair Winds sentiment and cut with the coordinating die. Add to the card with foam squares.

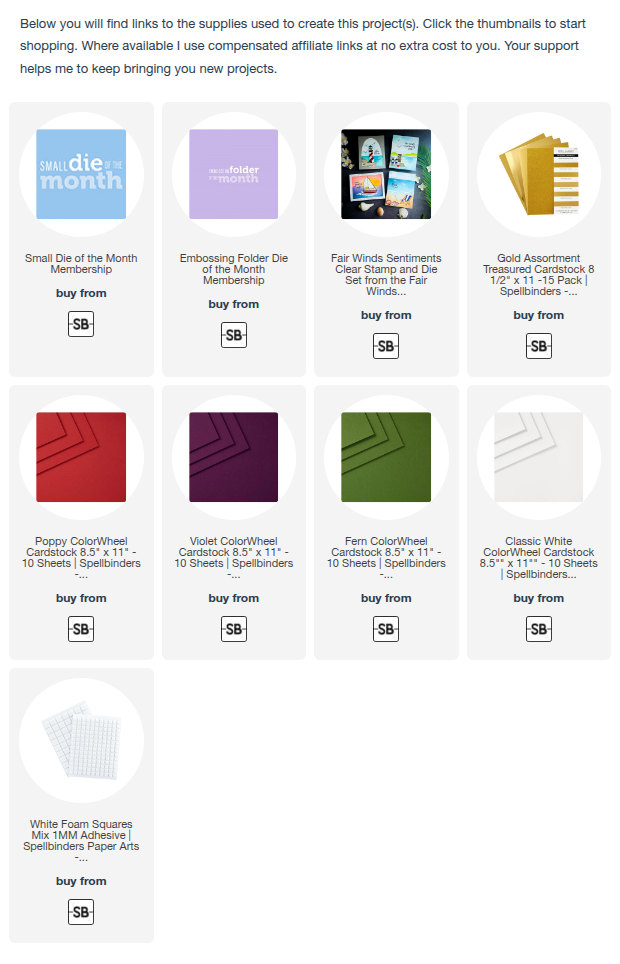


 Supplies: