Hero Arts | Instax-Inspired Beach Card

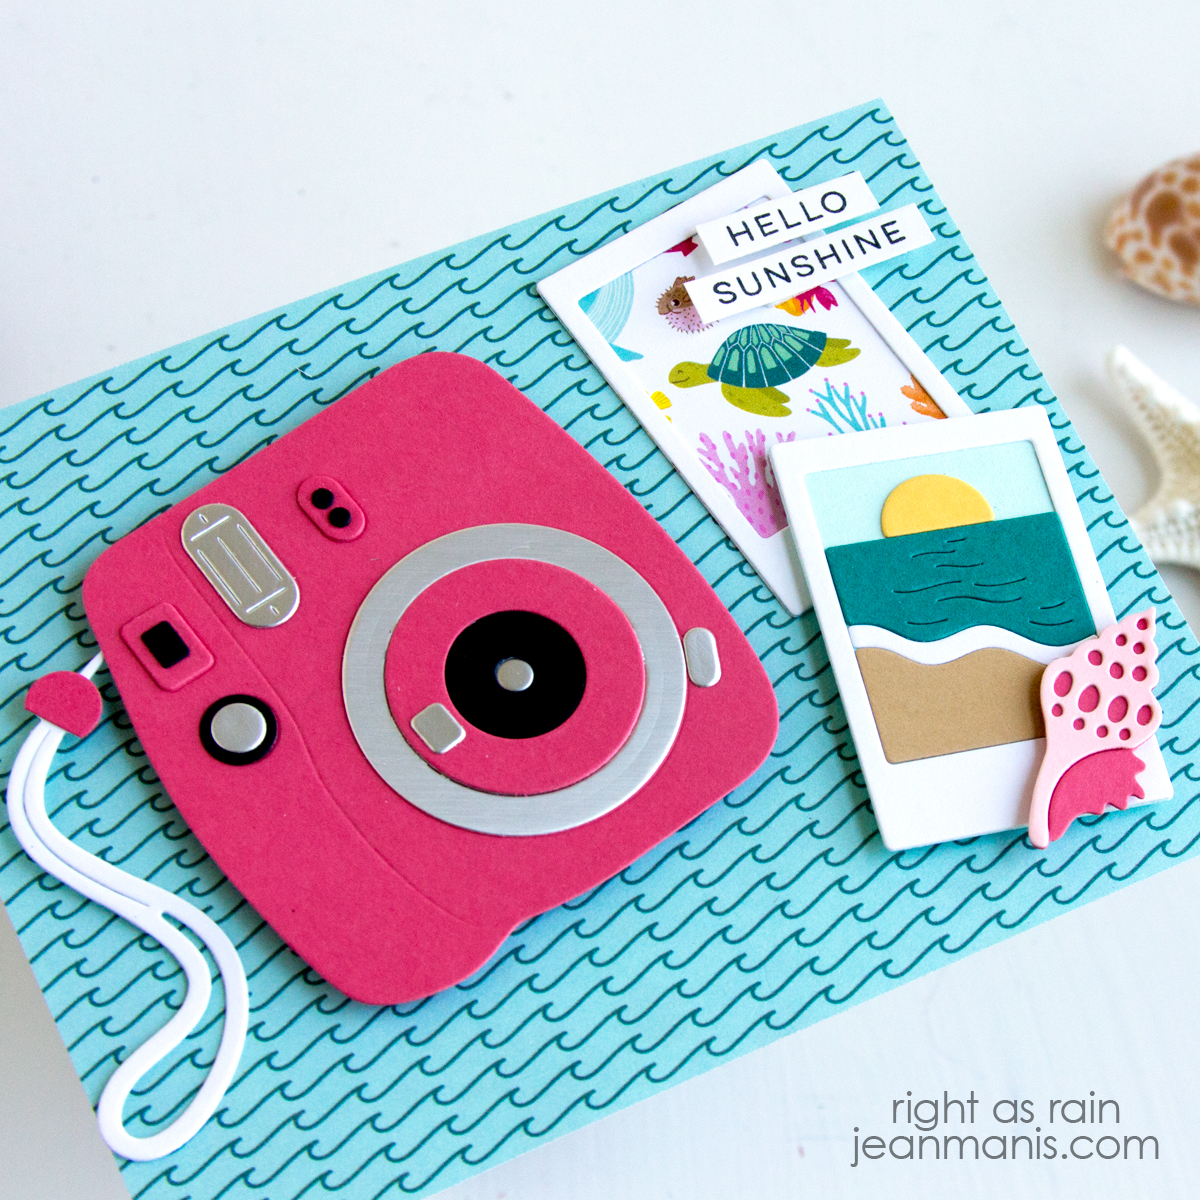
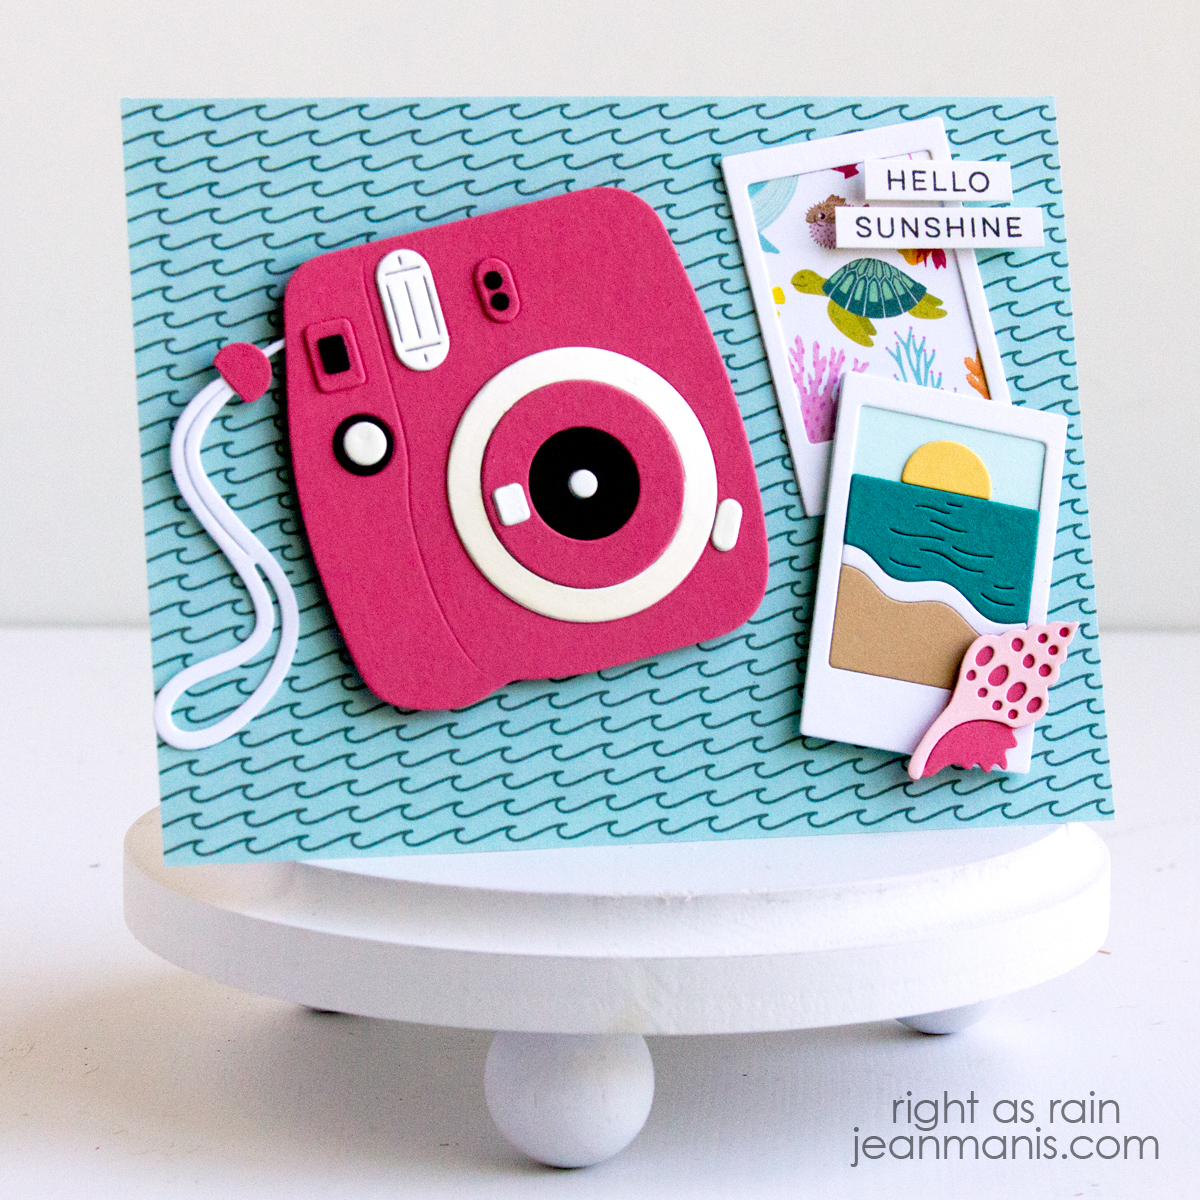
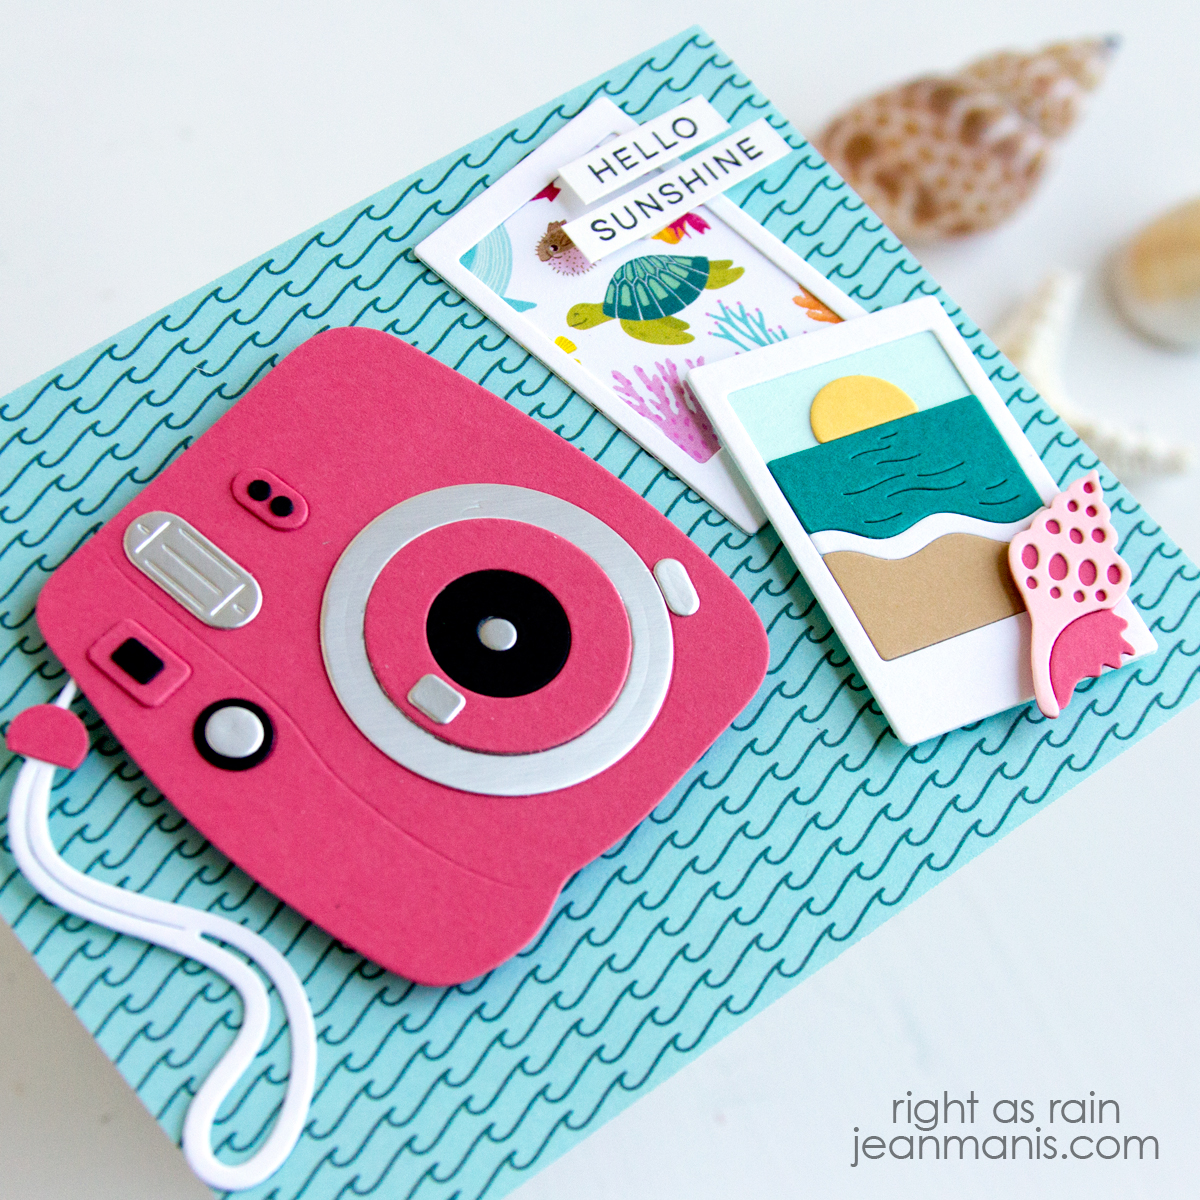
Hello! Nothing says summer quite like sunshine, sandy beaches, and spontaneous snapshots! Today I’m sharing a handmade card that brings all those warm-weather vibes together with the Summer Memories – Hero Studio Die Set of the Month (June 2025) set from Hero Arts and the coordinating Hiya Friend stamp set, the June 2025 subscription bonus item. My card features a die-cut Instax-style camera and two photos, tied together with a playful “Hello Summer” sentiment. It’s a breezy, cheerful card that’s perfect for welcoming the season or sending a sunny hello.
Hero Arts Fancy Dies of the Month (June 2025)

    • Cover an A2-size card base with patterned paper.
    • Cut the camera, photo frames, beach scene, and shell with dies in the Summer Memories – Hero Studio Die Set of the Month (June 2025). Assemble. Note: For the second photo, I framed pattern paper.
    • Stamp the sentiment using the June 2025 bonus item and cut with the coordinating die.
    • Add assembled elements to the prepared card base.
Hero Arts Fancy Dies of the Month (June 2025)

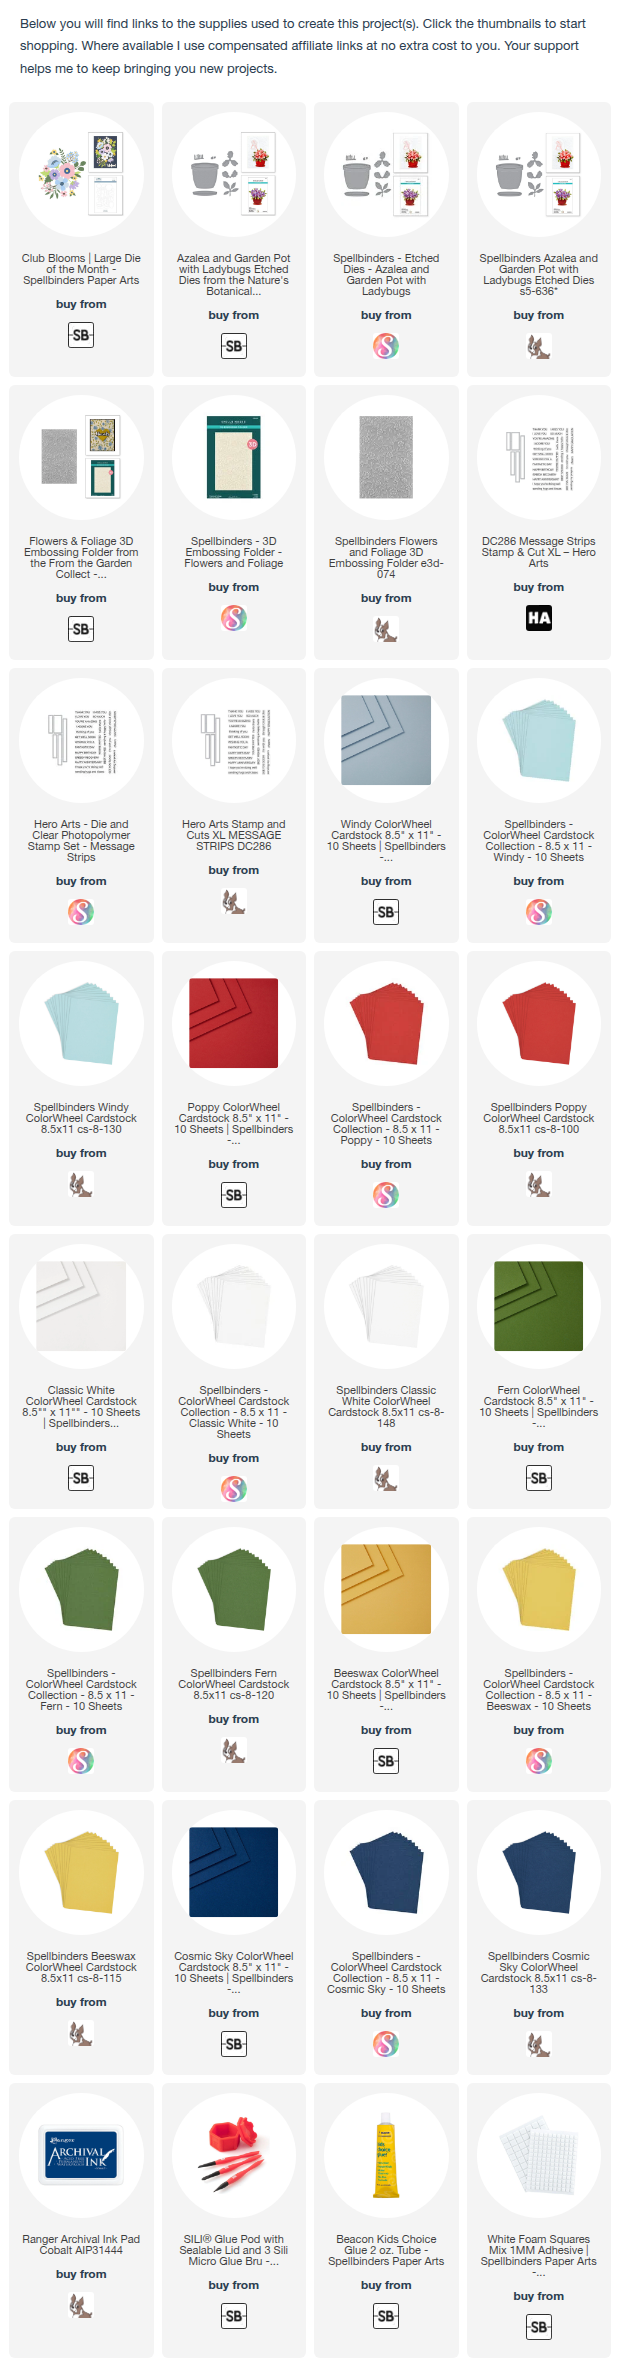
Affiliate links are used when available at no extra cost to you.
Spellbinders | Floral Beauty

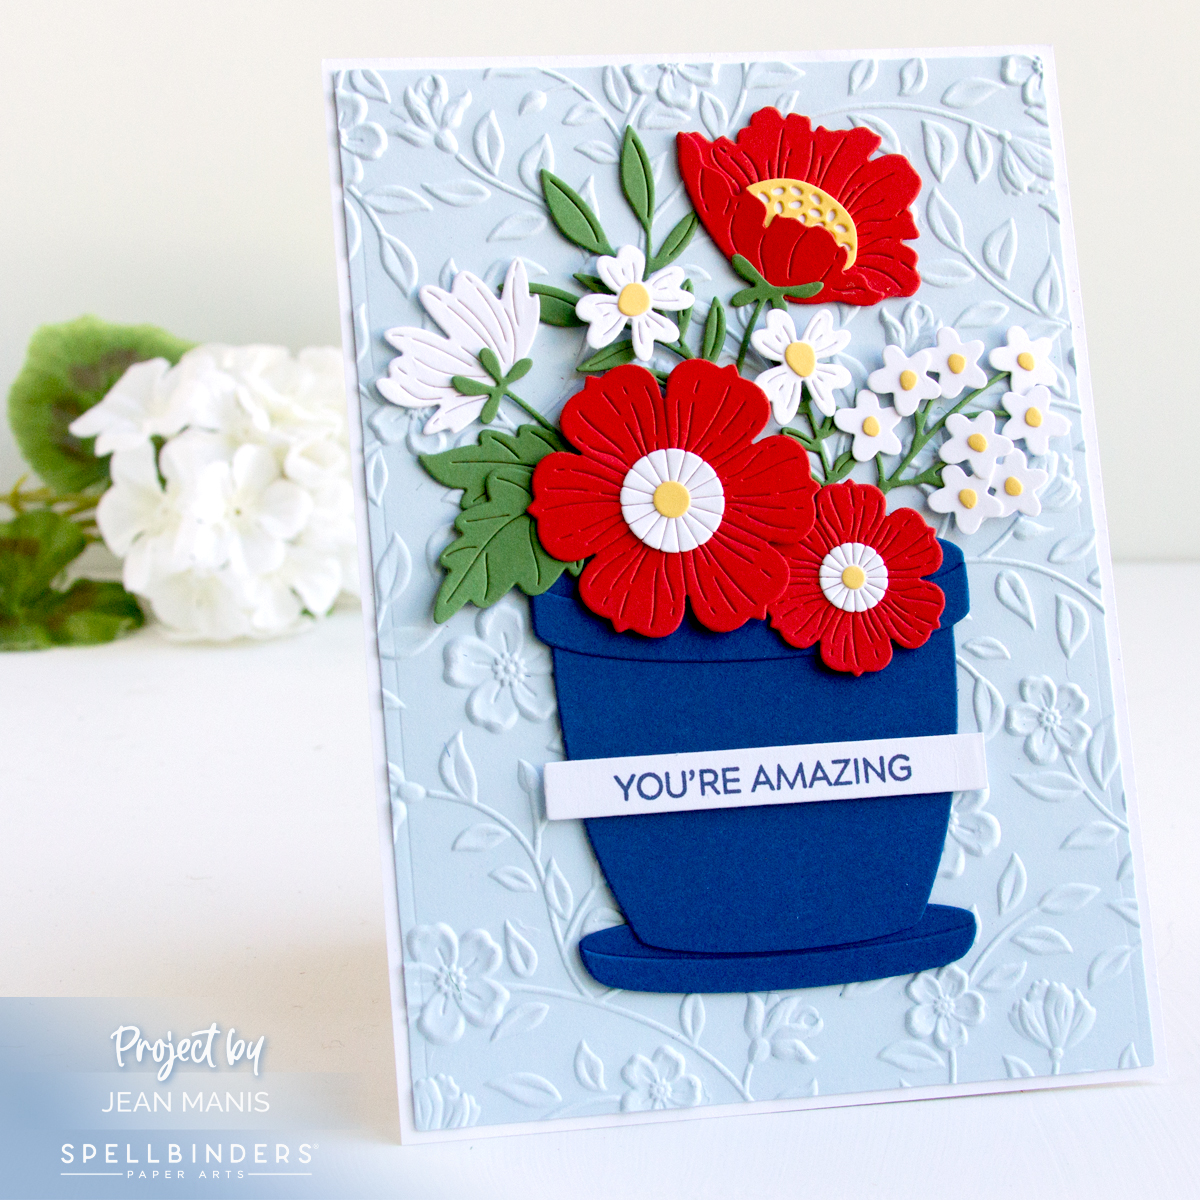
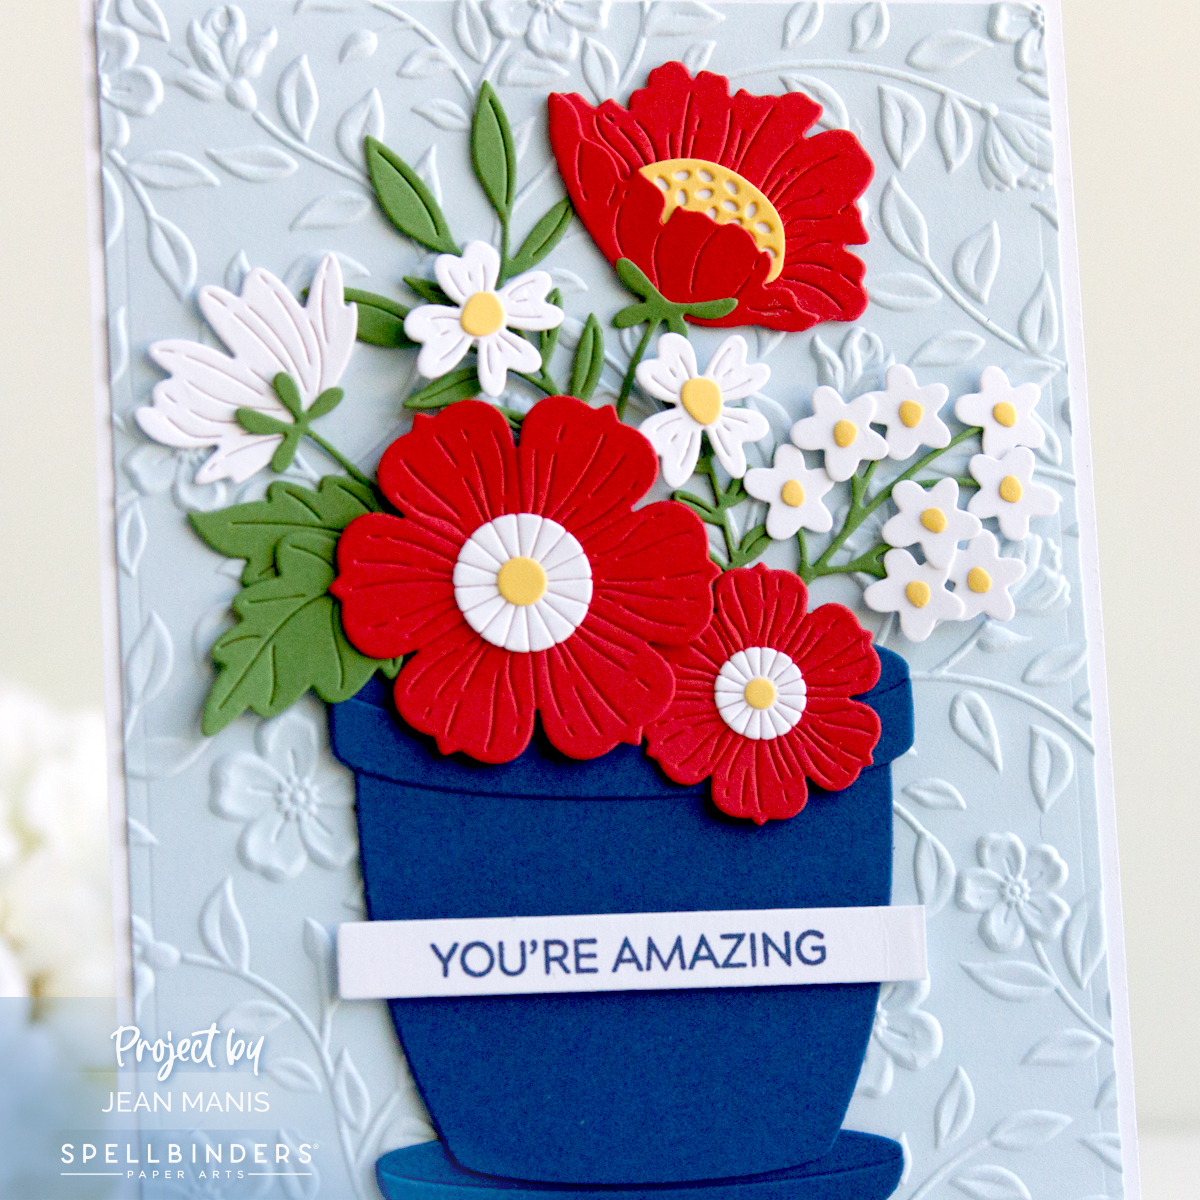
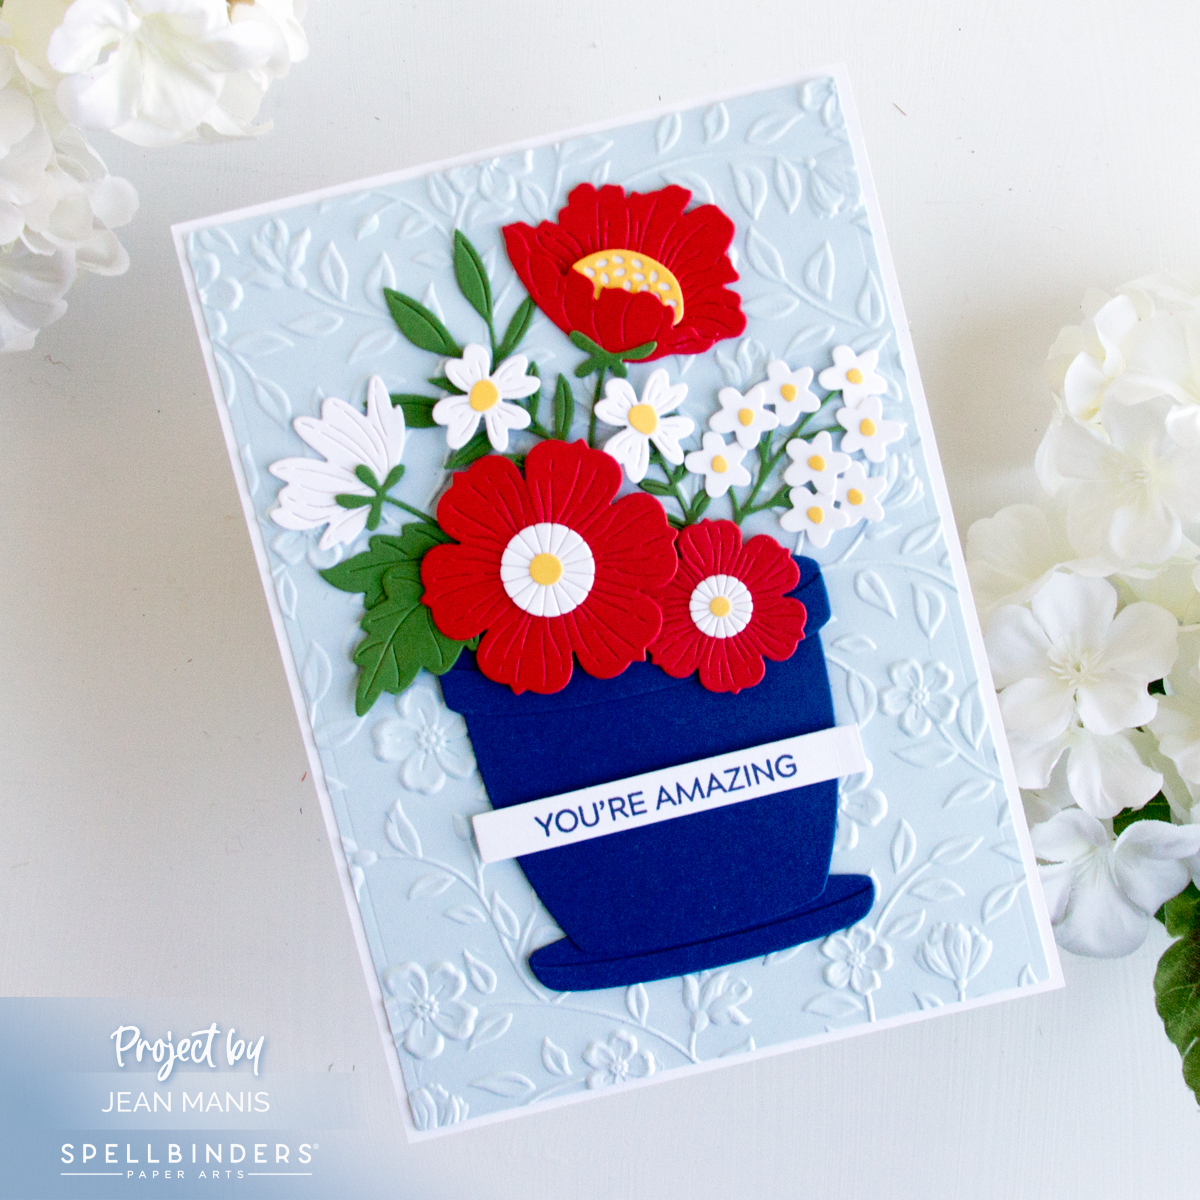
Hello! There’s something timeless about a card full of beautiful blooms, and today I’m sharing a floral design created with several Spellbinders die sets. One of the featured sets was originally the January 2023 Large Die of the Month Club kit; it’s available for individual purchase—perfect if you missed it the first time around! I love combining die sets to build unique arrangements.

Spellbinders | Floral Beauty

    • Dry emboss a cardstock panel with the Flowers & Foliage folder. Add to a 5″ x 7″ card base.
    • Cut the Club Blooms pieces from a variety of cardstock colors. Assemble as required.
    • Cut the pot with dies in the Azalea and Garden Pot set and assemble as necessary.
    • Adhere the pot, blooms, and foliage to the card base.
    • Stamp the Message Strips sentiment with blue ink and cut with a banner die in the set. Add sentiment across the pot.

Spellbinders | Floral Beauty


Hero Arts | Underwater Scene

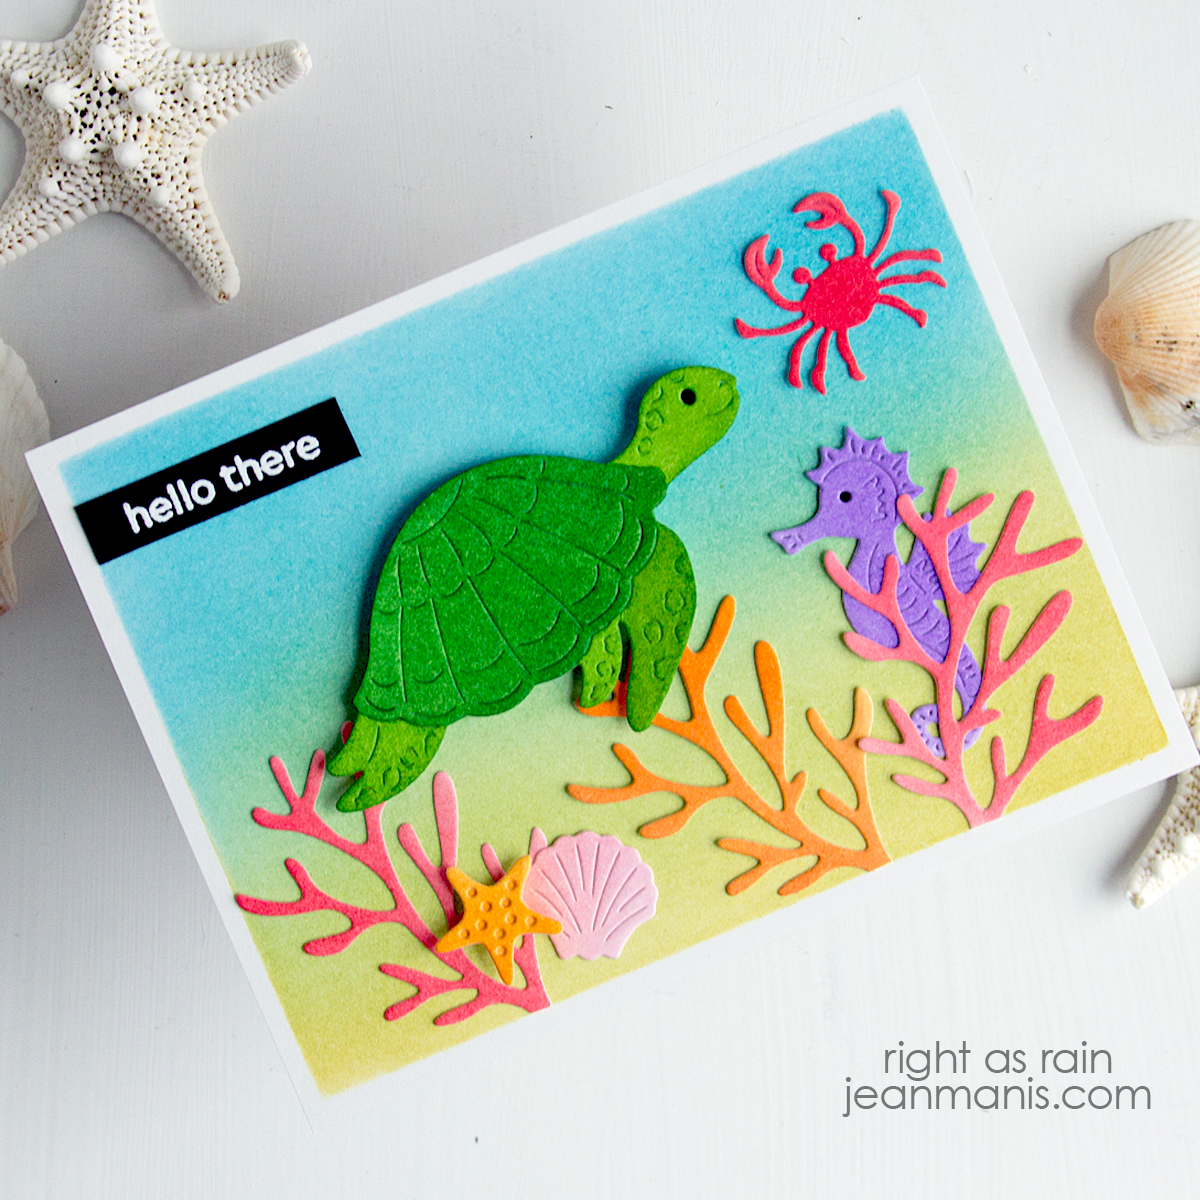
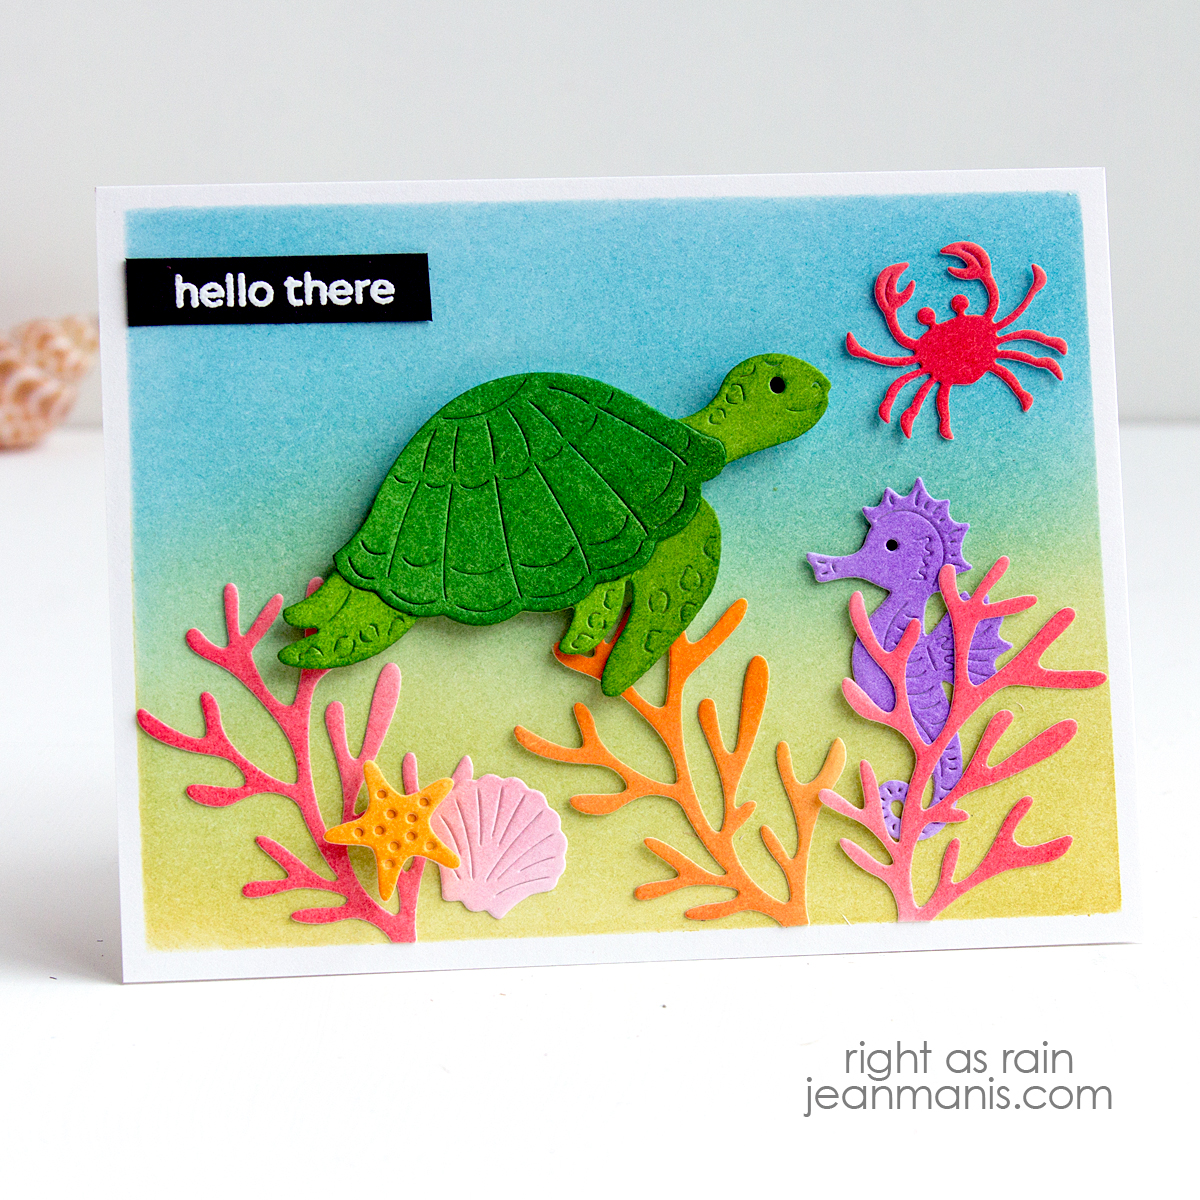
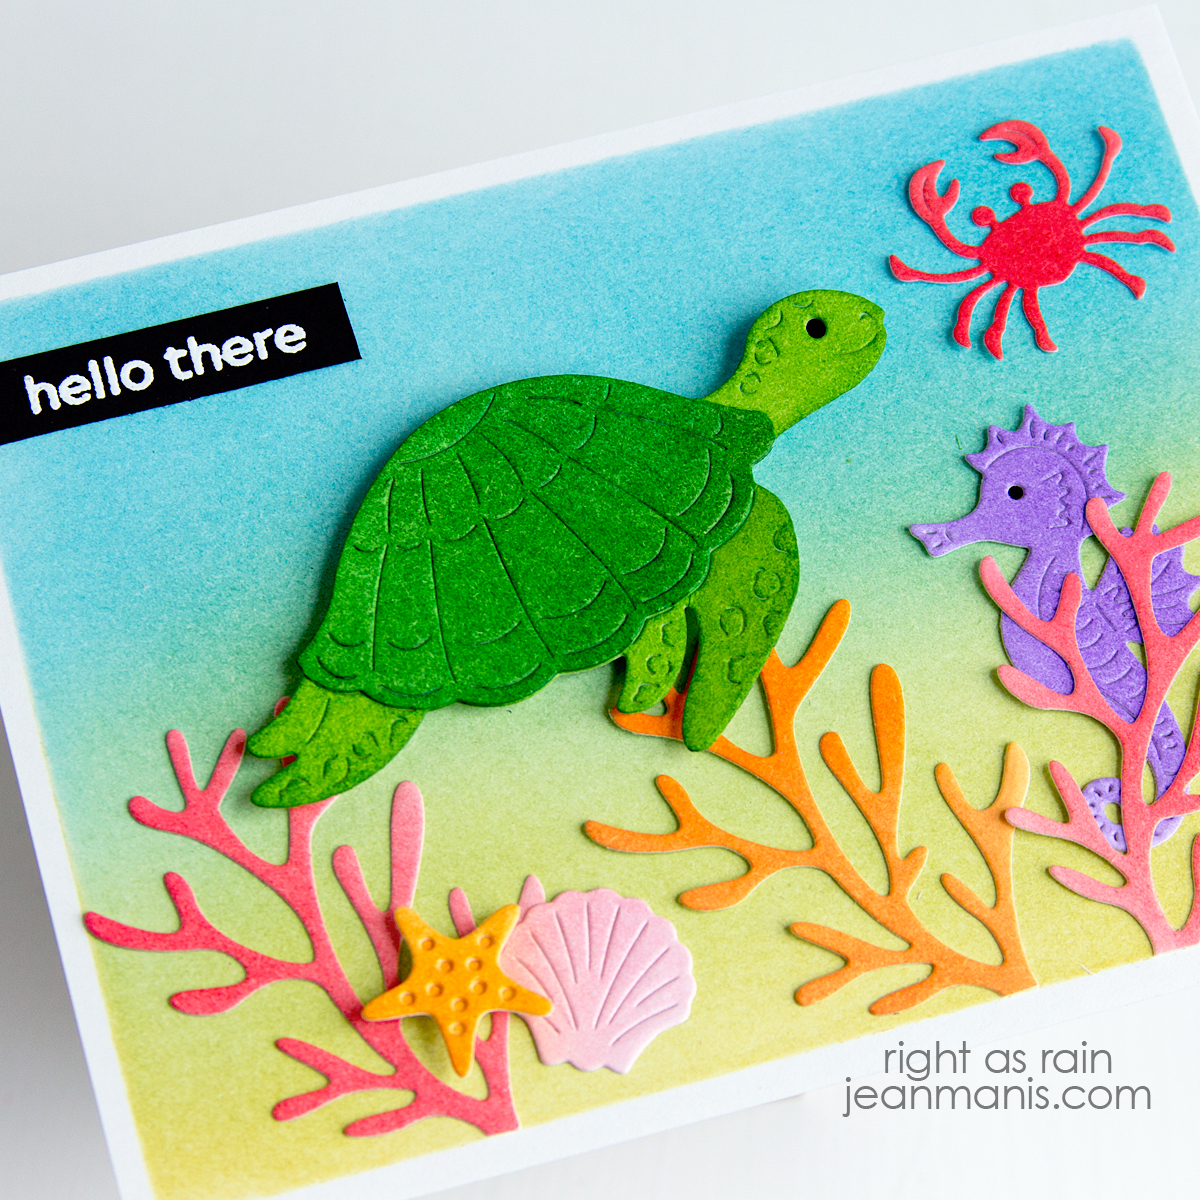
Hello! Today I’m sharing a handmade card that brings the underwater world to life! Using a Hero Arts die set, I created a vibrant ocean scene filled with sea creatures—a turtle, a seahorse, and a crab. The layered die cuts add depth and movement, while the simple “hello there” sentiment keeps things light and friendly.

Hero Arts | Underwater Scene

    • Blend Distress Inks on to an A2-size card panel using vellum to mask a 5 1/4″ x 4″ area. Trim the panel and add to an A2-size card base.
    • Apply Distress Inks to cardstock and cut marine life with the Sea Creatures set.
    • Heat-emboss with white powder the Message Strips sentiment on black cardstock. Cut with the set’s coordinating die.
    • Add elements to the card base with glue and foam squares trimming the coral as needed to fit within the ink masked area.

Hero Arts | Underwater Scene

Spellbinders Pre-Summer Super Sale– Up to 50% Off – Ends 5/31/2025


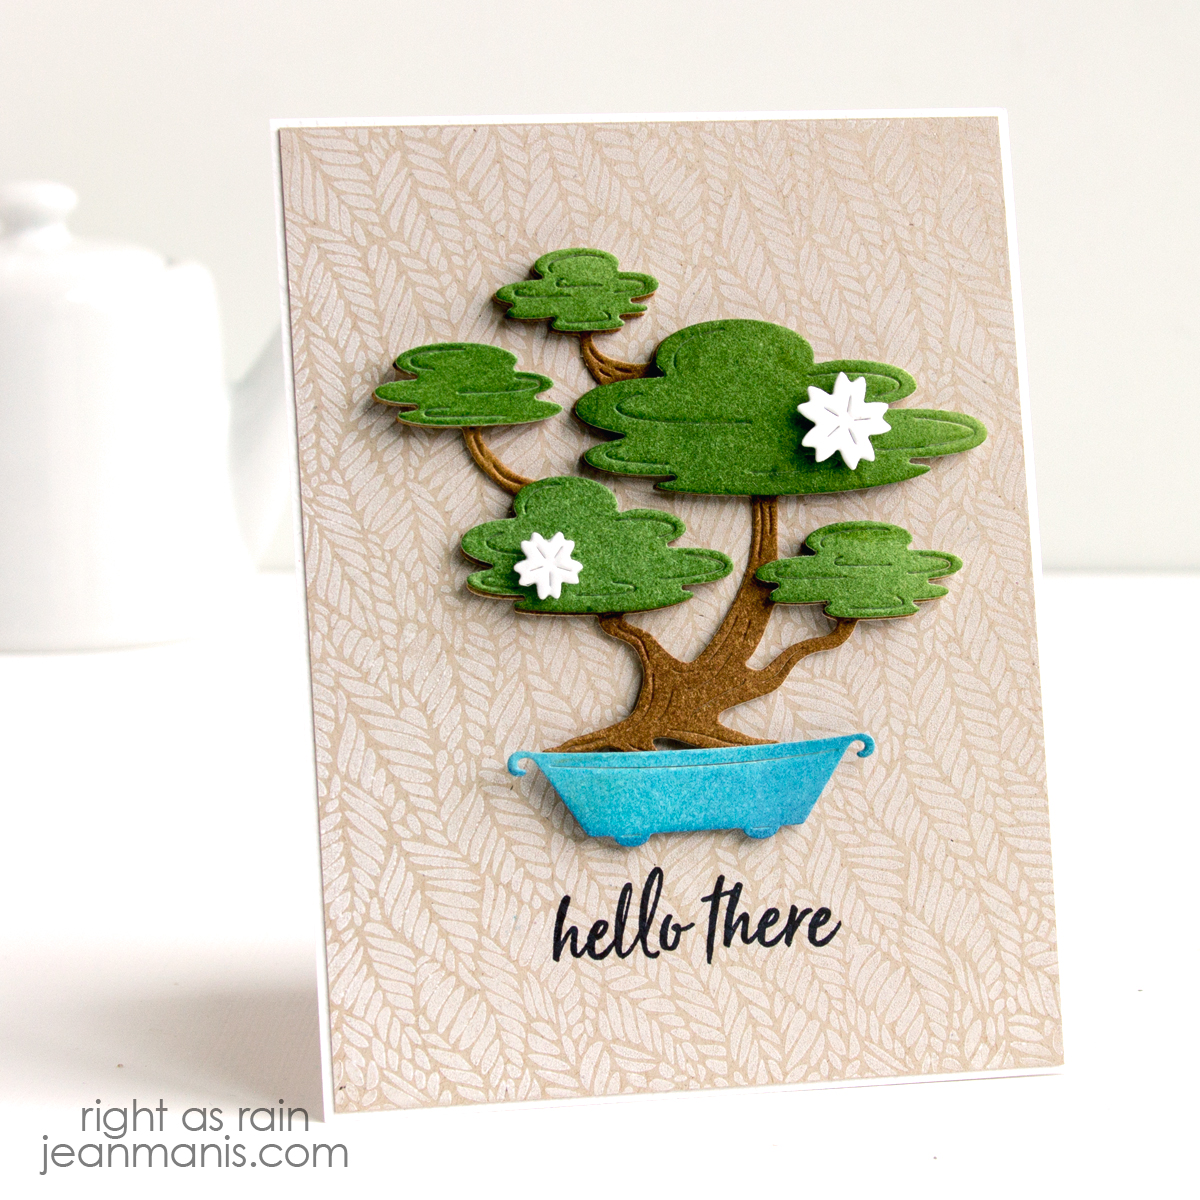
Hero Arts | Bonsai Hello Card

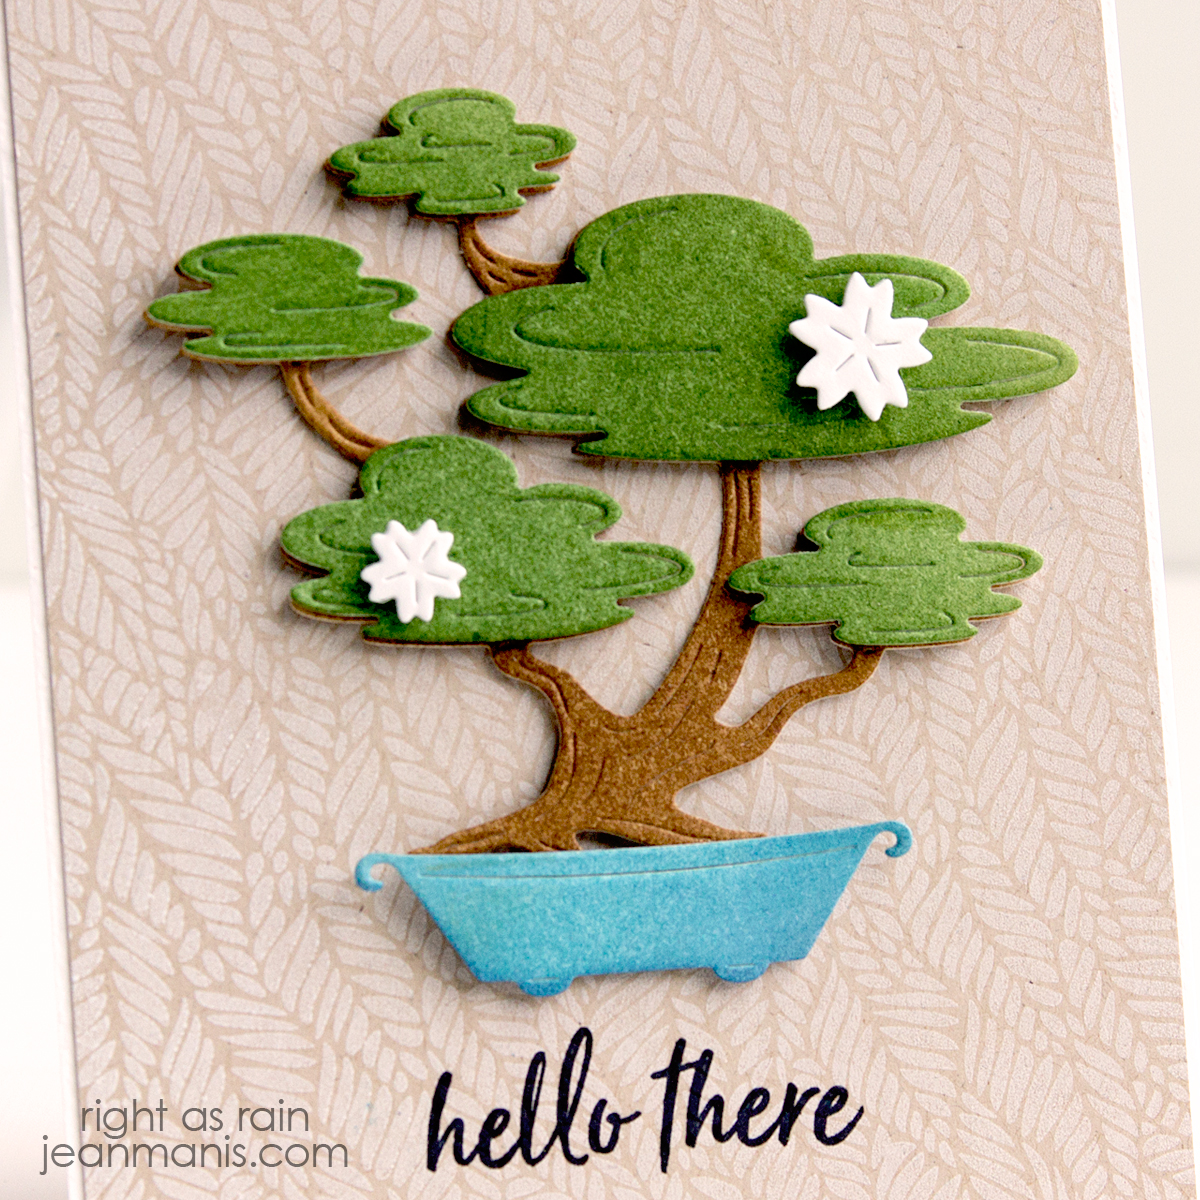
Hello! Today I’m sharing a CAS card that features a bonsai tree cut with a Hero Arts die set. I paired the focal element with a kraft cardstock background stamped in white pigment ink with the Hero Arts Leafy rubber stamp. I kept the design simple to let the bonsai tree stand out. It’s a calm and thoughtful all-occasion card that combines die cutting and stamping with earthy tones and clean lines.

Hero Arts | Bonsai Hello Card

    • Stamp Leafy background on kraft cardstock with white pigment ink.
    • Stamp sentiment in black ink on card background.
    • Trim panel and add to an A2-size card background.
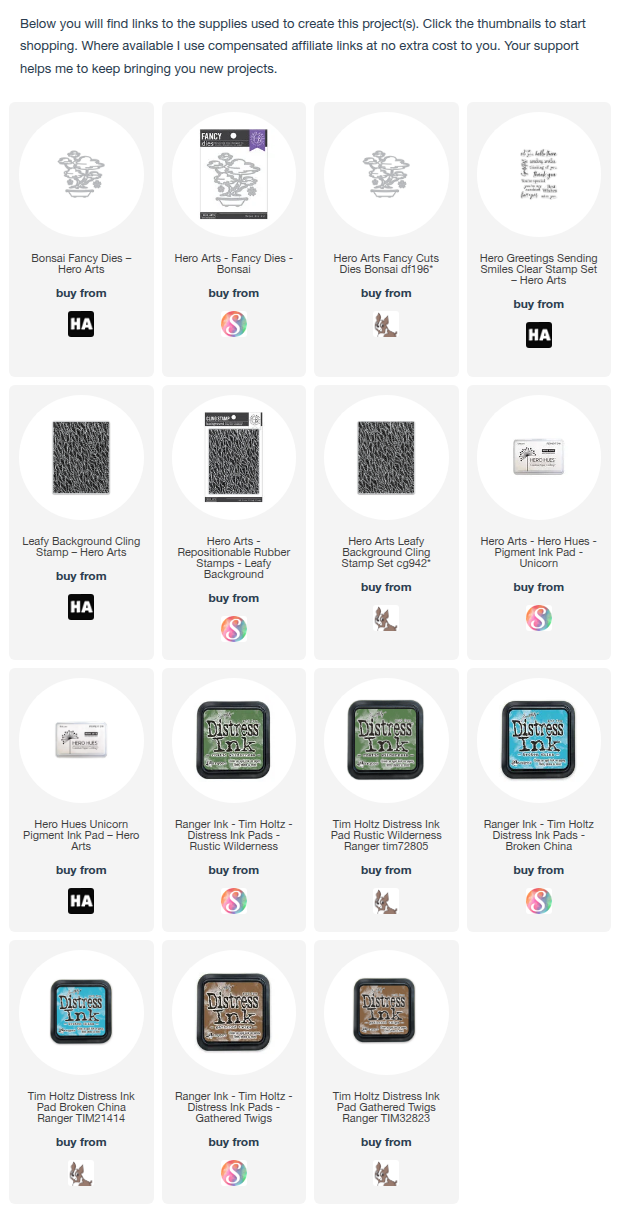
    • Color cardstock with Distress Inks. Cut Bonsai pieces from the inked cardstock. Fussy-cut the bonsai plant. Add greenery to the base with foam adhesive.
    • Add bonsai to card base with foam and dot adhesive.

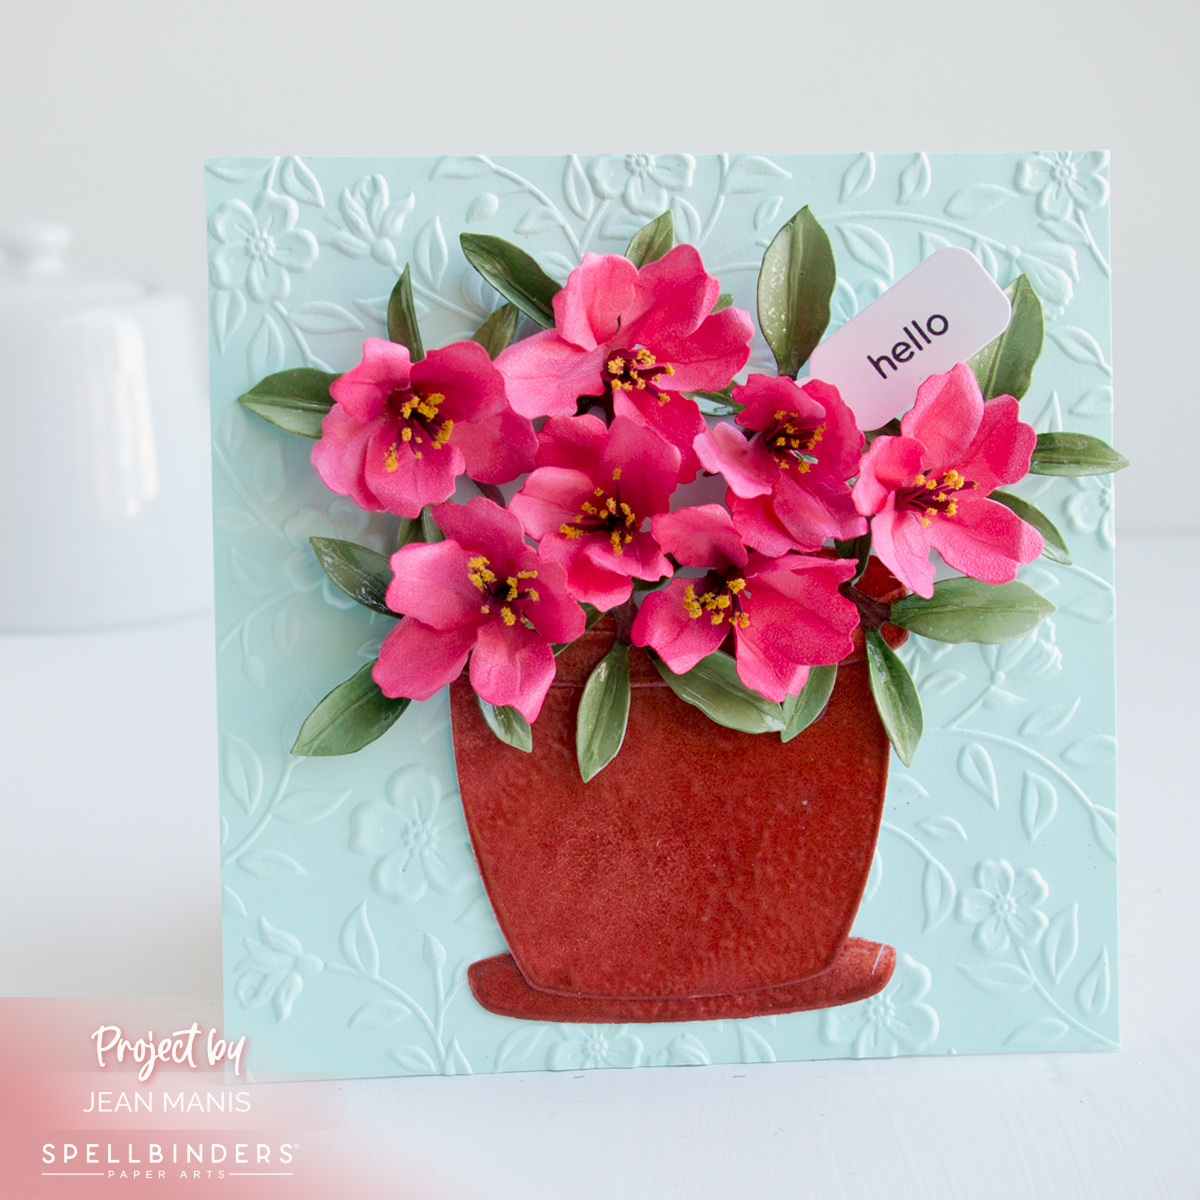
Spellbinders | Susan’s Azaleas

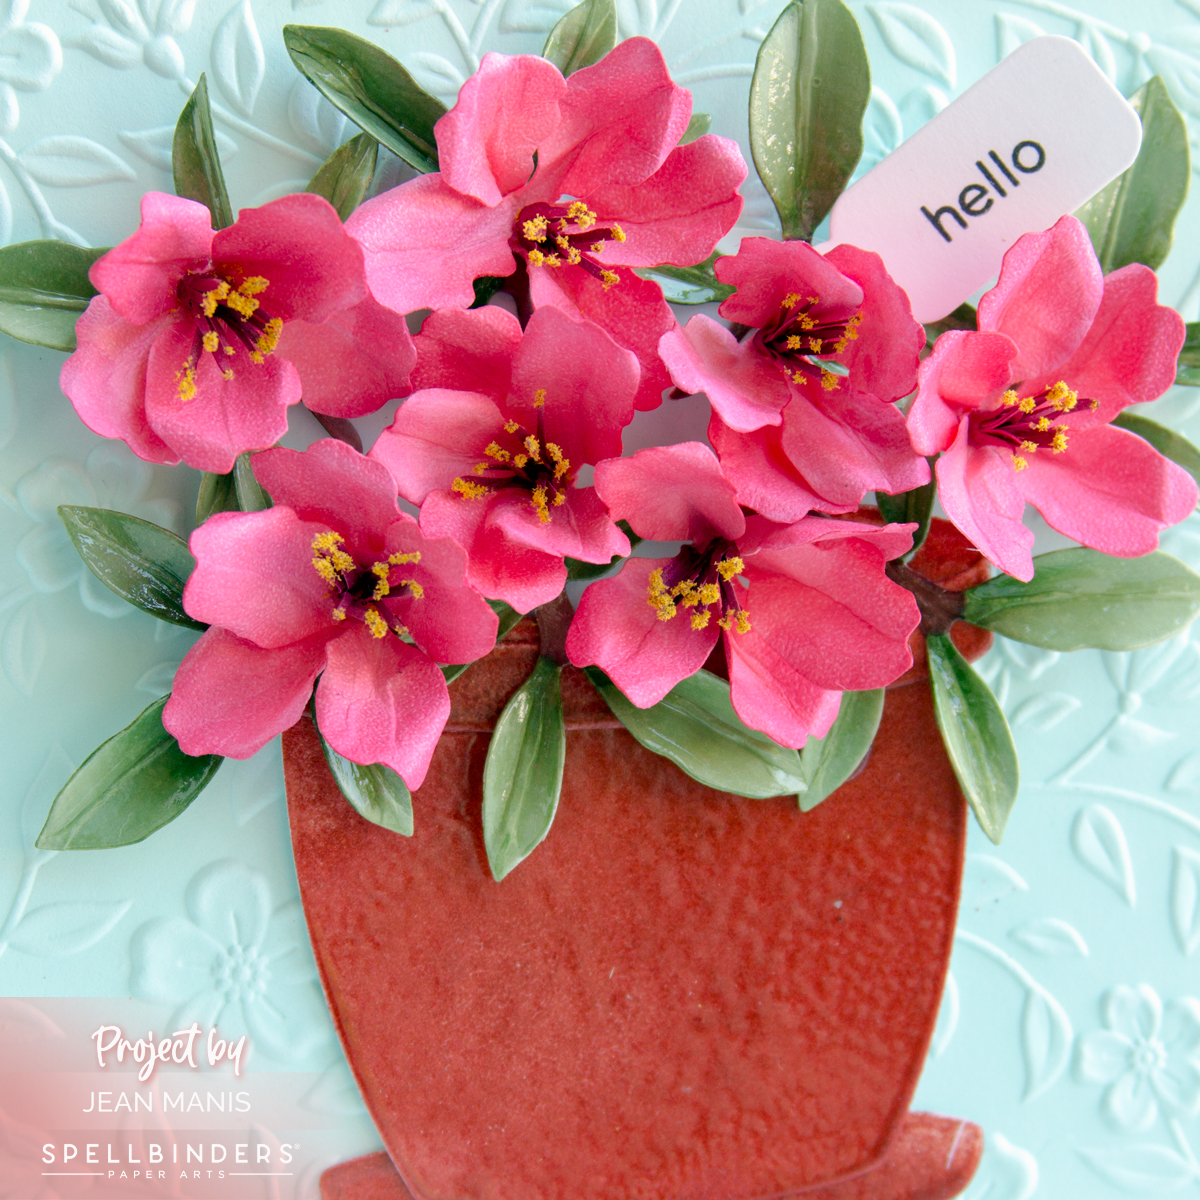
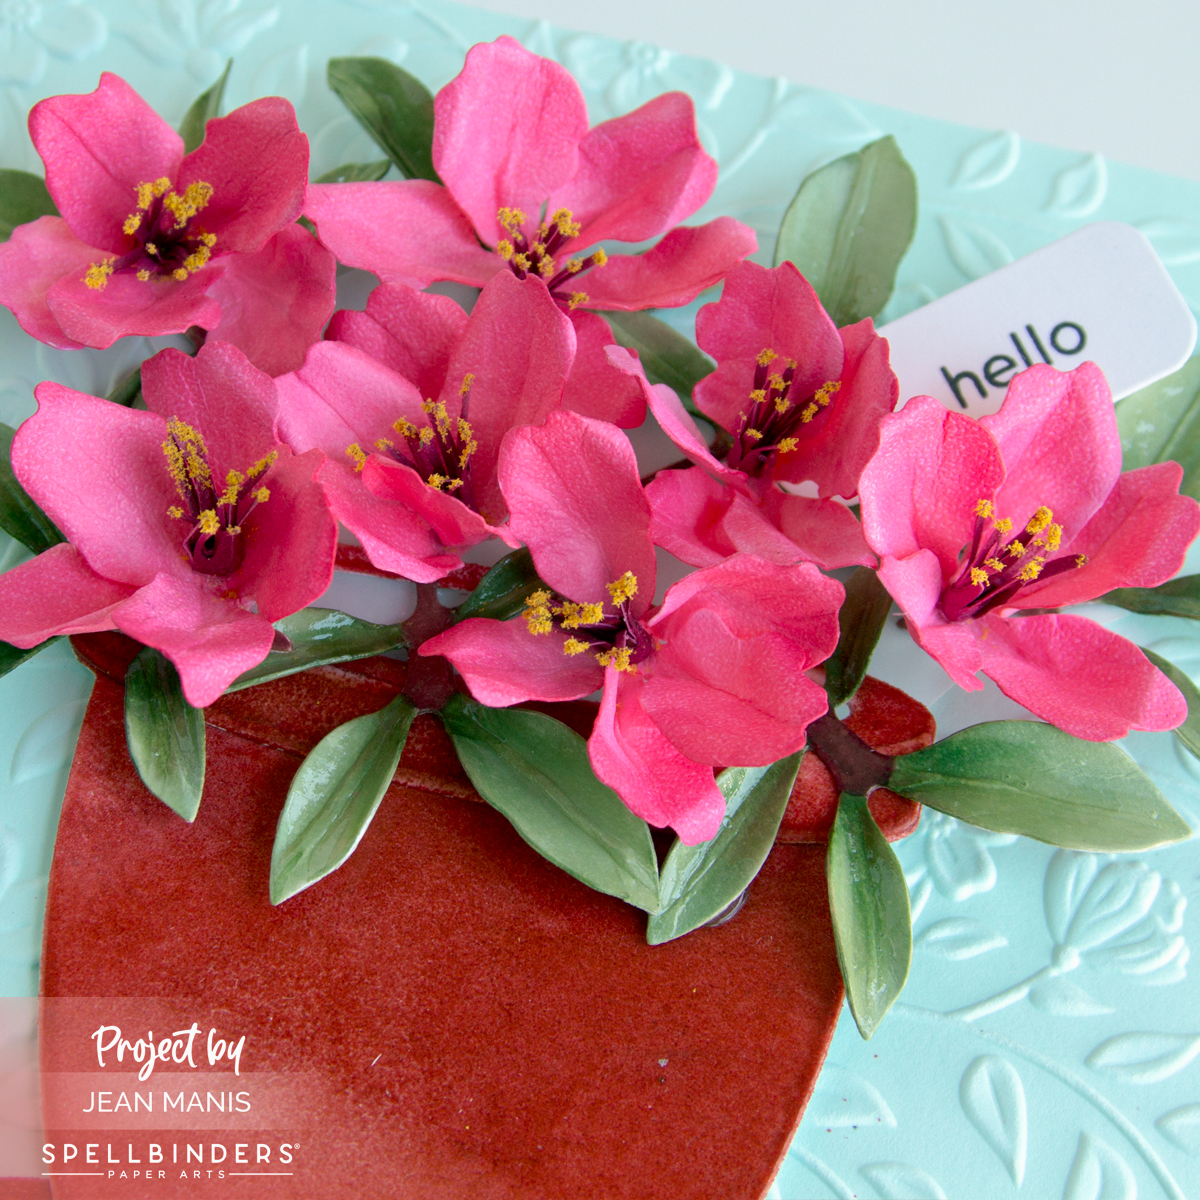
Hello! Today, I’m excited to share a card that captures the beauty of azaleas nestled in a charming garden pot. Following Susan Tierney-Cockburn’s step-by-step video, I was able to assemble the azaleas and pot, available as a set at Spellbinders. This project was a delightful learning experience.

Spellbinders | Susan's Azaleas

    • As explained in the video, with dies in the Azalea and Garden Pot set, cut the leaves from watercolor cardstock. To color the leaves, I used Copics E27, YG63, and YG67. Form the leaves with Susan’s tools and then paint on glaze. Set aside to dry. I don’t know what brand glaze Susan used on hers; I used JudiKins Diamond Glaze.
    • With dies in the Azalea and Garden Pot set, cut the petals and stamens from Susan’s Garden Specialty Cardstock and color. To color, I used Copics RV23, RV25, and R39. Following Susan’s directions, I cut the stamens, glued them, and added pollen. I formed the flowers with tools in the kit and then glued the petals and stamens.
    • With dies in the Azalea and Garden Pot set, cut the pot from Classic White cardstock and color by heat-embossing Fired Brick Distress Embossing Glaze. I added several coats. Assemble pot.
    • Dry-emboss a 5 1/2″ square panel of Seaside cardstock with the Flowers and Foliage folder and add to a card base.
    • Stamp the sentiment on Classic White cardstock and cut with a die in the Assorted Tags set, masking the “there” so that only “hello” is stamped.
    • Add the pot, leaves, and flowers to the prepared card base. Tuck the sentiment tag into the finished arrangement.

Spellbinders | Susan's Azaleas

While there are numerous steps involved in creating this card, Susan Tierney-Cockburn’s tutorial breaks down the process into manageable parts, making it achievable even for beginners like me.