Penny Black Valentine’s Day Card

There’s been some wonderful inspiration over on the Penny Black Blog using the latest release Sending Hugs. In fact, Penny Black is holding a Sending Hugs challenge – read all about it here.

Today, I’m sharing a card using three stamp sets from the release – ooh la la [30-210], from the heart [30-207] and rose edging [30-206].
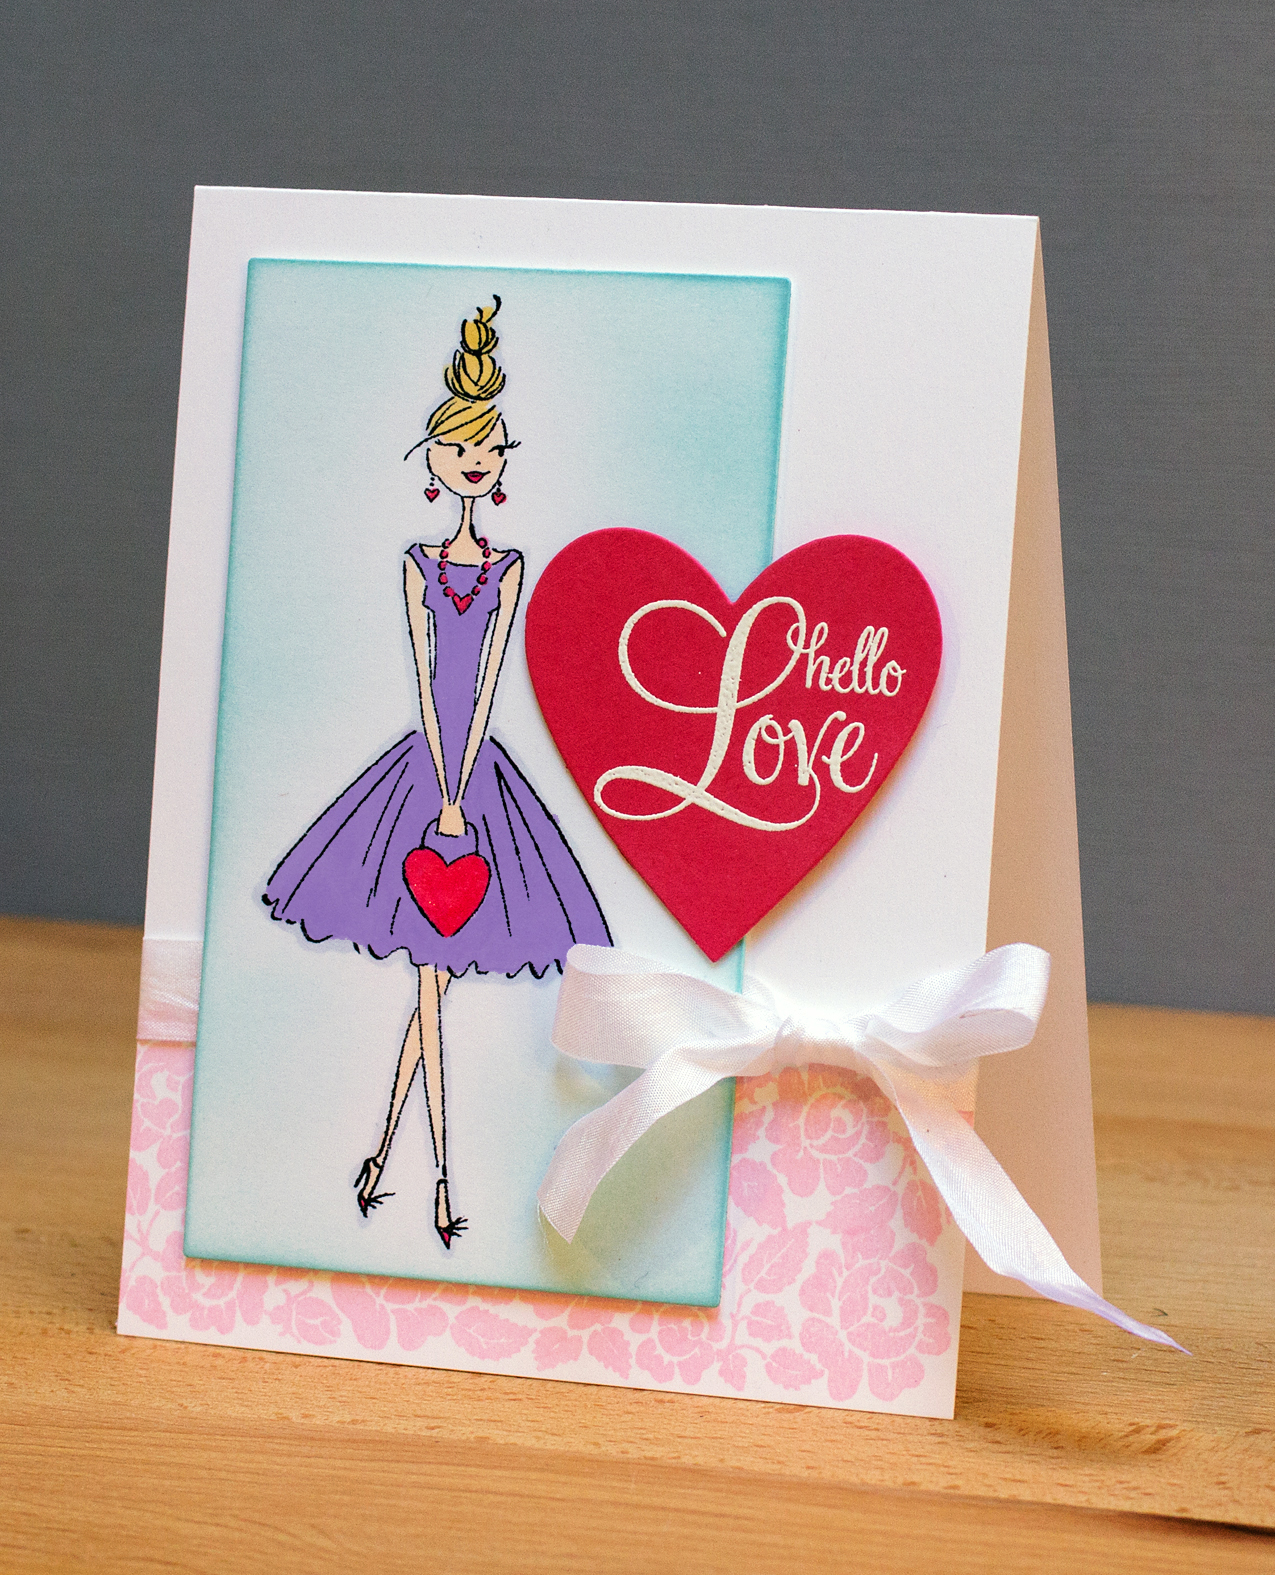
Penny Black Valentine's Day Card

I stamped one of the images from  rose edging twice on the card base. On a rectangular panel, I stamped and Copic-colored an image from ooh la la, combining it with a die-cut heart which was heat embossed with a sentiment from the from the heart set. I finished the card off with a white ribbon bow.

Love You More

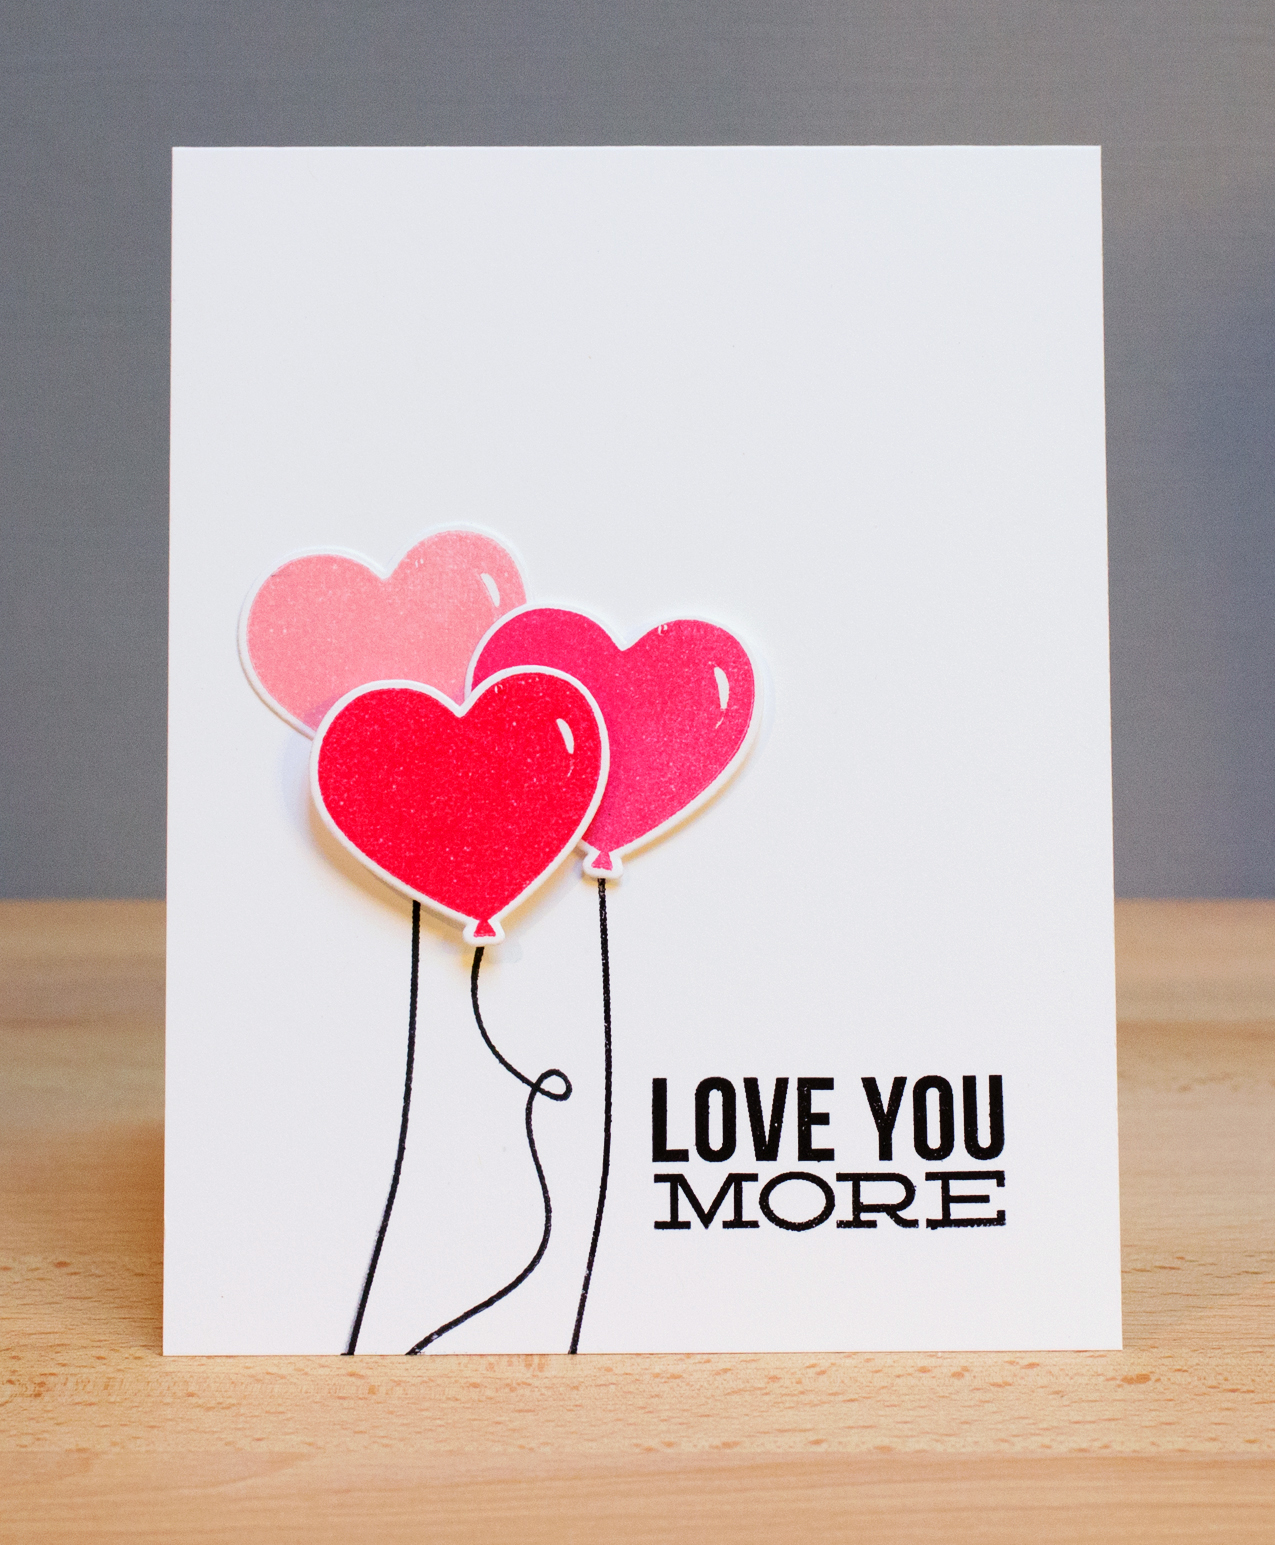
I’m heading right into the Valentine’s Day “season” today with a CAS card using the Mama Elephant “Party Kit” stamps and coordinating die cuts.

Love You More

I stamped the heart balloon in three shades of Mama Elephant pigment-based inks, which I then die cut. (I like the dimension achieved with the die cuts and it’s a lot less stressful to create a card this way!) I paired the balloons with one of my favorite Hero Arts sentiments from the “Oh Snap” set.

Supplies:

Season’s Greetings

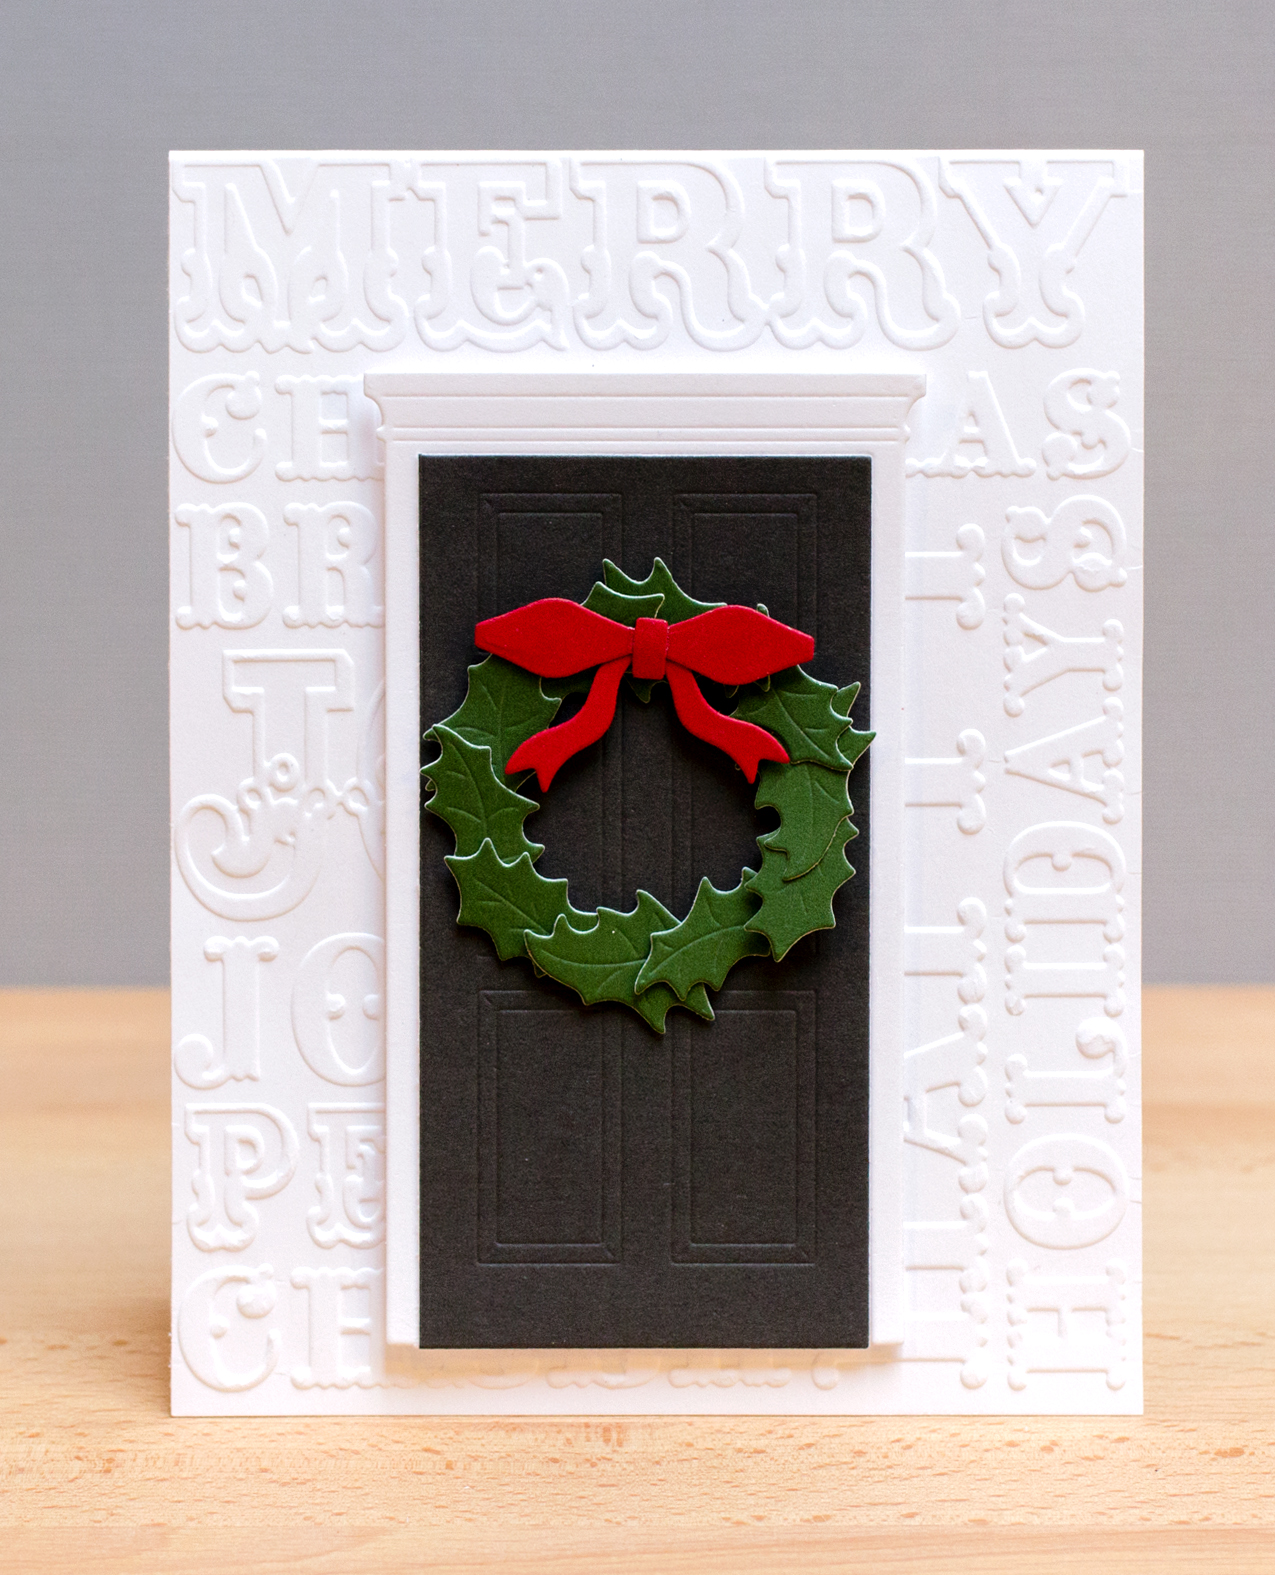
Merry Christmas! Today, I’m sharing a die-cut holiday card inspired by the homes of Edgartown, Martha’s Vineyard. Edgartown is filled with stately, white clapboard Federal-style mansions of the whaling captains.

Season's Greetings

I began the wreath by cutting a circle outline with the two smallest circles in the Sizzix die cuts out of Craft-a-Board. This served as a base for the wreath onto which I added the holly leaves cut from Dill cardstock. I finished off the wreath with a red bow. To keep with the colors of the New England homes, I cut the door twice, once from white and again from black cardstock. I trimmed off the molding from the black door and adhered it to the white door. Since I was creating a card without a sentiment, I dry embossed the card base with the “Christmas Words” folder.

Supplies:

Tim Holtz December Tag

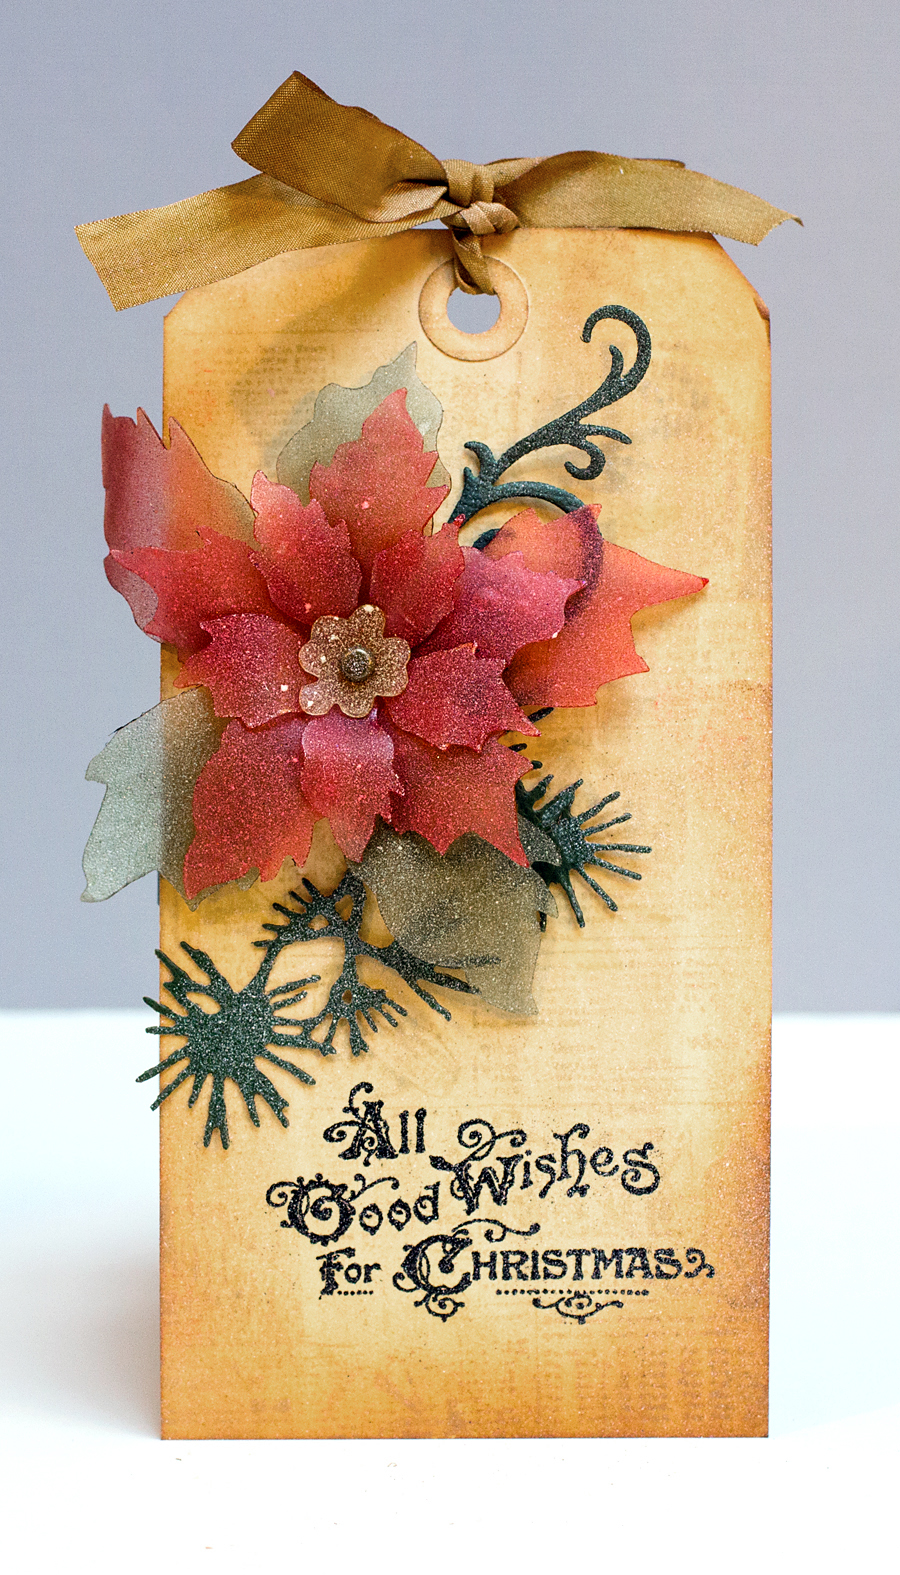
Like many of the Tim Holtz projects on which I’ve worked, this month’s 12 Tags of 2013 was not finished in a single sitting! It took a couple of tries for me to be happy with the design and execution. That being said, one of my favorite things about the Tim Holtz projects is that they push you to try new techniques and products.

Tim Holtz December Tag

I followed the directions on the December tag post, substituting supplies as needed. The focus of this month’s tag is the frosted film and Clearly for Art used for the die-cut poinsettia. The Clearly for Art product is covered with the film, die cut, colored with inks (on the frosted film side) and then curled with the application of heat. I could have used a few more hands during that process! As Tim explains, “if you don’t like the shape you created, simply reheat it and it will flatten out completely allowing you to reshape it,” which I did more than once!

While Tim’s tag features one of his newest stencils for a background pattern, I stamped my background with the Seasonal Catalog stamp in Vintage Linen for a tone-on-tone look. Tim used a splatter brush from Liquitex to apply Picket Fence paint. I used a toothbrush, since I don’t have that tool. The toothbrush delivers an even dusting of the paint. I would have liked a few more drips and a more random pattern, which the splatter tool appears to provide.

Supplies:

Christmas Window

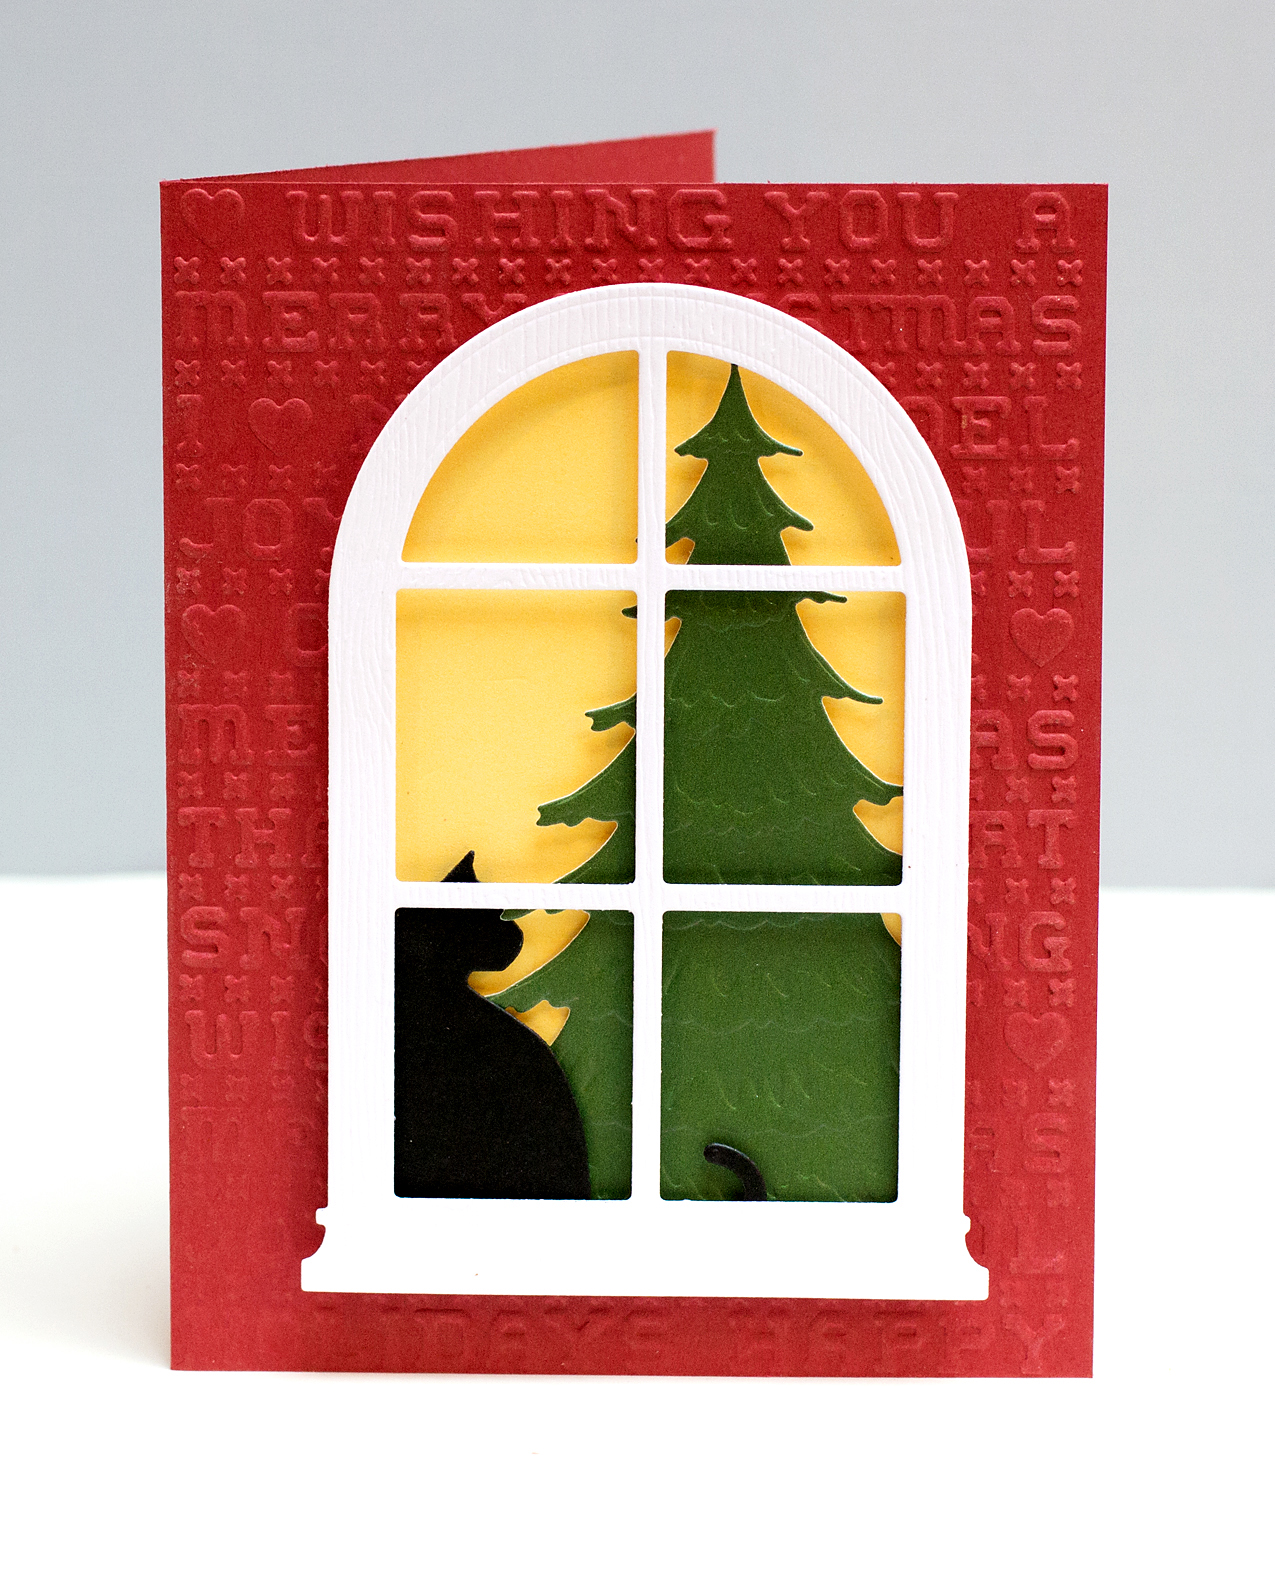
I’ve mentioned before how much I like children’s picture books. I miss the days when my sons were young and we read them together. And unfortunately I just can’t get Ginger, our golden retriever, interested. 🙂 I recently “read” Mr. Willowby’s Christmas Tree and created a card inspired by the book.

In the book, Mr. Willowby’s tree is too tall, so he trims off the top and gives it to his maid. She, in turn, finds it too tall and trims off a bit, and so on and so on until mice use the tiniest of tree tops for their Christmas tree. I thought about cutting the top of the Memory Box tree die and bending it a bit, but in the end just used the cover photo as a jumping off point for my card.

Christmas Window
I used a Poppystamps die cut cat in the window to help create perspective. The various layers are adhered with dimensional adhesive to the dry-embossed card base.

Supplies: