Bewitched

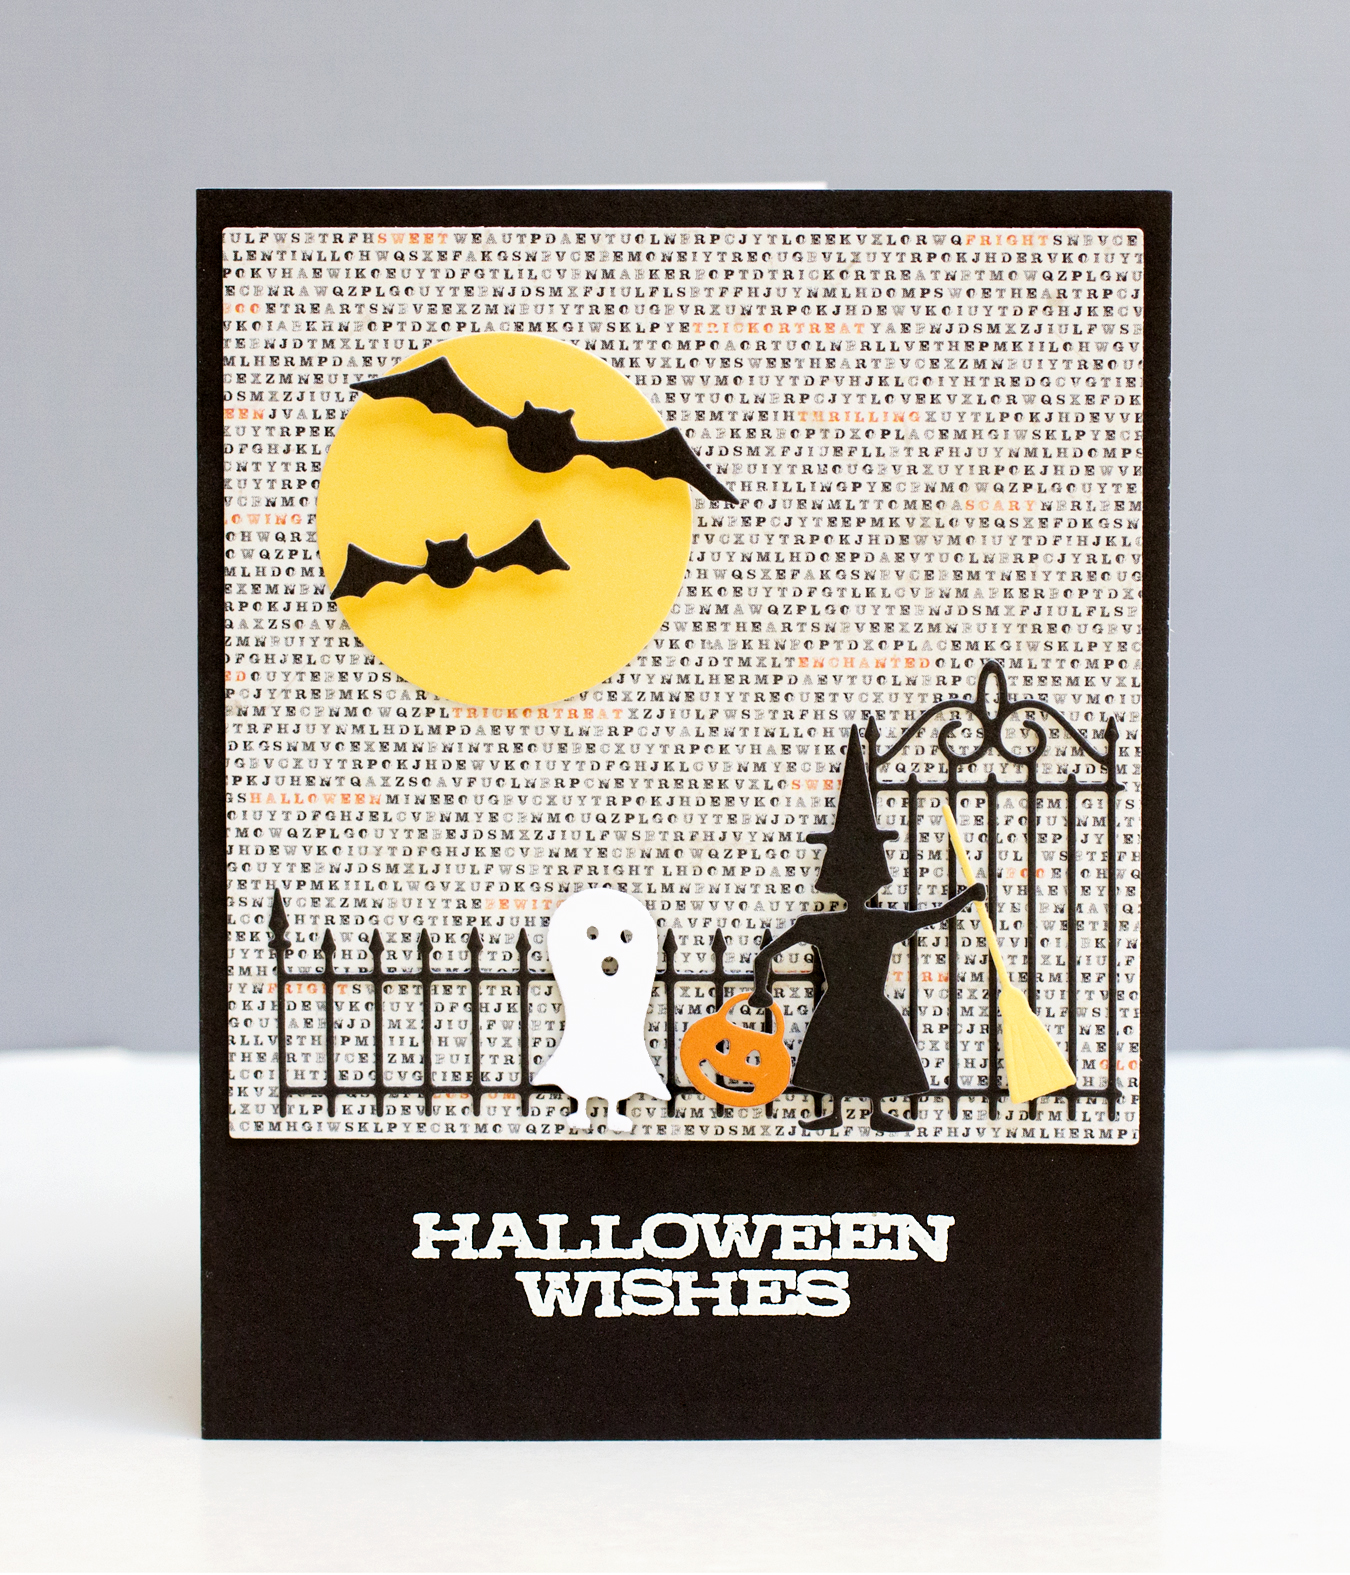
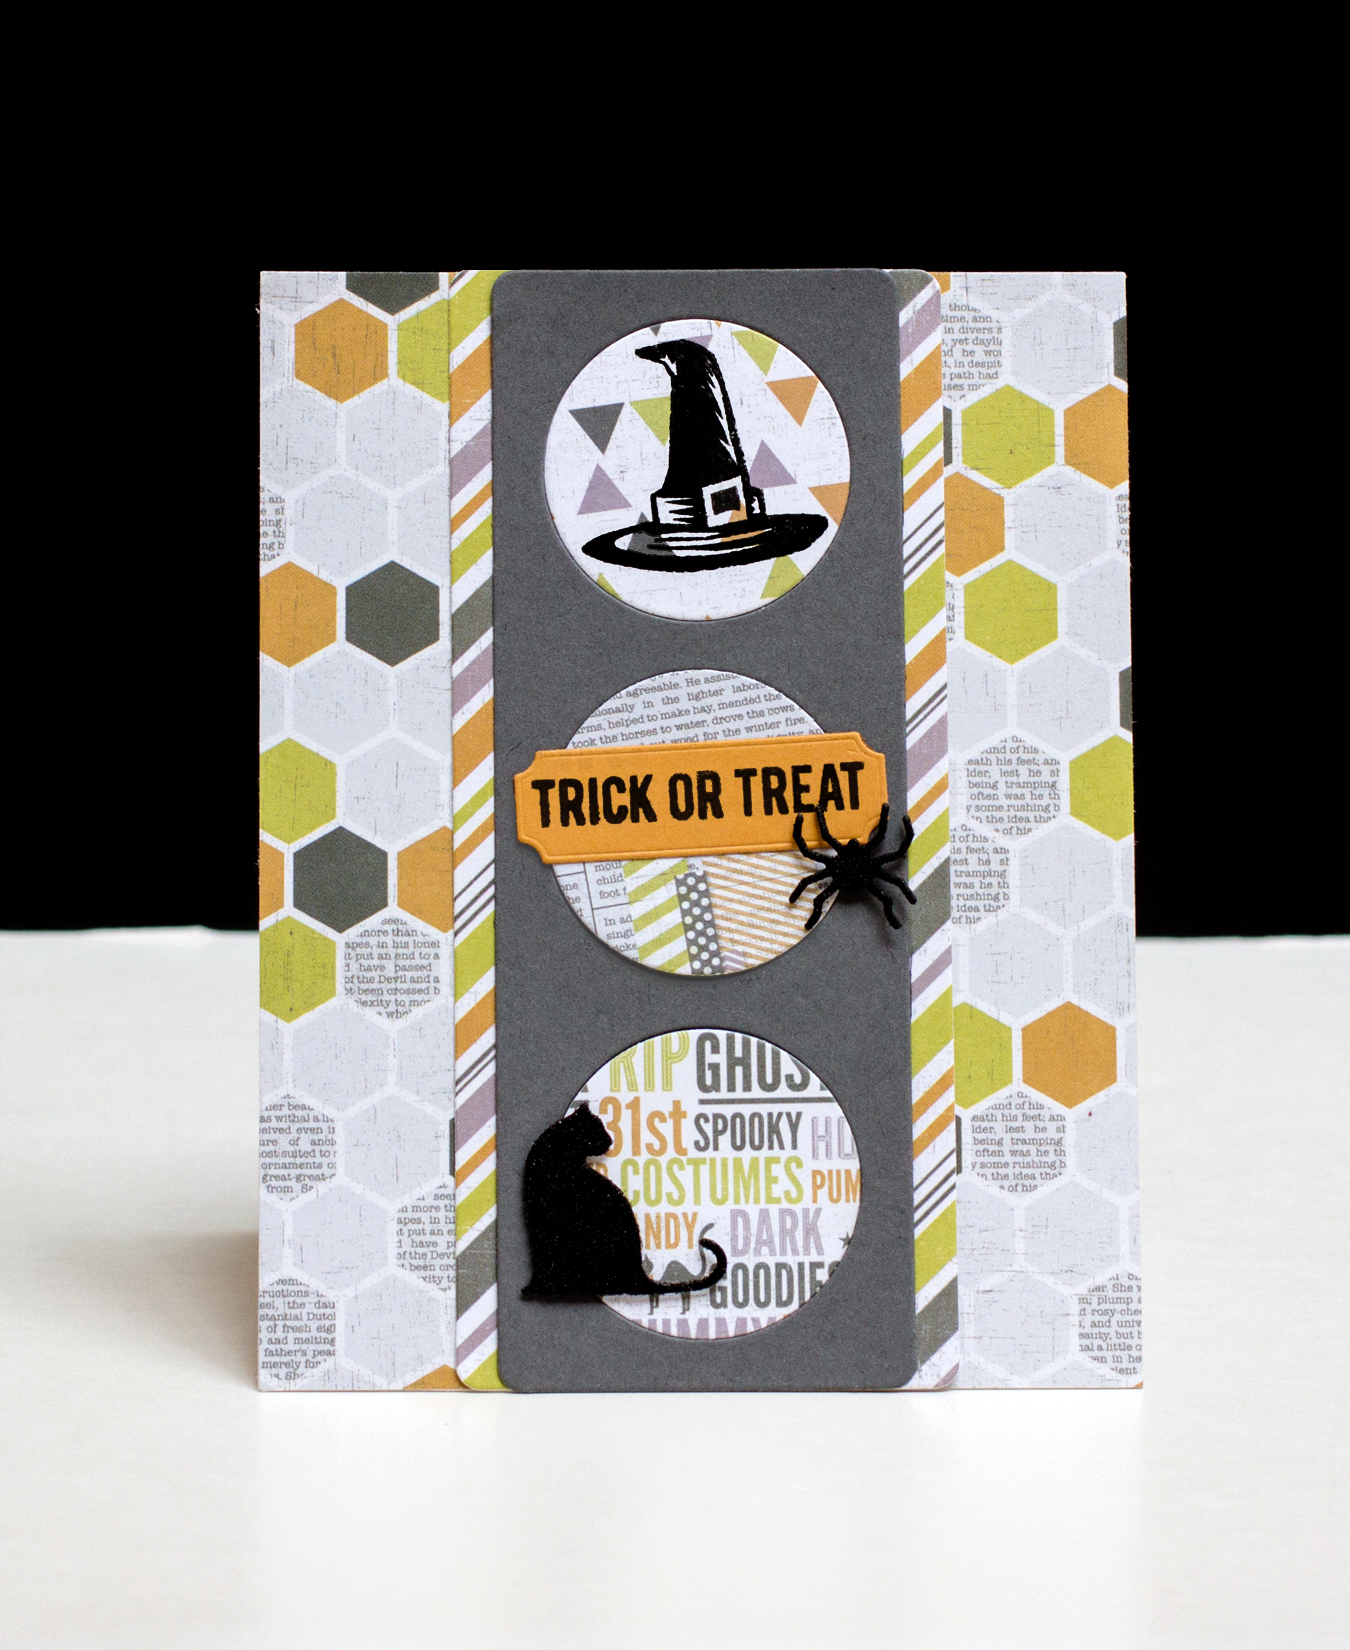
This card was one of those that came together as I was creating other Halloween cards. I made use of the patterns from the We R’ Memory Keepers “Bewitched” paper pad (one of my favorites this year) with the addition of a few stamped and die cut items.
HalloweenTrickorTreat

Have you bought your Halloween candy? Last Halloween, we had trick-or-treaters for the first time in years (lots of new families with small children have moved into our neighborhood over the past year). I’ve got the candy stocked!

As for the title of this post – “Bewitched” – besides being the name of the patterned paper pad I used, it’s also one of my favorite childhood television series. The one thing I could never understand about that show – why didn’t Darrin let Sam use her powers to clean the house!

OCC Tim Holtz Chemistry 102: Day Three

We explored more distress techniques in today’s Online Card Classes Tim Holtz Creative Chemistry 102 class including the application of Distress Stains with a brayer and the application of Distress glitter.

I definitely did not get the brayer technique with one roll! But I allowed myself to play, eventually finding a color combination I like (I don’t own many distress stain colors, and I’m trying to work with what I’ve got!).

OCC Tim Holtz Chemistry 102: Day Three

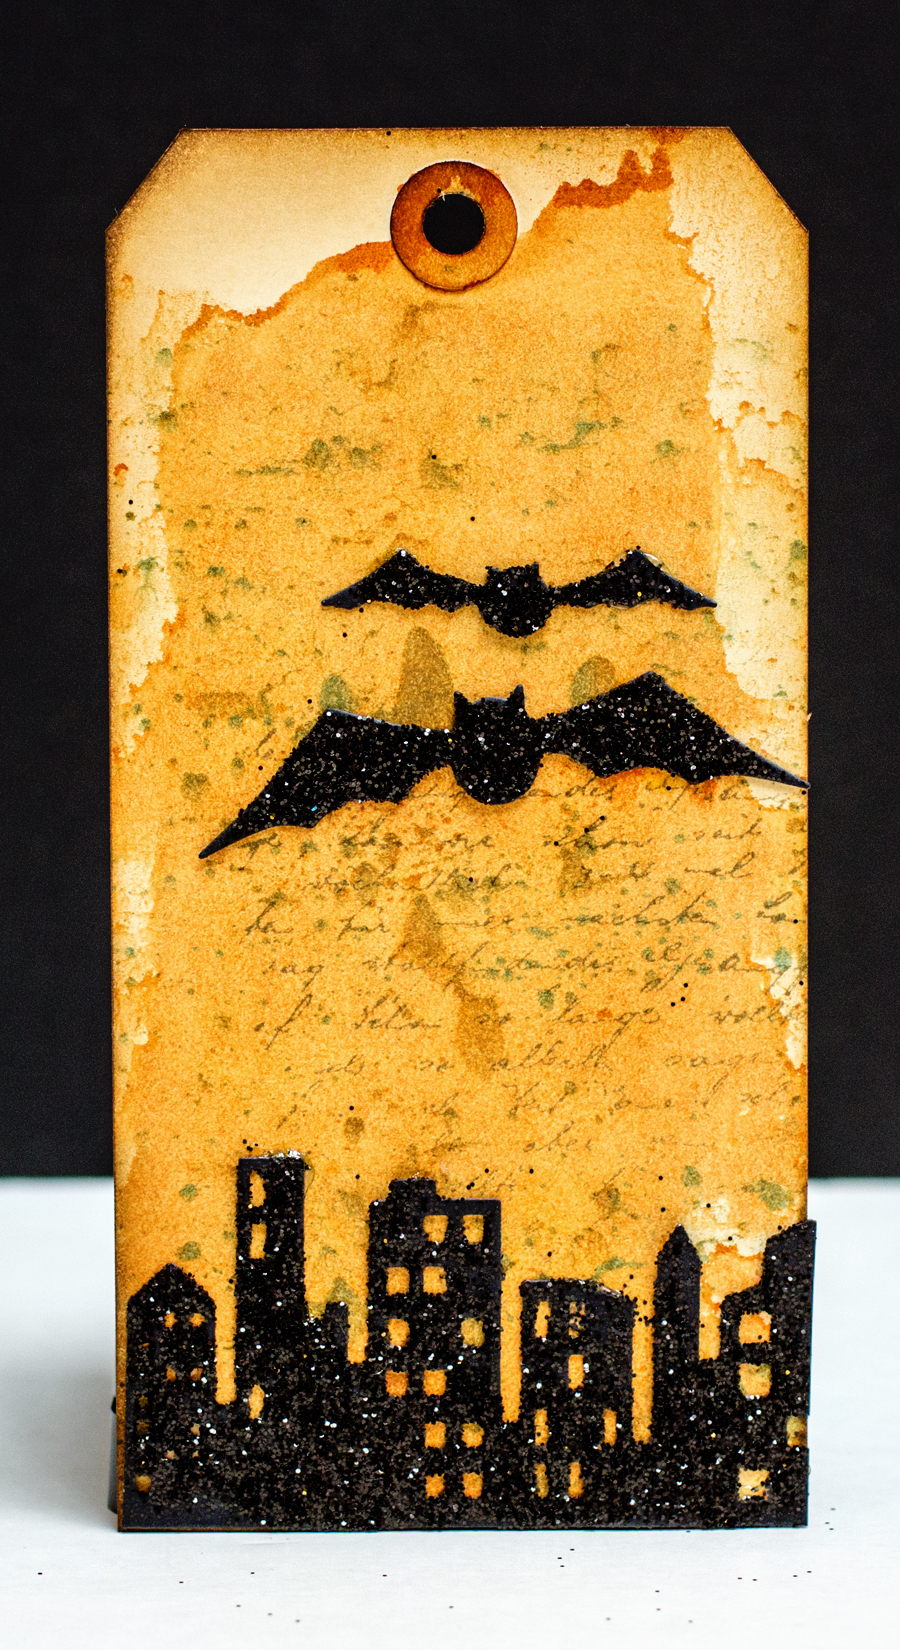
For this first tag, I used Rusty Hinge as a base and added in some Broken China. I applied black Distress Glitter with Glue N’ Seal to some Memory Box die cut shapes which had been cut out of black cardstock.

OCC Tim Holtz Chemistry 102: Day Three

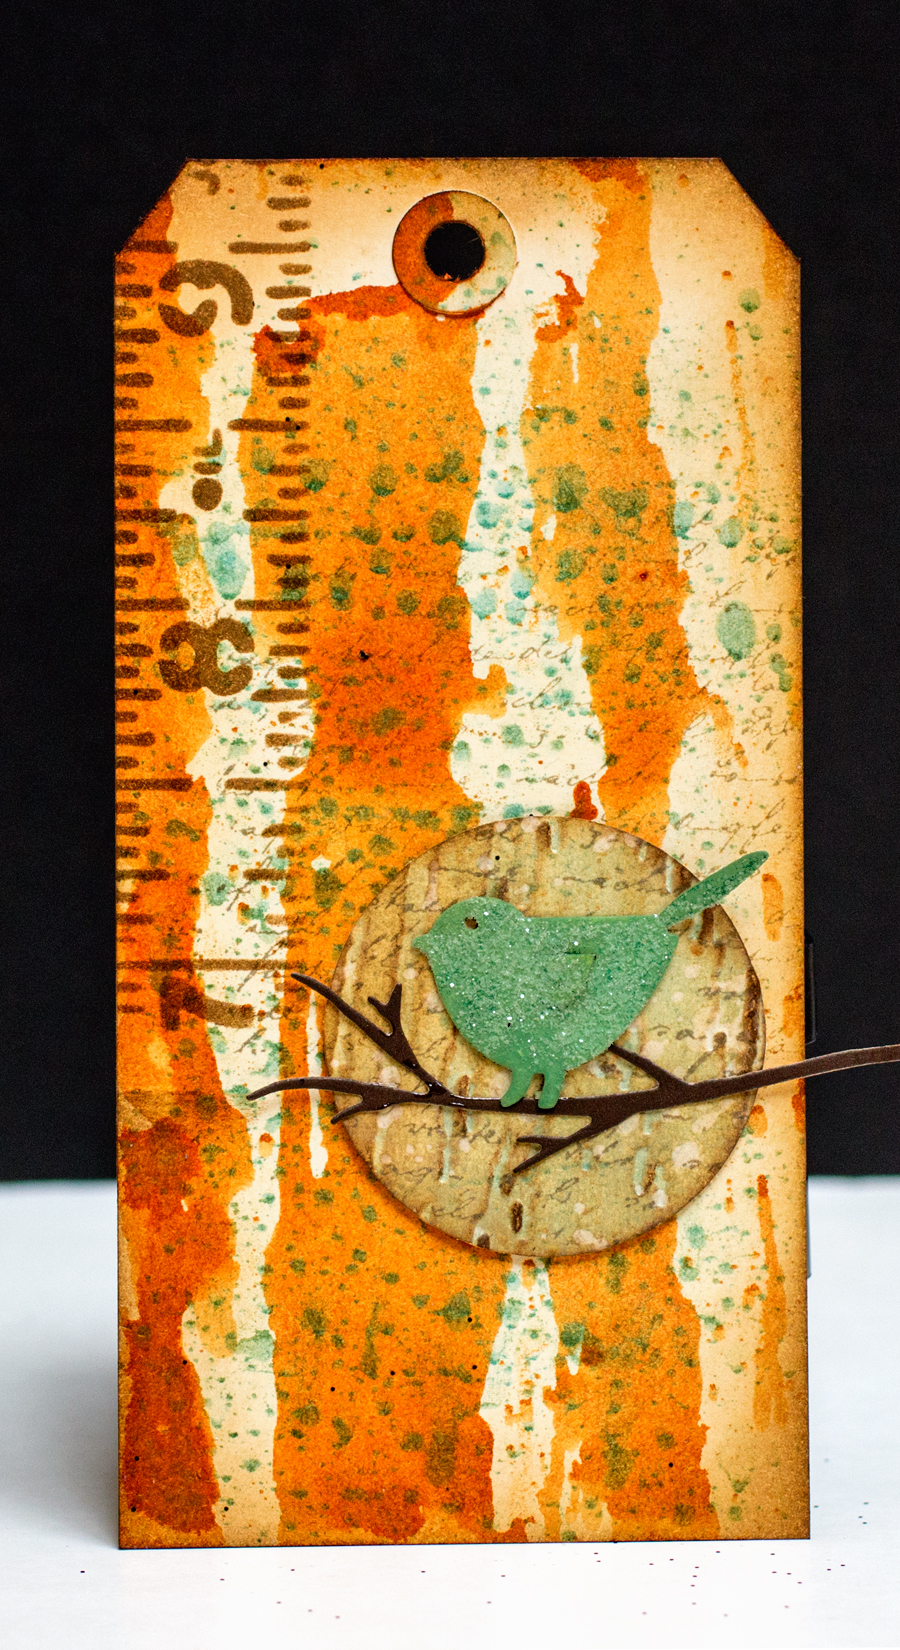
For the second tag, my brayer roll application was more random. Next, I applied Vintage Photo distress ink through a stencil for more visual texture. After coloring the Savvy bird die cut with Distress inks, I applied Rock Candy Dry Glitter using Glue N’ Seal. The circle behind the bird was cut from one of my reject tags that I dry embossed with a wood grain texture.

OCC Tim Holtz Chemistry 102: Day Three

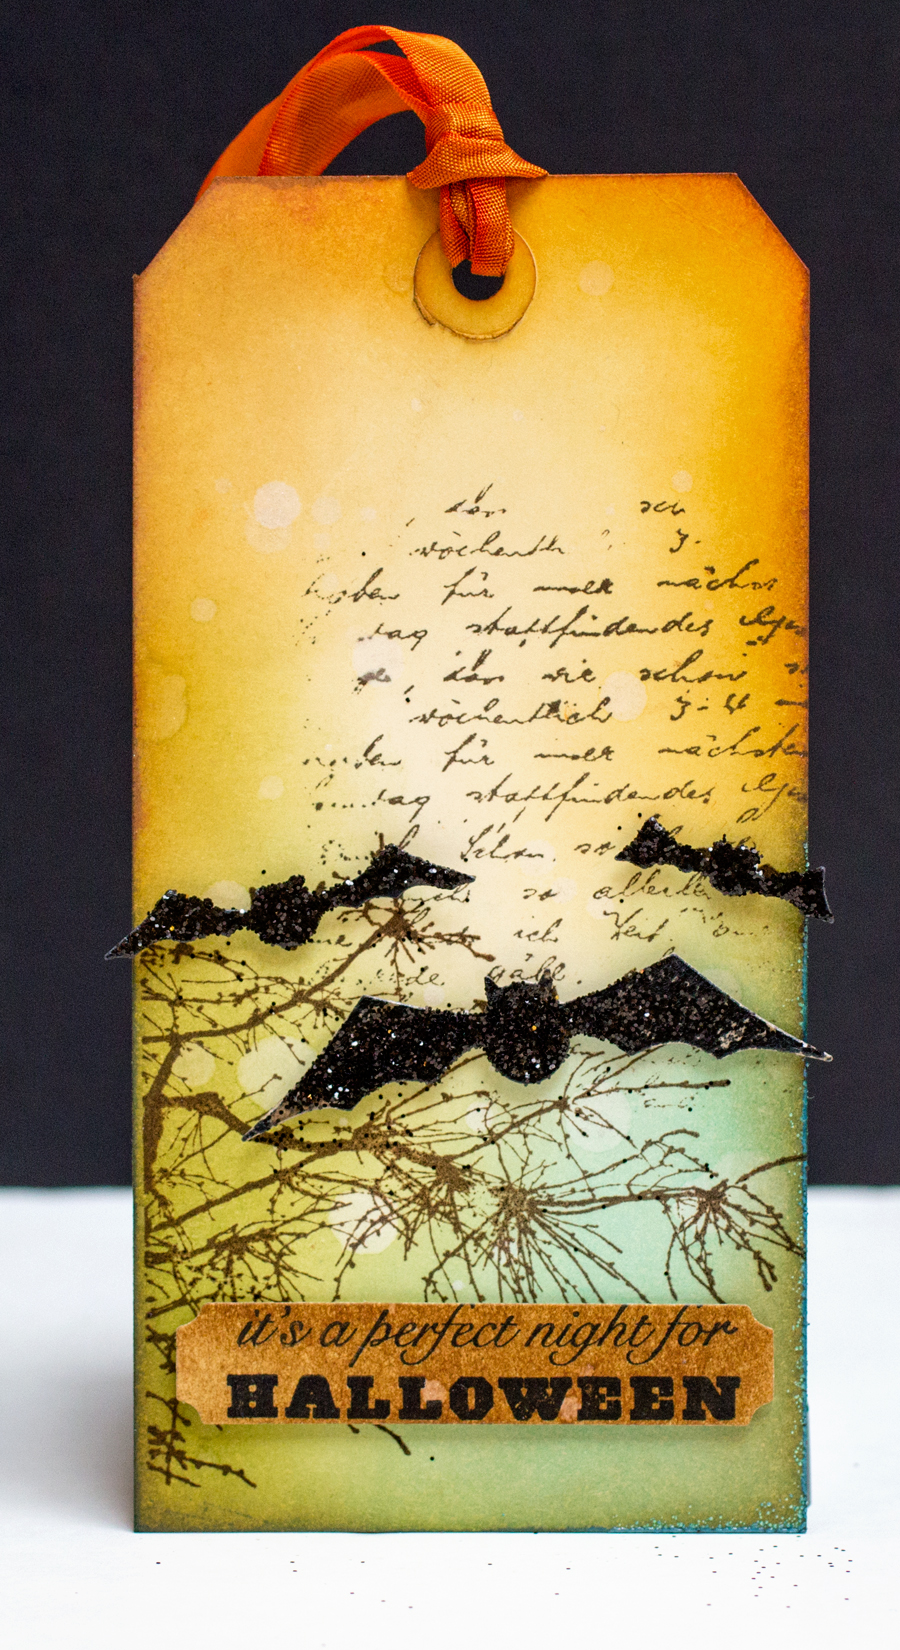
My final tag was created by adding several different distress ink colors before I stamped with Archival ink. I used Glossy Accents to apply the glitter to these bats. While the Glue N’ Seal was a easier to use to apply the glitter, I actually think I prefer the hold that the Glossy Accents provided. Also, I only have a few dies that work with grungeboard. I’m definitely pushing the limit with the amount of glue and glitter I’m adding to these die cuts cut from cardstock!

Pinspired Challenges #19

Welcome! It’s time for another Pinspired Challenge. The photo is for you to interpret anyway you want. Be inspired by the colors, the style, the theme – it’s up to you!

This challenge is sponsored by Authentique who are offering a Halloween-themed prize pack.

Pinspired Challenges #19

Now, it’s your turn. Head on over to the Pinspired Challenges blog to see the creations from the rest of the “Pin Heads” and find out the details for playing along. Three runner ups will be chosen and win a “Pin Pal” badge for their blog. The winner will win a “Pin Perfect” badge for their blog along with the prize from Authentique. We can’t wait to see your creations!

Supplies:


Halloween Ghosts

Today, I’m sharing a Halloween card crafted from a design of Kristina Werner’s from last year’s Online Card Classes Kickstart class.

Halloween Ghosts

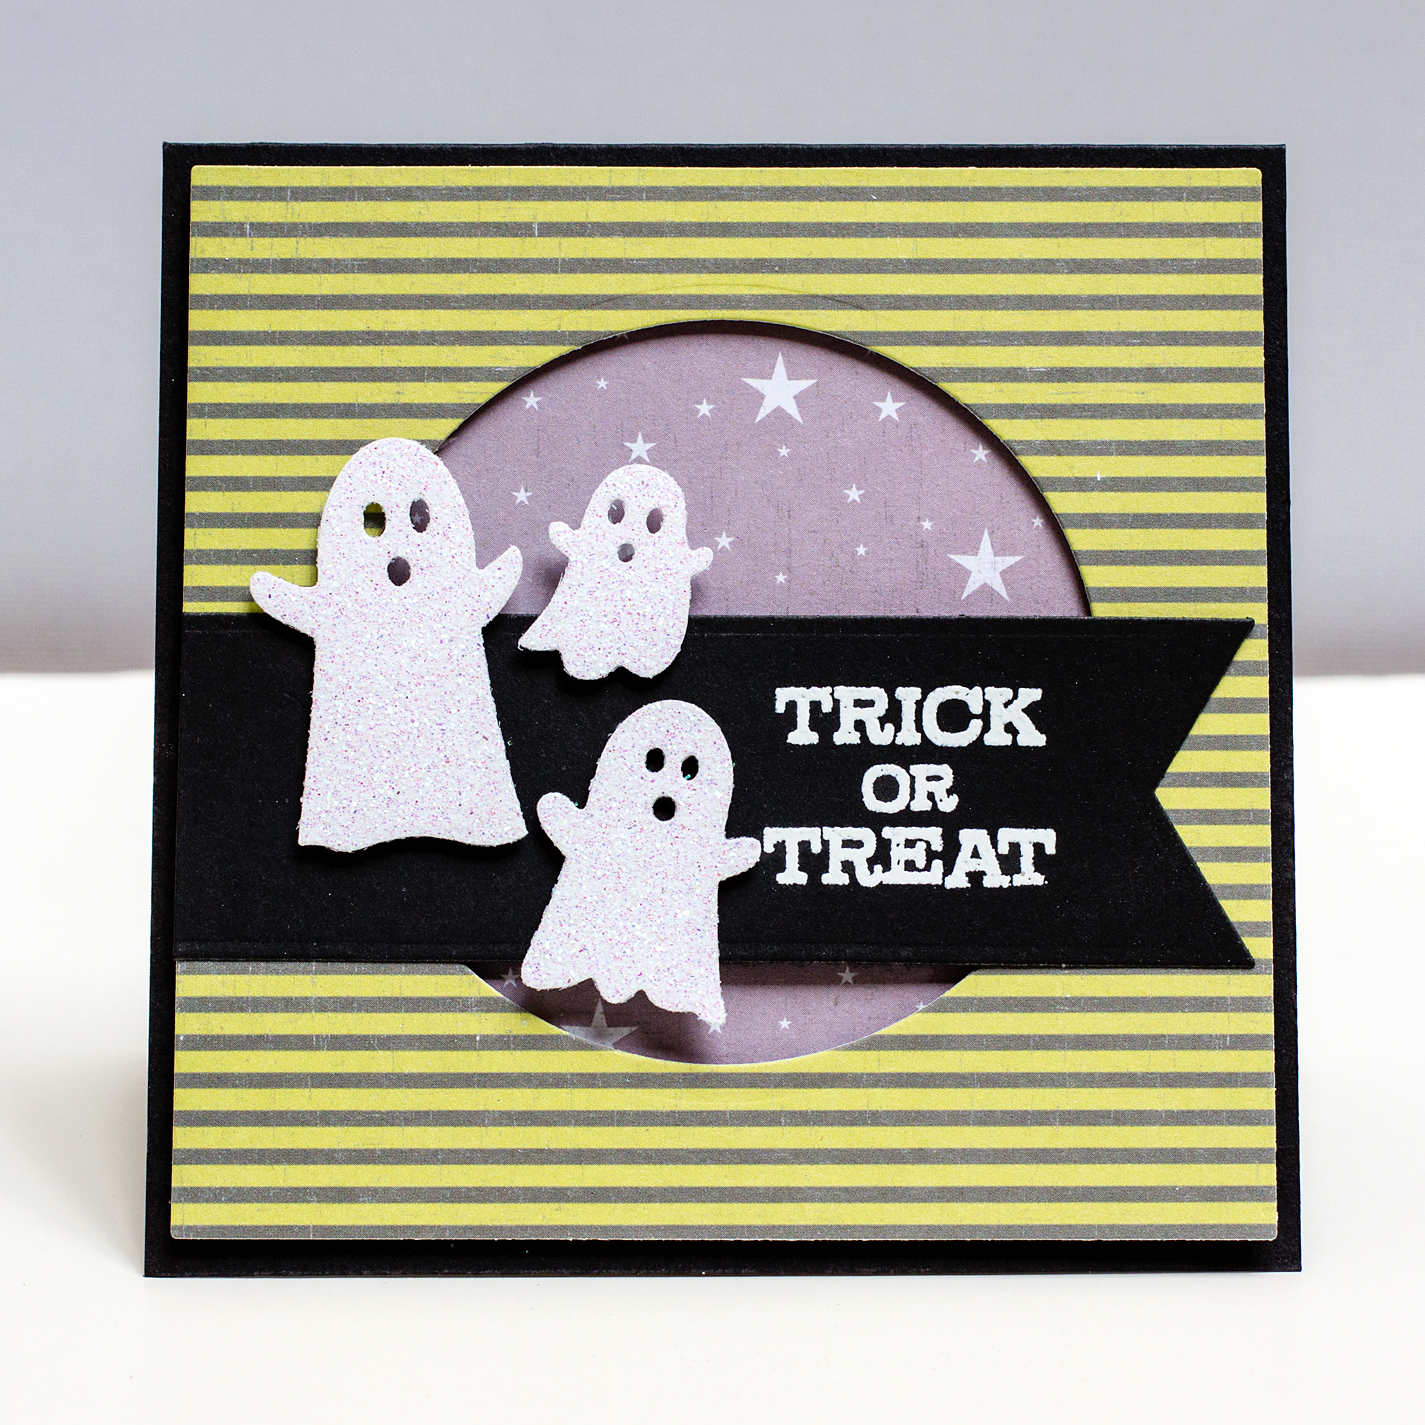
Kristina’s card was rectangular and featured a single ghost. I replaced the single ghost with this trio from Memory Box, cut from glitter paper. I also decided to eliminate the bottom section of Kristina’s design – this card is 4 1/2″ square. I’ve used dimensional adhesive on the ghosts and on the panel with the circle cut out. Unfortunately, my photo doesn’t show the dimension particularly well.

I’ve got several newly released Halloween paper pads in my stash that I’m looking forward to using this month and next. Growing up, Halloween colors were black and orange. Now we’ve got the traditional colors, as well as purple and green. I like having the additional variety for crafting!