
Today, I’m sharing a Halloween card featuring die cuts. Yes, it is still August, but I can feel the weather changing! So I’ve been looking at fall crafts and foods (did someone say pumpkin bread?!) on Pinterest and thinking about autumn! I’m eagerly awaiting new product releases featuring fall and winter items, so while I wait, I’m playing with some of my favorites from previous seasons.
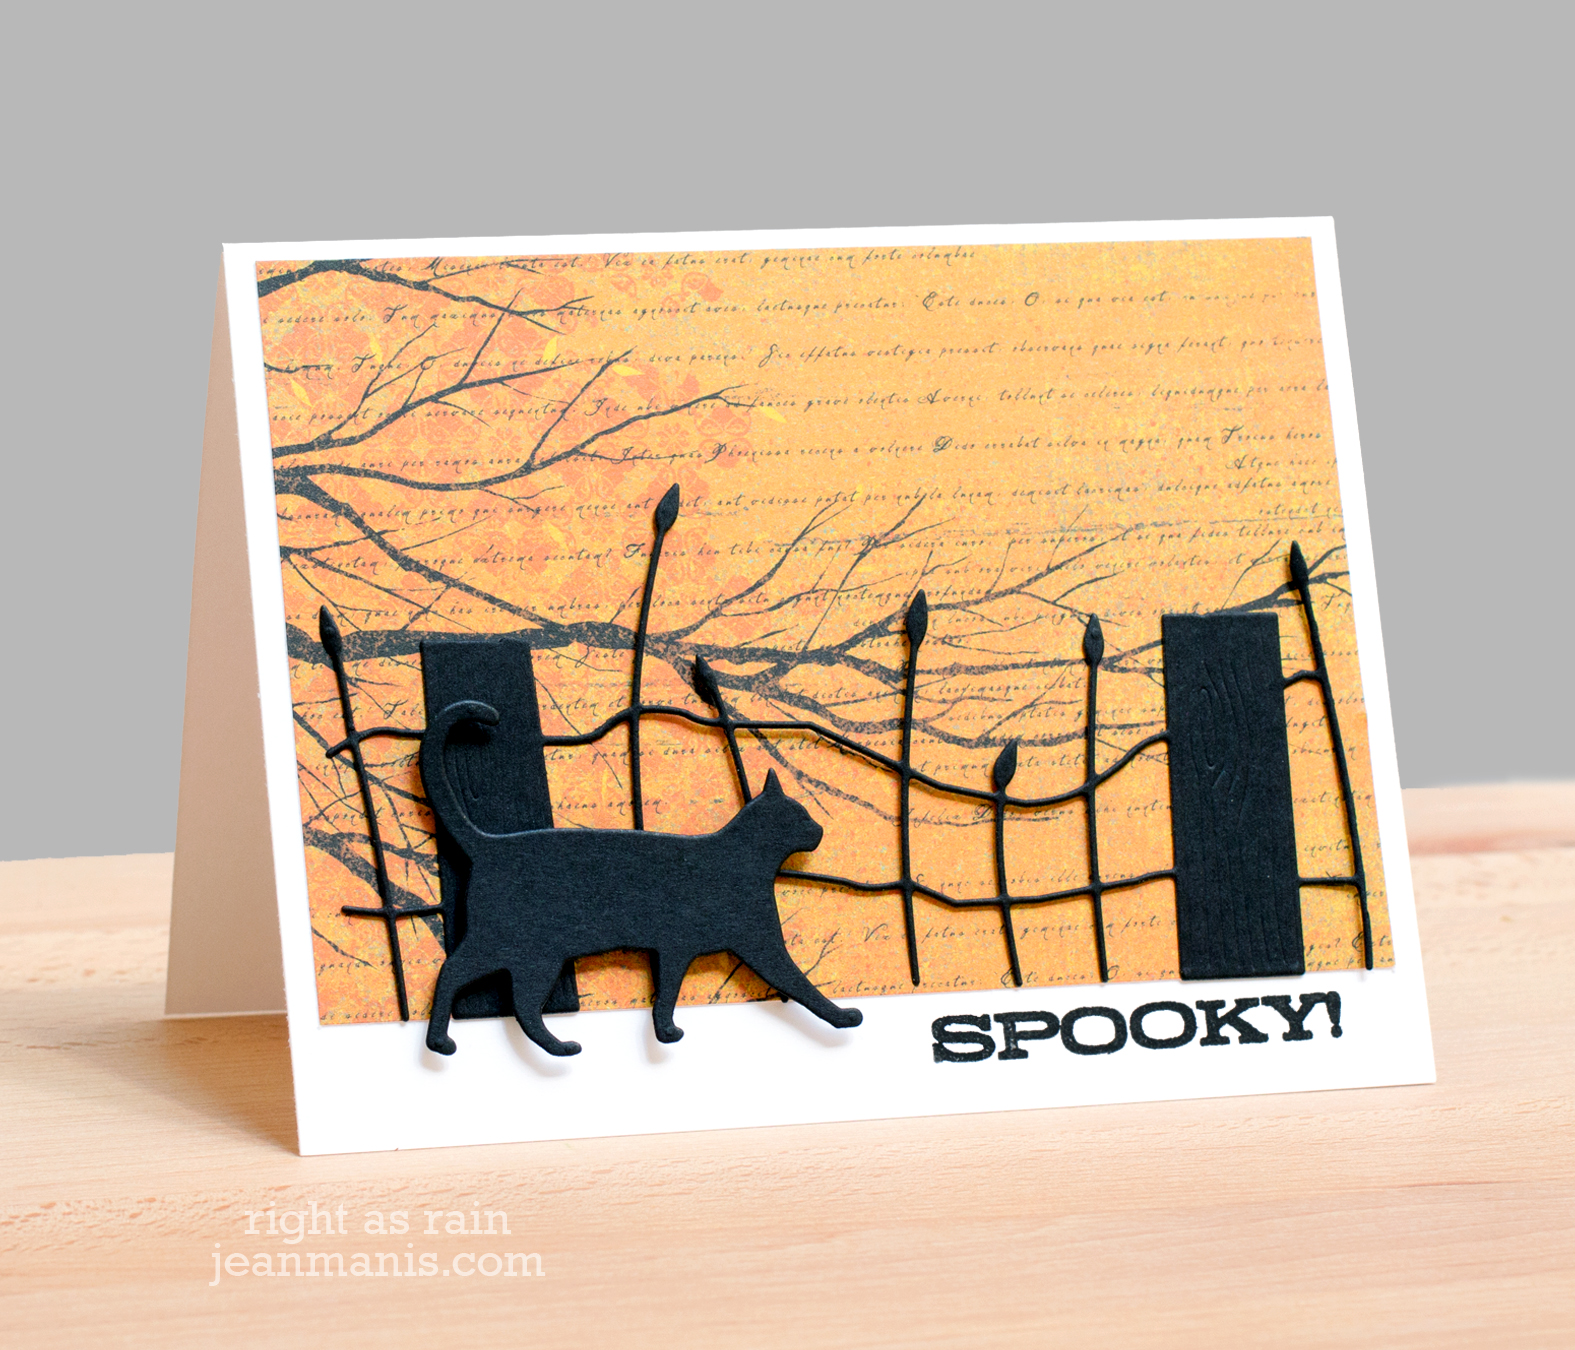
I have several Memory Box patterned paper pads (now discontinued) with fall patterns. The Memory Box weather fence die cut was attached directly to the patterned paper panel, and the cat was adhered with dimensional adhesive. The sentiment is from one of my favorite Hero Arts Halloween sets released last year.
Supplies: Poppystamps Large Walking Cat; Memory Box Weathered Fence; Hero Arts Ghostly Greetings


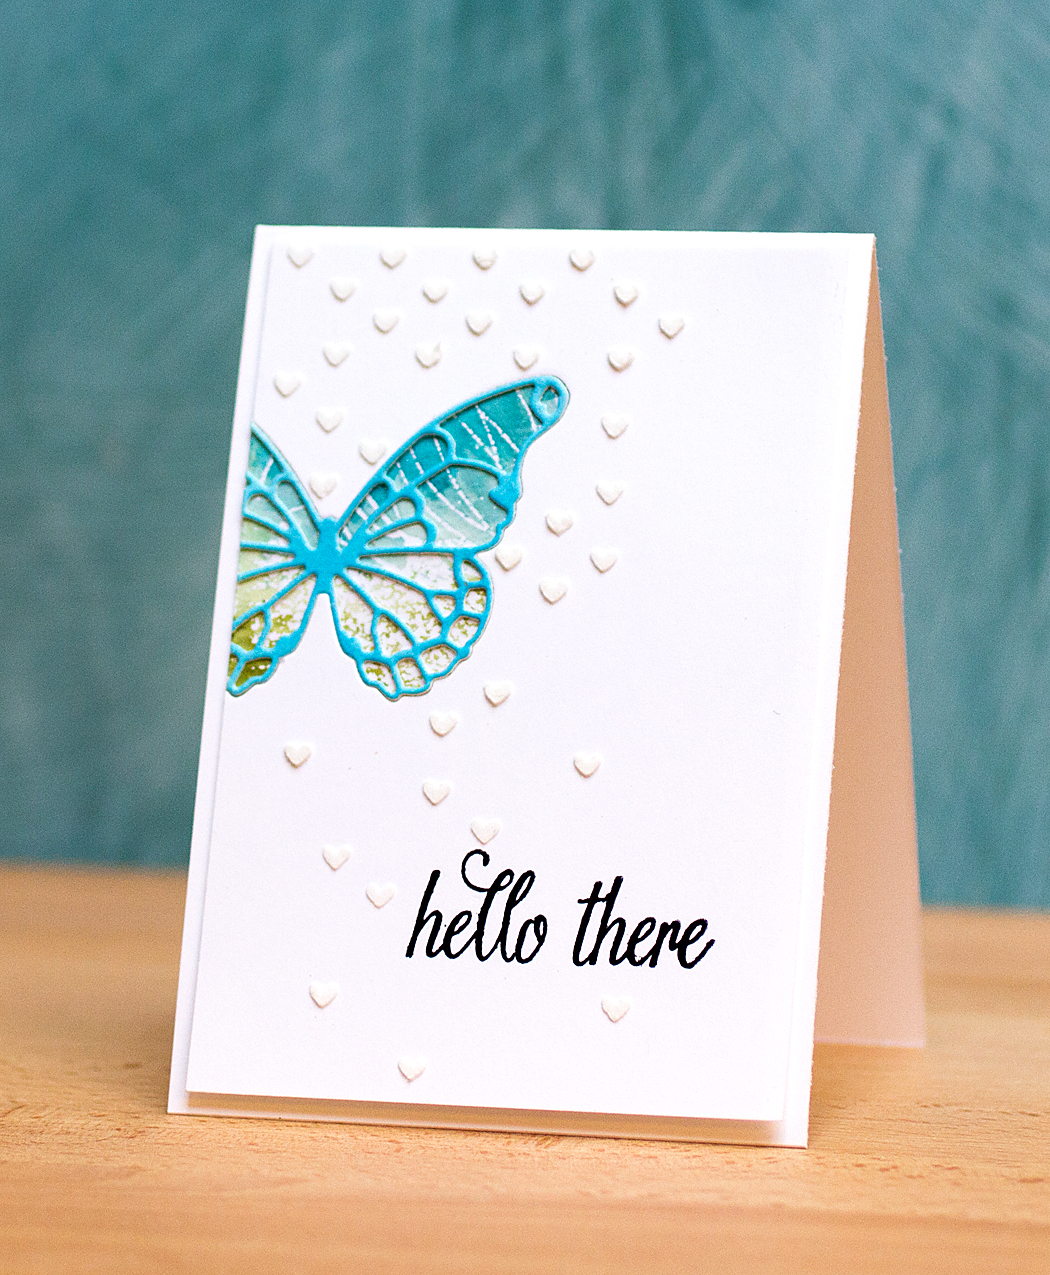 I made a few changes with the way I created my card. Rather than stamp and color a butterfly, as Debby did, I die cut a butterfly (Memory Box Vivienne Butterfly) that I inlaid into the panel. I backed the front panel with a heat-embossed and watercolored panel using the Penny Black Sweetness stamp (that was a project from yesterday which didn’t go according to plan). The butterfly was also cut from watercolor paper onto which I had scribbled some Distress ink. The front panel was stamped with a sentiment from the Hero Arts “Enjoy Today” set. I adding embossing paste with a Simon Says Stamp stencil.