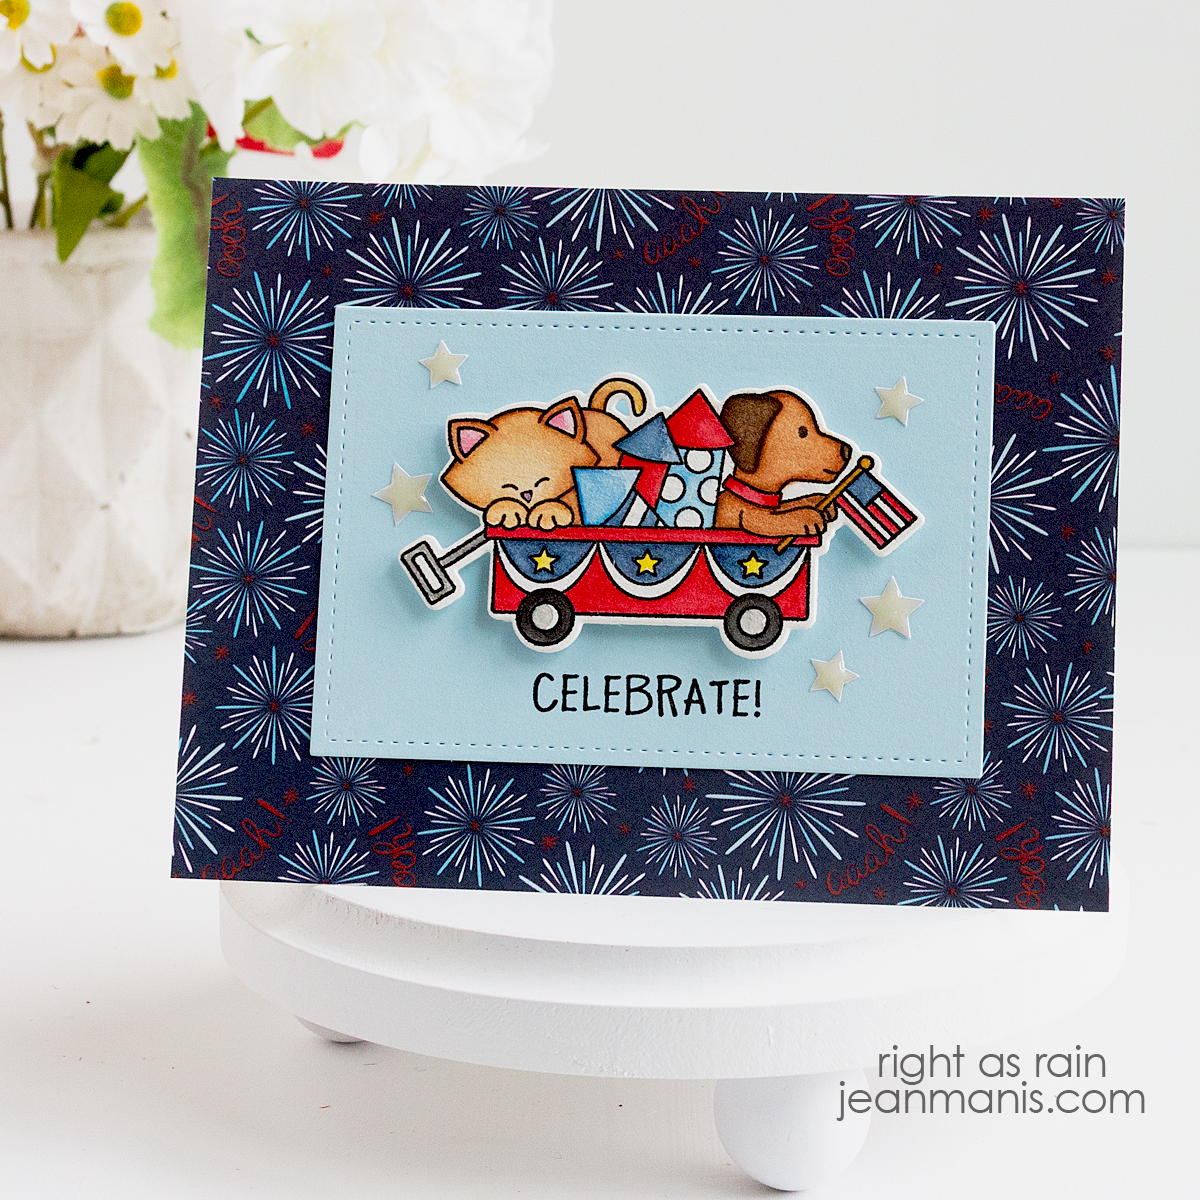
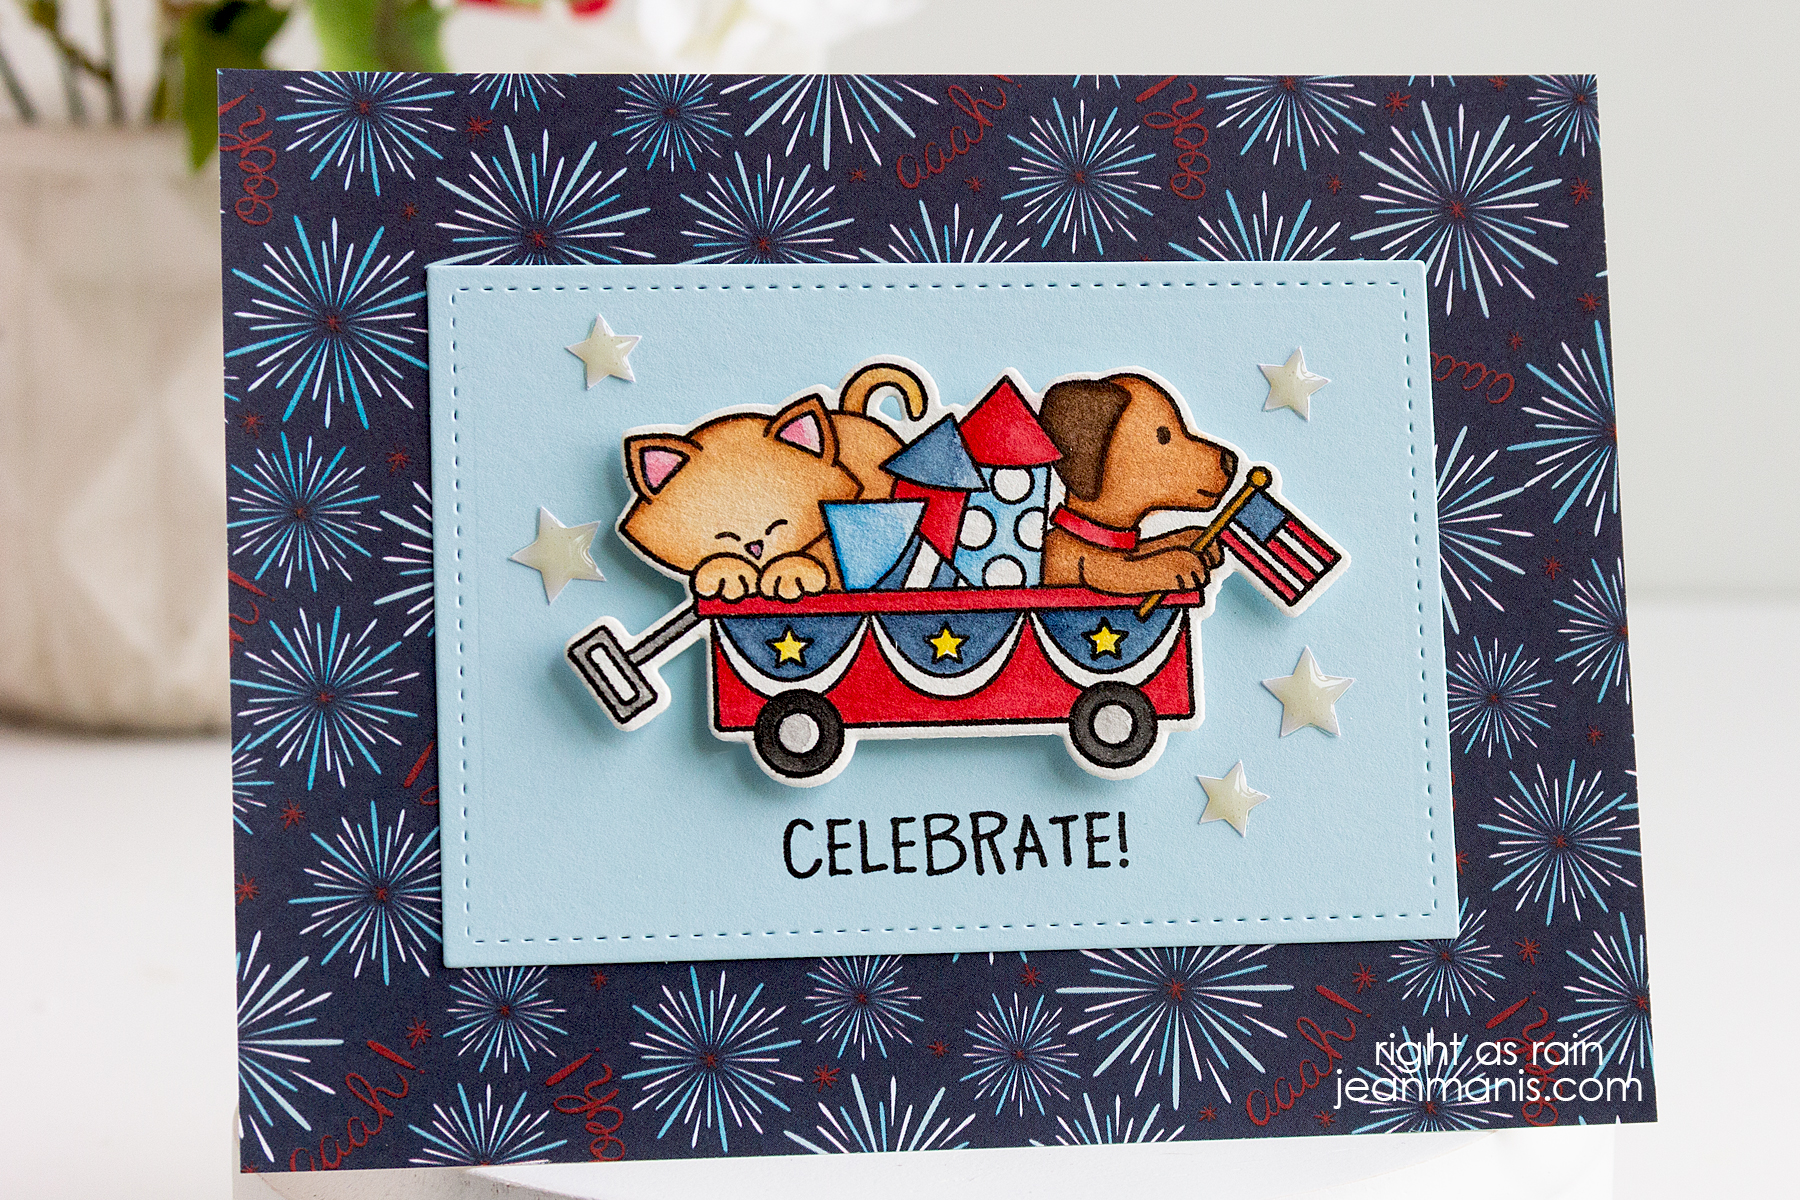
Hello! I’m celebrating the 4th of July with a playful handmade card featuring a cat and dog riding in a wagon decked out in red, white, and blue! The adorable image, from Newton’s Nook, is perfect for patriotic crafting. I typically reach for watercolor markers, but this time I opted for my Kuretake Gansai Tambi pans for a fresh take. I decided I wanted to torture myself explore a different watercolor medium that I haven’t used in several years.
-
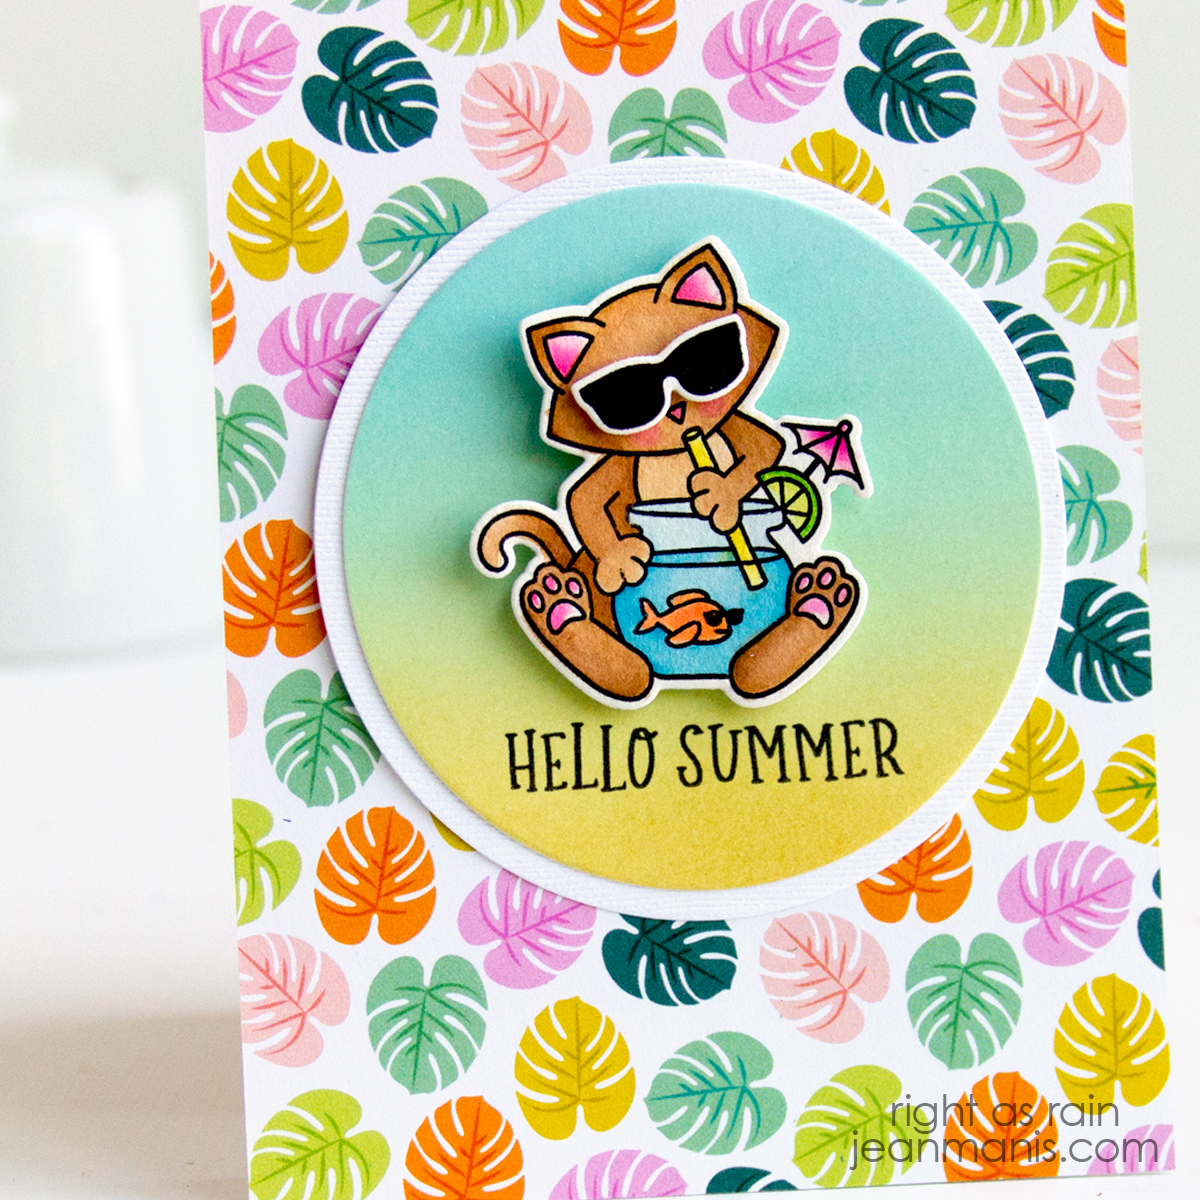
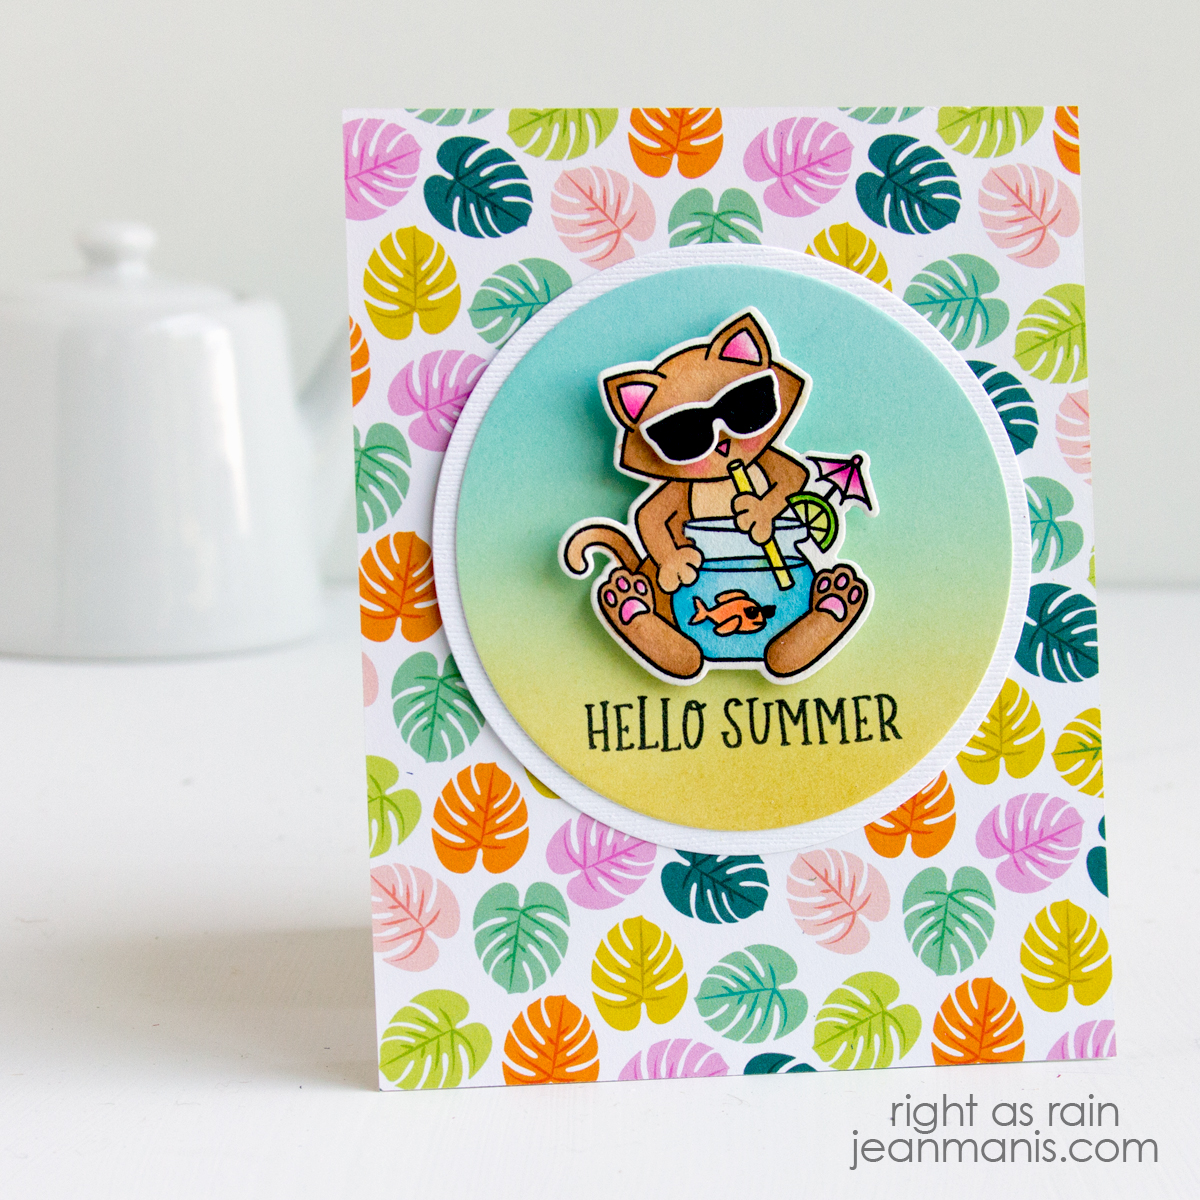
- Cover an A2-size card base with patterned paper.
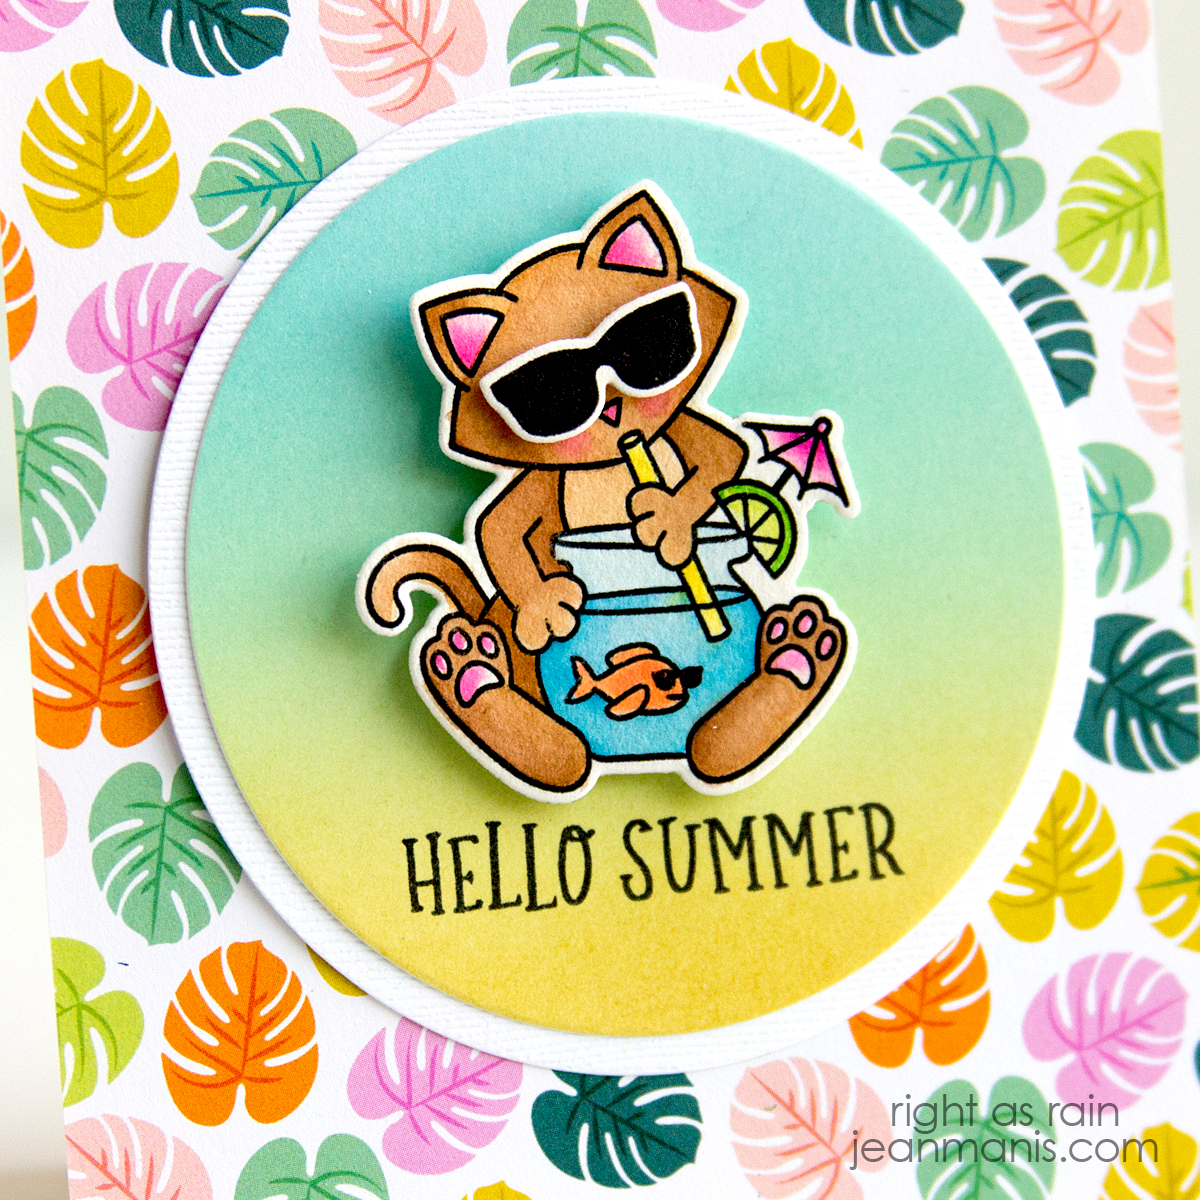
- Stamp the 4th of July stamp image on to watercolor cardstock. Color with medium of choice. Cut with coordinating die set.
- Stamp the sentiment onto cardstock and cut with a rectangular die. Add the watercolored image with foam adhesive.
- Add embellishments to the panel (I used Taylored Expressions white epoxy stars from my stash) and add to card base.