Holiday Treat Packaging – Taylored Expressions Oct 2016 Release

Hello. Welcome to the Taylored Expressions October 2016 Release! All of the products that we have been sharing this week are now available in the TE store!

Before you head off to shop, I have a holiday treat packaging project to show you!

Taylored Expressions October 2016 Release

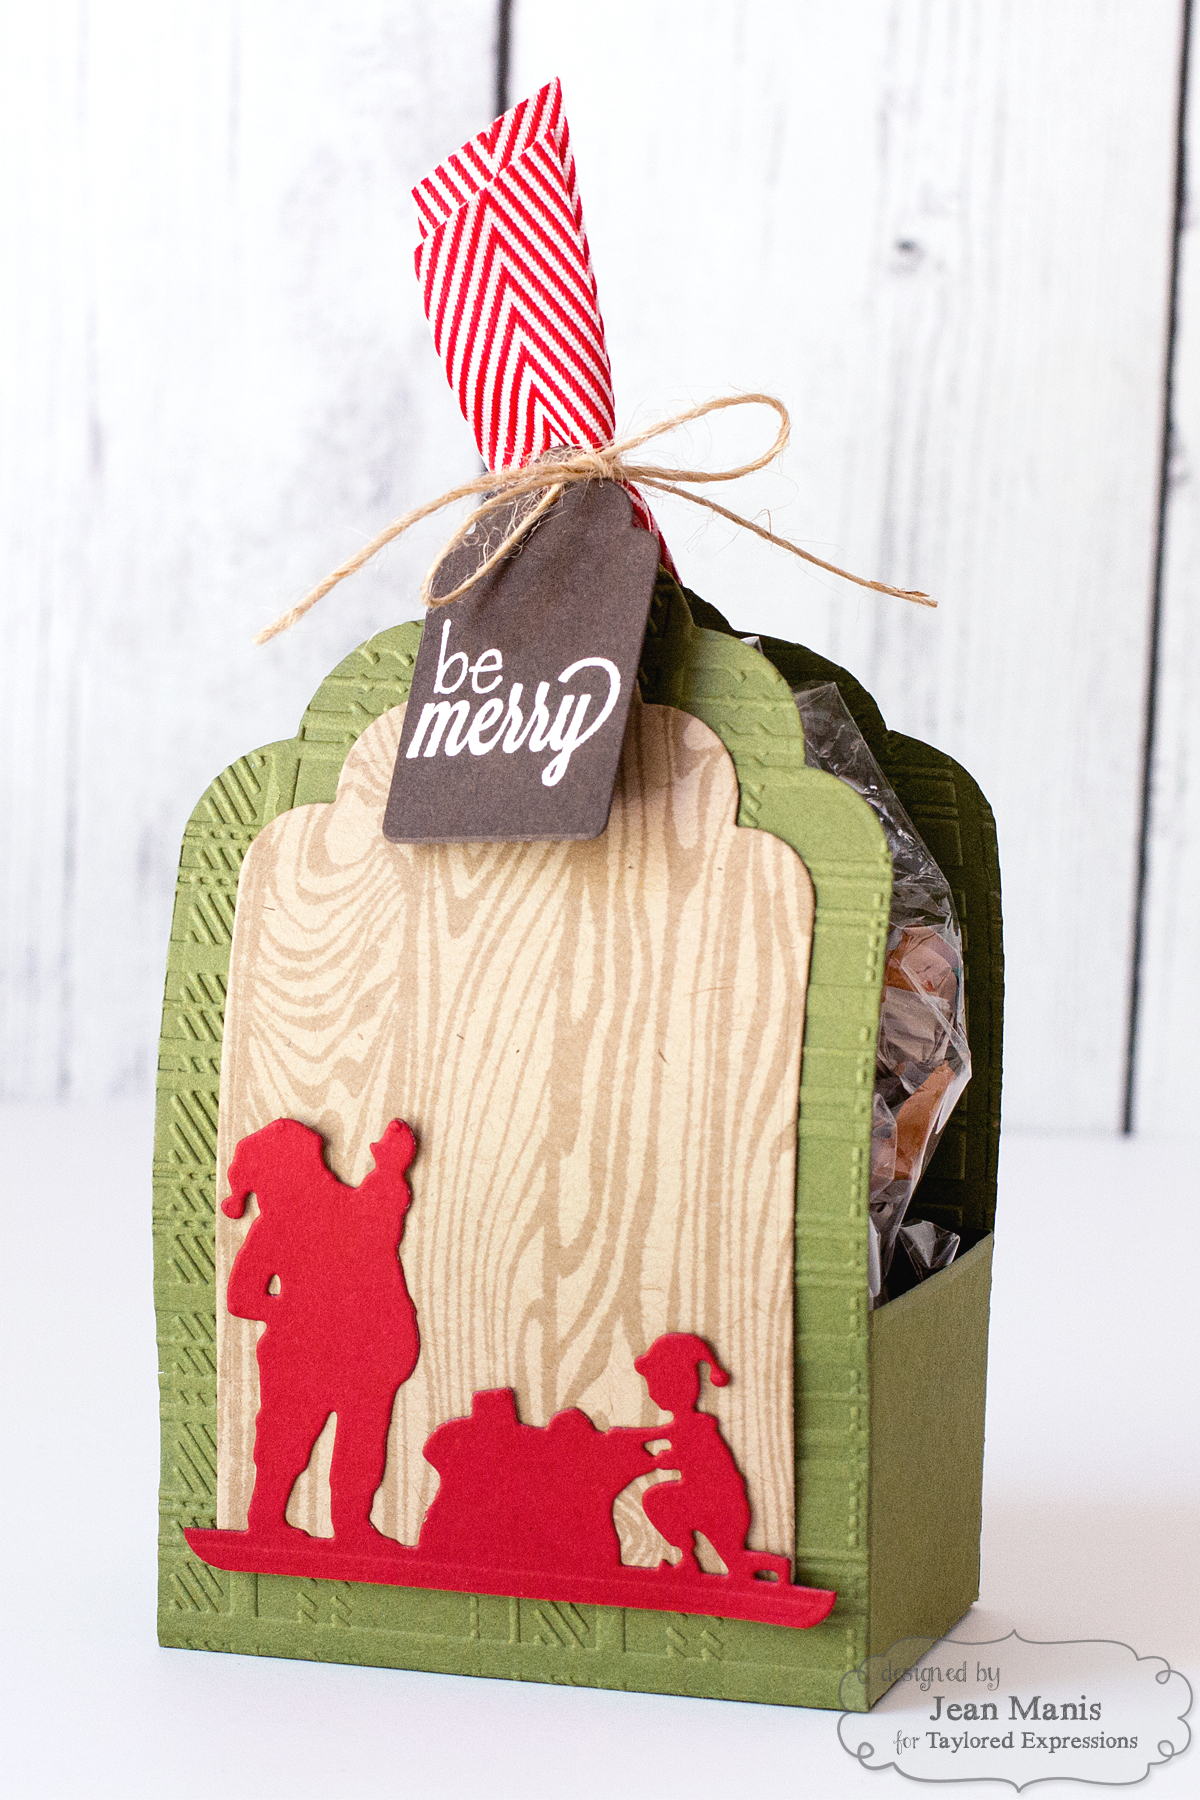
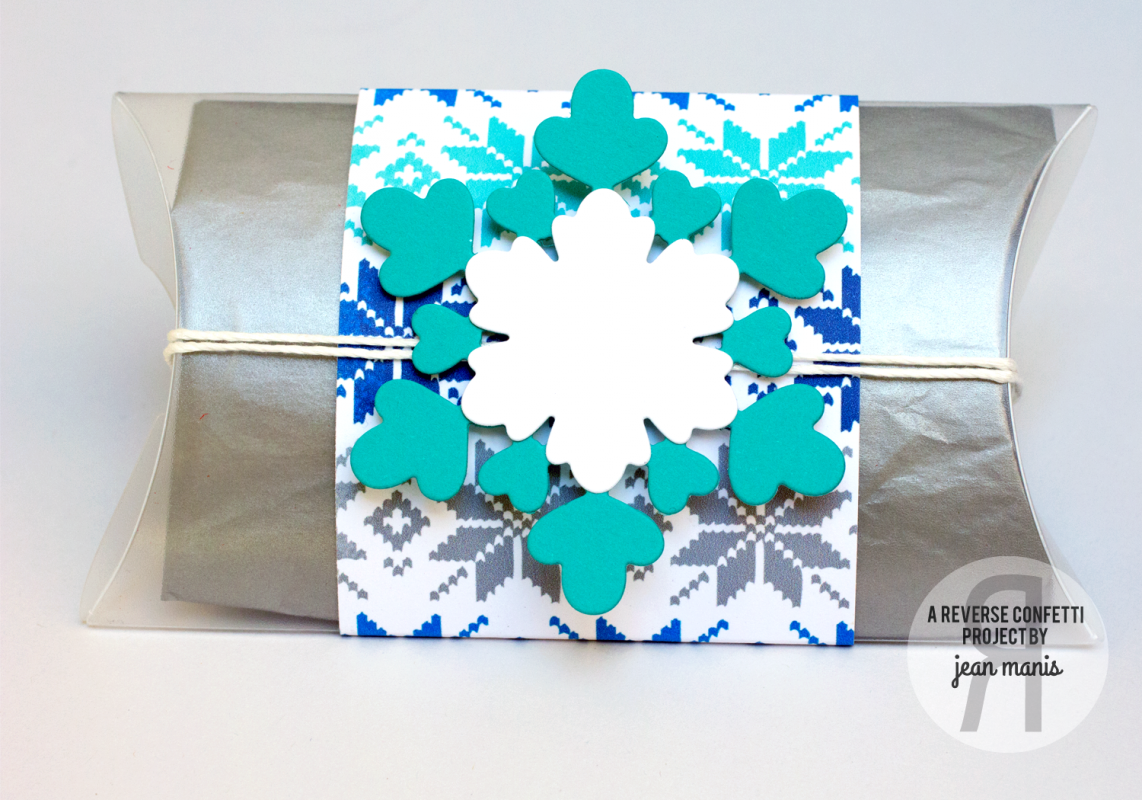
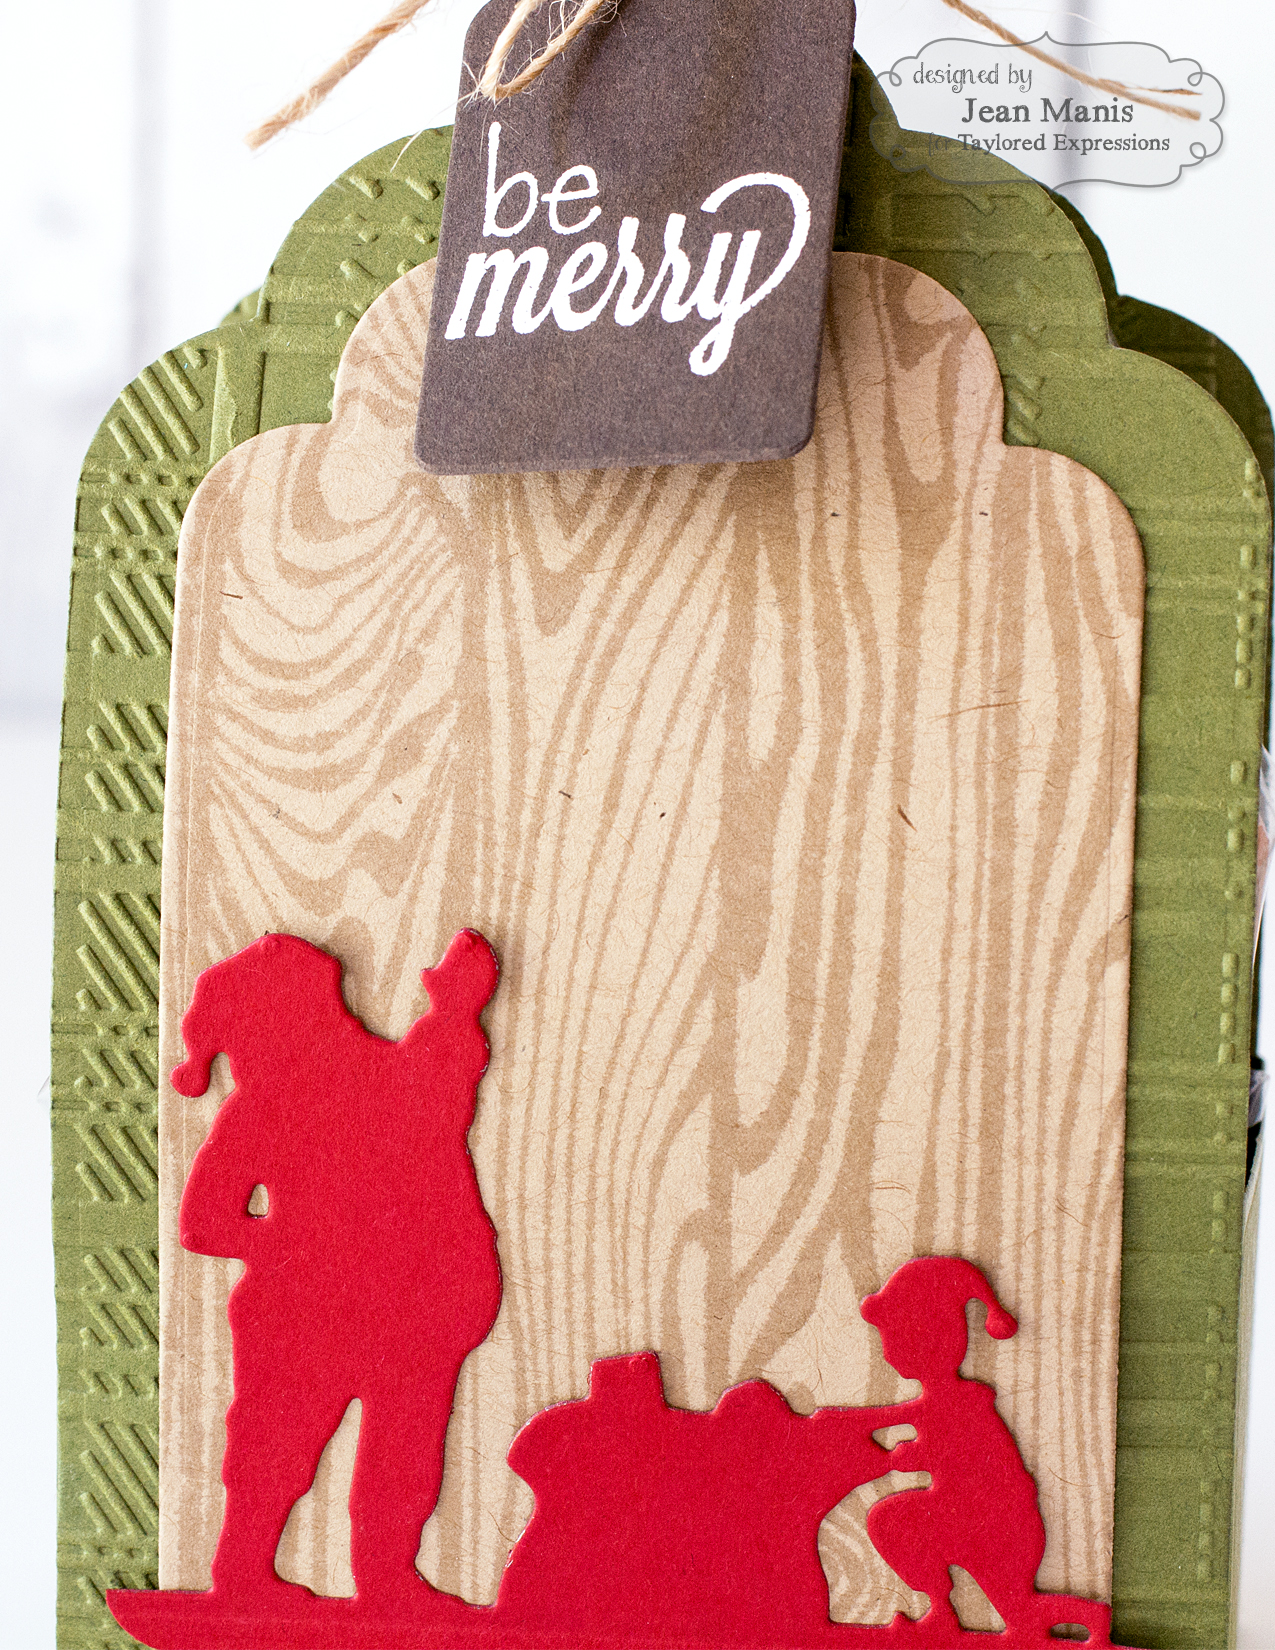
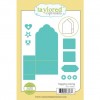
This treat box (containing caramel toffees, which my family loves during the holidays) is created with the Tagging Along die. With three men in the house, I decided to use masculine textures and colors for my project.

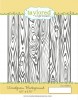
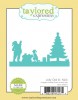
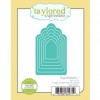
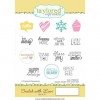
I dry-embossed the tote pieces with the Plaid embossing folder. I added a panel stamped with the Woodgrain Background (cut with a die in the Tag Stacklets 1 set) against which I placed a portion of the Jolly Old St. Nick silhouette (I really like how this silhouette can be used as a whole or in pieces for scenes).  I heat-embossed a sentiment from Sealed with Love for the smaller tag (Tag Stacklets 1) on top.

Taylored Expressions October 2016 Release

Thanks so much for stopping by! To see more projects with the new release and new product information, head over to the TE Blog for a complete blog roll of our participating designers!

Supplies:

Reverse Confetti Happy Fall-idays: Halloween

Welcome to the first day of the Reverse Confetti Happy Fall-idays – an event to provide ideas and inspiration for the holidays! Today we’re featuring Halloween projects! At the end of the post I’ve provided a list of everyone from the Reverse Confetti Design Team sharing ideas for Halloween.

My first project features Halloween treat packaging. I’ve created three different tags in orange, green, black and white.

HalloweenPackaging

For the tag base, I used the Thanks Tag Confetti Cuts die. I stamped and heat-embossed images and sentiments from Spooky Cuties and Spooky Sentiments.

The tags are tied to tiny cauldrons filled with chocolate eyeballs!

My second project is a Trick or Treat party banner created with one of the Layered Banner Duo Confetti Cuts die.

HalloweenPartyBanner

I created the letters on my computer and cut them out with one of the Circles ‘n Scallops Confetti Cuts. I attached the letters to banners cut from patterned paper with the Layered Banner Duo Confetti Cuts die.

I punched holes on either side of the top of the banners and strung them with chunky twine!

There’s lots of inspiration being shared today by the design team, check it out!

Reverse Confetti October Release Blog Hop

The wait is over! REVERSE CONFETTI has just released THREE stamp sets, SIX Confetti Cuts, ‘Tis the Season Quick Card Panels and other crafting goodies! The hop began on the Reverse Confetti blog, and you should have made it here from Lisa’s blog. It would be worth your while to start at the beginning of the hop, so you don’t miss a thing. We have tons of inspiration for you to see using all the new Reverse Confetti stamp sets and dies!

My first project is a CAS holiday card featuring the deer image from the Jolly Holliday set and a ‘Tis the Season Quick Card Panel.

JollyHolidayDeer

I stamped the deer image, colored it with Copic markers and cut it with its corresponding Confetti Cuts die. I heat-embossed the sentiment and adhered the deer and sentiment to a ‘Tis the Season Quick Card Panel. I added twine to complete the card.

I also created two gift boxes using the Frosted Pillow Boxes with tags made with the Layered Snowflake Confetti Cuts set.

GiftBox2

Not only do the Frosted Pillow Boxes simplify gift packaging, you can easily customize the packaging! For my first box, I wrapped the gift in silver tissue paper, created a belly band for the pillow box from patterned paper and crafted the snowflake to match the patterned paper.

For the second package, I stuffed the pillow box with shredded paper and candy, chose a traditional holiday patterned paper for the belly band, and tied on a snowflake cut from glitter paper.

GiftBox

I hope you’ve enjoyed hopping with us today. Be sure and hop with us on the 8th of EVERY MONTH for more REVERSE CONFETTI inspiration! Now it’s time to hop on over to the blog of Amy Rohl. If you get lost along the way, you can find the hop order and list of all the participating designers on the Reverse Confetti blog.

4 Easter Treat Packaging Ideas with Confetti Cuts

Today, I’m sharing four Easter treat packaging ideas using Reverse Confetti Confetti Cuts. All four projects include the bunny from the just-released More Than Jellybeans Confetti Cuts set.

EasterPackagingTaggedTote

For the first project, I used the Tagged Tote Confetti Cuts to create a treat tote, to which I added a grass strip cut with the Double Edge Wonky Scallop Border and the bunny from More Than Jellybeans Confetti Cuts. The candy is contained in a cellophane bag slipped inside the Tagged Tote. I added a bow to the bunny, as well as a pom-pom.

Looking for something simpler? Add a tag cut with Folded Tag Confetti Cuts, decorated with the More Than Jellybeans Confetti Cuts bunny, to a cellophane bag of candy.

EasterPackagingFoldedTagBag

For my third idea, I cut a bag front and back with the Sweet Treat Tent Confetti Cuts and then cut the front panel with the bunny in the More Than Jellybeans Confetti Cuts set. The candy in the cellophane shows through.

EasterPackagingSweetTreatTent

Lastly, I cut a treat bag topper with the rectangular die in the Documented Confetti Cuts set to which I added the More Than Jellybeans Confetti Cuts bunny and grass cut with the Double Edge Wonky Scallop Border.

EasterPackagingDocumented-Topper

And there you have it – one bunny, four treat packaging ideas!

Additional supplies: Doodlebug Design Hello Sunshine patterned paper, solid cardstock, pastel-colored M & M’s, ribbon, twine, cellophane bags and white pom-poms.

Reverse Confetti Blog Hop

The wait is over! REVERSE CONFETTI has just released FIVE stamp sets, SEVEN Confetti Cuts and “Spring Fling” Quick Card Panels!! There’s something for everyone in this release – whether you’re working on Easter cards, gift packaging, friendship or encouragement cards, …

The hop started on the Reverse Confetti blog, and you should have made it here from Lisa’s blog. It would be worth your while to start at the beginning of the hop, so you don’t miss a thing. We have tons of inspiration for you to see using all the new Reverse Confetti stamp sets and dies!

There are so many wonderful packaging products included with this release! I created an Easter-themed bag with the Treat Tote Confetti Cuts. Before assembling, I trimmed off the edge of the tote top and added the Double Edge Wonky Scallop Border Confetti Cut (which I cut twice). I played up the rabbit theme by using the colors of a carrot for the bag.

TreatBag

To make the tag, I did a partial cut using the More Than Jellybeans Confetti Cuts set. To the tag front, I added a bunny stamped with the More Than Jellybeans stamp set, which I also cut with the coordinating Confetti Cuts.

Next, I’m sharing a CAS card created with the Sun ‘n Clouds Confetti Cuts and the Shine Bright stamp set.

CASSunshine

I stamped and heat-embossed the sentiment on a bright cardstock panel into which I cut a circle, so that the blue sky and sun could peek through.

Here’s a card I created quickly with a Quick Card Panel, along with die cuts cut with the Sun ‘n Clouds Confetti Cuts set and flowers from The Tweet Life Confetti Cuts set.

SunCloudsQCP

After adhering the sun, clouds and flowers to the panel, I added the panel to a card base, along with an off-axis solid piece of cardstock.

I hope you’ve enjoyed hopping with us today. Be sure and hop with us on the 8th of EVERY MONTH for more REVERSE CONFETTI inspiration! Now it’s time to hop on over to Kathy’s blog. If you get lost along the way, you can find the hop order and list of all the participating designers over on the Reverse Confetti blog.