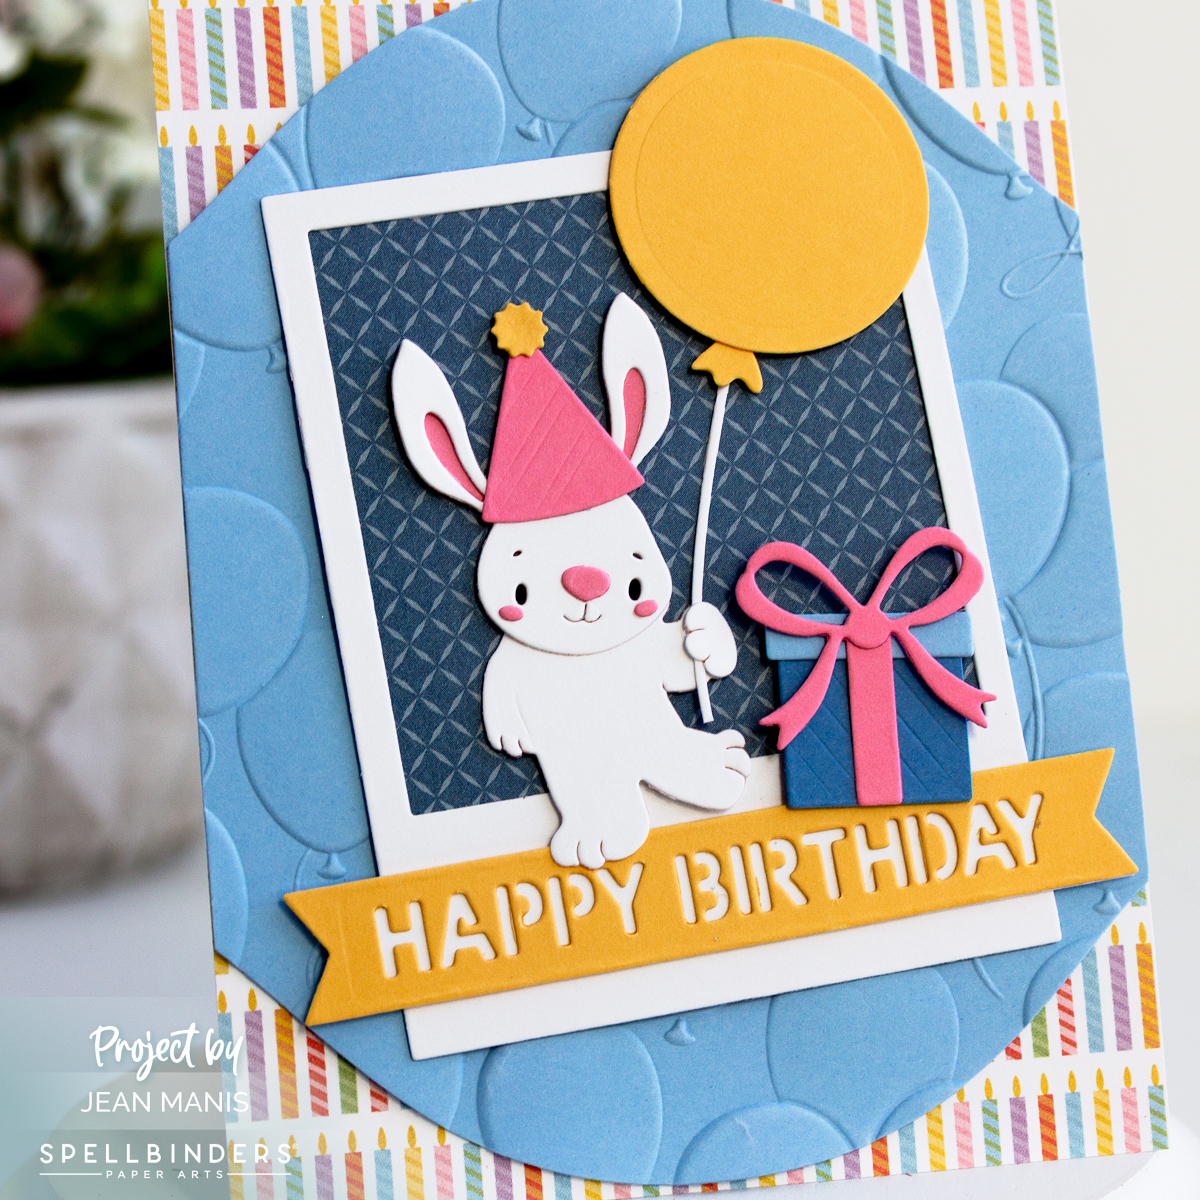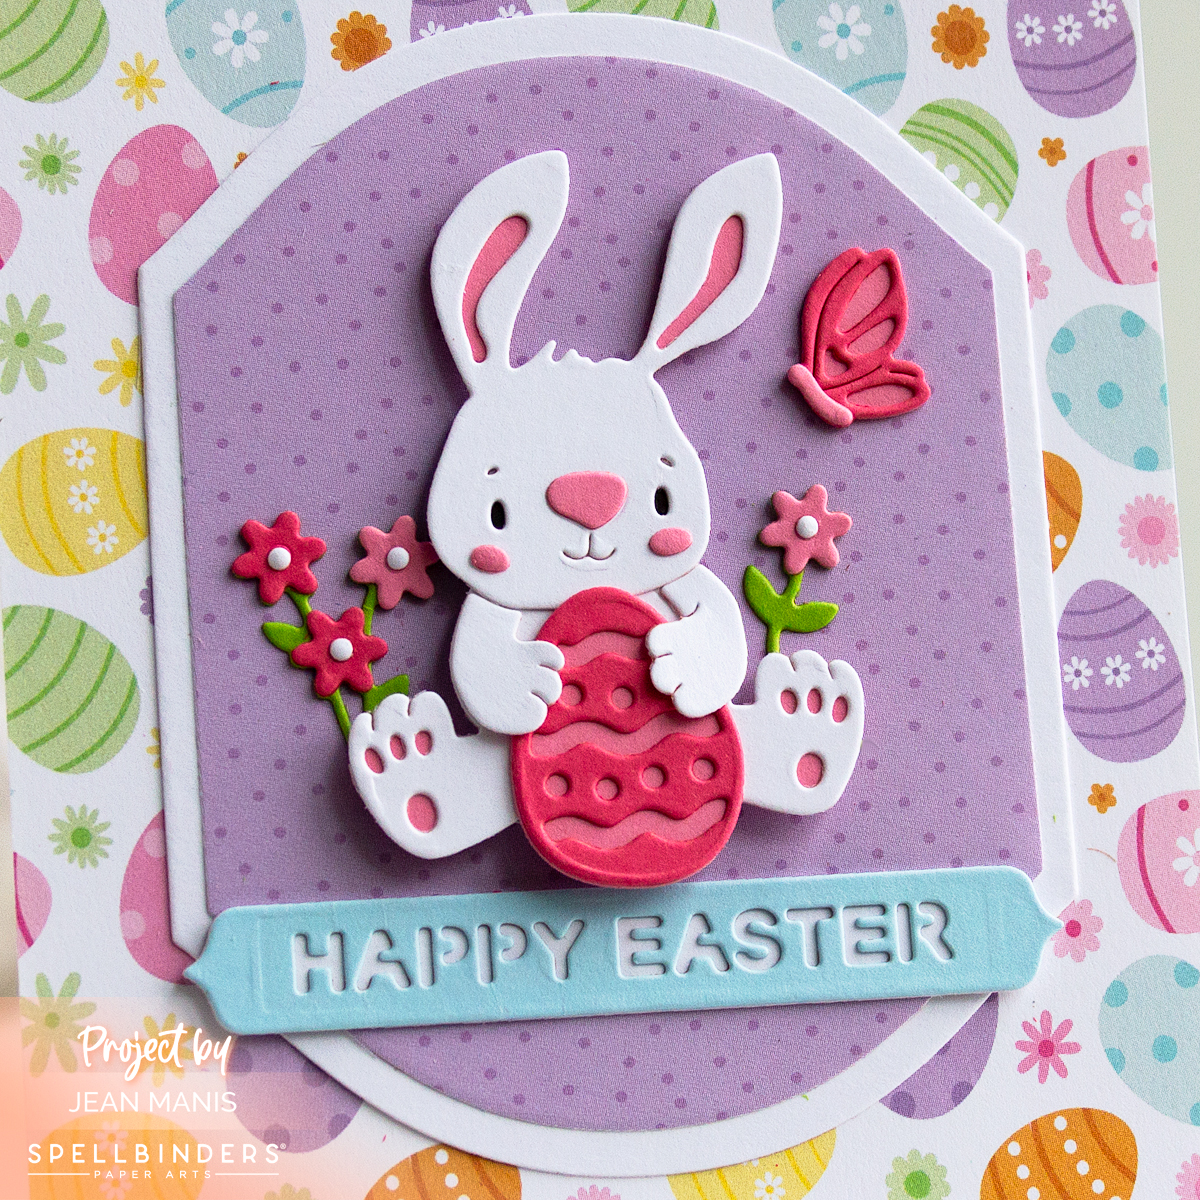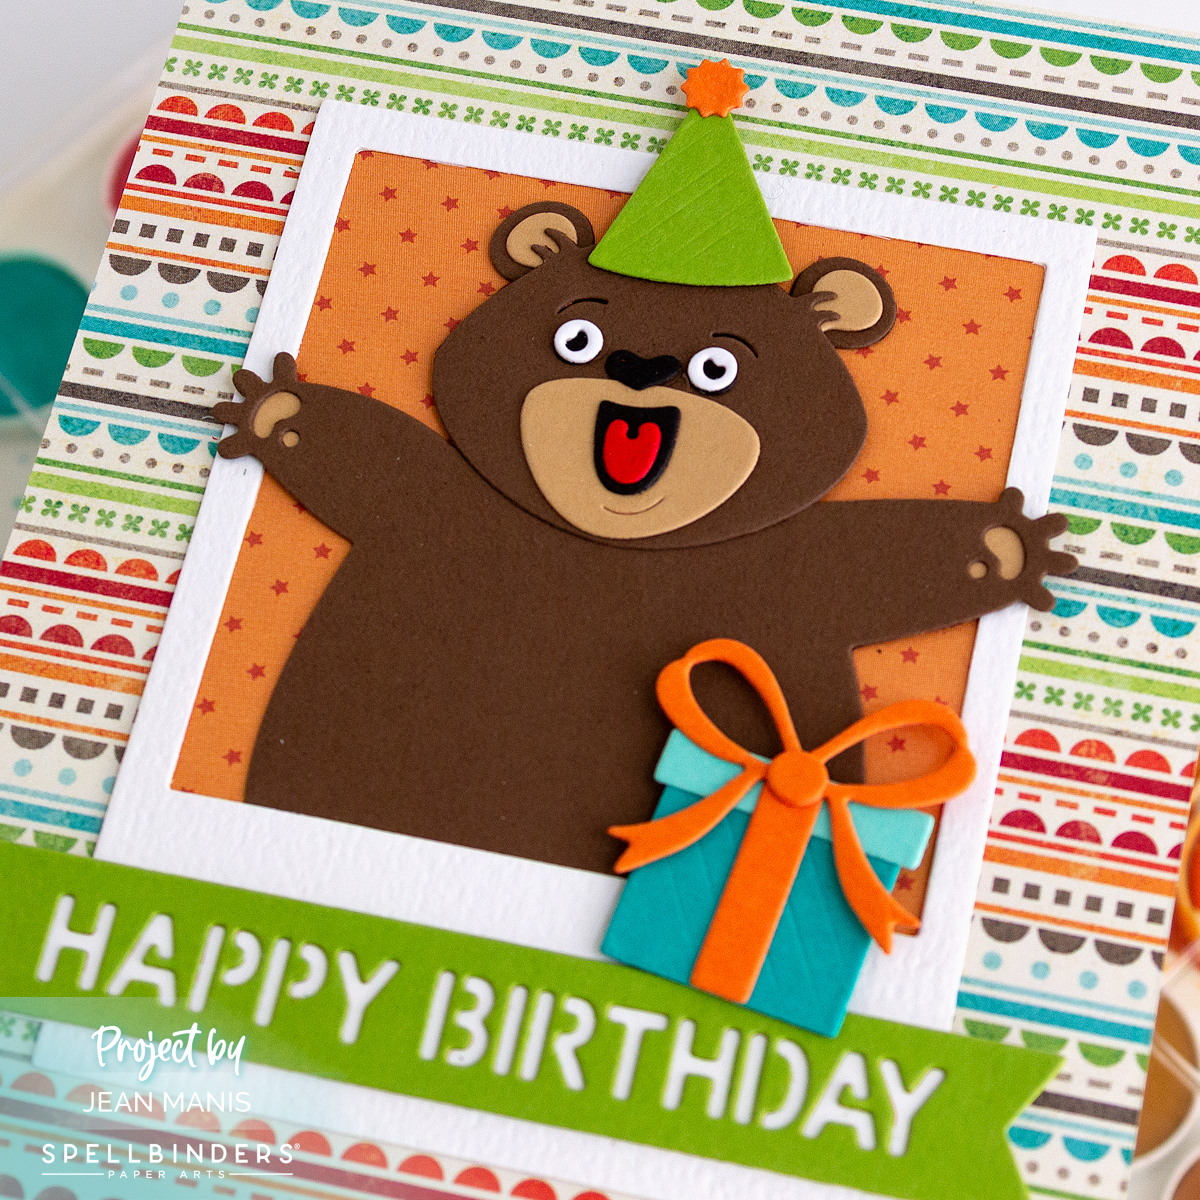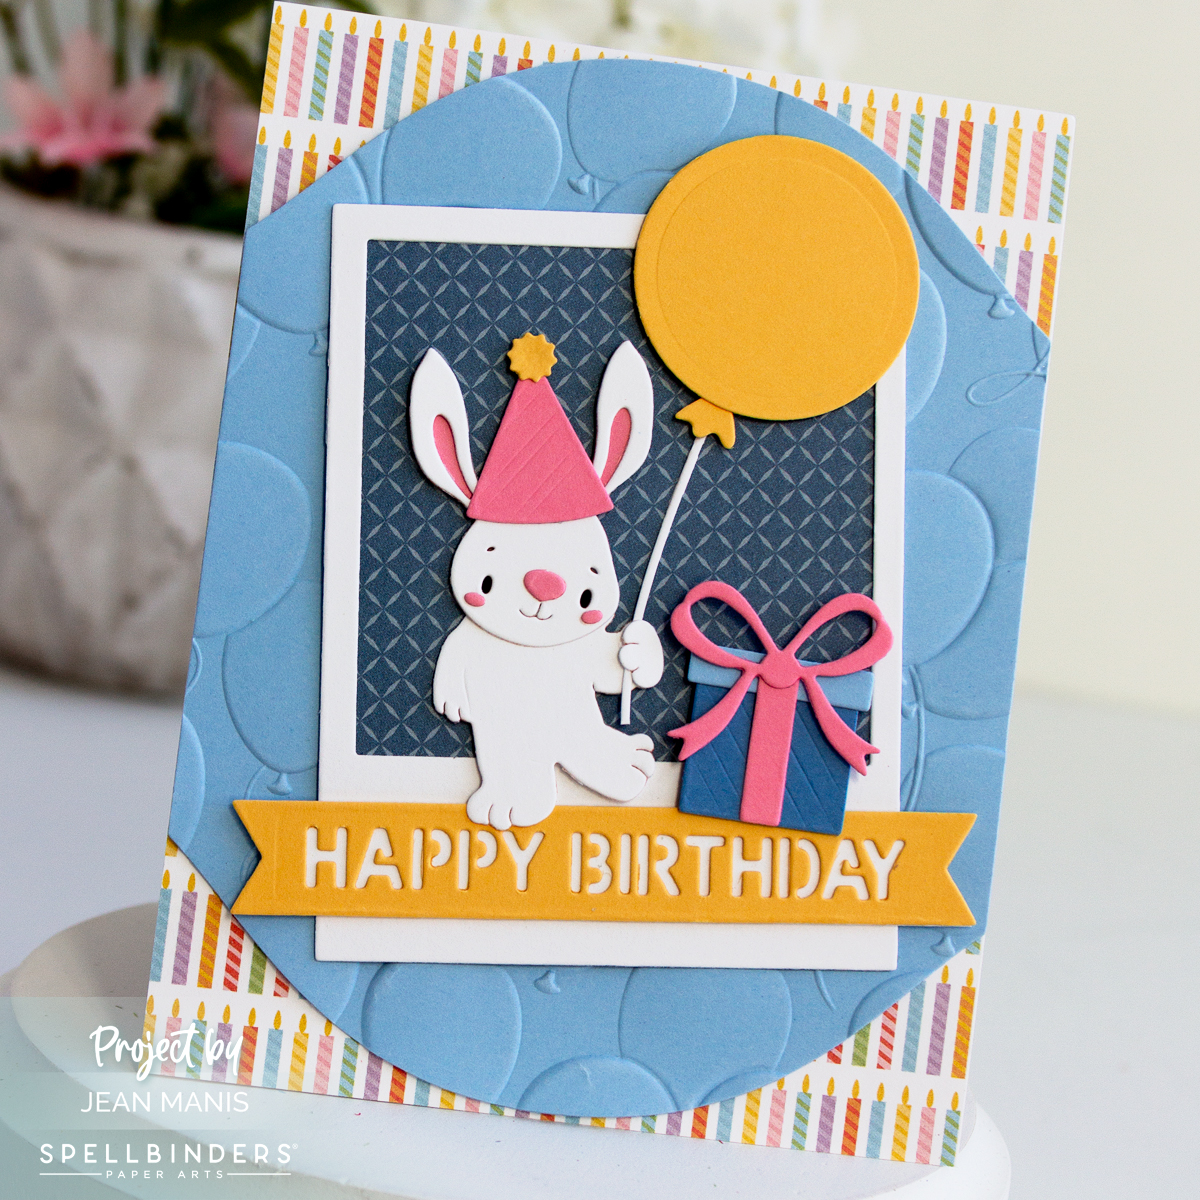
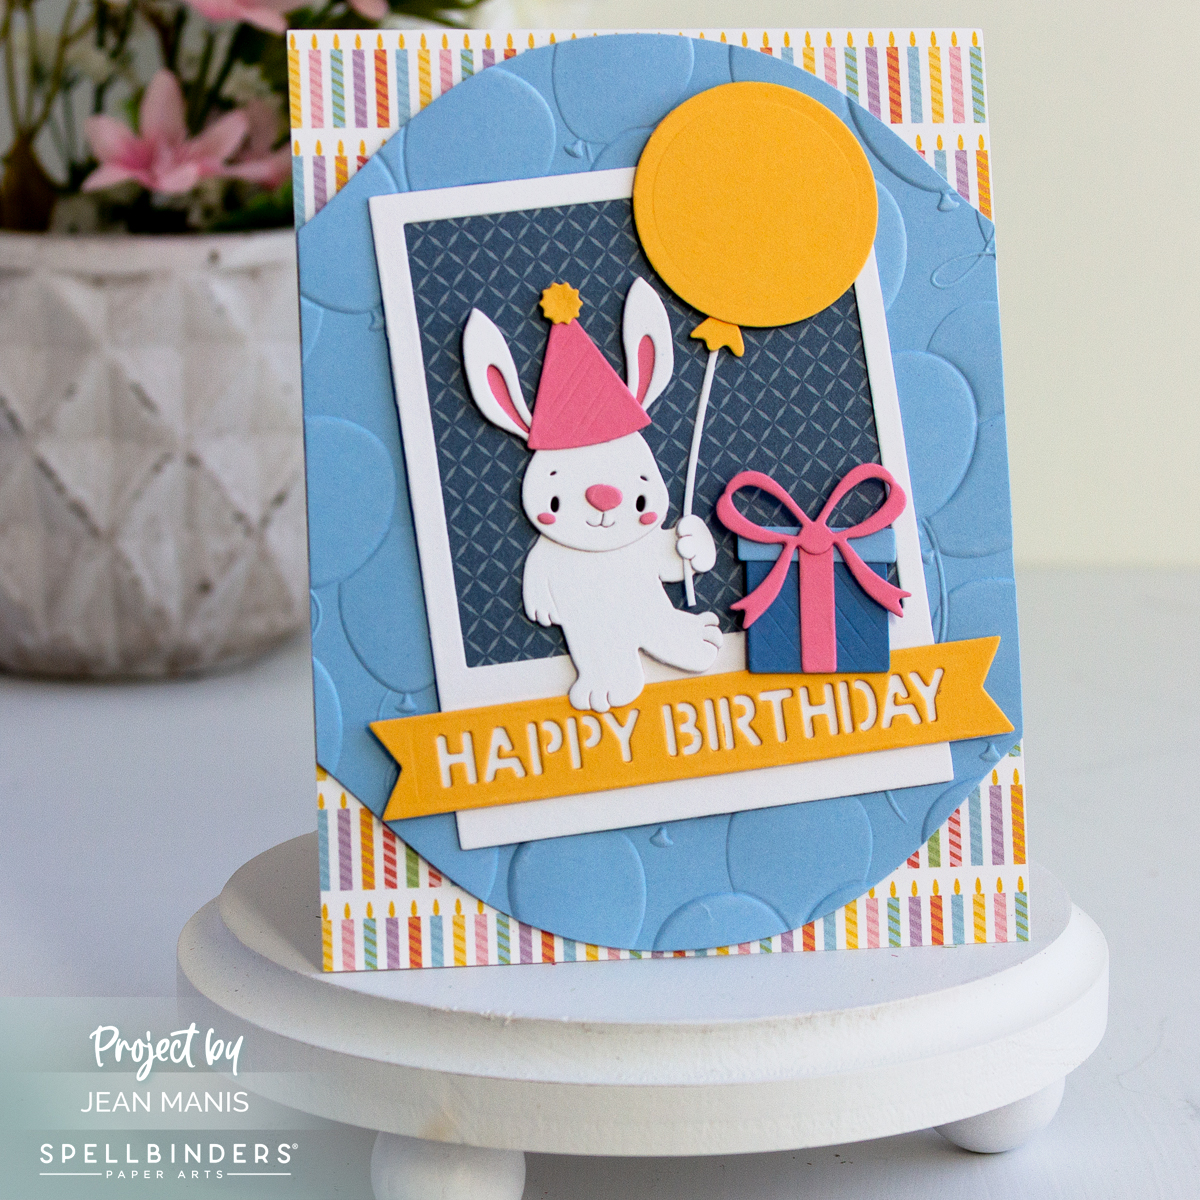
Hello! A birthday during the Easter season calls for a mashup of spring and celebration. This card combines a variety of Spellbinders supplies including the recently released Bunny Buddies set. I know many of you enjoy seeing how versatile these sets can be. I’ve shared other mashups featuring Simon Hurley designs before, and once again this card shows how easily these pieces can stretch beyond a single holiday or occasion.
-
- To begin, cover an A2-size card base with patterned paper (Echo Park Party Animal).
- Cut Cascade cardstock with the largest die in the Mirrored Arch Labels set and dry-emboss with the Floating Balloons folder. Add to the card base.
- Cut the frame with the Memory Frames die and back with patterned paper (Carta Bella They Say It’s Your Birthday). Add to the card.
- Cut the balloon with the smallest balloon die in the Color Block Balloons set. Assemble.
- Cut the sentiment banner, package, and party hat with dies in the Birthday Bear set. Assemble.
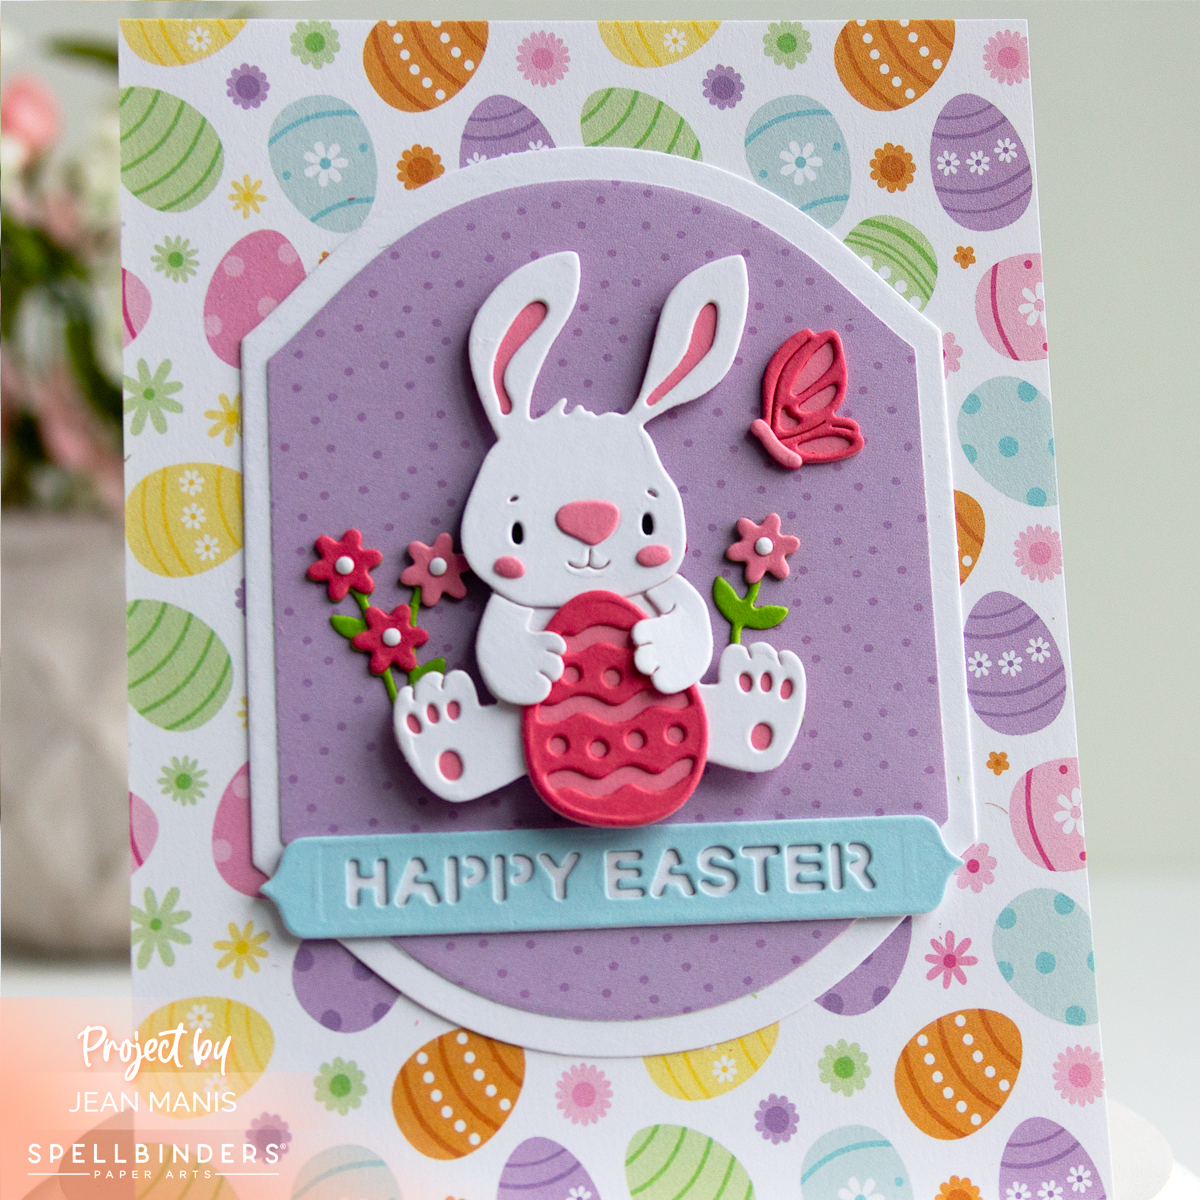
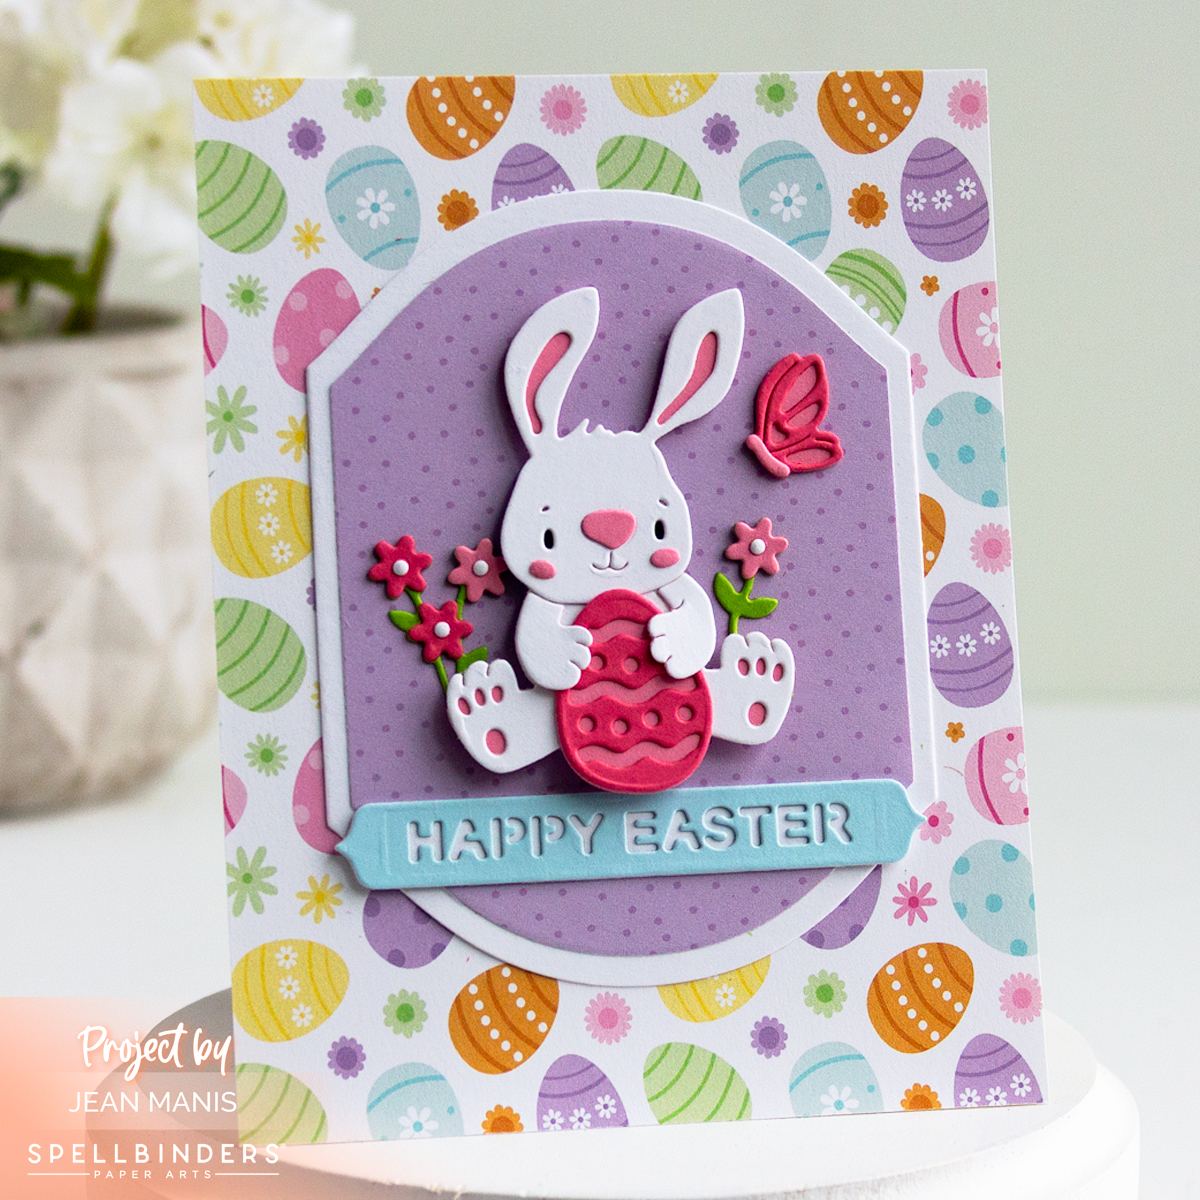
- Cut the bunny with the Bunny Buddies set. Assemble. I previously shared a card with the Bunny Buddies die set HERE.
- Add assembled elements to the prepared card with foam and dot adhesive.