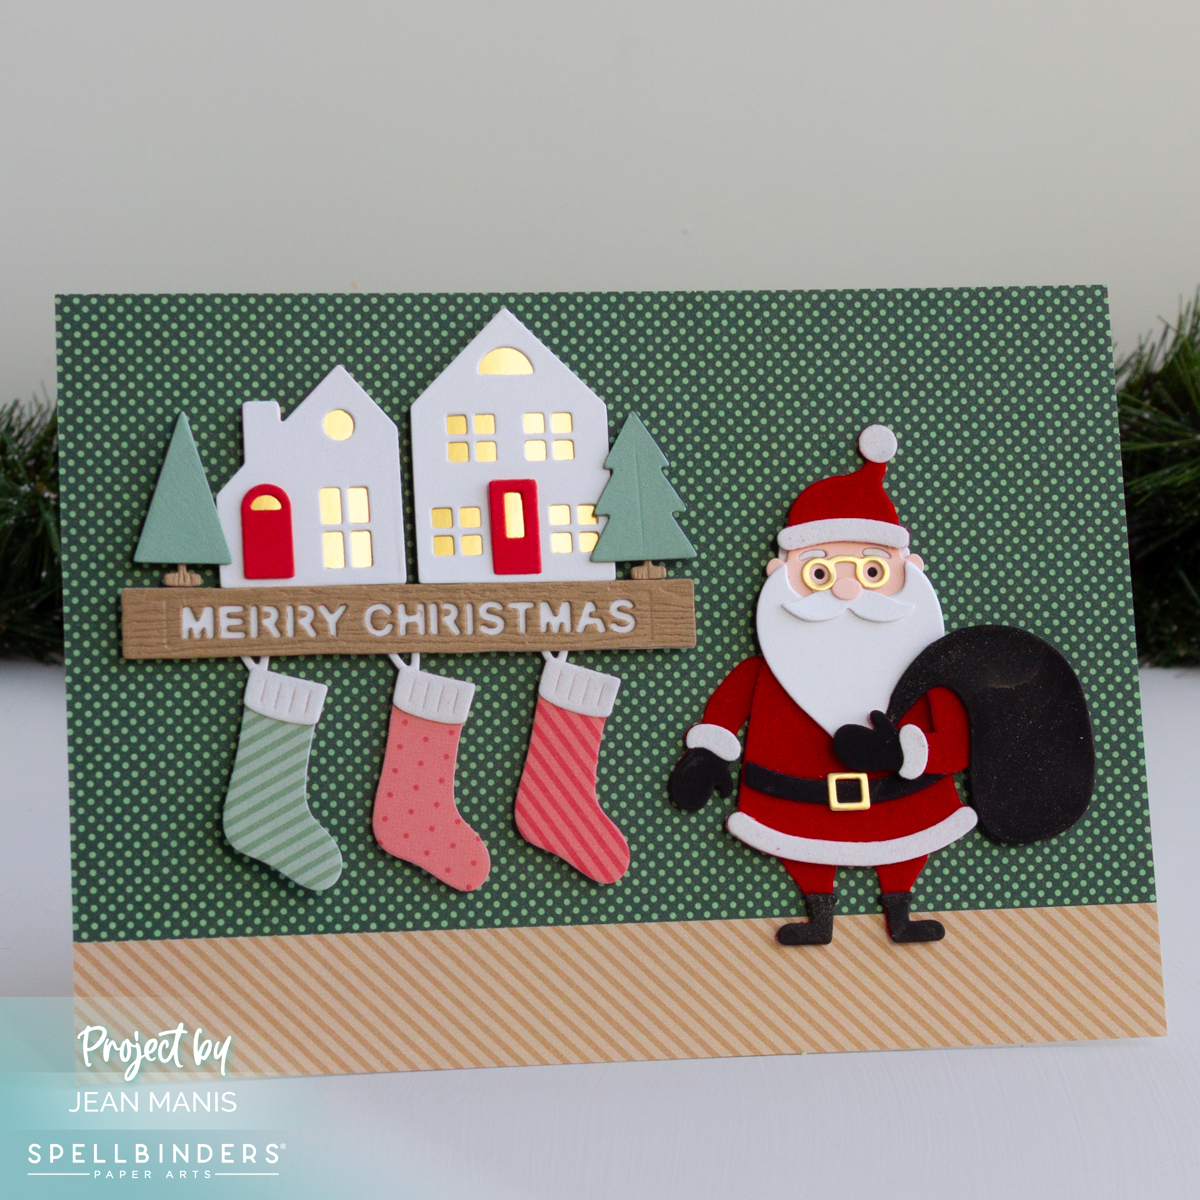
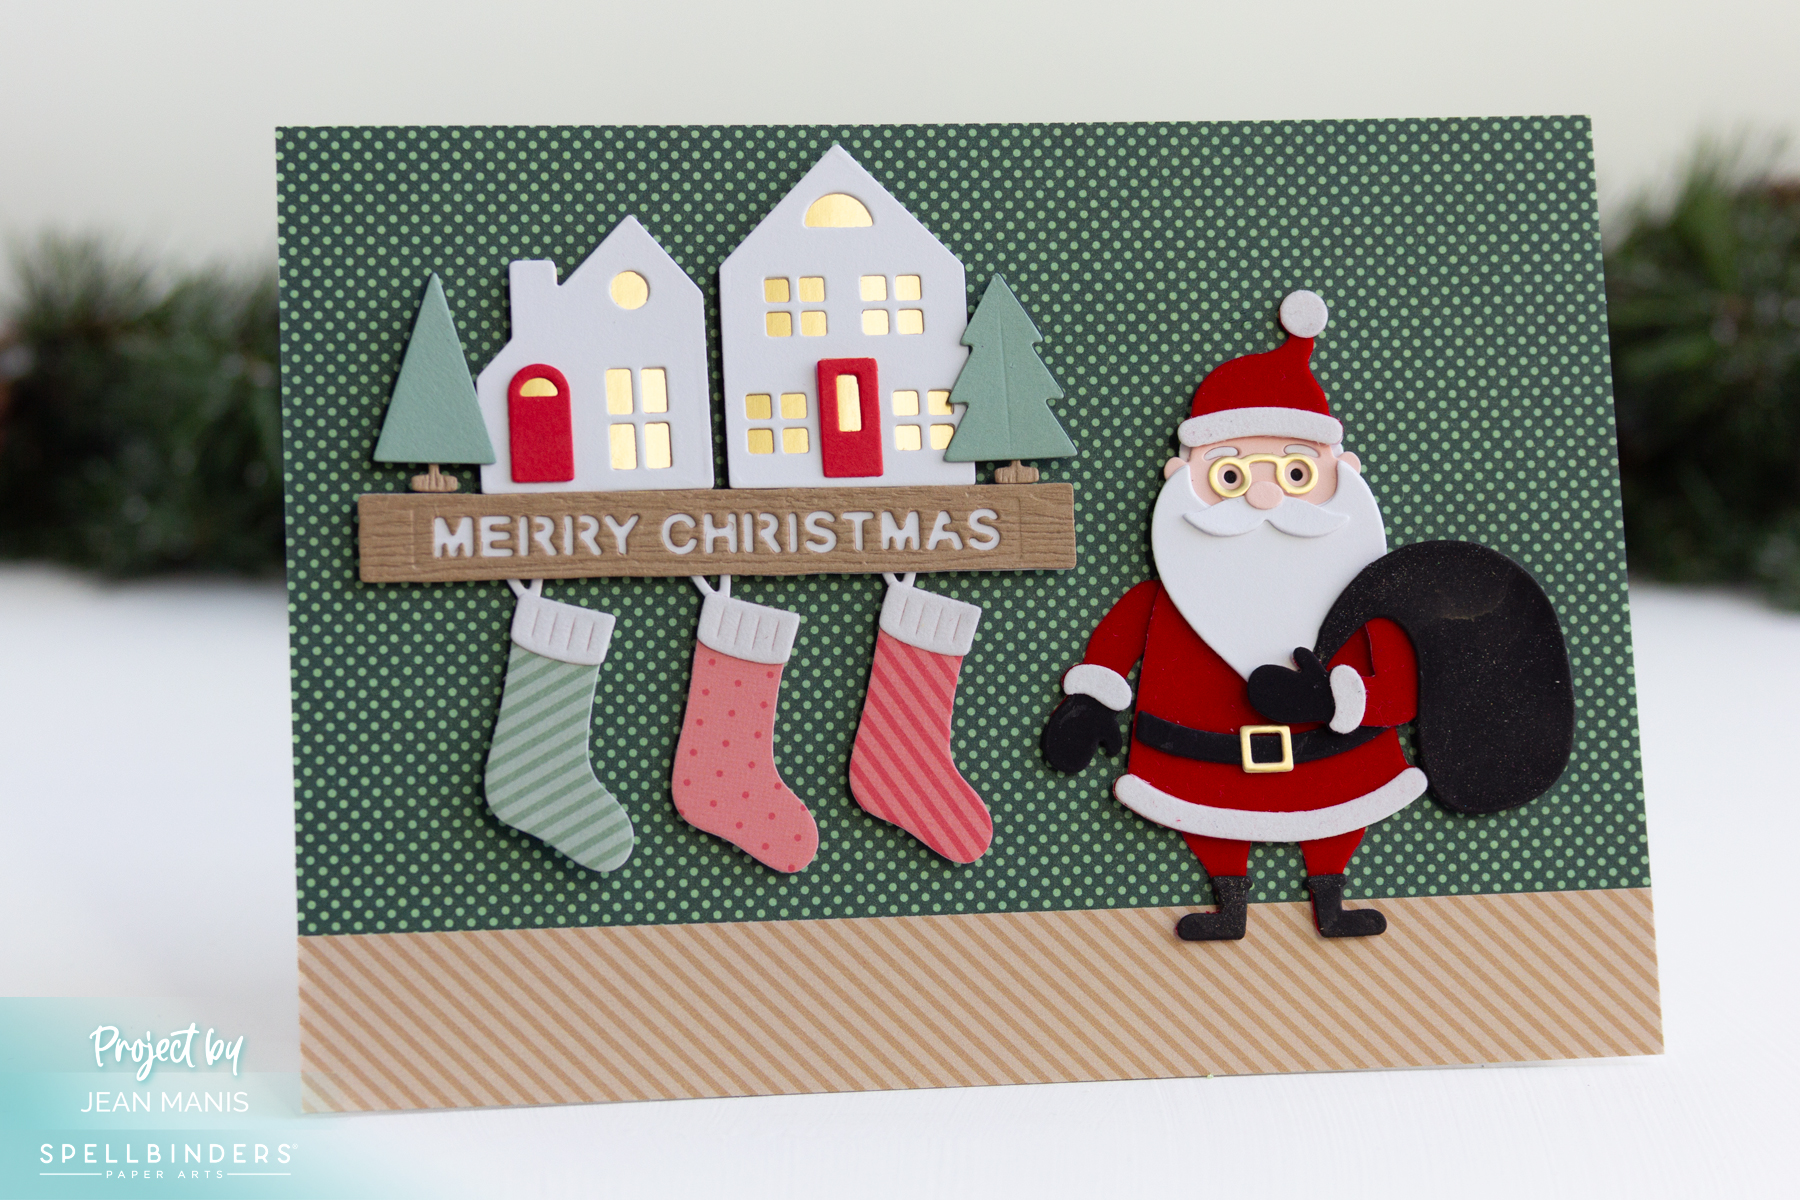
Hello! There’s something especially heartwarming about Christmas scenes set inside the home. My latest card, created with several Spellbinders Simon Hurley die sets, captures Santa by the mantel, surrounded by stockings and holiday cheer. I loved bringing this cozy moment to life with die cuts that build a story—one that feels like it could come straight from a Christmas Eve illustration. I talk about the appeal of Santa in cardmaking HERE.
-
- Cover a 5″ x 7″ card base front with Hard Candy Christmas patterned paper. Add a strip along the bottom of Honey Bee Pinstripes and Polka Dots paper.
- Cut Santa with the The Clauses set and assemble.
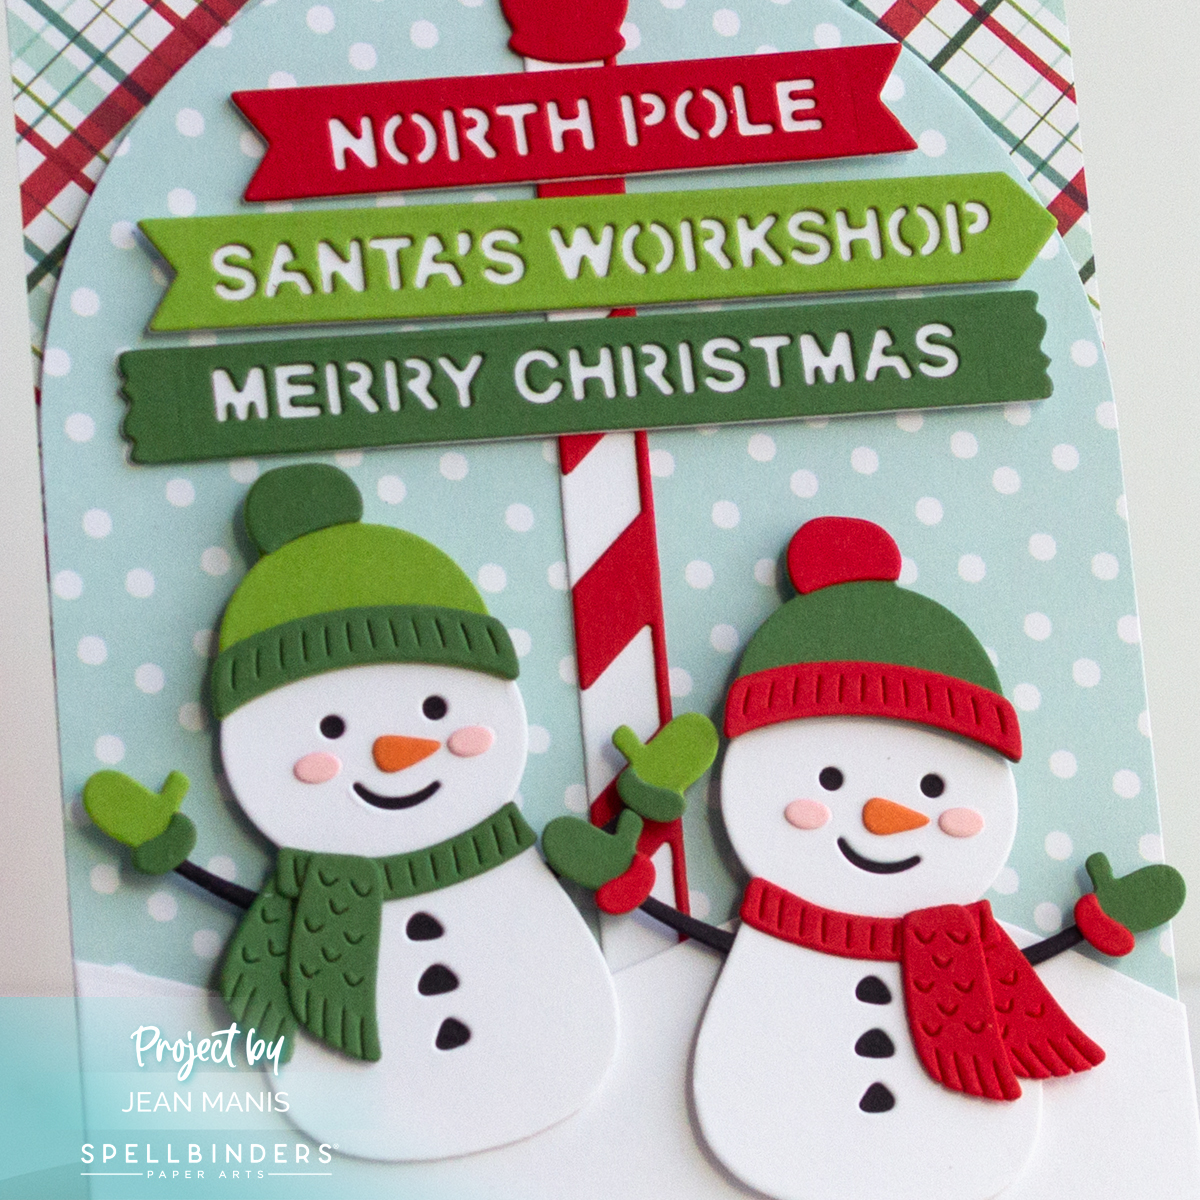
- Create the mantel with the Mantel Village and Mantel Decorations die sets. Use a die in the North Pole Sentiments set to cut the sentiment into the mantel. Back with white cardstock.
- Add assembled elements to prepared card base.

I especially love that this card comes together entirely with die cuts—no stamping needed, and having the sentiment cut right into the mantel keeps the design clean and uncluttered.