Sweet Birthday Wishes – This is the Life!

It’s a lovely summer day in the Pacific Northwest. In fact, we’re calling it hot, which is a rare thing indeed in these parts! I’m sharing a summer-themed card combining the Frozen Treats die with a Reverse Confetti die and sentiment.
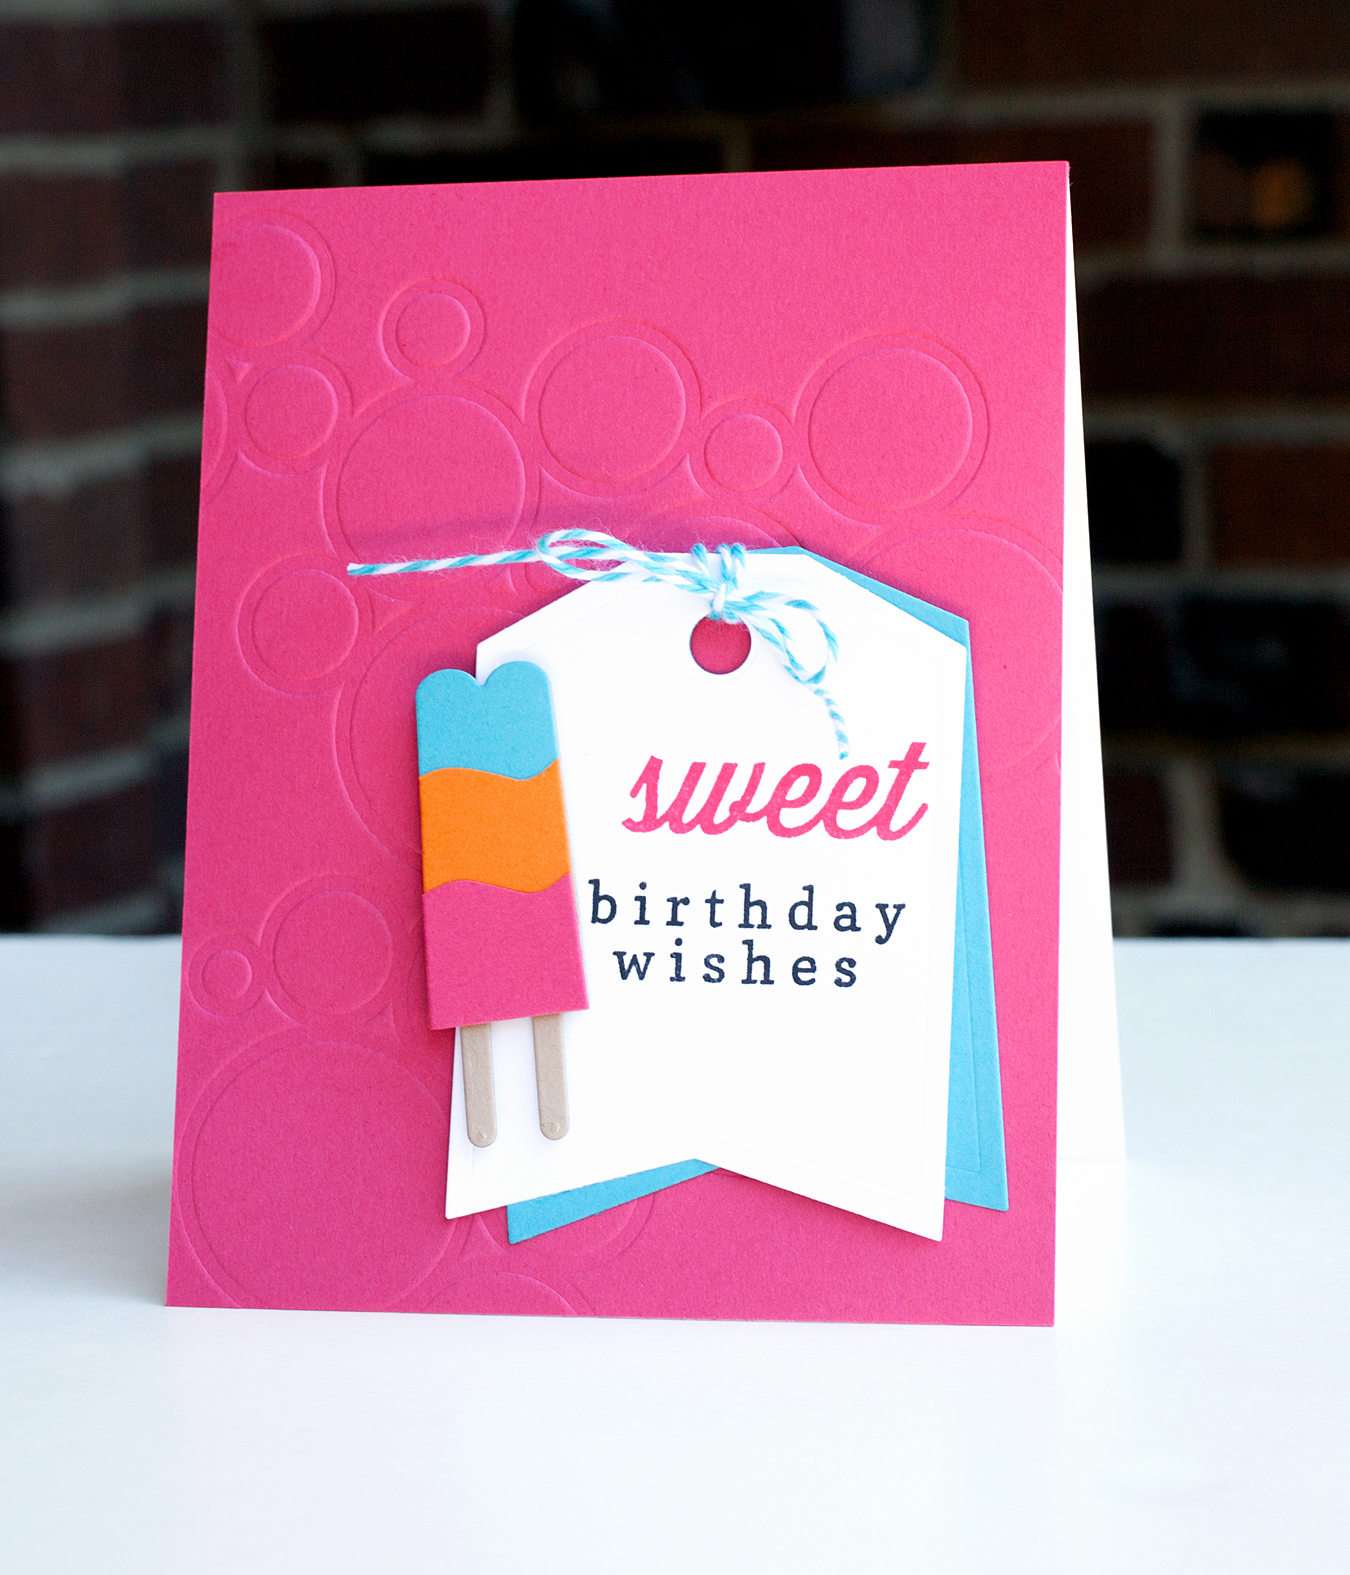
Sweet Birthday Wishes - This is the Life!

I’m definitely drawn towards brighter colors when it’s sunny outside. I cut four colors of cardstock with the Frozen Treats die and pieced them together. I stamped the sentiment from Reverse Confetti’s Sweet Thing stamp set and cut it with the Reverse Confetti Tag Me die. The background is dry embossed with the Simon Says Stamp Ring Cluster stencil.

Simon Says Stamp “This is the Life” Release

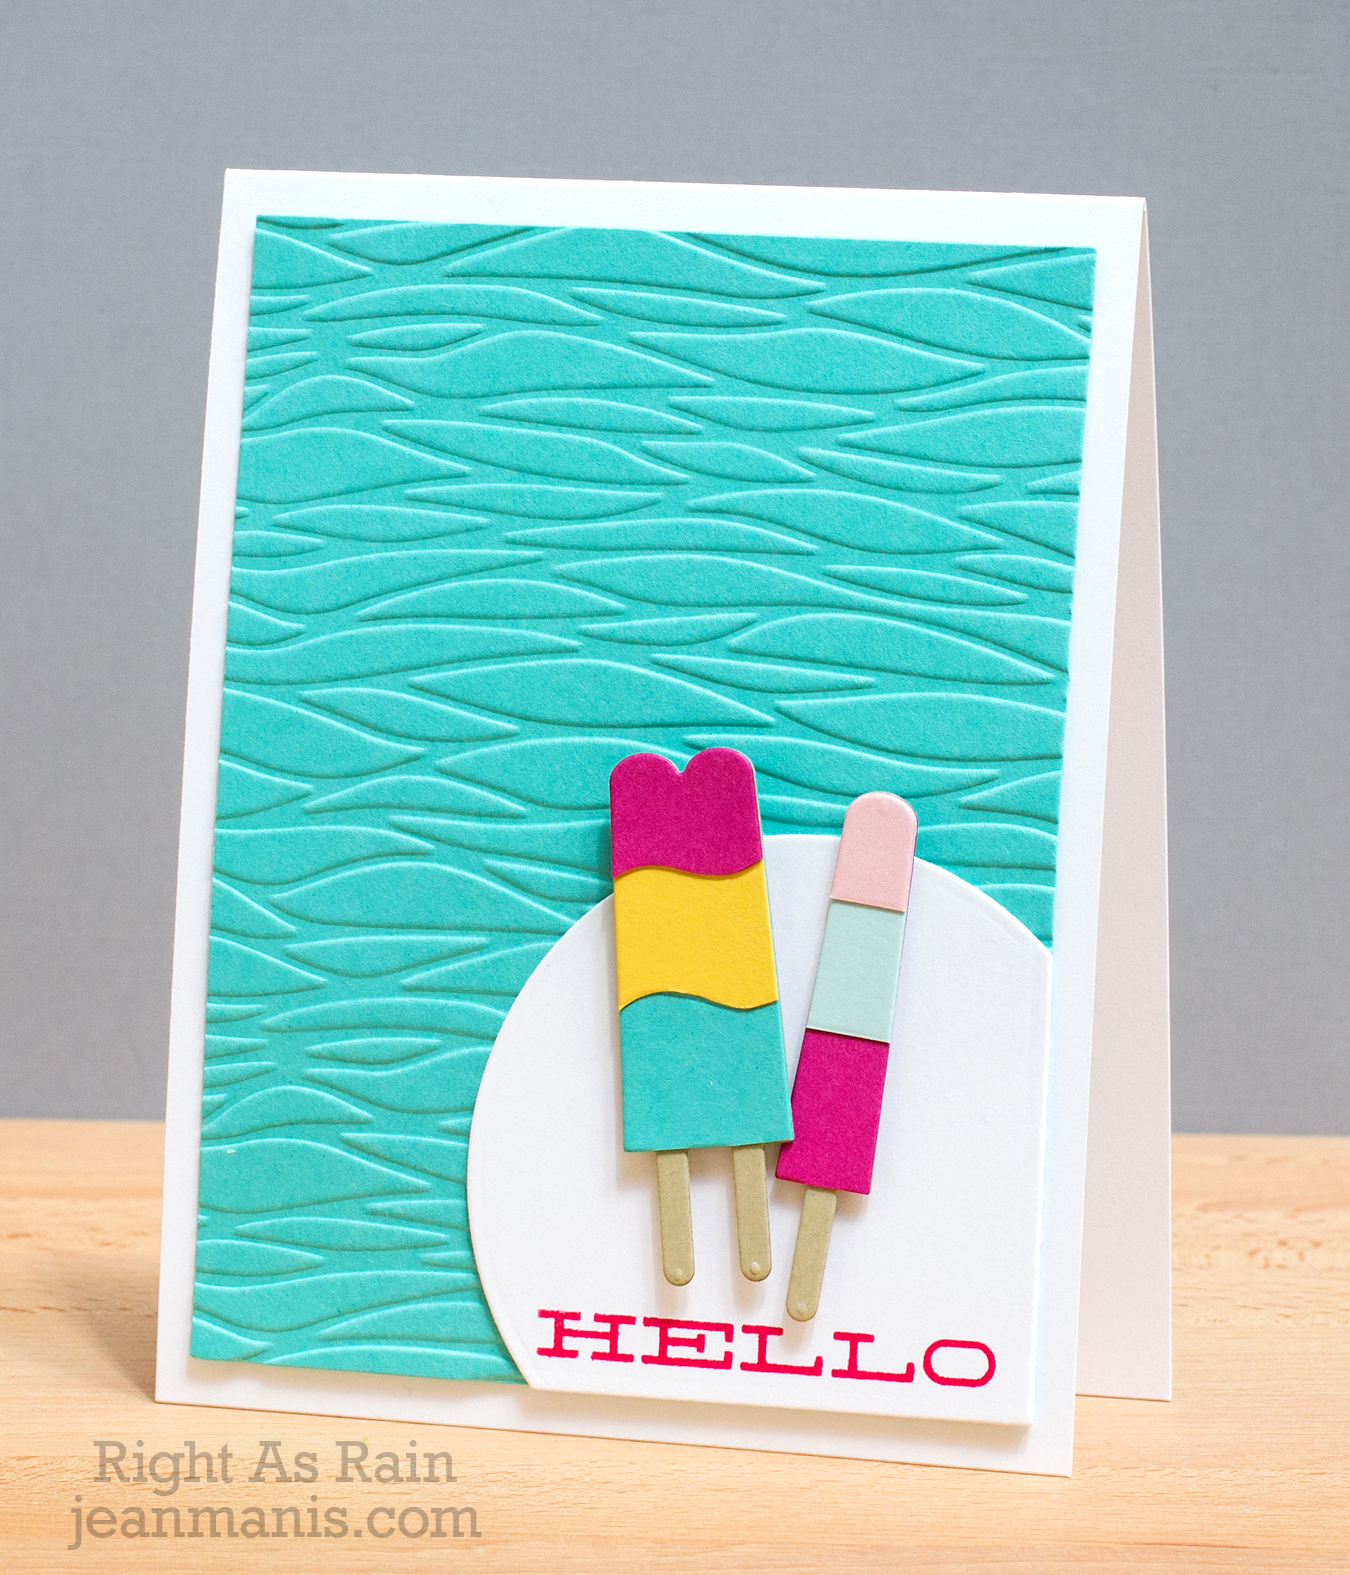
Today, I’m sharing two cards created with dies from the brand-new Simon Says Stamp “This is the Life” releaseFrozen Treats and Ice Cream Cone Parade. Do you see a summer treat theme here? 🙂

Simon Says Stamp “This is the Life” Release 1

For my first card, I used the Frozen Treats die to cut a variety of cardstock colors. I then fussy cut the Popsicles along embossed lines and layered the pieces onto kraft cardstock bases. The turquoise card panel was embossed with the Tim Holtz Wave embossing folder. The sentiment is from the Simon Says Stripe Greetings stamp set.

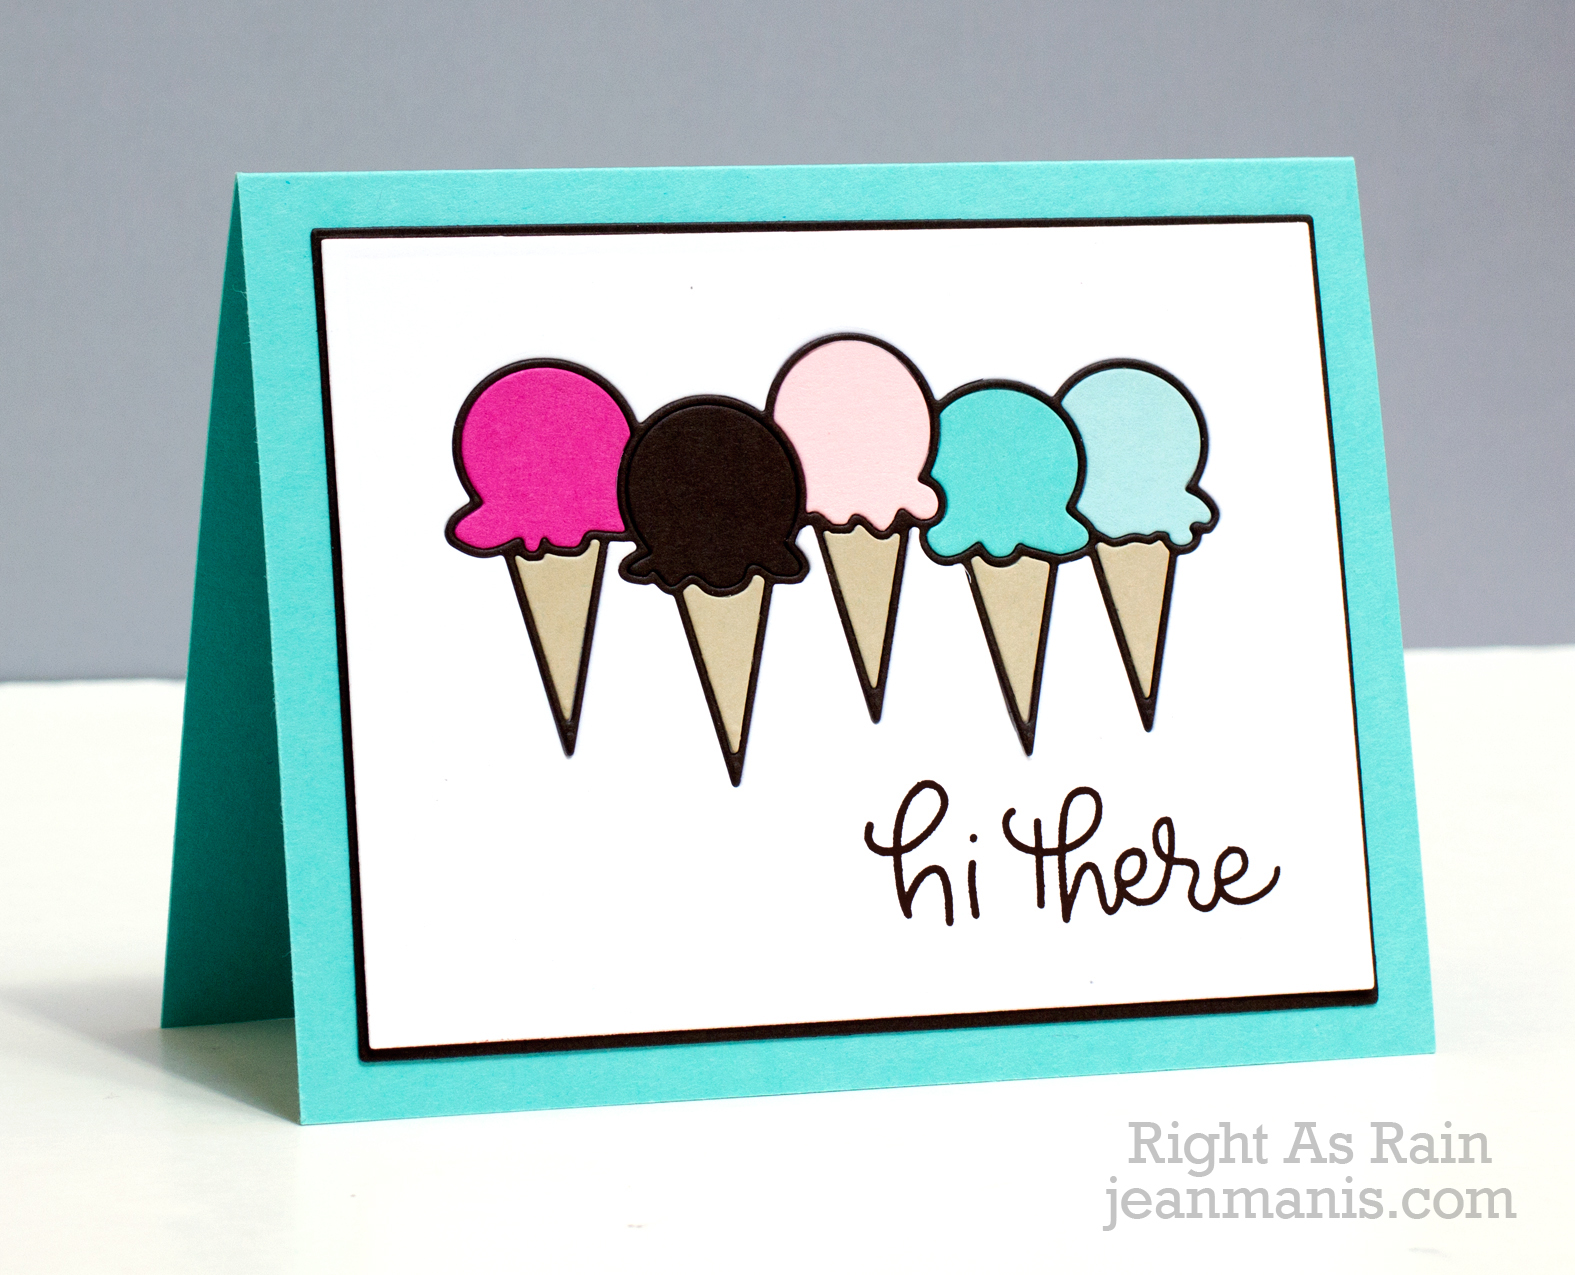
On the second card, I used the inlay technique with the Ice Cream Cone Parade die.

Simon Says Stamp "This is the Life" Release

I cut a variety of cardstock colors from the Simon Says Spring Rainbow Pack with the Ice Cream Cone Parade die. I also cut the white card panel, onto which I stamped my sentiment from the Simon Says Stripe Greetings stamp set, with the die. I then began adhering the pieces into the panel. To finish off the card, I added a thin chocolate brown mat.

Who Loves You?

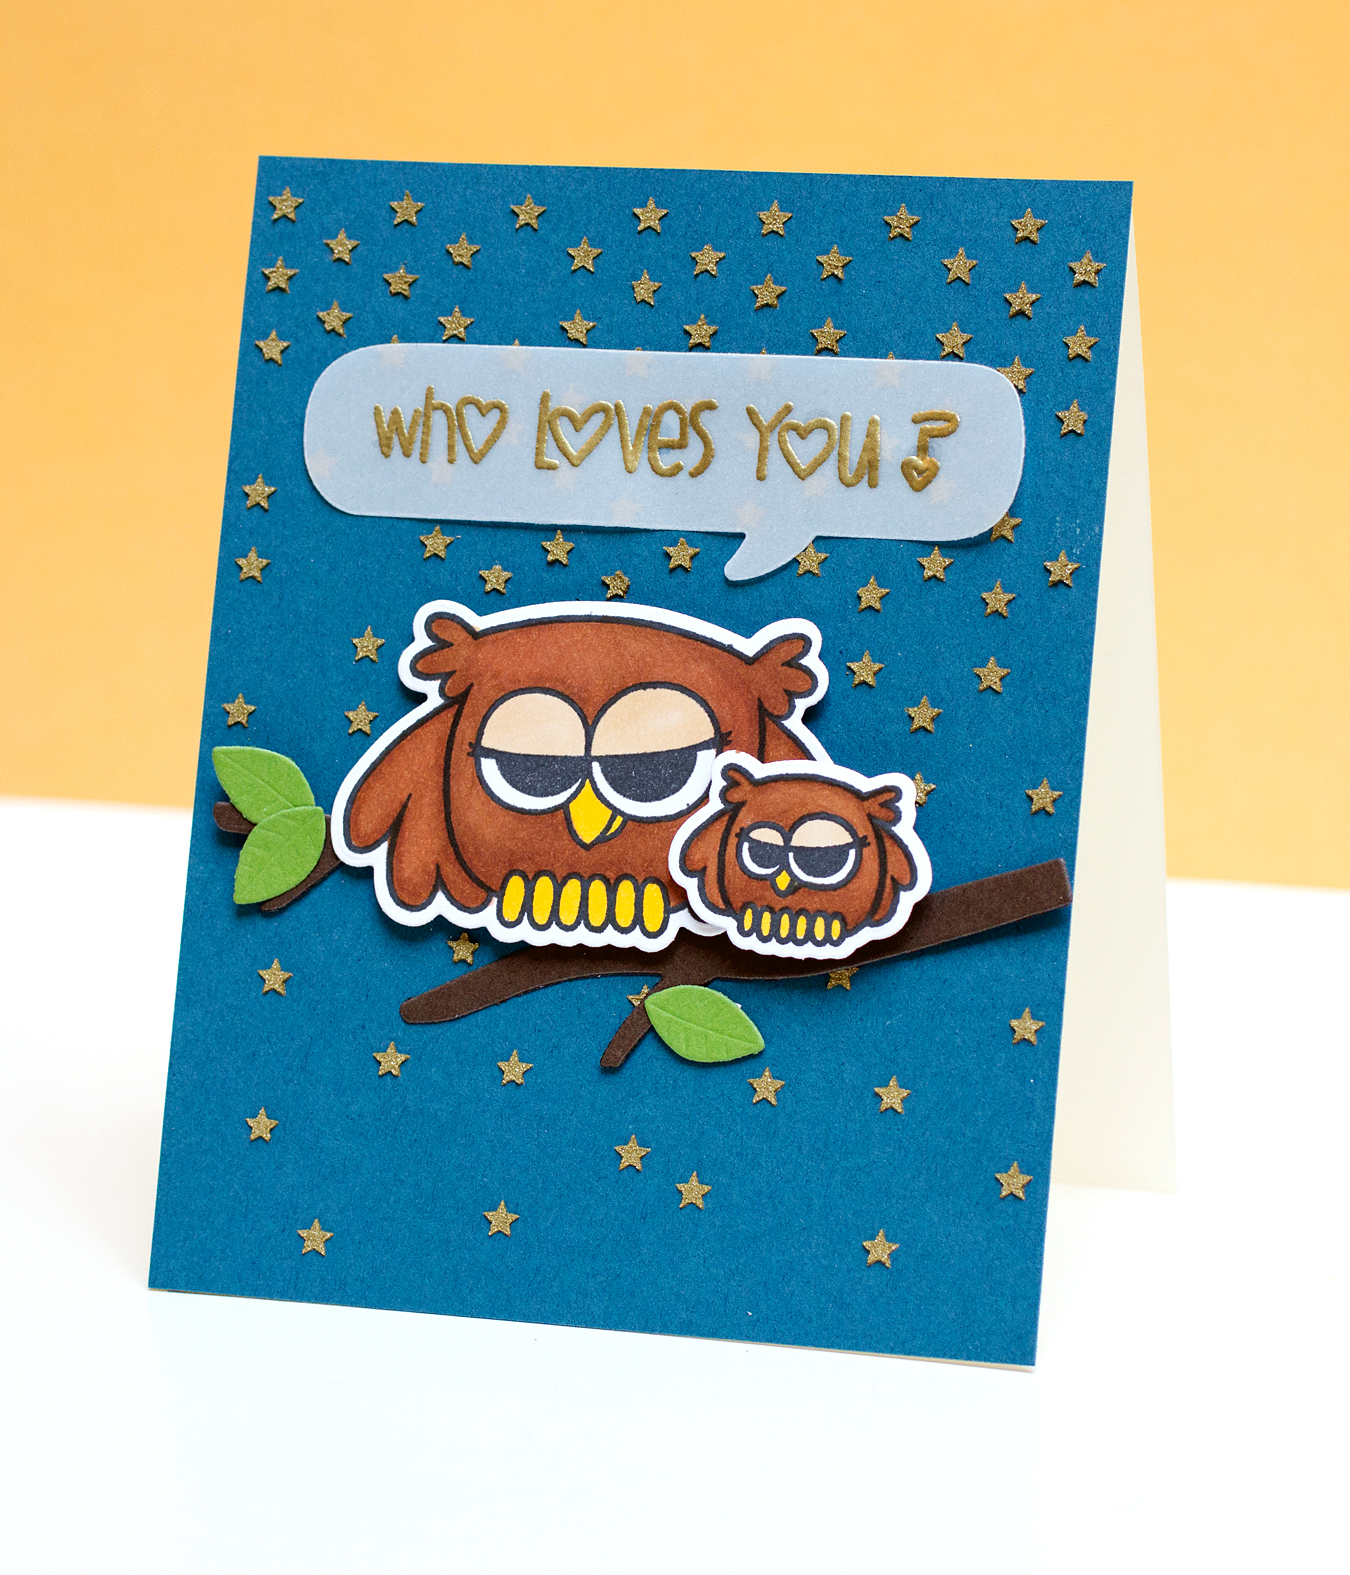
Today, I’m sharing a card created with one of the new stamp sets (and its companion die cut set)  from Paper Smooches.

Hooties

For the background, I applied Ferro acrylic paint through a Simon Says Stamp star stencil. The Ferro paint was demonstrated during the Online Card Classes Stenciled Class. It’s quite thick – as thick as embossing paste. Application was super easy and much easier than coloring embossing paste with a metallic (which I actually haven’t tried, although I have colored the embossing paste with acrylic paint). I also tried heat-embossing white paste (applied through the stencil) with silver powder; another technique demonstrated in the Stenciled class. It worked fine, but I prefer the look that the Ferro provides over the embossing powder technique, which tends to bubble the embossing powder during the heating process.

I colored the owls with Copics, cut them with the Owl Icons die, and attached them to the die cut branch with dimensional adhesive.

Supplies:

Stenciled: Colored Embossing Paste

I’m still working through the course material from the Online Card Classes Stenciled Class. This card is based partially on a design by Debby Hughes from Day One, as well as on a card of Laura Bassen’s from the Simon Says Stamp Valentine’s Blog Hop.

Stenciled: Colored Embossing Paste

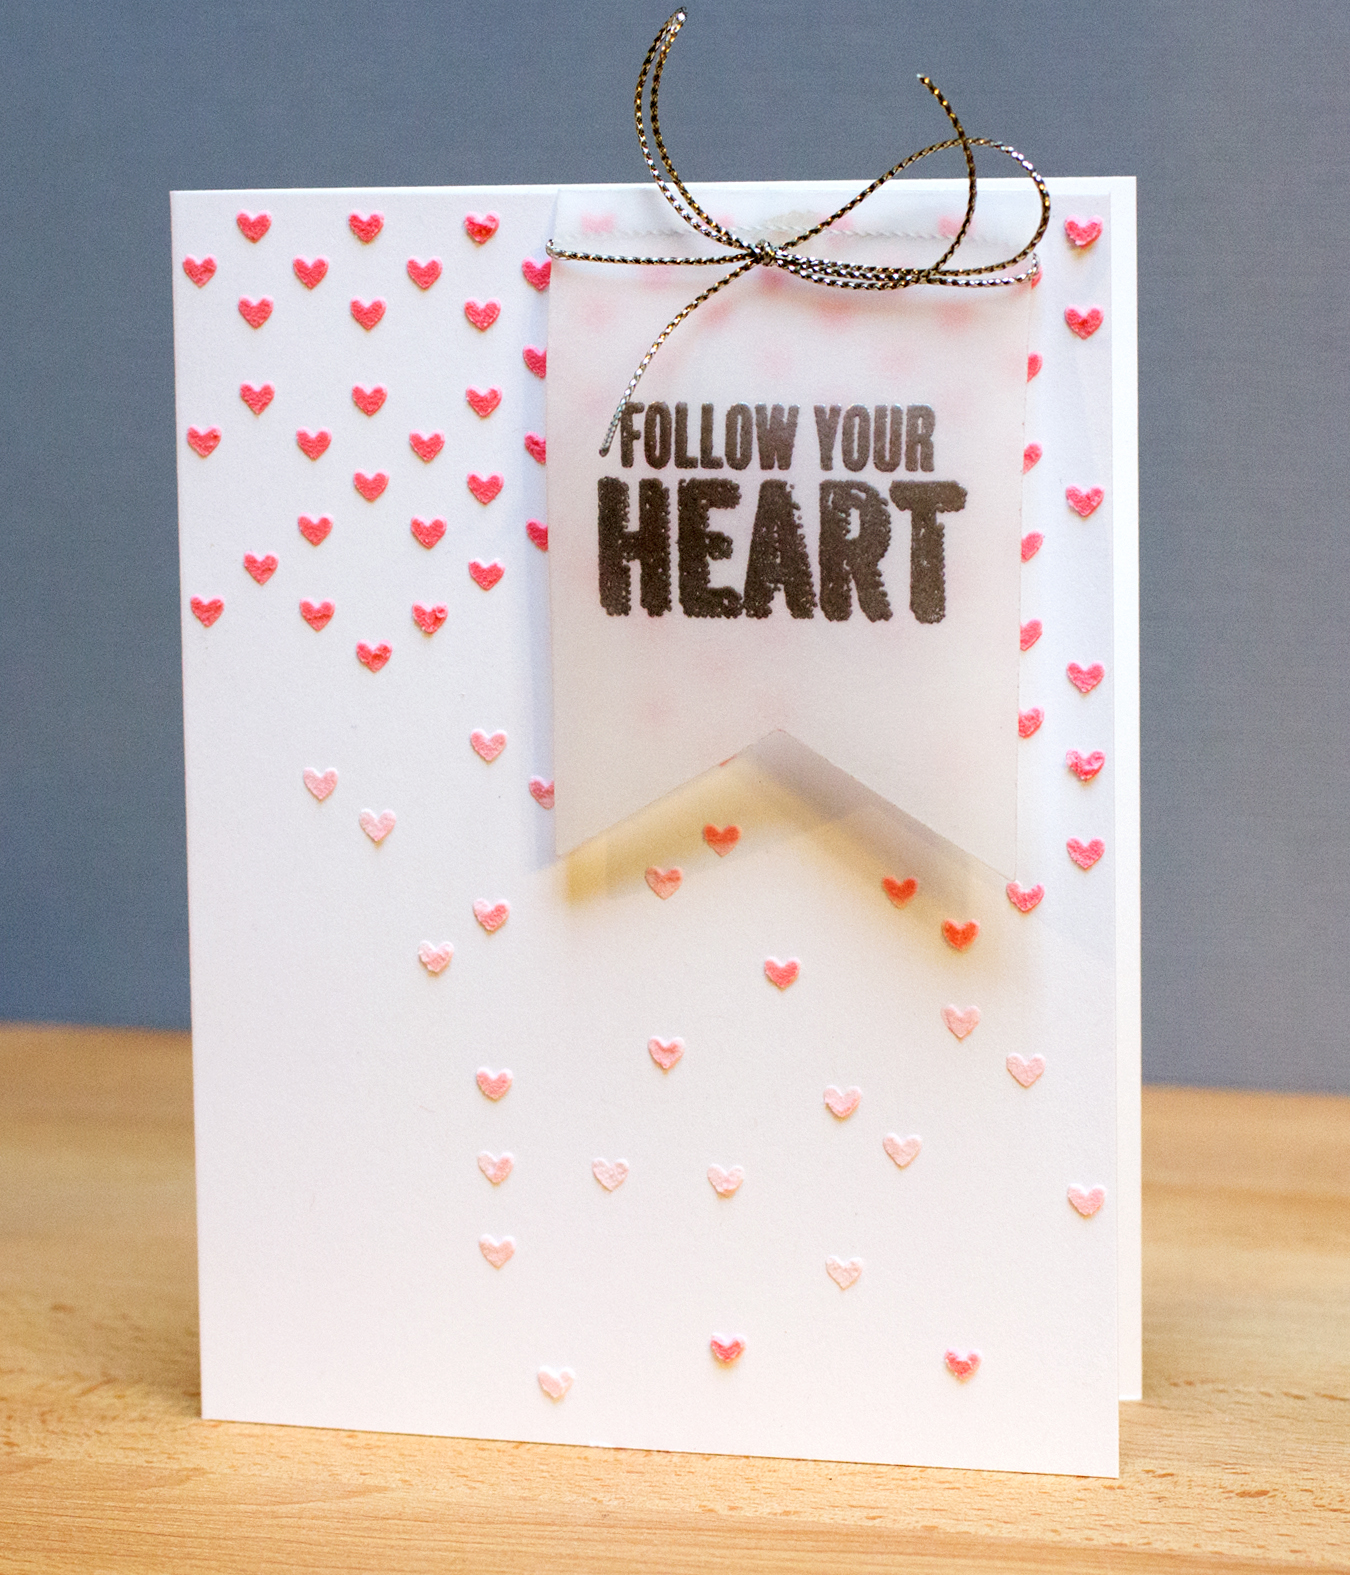
I’ve been wanting to color embossing paste and used two distress inks to color the paste I used on the “Falling Hearts” stencil. Laura used acrylic paints to color her hearts. I like that idea as well, and plan to try it, but didn’t have two shades of pink, and I was set on using pink. Theoretically you could use one pink and mix more (or less) of the embossing paste with it to create a differentshades, but I’m finding that as a “newbie” I don’t have time to mix before applying to the stencil. I particularly like this SSS stencil – you simply lay it over the card and start applying paste. I don’t have to move the stencil around to get a pleasing design.

And there’s little light today here in the Pacific Northwest – dark skies and rain! So my photo is a bit hard to see.

Supplies: Simon Says Stamp Falling Hearts stencil; Hero Arts You’re So Kind stamp set; Studio 490 embossing paste; MFT Fishtail Flags dies; Worn Lipstick and Spun Sugar Distress Inks

OCC Stenciled: Day Three

Today’s lesson in the Online Card Classes Stenciled Class focused on using embossing pastes with stencils. I followed one of the cards shown by Debby Hughes.

OCC Stenciled: Day Three

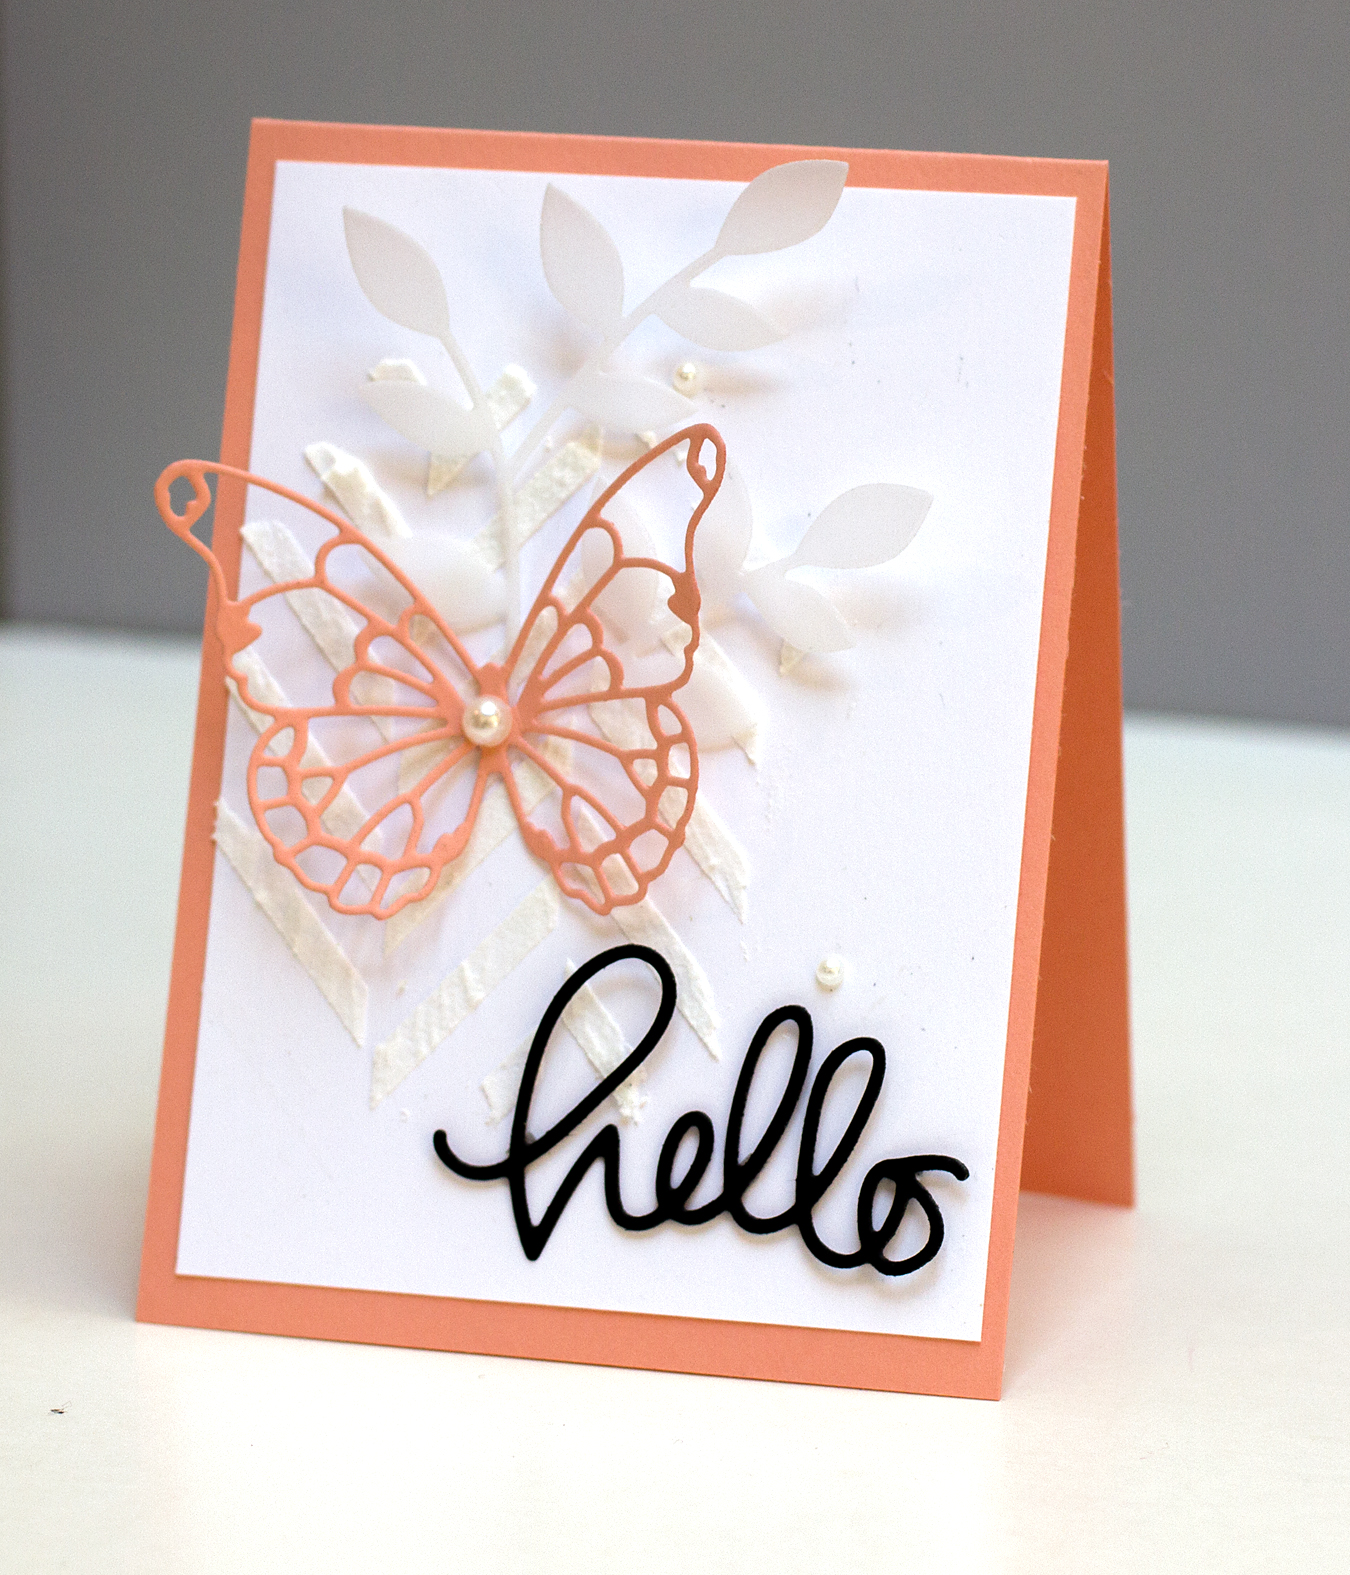
I made several modifications and simplifications on my card. For one, I didn’t use any mist on the card panel like Debby did. I can see how doing so would lend a little more softness and color. Instead I used a colored  card base rather than white. I used vellum, die cut with the Poppystamps Lorelai Leaf, as a substitute for one of the elements Debby used. The “hello” die cut is from Simon Says Stamp. The butterfly is cut with the Memory Box Vivienne Butterfly die cut. Like Debby, I used white embossing paste with the Hero Arts Tweed Pattern stencil.

This class is going by quickly! Right now my goal is to make a card each day and in the next several weeks I’ll revisit the techniques and designs.