Spellbinders November Clubs Blog Hop

Hello! I am delighted to be participating in a blog hop sharing projects created with the Spellbinders November 2020 Club Subscriptions. You should have reached me from the blog of Virginia Lu. (The entire list of participants is included at the end of my post.) For the hop, I created a gift card holder showcasing the November Small Die of the Month kit from Spellbinders –  “Frankie Goes to the North Pole.” (I previously shared cards created with the November Small Die of the Month set in this post. I shared gift card projects using the the Festive Wreaths Slider Card die set here.)

Spellbinders November Clubs Blog Hop

To celebrate this release, Spellbinders is giving away a $50 gift certificate to five lucky blog readers, selected from the comments on the Spellbinders blog. Giveaway closes on Sunday, November 15, 11:59 pm EDT. The winner will be announced in the blog hop post the following Tuesday. The winner is responsible for shipping cost, duties and taxes. Please note, store credit (gift certificate) cannot be applied to Club Subscriptions. Store credit can be applied to shop past Club products, Club extras and regular releases.

Spellbinders November Clubs Blog Hop

  • To begin I die-cut and assembled Frankie. I set him aside.
  • I glimmer foiled the Glimmer Gift Border in Gold on Candy Apple cardstock. I foiled the entire plate on the left-hand side of the cardstock. I then moved the plate down to foil the bottom-right side and finally moved the plate up to foil the upper-right side. In doing so I created more of a random background than had I simply glimmer foiled the full image on the right-hand side.
  • I cut the top of the Festive Wreaths Slider Card using the foiled cardstock. (By the way, the Festive Wreaths Slider Card die set is one of the products in the Spellbinders BOGO sale!)
  • I created the insert with patterned paper from a past Spellbinders kit. I backed the assembly with Candy Apple cardstock.
  • To showcase the snowman, I cut a circle from Brush Gold cardstock and dry-embossed it with the Falala folder.
  • I added Frankie, along with snowflakes cut with the Festive Wreaths Slider Card, to the dry-embossed circle and added the circle to the gift card assembly.
  • Frankie is ready to be posted!

Spellbinders November Clubs Blog Hop

Head next to the blog of Marie Heiderscheit.

BOGO Holiday

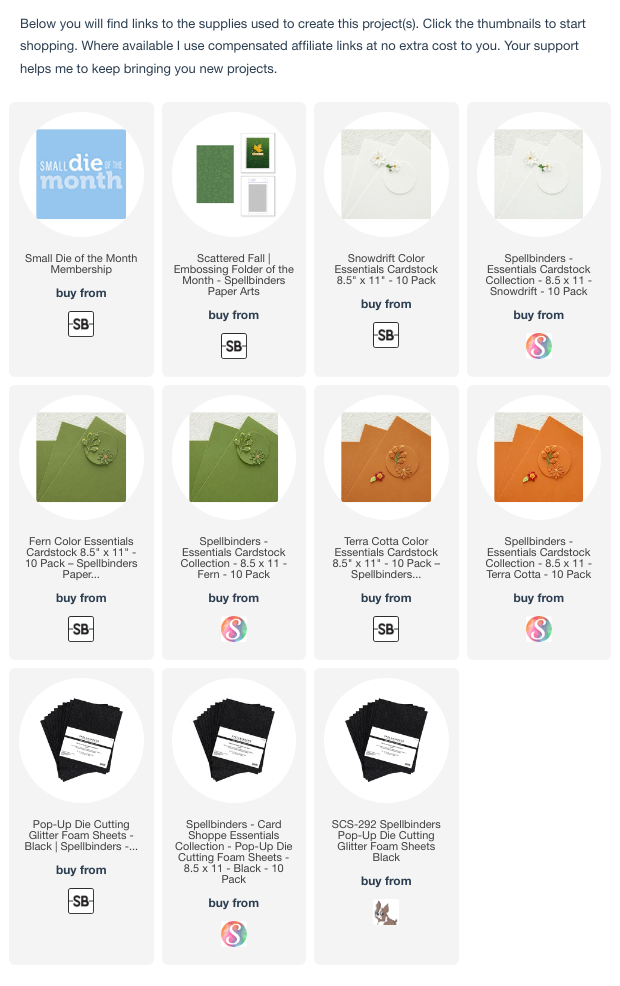
Supply List:

Blog Hop List:
Spellbinders Blog
Tina Smith
Carrie Rhoades
Bibi Cameron
Sandi MacIver
Jill Hilliard
Jennifer Snyder
Kathy Clement
Sandra Nagel
Virginia Lu
Jean Manis
Marie Heiderscheit
Joy Baldwin
Zsoka Marko
Ilina Crouse
Jenny Colacicco

Spellbinders November 2020 Small Die of the Month

Hello and happy November! Today, I am sharing holiday-themed cards created with this month’s Small Die of the Month kit at Spellbinders – “Frankie Goes to the North Pole.”

Spellbinders November 2020 Small Die of the Month

I’ve used two of my favorite techniques: diecutting and glimmer foiling .

Spellbinders November 2020 Small Die of the Month

On my first card, I placed Frankie into a ski scene.

Spellbinders November 2020 Small Die of the Month

  • I created the background with patterned paper and a ski slope cut from glittered cardstock. I created the slope by cutting an oval and trimming it on its sides and bottom.
  • I cut the snowman from Whip Cream cardstock and cut the scarf, mittens, hat, skis, and poles from specialty cardstock (red velvet, black glitter, silver foil) to add textural interest.
  • I cut and assembled the tree, branches, and trunk; the additional branches add volume to the tree. I added the star and the ornaments. The set contains dies to create the tree and dies to create a North Pole sign.
  • I heat-foiled the Holiday Sentiments Series 2 sentiment on red velvet.
  • I added the sentiment, snowman, and tree to the scene. I also cut snowflakes using the Festive Wreaths Slider Card die and added those for additional interest.

Spellbinders November 2020 Small Die of the Month

I used the other snowman face option on a CAS card. Frankie is having a great time on his skis!

Spellbinders November 2020 Small Die of the Month

  • I cut and assembled the snowman.
  • I glimmer foiled the sentiment with the Christmas Essentials Glimmer Ovals plate in Silver Matte on teal cardstock and cut it with the oval die.
  • I dry-embossed the Candy Apple background, added the foiled oval to the base, and added the assembled snowman with foam adhesive.

Spellbinders November 2020 Small Die of the Month

Supply List:

Spellbinders October Clubs Blog Hop


Hello! I am delighted to be participating in a blog hop sharing projects created with the Spellbinders October 2020 Club Subscriptions. You should have reached me from the blog of  Marie Heiderscheit. (The entire list of participants is included at the end of my post.) For the hop, I created CAS, fall-themed, friendship cards showcasing the October Small Die of the Month kit from Spellbinders –  “Fall Leaves Card Creator.” (I shared two other cards created with the October Small Die of the Month set in this post.)

Spellbinders October Clubs Blog Hop

To celebrate this release, Spellbinders is giving away a $50 gift certificate to three lucky blog readers, selected from the comments on the Spellbinders blog. Hop along for additional chances to win. The giveaway closes Sunday, October 18, 11:59 pm EDT. The winner will be announced in the blog hop post the following Tuesday. The winner is responsible for shipping cost, duties, and taxes. Additionally, I will draw a winner to receive a $25 gift certificate from commenters on my blog. The deadline to comment is Saturday, October 17, 11:00 pm EDT. Please note: store credit (gift certificate) cannot be applied to Club Subscriptions. Store credit can be applied to shop past Club products, Club extras, and regular releases.

On the first card, I used the Small Die of the Month set to create a rectangular frame of ivory cardstock.

Spellbinders October Clubs Blog Hop

  • I applied VersaMark ink to parts of inside of the corner pieces and both of the joiner pieces and heat-embossed them with gold powder.
  • I added the assembled frame to a base, on which I arranged 1/2″ strips of colored cardstock. On the center strip, I glimmer foiled a sentiment from the More Sentiments set in Matte Gold.

Spellbinders October Clubs Blog Hop

I also created a card using only the corner die to create a square frame. I glimmer foiled a sentiment from the Everyday Sentiments II set in Matte Gold.

Spellbinders October Clubs Blog Hop

Spellbinders October Clubs Blog Hop

Thank you for stopping by today! Next on the list is the blog of Laurie Willison. Scroll down for the entire list of participants.

Supply List:

Blog Hop Participants:
Spellbinders Blog
Yana Smakula
Nichol Spohr
Sandi MacIver
Bibi Cameron
Jennifer Snyder
Jill Hilliard
Kathy Clement
Sandra Nagel
Virginia Lu
Marie Heiderscheit
Jean Manis
Laurie Willison
Joy Baldwin
Ilina Crouse
Jenny Colacicco

Spellbinders October 2020 Small Die of the Month

Hello! Today, I am sharing two fall-themed cards created with this month’s Small Die of the Month kit at Spellbinders – “Fall Leaves Card Creator.”

Spellbinders October 2020 Small Die of the Month

On the first card, (A2-size, off-white, linen-textured base), I used the Small Die of the Month set to create a rectangular frame of Brush Gold. The set contains a corner piece and a joiner piece, which can be added to form either a rectangle (as shown) or 5 1/2″ square (if the joiner piece is used on all sides).

Spellbinders October 2020 Small Die of the Month

  • I cut foliage from Bristol board, to which I had applied fall colors, and glued the pieces to the frame.
  • I cut the sentiment from Brush Gold and placed it in the center of the frame.

Spellbinders October 2020 Small Die of the Month

My second card, a 4 1/4″ square, uses the set’s corner pieces.

Spellbinders October 2020 Small Die of the Month

  • I cut the Small Die of the Month corner pieces from Bristol board and applied ink to the pieces starting in the corner with the darkest ink.
  • I added the assembled frame to a 4″ square on which I had glimmer foiled a sentiment from the Everyday Sentiments II set in Gold.
  • The card base was created with wood-textured card stock.

Spellbinders October 2020 Small Die of the Month

Supplies:

Spellbinders September 2020 Small Die of the Month

Hello! Today, I am sharing fall-themed cards created with this month’s Small Die of the Month kit at Spellbinders – “Hello & Thank You.” The kit is named for the word and letter dies included in the kit, which also includes frame and floral element dies.

Spellbinders September 2020 Small Die of the Month

On my first card, I used the set’s more ornate frame piece with the “thank you” sentiment set against a dry-embossed background.

Spellbinders September 2020 Small Die of the Month

  • I dry-embossed the soft-blue background with the Changing Seasons folder.
  • I die-cut the frame piece (twice), the sentiment, and the flower pieces.
  • I created the frame, adhered the floral pieces and added the assembly to the dry-embossed background.
  • I adhered the sentiment in the center and small flowers around the frame, to which I added centers created with a hole punch.
  • I added the panel to a white cardstock mat which I adhered to a patterned-paper card base.

Spellbinders September 2020 Small Die of the Month

My second card uses the HELLO sentiment with the kit’s other frame set against a stenciled background.

Spellbinders September 2020 Small Die of the Month

  • To create the background, I stenciled the Four Layer Leaves Stencil with metallic inks and a deep orange ink.
  • I die-cut the frame from copper foil. I cut four pieces to make two frames. I die-cut the sentiment from cardstock colored with the same orange ink used on the background. I die-cut flowers from the orange cardstock and leaves from matte silver cardstock .
  • I traced a diamond shape on vellum and cut it with scissors.
  • I glued two of the frame pieces together and glued the vellum diamond  to the back. I glued the second assembled frame at a slight rotation.
  • I glued the frame assembly to the stencil panel and glued the sentiment across the middle.
  • I added the flowers and leaves.
  • The assembled panel was added to a brown cardstock mat adhered to a matte silver card base.

Spellbinders September 2020 Small Die of the Month

Supplies: