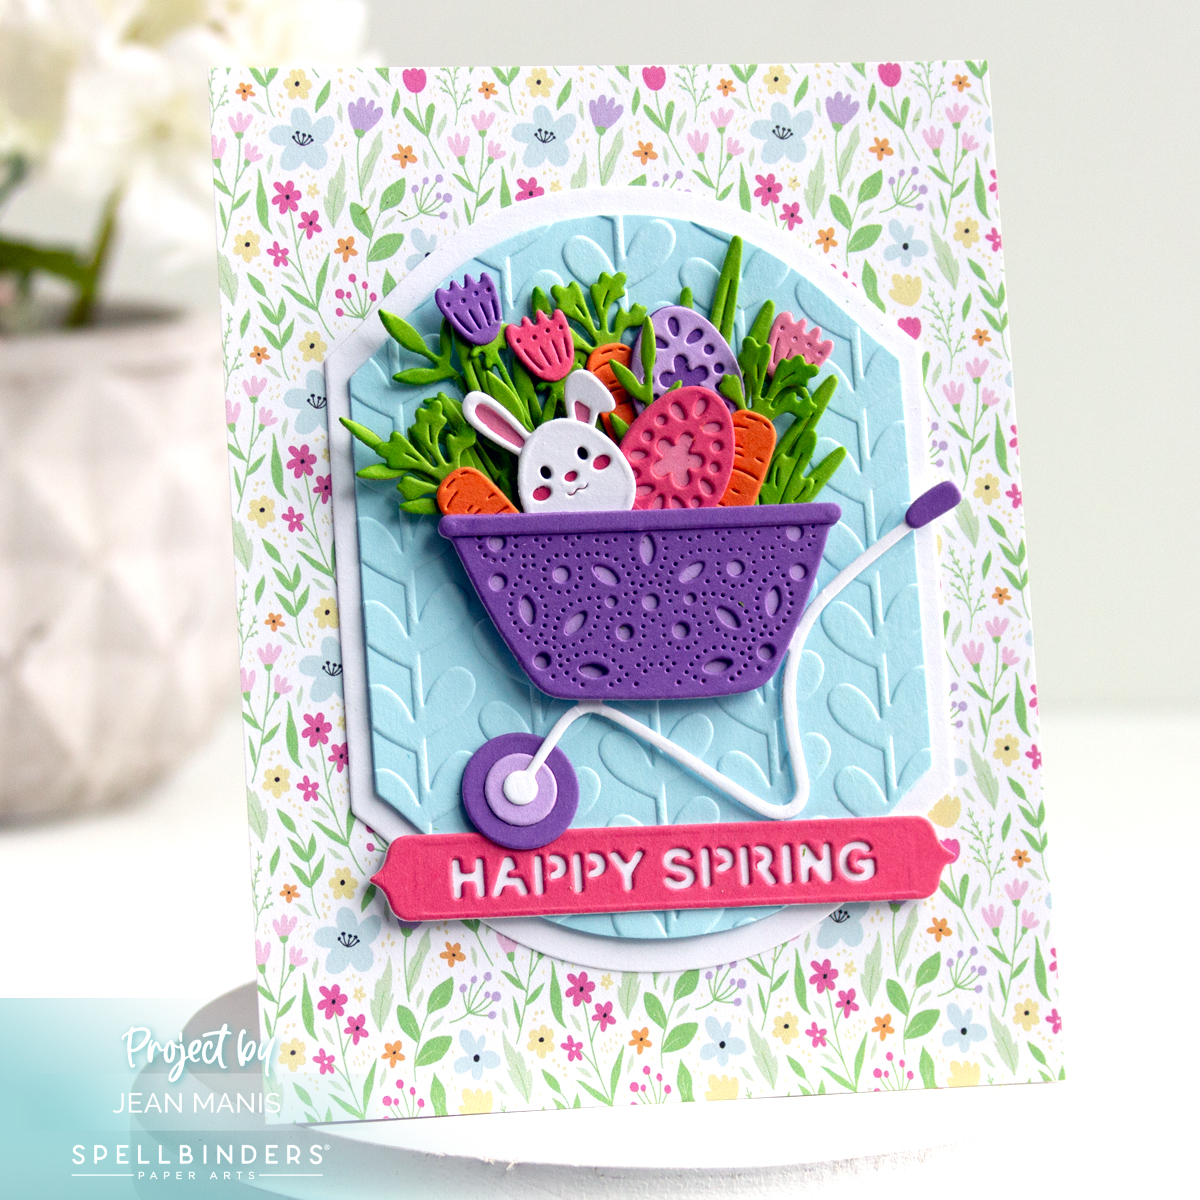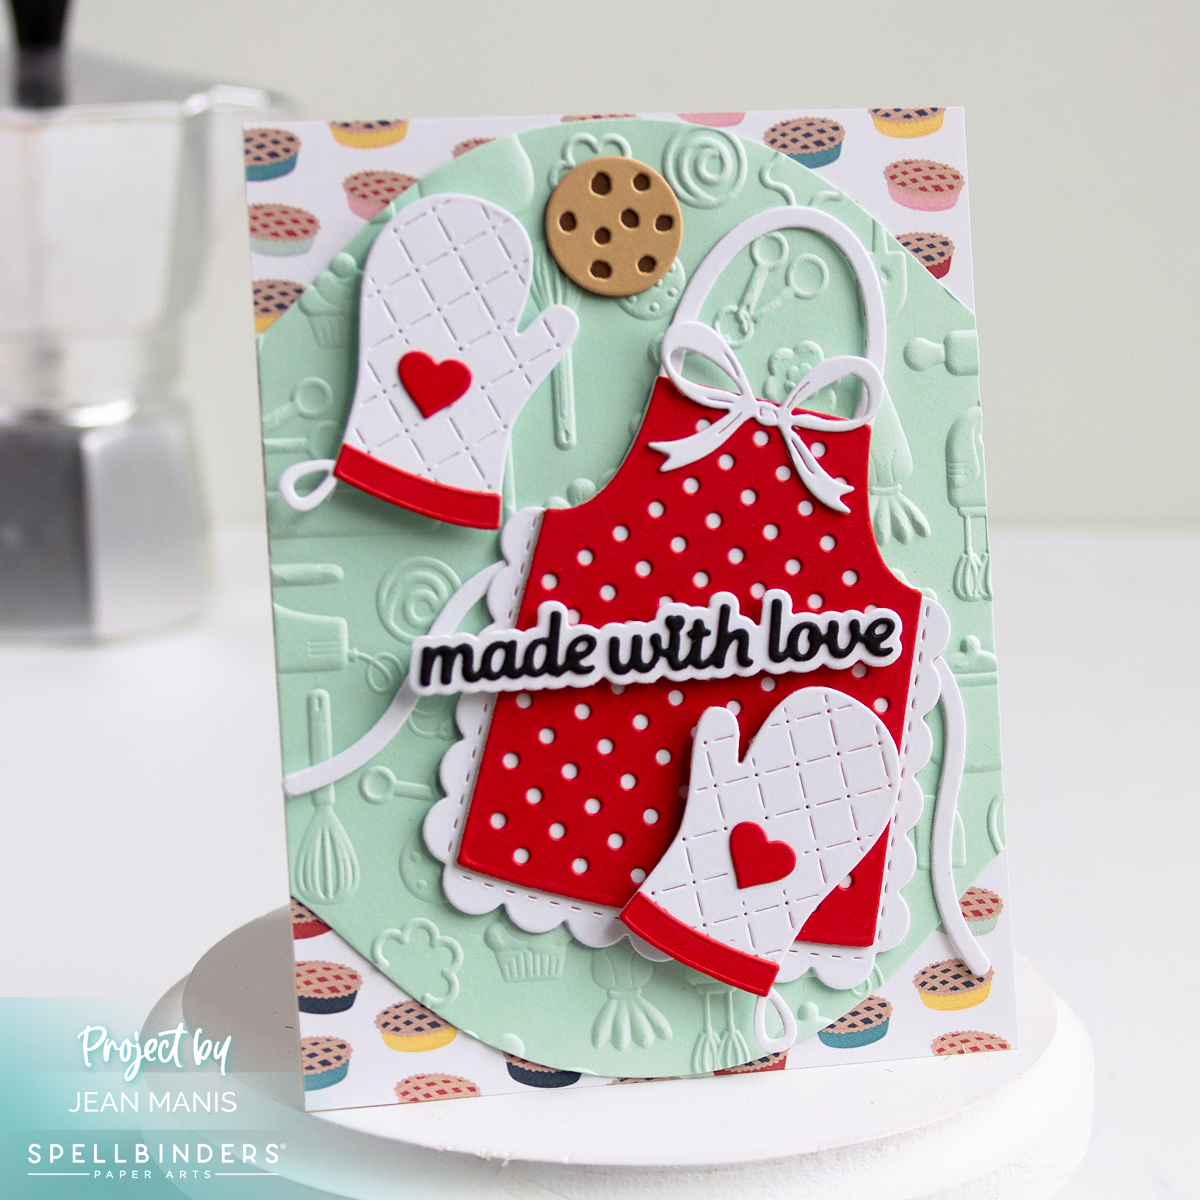
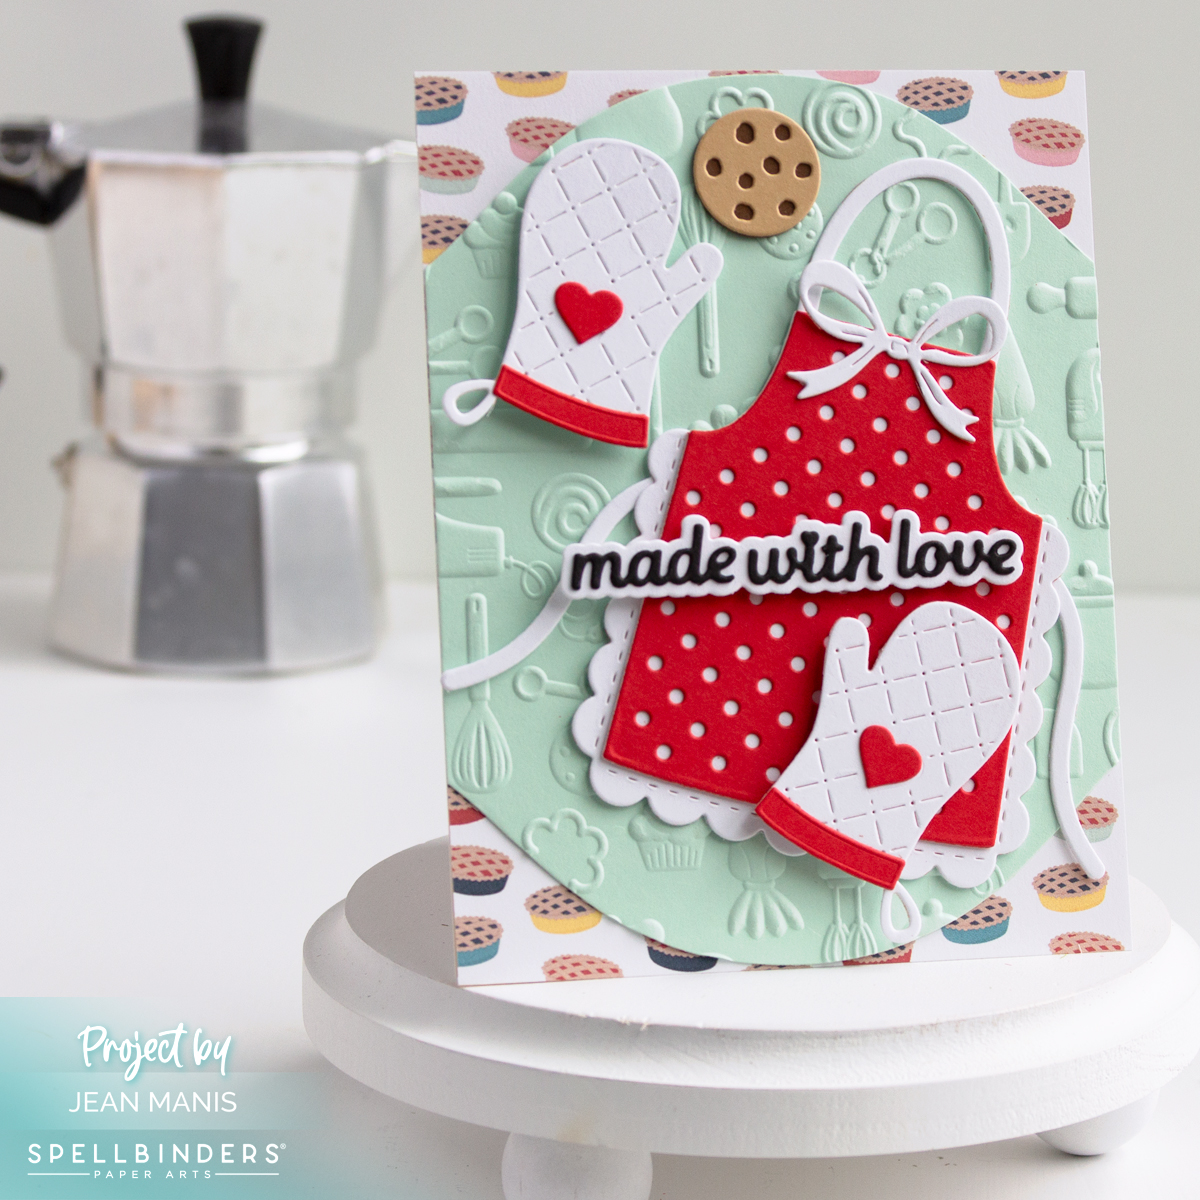
Hello! For today’s card, I used products in the Spellbinders Make It and Bake It Collection to build a die-cut design featuring a kitchen apron, coordinating potholders, and a cookie. The sentiment, “Made With Love,” ties it all together, and the dry-embossed background adds texture and reinforces the baking theme.
-
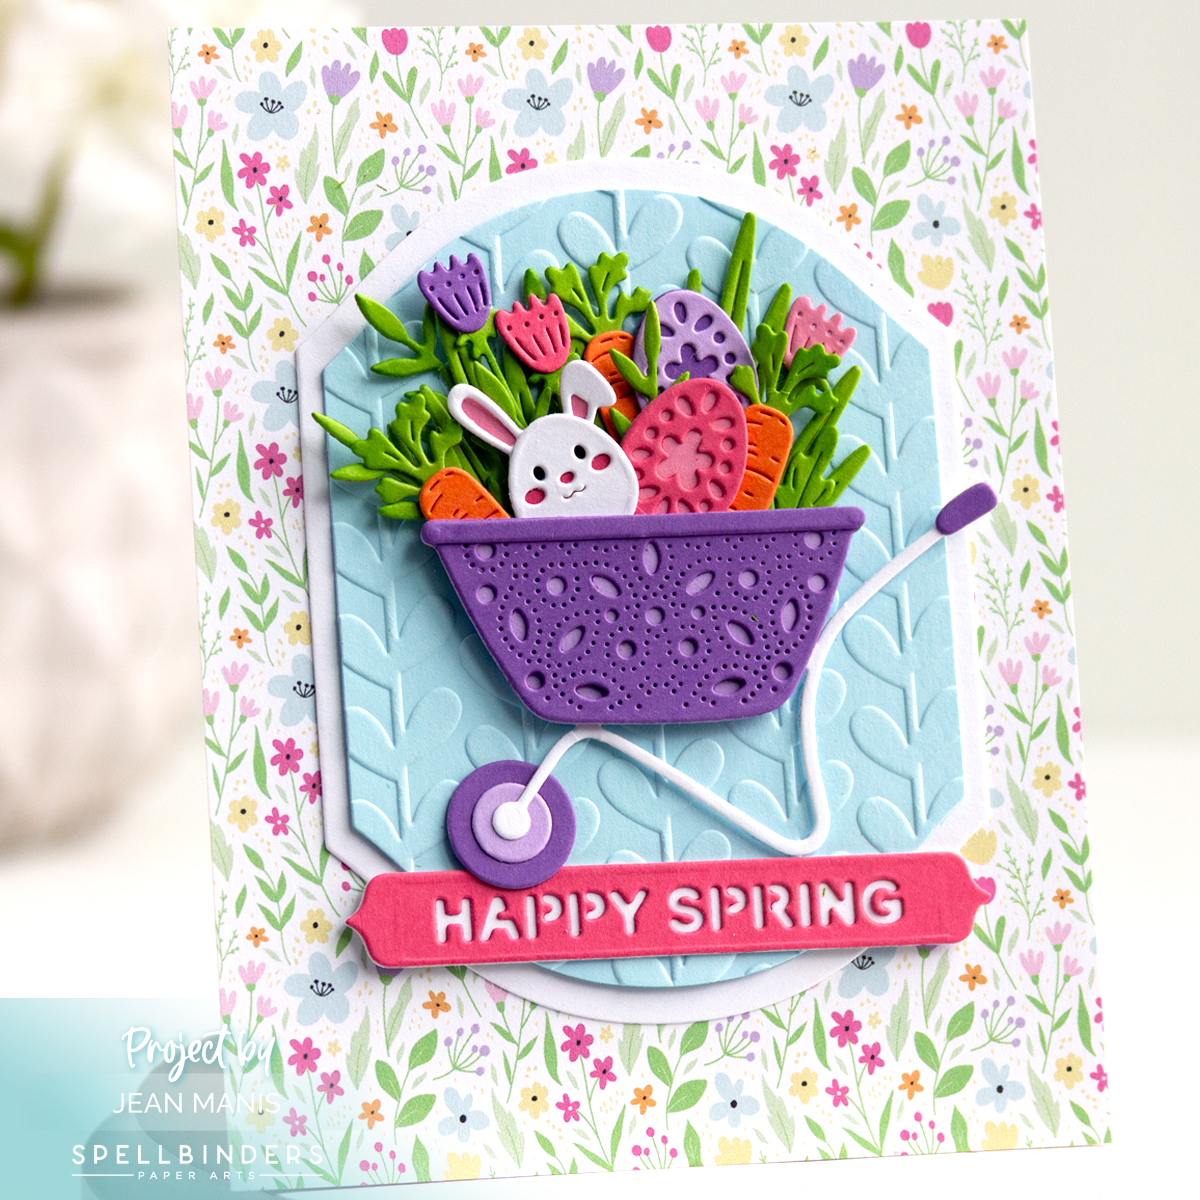
- Cover an A2-size card base with Mom’s Kitchen patterned paper.
- Cut Mint cardstock with the largest die in the Mirrored Arch Labels set and dry-emboss with the Confection Companions folder.
- With the Made With Love dies, cut the apron, potholders, cookie, and sentiment from cardstock and assemble.
- Add to the prepared base.

This design would be perfect tucked into a plate of homemade cookies for a neighbor, added to a hostess gift, or slipped into a care package for a college student who misses home. The sentiment also makes it a thoughtful Valentine for a husband, friend, granddaughter, or anyone who connects love with time spent in the kitchen.