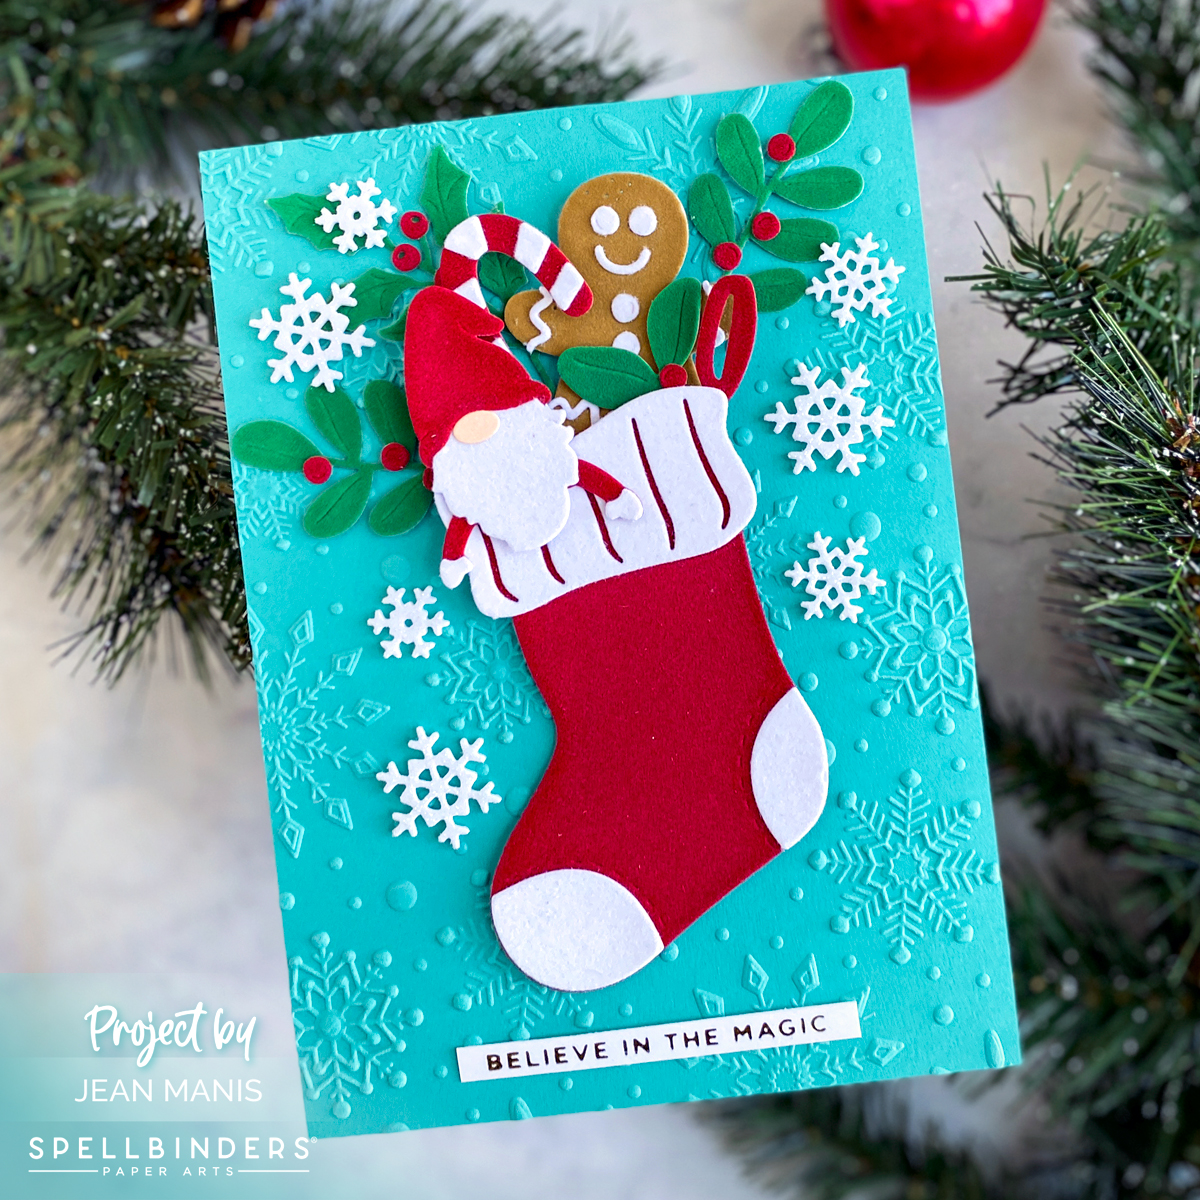
Hello! I am thrilled to share a delightful Christmas card featuring the July 2023 Spellbinders Large Die of the Month set – “Stocking Full of Joy.” A stocking symbolizes the anticipation and excitement of receiving gifts and the warmth of festive traditions. Expect to see a number of “Christmas in July” projects this month.
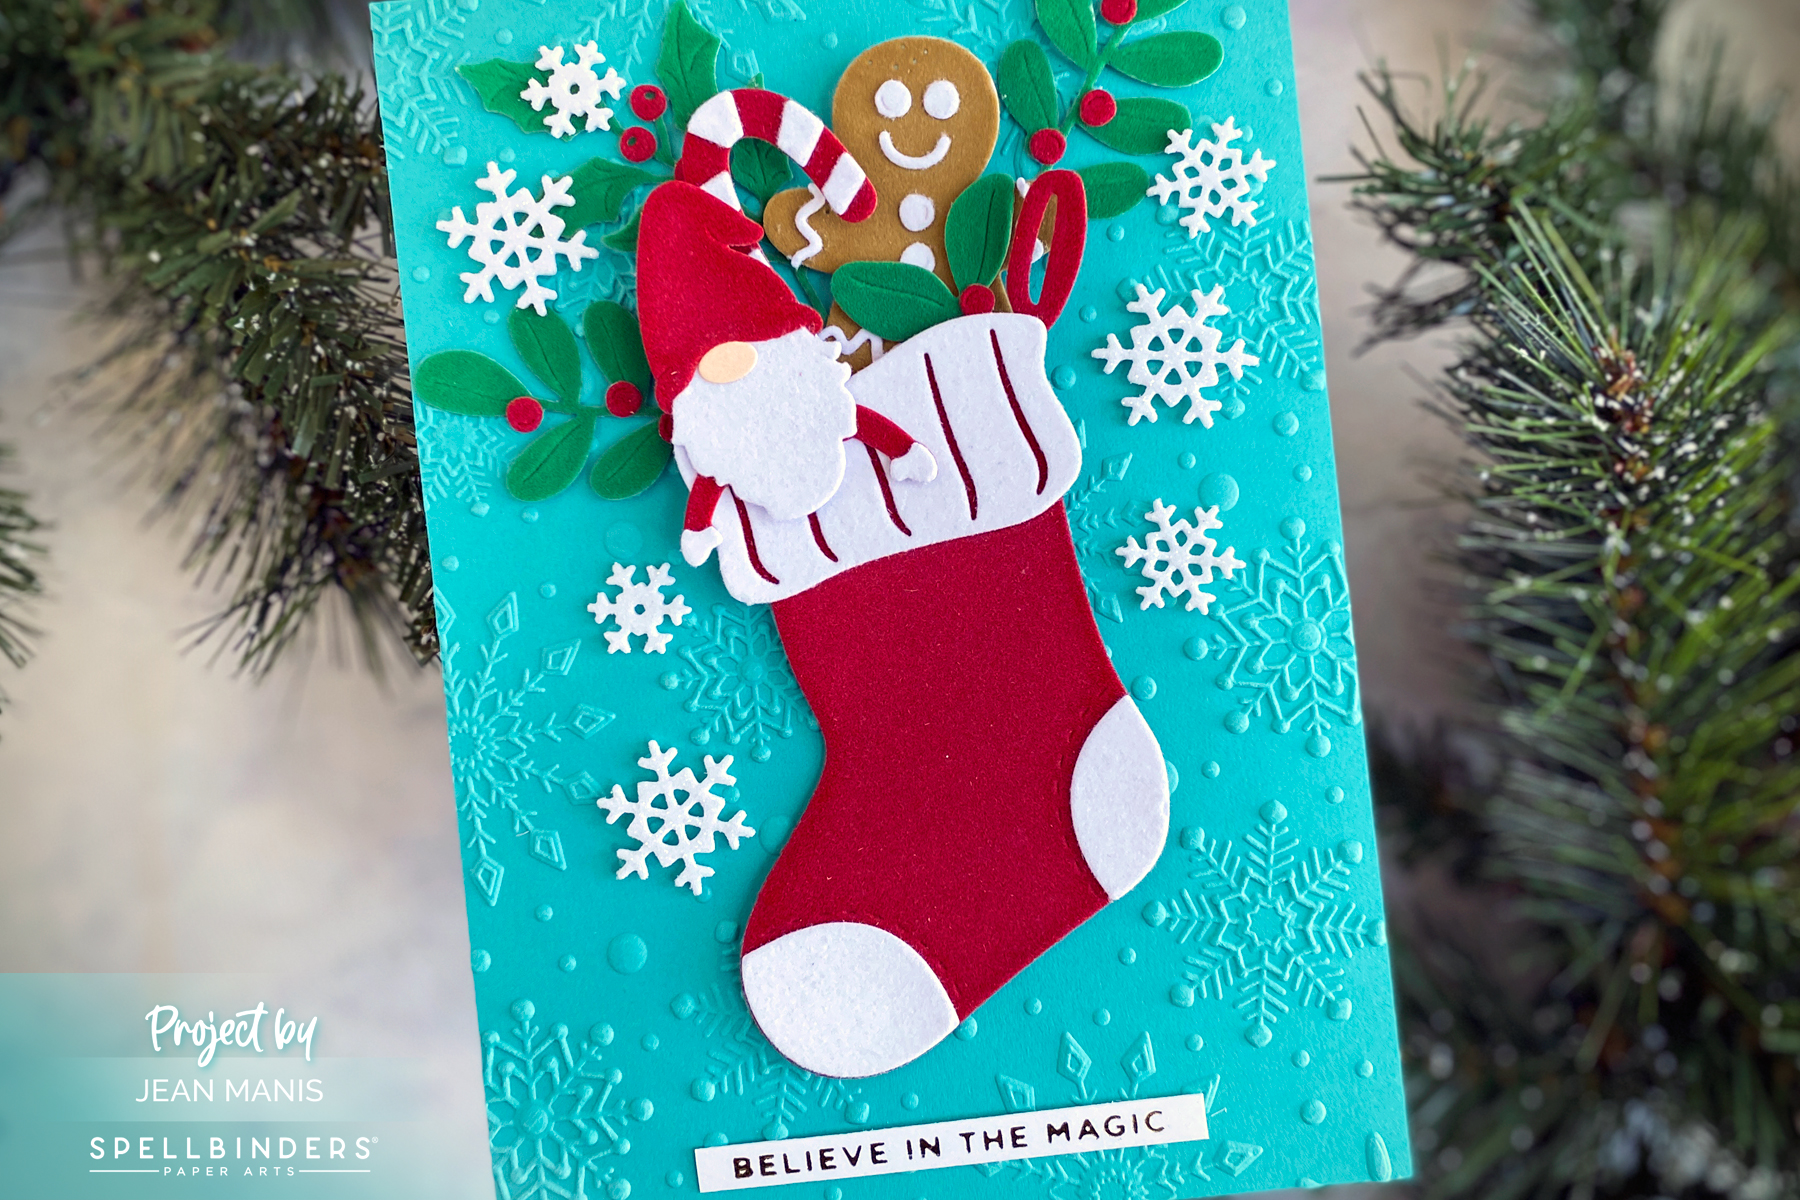

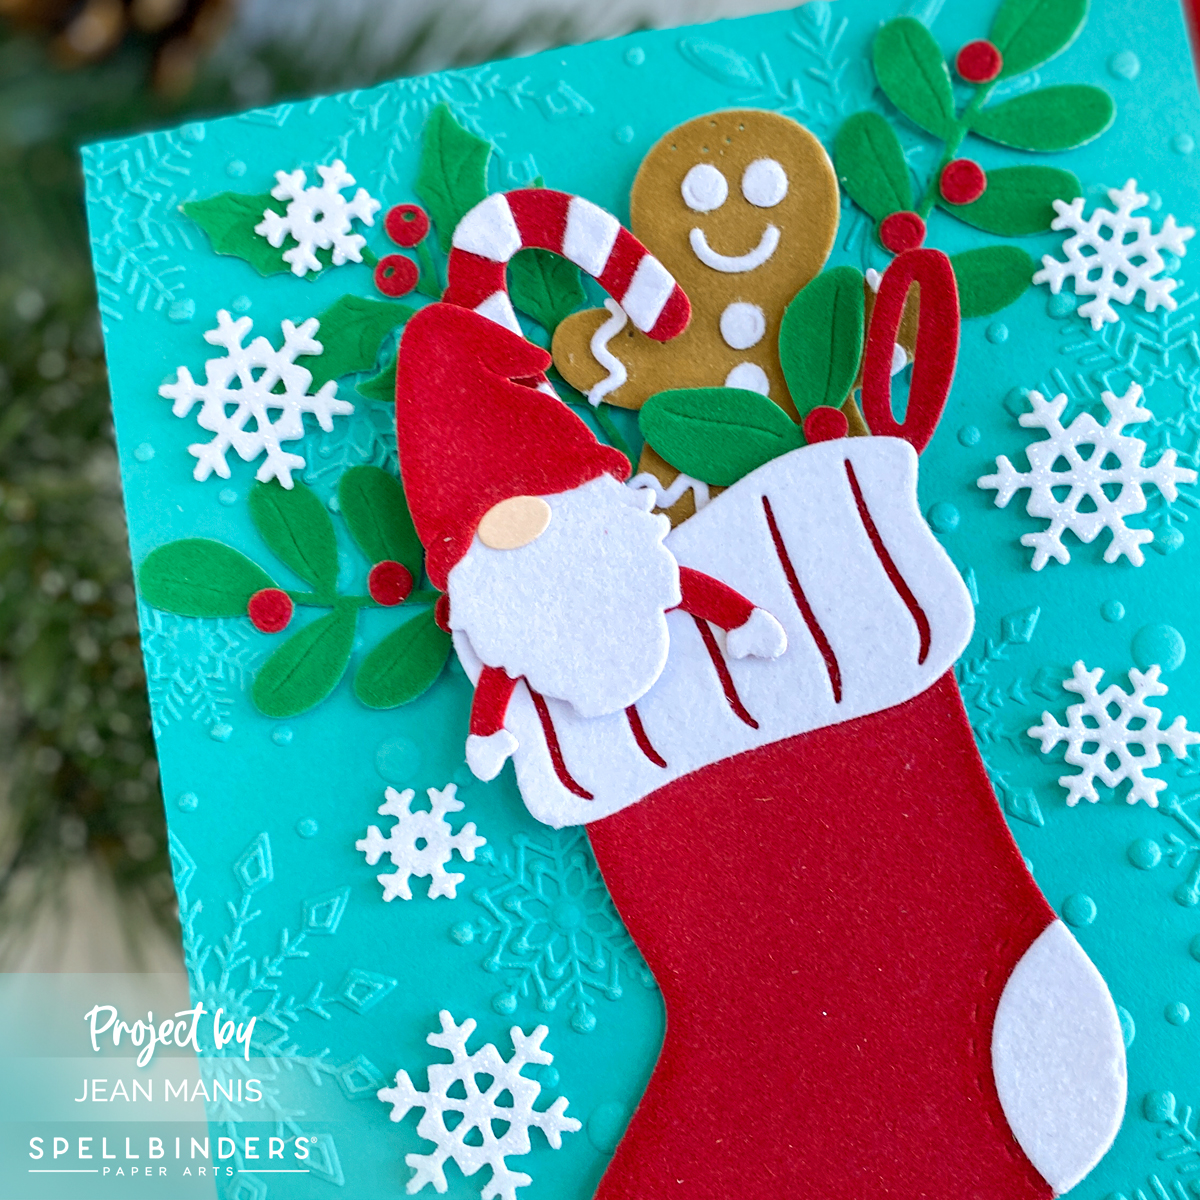
With this versatile die set, I cut the gingerbread person, a whimsical gnome, festive greenery, and a peppermint stick. To add texture and visual appeal, I used a range of materials including brushed white cardstock.
The assembled pieces were arranged on a dry-embossed background, measuring 5 x 7 inches, created from Teal Topaz cardstock with the Flurry of Snowflakes 3D folder. Note: the stocking does fit on an A2-size card base.
Adding a touch of elegance, I glimmer foiled the sentiment – “Believe in the Magic” – in gold.
To complete the card and reinforce the magical theme, I embellished with snowflakes cut from white glitter foam.
Find more inspiration HERE.