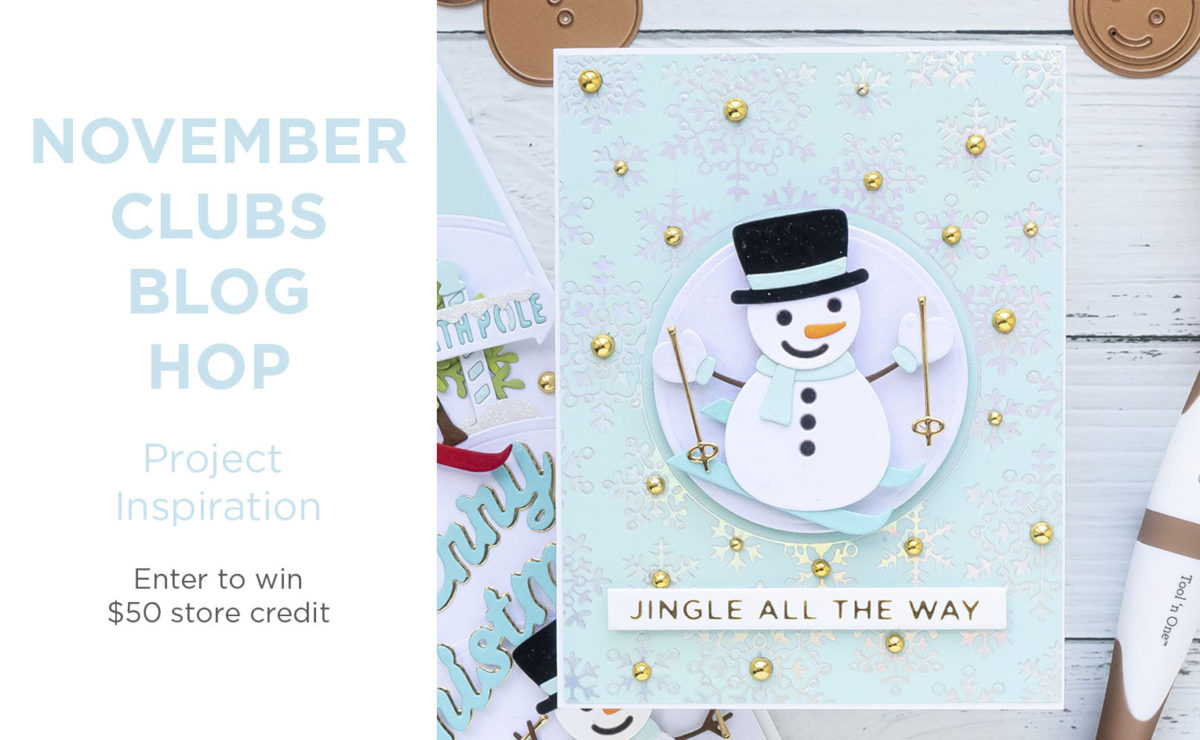
Hello! I am delighted to be participating in a blog hop sharing projects created with the Spellbinders November 2020 Club Subscriptions. You should have reached me from the blog of Virginia Lu. (The entire list of participants is included at the end of my post.) For the hop, I created a gift card holder showcasing the November Small Die of the Month kit from Spellbinders – “Frankie Goes to the North Pole.” (I previously shared cards created with the November Small Die of the Month set in this post. I shared gift card projects using the the Festive Wreaths Slider Card die set here.)
To celebrate this release, Spellbinders is giving away a $50 gift certificate to five lucky blog readers, selected from the comments on the Spellbinders blog. Giveaway closes on Sunday, November 15, 11:59 pm EDT. The winner will be announced in the blog hop post the following Tuesday. The winner is responsible for shipping cost, duties and taxes. Please note, store credit (gift certificate) cannot be applied to Club Subscriptions. Store credit can be applied to shop past Club products, Club extras and regular releases.
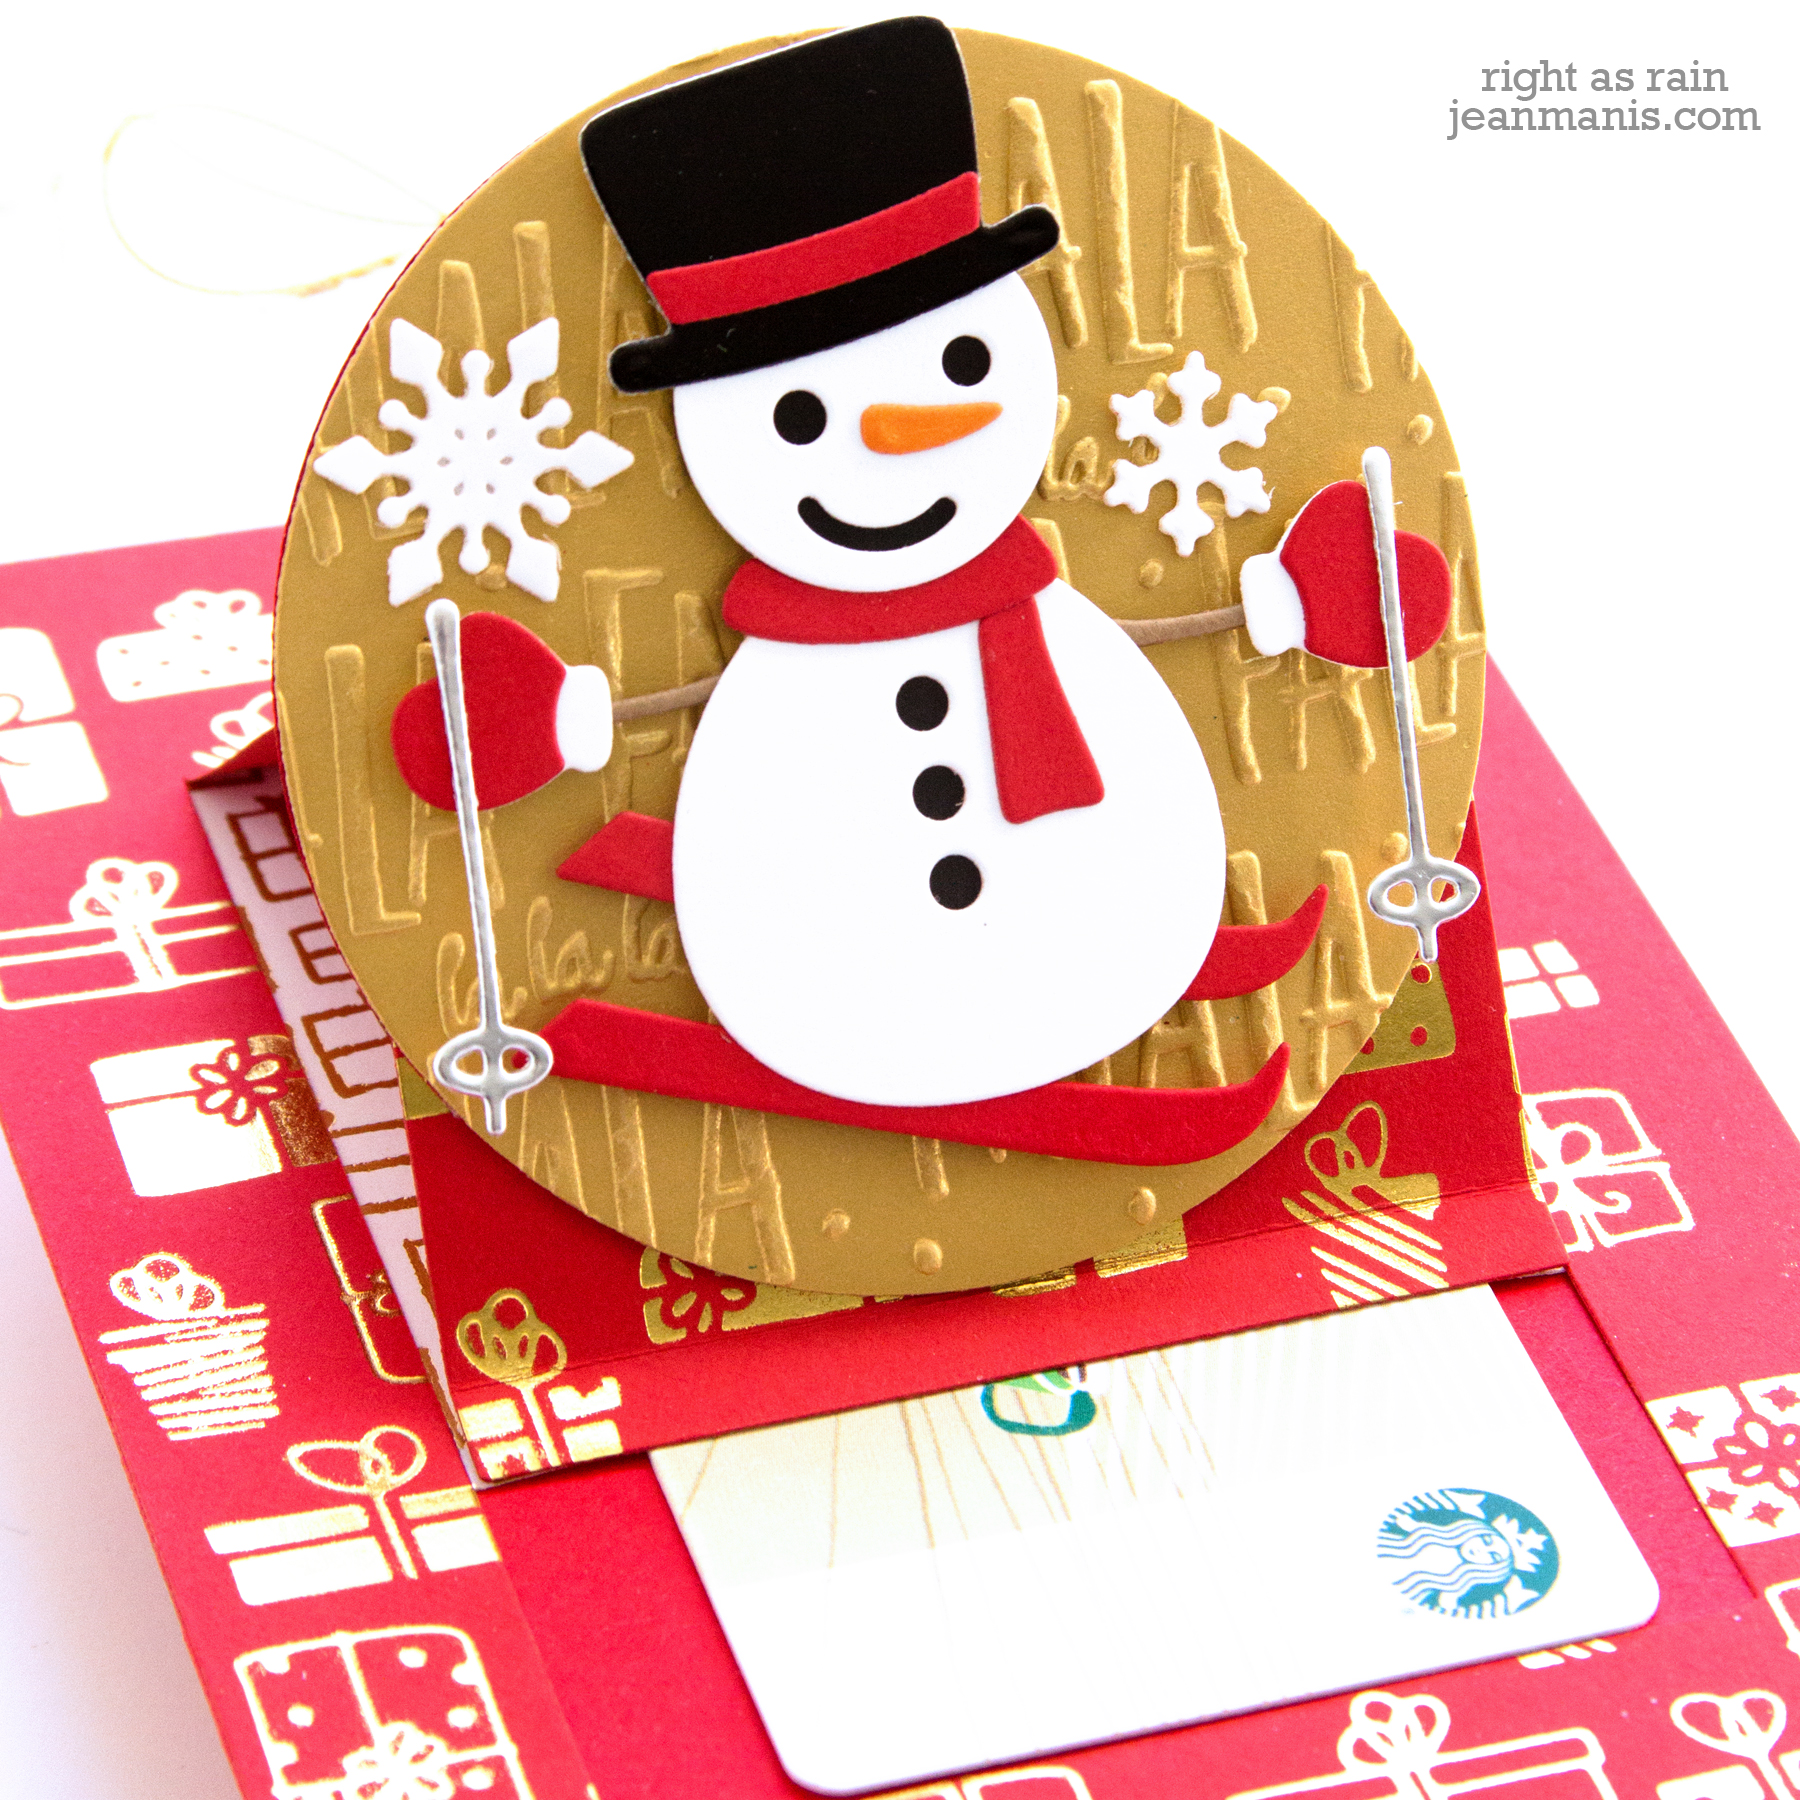
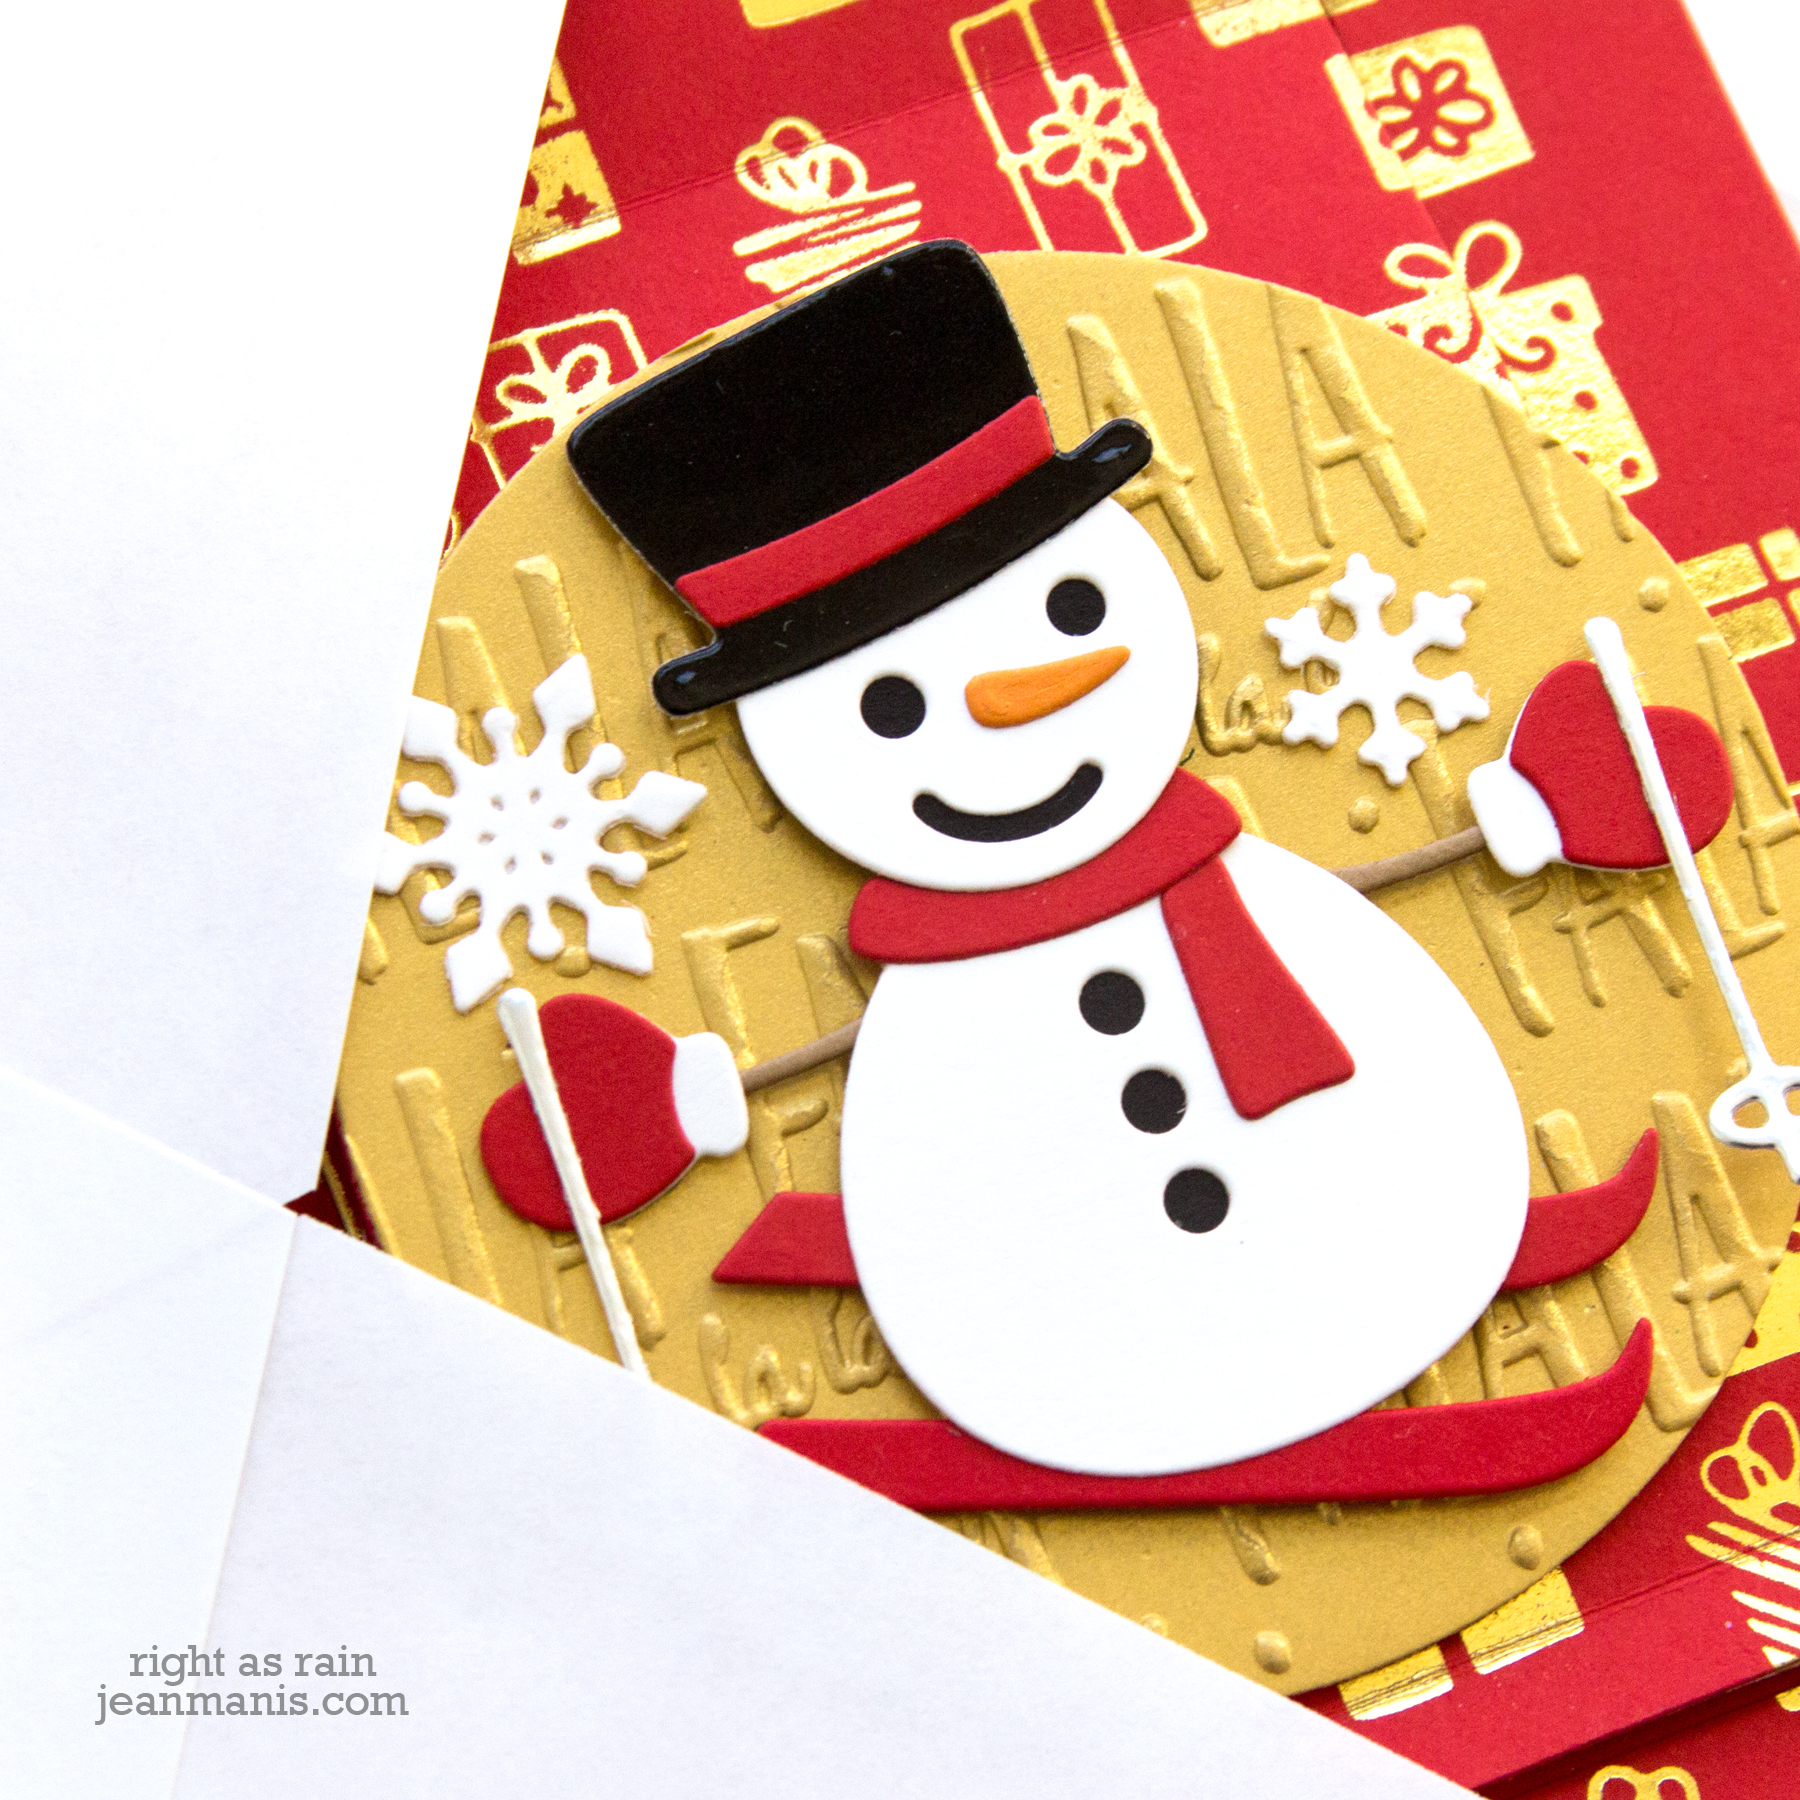
- To begin I die-cut and assembled Frankie. I set him aside.
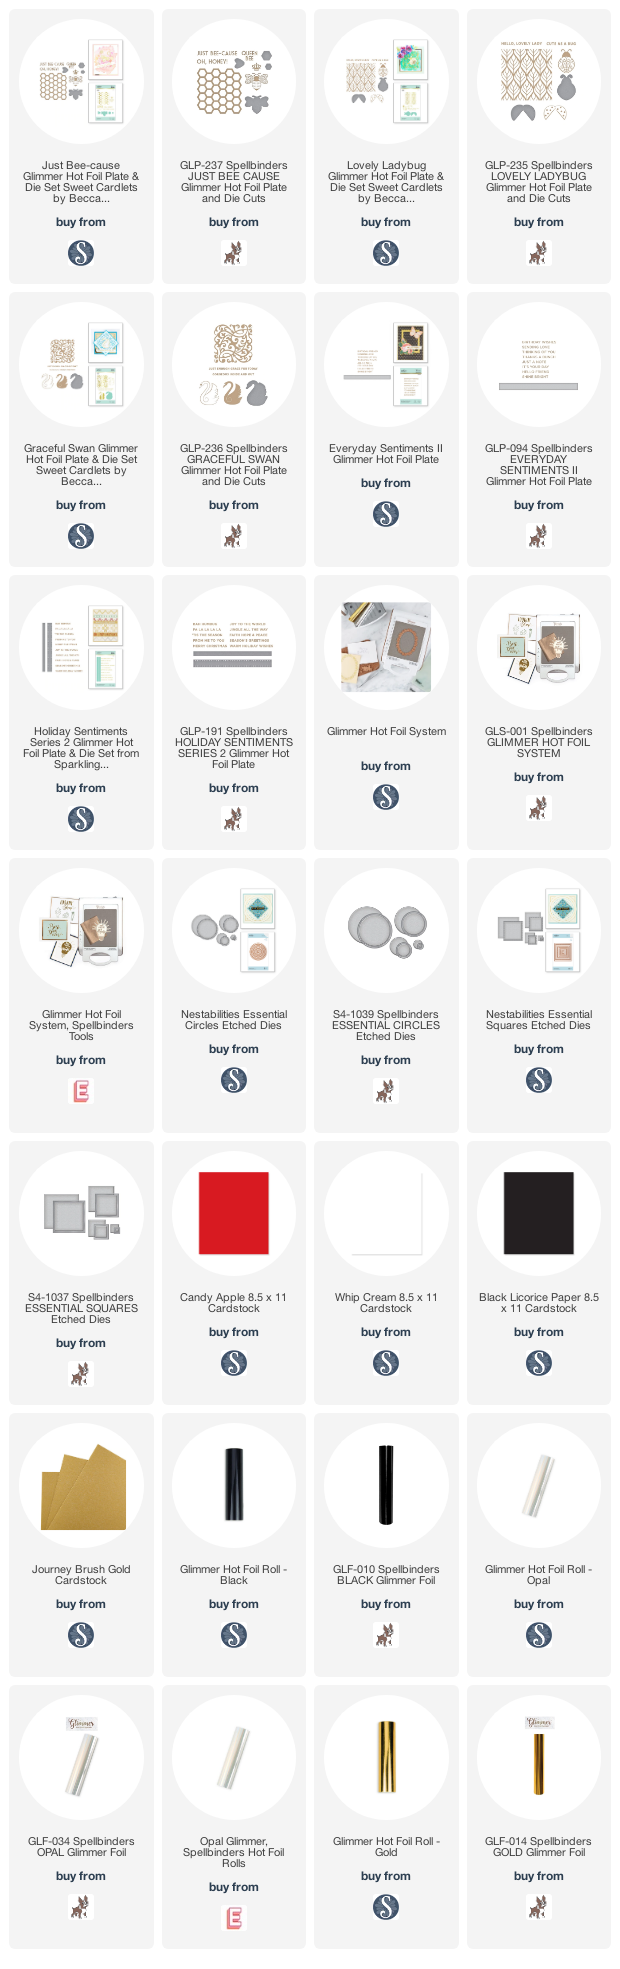
- I glimmer foiled the Glimmer Gift Border in Gold on Candy Apple cardstock. I foiled the entire plate on the left-hand side of the cardstock. I then moved the plate down to foil the bottom-right side and finally moved the plate up to foil the upper-right side. In doing so I created more of a random background than had I simply glimmer foiled the full image on the right-hand side.
- I cut the top of the Festive Wreaths Slider Card using the foiled cardstock. (By the way, the Festive Wreaths Slider Card die set is one of the products in the Spellbinders BOGO sale!)
- I created the insert with patterned paper from a past Spellbinders kit. I backed the assembly with Candy Apple cardstock.
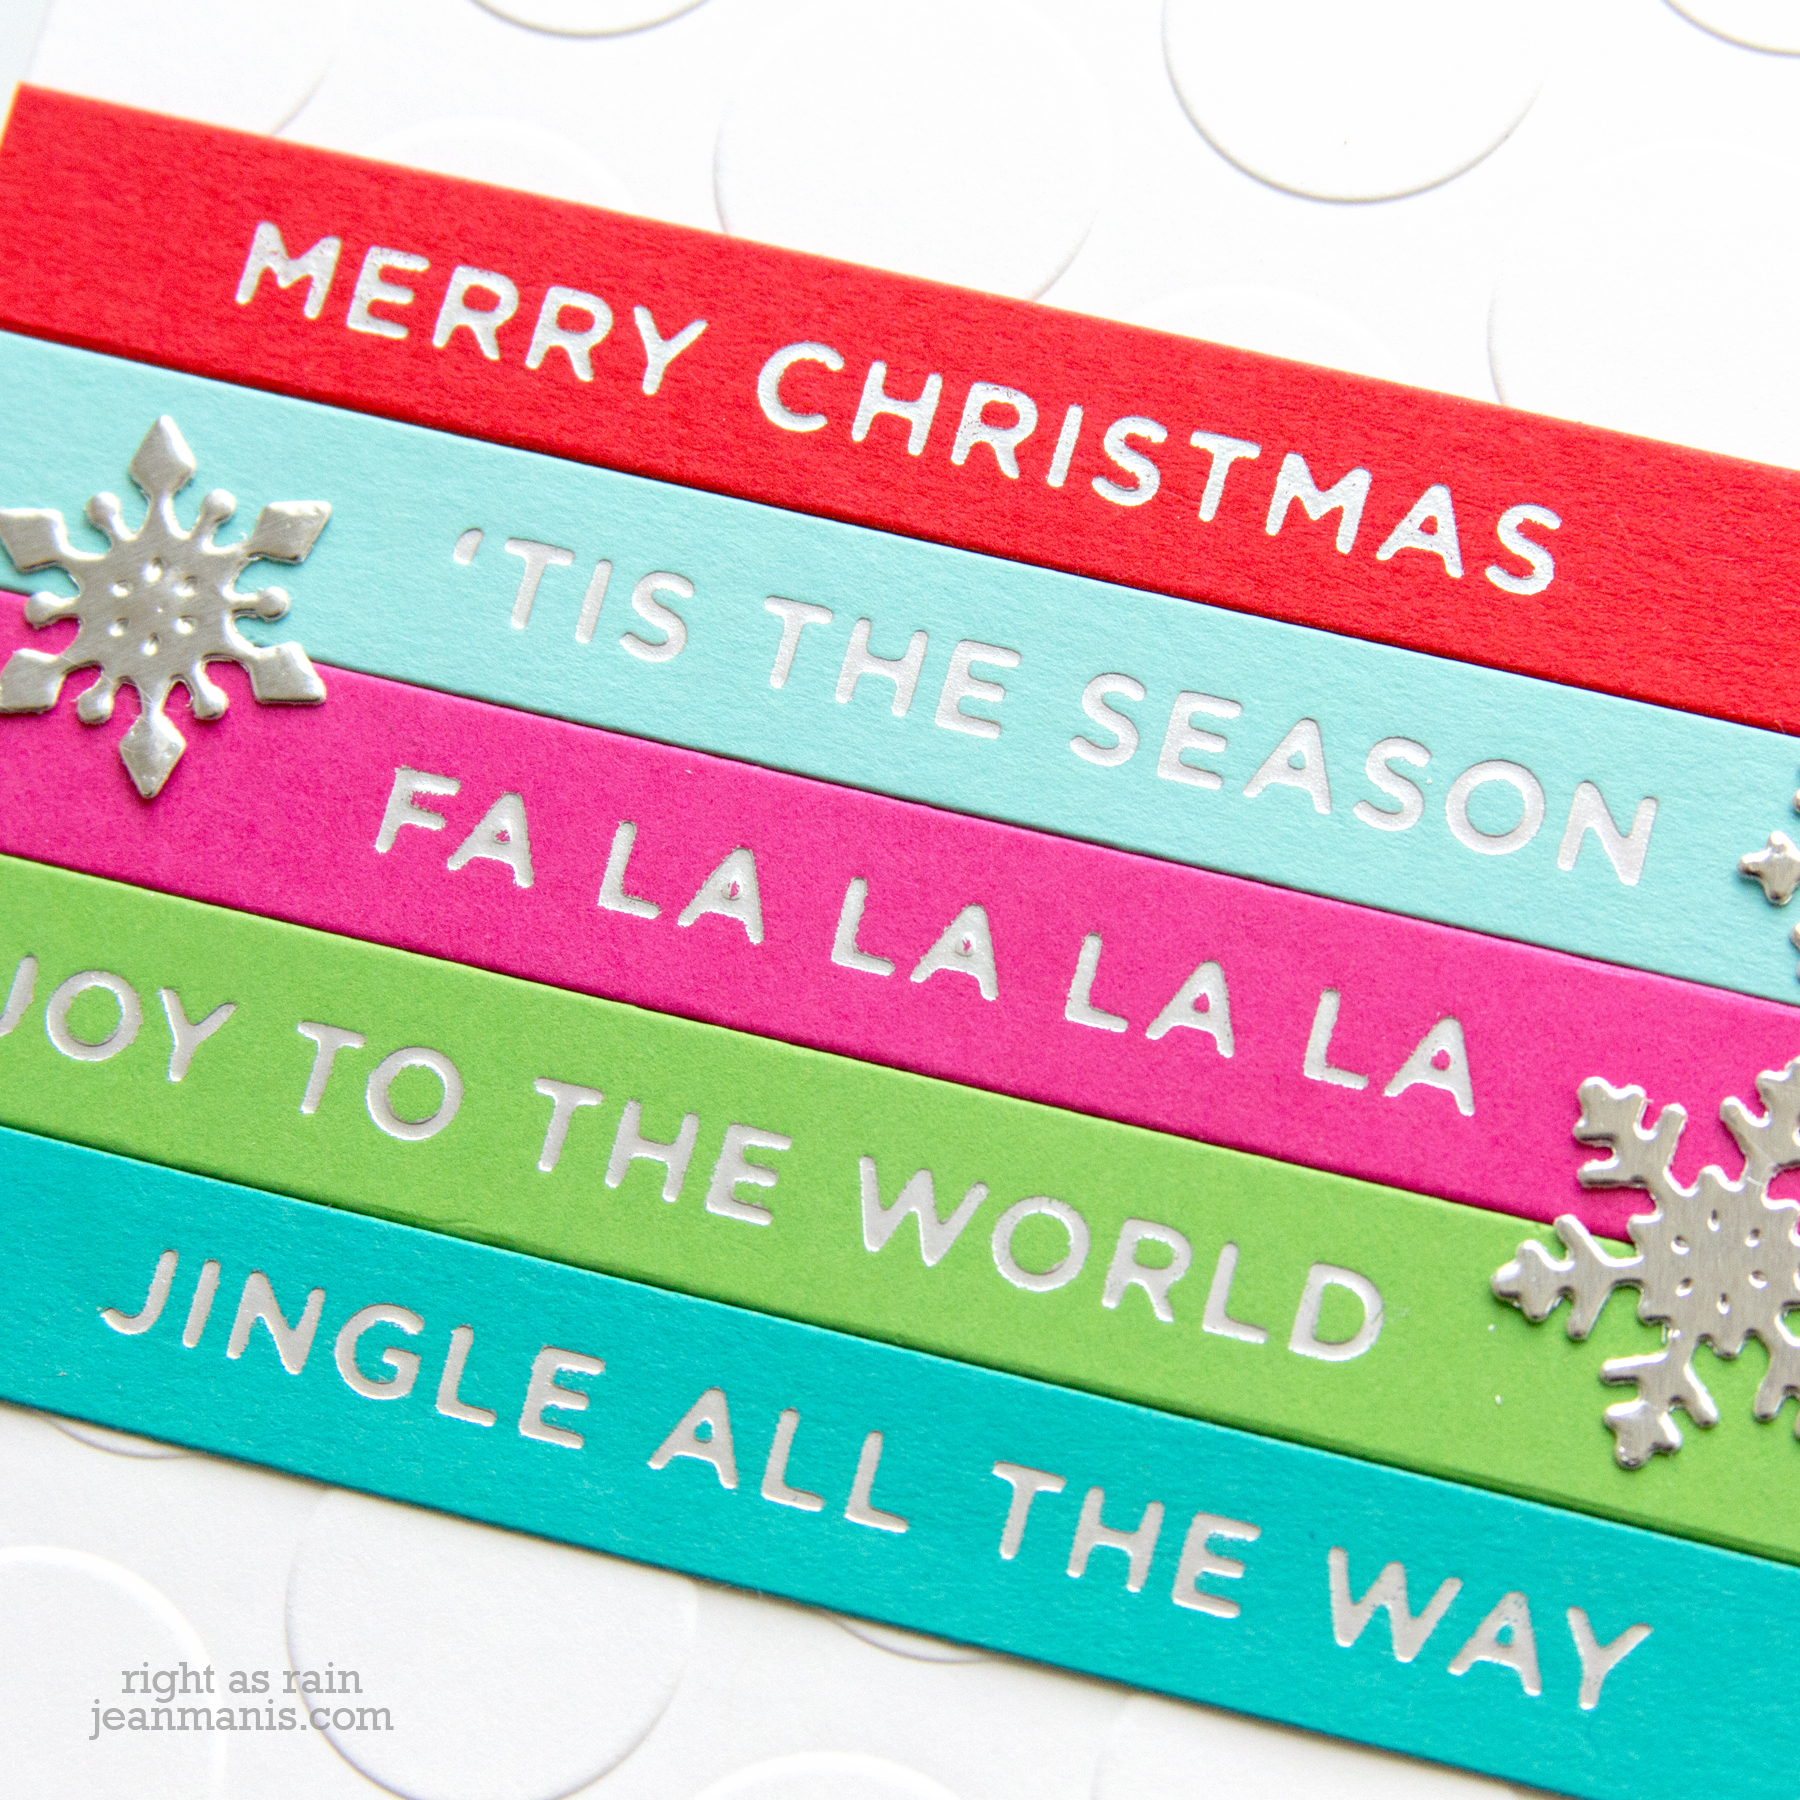
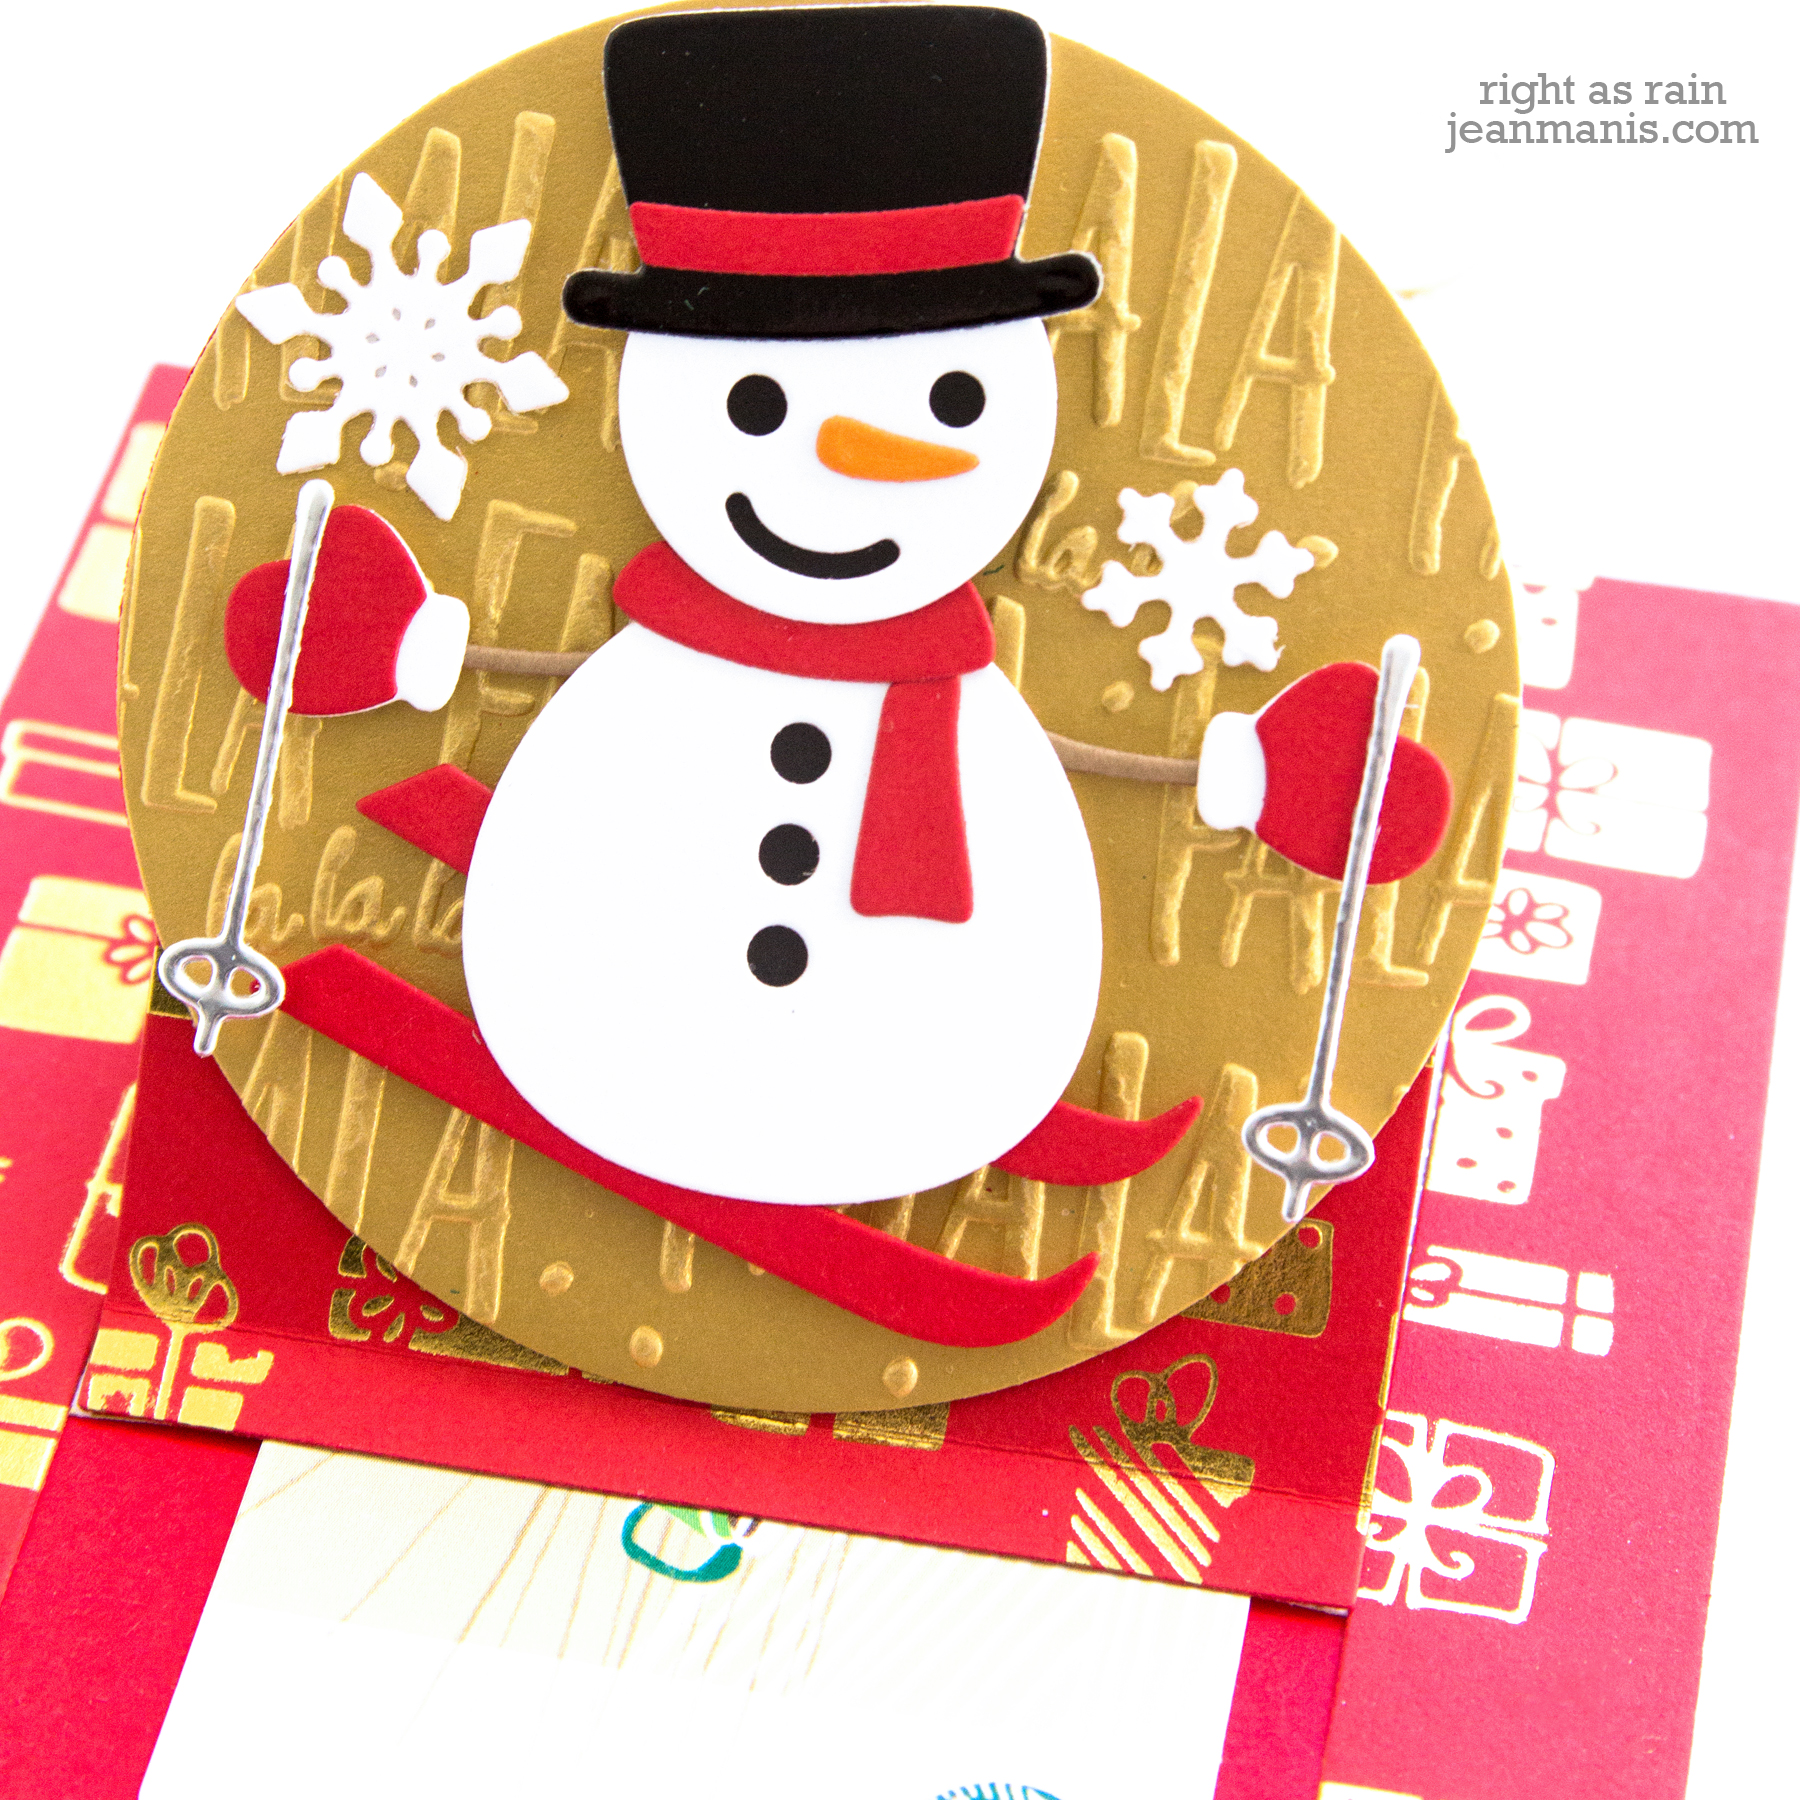
- To showcase the snowman, I cut a circle from Brush Gold cardstock and dry-embossed it with the Falala folder.
- I added Frankie, along with snowflakes cut with the Festive Wreaths Slider Card, to the dry-embossed circle and added the circle to the gift card assembly.
- Frankie is ready to be posted!
Head next to the blog of Marie Heiderscheit.

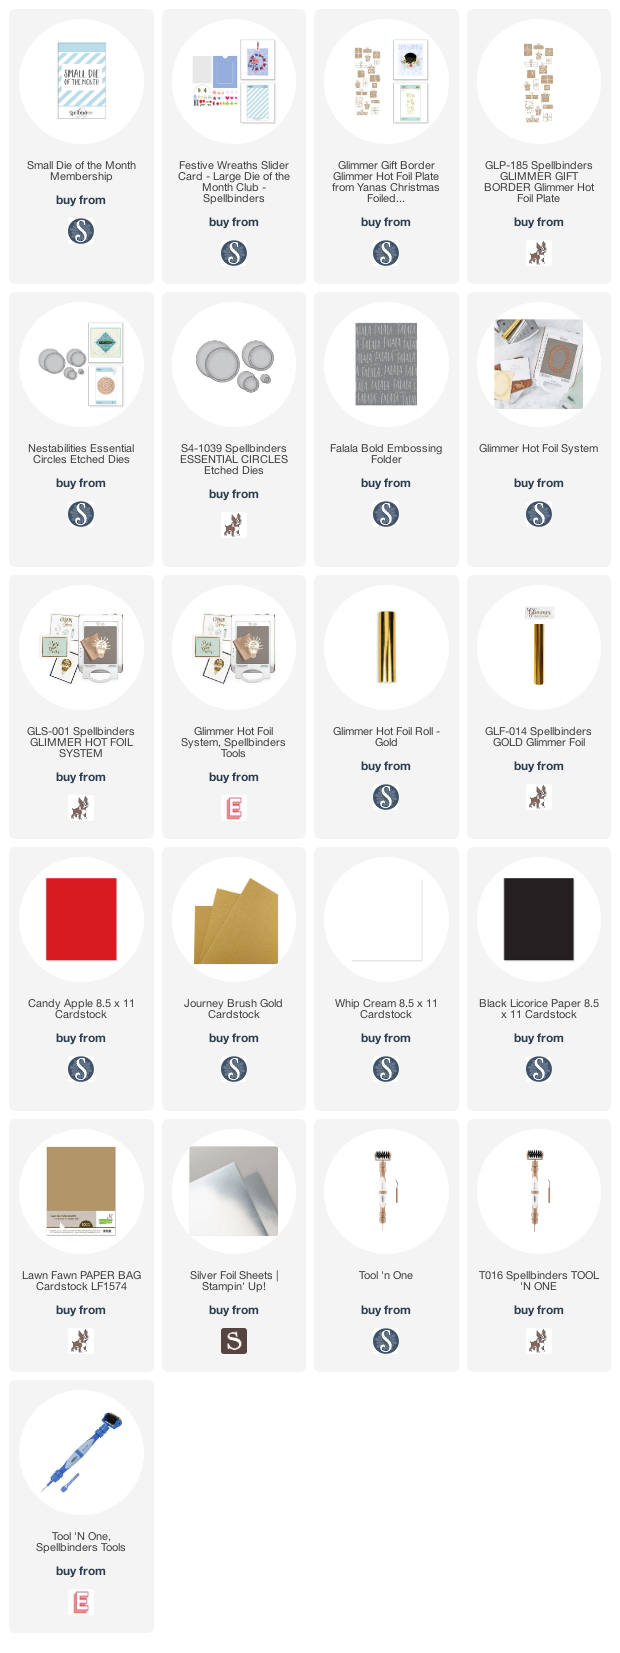
Supply List:
Blog Hop List:
Spellbinders Blog
Tina Smith
Carrie Rhoades
Bibi Cameron
Sandi MacIver
Jill Hilliard
Jennifer Snyder
Kathy Clement
Sandra Nagel
Virginia Lu
Jean Manis
Marie Heiderscheit
Joy Baldwin
Zsoka Marko
Ilina Crouse
Jenny Colacicco