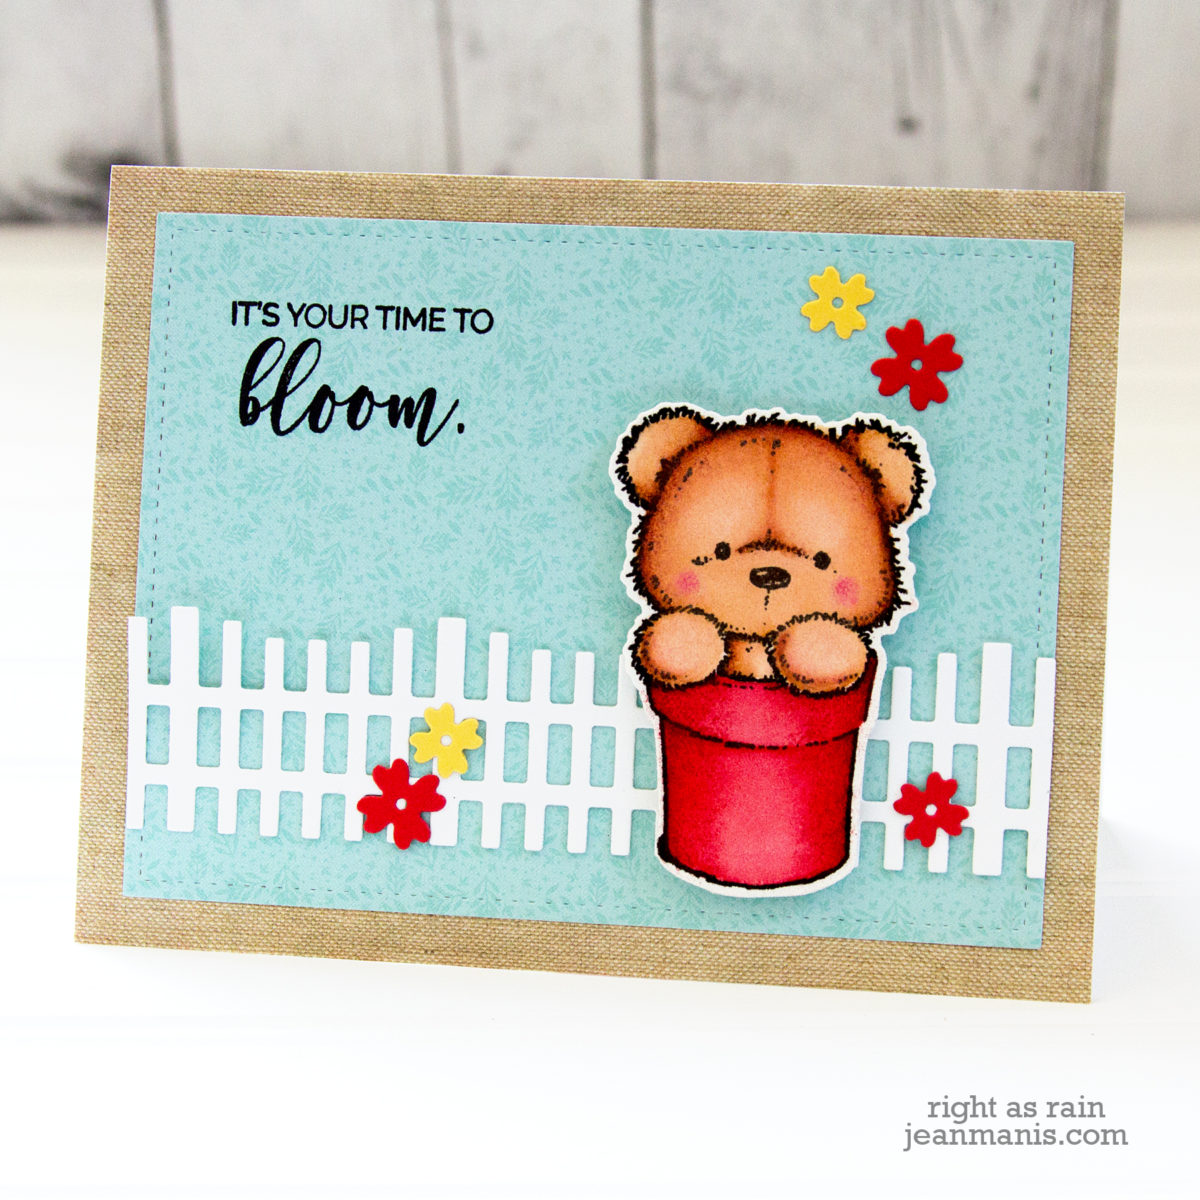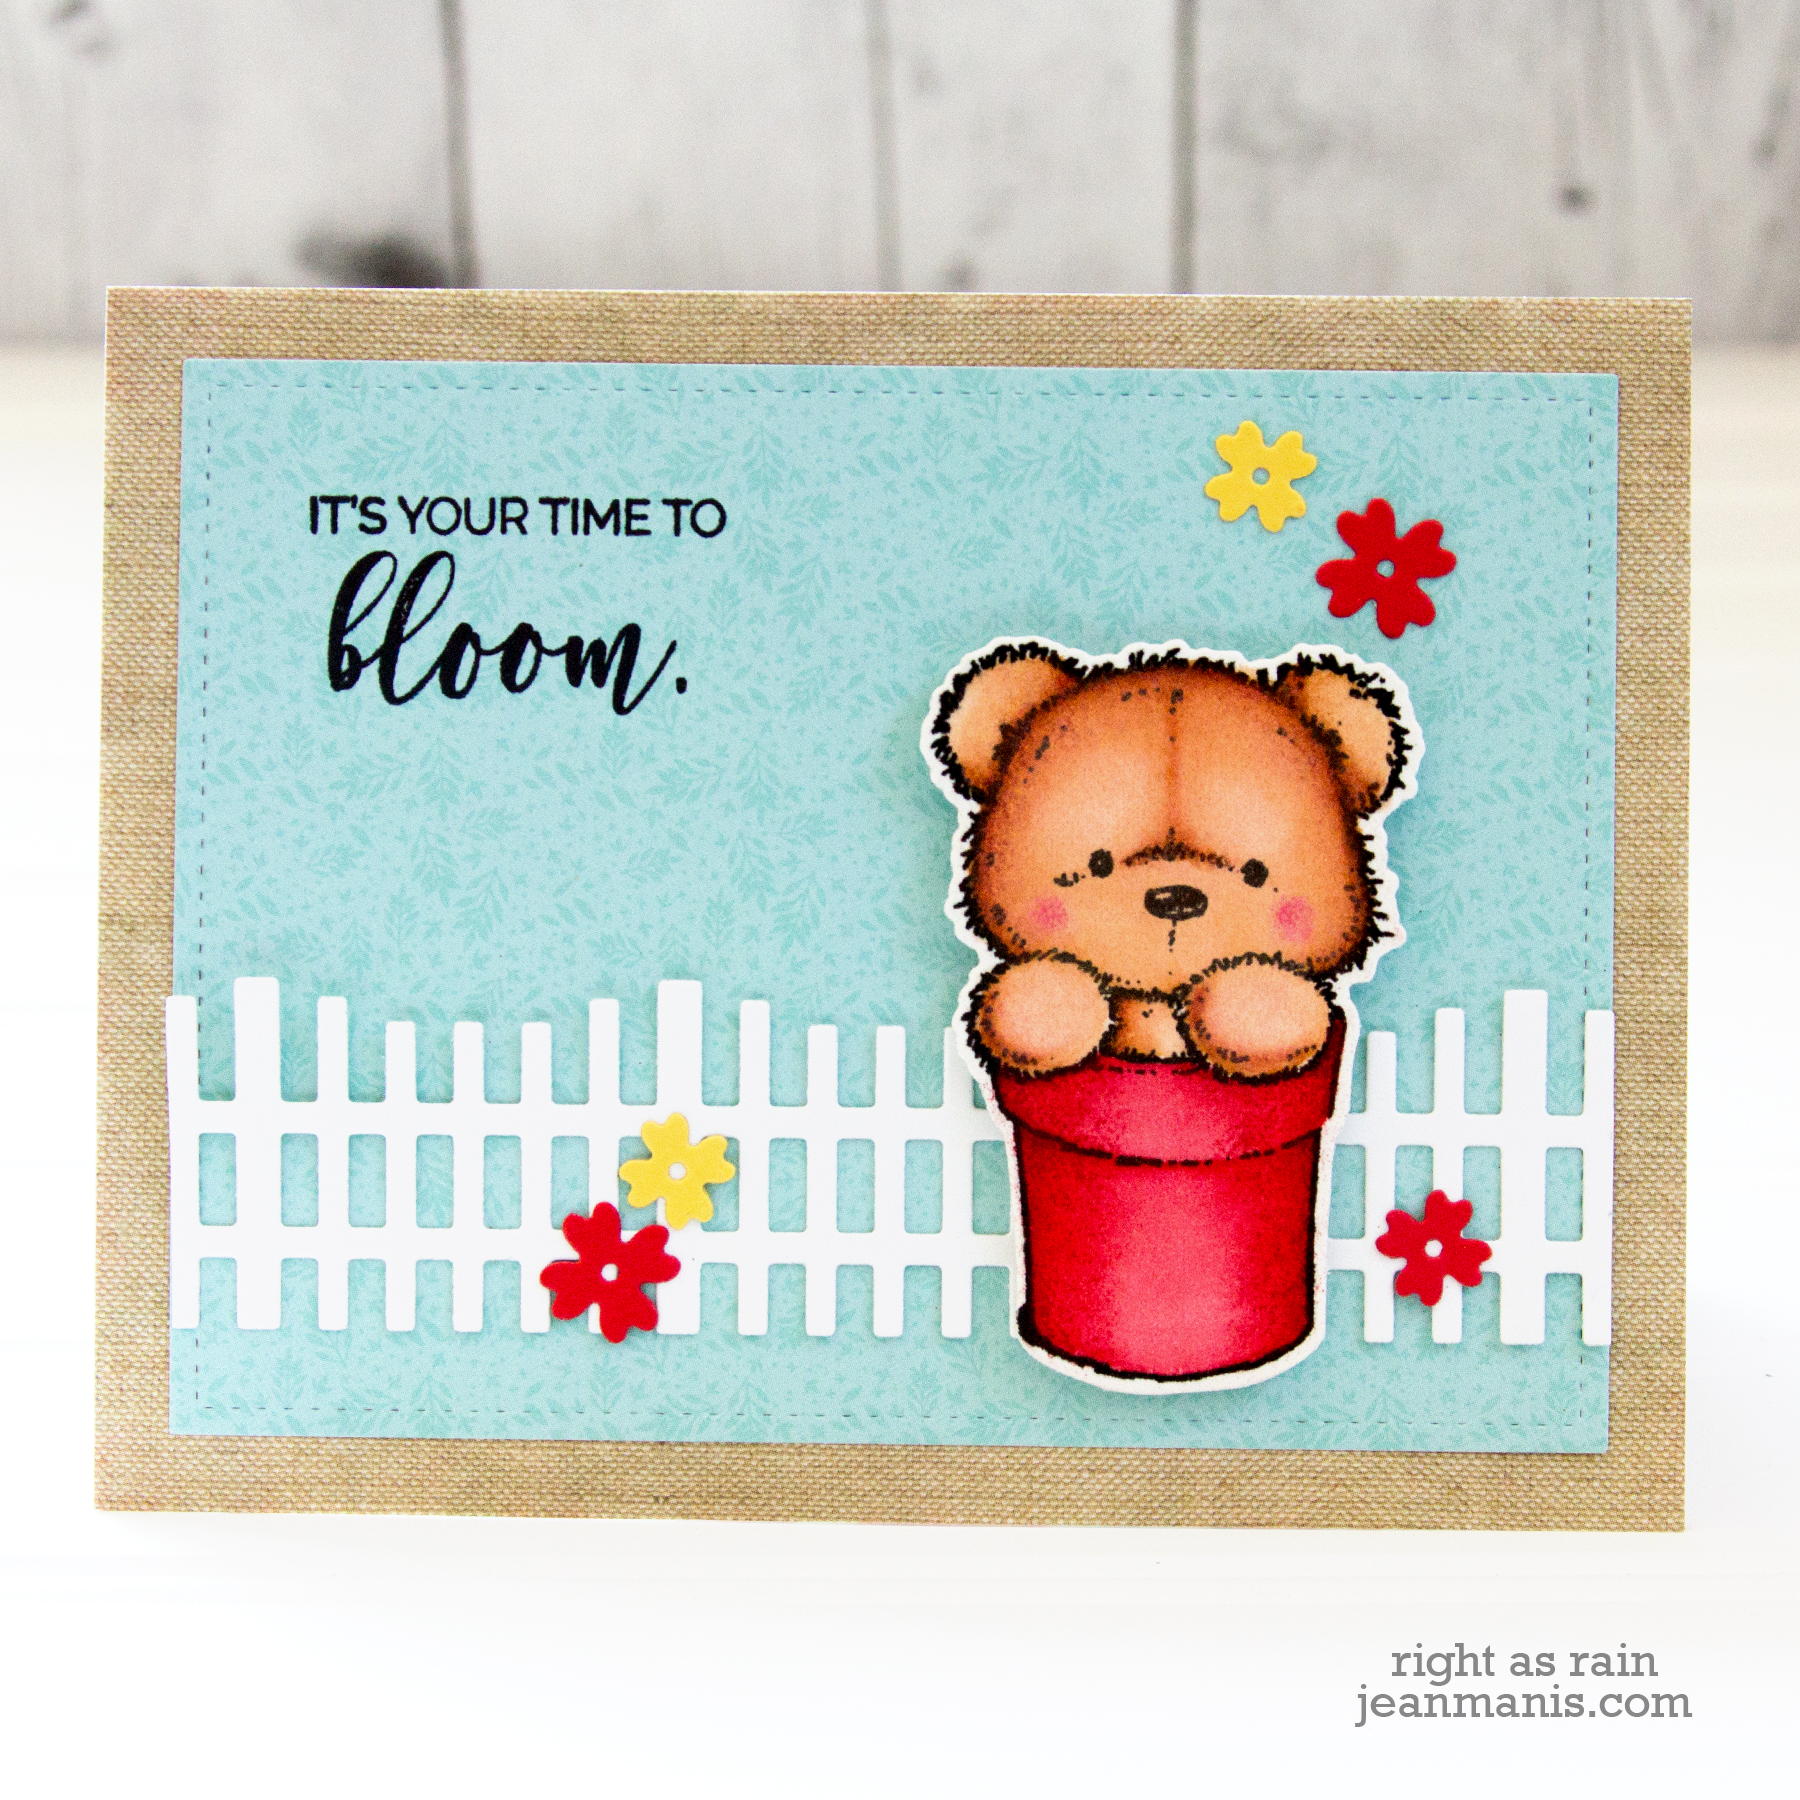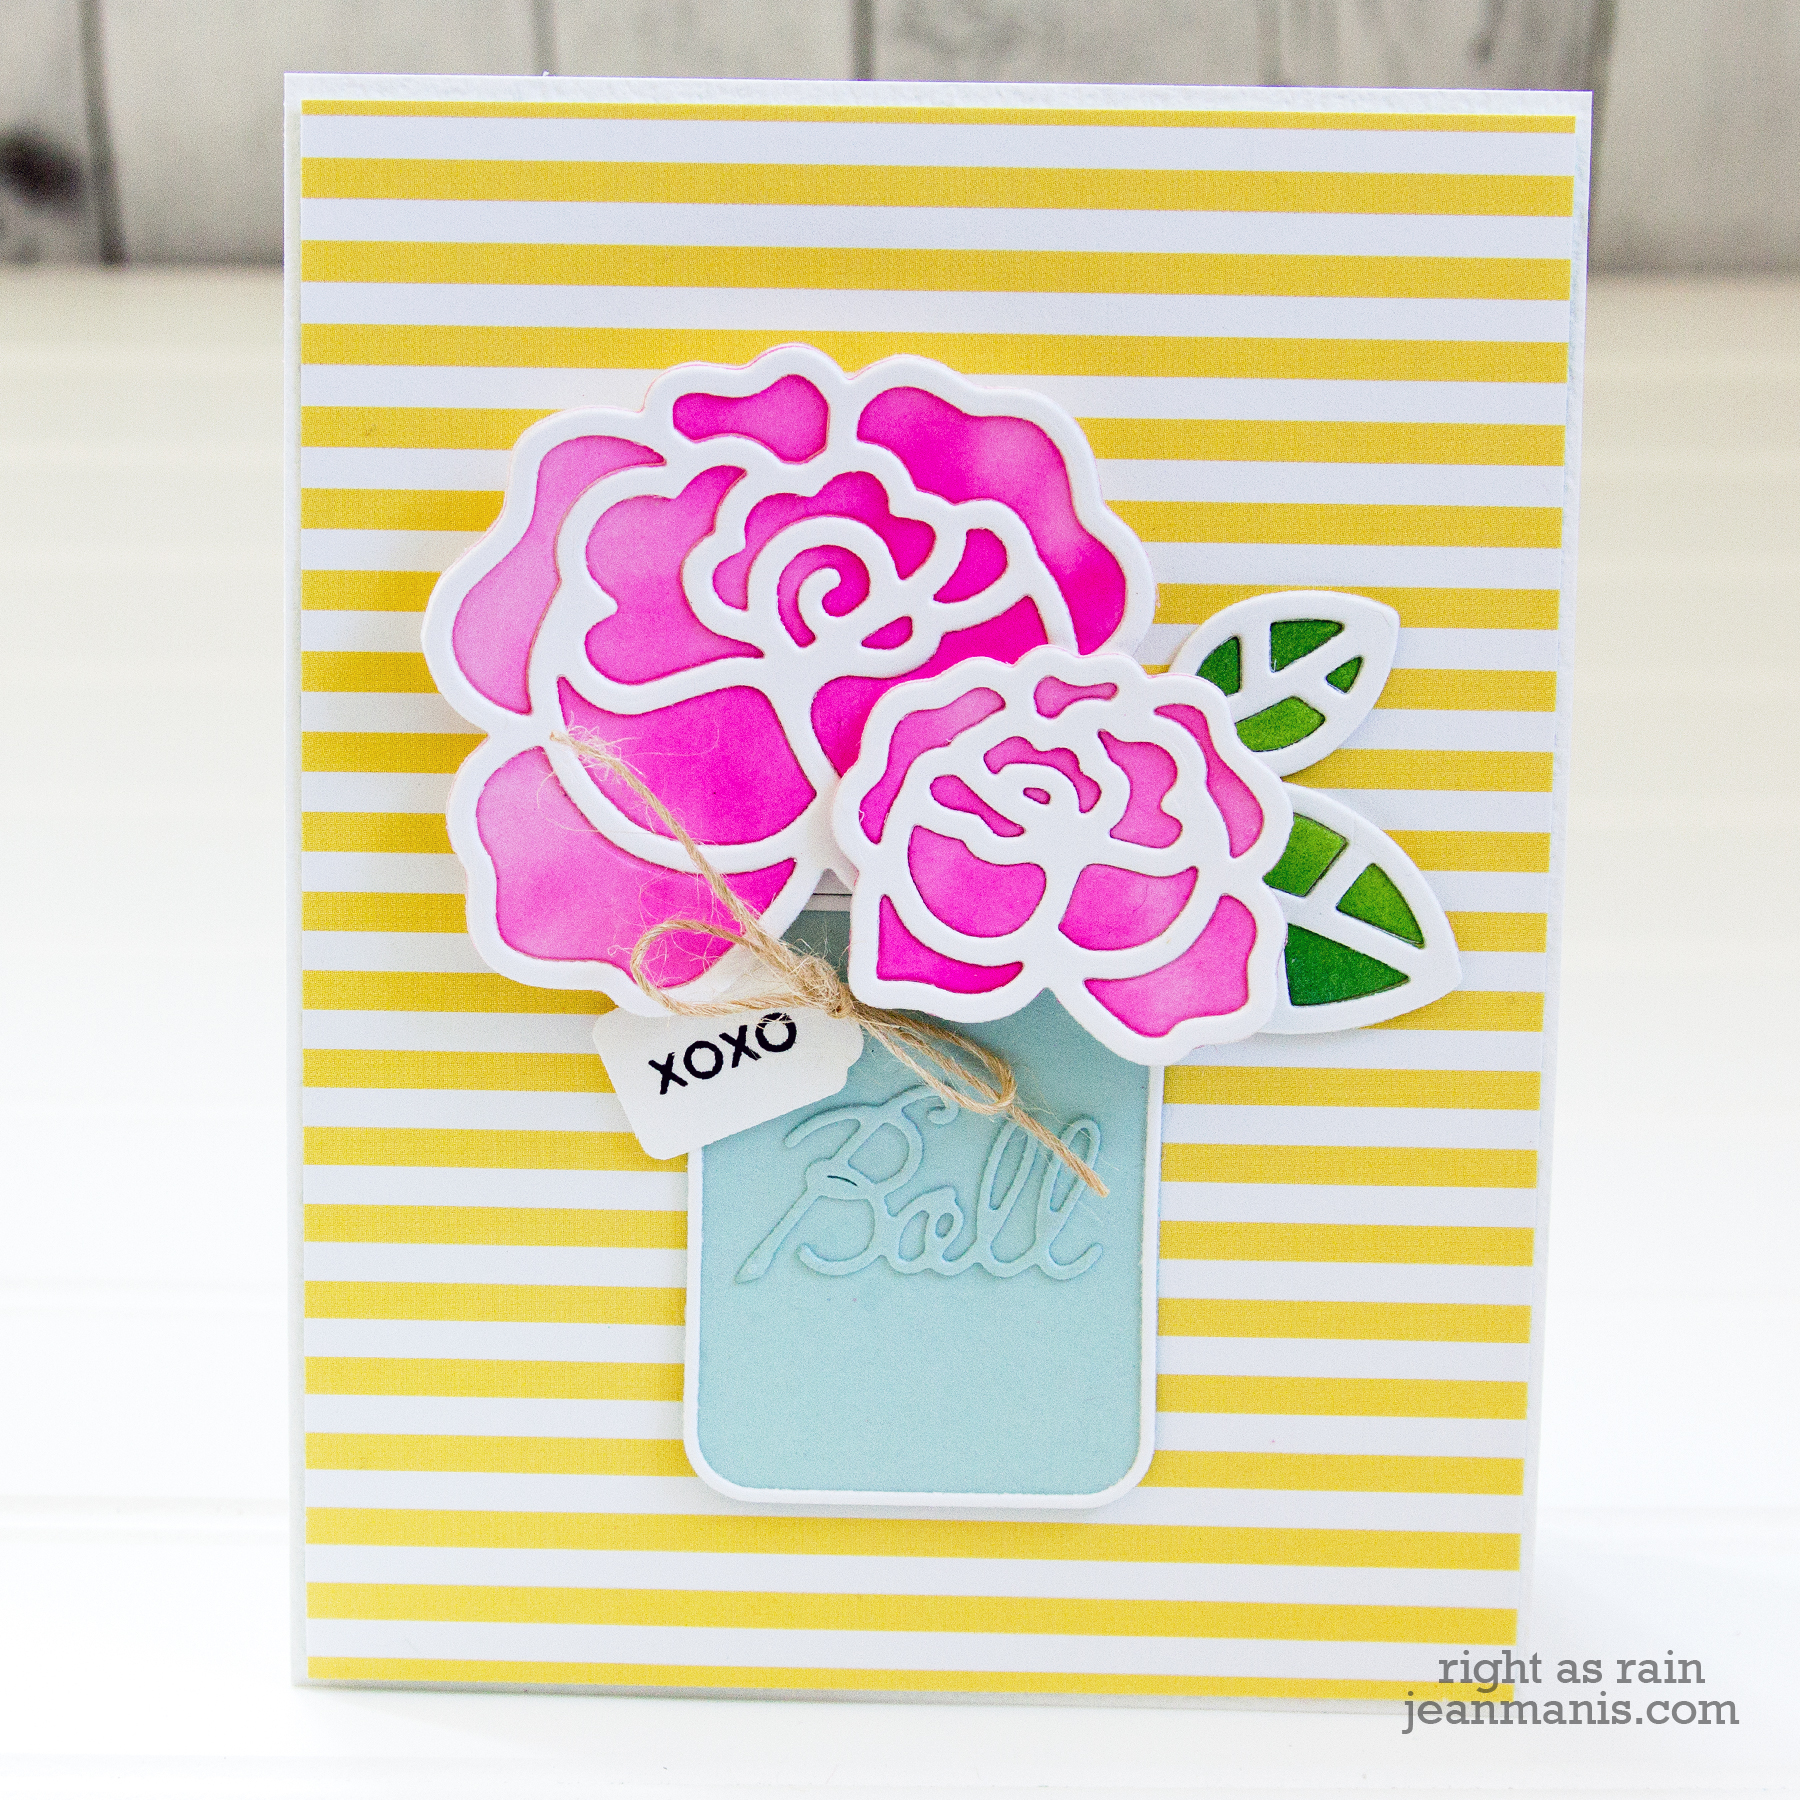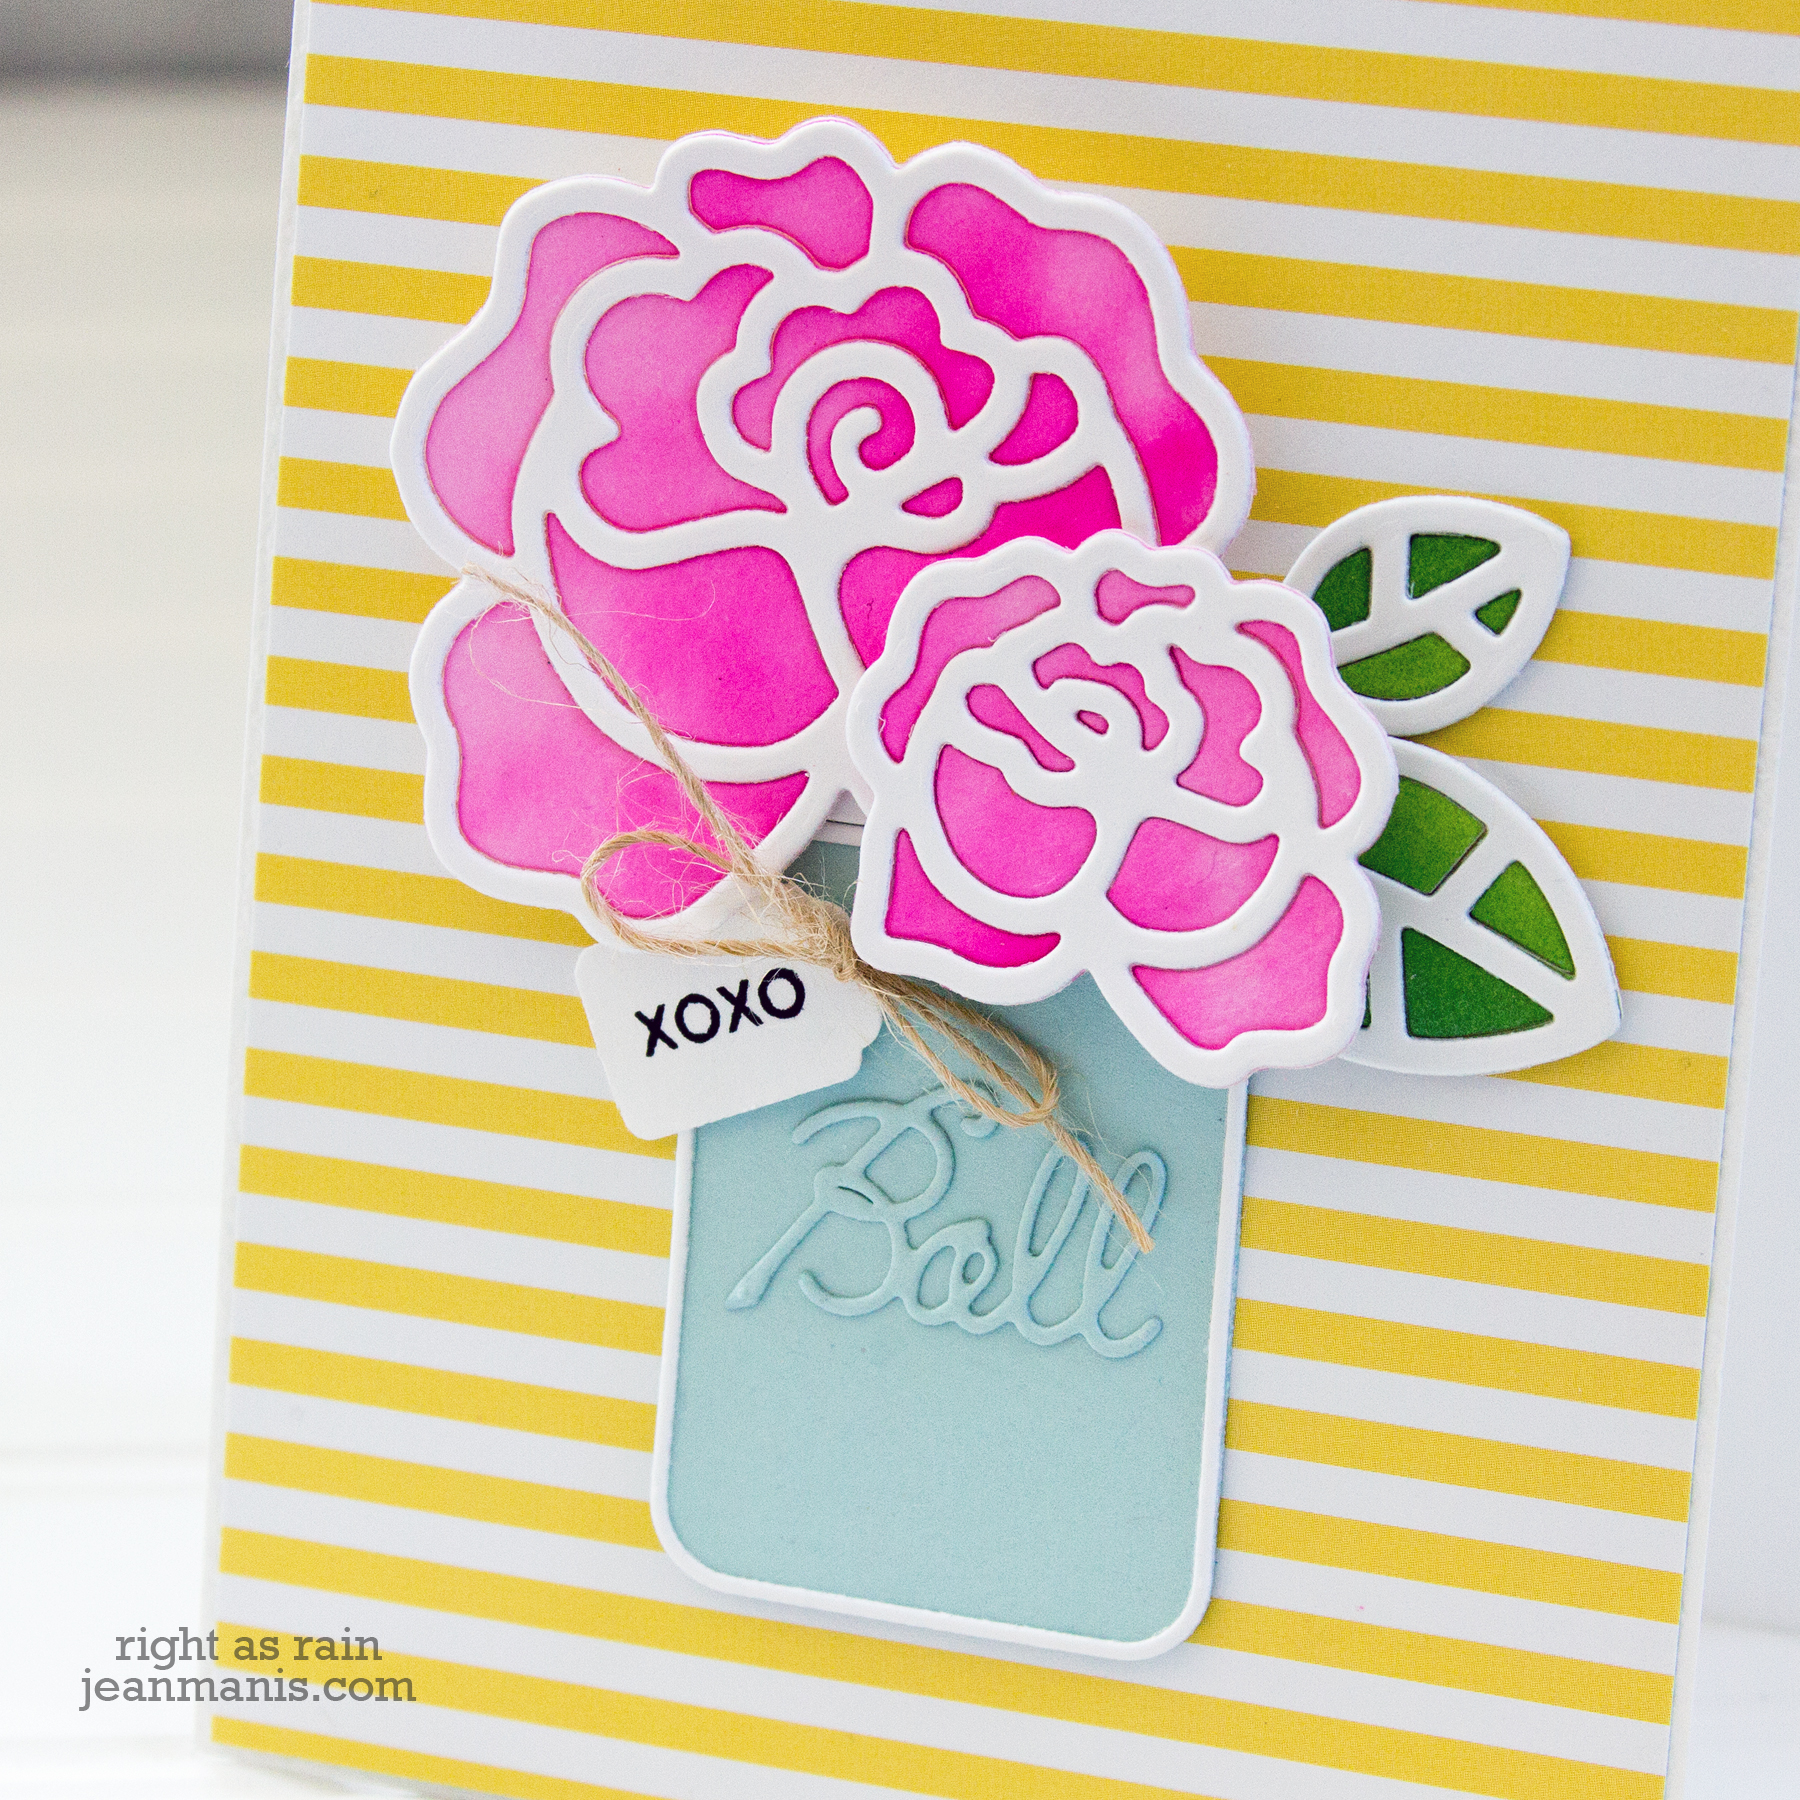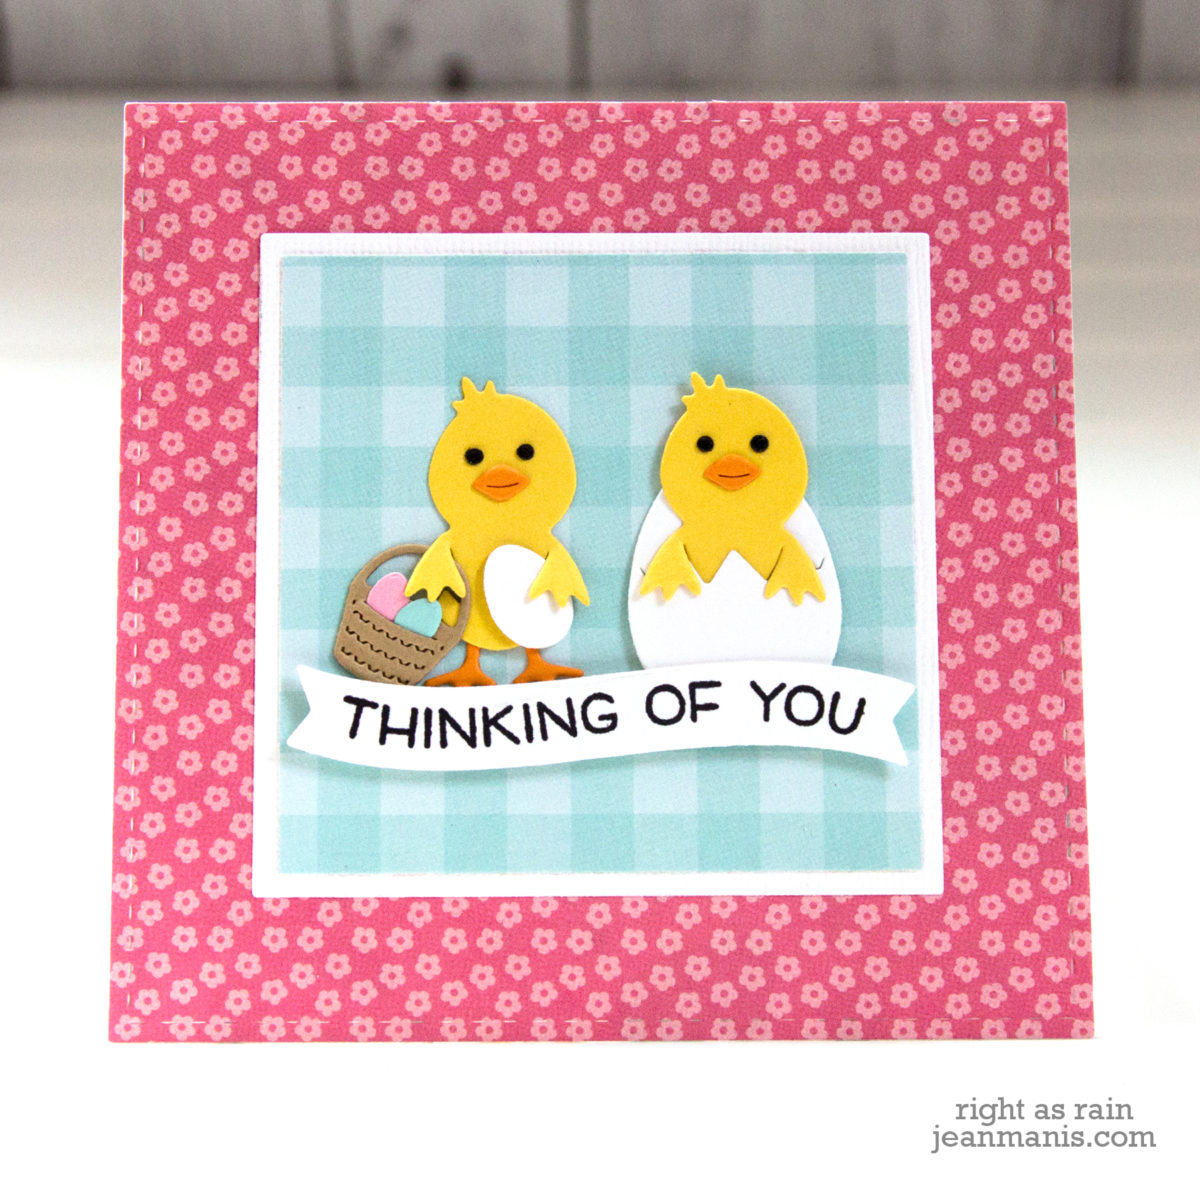
Hello! Today I am sharing a CAS spring- or Easter-themed card featuring chicks cut with the Karen Burniston Spring Animals set. I used this set last year on this card and this one.

- I die-cut the chicks, egg, and accessories and assembled them. I used a Paper Smooches set (Bees) to cut the small eye.
- I added the chicks to a patterned paper background.
- I stamped a Lawn Fawn greeting and cut it with a banner die. I only have a few Easter stamps and decided this sentiment worked just fine.
- I cut a mat for the patterned paper square and added the assembly to a patterned paper card base. (Both from the Echo Park I Love Spring pad.)

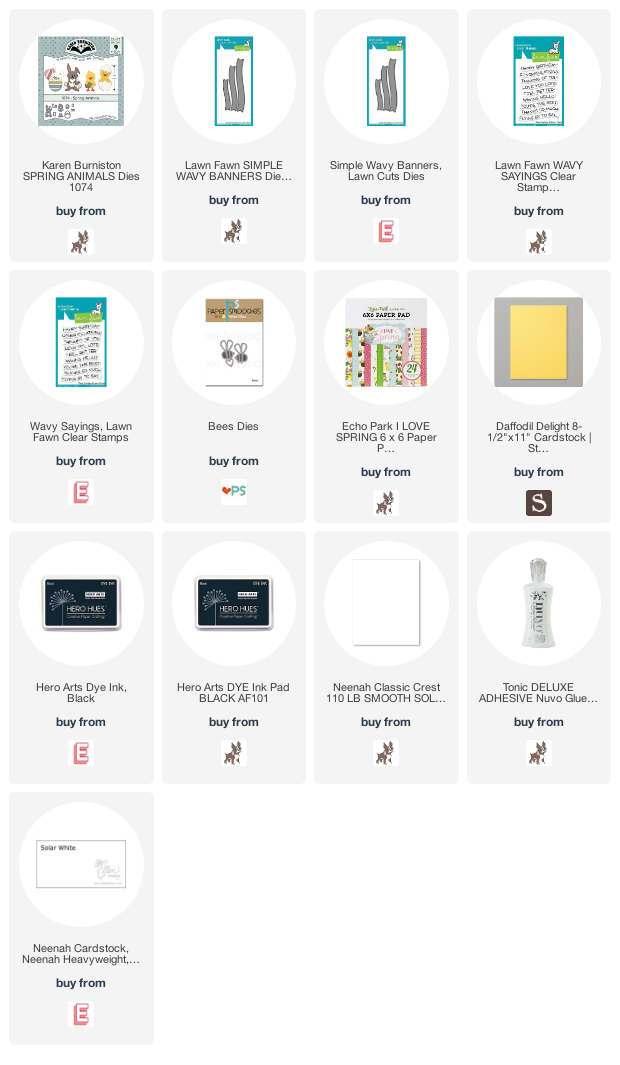
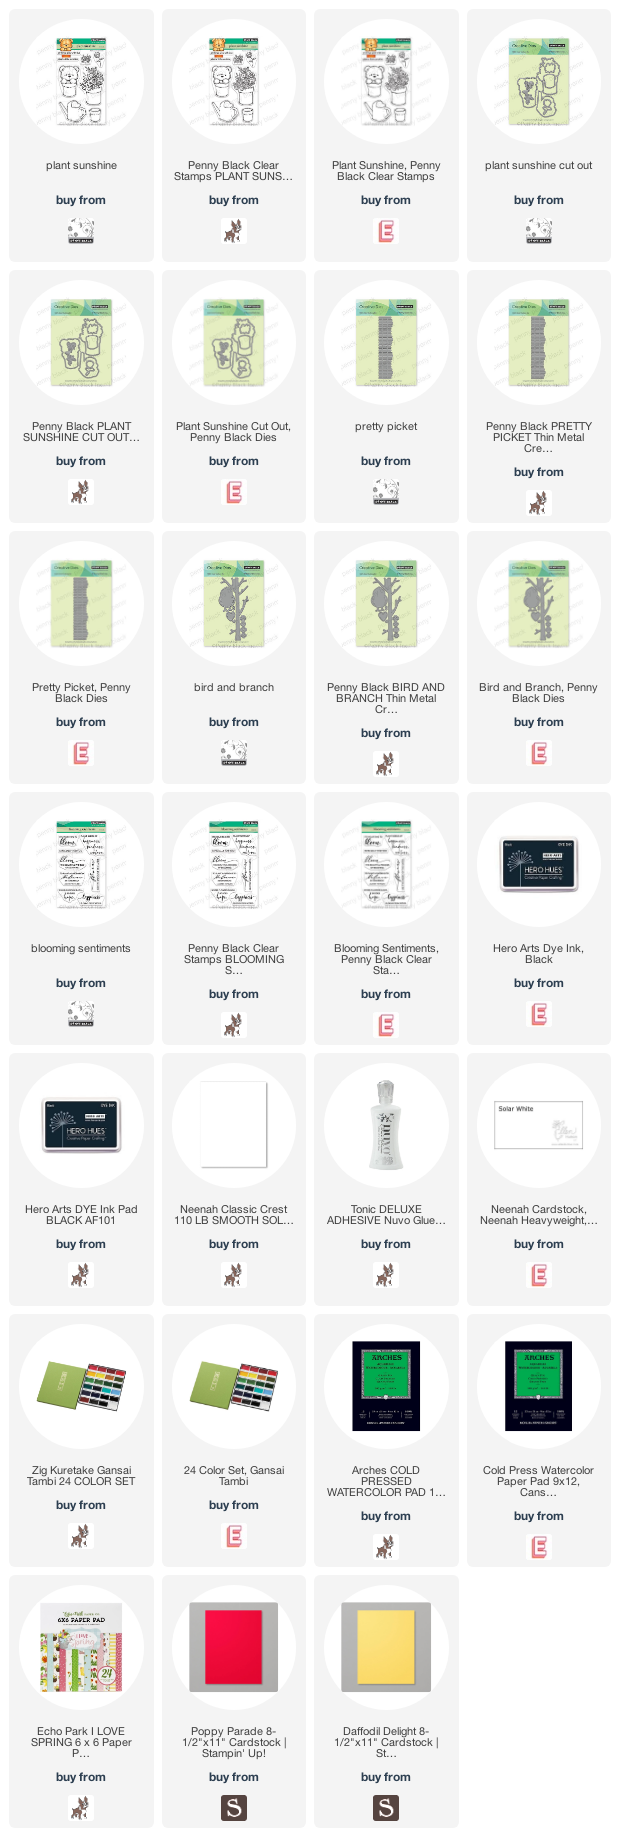
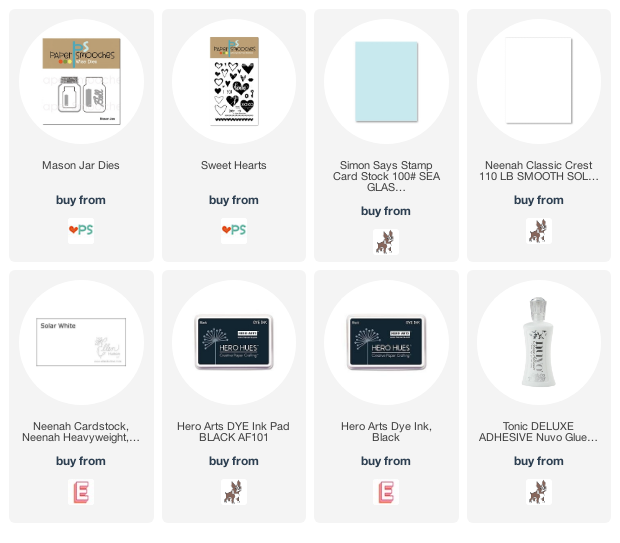
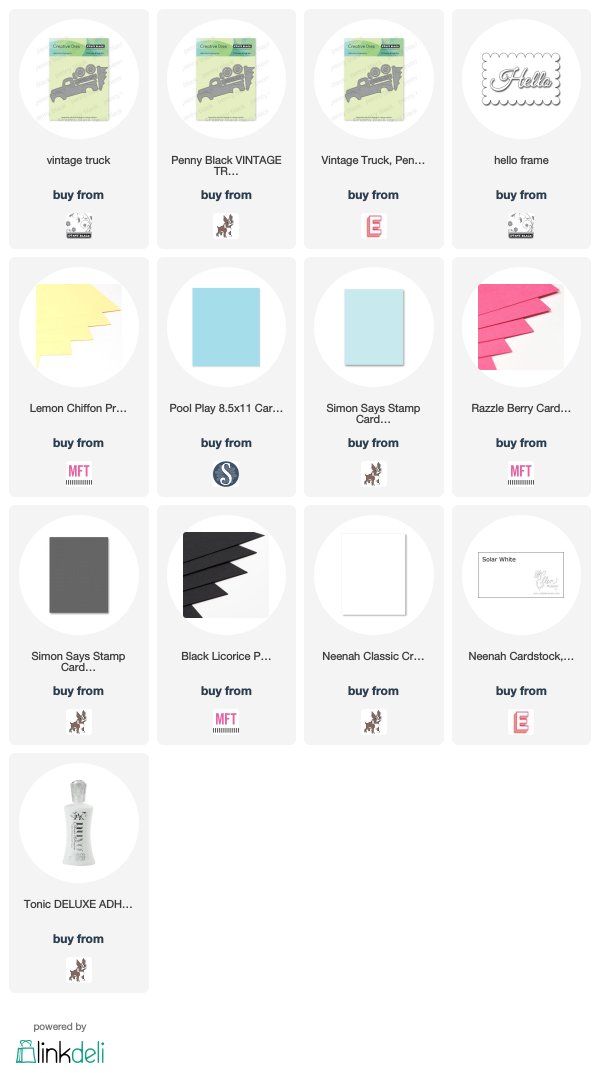
Supplies: