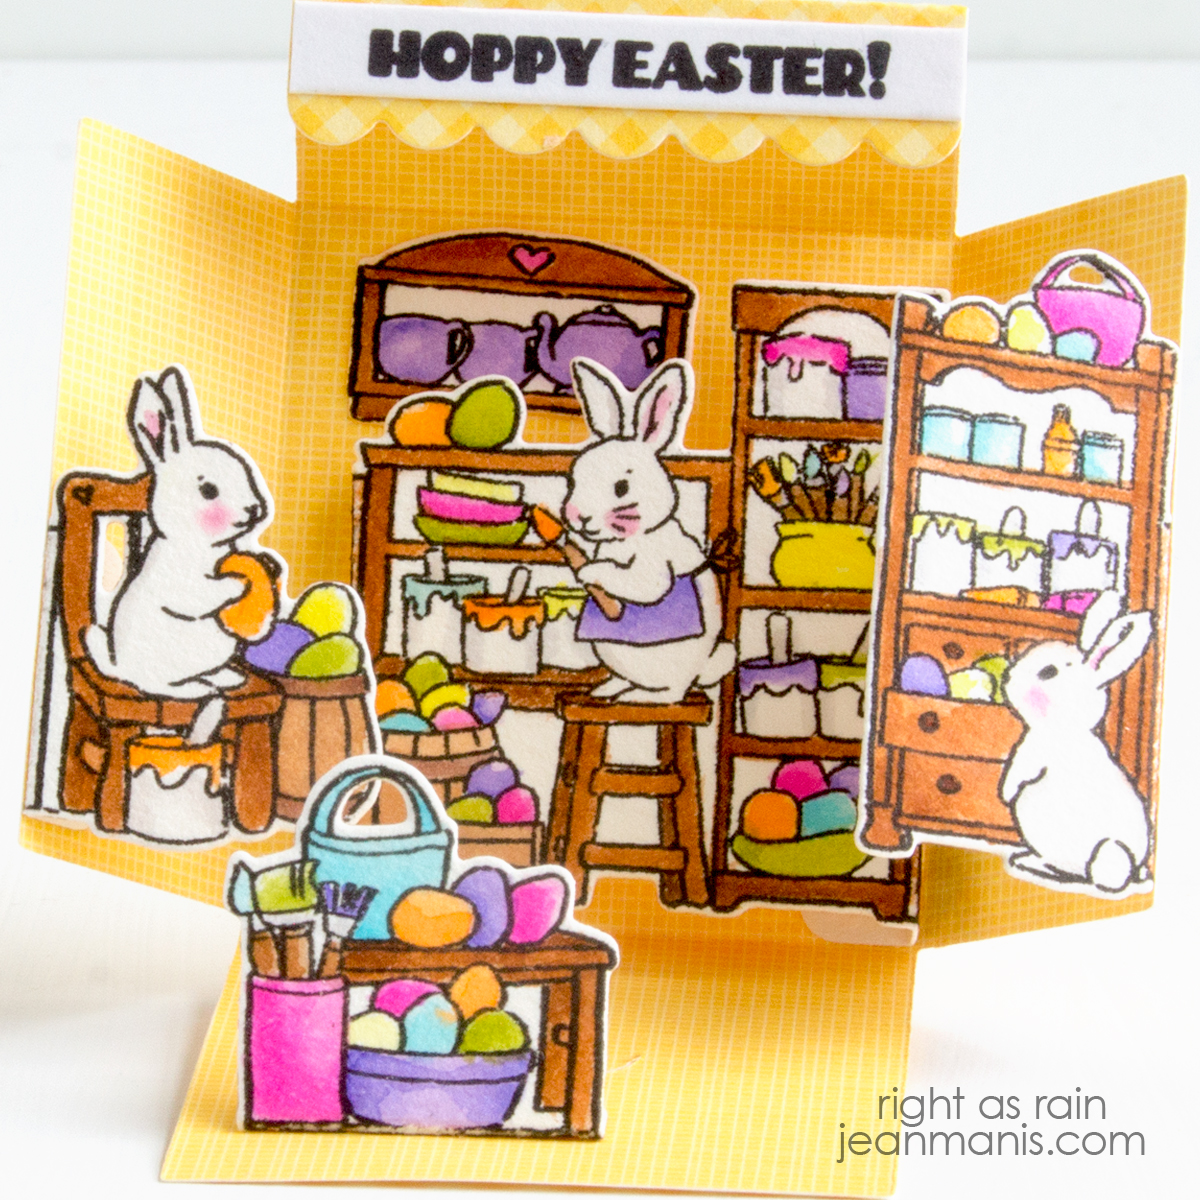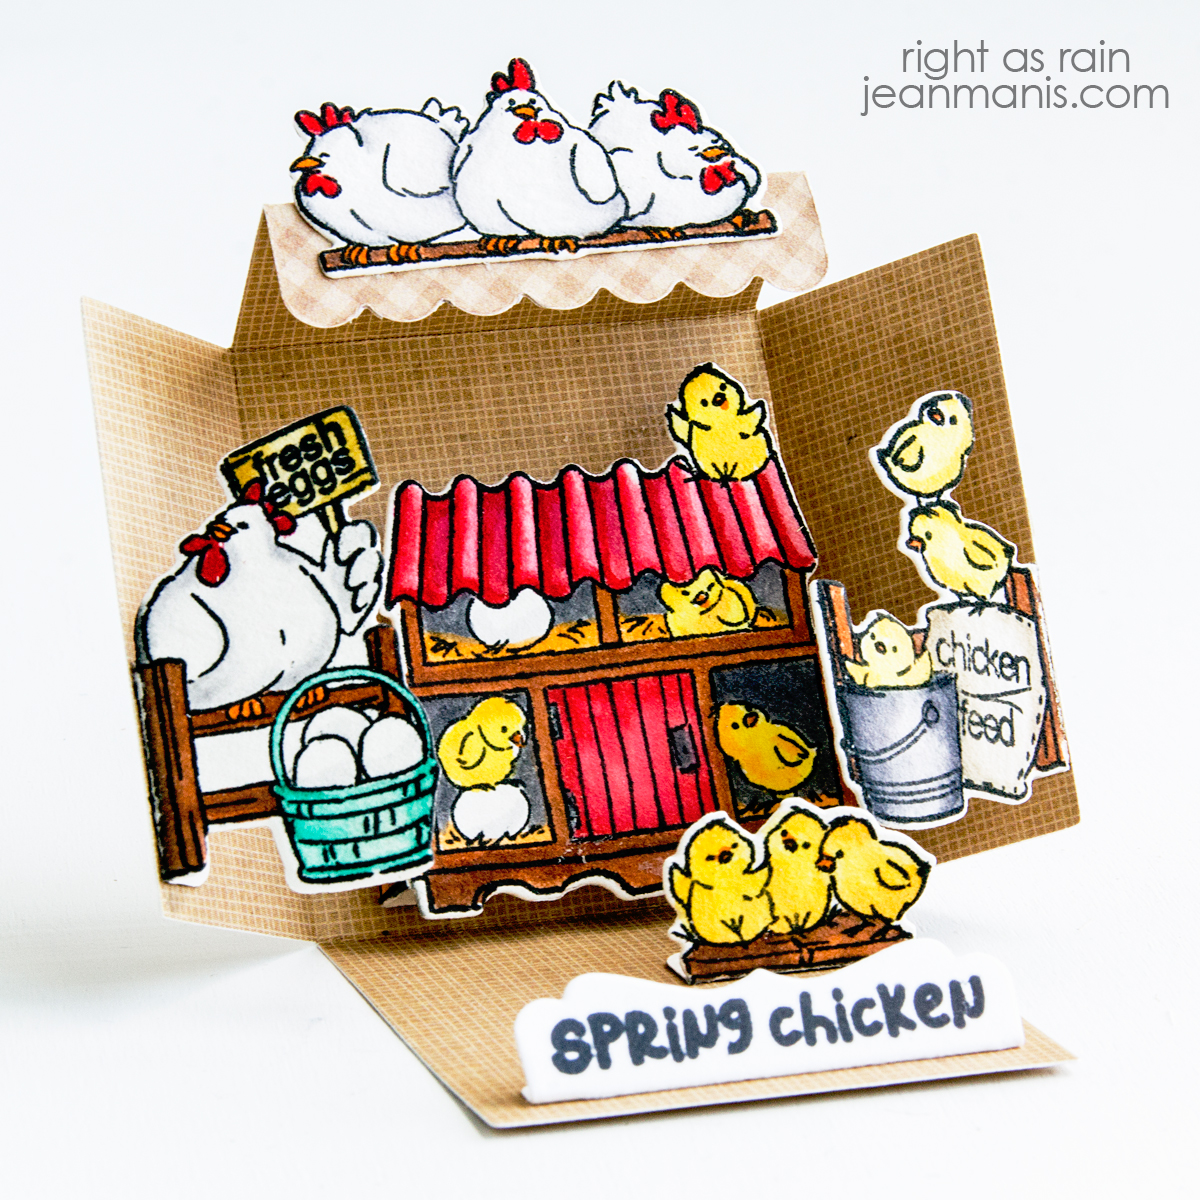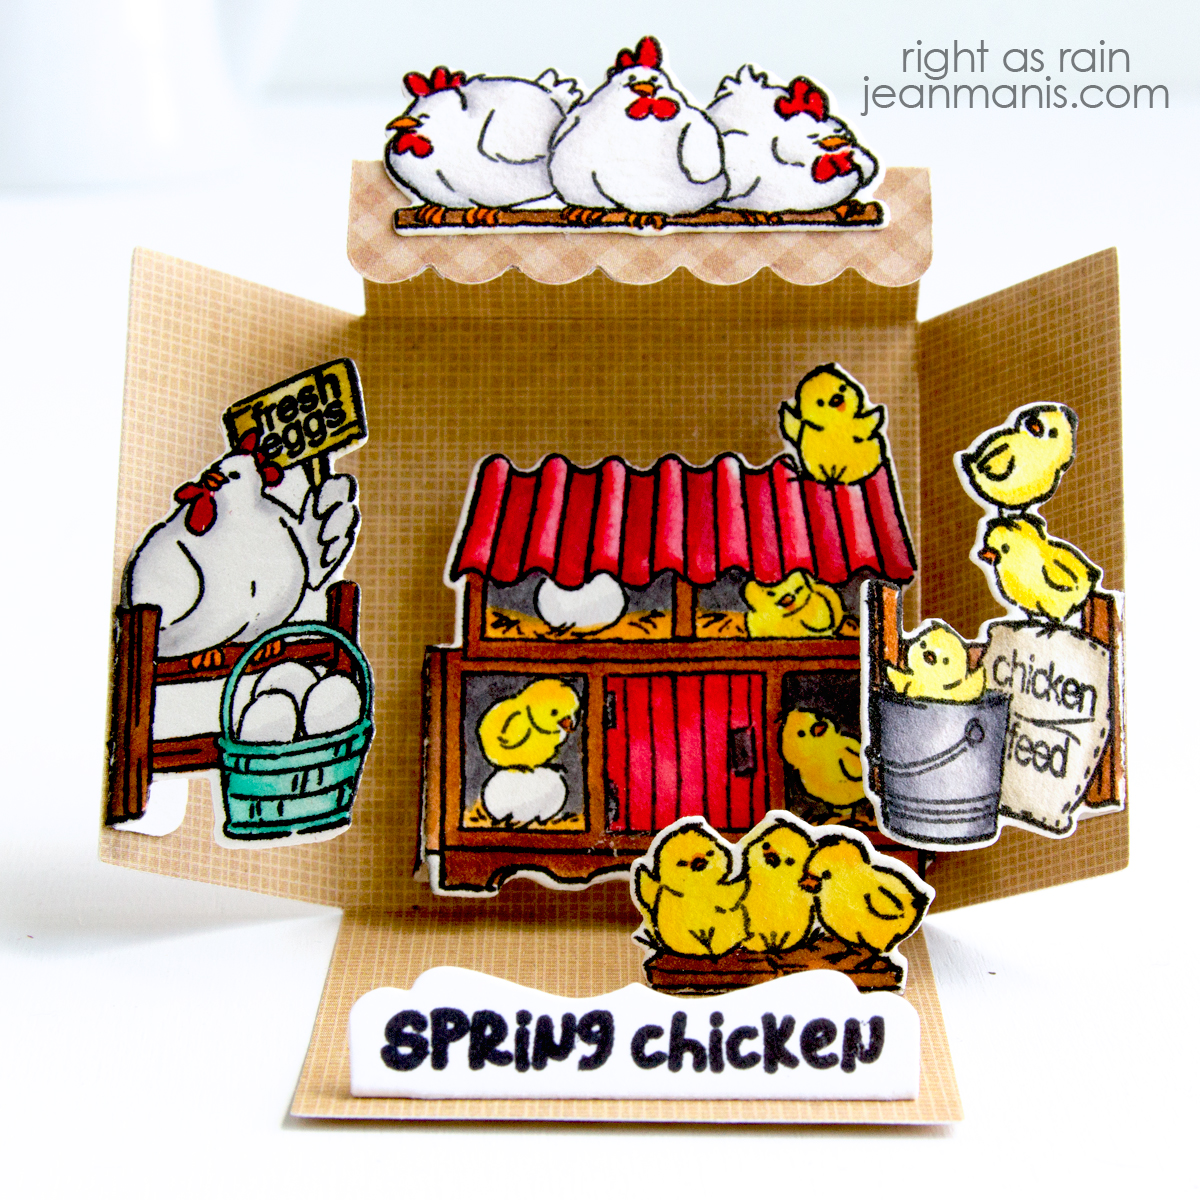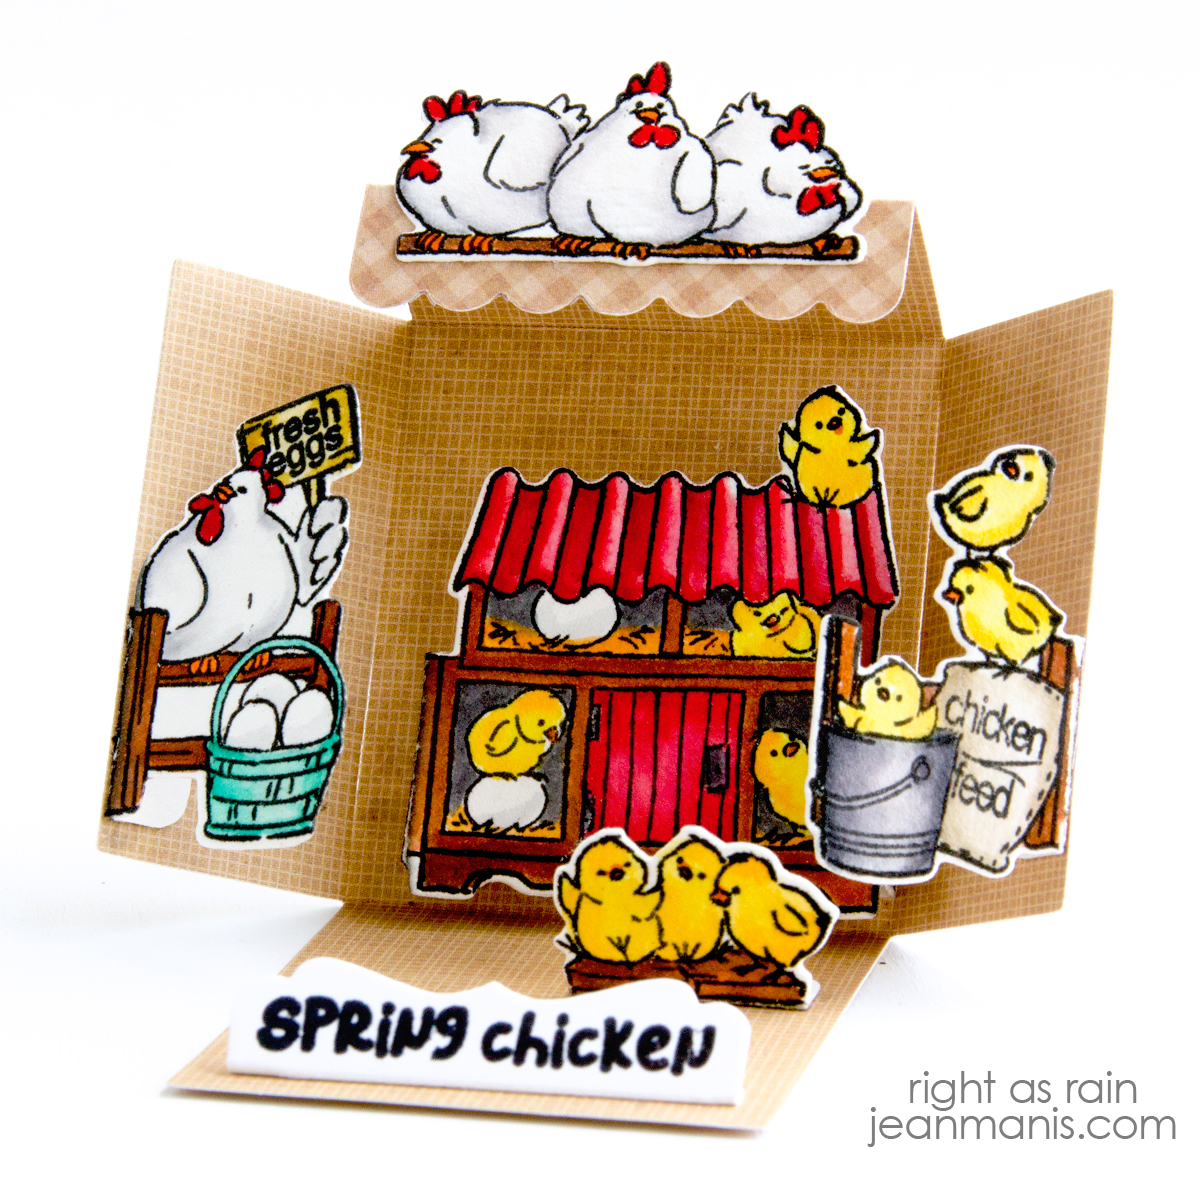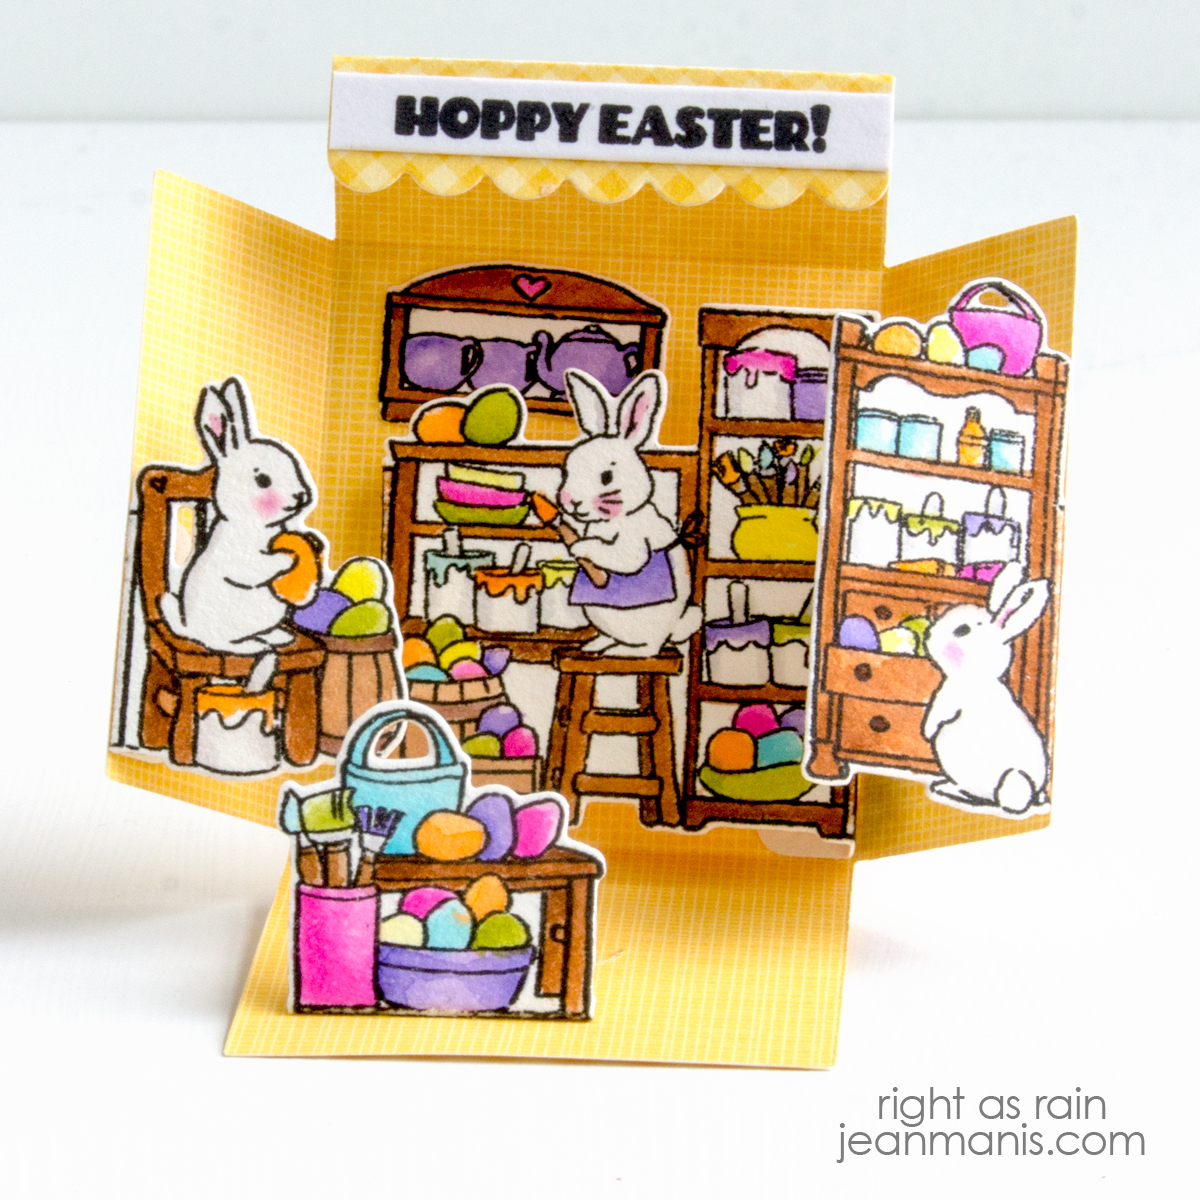
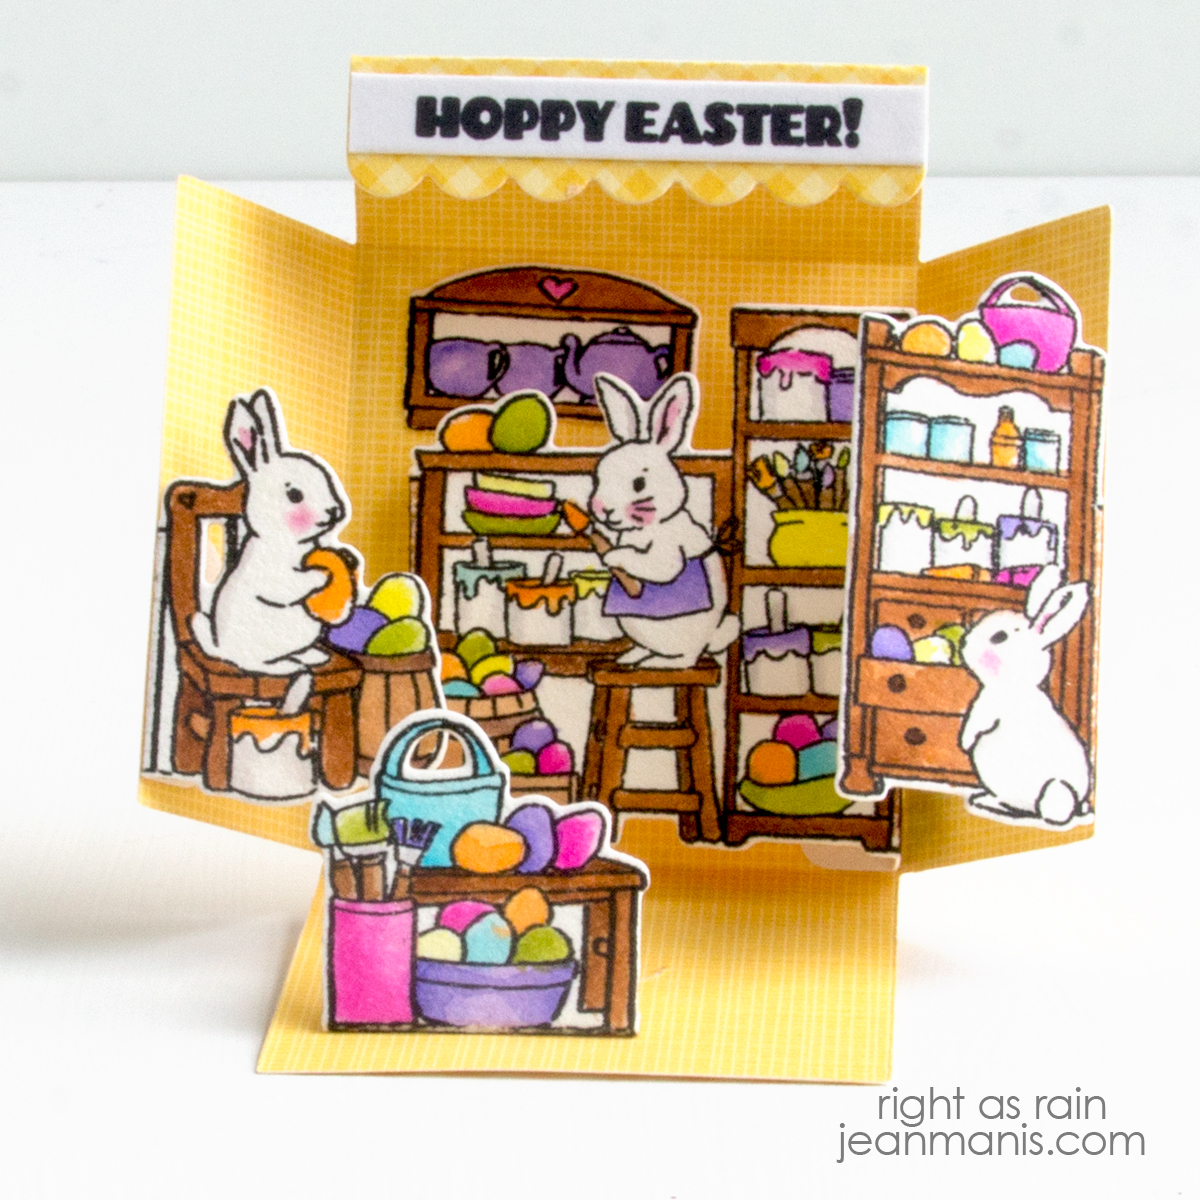
Hello! There’s something so delightful about creating miniature scenes, and this Easter matchbook card is no exception! I used products in the Art Impressions Matchbook series to craft a tiny world where bunnies are busy painting eggs in a scene that includes hutches, pottery, and paintbrushes. Capture the joy of the season with a playful, pocket-sized creation!
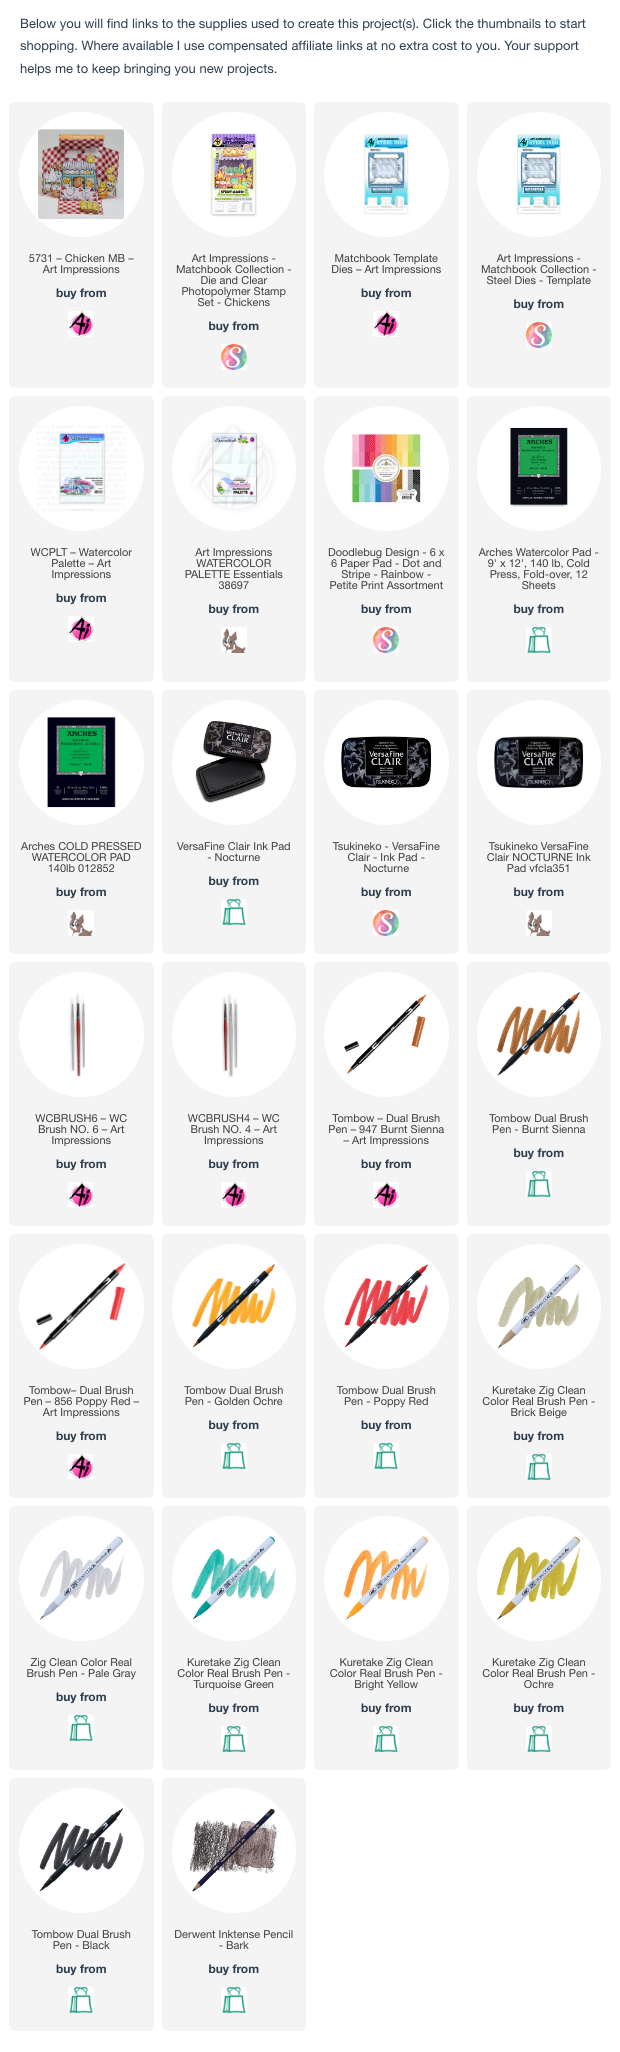
The Art Impressions Matchbook series has many different options. You can see an intro video here.
-
- Stamp Easter Bunnies images in VersaFine ink on Arches Cold Press watercolor paper; heat set.
- Watercolor the images with watercolor markers. I used Tombow markers. You can read more about watercoloring stamped images here.
- Once dry, cut the images with the coordinating dies included with the Easter Bunnies set.
- Cut matchbook from patterned paper with the MB Template. Add watercolored Easter Bunnies elements.
- Stamp Easter Bunnies sentiment on white cardstock, trim, and add to scene.