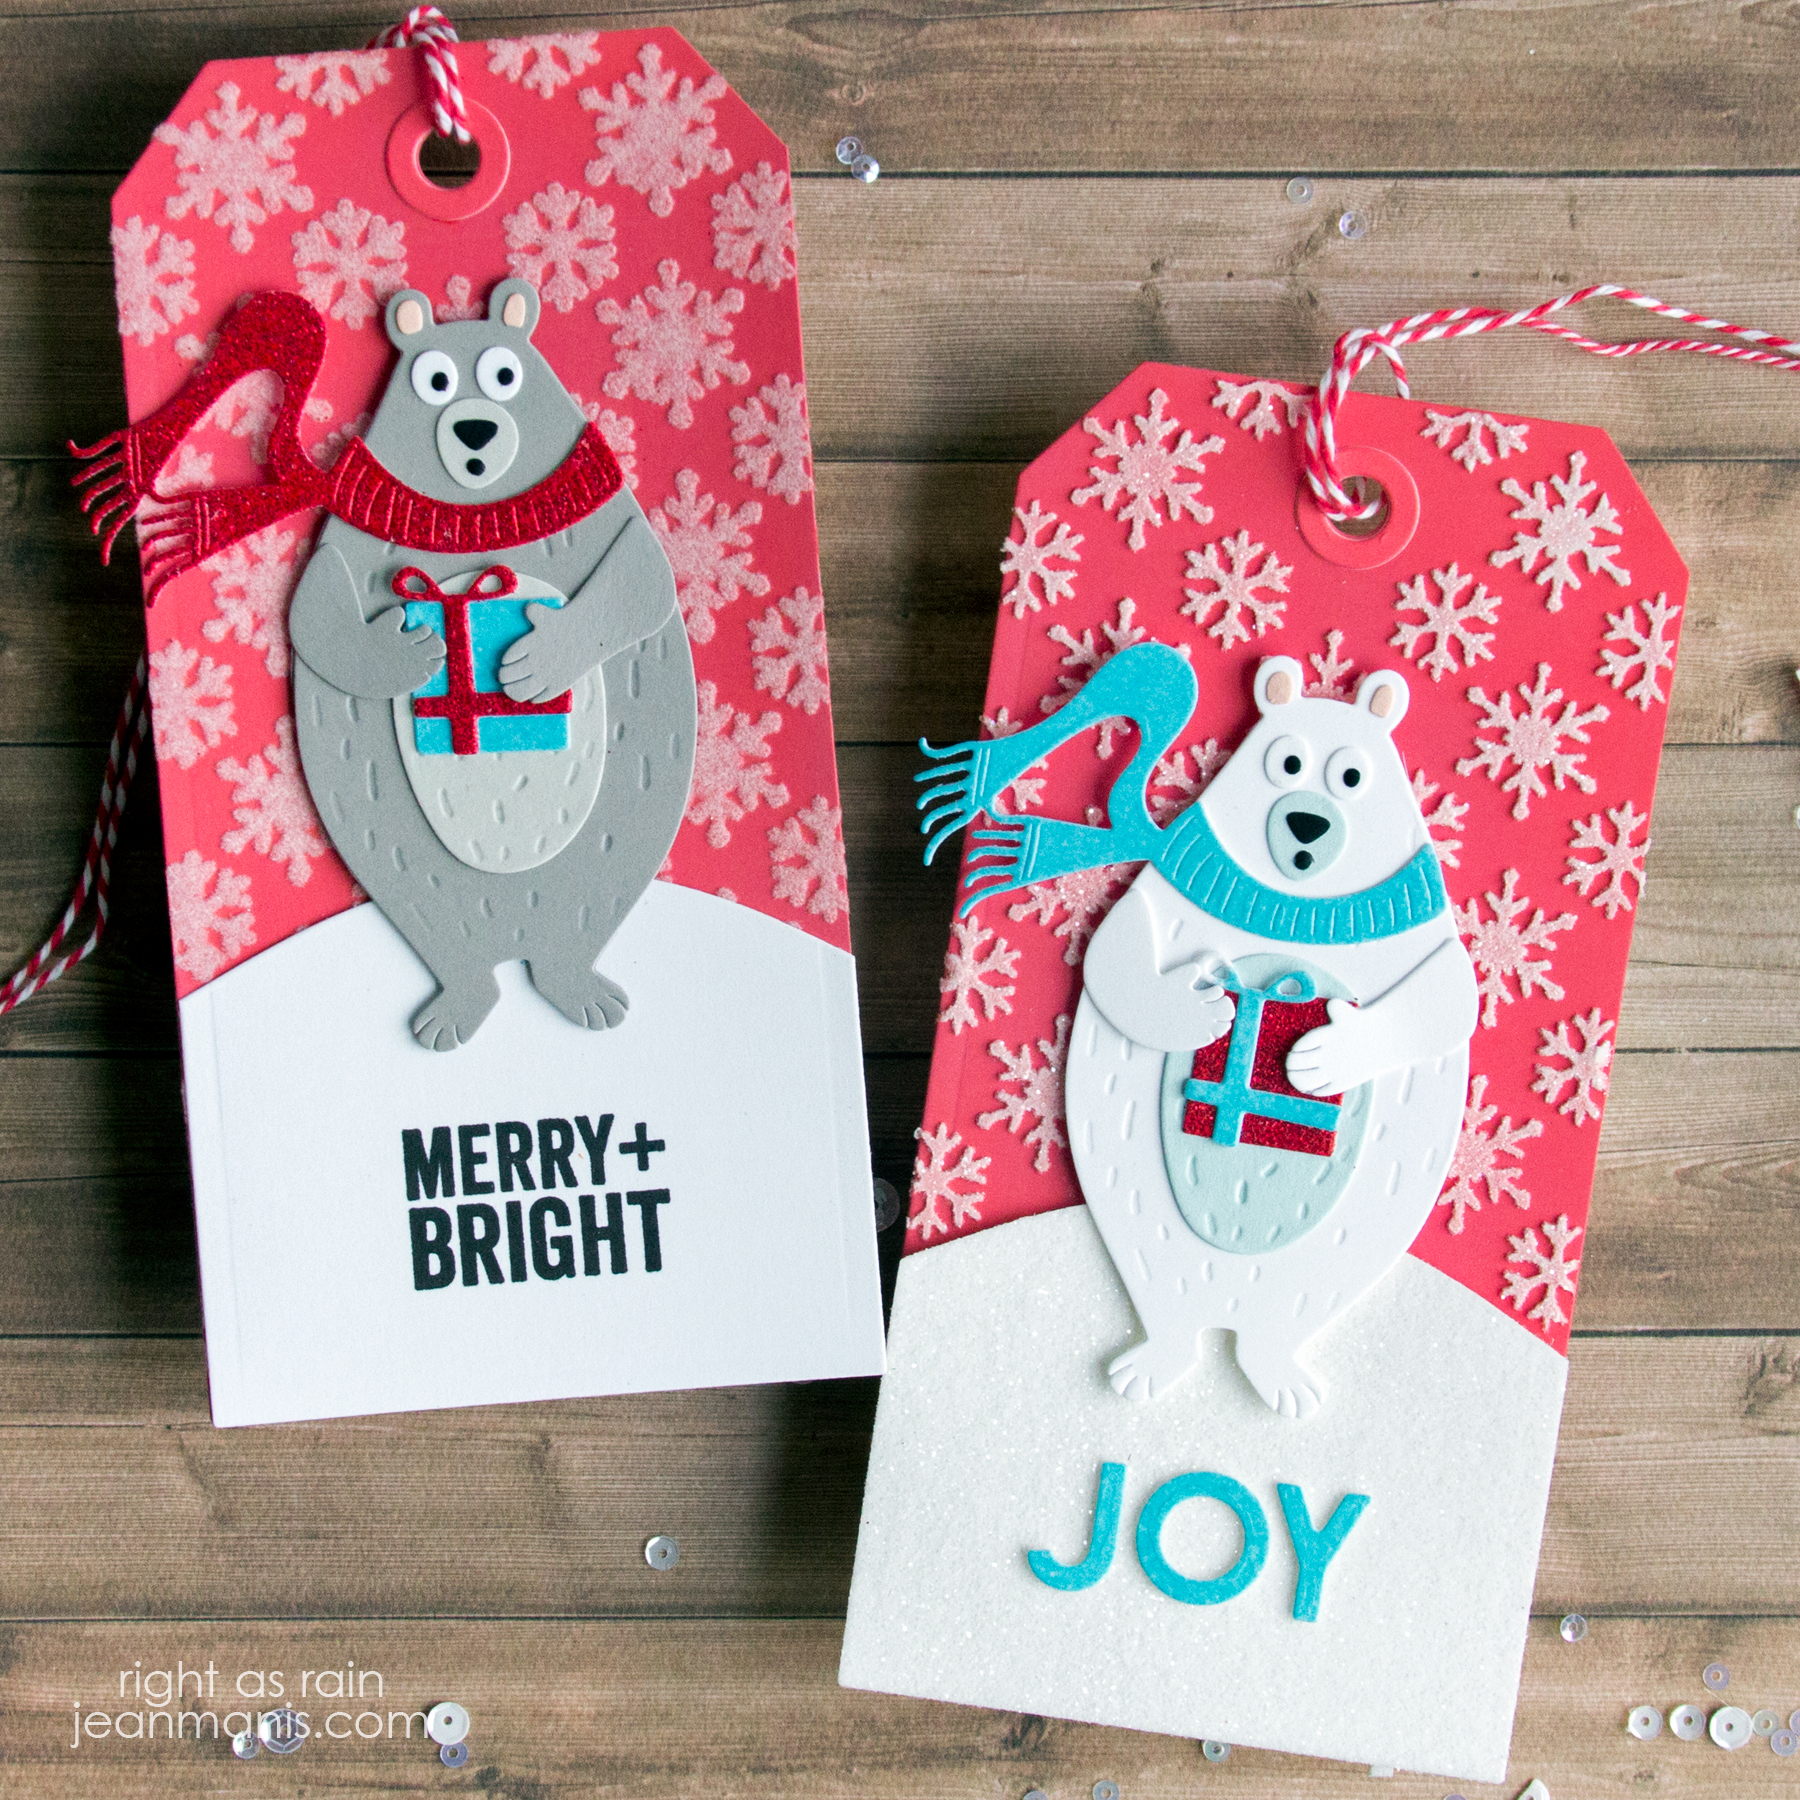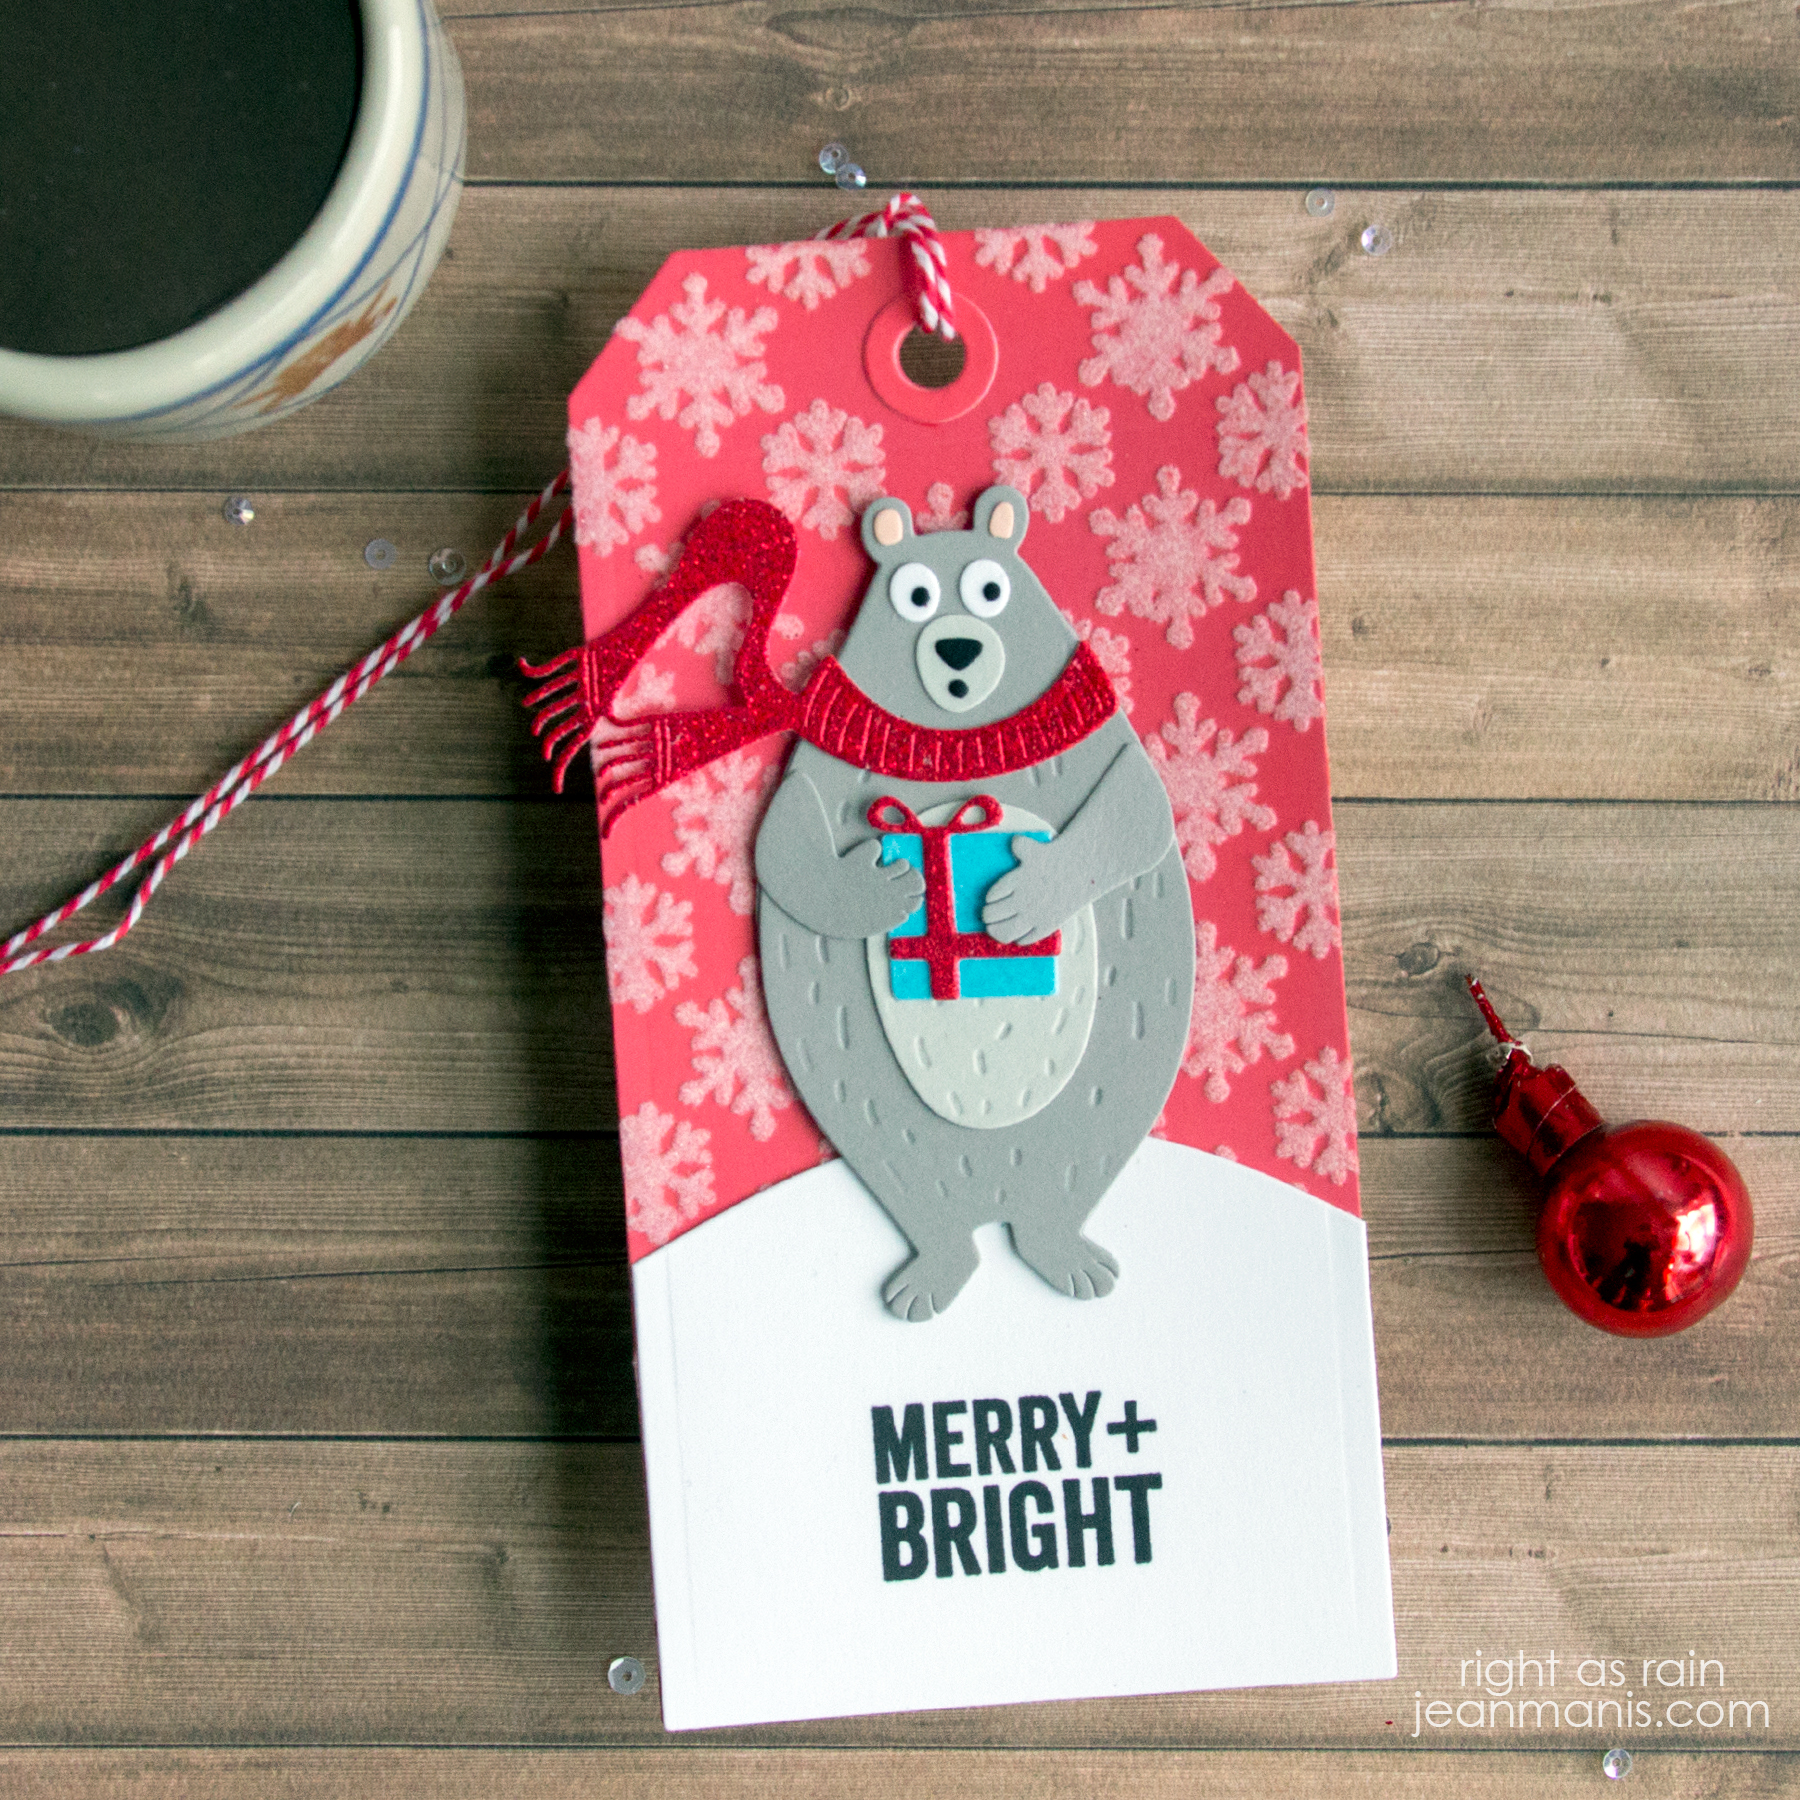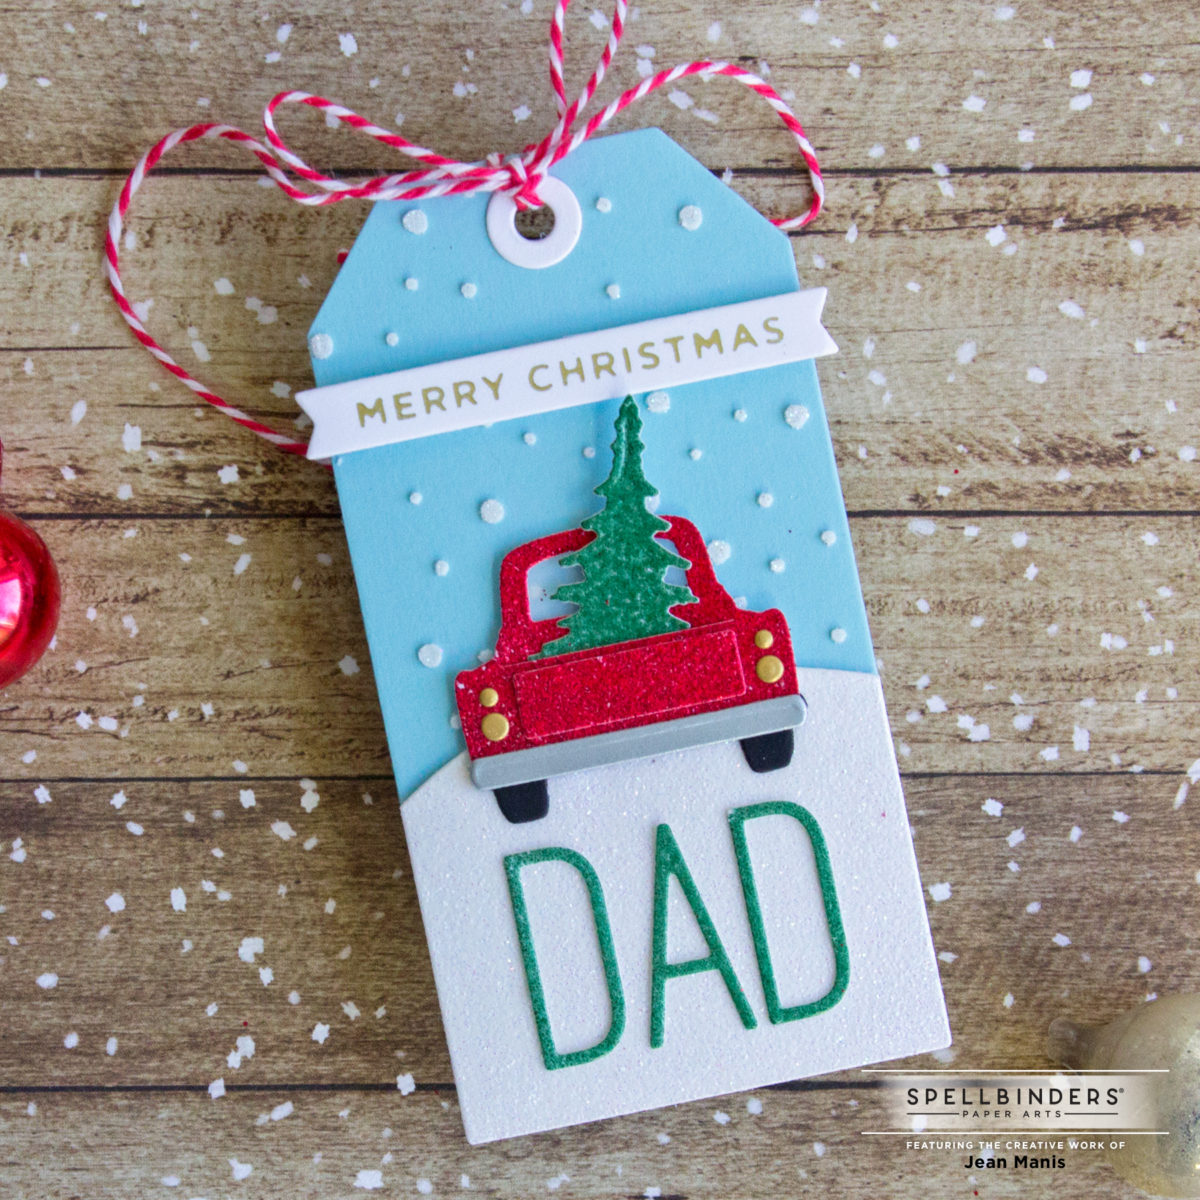
Hello! Today I am sharing a personalized holiday gift tag created with Spellbinders supplies and letting you know that the Spellbinders Pre-Black Friday is here!

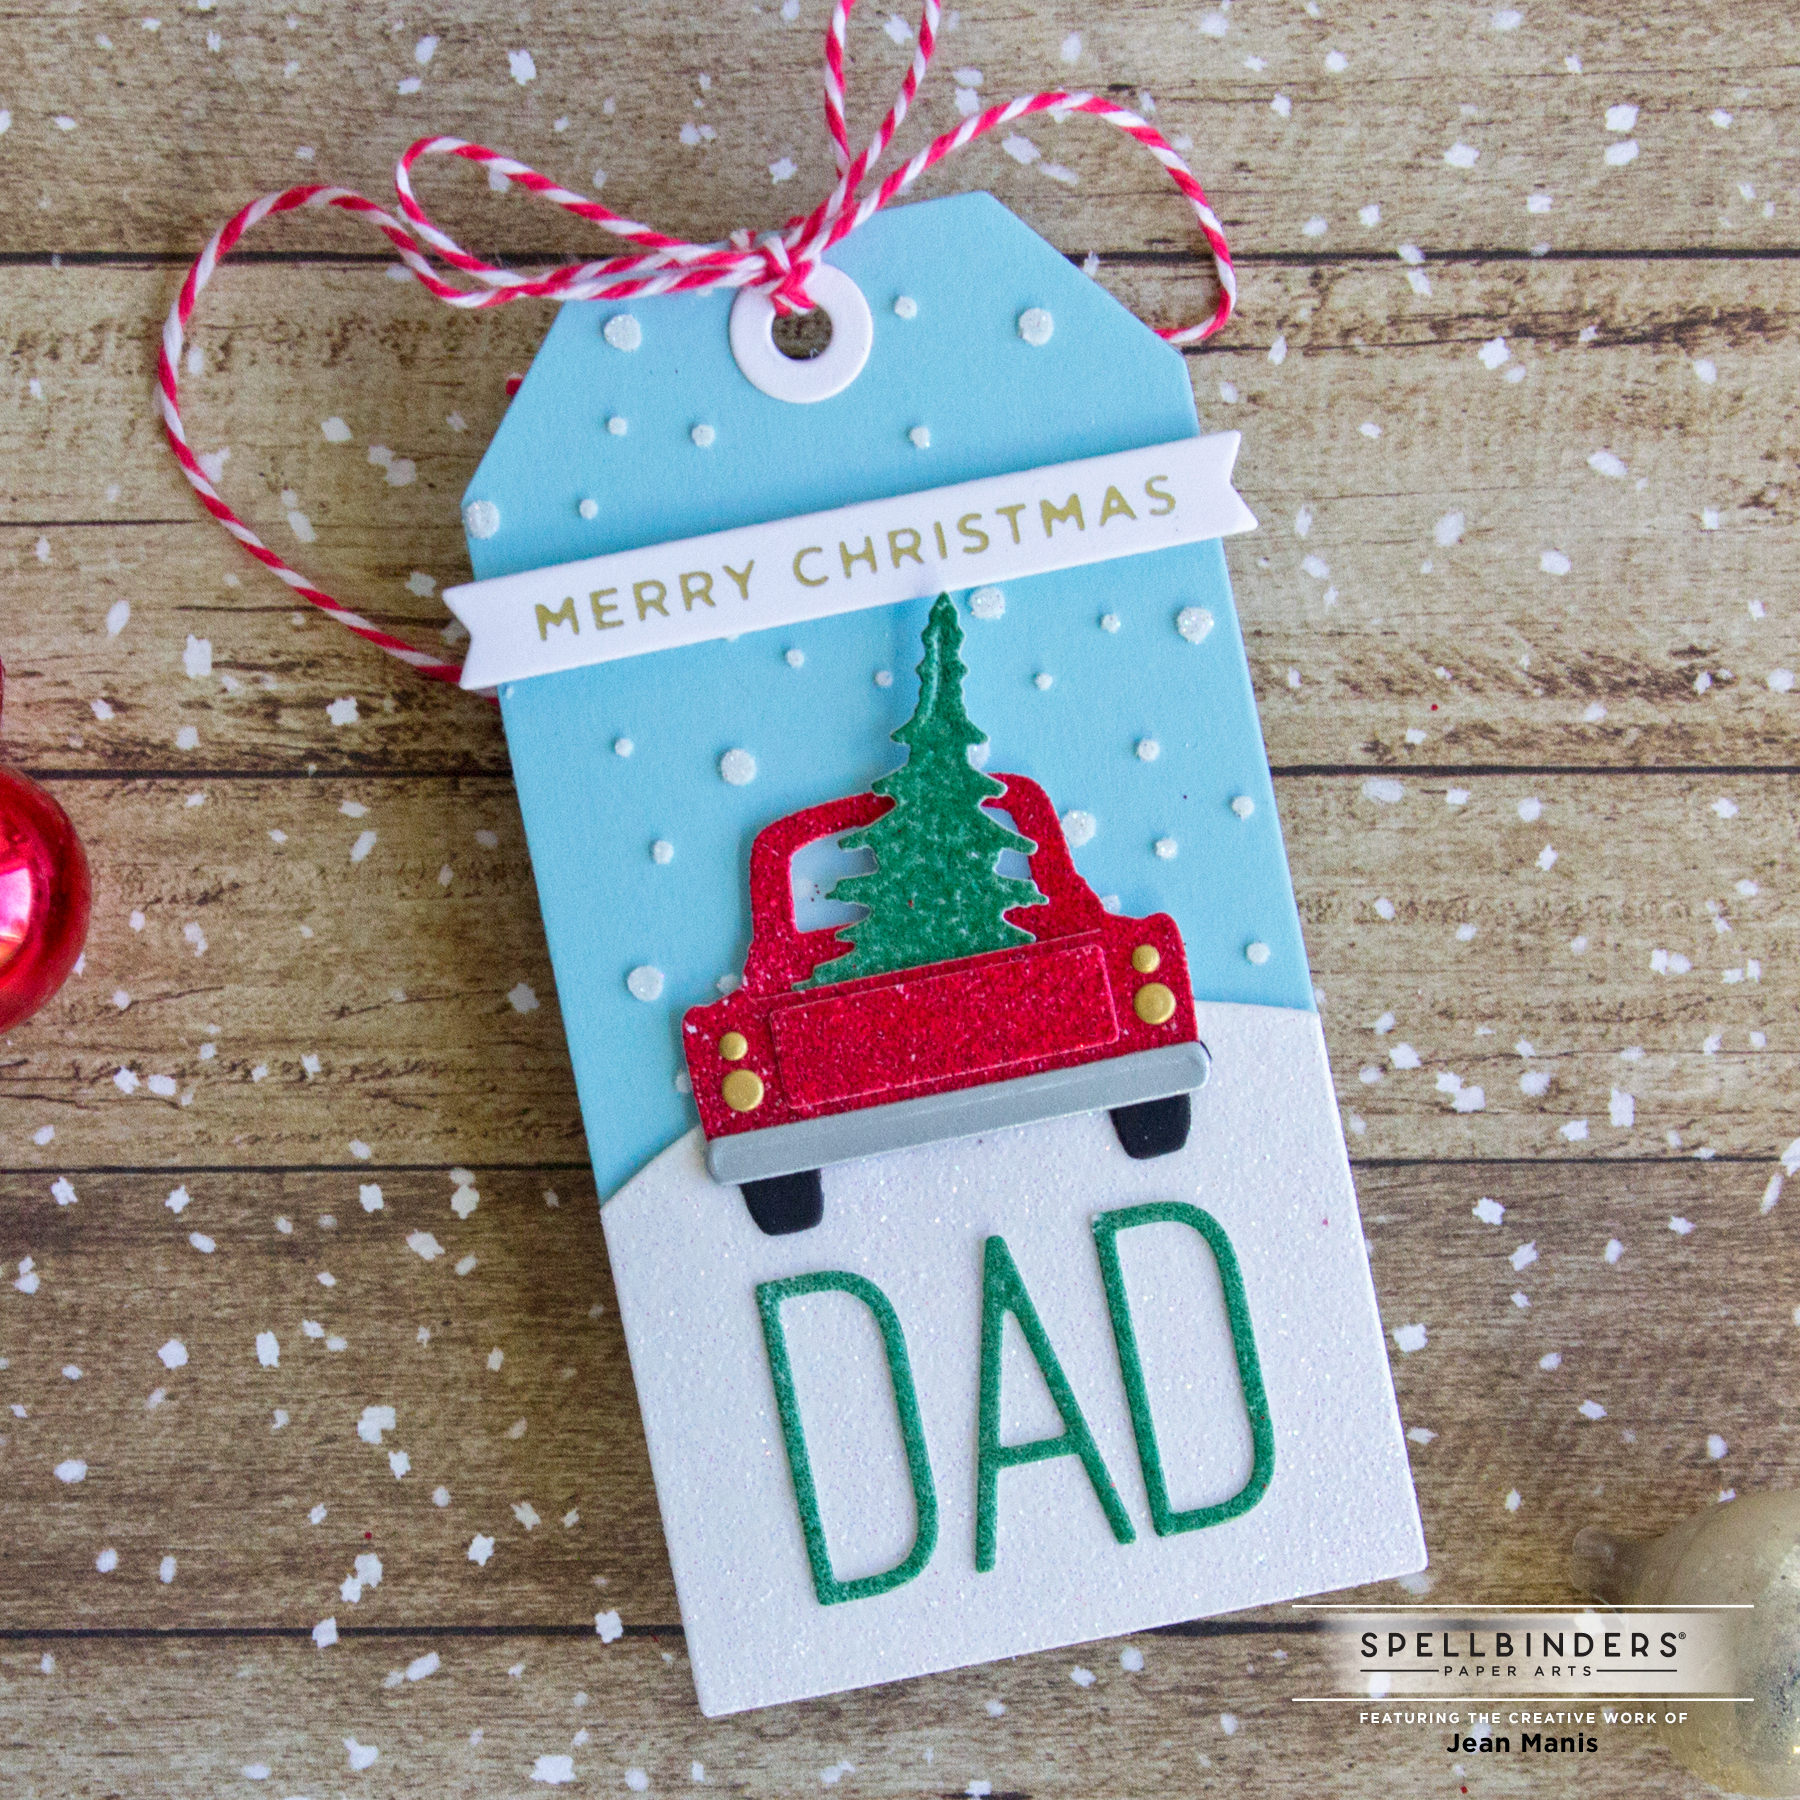
- Die-cut truck elements with the Through the Woods die set from cardstock to which Red Tinsel embossing powder and Rustic Wilderness Glaze has been applied, as well as other cardstocks.
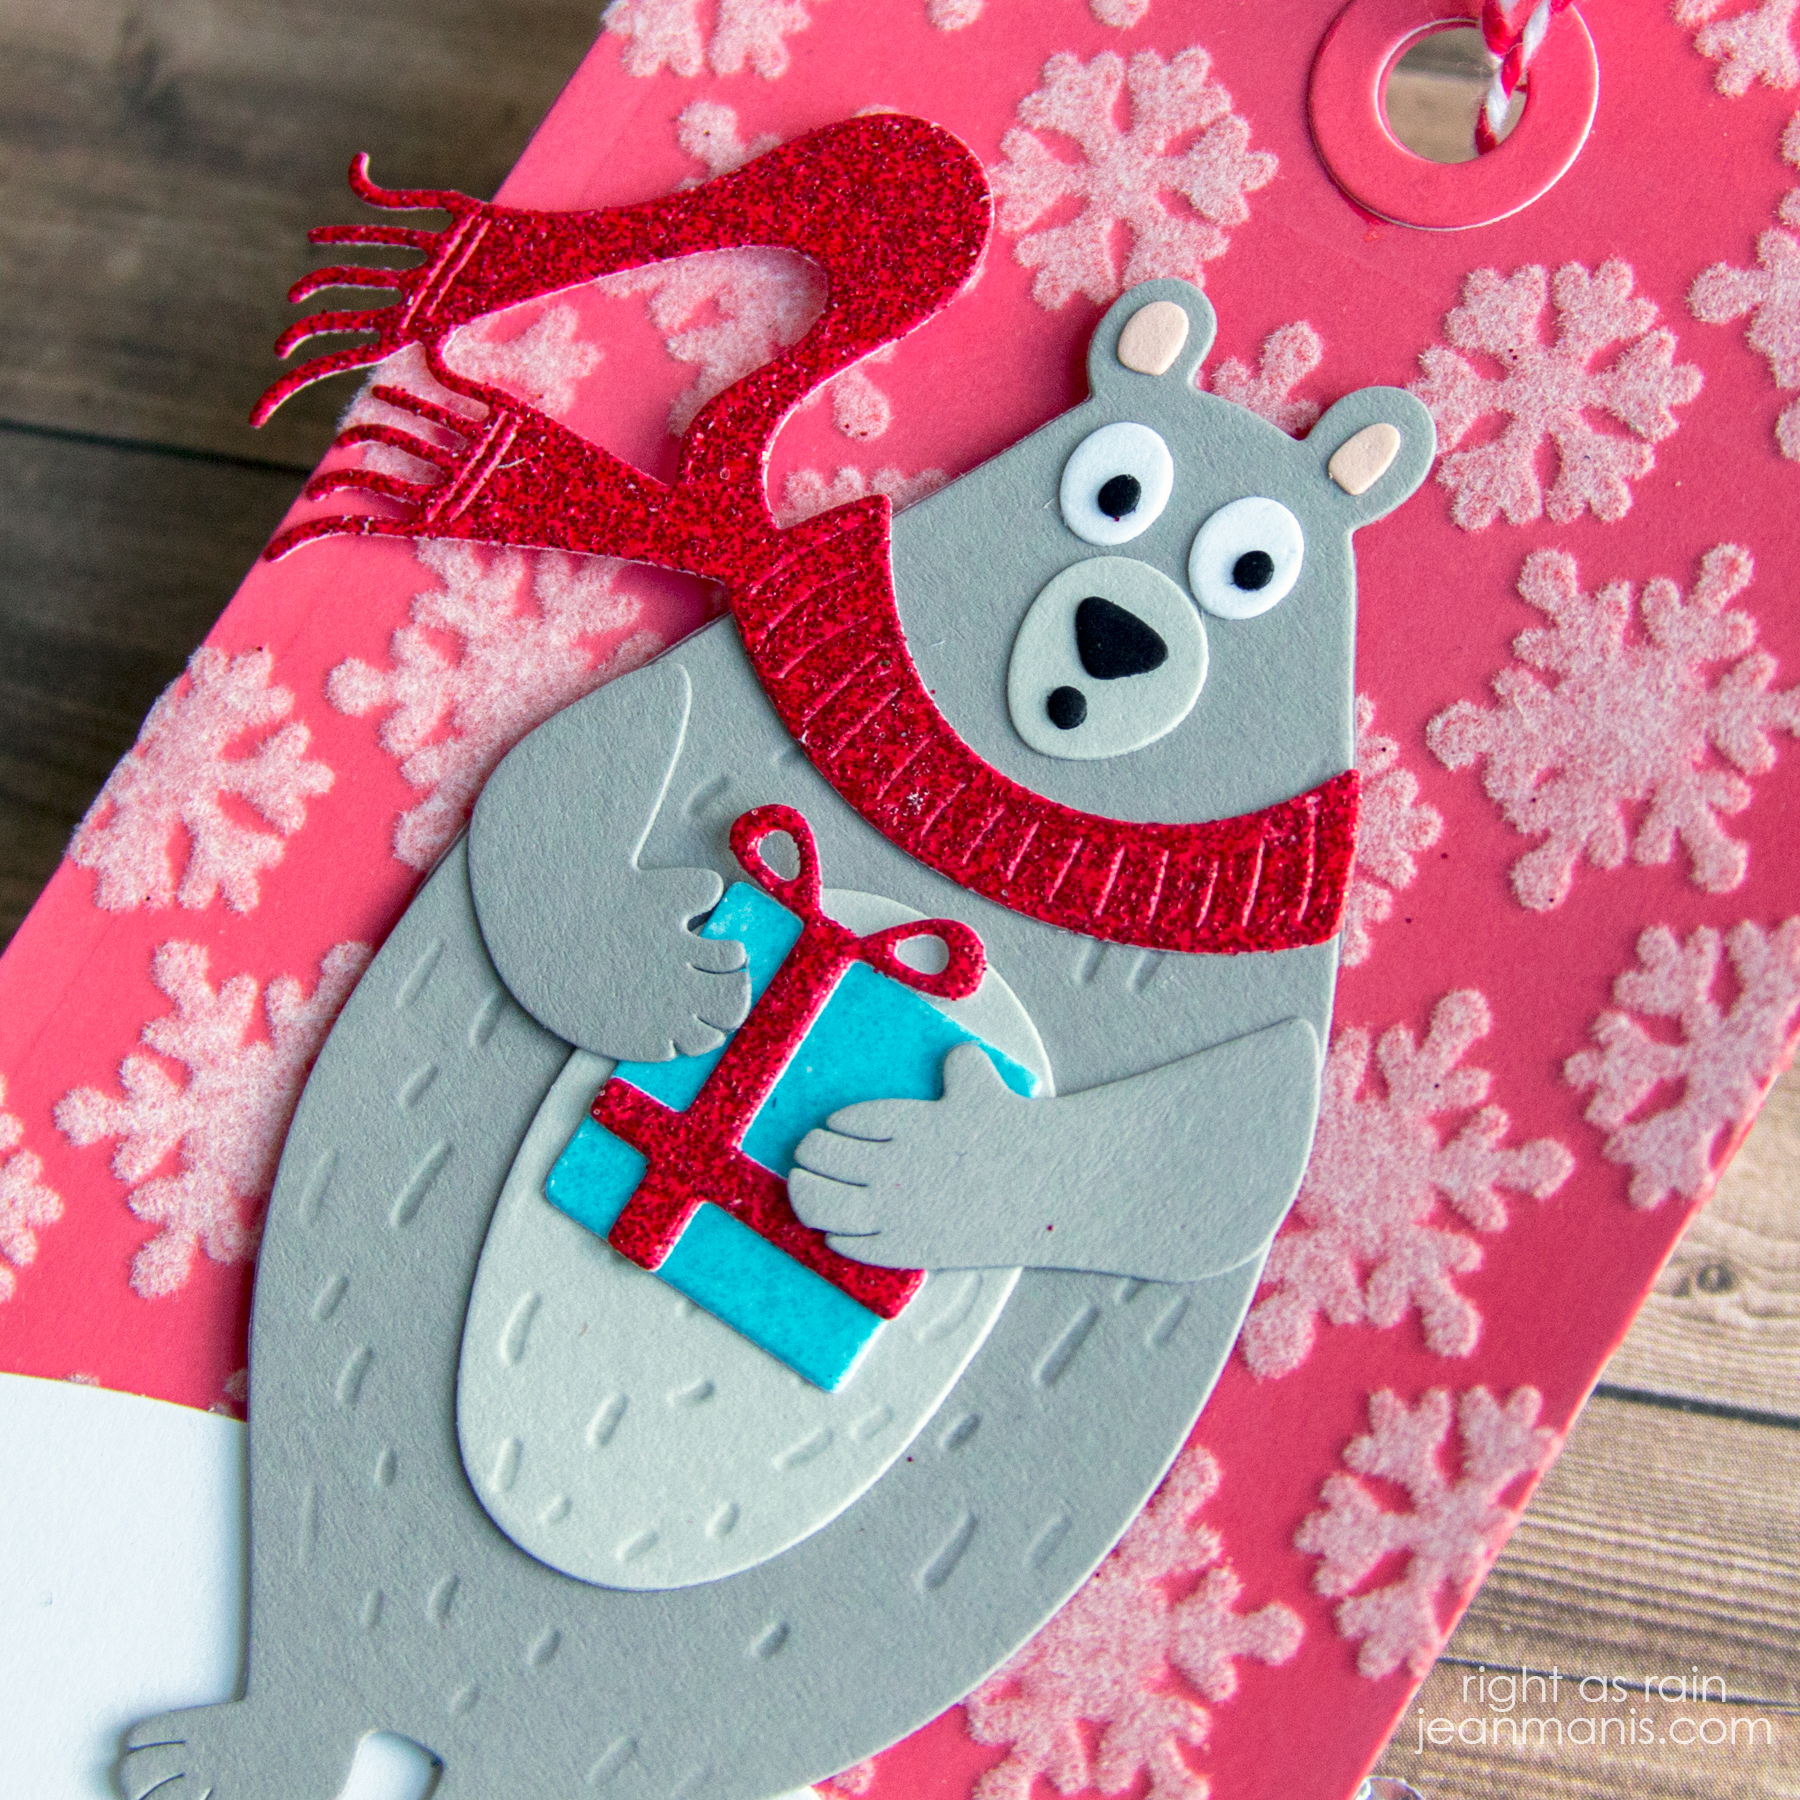
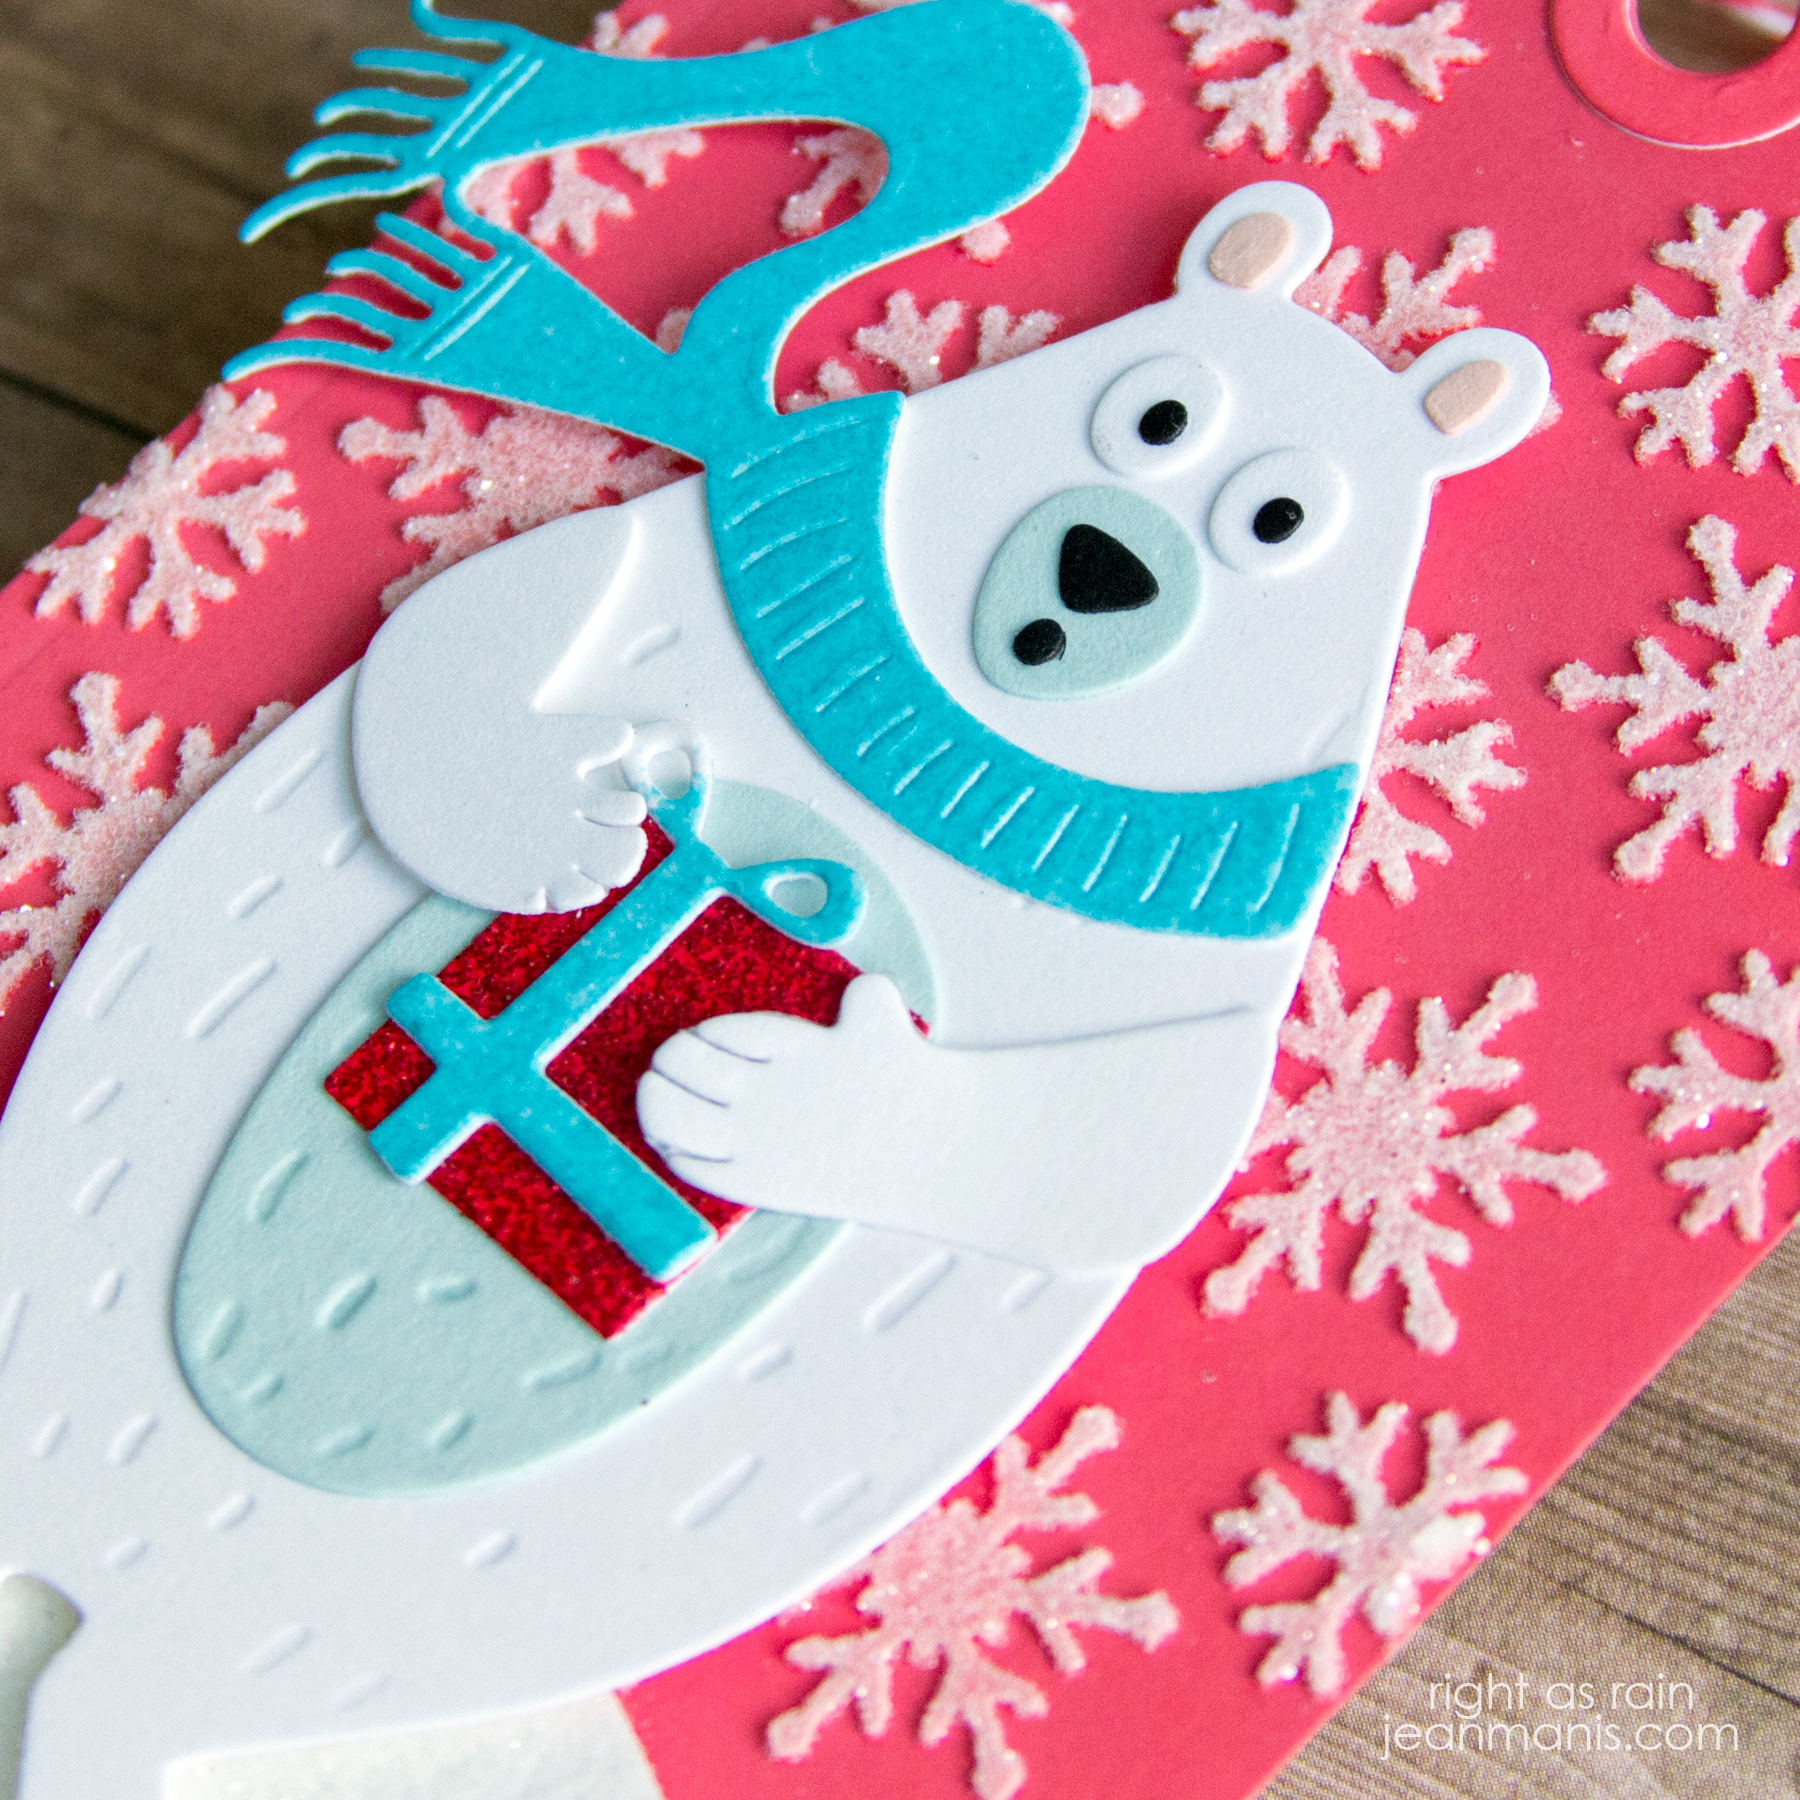
- Die-cut tag with Heart to Heart die set. Apply snow through the Layered Christmas Tree stencil and add Sparkle Dust Glitter to the paste. Set aside to dry.
- Die-cut letters with Simply Perfect Alphabet dies from cardstock to which Rustic Wilderness Glaze has been applied.
- Die-cut snow hill with a Color Block Scenic Scape die from cardstock to which Bridal Tinsel has been applied and cut again with the Heart to Heart tag die set.
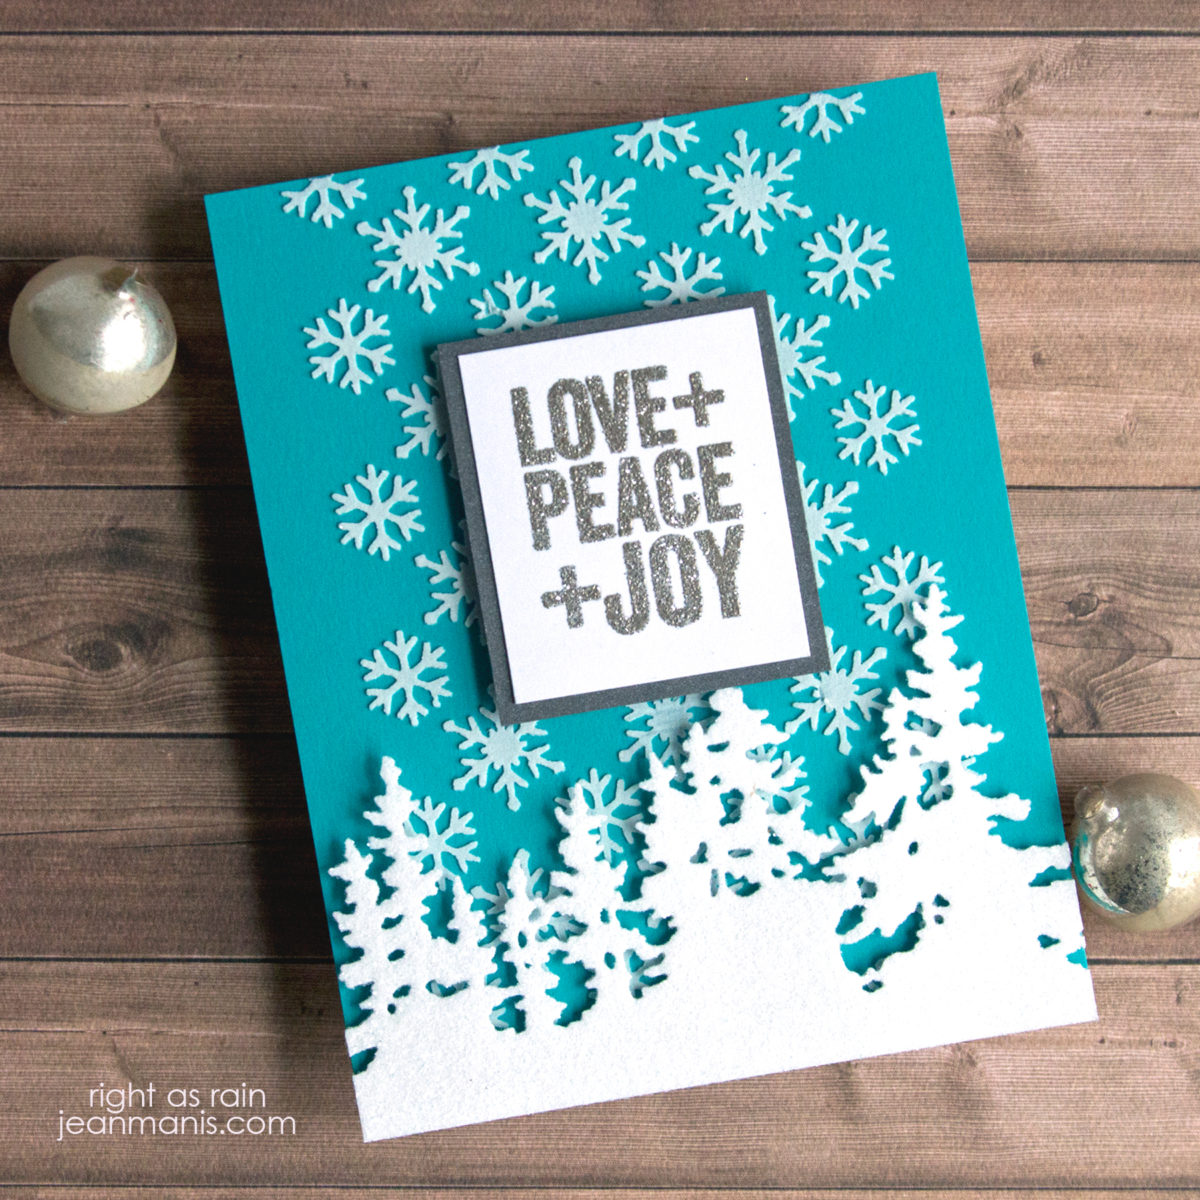
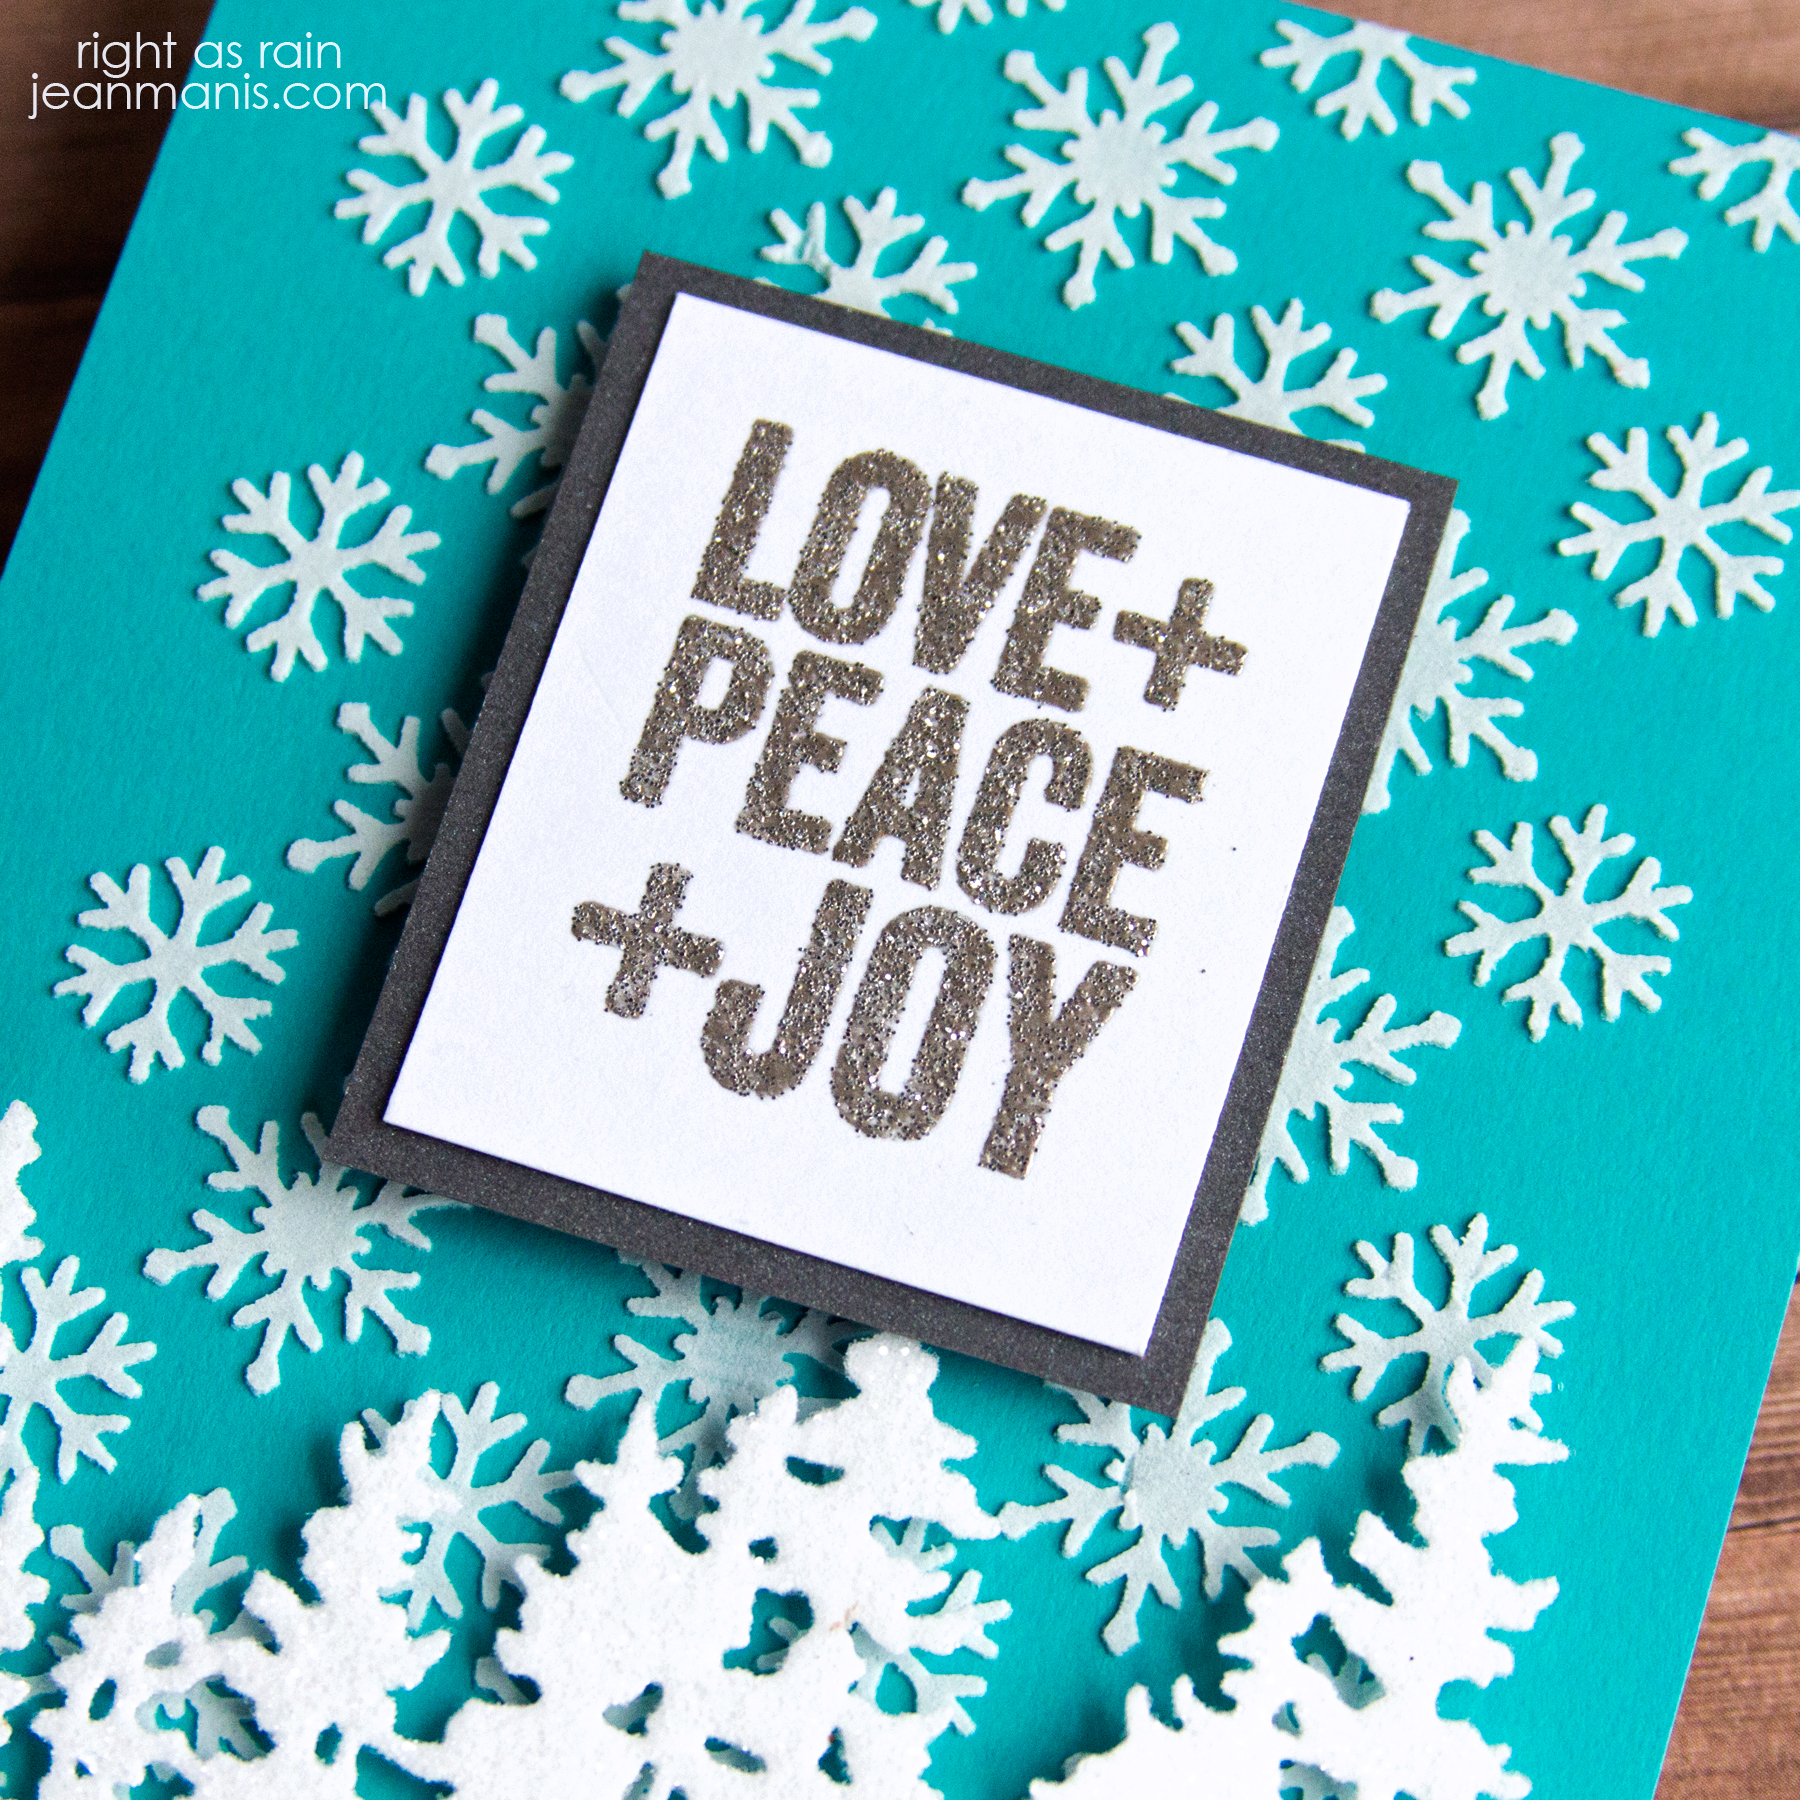
- Glimmer-foil the Mini Christmas Sentiment Strips sentiment and cut with banner die in the Heart to Heart die set.
- Assemble elements, popping the truck up with foam adhesive.