Another Merry Monday #180 Reindeer

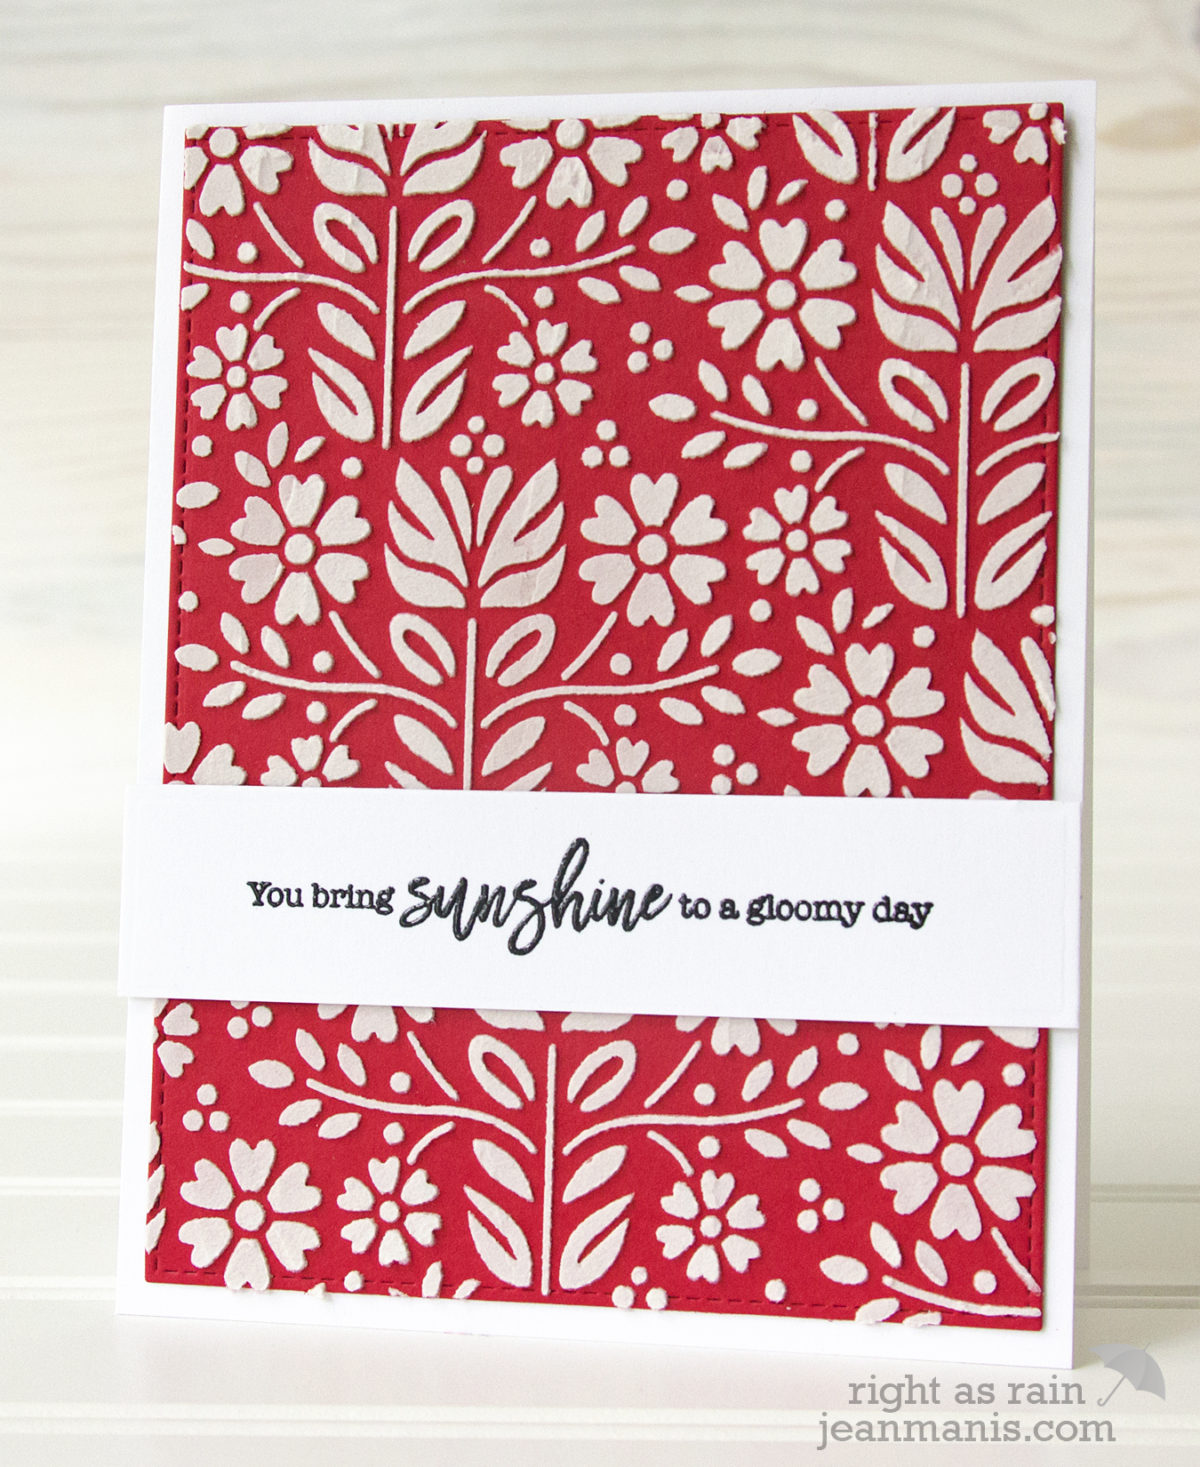
I’m playing along at the Merry Monday #180 Challenge with another reindeer card. Turns out, I have a lot of reindeer-themed supplies!

Hero Arts Reindeer Stencil

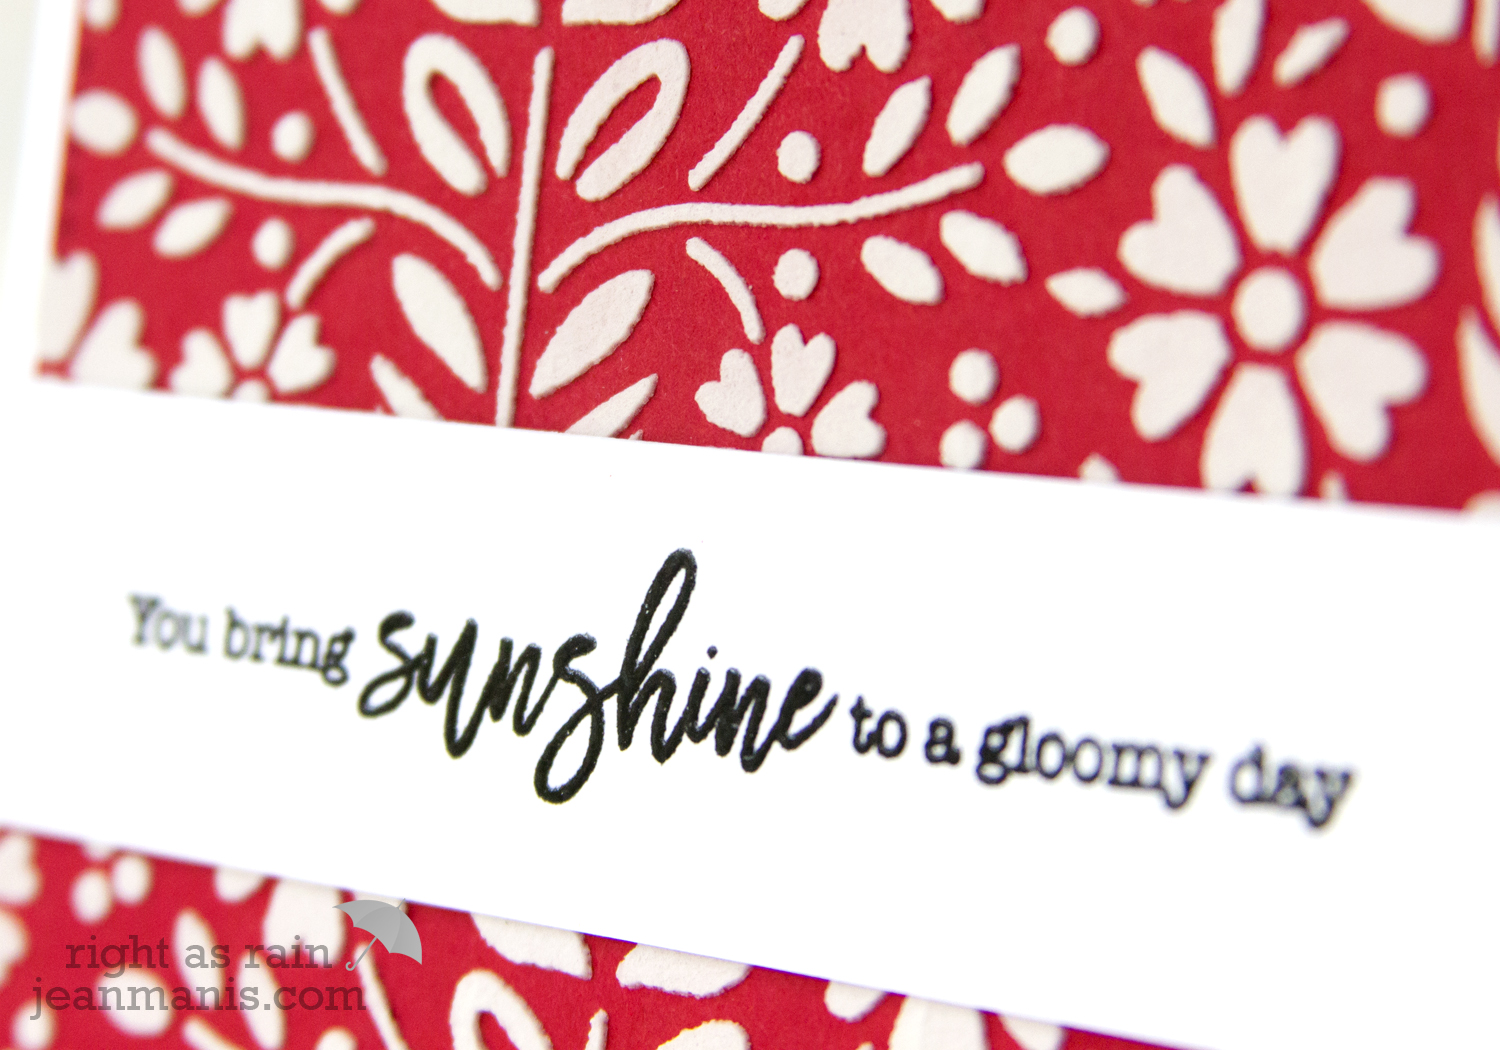
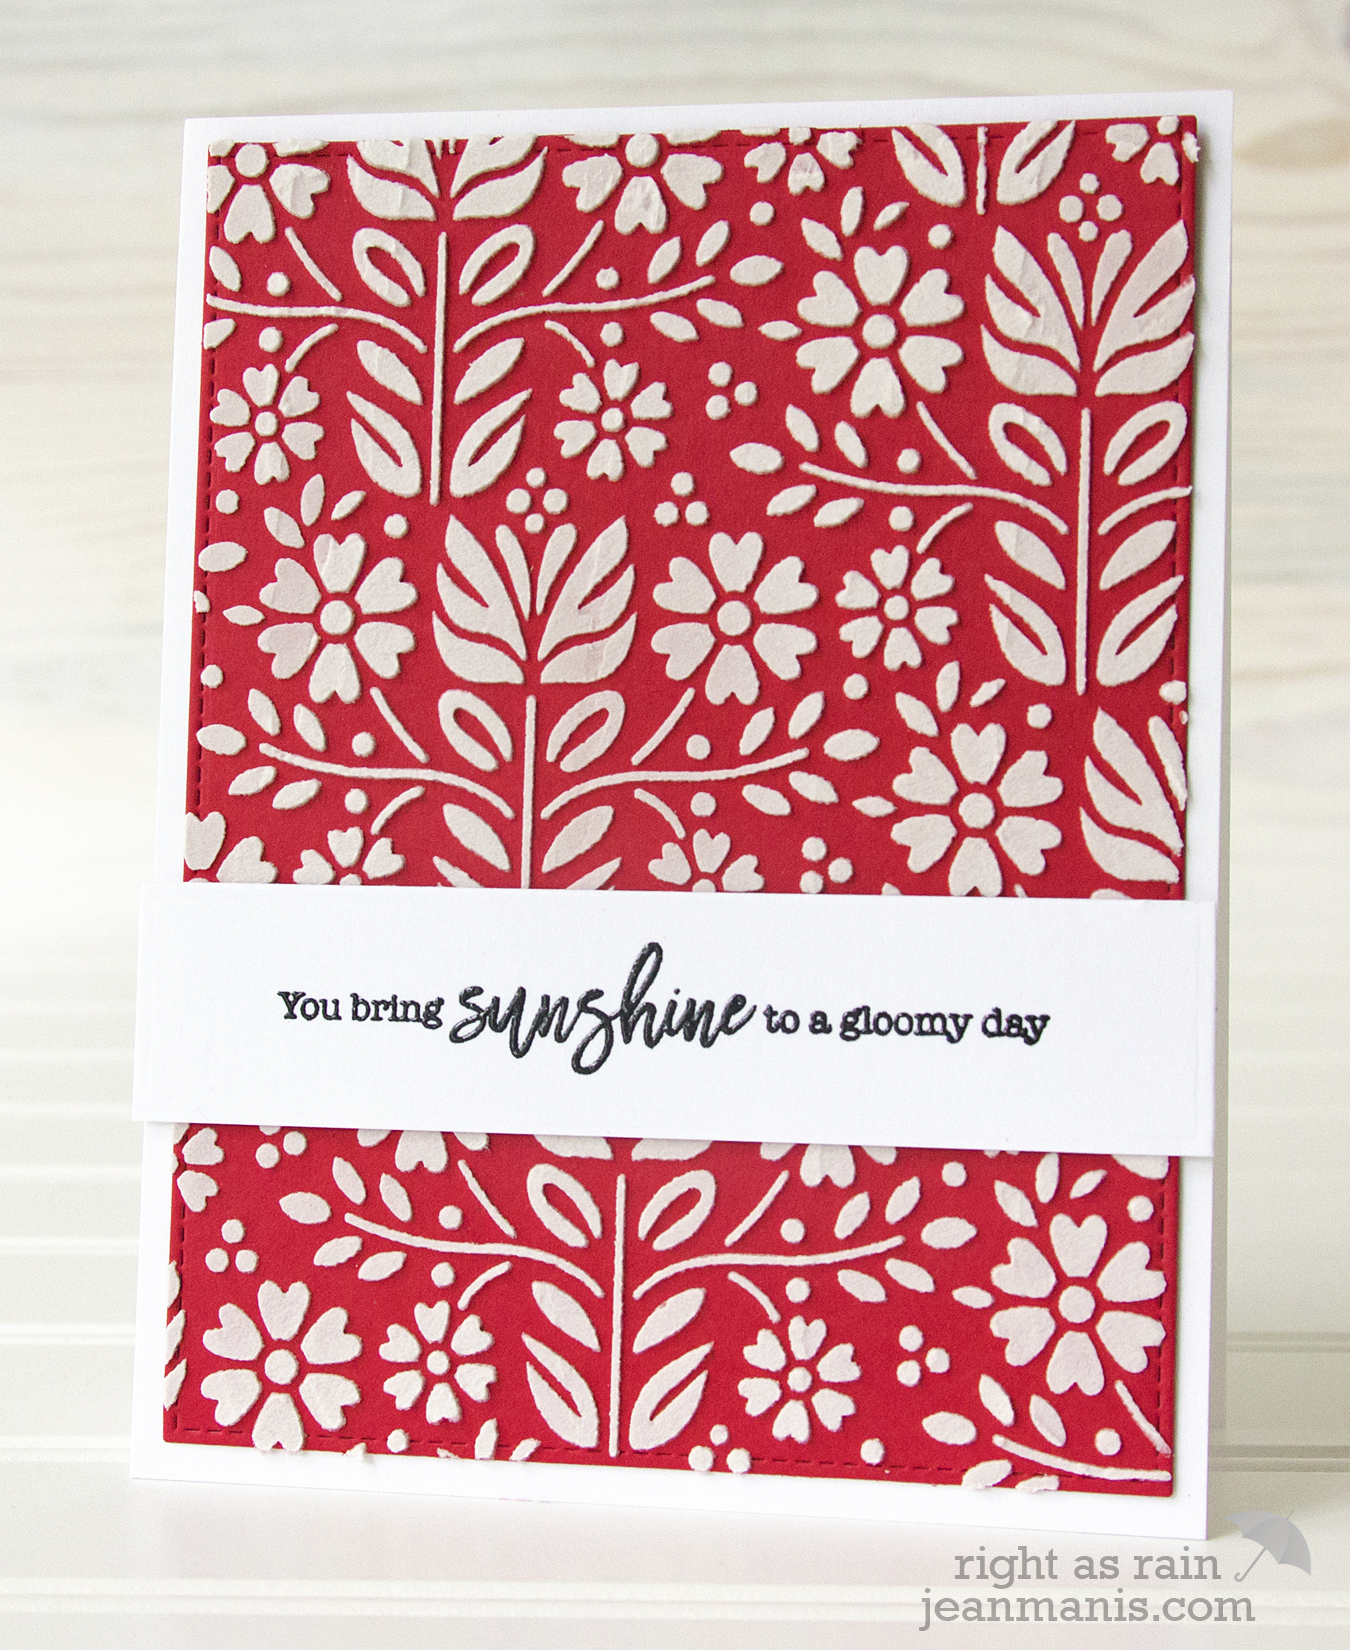
I used Bo Bunny Sugar Glitter embossing paste with the Hero Arts Merry Christmas Reindeer stencil. I allowed the red cardstock panel to dry overnight (the product seems to take longer to dry than other embossing pastes I’ve used before) and then added a heat-embossed sentiment from the Hero Arts Family and Friends stamp set. I used a Taylored Expressions stitched banner die to cut the sentiment. Other than the drying time, this CAS card came together quickly.

Penny Black Simplicity – Vintage Birdcages

Today, I’m sharing a “just because” card featuring the Penny Black #51-141 Vintage Birdcages die cut set.

SweetBirdCages

To begin, I watercolored swatches for the birdcages using Distress Inks. While the swatches dried,  I sponged Tumbled Glass Distress Ink through one of the patterns on the #25-014 Oscillations stencil on to white cardstock for a subtle background. I stamped a sentiment from the #30-297 Sprinkles and Smiles set onto the panel. I cut the birdcages with the #51-141 Vintage Birdcages from the watercolored paper and from white cardstock. I adhered the two together for extra depth and adhered them to the white card panel. As a final touch I added a bird cut with the #51-094 Tweets set.

Online Card Classes Background Check – Day Three

Today’s Online Card Classes Background Check lesson focused on card designs using backgrounds created in the first two days of lessons. I followed one of the designs shown by Jennifer McGuire. To create the background, I followed the same techniques as on my Day One card.

OCCBCDay3

Supplies:

Online Card Classes Background Check – Day One

I’m sharing a card created with one of the techniques shown in the Day One lesson of the Online Card Classes Background Check class.

Day1

I inked the cardstock panel with three Distress Inks, ran it through the Big Shot with the My Favorite Things stencil (adding some dimension) and then dabbed at the open areas of the stencil with a baby wipe to life off some of the ink. The card design is based on one used by Jennifer Rzasa in an earlier Online Card Classes course.
Supplies: Hero Arts sentiment from a retired set

Stenciled Mother’s Day Card

Today, I’m sharing a CAS card suitable for Mother’s Day (or a birthday) featuring the Penny Black 25-018 Patina stencil.

StenciledFlowersCard

I stamped the sentiment from 30-297 Sprinkles and Smiles before cutting the cardstock with a rectangle die. Next I applied the the embossing paste, which I colored with dye ink, in two sessions. I started with the flower in the lower-left corner.

I adhered the stencil to the craft mat over the cardstock panel, using washi tape to hold the stencil, as well as to mask off the areas to which I didn’t want to apply any paste.

Once the paste was applied, I pulled off the stencil and rinsed it, and I let the paste dry for about thirty minutes. Then I repeated the process in the right-hand corner with a small flower.