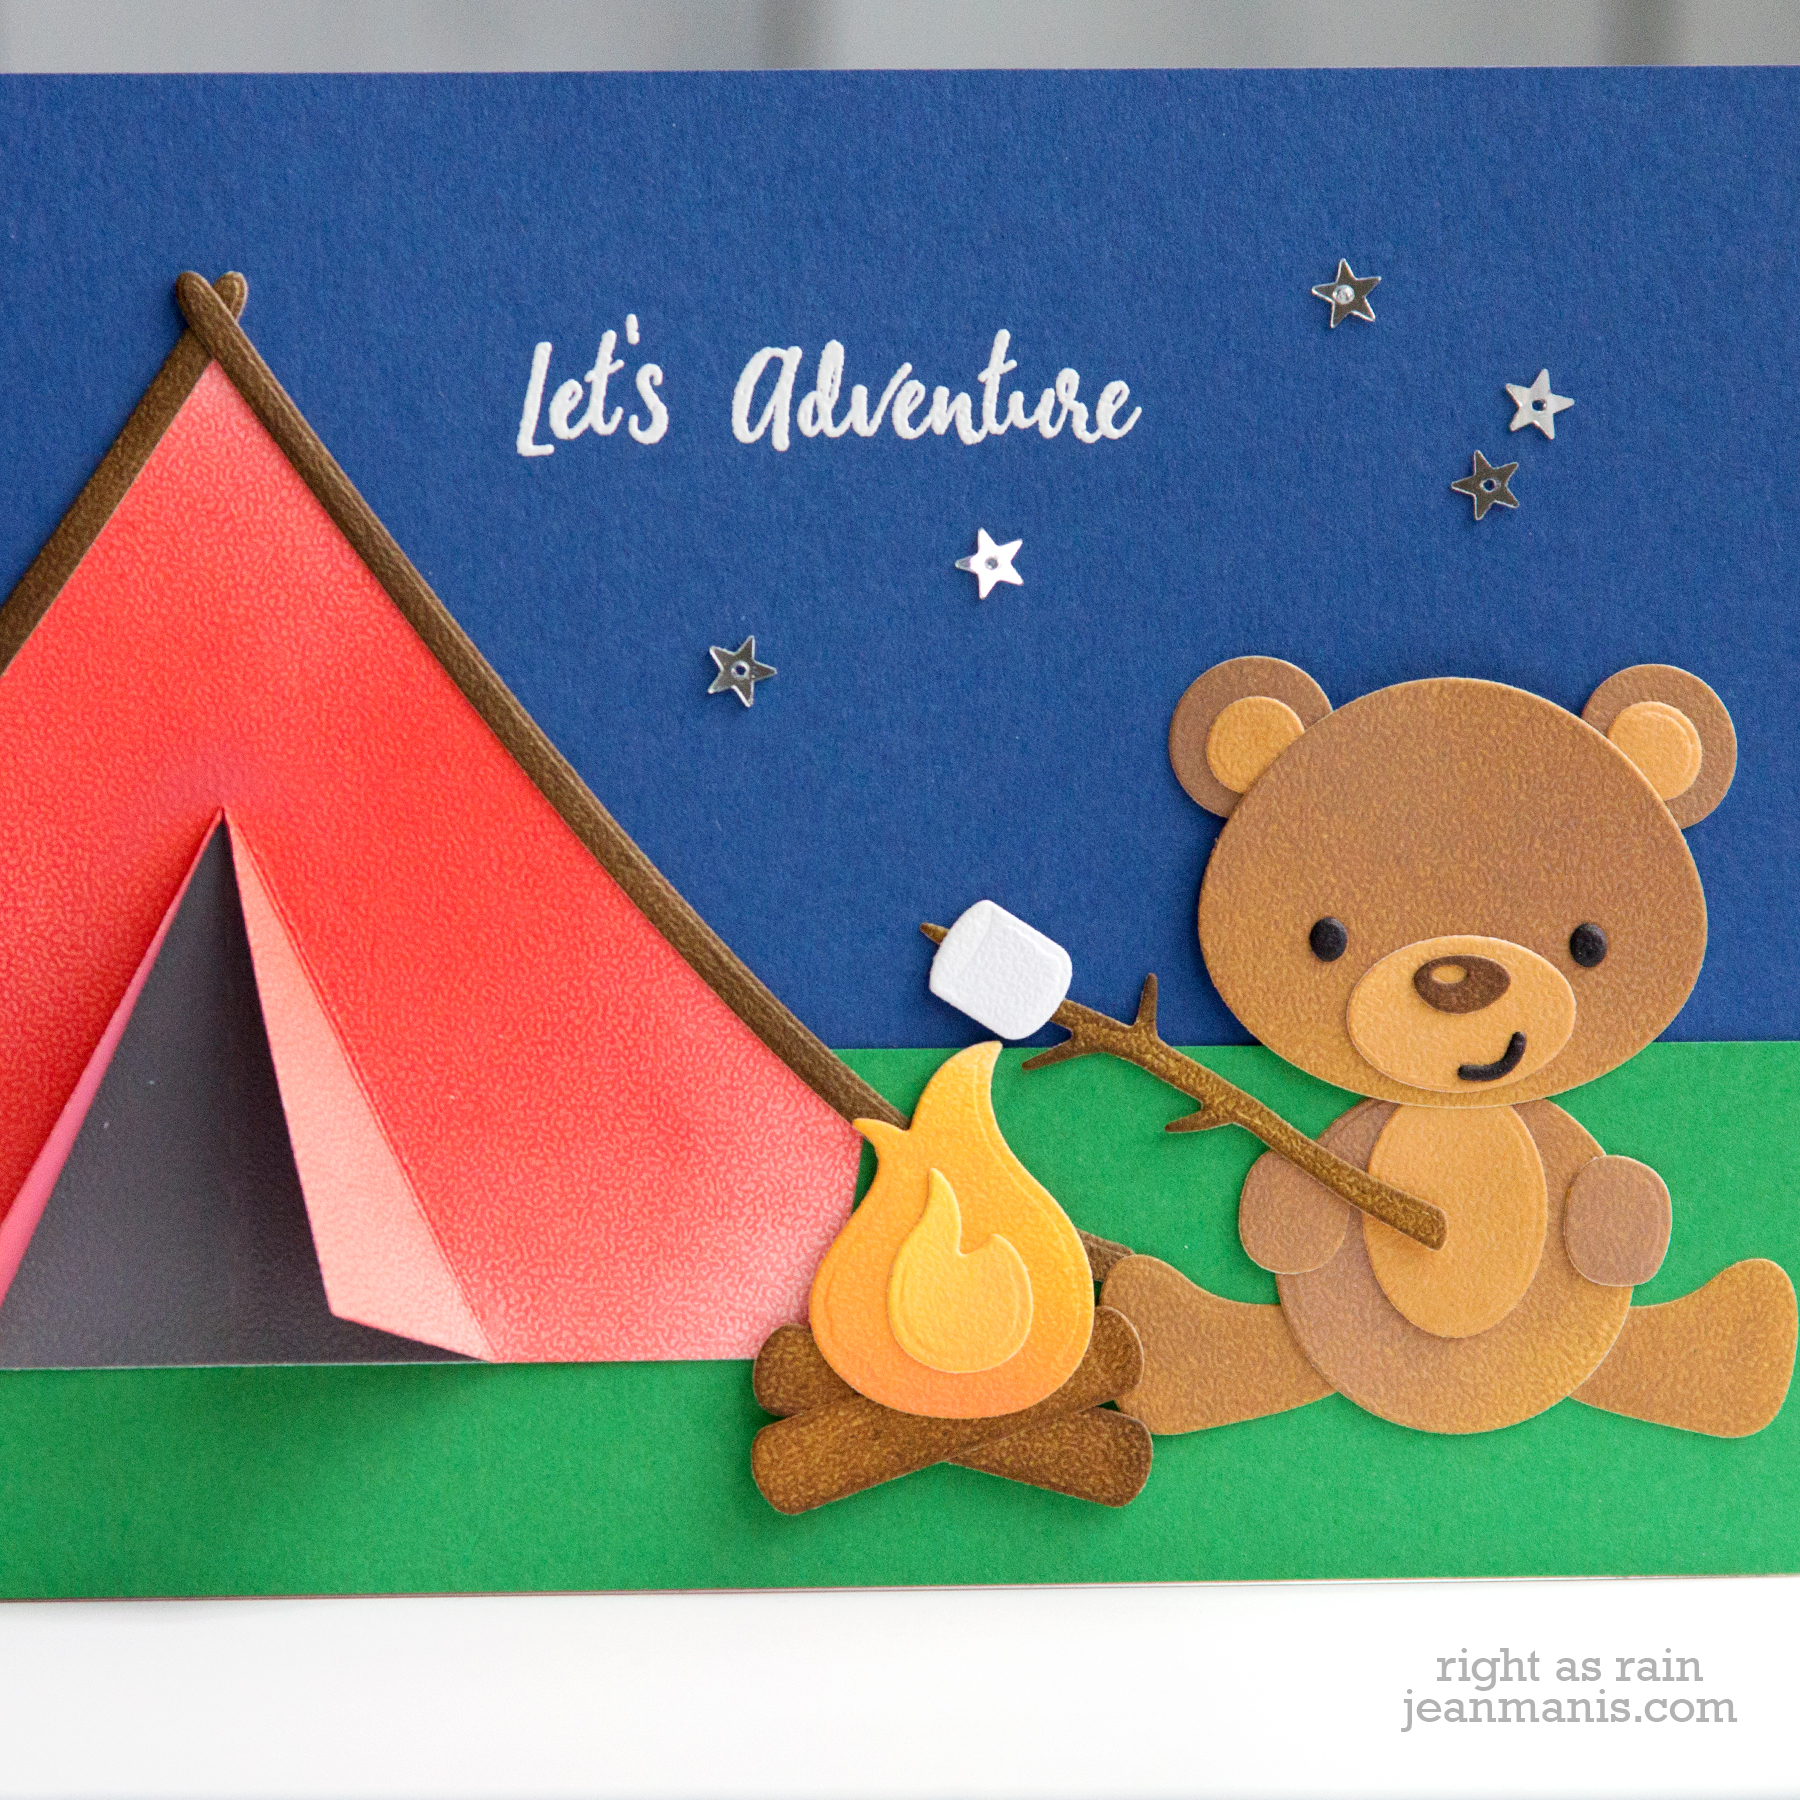
Spellbinders/FSJ Summer Die-cut Scene

Hello! Today I am sharing a die-cut summer scene in which I have combined a number of Spellbinders/Fun Stampers Journey die sets. Knowing what you know about me – I love summer colors like red, white, and blue, and I love to die cut! I was inspired by my recent move to create a “Home Sweet Home” card.

Spellbinders Summer Die-cut Scene

I rotated the window in the Window View die set and added the ledge piece below as a window box. In the background I dry-embossed the Banana Cream cardstock with the Bright Days embossing folder. In the foreground I added a fence cut with the Garden Fence die. To accommodate the window and the fence, I made the card 4 1/2″ tall by 5 1/2″ wide.

I used the A Little Birdie set to cut the small flowers and the green stems. I added a bigger spray of green with the Bloom Cluster die. The larger flower was cut with the Daisy die set. The butterfly is included in the Spring Flutter set.

I printed the computer-generated sentiment on Pineapple Smoothie cardstock.

Spellbinders Summer Die-cut Scene

Thanks for dropping by!

Supplies:

It’s Strawberry Season! – Die-cut Berry Truck

Hello! I’m back online with a “just because” card.  I’m still getting things rearranged in my new workspace. It’s strawberry season and the ones we’re getting in the PNW are fantastic. I crafted this Pacific Northwest scene with Impression Obsession dies, a My Favorite Things stencil, Memory Box dies, and a Hero Arts sentiment.

It's Strawberry Season! - Die-cut Berry Truck

As I created this card, I was using a Valentine’s Day card that my brother and I sent my grandmother sometime in the 1960s as a straight edge and a Cross pencil of my father’s to draw lines for trimming. That’s a good indication of how much crazy is in my life – that I could lay my hands on those tools faster than a ruler and pencil from this century!

It's Strawberry Season! - Die-cut Berry Truck

The sentiment is from the Hero Arts Stamp Your Own Fruit set (now retired). The clouds are from two different sets – Memory Box Puffy Clouds and Marshmallow Clouds.

Supplies:

Spellbinders – Tulip Flower Frame

Hello! Today, I am sharing a CAS Thank You card created with the Tulip Flower Frame Card Creator die set designed by Maria Job for Spellbinders. I previously shared cards created with the set in this post.

Spellbinders - Tulip Flower Frame

I specifically wanted to use patterned paper on the card base as this particular “cover plate” die has an ample amount of open space. Once I cut the frame and placed it over the patterned paper, I decided that some of the tulips in the frame should be filled in, which I did with the inlay method.

I heat-embossed a sentiment from the Everyday Script set and cut it with its coordinating die. I cut circles from both red and cream cardstock, which I adhered to the card center. I adhered the sentiment to the circles with foam adhesive.

Spellbinders - Tulip Flower Frame

Thanks so much for dropping by!

Simon Says Stamp CAS Summer Card

Hello! Today, I am sharing a CAS summer-themed card featuring Simon Says Stamp supplies. Why summer you ask? I just received the bike die and that made me think of warm and sunny days.

Simon Says Stamp CAS Summer Card

  • I taped the sky and grass (ground) cardstock pieces together on the back and cut them with a Lil’ Inker square die.
  • I cut the bike with the Classic Bicycle die and assembled it. I added it to the square panel with foam adhesive.
  • I cut the SUMMER letters with the Summertime die and glued them to the grass.
  • I stamped Hello and Happy with stamps in the Four Seasons Sayings set and cut them with a skinny banner die (MFT set that is now discontinued).
  • I dry-embossed the card base with the Subtle Dynamic Textured Impressions Embossing Folder from Stampin Up’.

Simon Says Stamp CAS Summer Card

Supplies: Simon Says Summertime die set; Simon Says Four Seasons Saying stamp set; Stampin’ Up Lemon Lime Twist, Stampin’ Up Melon Mambo cardstock, and Gina K Designs Turquoise Sea cardstock; Memento Pear Tart ink; Stampin’ Up Subtle Dynamic Textured Impressions embossing folder


Newton’s Nook – Live, Love, Aloha

Hello! Today, I am sharing another card created with the Newton’s Nook Aloha Newton stamp set. See my first card here.

Newton’s Nook Aloha Newton

  • I stamped the image with Intense Black ink on Mixed Media paper.
  • I colored the image with Zig Clean Color Real Brush markers.
  • I stamped the sentiment under the colored image and cut the paper with a rectangular die.
  • For the card base, I dry-embossed Taylored Expressions Candy Corn cardstock with a TE embossing folder that reinforces the tropical feel.

Newton’s Nook Aloha NewtonSupplies: