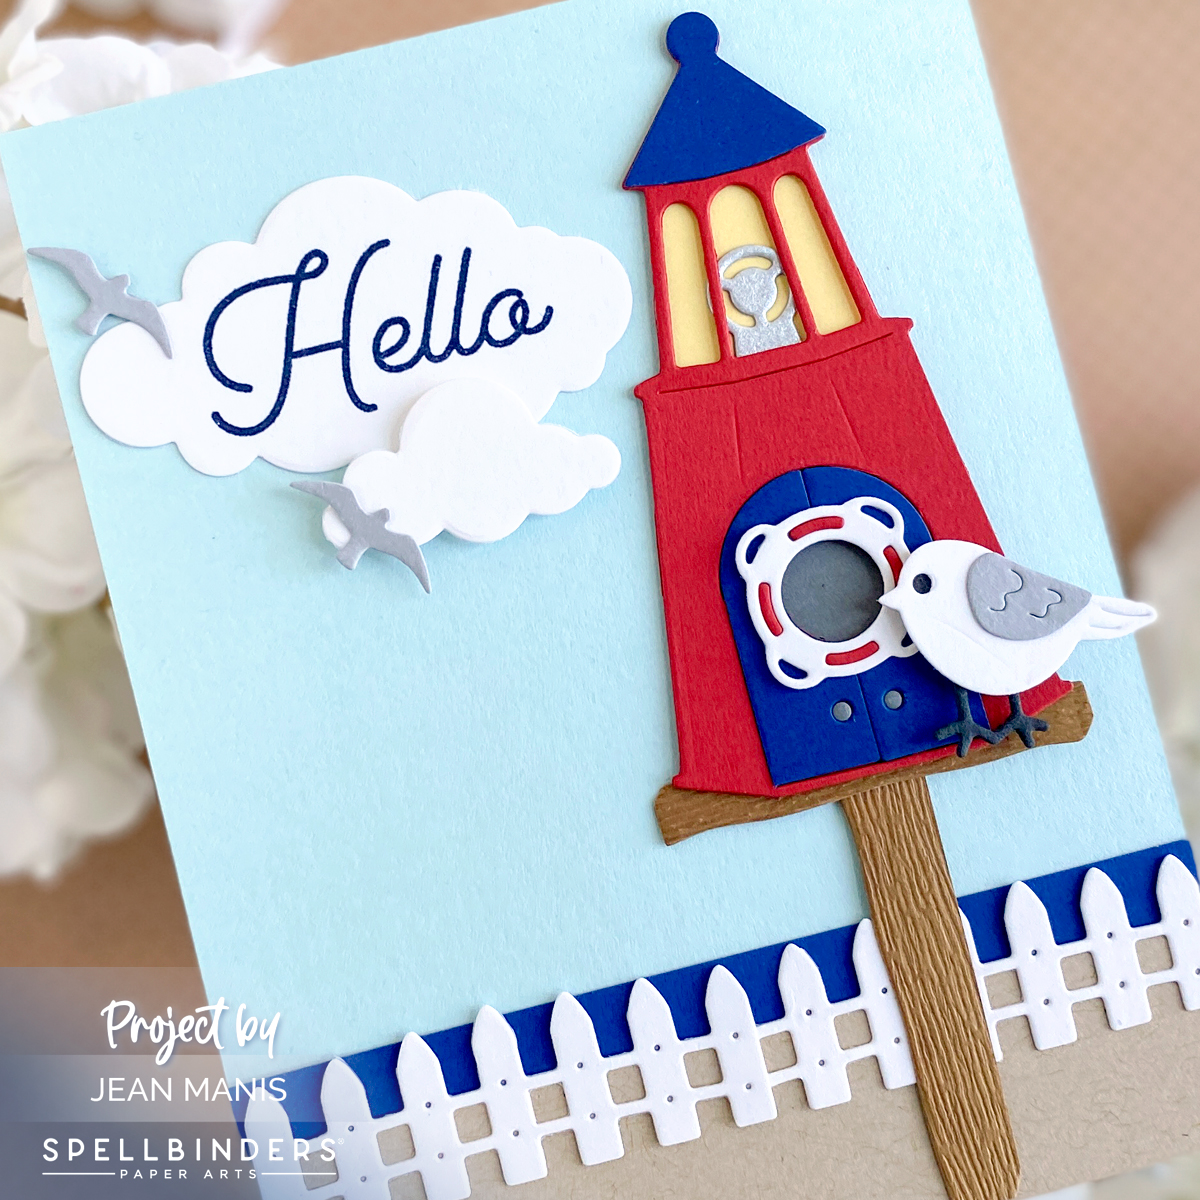
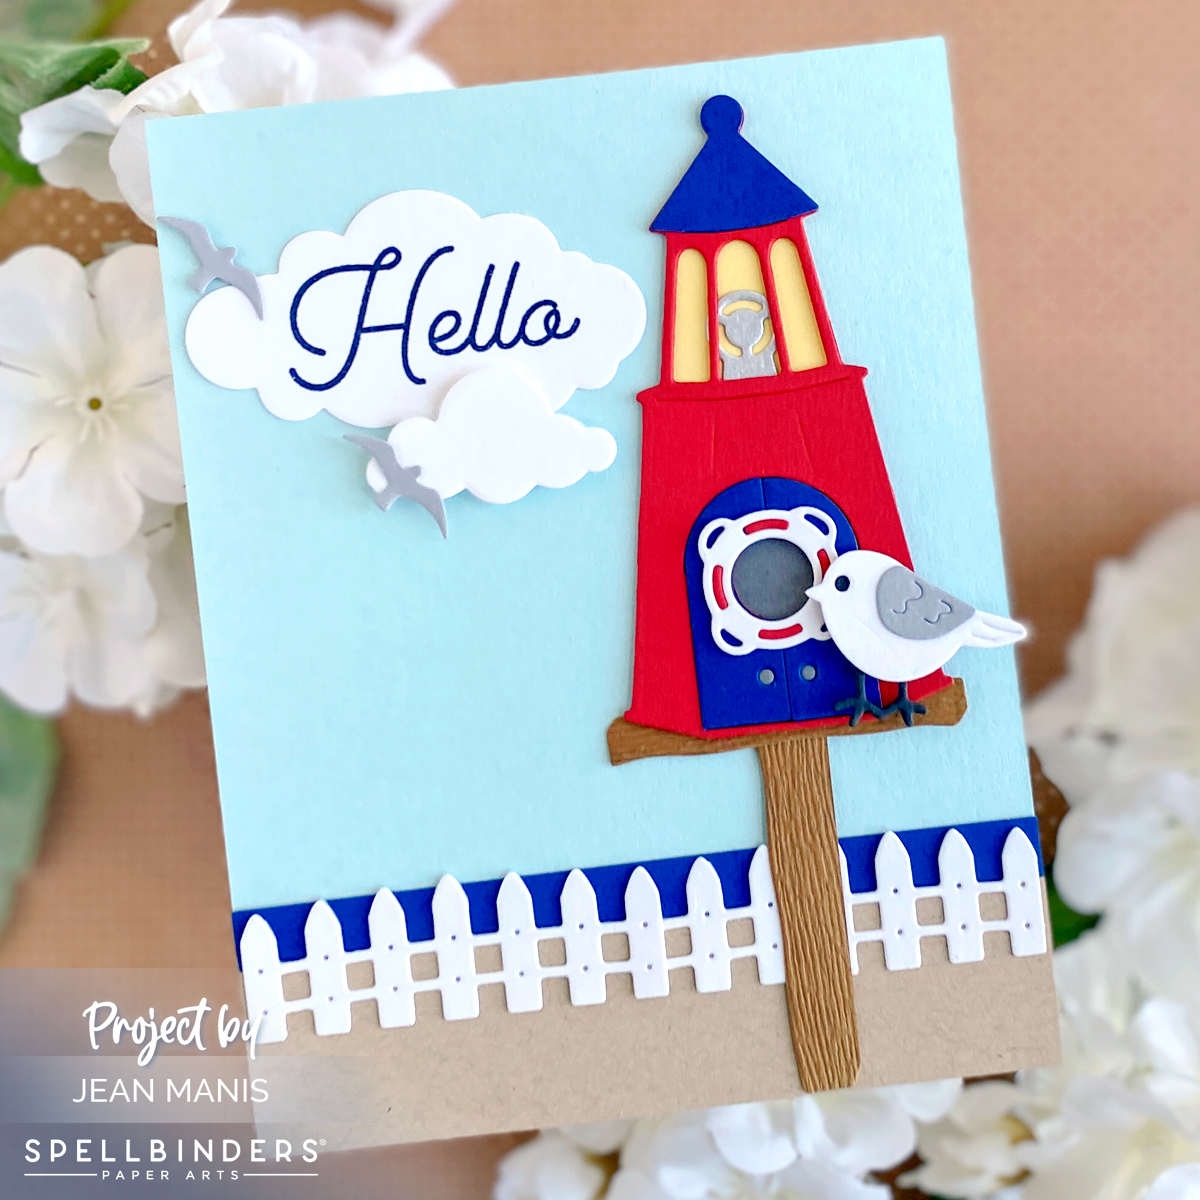
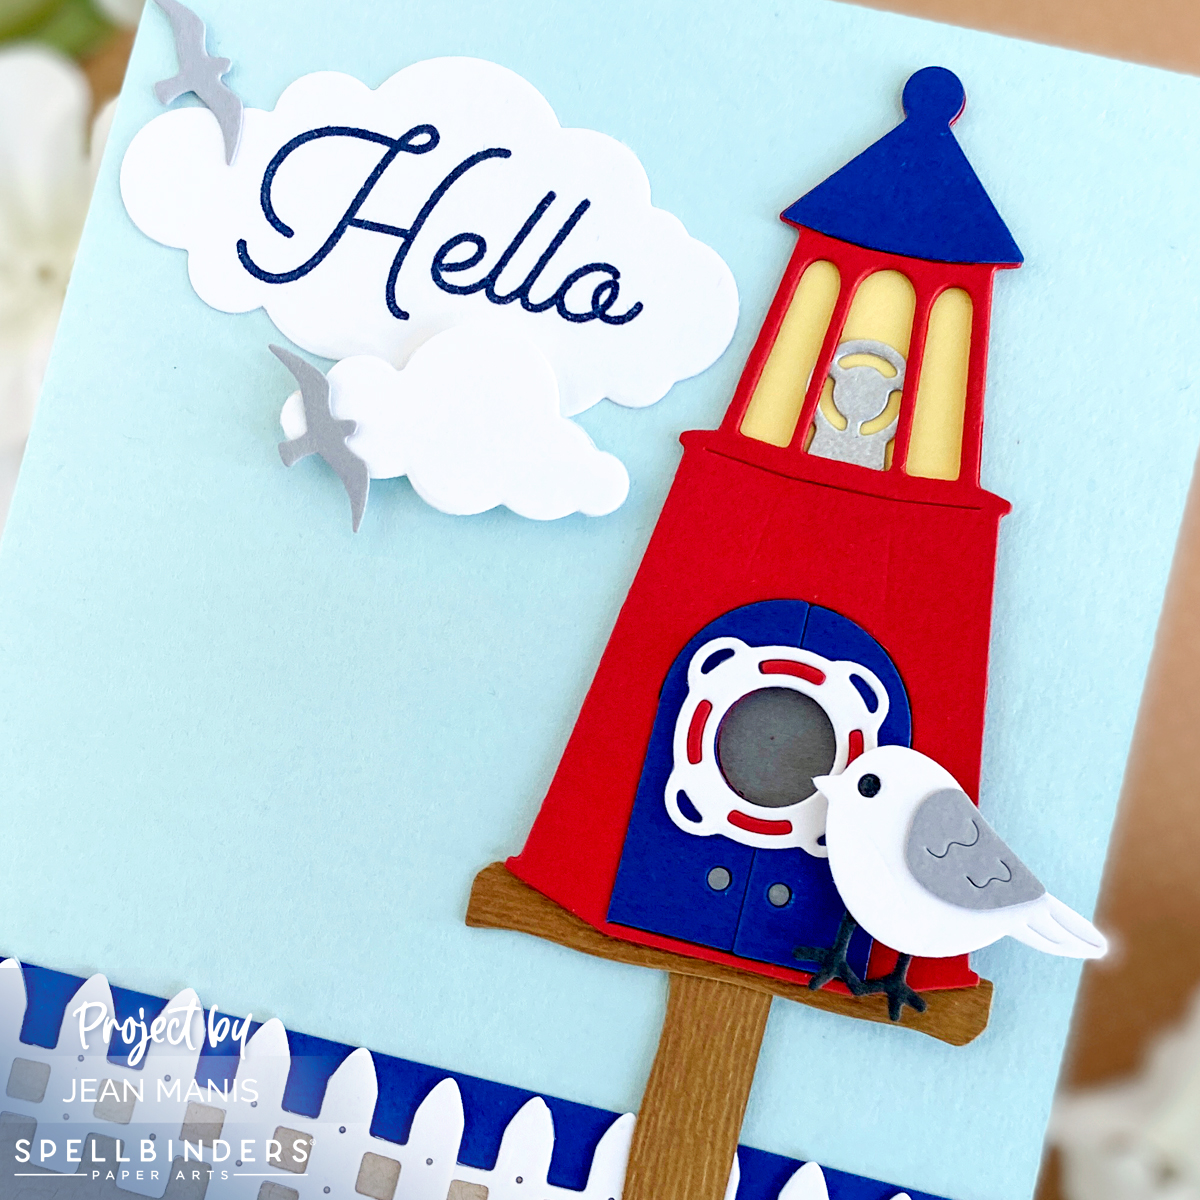
Marianne Design – To the Beach

Looking for the Spellbinders Blog Hop post? Find it here.

Hello! With Labor Day just around the corner, I am sharing a CAS, end-of-summer card using the Beach Houses set from Marianne Design. The company is based in The Netherlands; I buy their sets from Frantic Stamper.

Marianne Design - To the Beach

  • The dies for the houses have open slots on the back through which I inked the details on the houses and the umbrella.
  • I masked the houses to ink the flag and the bird.
  • I cut the chairs and the door from cardstock inked with the Memento Love Letter ink. I inked squares with Dandelion ink and taped the pieces behind the windows.
  • I stamped the Papertrey Ink sentiment (which I use once every year it seems!) on to Sea Glass cardstock, and added a strip of blue cardstock for the ocean, and kraft cardstock for the beach.
  • I cut the lone bird in the sky with a Memory Box set, now retired, which I lightly inked on the edges.
  • I adhered the elements to the scene.

Marianne Design - To the Beach

Supplies:

Lawn Fawn Beach Hut

Hello! Today I am sharing a beach-themed die-cut card created with Lawn Fawn products.

Lawn Fawn Beach Hut

I imagined a beach hut in the Caribbean and chose tropical colors for the door, shutters, background, and palm fronds. Having made this one, I may make a more New England-style house next (without the palm trees!).

The trickiest part of the construction was the creation of the sand hill, on which I heat-embossed the sentiment. The trick was to cut it so that it covered the right amount of the palm frame piece but not too much of the hut.

The hut pieces are part of the Scalloped Treat Box Beach House Add-On set. I didn’t use the Lawn Fawn Treat Box set (which I do not own) for the base; instead, I cut the hut with a square die (which I dry-embossed).

Lawn Fawn Beach Hut

Supplies:

Spellbinders/FSJ – Make a Splash

Hello! Today I’m sharing a card in which I envision a summer day at the pool (let’s imagine a post-pandemic day!) with new products from Spellbinders/FSJ. Growing up, I spent many a carefree, summer day at our local pool.

Spellbinders/FSJ - Make a Splash

  • I die-cut the pool, pool ladder, and umbrellas with dies in the Pool With a View set. I added enamel dots to the tops of the umbrellas.
  • I stamped, colored, and fussy-cut two images from the Make a Splash set.
  • I stamped the Make a Splash sentiment and cut it with a circle die.
  • I dry-embossed the card background with the Bright Days folder.
  • I added the pieces to the scene with dot and foam adhesive.

Scroll past the Supplies for information about a sale at Spellbinders.

Supplies:

Spellbinders is having a sale on past club kits through Sunday 7/19/2020. This sale is ONLY available to active club members. You must first join the club to access the savings. This exclusive sale features select Past Club Kits with additional  savings up to 50% added at checkout. Use the code “JULY” for 10% off the first month for new club subscriptions.

Let’s Get Nautical – Cottage Cutz Die Sets

Ahoy! Today I am sharing a nautical-themed card featuring die sets from Cottage Cutz and one of my favorite color schemes. I have had my eye on these sets for a while now (they were released several years ago).

Let's Get Nautical

  • I cut the Paddles & Rope Net and Crab in colors to coordinate with the Carta Bella patterned paper.
  • I assembled the pieces.
  • I dry-embossed the navy circle with the TE Weathered folder.
  • I stamped the now-retired Stampin’ Up sentiment in navy ink on white cardstock and cut it with a circle die.

Let's Get Nautical

What I like about this card: the nautical theme, the red/white/blue color scheme, and the patterned paper.

Supplies:

Let’s Go Camping – Elizabeth Craft Designs

Hello! Today I am sharing an adventure-themed card featuring die sets from Elizabeth Craft Designs. Camping is one of my favorite summer themes, right up there with nautical!

Let's Go Camping - Elizabeth Craft Designs

  • I colored soft-finish cardstock with Distress Inks and cut the various pieces for the bear, tent, fire, and s’more stick.
  • I assembled the pieces.
  • I created a 5″ x 7″ background on which I heat-embossed the sentiment.
  • I trimmed the tent on the left-hand side (because I was running out of room!).
  • I added the assembled pieces to the scene, adhering the fire and the s’more with foam adhesive.
  • Once I had everything in place, I added the star sequins as the blue sky looked blank. Had I thought of it earlier, I might have added stars through a stencil instead.

Let's Go Camping - Elizabeth Craft Designs

Details: