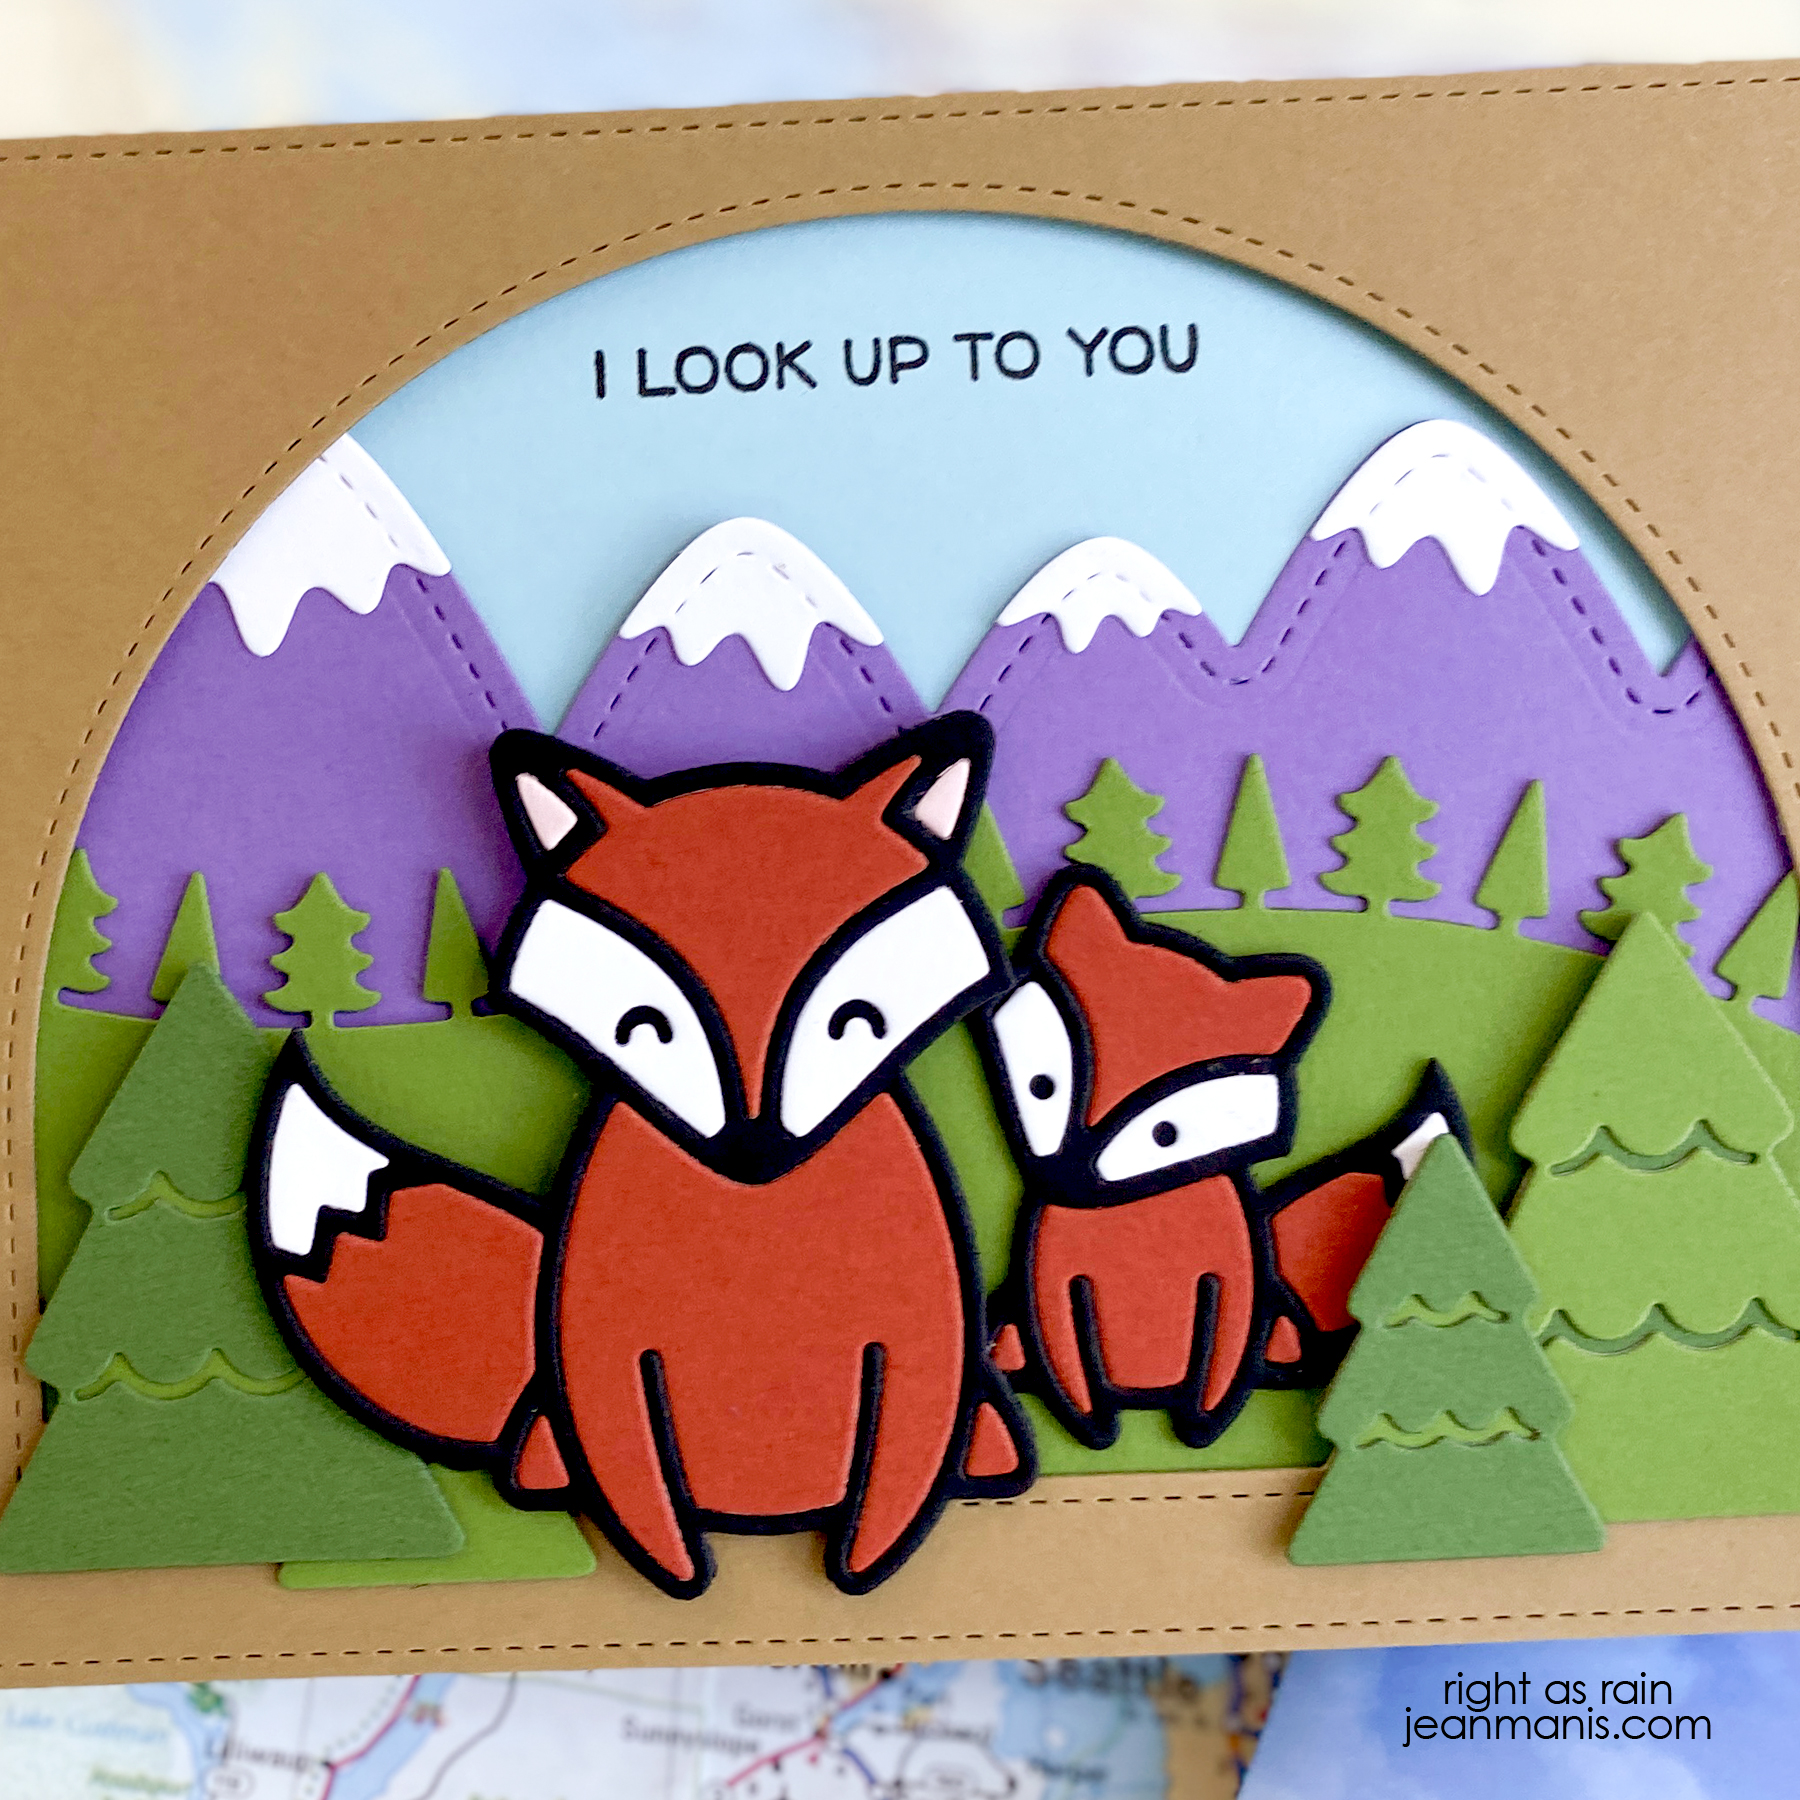
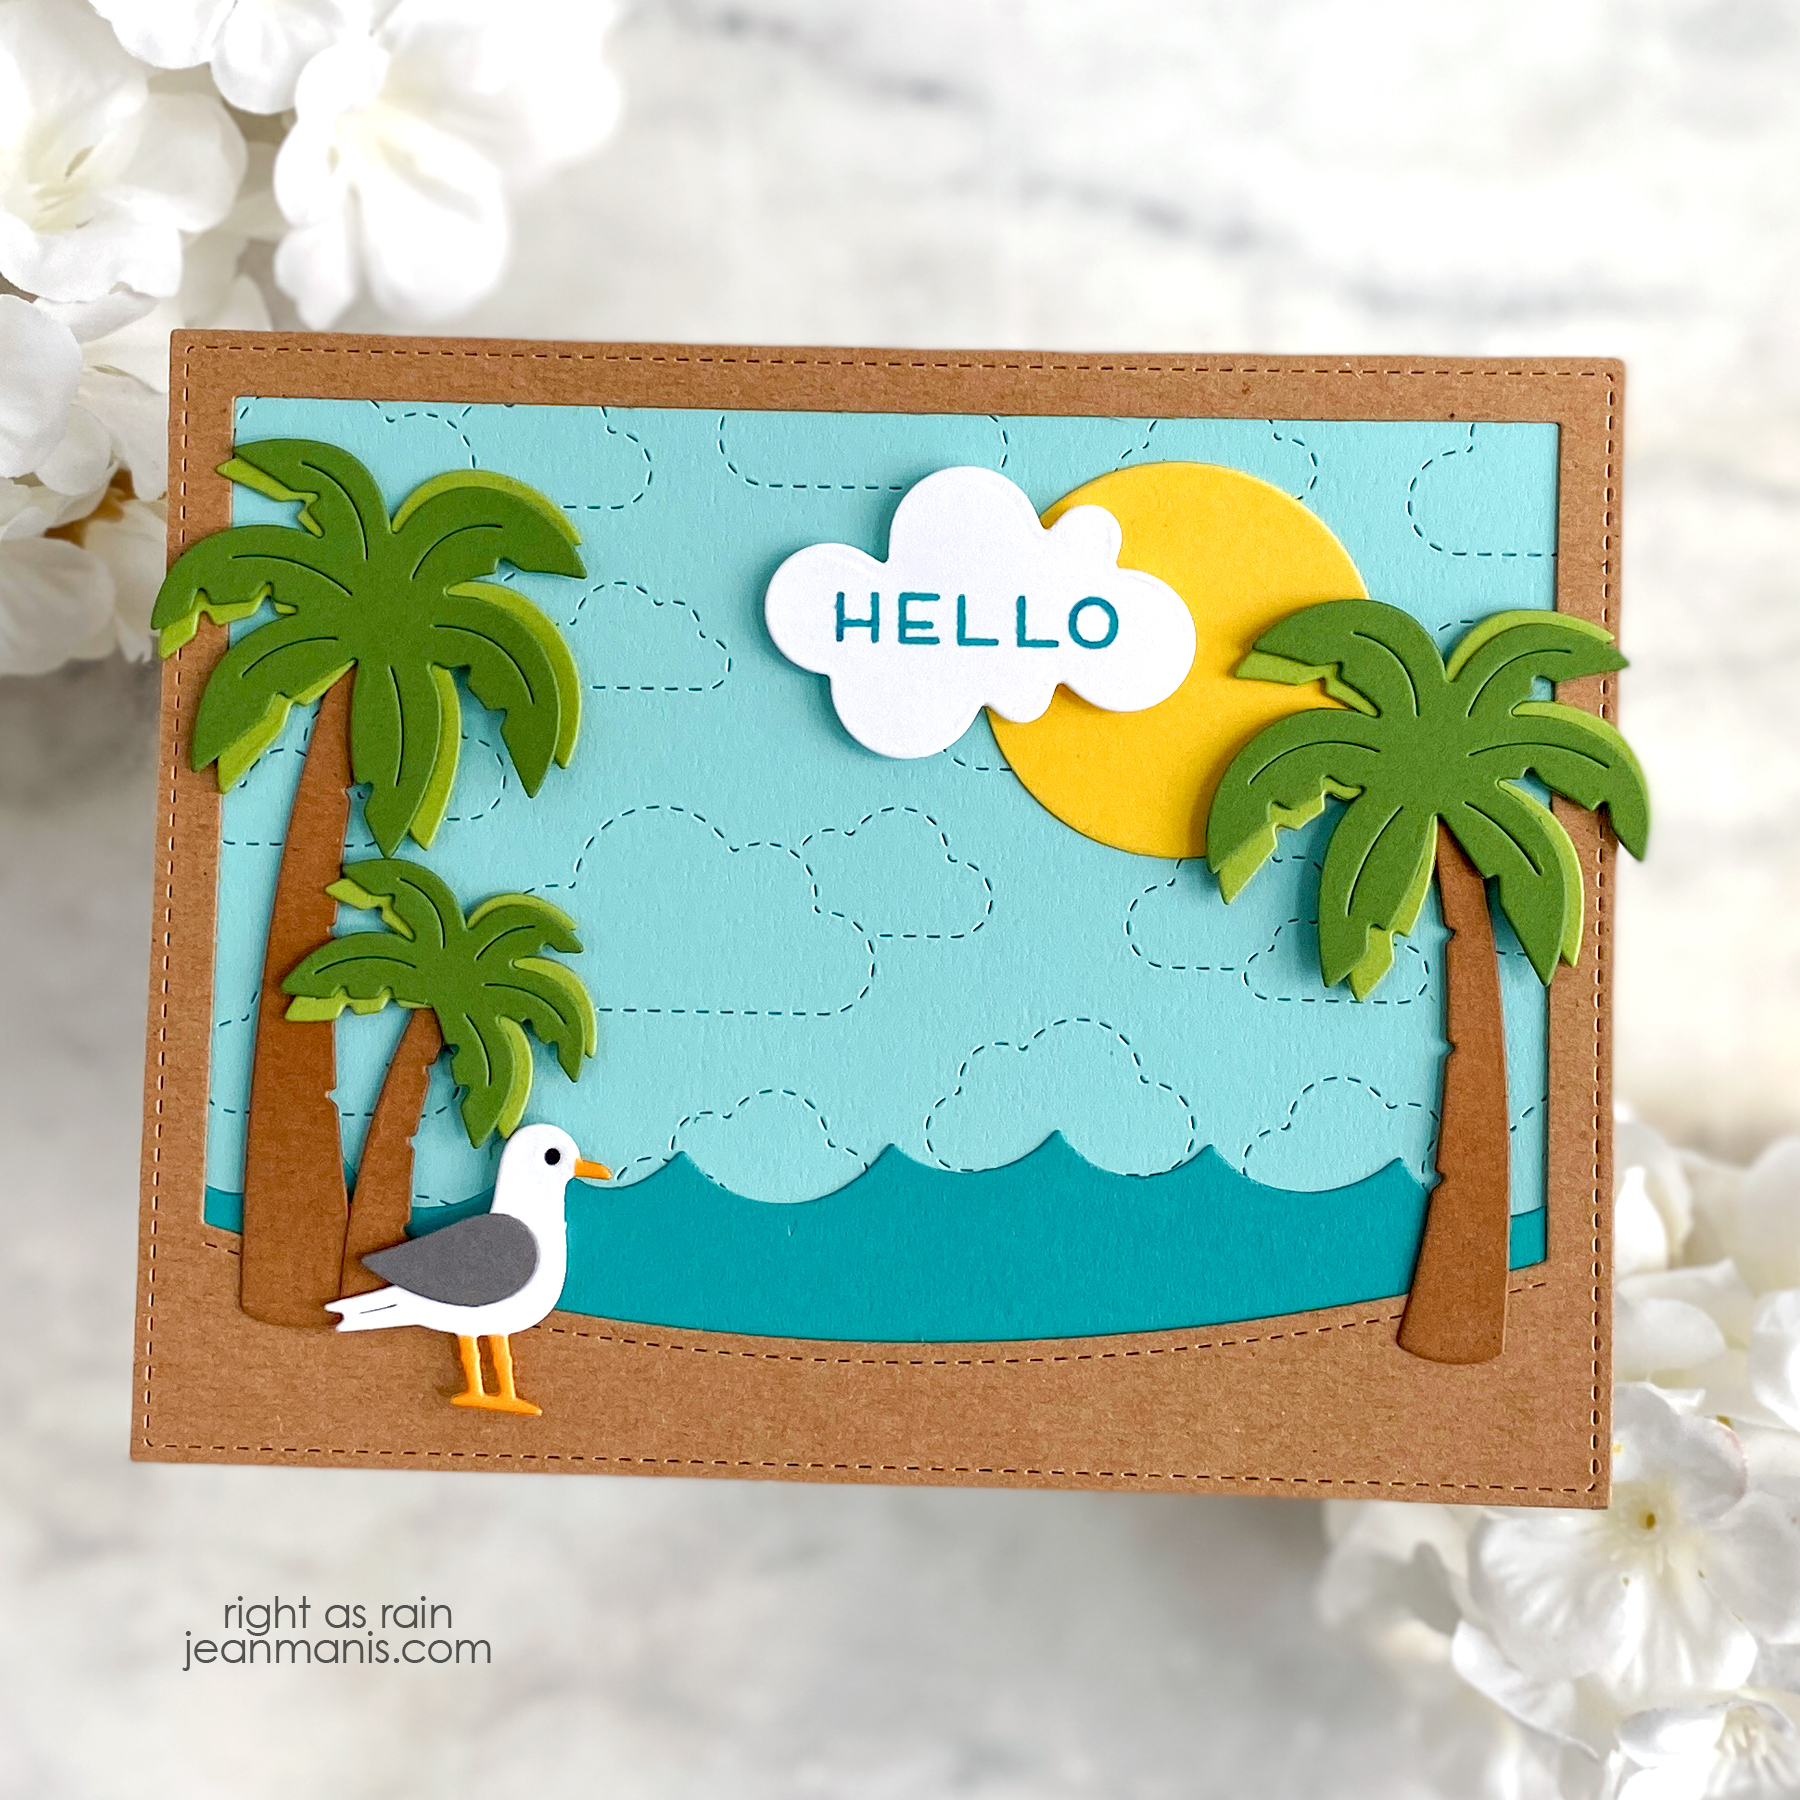
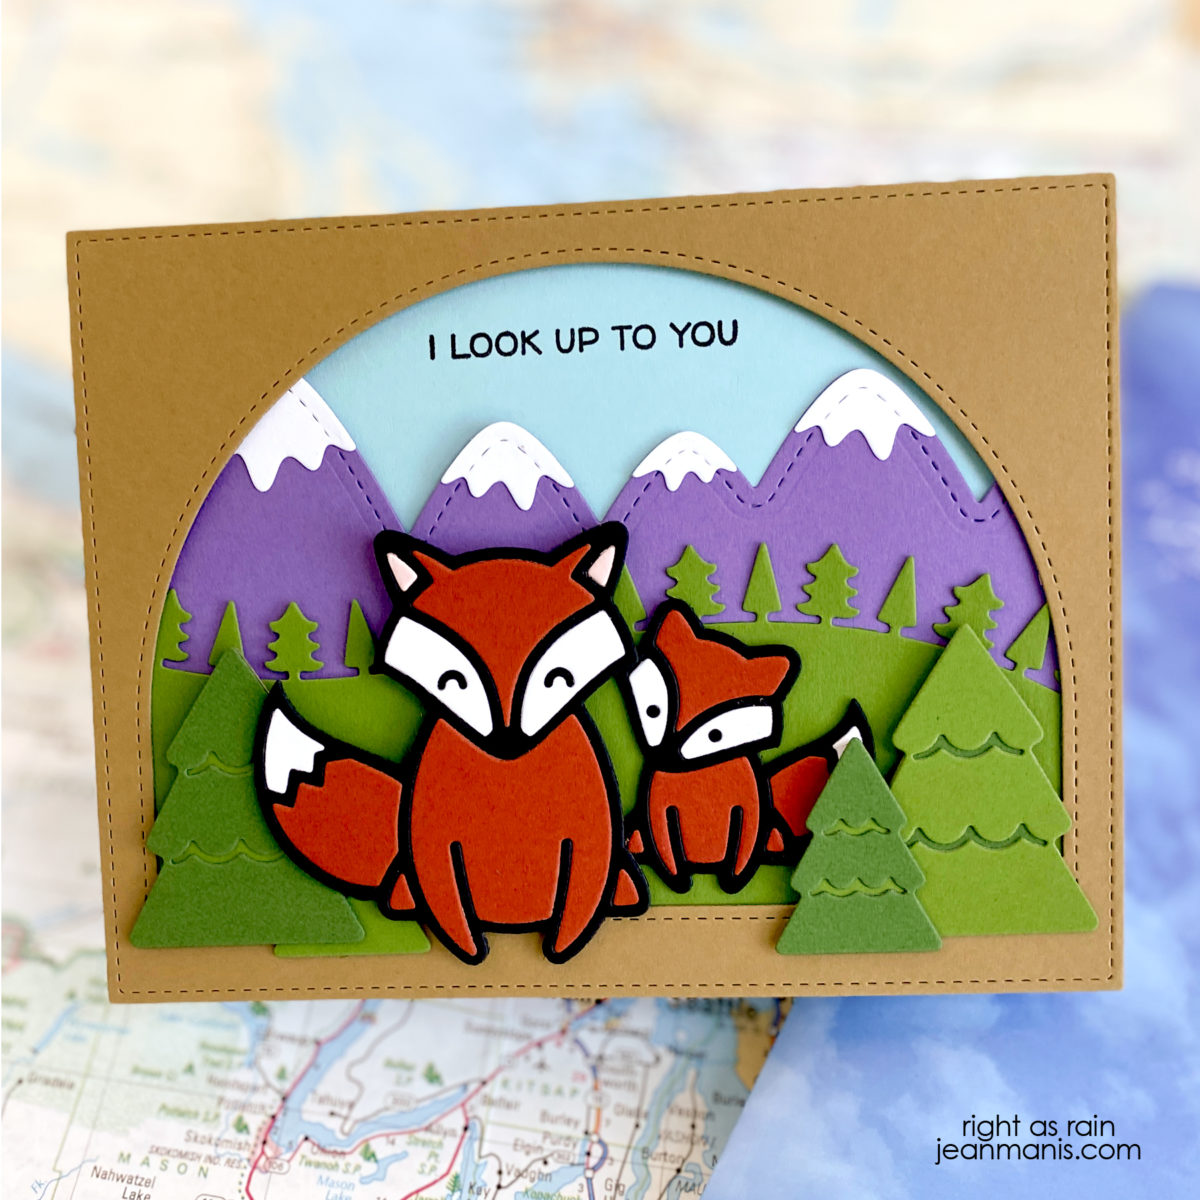
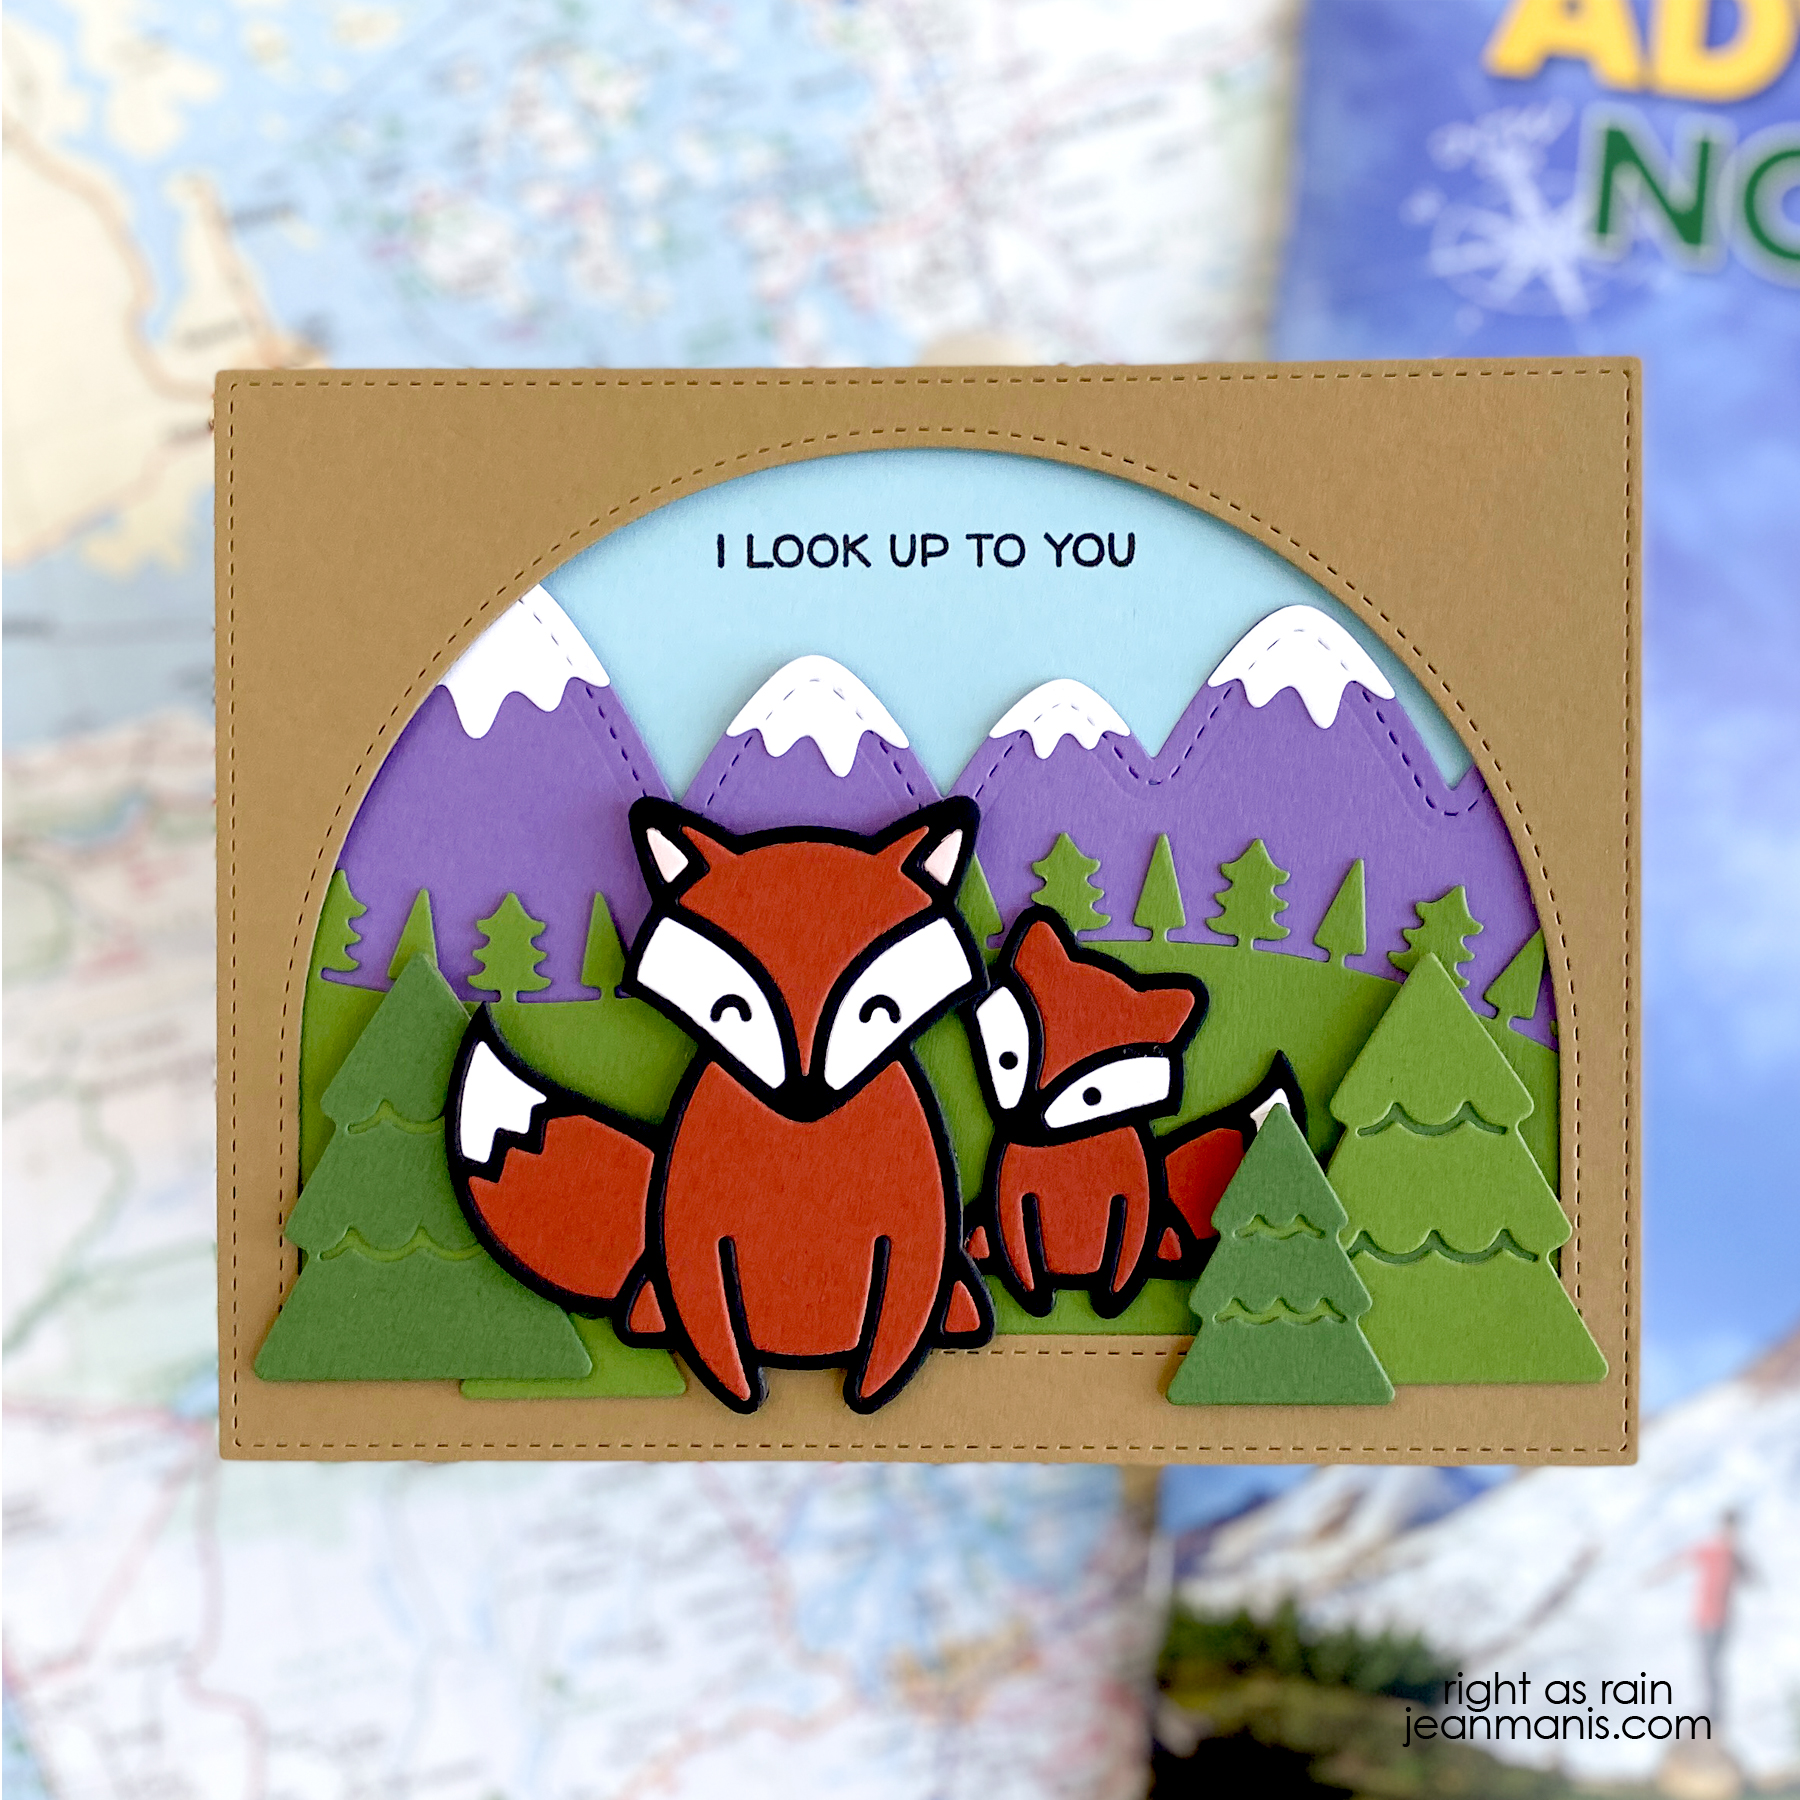
Rubbernecker | June 2022 Summertime Release

Today Rubbernecker is celebrating their Summer Release! Head over to see the stamp sets designed with summer in mind, suitable for a wide variety of occasions. I created a single-layer, fireworks-themed, birthday card showcasing the 4th of July Fireworks set.

Rubbernecker | June 2022 Stamp Release

Rubbernecker | June 2022 Stamp Release

  • Heat-emboss the 4th of July Fireworks sentiment in white on black cardstock.
  • Stamp the first layer of the images of 4th of July Fireworks with white pigment ink. (One of the set’s images is repeated.) Let white pigment ink dry or dry with heat embossing tool.
  • Heat-emboss the second layer of the fireworks with tinsel embossing powders; gold, red, and blue shown.
  • Trim panel and add to white cardstock A2-size base.

Rubbernecker | June 2022 Stamp Release


Rubbernecker | Nautical-themed Hello

Hello! Today, in celebration of the fact that it is almost summer, I am sharing a nautical-themed card featuring Rubbernecker dies, stencil, and stamp set.

Rubbernecker | Nautical-themed Hello

  • Stencil Sun Burst in yellow ink on white cardstock.
  • Cut Light House and keeper’s cottage (in the same set) from white, gray, red, and yellow cardstock.; assemble.
  • Cut wave from blue cardstock with a die in the Slimline Waves set.
  • Cut beach from sand-colored cardstock with a die in the Slimline Hills set.
  • Assemble A2-size card front, adhering the wave and beach to the sun background, leaving room between the two for the lighthouse structure.
  • Add lighthouse and cottage to the scene.
  • Stamp sentiment from Mini Simple Sayings on to a cloud cut with the Clouds set.
  • Embellish with Seagulls cut from light-gray cardstock.

Rubbernecker | Nautical-themed Hello


Rubbernecker | Bicycle Scene

Hello! Today, I am sharing a die-cut scene featuring Rubbernecker dies and stamp set. The Bicycle is the focal point of the card, which would work for a number of occasions.

Rubbernecker | Bicycle Scene

Create focal elements
  • Die-cut Bicycle from silver foil and colored cardstock; assemble.
  • Cut flowers and greenery for the bike basket with Tiny Flowers #2 and Leaves and Greenery die sets. Trim greenery as necessary. Add greenery and flowers to the bike basket.
Create background
  • Die-cut Gate and Arbor from white and black cardstock; assemble. (The gate piece is cut three times.)
  • Create A2-size background from blue cardstock. Add strip of green cardstock along the bottom for the grass.
  • Add assembled gate and arbor to the panel.
Create sentiment and additional elements
  • Stamp Mini Simple Sayings in black ink on white cardstock. Cut sentiment with Clouds die. Cut additional clouds at the same time.
  • Cut bird with Birds die from yellow cardstock.
  • Cut cat with Cats die from black cardstock.
  • Cut Classic Flowers and Stems from orange and green cardstock; assemble. Optional: add flowers centers with circles cut with dies in the Fishing Boat and Lifeguard Tower sets.
  • Add elements to scene. Largest cloud, bike, cat, and bird are added with foam adhesive.

Rubbernecker | Bicycle Scene

Rubbernecker | Die-cut Mini Slimline Scene

Hello! Today, I am sharing a summer-themed, mini-slimline card created with Rubbernecker dies and stamp set. There are a number of occasions for which this card would work.

Rubbernecker | Die-cut Mini Slimline Scene

Create focal elements
  • Die-cut Beach Chairs and Macrame Planters from white and colored cardstock. (I am fond of Adirondack chairs and have used them as a focal element on many cards!)
  • Glue pots to rope hangers.
Create frame, sentiment, and background
Assemble and Embellish

Rubbernecker | Die-cut Mini Slimline Scene


Penny Black | Thank You Bouquet

Hello! Today I am sharing a card created combining Penny Black supplies – dies, background stamp, and clear stamp set. I previously created similar cards that can you see here and here.

I primarily used Bazzill Card Shoppe cardstock on this card. The specific colors are listed below. I have found starlitstudio.net to be a great resource for Bazzill Card Shoppe.

Penny Black | Thank You Bouquet

  • Stamp Enlightened background on Citrus Slice card base with Memento Cantaloupe ink for a tone-on-tone look.
  • Cut Creative Curves from Robin’s Egg cardstock; back with Jawbreaker panel.
  • Cut Daisy Delight from white and Caramel Apple cardstock. Trim off blooms and add to stems. Color centers of flowers with Copic markers Y 32 and Y 38.
  • Cut Penny Black Mason Jar (available on the Penny Black website) from Sea Glass cardstock. Cut a slit in the jar for the stems; color with Distress Oxide ink for dimension. Slip assembled flowers through the slit and tape on back. Tie natural twine around the top.
  • Stamp Flower Teddy sentiment on white cardstock in black ink. Trim with banner die.
  • Add Creative Curves assembly to card base. Add assembled jar and flowers. Add sentiment strip. Embellish with butterfly cut with die in the Penny Black Flights of Fancy set (available on the Penny Black website).

Penny Black | Thank You Bouquet

Supplies: Penny Black Daisy Delight, Creative Curves, Flights of Fancy and Mason Jar die sets; Penny Black Flower Teddy and Enlightened stamp sets