I’m sharing a tag inspired by the tag that Teri Anderson created as part of the 12 Tags of Christmas with a Feminine Twist series in the CLASSroom at Ellen Hutson’s.
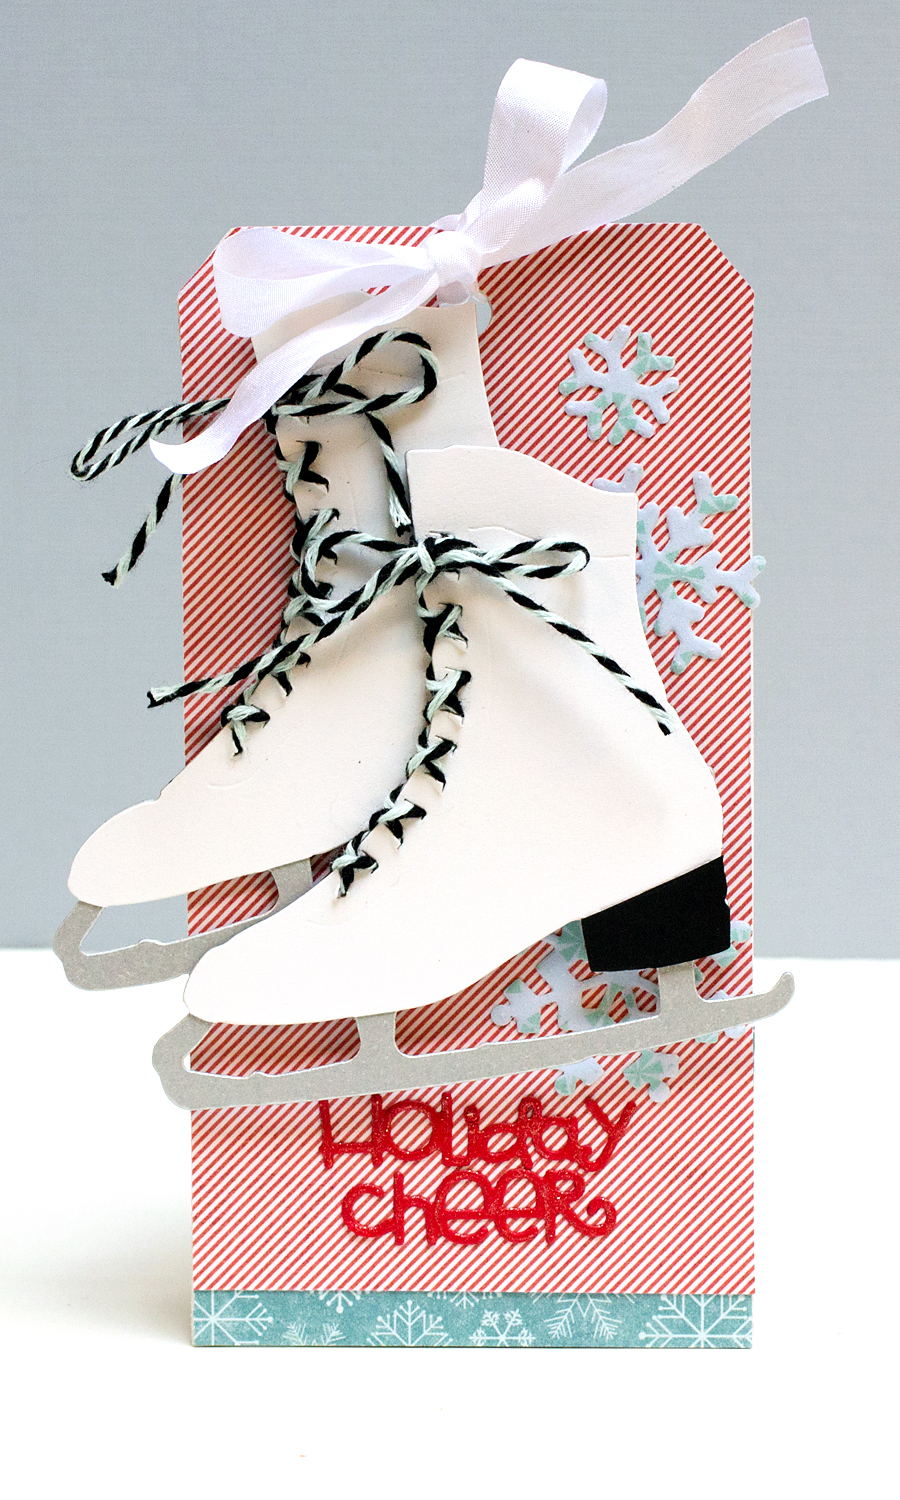
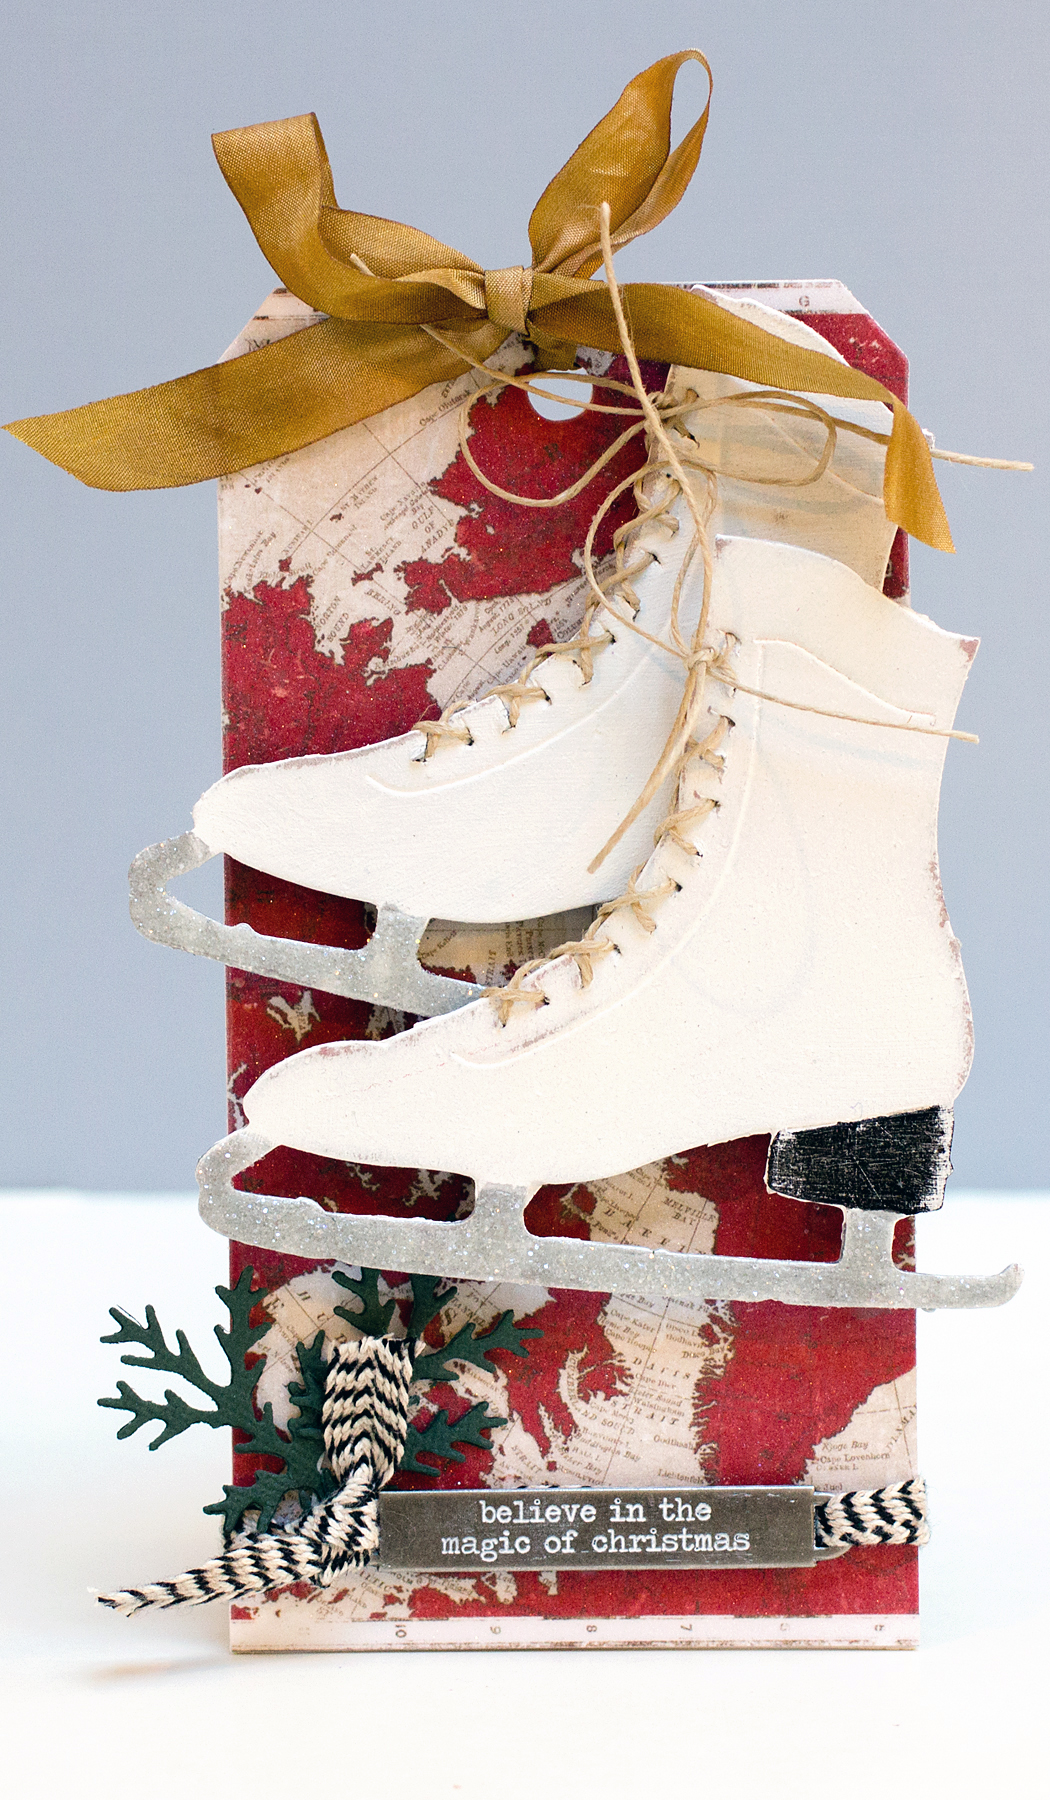
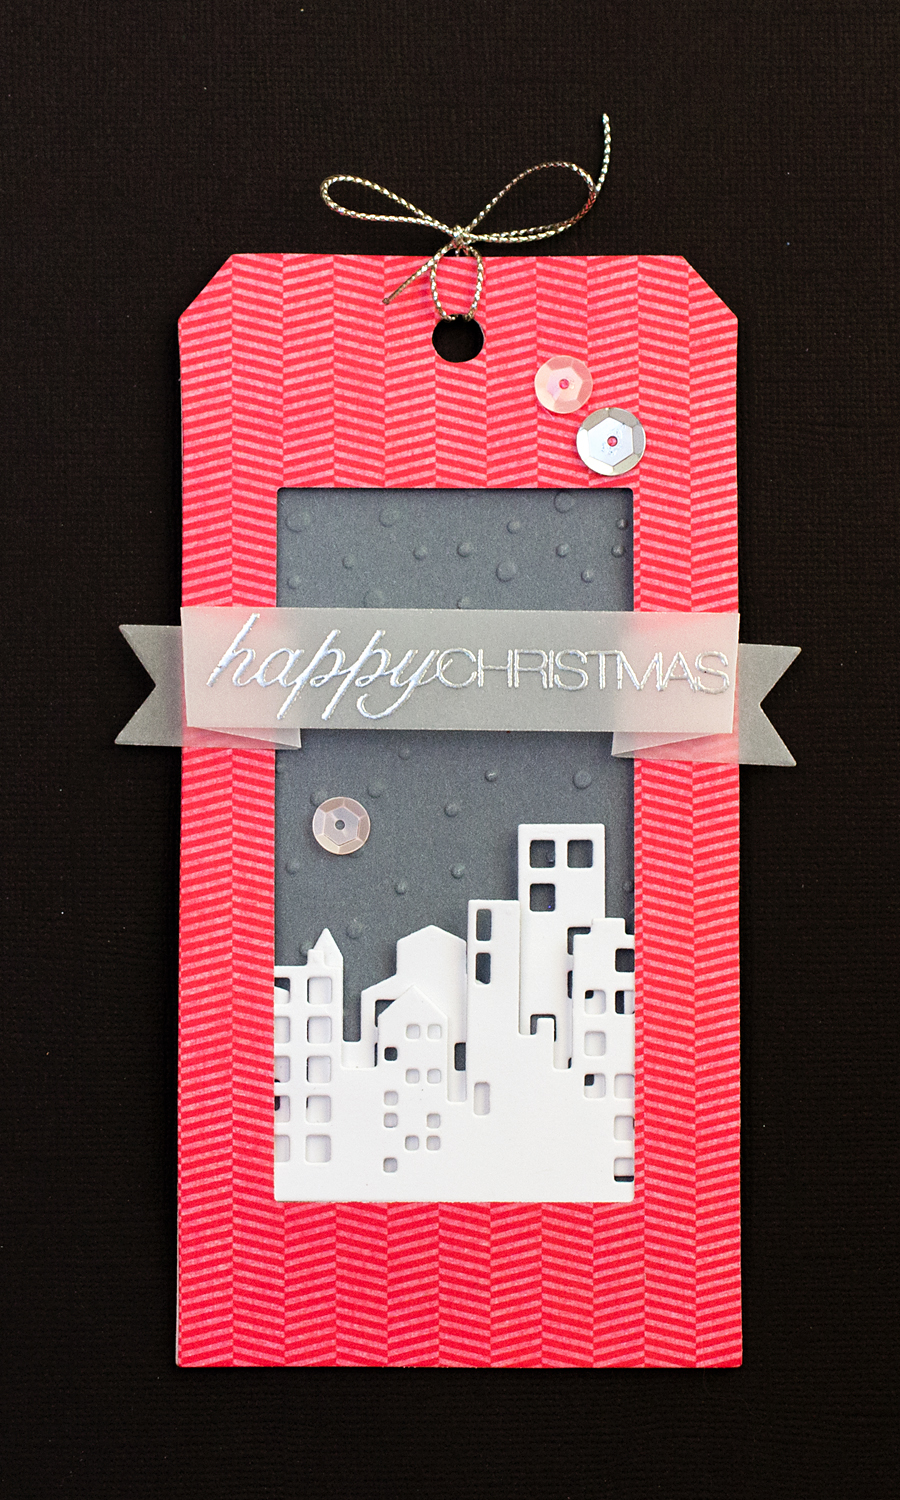
I cut the skates from three cardstocks – white, black and silver. I pieced the skates together with the silver cardstock as the base. This was decidedly less labor intensive than the way I crafted the skates for this tag. The tag background of two patterned papers is on a craft-a-board base. I covered a different patterned paper with frosted film for the die-cut snowflakes. The effect is subtle, but noticeable! I also applied Wink of Stella to the cut-out sentiment for some extra shimmer.
Supplies:
       |


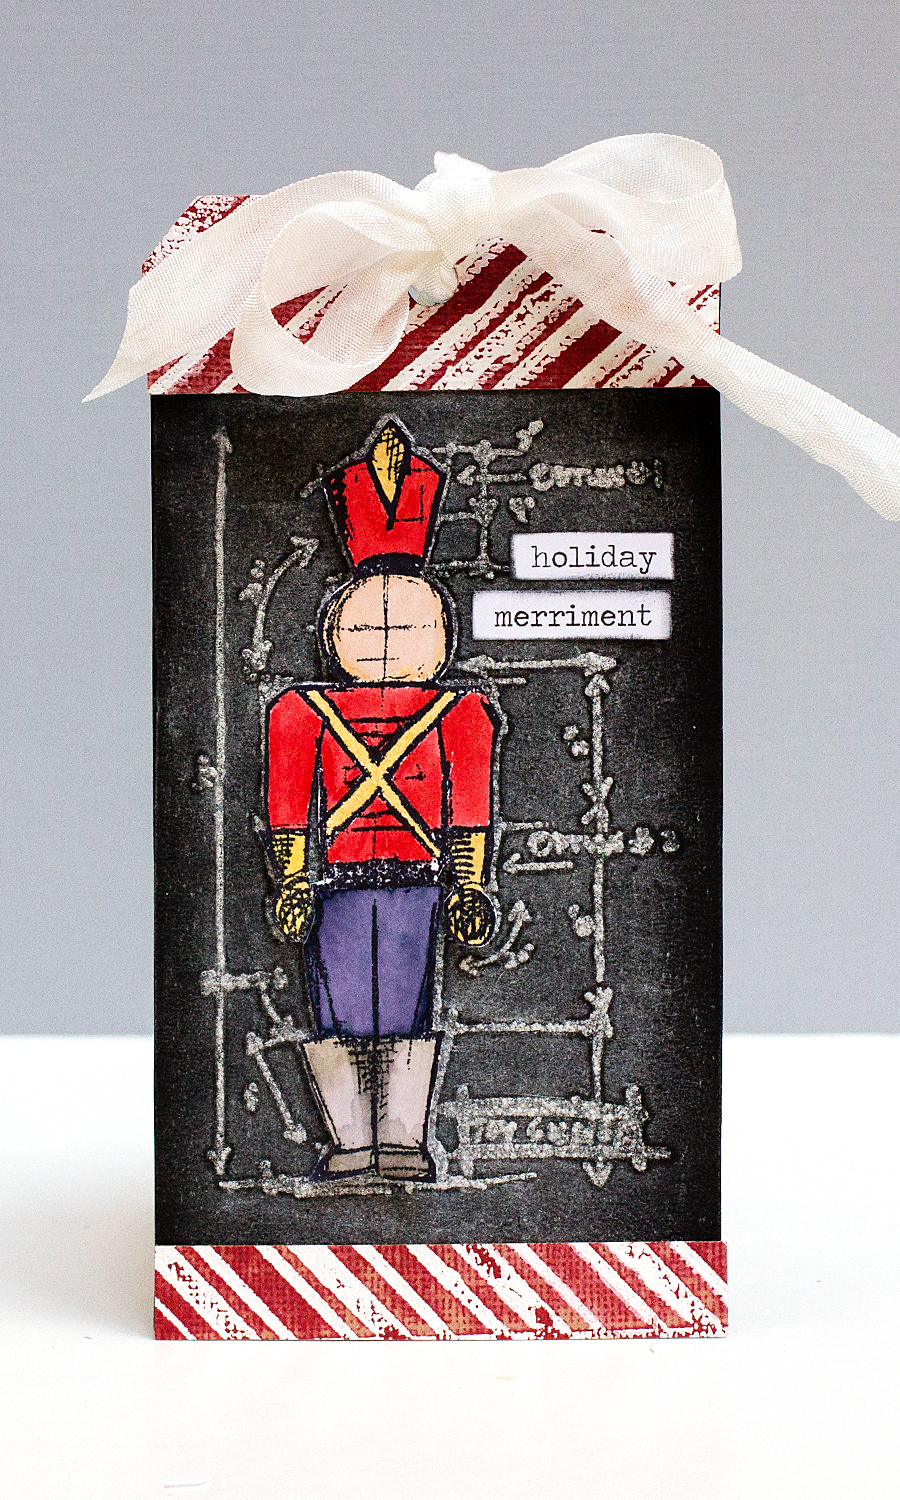
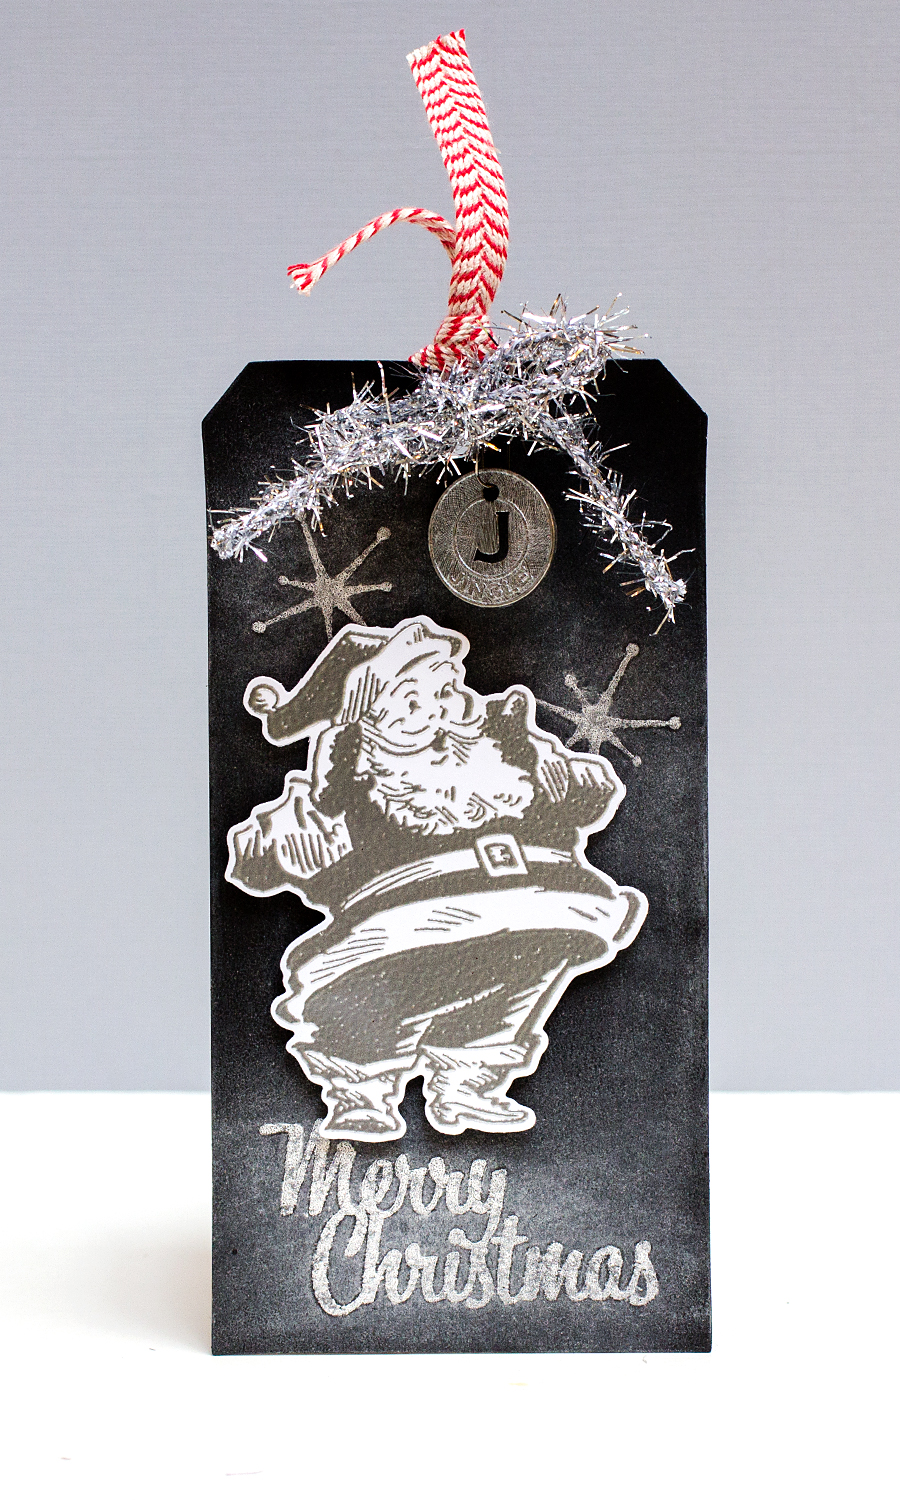 For the first tag, I stamped the sentiment and fun retro snowflakes onto the tag. The Santa was silver embossed, cut with the matching Sizzix die, and added to the tag with dimensional adhesive. I finished the tag off with tinsel twine, trimmings, and a Christmas Muse Token.