A Cool Yule – Die-cut Penguin

Hello and Merry Christmas! This is my final Christmas card for the season. I have so many more ideas, but between shopping, baking, and so forth, I just don’t have the time to turn those ideas into cards.

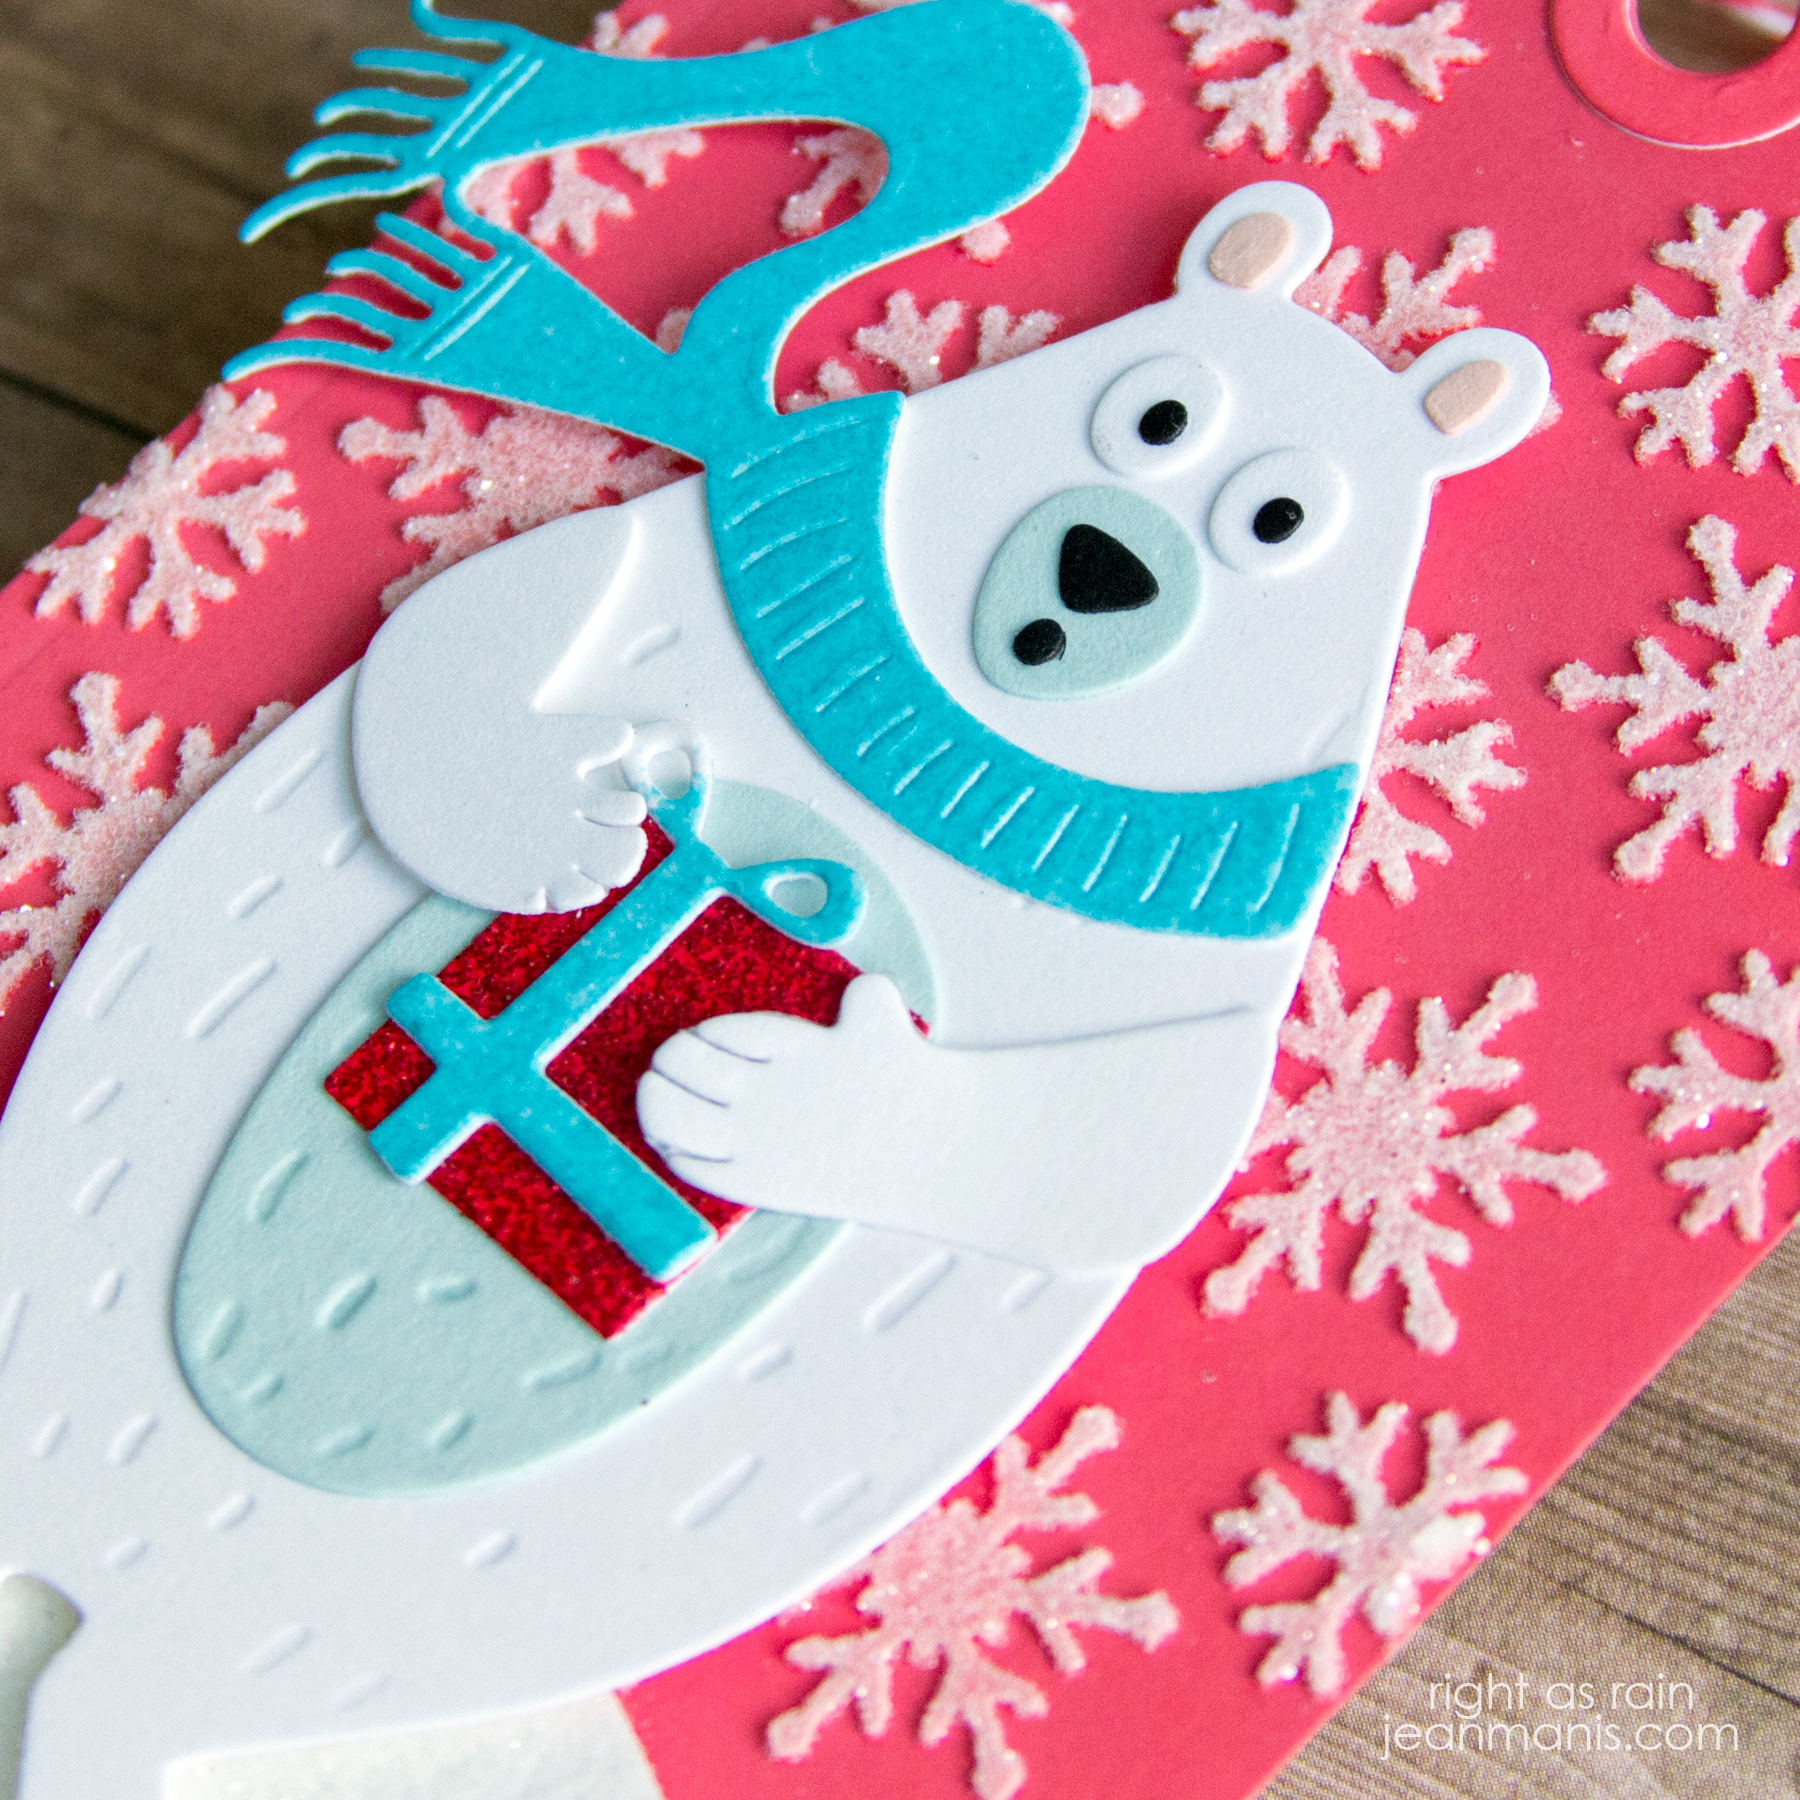
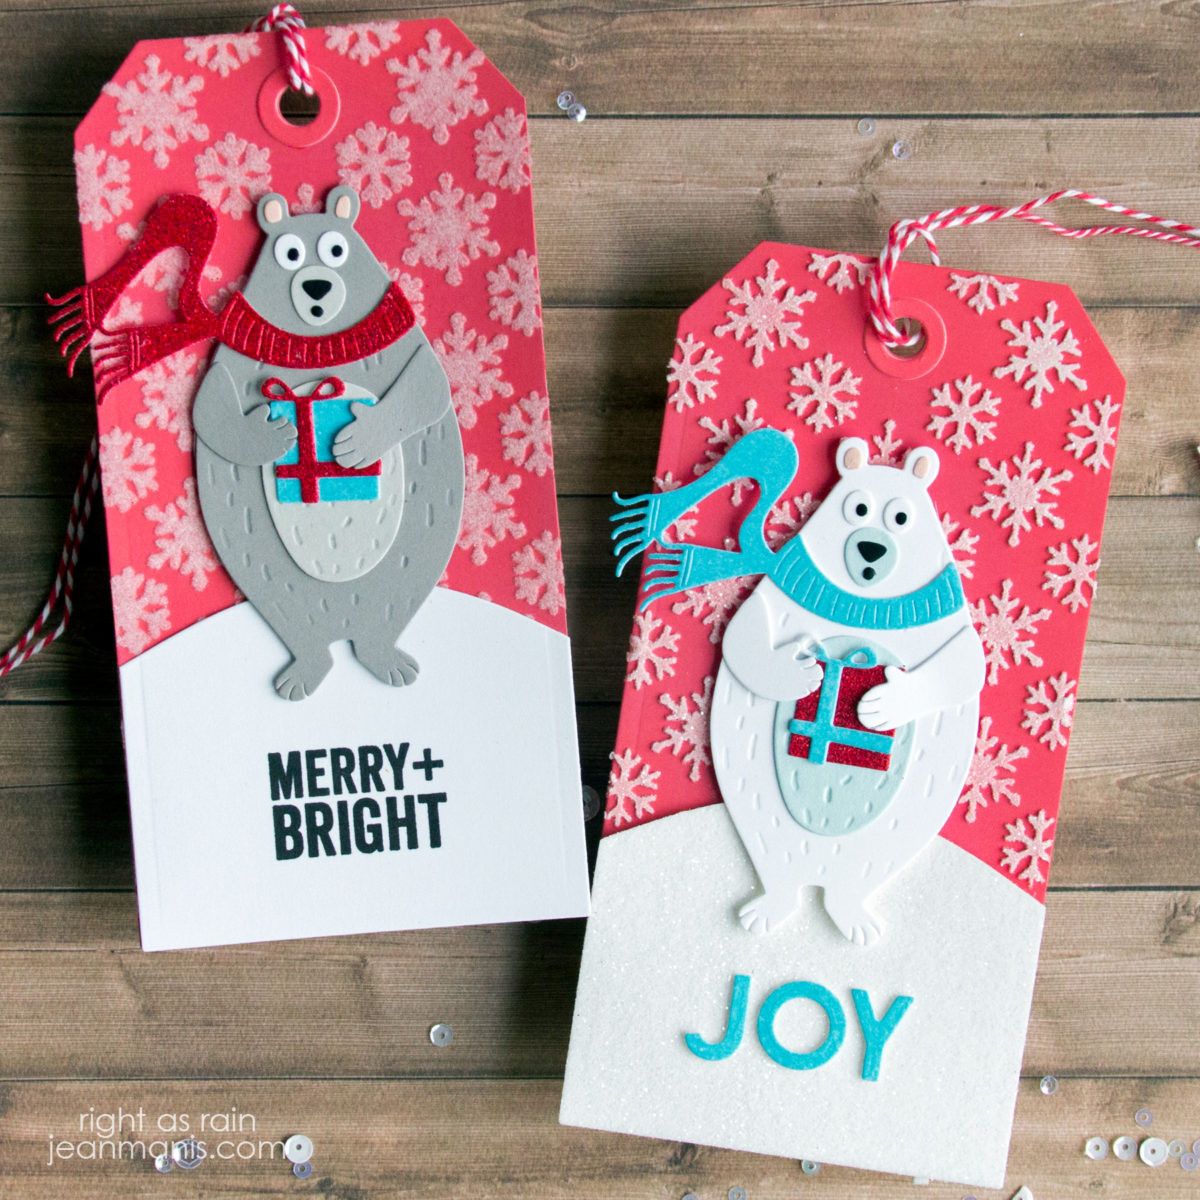
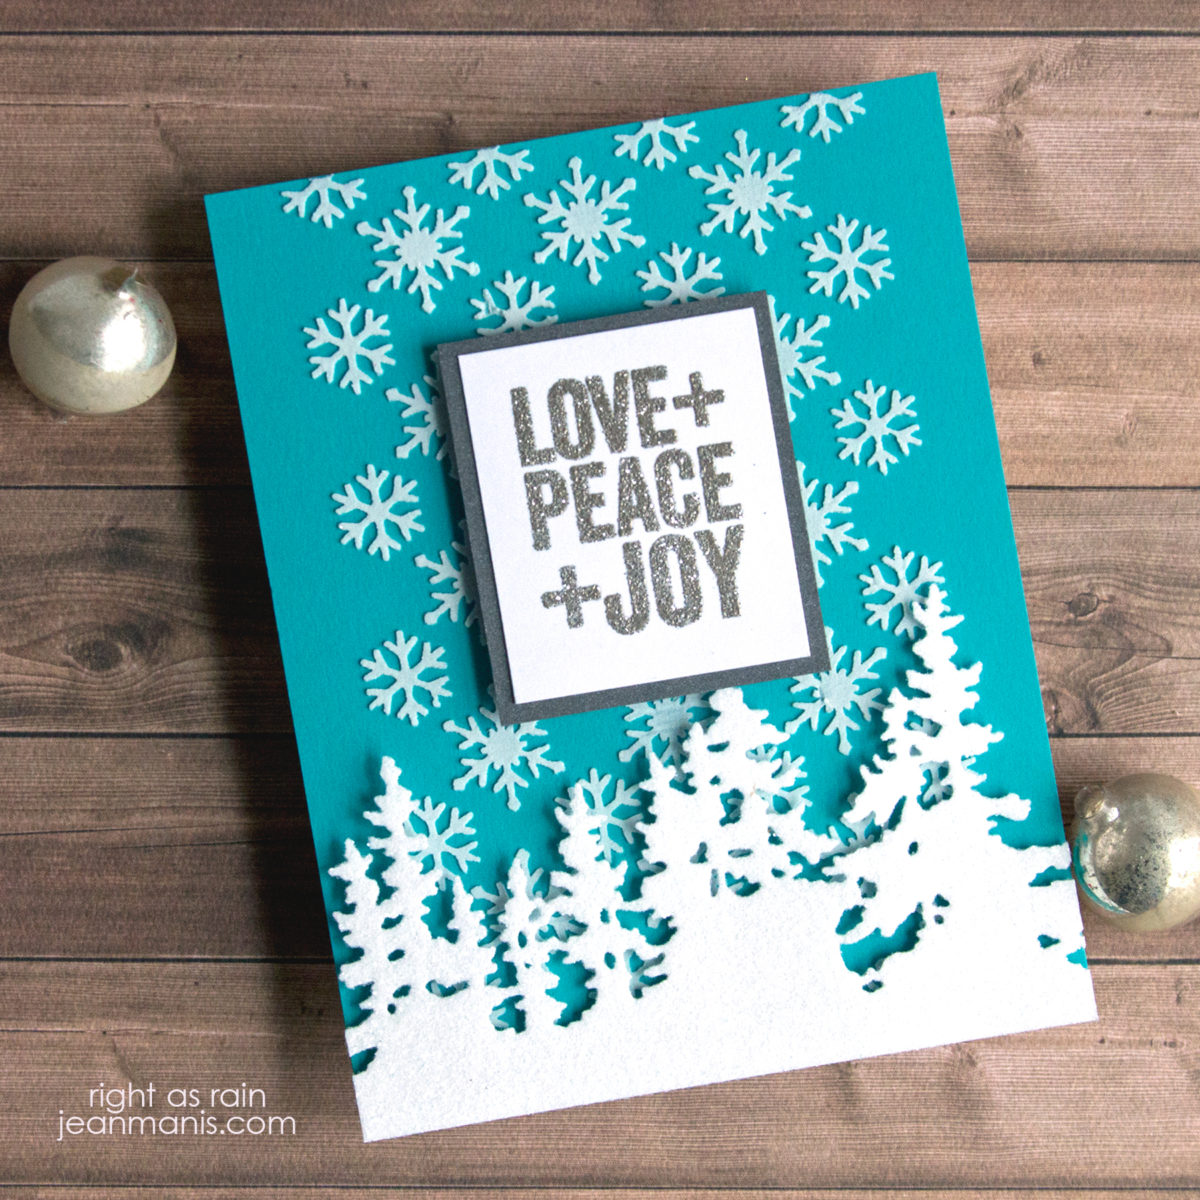
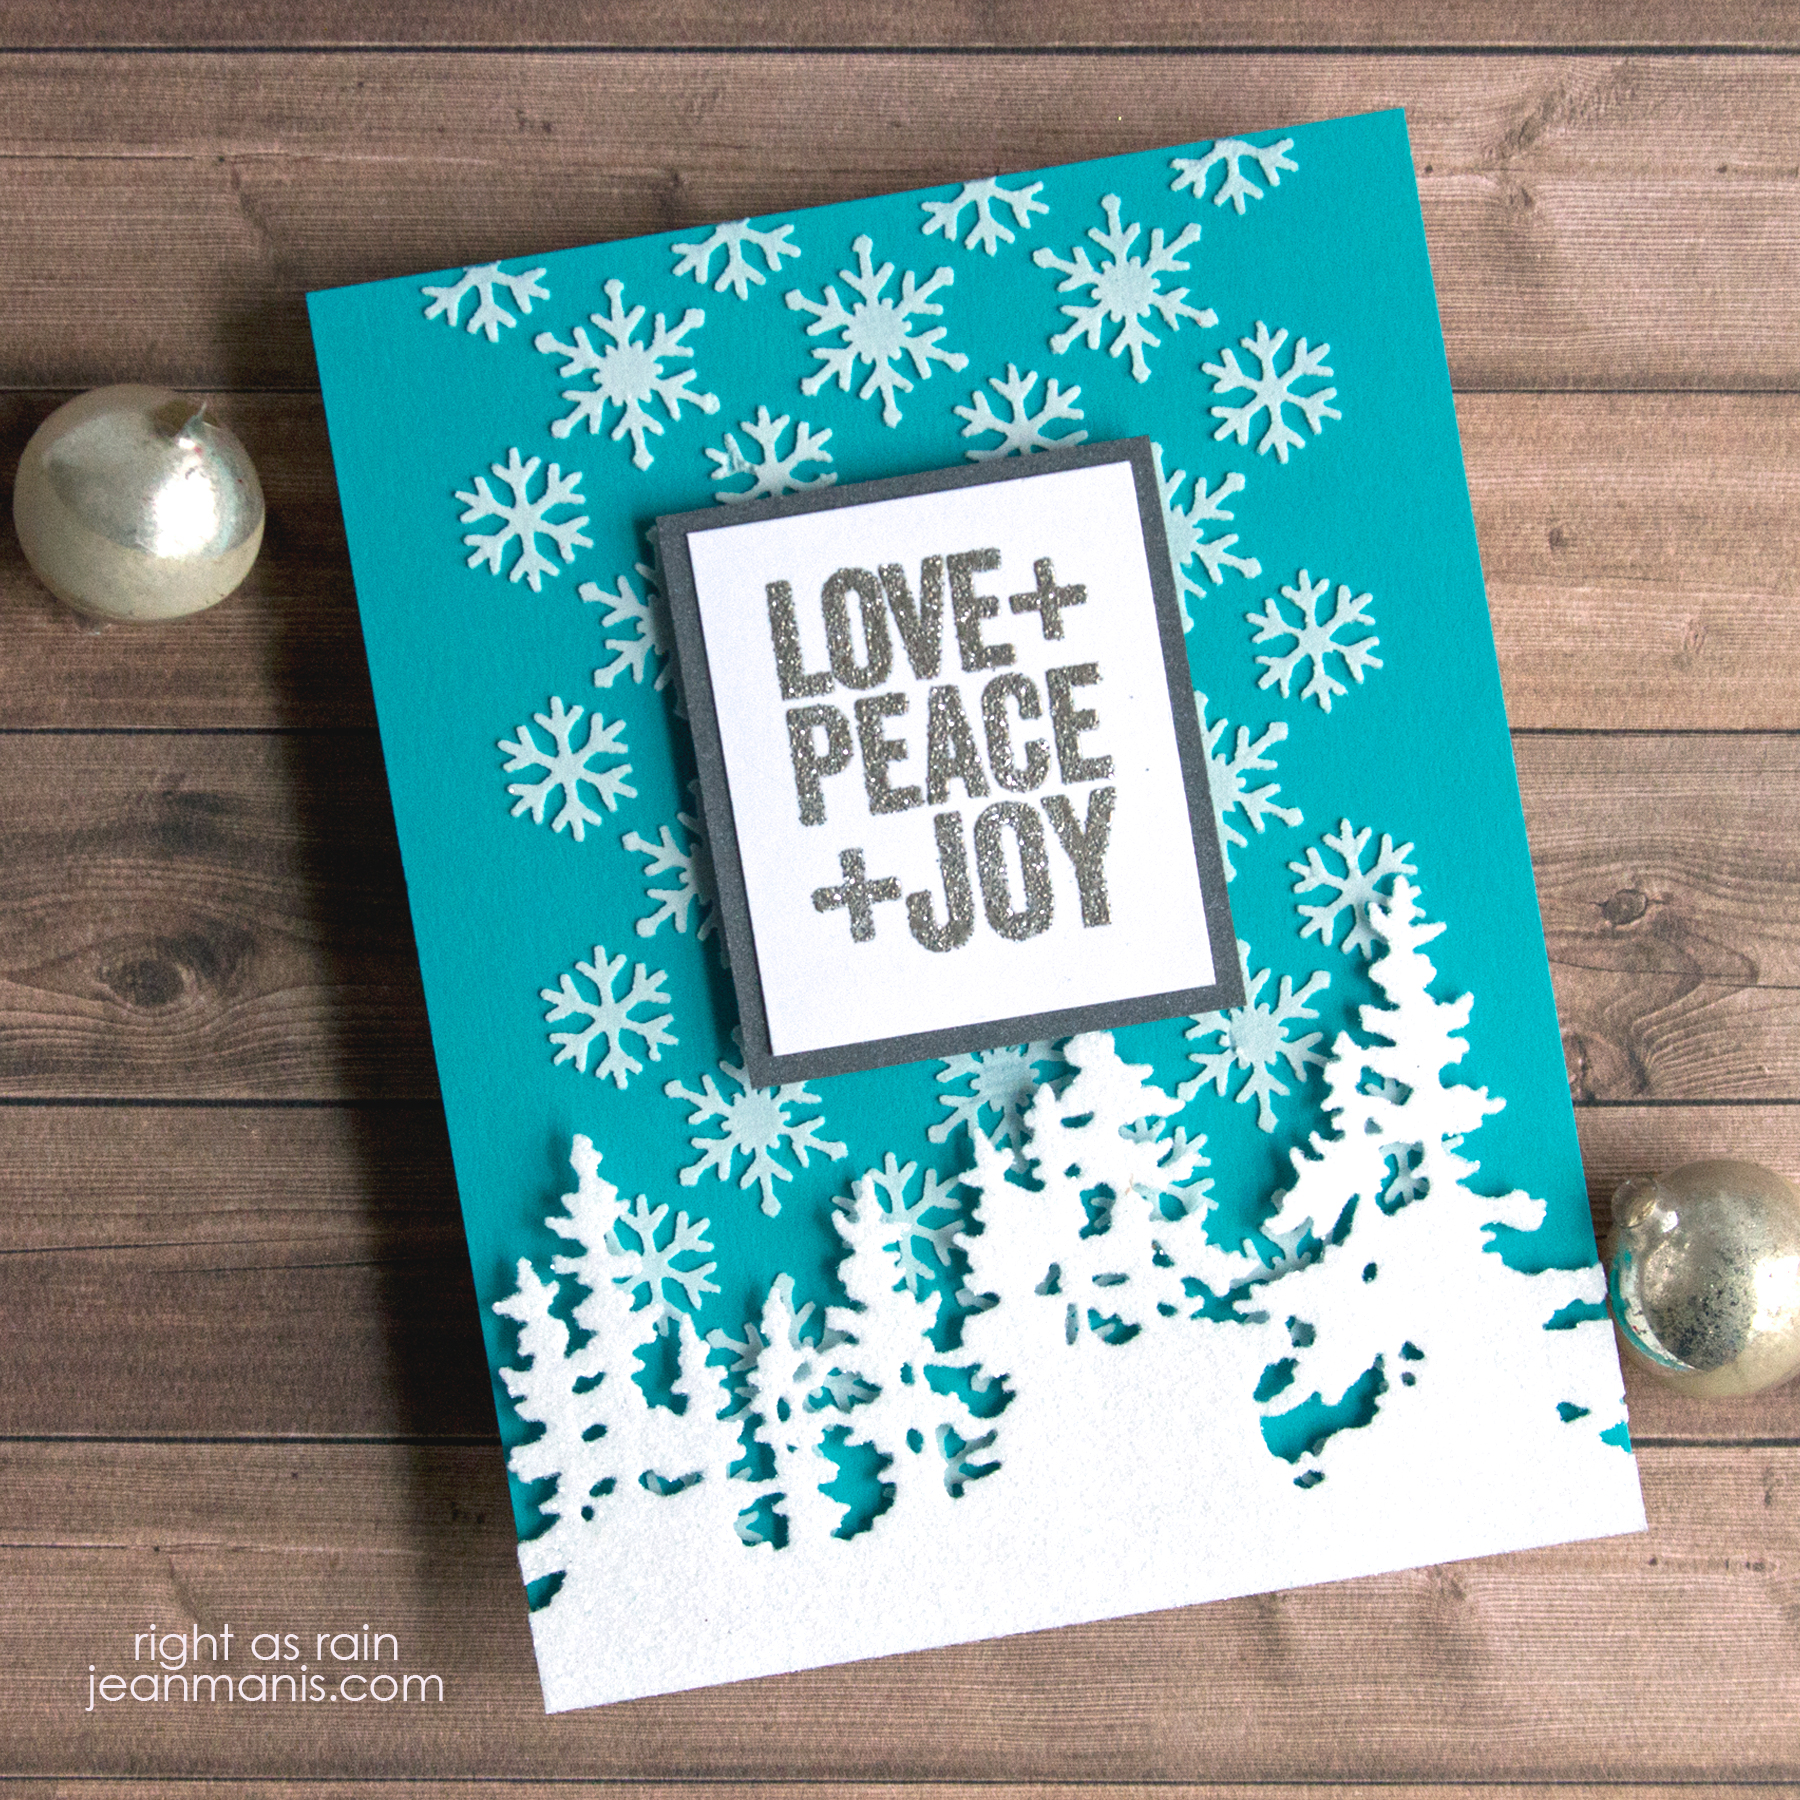
For this last card, I am showcasing the recently released Cool Yule die set designed by Tim Holtz, using a design similar to this tag. I am combining some of my favorite cardmaking things: stamped graphic background, die-cutting, stenciling, and heat-embossing.

A Cool Yule - Die-cut Penguin

  • I stamped the Buffalo Plaid Background for the card background.
  • I die-cut the Cool Yule penguin and assembled it with glue. I cut a circle of Woodgrain Vellum (gifted to me by a friend) to which I attached the penguin.
  • I heat-embossed the sentiment and cut it with one of the tag dies in this set and trimmed the bottom a bit, so that the tag would fit better on the card base.
  • I placed another vellum circle (of the same size) on the tag before I applied embossing paste through the Snowed In stencil. The circle worked as a mask. I masked the sentiment area with washi.
  • I finished the tag off with Peppermint twine before attaching it to the card base.

A Cool Yule - Die-cut Penguin

Thanks so much for visiting!

Supplies:

Simon Says Stamp – Wrap It Up Challenge Tag

Hello! I couldn’t resist playing along with the Simon Says Stamp challenge with a CAS tag in one of my favorite color combinations – kraft, white, and red – using my favorite papercrafting techniques – diecutting, heat-embossing, and stenciling! The challenge features holiday wrapping projects created with Tim Holtz products. I used Tim Holtz dies, stamps, and stencils on my project.  Let’s take a look.

Tim Holtz - SSS Wrap It Up Challenge Tag

    • I started by die-cutting the Santa and Snow Globe with the Tiny Snowglobes set.
    • I assembled the Santa with Nuvo glue. I used a toothpick to apply the glue.
    • I heat-embossed the Festive Overlay sentiment with Red Geranium embossing powder on the Lawn Fawn Kraft cardstock.
    • I cut the cardstock with one of the tag dies in the Tag Collection set.
    • I added embossing paste through the Dot Fade stencil to the globe to simulate snow.
    • While the embossing paste dried, I sponged white pigment ink through the Pine stencil, which is included in the Mini Stencil Set 32.
    • I finished off the tag with Lawn Fawn Peppermint twine (an absolute favorite of mine).

Tim Holtz - SSS Wrap It Up Challenge Tag

Supplies:

It’s Lovely Weather for a Sleigh Ride

Hello! Today, I am sharing another CAS holiday card using the Tim Holtz Mini Holidays 5 stamp set. As I mentioned in this post, I have had this set for years but hardly ever used it!

Tim Holtz Mini Holidays 5

I wanted to recreate a sleigh ride on snowy hills (the inspiration being the song “Sleigh Ride”).  To create the background, I stamped the greeting in Stampin’ Up Real Red multiple times with my stamp positioner . I heat-embossed the sleigh stamp with Ranger Black Sparkle embossing powder and cut the panel with an oval die. I cut a slightly larger oval with a stitched oval die from brushed silver cardstock to mat the image.

Tim Holtz Mini Holidays 5

Once I had almost everything assembled, I realized I needed to add some snow! I die-cut a slope to fit just under the stamped sleigh and horses that I then cut with the oval die. I also added small die-cut snowflakes.

Supplies:

Tim Holtz Classic Christmas – Fast + Easy

I have been attempting to be more mindful on stamp purchases this season, and to that end, I have been going through supplies I already own before purchasing new ones. I pulled out the Tim Holtz Mini Holidays 5 set to create a CAS and traditional Christmas card that took just minutes to create.

Tim Holtz Classic Christmas - Fast + Easy

Bonus – I used patterned paper from my enormous stash!

Tim Holtz Classic Christmas - Fast + Easy

Supplies:

Tim Holtz – CAS Christmas Ornament

Hello! Today I am sharing a CAS Christmas card created with items from the Tim Holtz Stamptember Stamps and Stencils set. I fell in love with this sentiment the moment I saw it!

Tim Holtz - CAS Christmas Ornament

To create the ornament, I stamped and heat-embossed the sentiment on vellum, which I had backed with double-sided adhesive. I cut the heat-embossed vellum with a circle die and added the ornament top and string, which had been cut from silver foil.

Tim Holtz - CAS Christmas Ornament

I used the tree stencil from the Tim Holtz set to create the background. I added some Lawn Fawn Mini Snowflakes to complete the scene.

Supplies: