Introducing Spellbinders Trim the Tree Collection

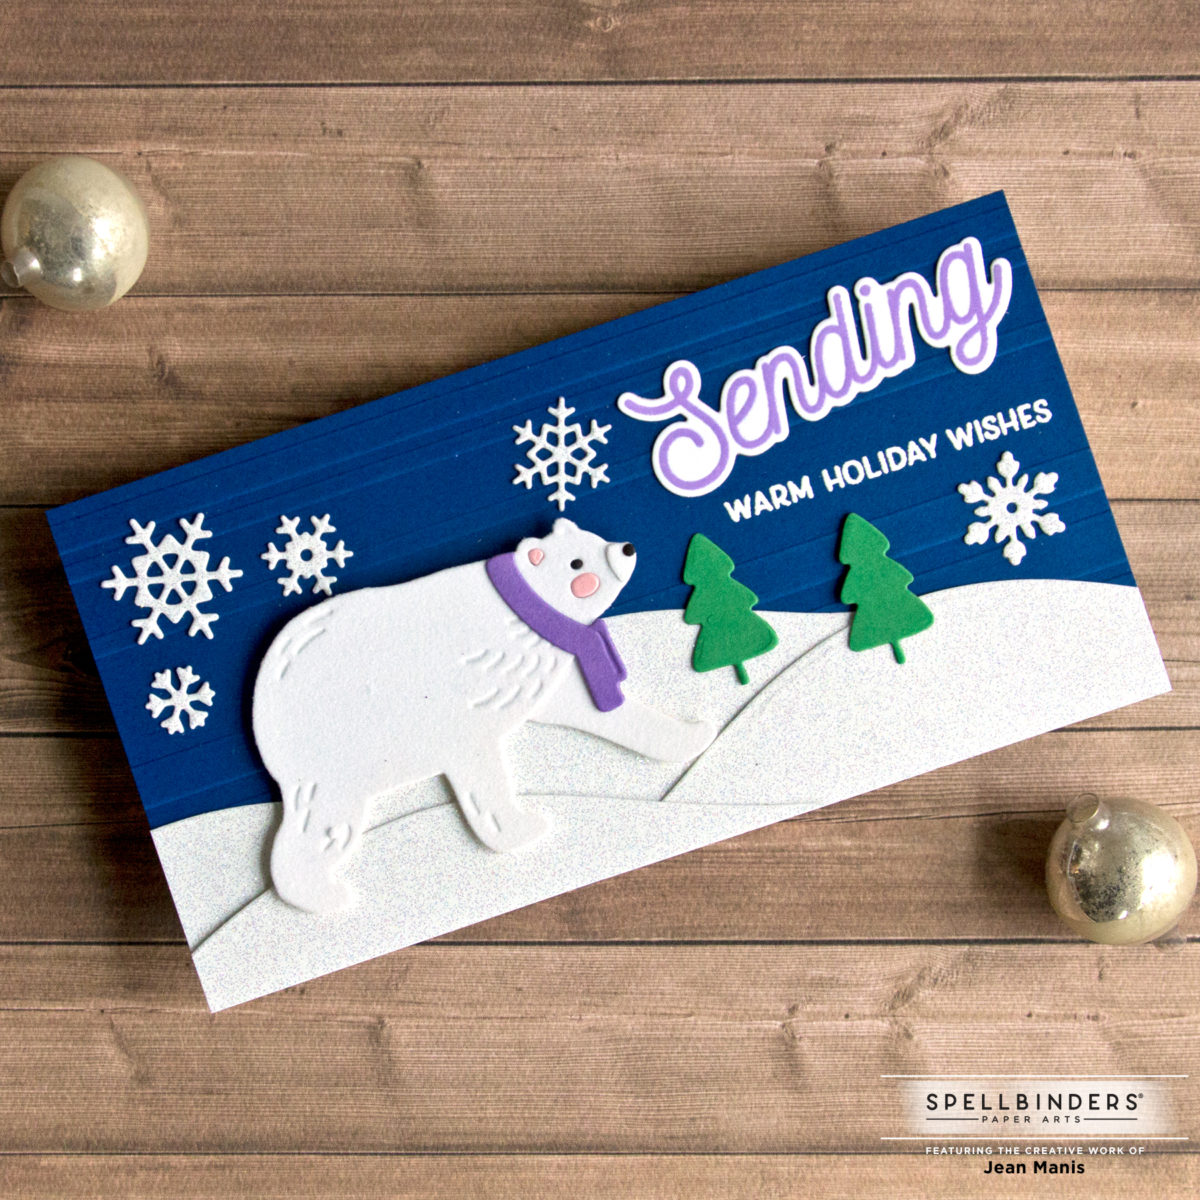
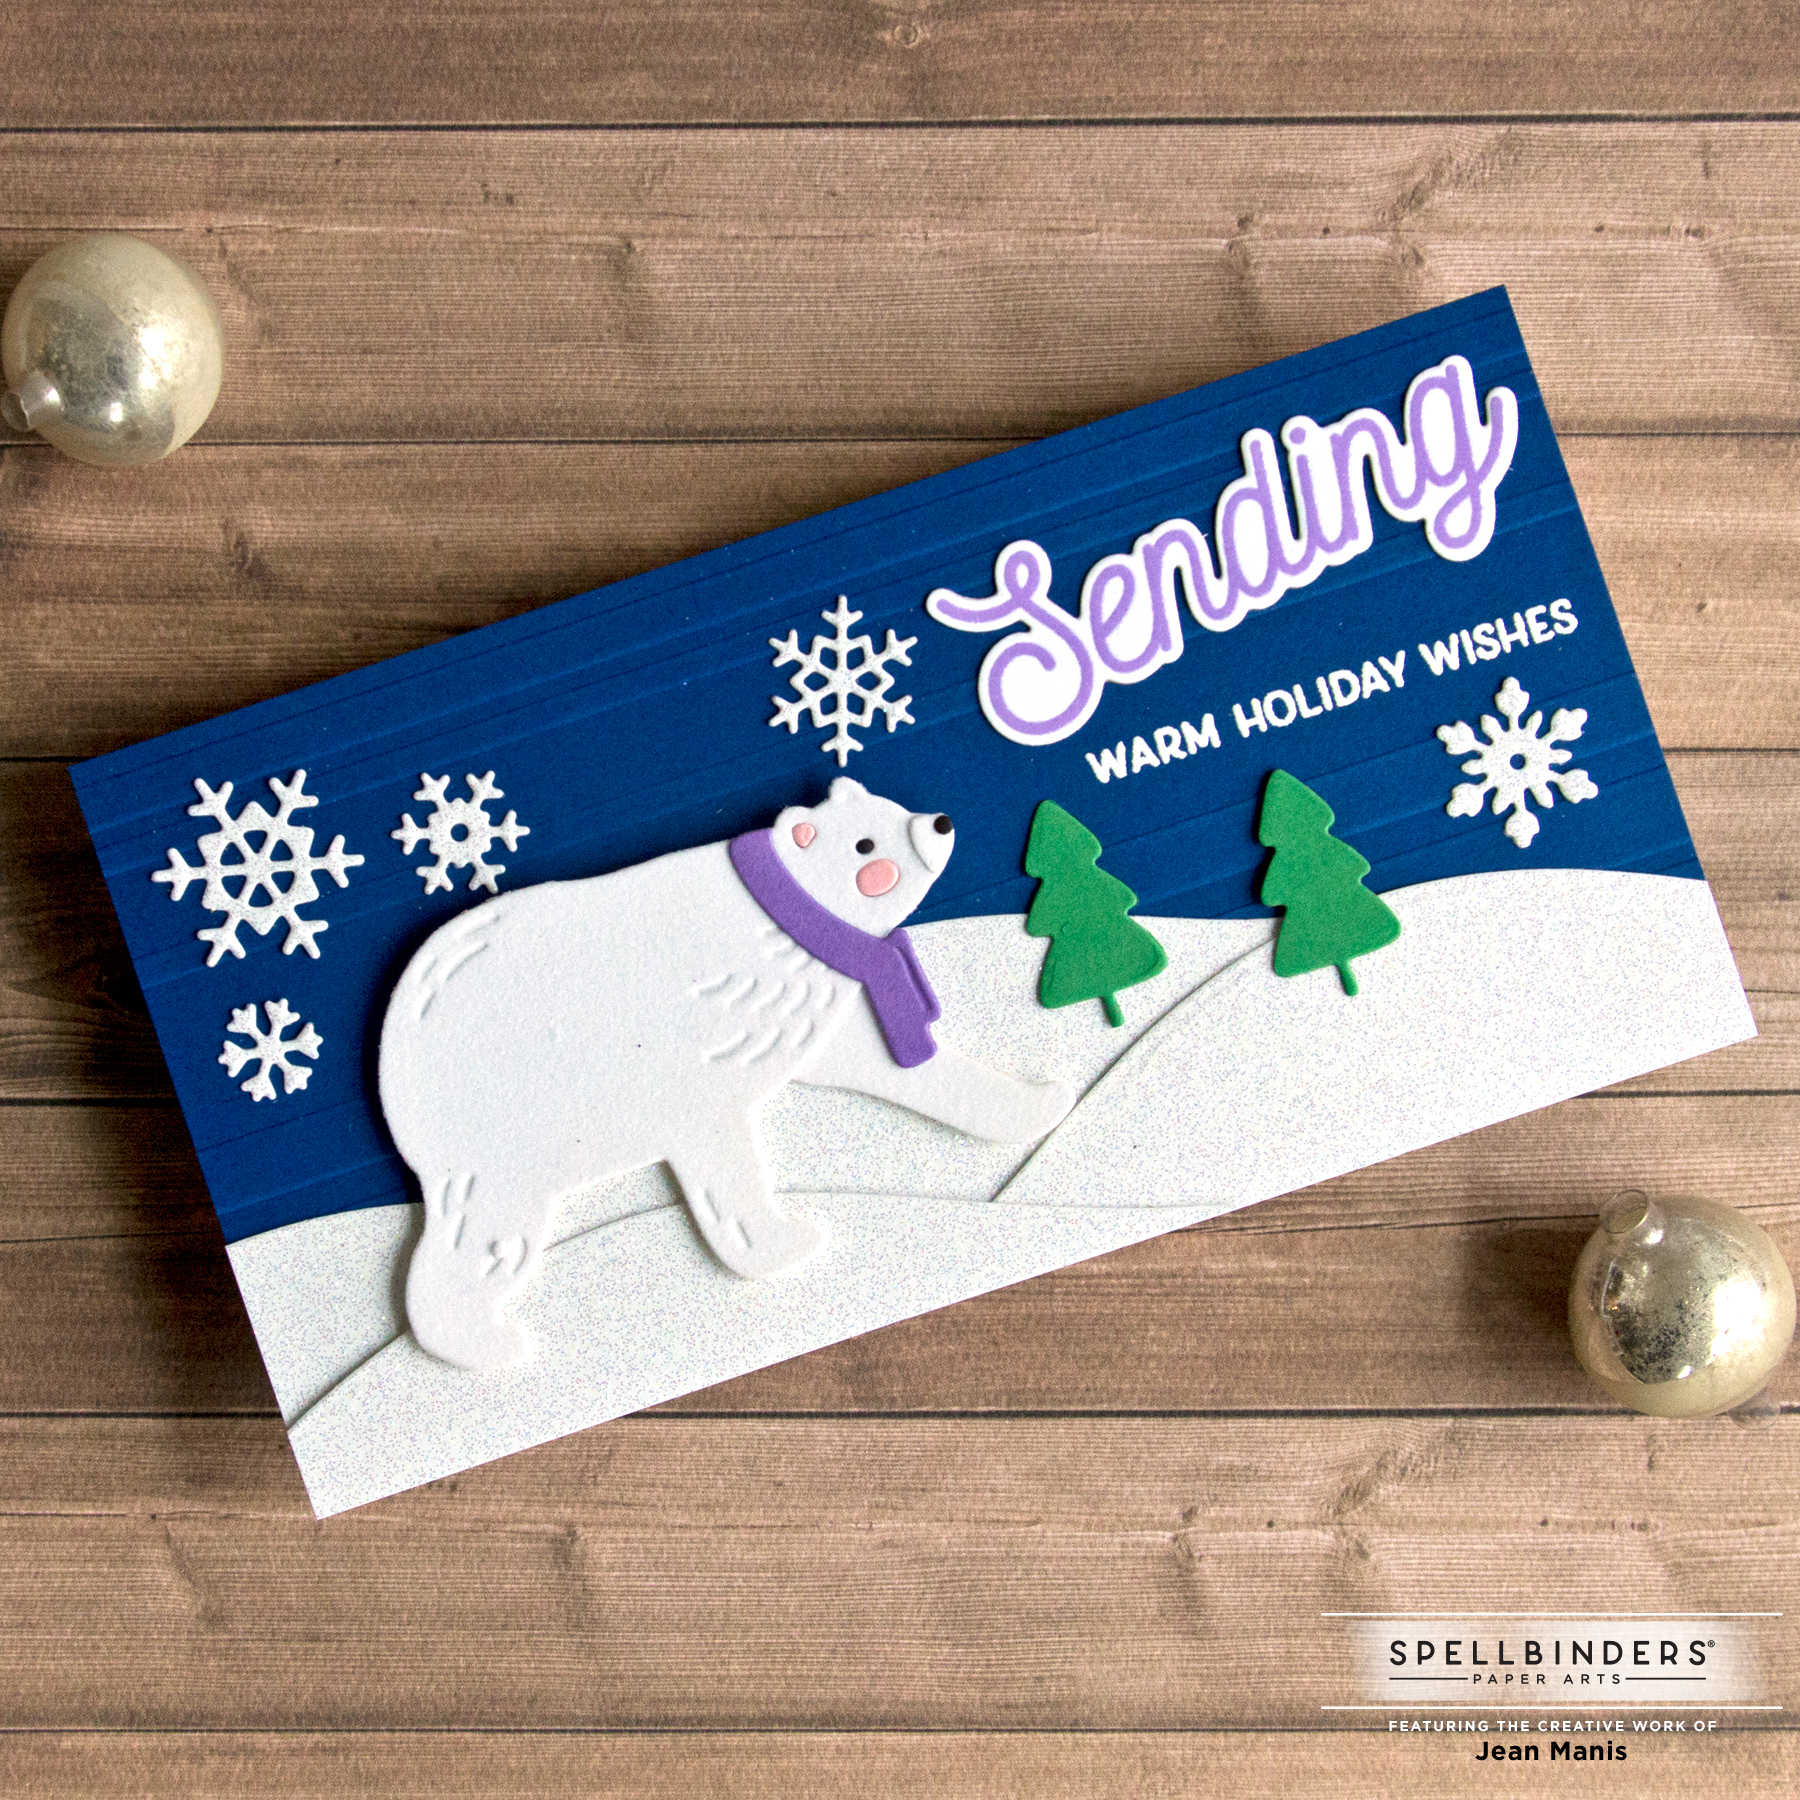
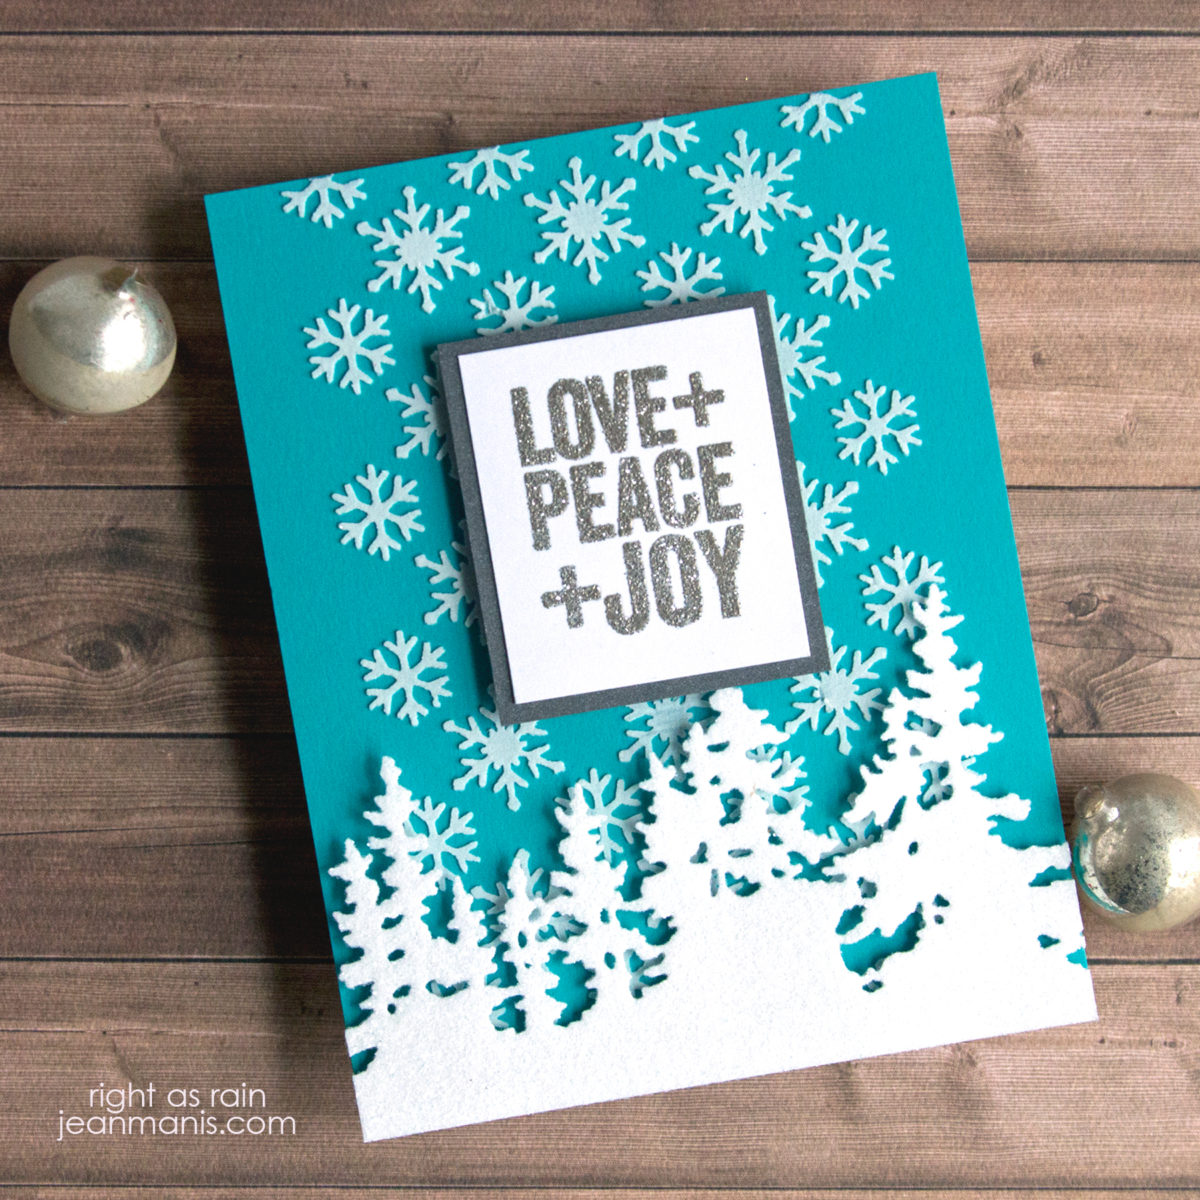
Hello! I am delighted to be a guest on the Spellbinders blog featuring two cards created with the recently-released Trim the Tree Collection, which includes dies, glimmer plates, and a stencil that work together or separately. I created the cards with a three-step approach: create the background, create the focal point(s), and embellish. Head to the post for all of the details!

Introducing Spellbinders Trim the Tree Collection

Introducing Spellbinders Trim the Tree Collection

Introducing Spellbinders Trim the Tree Collection

Introducing Spellbinders Trim the Tree Collection

Introducing Spellbinders Trim the Tree Collection


Spellbinders – Christmas Collection – Be Merry

Hello! Today, I am sharing an A2-sized Christmas card showcasing products from the just-released Be Merry Collection at Spellbinders.

Spellbinders - Christmas Collection - Be Merry

Spellbinders - Christmas Collection - Be Merry

  • I stenciled white paste through the Layered Christmas Tree stencil on to an A2-sized panel of red, velvet-textured cardstock.
  • I glimmer-foiled the Gifts of Christmas sentiment in gold on to navy cardstock.
  • After masking the sentiment, I stenciled white paste through the Layered Christmas Tree stencil. Once dry, I cut the sentiment with a 3 inch circle die.
  • I die-cut the snowy hills from glitter cardstock with the dies in the Color Block Scenic Scape set and cut them with the 3 inch circle die. I adhered the snow banks to the navy circle.
  • I die-cut the Chill Bear from Snowdrift cardstock and gold foil.
  • I die-cut the ornament top from gold foil with a die in the Circle Kaleidoscope Slimline die set. The ornament string was cut with a die in a previously-released Spellbinders Christmas die set.
  • I added the ornament and bear to the red background.

Spellbinders - Christmas Collection - Be Merry

Spellbinders - Christmas Collection - Be Merry

Thanks for stopping by!

Supplies:

Spellbinders – ‘Tis the Season

Fa la la! Today I am sharing a slimline Christmas card featuring products from the just-released ‘Tis the Season Collection at Spellbinders. With this card, the Gifts of Christmas sentiment was the starting point – “Christmas Is Better When We Are Together.” I figured I needed several vehicles headed in the same direction to be together for the holidays!

Spellbinders - 'Tis the Season

Spellbinders - 'Tis the Season

Spellbinders - 'Tis the Season

Supplies:

Elizabeth Craft Design Winter Cat

Hello! Today, I am sharing a CAS winter-themed card featuring the Elizabeth Craft Design cat die set.

Elizabeth Craft Design Winter Cat

  • I colored Bristol with various Distress Inks and cut the colored paper with the Cat and Winter Accessories sets.
  • I drew the mouth on the cat with an American Crafts .01 point pen (noting this mostly for myself) and assembled the pieces with glue.
  • I added the assembled cat to a patterned paper background, (I liked the contrast the yellow provided and the pattern reminded me of a sweater), on which I had stamped the sentiment from Penny Black Bright and Light set.
  • To reinforce the winter theme, I added snowflakes cut with the ECD Penguin die set.

Elizabeth Craft Design Winter Cat

Supplies:

Alexandra Renke Cozy Cabin Scene

Hello! Today I’m sharing a die-cut, winter-themed card featuring the Alexandra Renke Forest Cabin die set.

Alexandra Renke Cozy Cabin Scene

  • I cut the Forest Cabin pieces from white, red, and gray cardstock. The door to the cabin was fussy-cut.
  • I cut the white snowbank and added it to the background panel stamped with a Rubbernecker sentiment.
  • I cut a frame with a Taylored Expressions die set.
  • I added the trees, cabin, and birds to the scene and put the assembly on Stampin’ Up patterned paper.

Alexandra Renke Cozy Cabin Scene

Alexandra Renke Cozy Cabin Scene

Supplies: Alexandra Renke Forest Cabin, Elizabeth Craft Designs Adventure Edges, Rubbernecker Snowmen with Presents, Taylored Expressions Frame die