Welcome to Day 3 of the Taylored Expressions October 2017 Release Sneak Peeks. The October products that have been sneaked this week will be released tomorrow – Thursday, October 5 @ 7 AM PST!
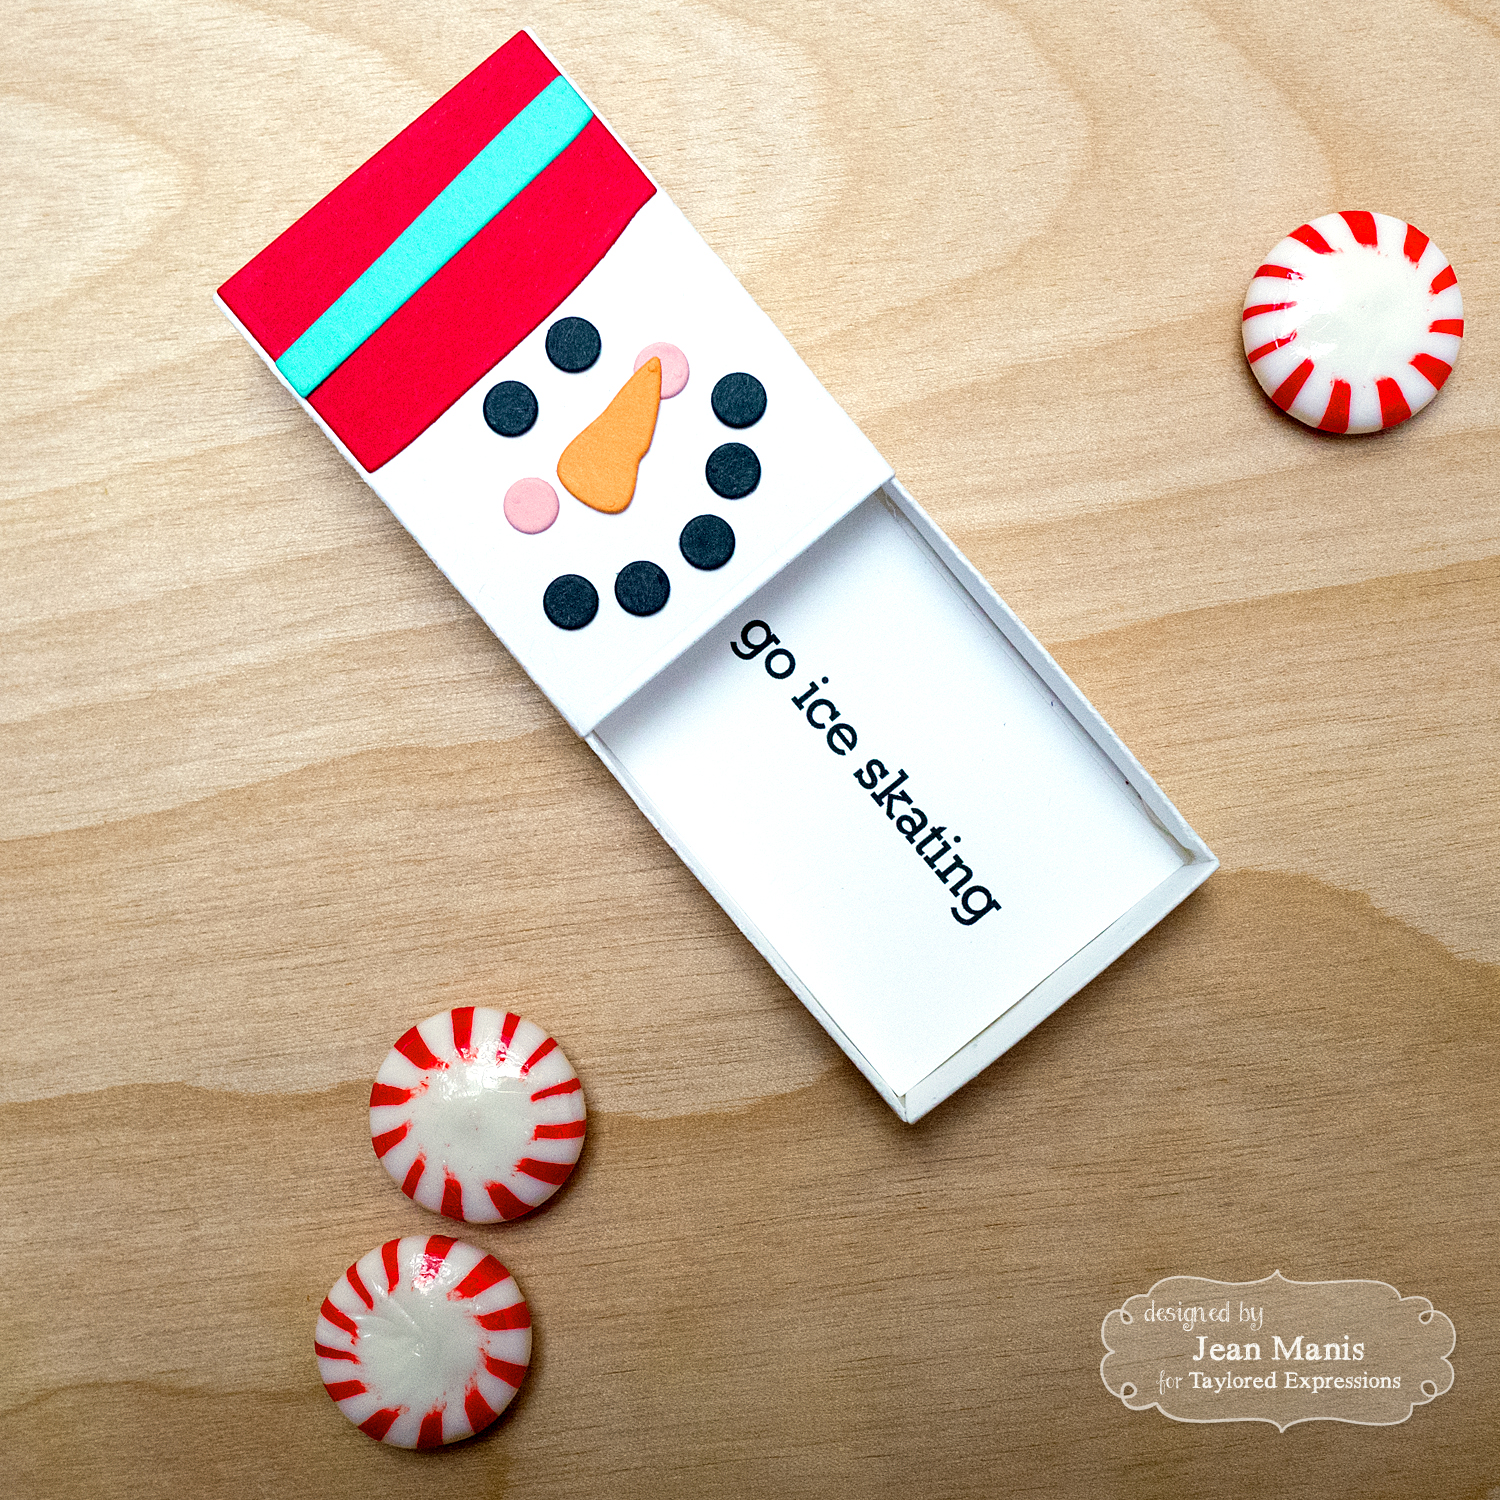
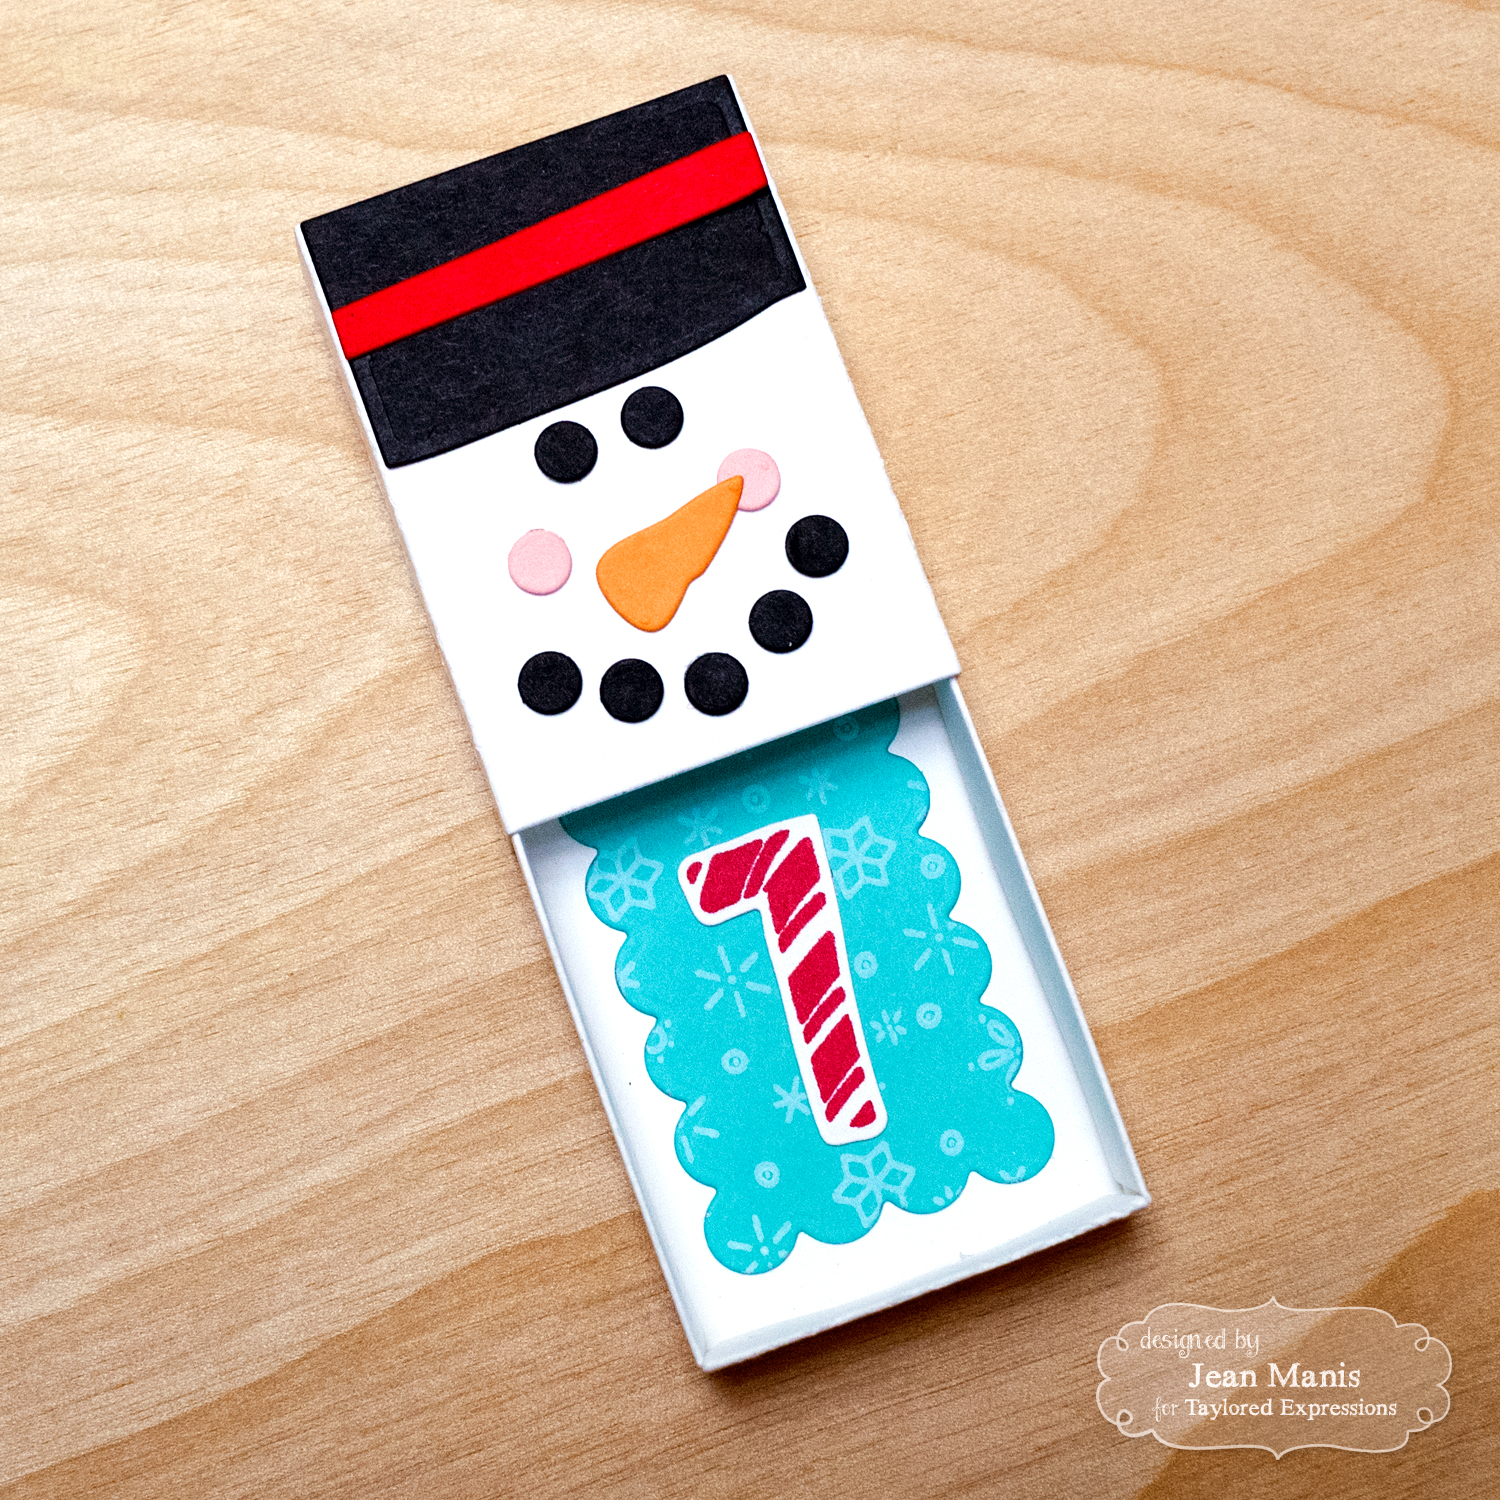
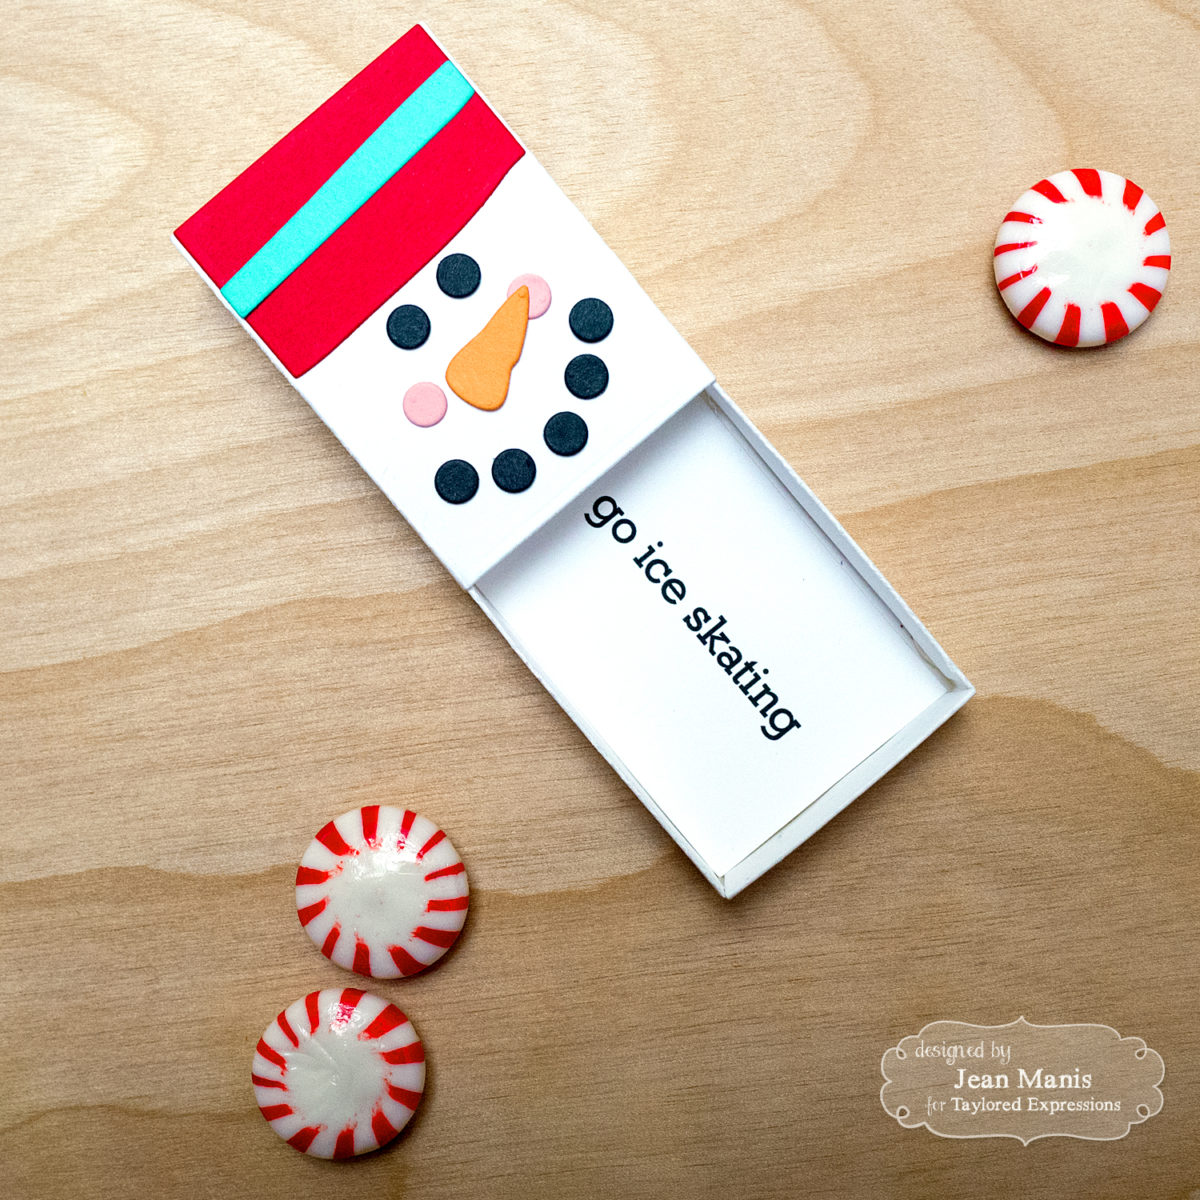
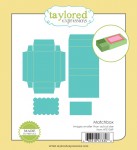
Today, I am featuring a Countdown to Christmas project, with twelve boxes to be opened on the twelve days leading up to Christmas, featuring the Matchbox die set with new holiday additions to the Matchbox line including Matchy Snowman and Matchy Penguin.
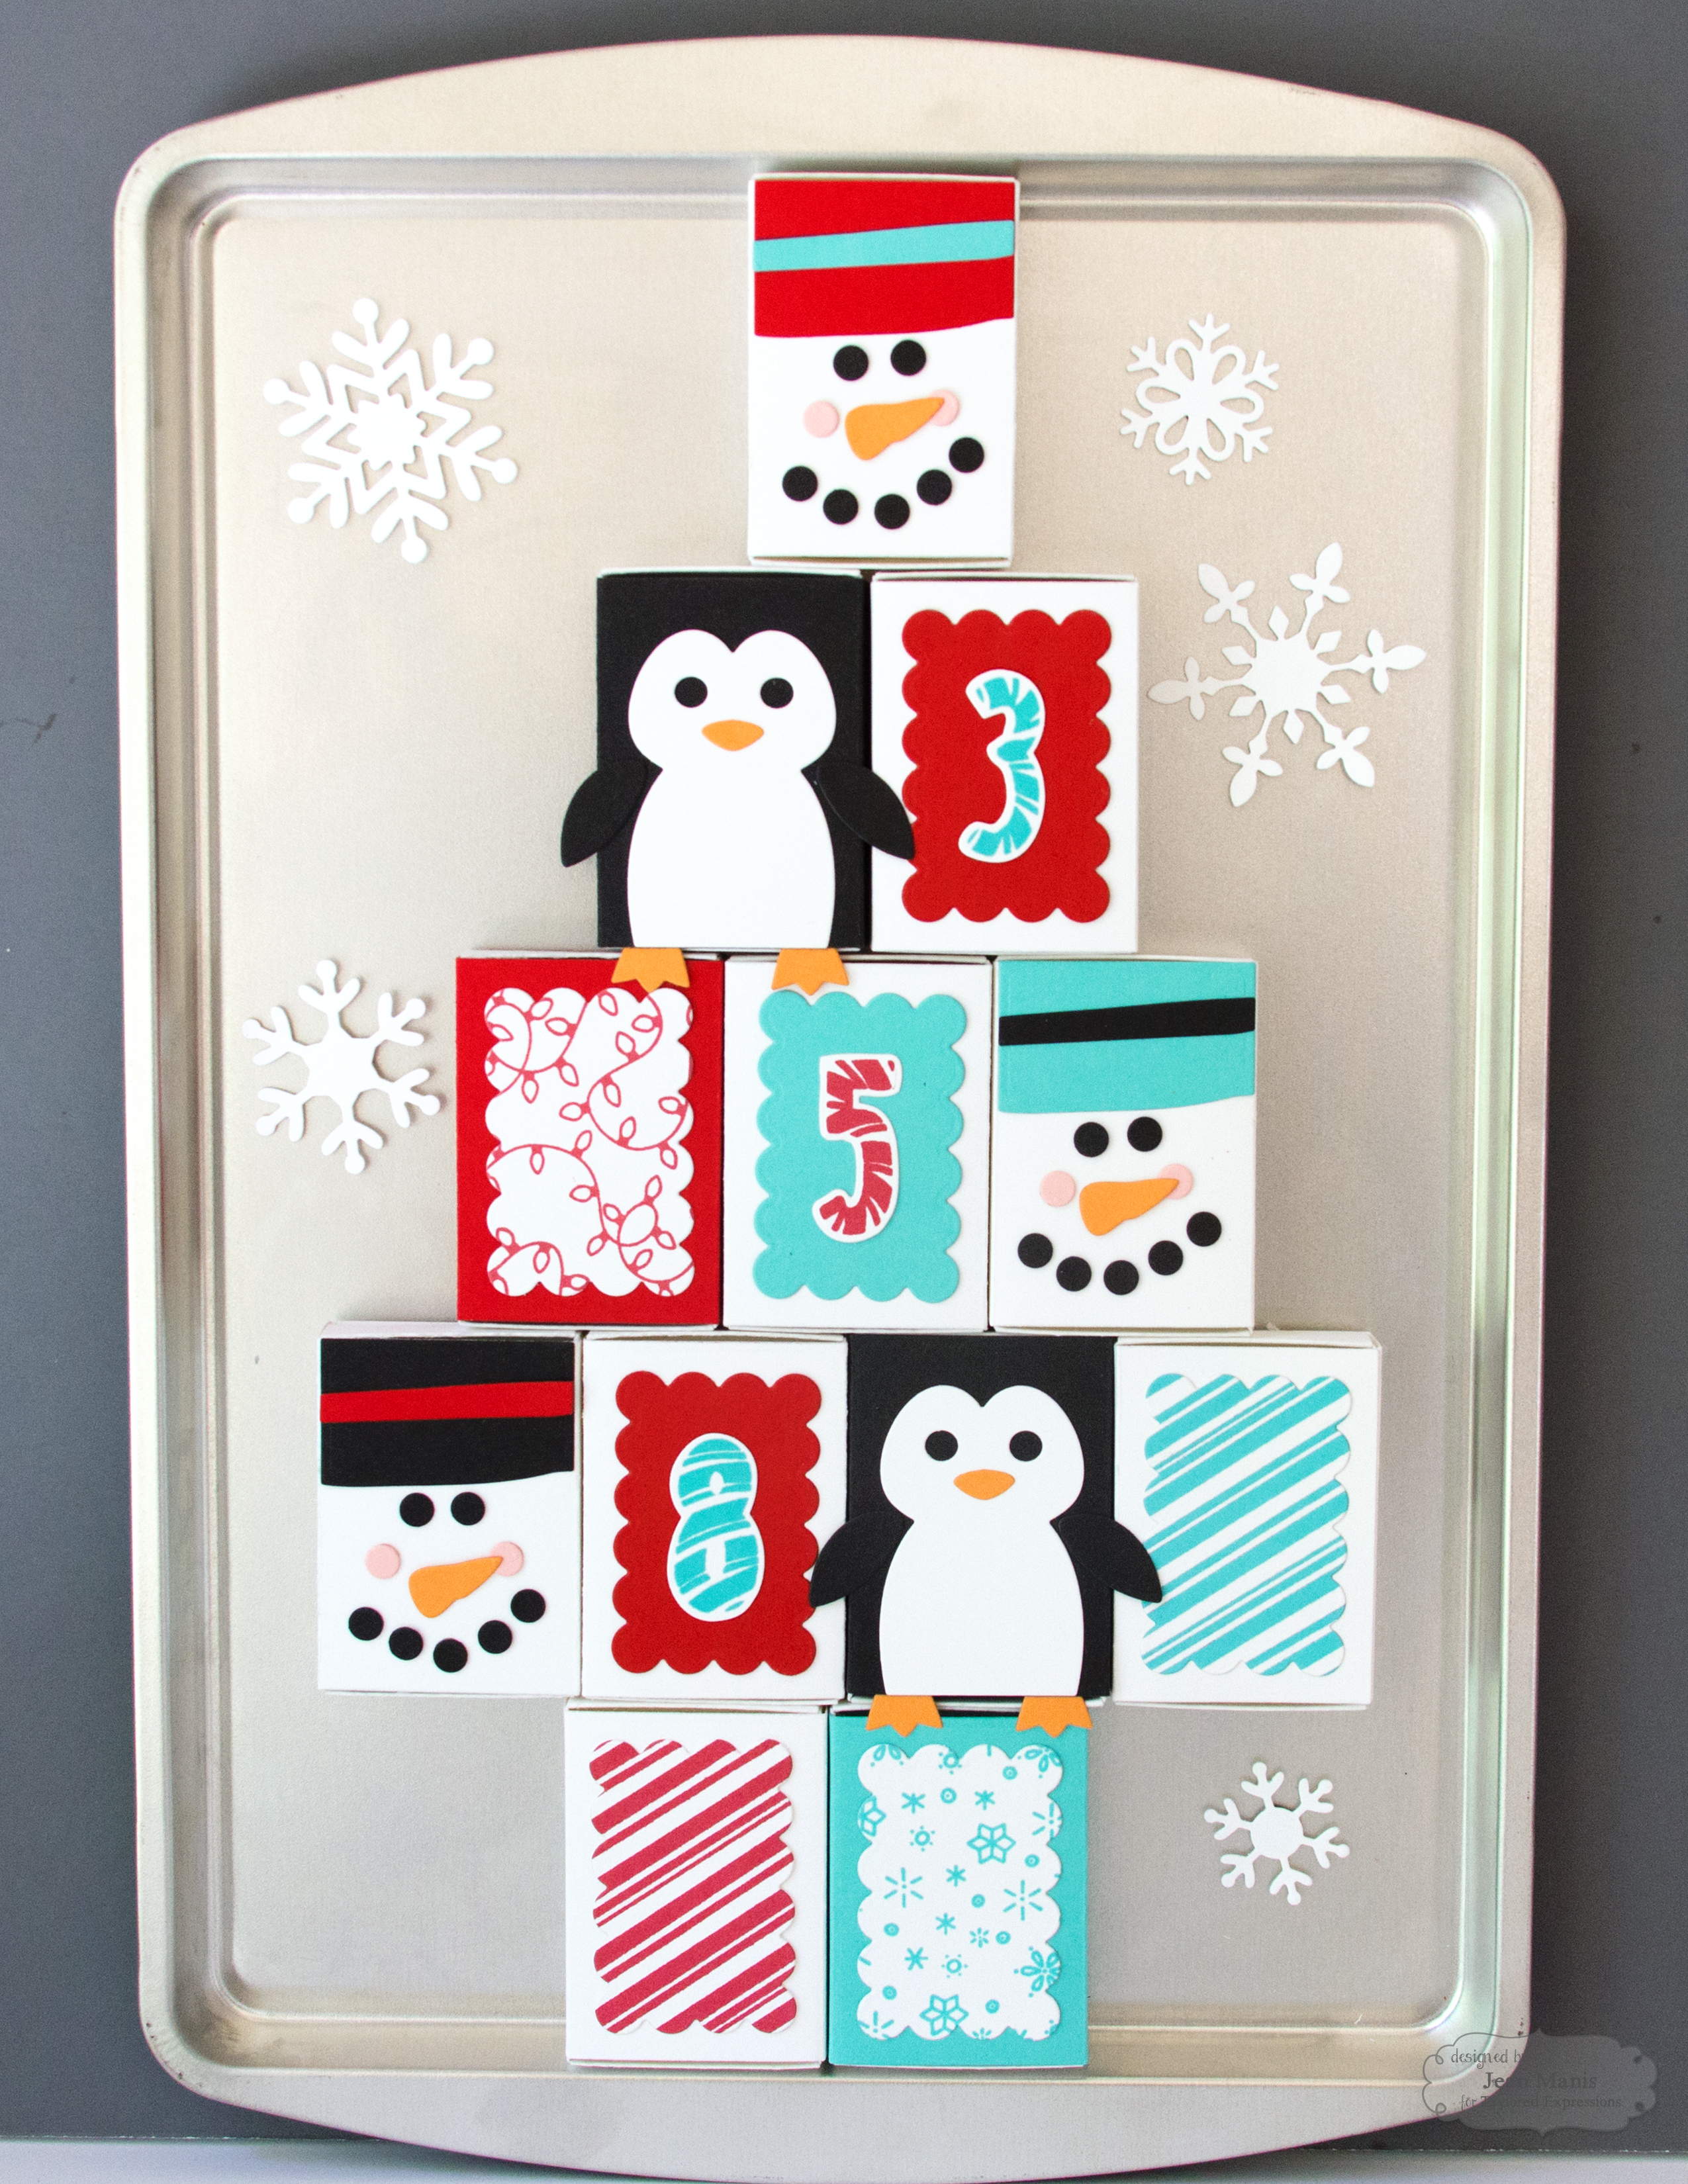
I adhered magnetic tape to the back of the Matchbox cases and positioned them on a cookie sheet in the shape of a Christmas tree.
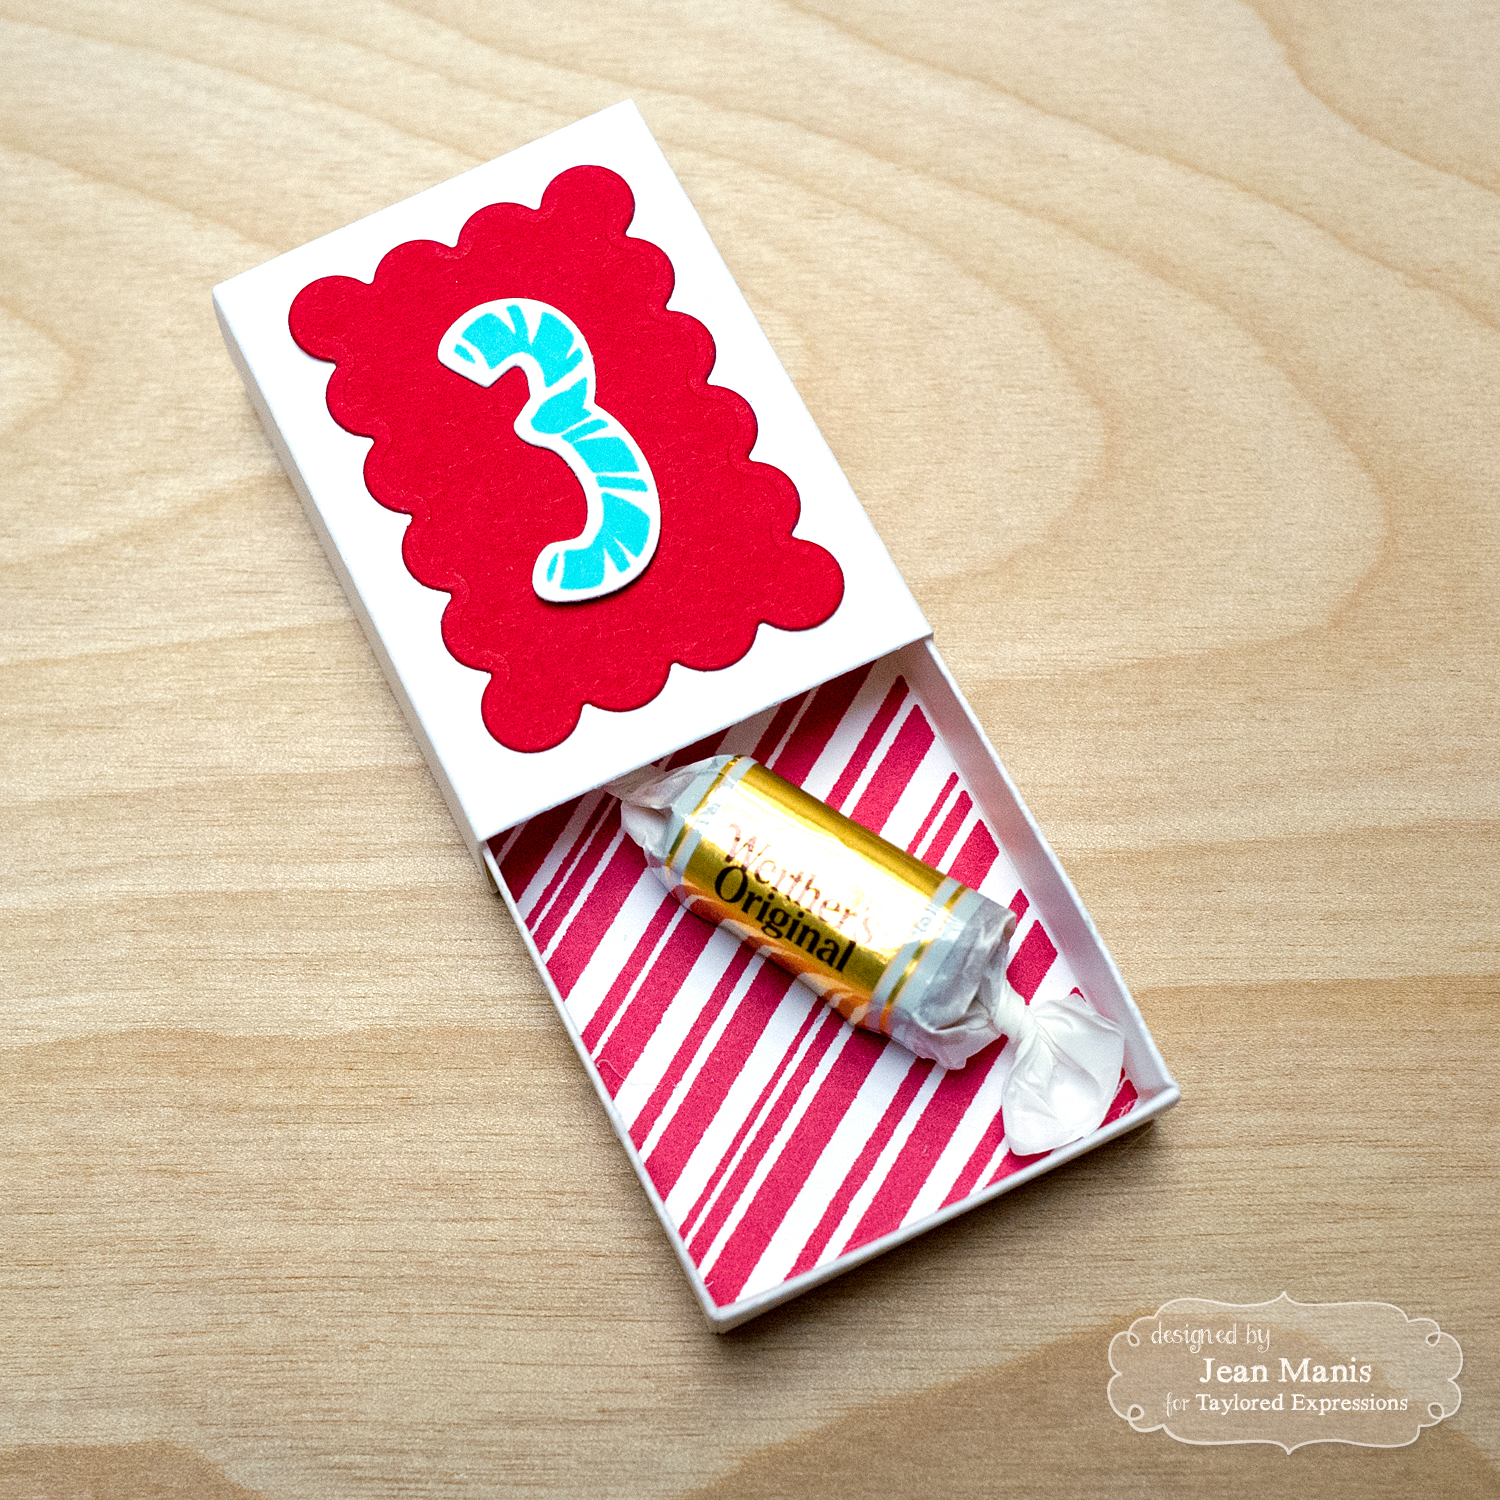
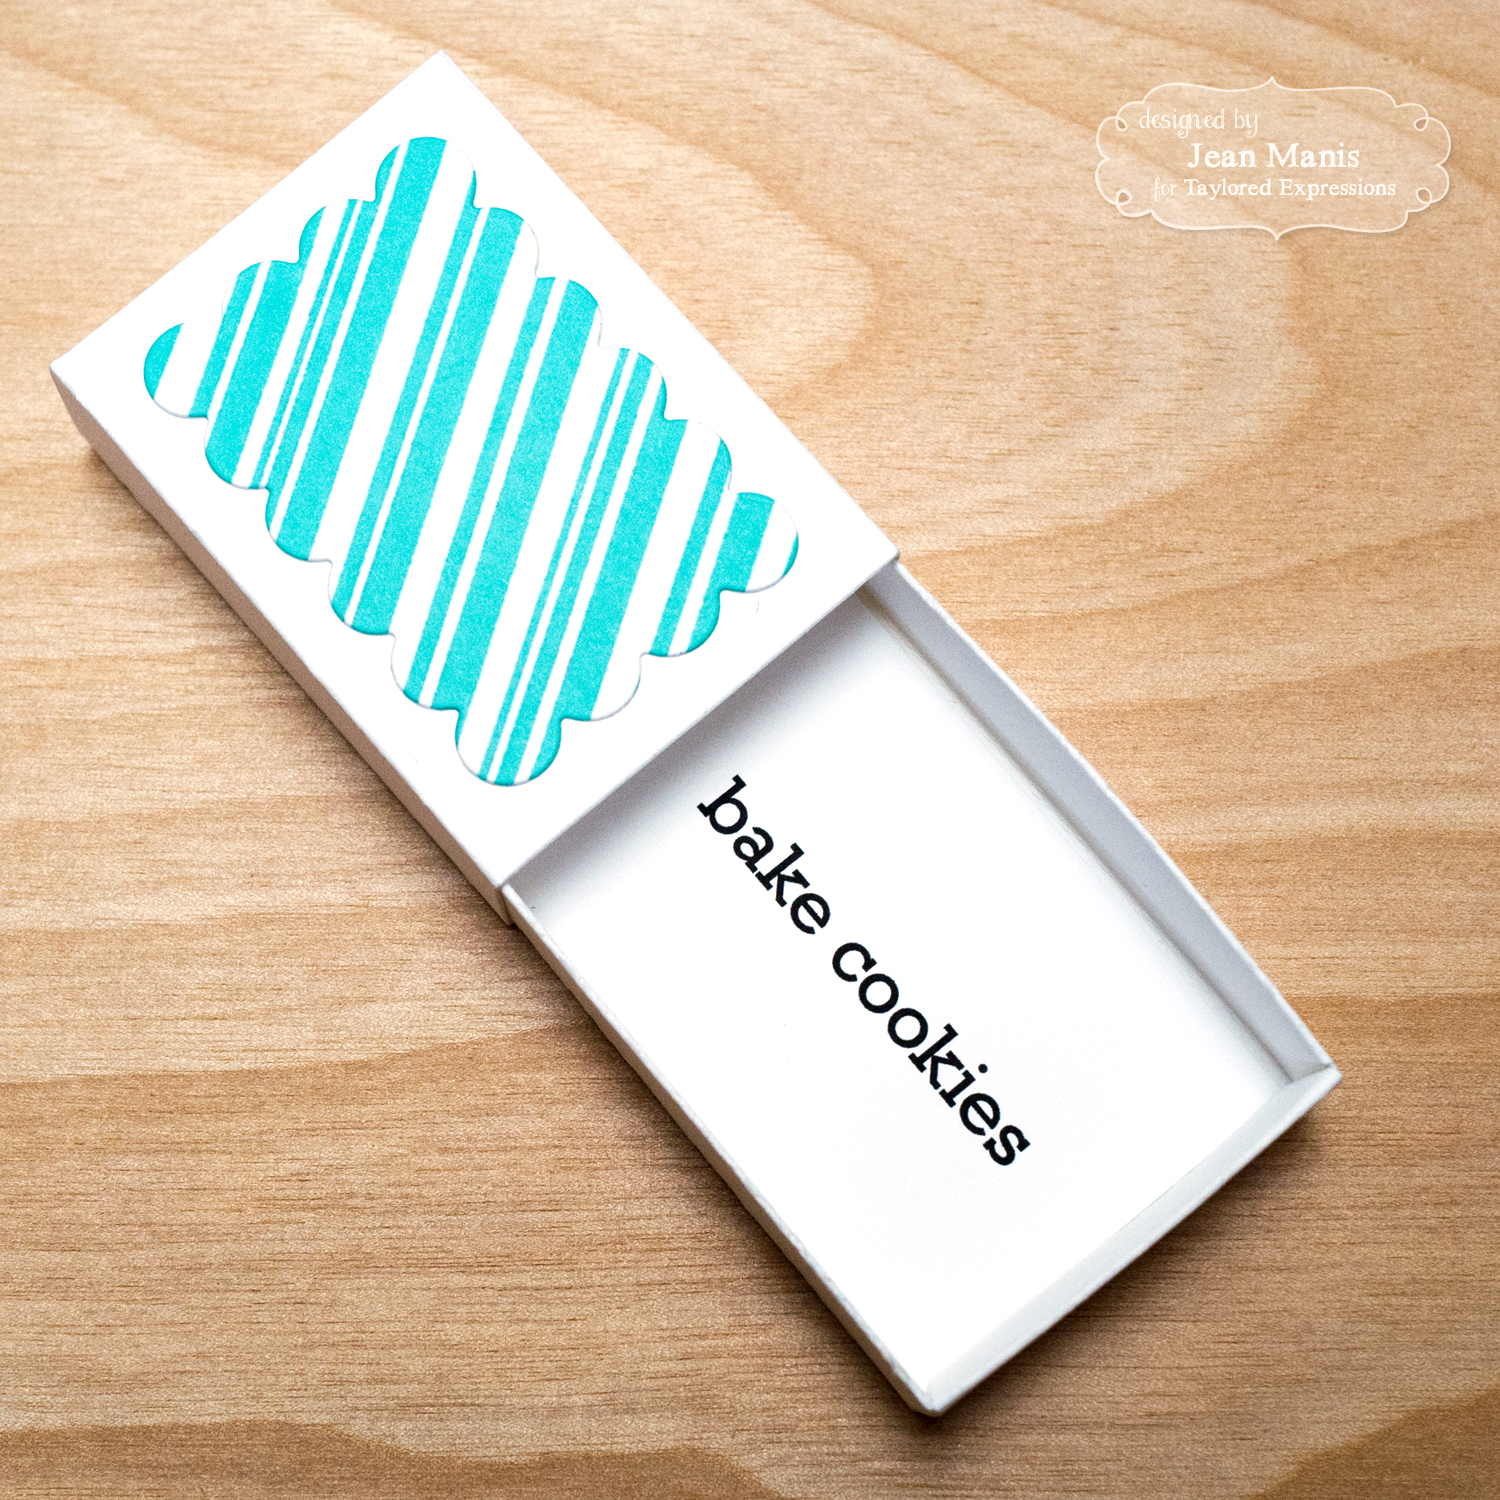
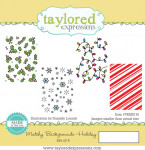
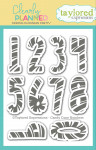
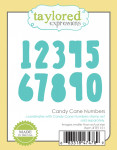
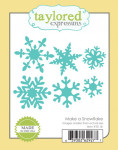
I used the Clearly Planned – Candy Cane Numbers and coordinating dies to create the countdown numbers for the boxes (some on the exterior and others on the interior). I used stamps in the Matchy Backgrounds – Holiday set to decorate box tops and drawer insides. I added snowflakes cut with the Make a Snowflake set for visual interest around the tree.
The contents of the Countdown to Christmas boxes include candy and Christmas activities!
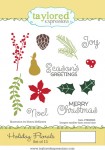
I decorated several box tops with the Matchy Snowman and Matchy Penguin sets, which would be fun to use on their own on a card.

Supplies:
|
|
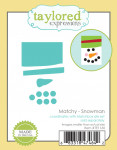
Matchy Snowman
|
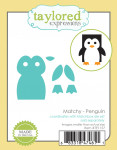
Matchy Penguin
|
Matchy Backgrounds – Holiday
|
|
Clearly Planned – Candy Cane Numbers
|
Candy Cane Numbers Dies
|
Matchbox
|
|
Make a Snowflake
|
TE Premium Cardstock – Sugar Cube
|
TE Premium Cardstock – Oreo
|
|
TE Premium Cardstock – Cookie Monster
|
TE Premium Cardstock – Cherry Pop
|
TE Premium Cardstock – Candy Corn
|
|
TE Premium Cardstock – Pink Champagne
|
TE Premium Ink – Cherry Pop – Full Pad
|
TE Premium Ink – Cookie Monster -…
|
|
TE Premium White Pigment Ink – Sugar…
|
|
|
Taylored Expressions is celebrating Release Week with some fabulous giveaways! Visit the TE Blog for a chance to win a prize from the latest release!
Thanks for visiting! Head on over to the TE Blog to see more projects and product information, as well as a complete list of participating designers!


