Taylored Expressions – Celebrating Christmas

Welcome to Day 2 of the Taylored Expressions October 2017 Release Sneak Peeks. The October products being sneaked will be released Thursday, October 5 @ 7 AM PST!

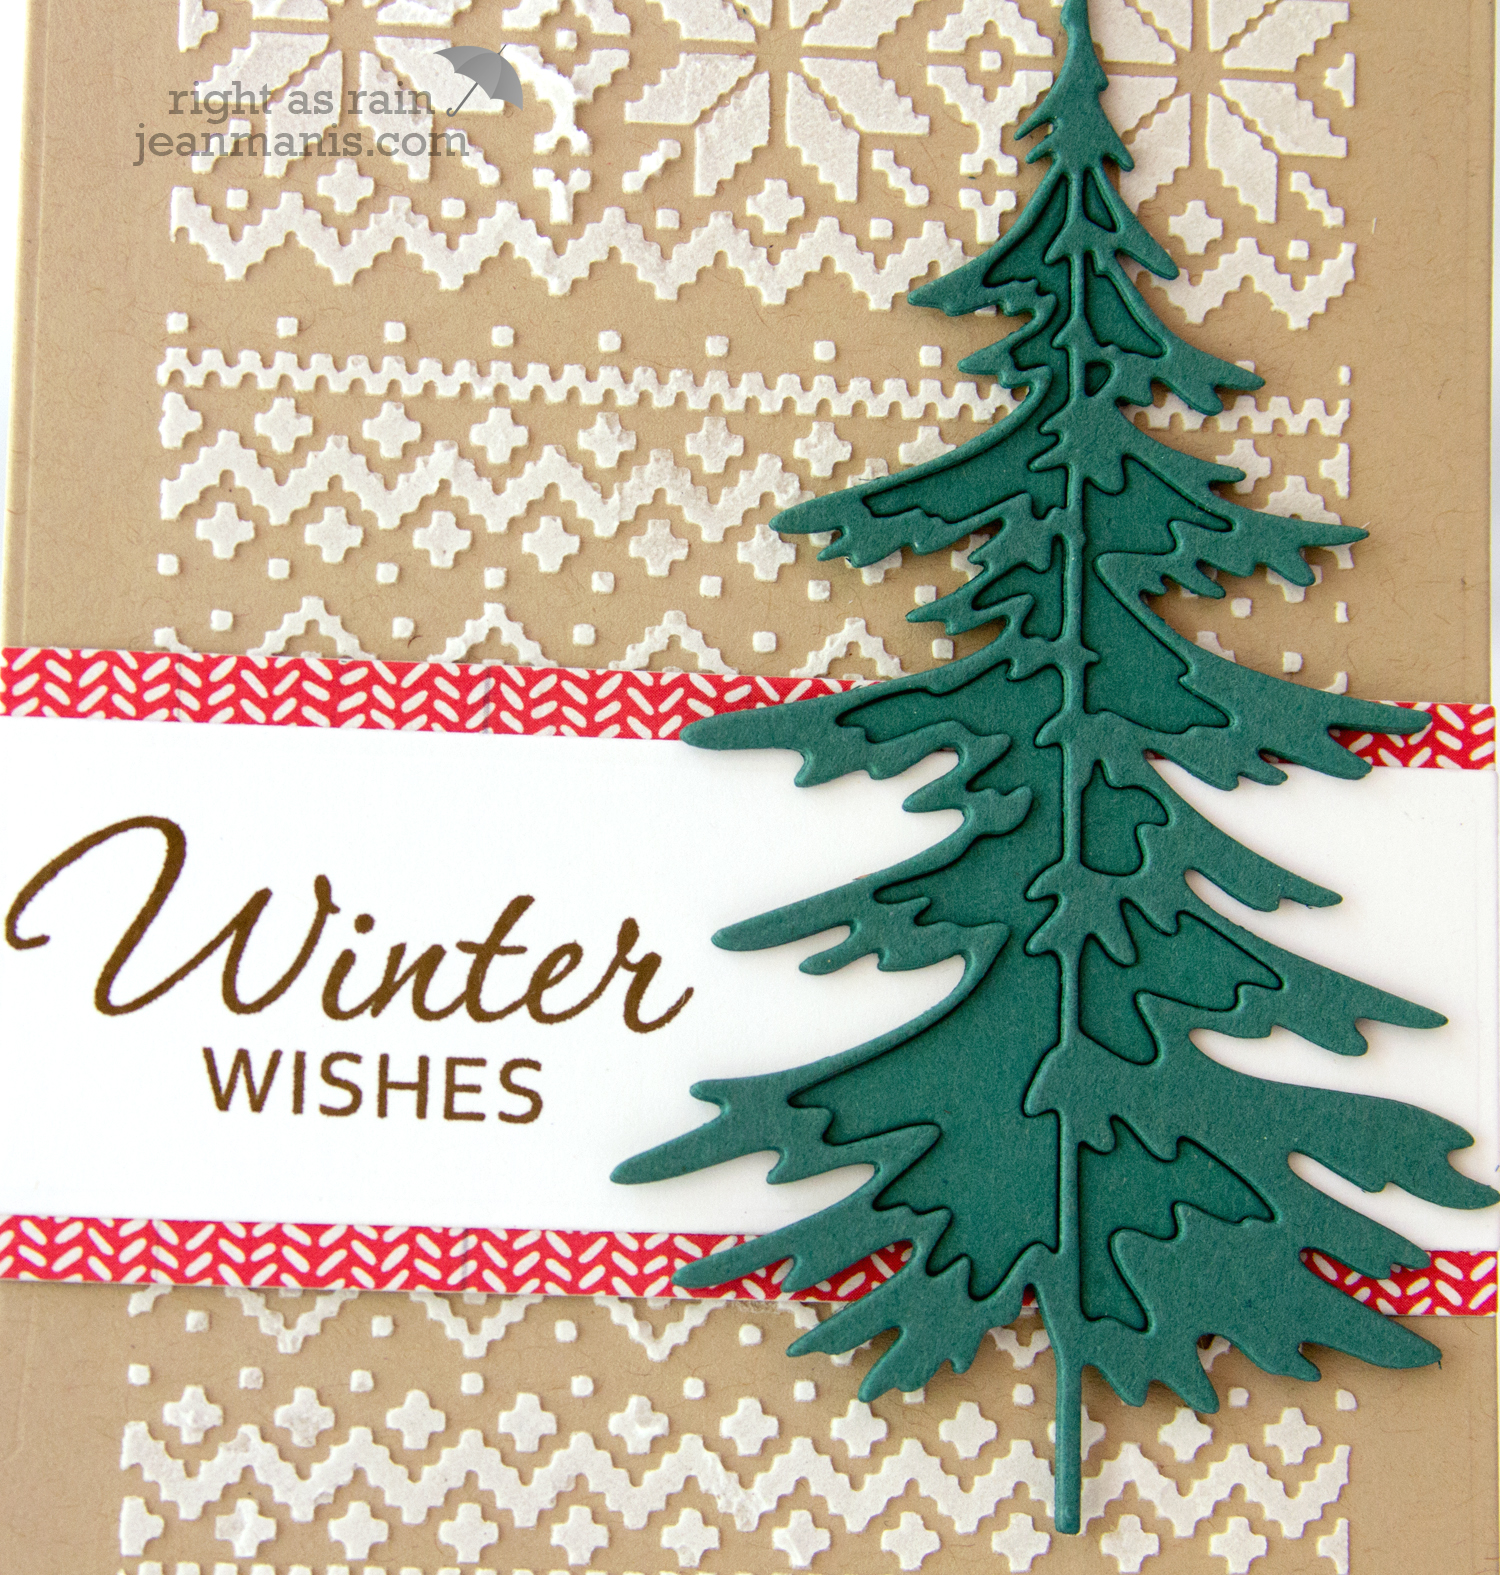
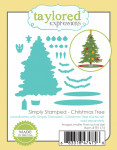
Today, I am sharing two Christmas cards. My first card depicts a Christmas Eve scene featuring the latest addition to the Simply Stamped series – Simply Stamped Christmas Tree.

Taylored Expressions October 2017 Release

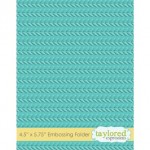
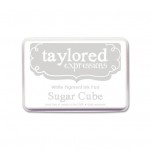
To create the tree, I stamped the most solid tree image with Peapod ink. I then stamped the next layer with VersaMark ink. As the ink dried, the area became lighter. Finally, I stamped the third layer with the Sugar Cube pigment ink to replicate flocking. I decorated the tree with the corresponding die set. I dry-embossed the background with the Cable Knit folder. I used a portion of the Jolly Old St. Nick border for the background, tucked behind the patterned paper. The stamped tree is decorated with ornaments and tinsel, and a star on top, cut with dies in the Simply Stamped – Christmas Tree set.

Taylored Expressions October 2017 Release
Supplies:

Simply Stamped – Christmas Tree
[ TLR ]
Simply Stamped – Christmas Tree Dies
[ TLR ]
Jolly Old St. Nick
[ TLR ]
Banner Stacklets 1
[ TLR ]
Embossing Folder – Cable Knit
[ TLR ]
TE Foil Cardstock – Silver
[ TLR ]
TE Foil Cardstock – Gold
[ TLR ]
TE 6×6 Paper Pack – Build a Scene
[ TLR ]
TE Premium Cardstock – Peapod
[ TLR ]
TE Premium Cardstock – Cherry Pop
[ TLR ]
TE Premium Cardstock – Sugar Cube
[ TLR ]
TE Premium Ink – Peapod – Full Pad
[ TLR ]
TE Premium White Pigment Ink – Sugar…
[ TLR ]
VersaMark – Watermark Stamp Pad
[ TLR ]
Zing! Embossing Powder – White Opaque
[ TLR ]


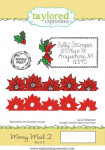
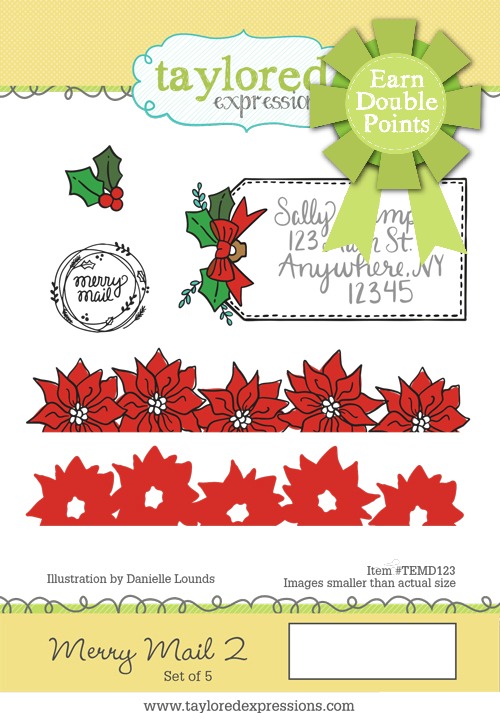
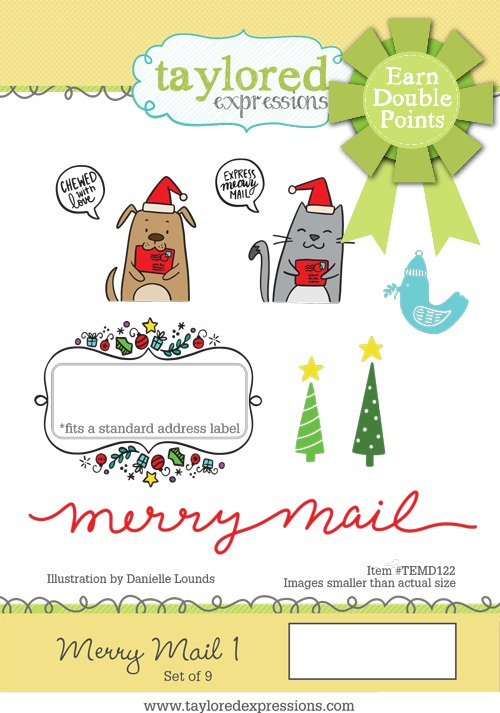
I created an envelope for the card using Merry Mail 2. This set features a gorgeous poinsettia border. I stamped the border twice, once with Cherry Pop ink and again with Oreo. I colored the centers with colored pencil. The address label was also colored with pencils.

Taylored Expressions October 2017 Release
Supplies:

Merry Mail 2
[ TLR ]
A2 Envelopes – Sugar Cube
[ TLR ]
TE Premium Ink – Oreo – Full Pad
[ TLR ]
TE Premium Ink – Cherry Pop – Full Pad
[ TLR ]


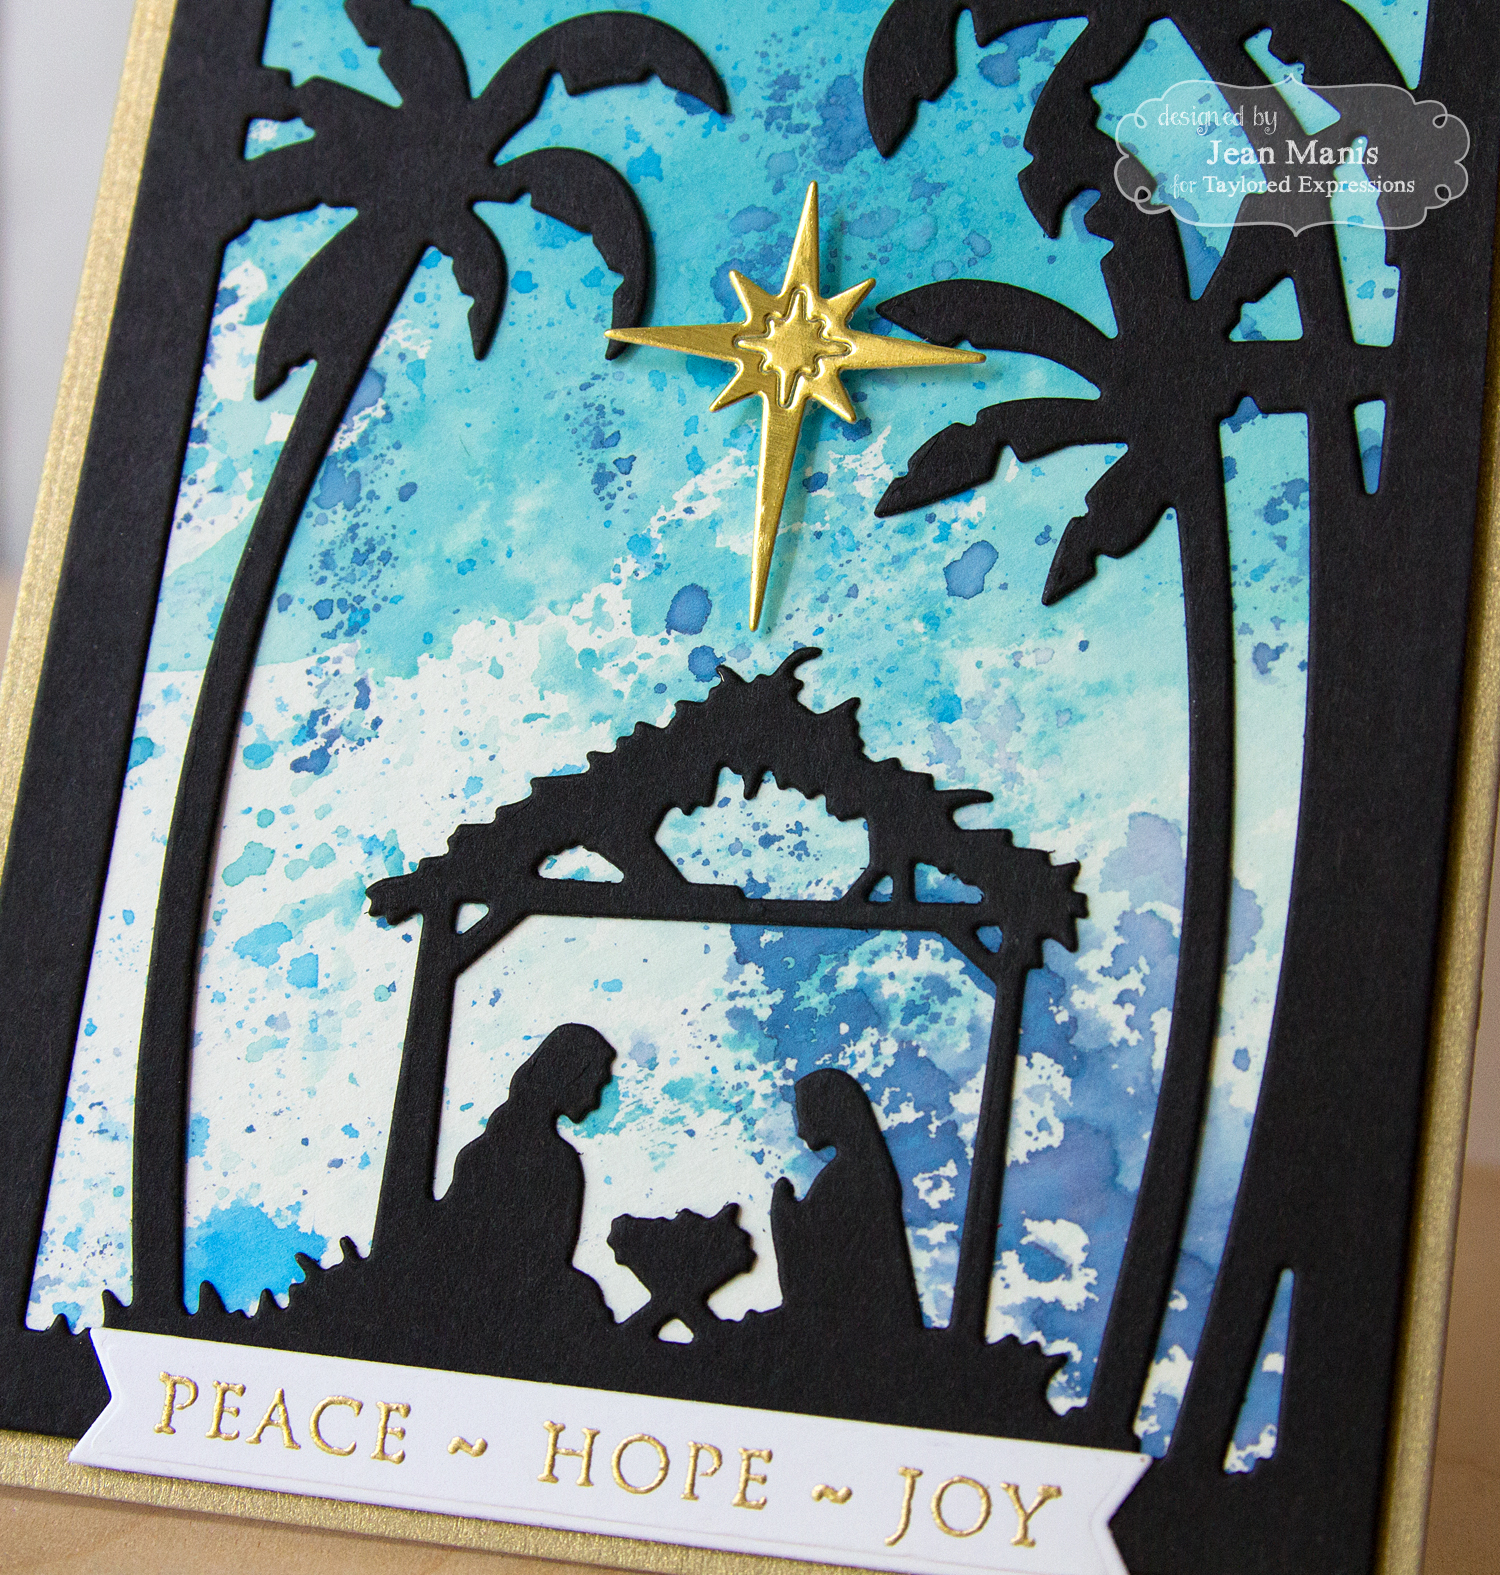
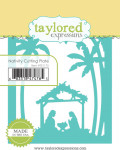
My second card showcases the dramatic Nativity Cutting Plate.

Taylored Expressions October 2017 Release

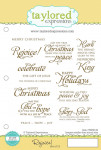
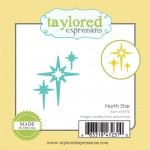
For the background, I used the smooshing technique to apply Distress Oxide Inks to watercolor paper. While the panel dried, I cut the Nativity Cutting Plate from Oreo cardstock. I heat-embossed the Rejoice sentiment with gold embossing powder and cut it as a double-ended banner. I created the card base from gold matte metallic cardstock included in the Metallic Neutrals pack. The star is cut from Gold Foil with the Little Bits – North Star die.

Taylored Expressions October 2017 Release
Supplies:

Nativity Cutting Plate
[ TLR ]
Rejoice
[ TLR ]
Little Bits – North Star
[ TLR ]
TE Foil Cardstock – Gold
[ TLR ]
TE Premium Cardstock – Metallic Neutrals
[ TLR ]
TE Premium Cardstock – Oreo
[ TLR ]
TE Premium Cardstock – Sugar Cube
[ TLR ]
TE Premium Watercolor Cardstock
[ TLR ]
Tim Holtz Distress Oxide Ink – Broken…
[ TLR ]
Tim Holtz Distress Oxide Ink – Salty…
[ TLR ]
Tim Holtz Distress Oxide Ink – Faded…
[ TLR ]
VersaMark – Watermark Stamp Pad
[ TLR ]
Zing! Embossing Powder – Gold Metallic
[ TLR ]


Taylored Expressions is celebrating Release Week with some fabulous giveaways! Visit the TE Blog for a chance to win a prize from the latest release!

For a limited time, earn DOUBLE CRAFTY POINTS on the Merry Mail 1 and Merry Mail 2 stamp sets!

Merry Mail PromotionIf you’re not a Crafty Points member, it’s free and easy to join. Just create an account at the TE webstore and you’re automatically enrolled to begin earning crafty points with every purchase. You’ll earn 34 Crafty Points EACH on the purchase of our Merry Mail 1 and Merry Mail 2 stamp sets! Offer valid on qualifying purchases made between 9am CST on Thursday, October 5, 2017 and 11:59 pm CST on Sunday, October 8, 2017 and only while supplies last. Crafty Points are only available on purchases made via our retail site: www.tayloredexpressions.com.

Thanks for visiting! Head on over to the TE Blog to see more projects and product information, as well as a complete list of participating designers!

Taylored Expressions – Let It Snow

Hello! Welcome to Day 1 of the Taylored Expressions October 2017 Release Sneak Peeks. It’s beginning to look a lot like Christmas! The October products being sneaked will be released this Thursday, October 5 @ 7 AM PST!

My first project features the Quick Critters – Winter Stamp & Die set.

Taylored Expressions October 2017 Release

I stamped the snowman and his scarf three times. I colored the scarves with Copic markers and added Glossy Accents for dimension. I dry-embossed the background with the Snowfall folder and added trees to the scene, which I cut with dies in the Build a Scene – Central Park and the Build a Scene – Winter Trees sets. The hats are included in the Little Bits – Snowman set.

Taylored Expressions October 2017 Release Supplies:

Quick Critters – Winter Stamp & Die…
[ TLR ]
Build a Scene – Rolling Hills
[ TLR ]
Build a Scene – Central Park
[ TLR ]
Build a Scene – Winter Trees
[ TLR ]
Little Bits – Snowman
[ TLR ]
Banner Stacklets 1
[ TLR ]
Stitched Rectangle Stacklets
[ TLR ]
Embossing Folder – Snowfall
[ TLR ]
TE Premium Cardstock – Cookie Monster
[ TLR ]
TE Premium Cardstock – Sugar Cube
[ TLR ]
TE Premium Cardstock – Watermelon
[ TLR ]
TE Premium Cardstock – Oreo
[ TLR ]
TE Premium Ink – Oreo – Full Pad
[ TLR ]
Zing! Embossing Powder – White Opaque
[ TLR ]
VersaMark – Watermark Stamp Pad
[ TLR ]


The October 2017 release includes two stamp sets for decorating envelopes. This is an easy and fun way to add color and whimsy to your holiday greetings! I created an envelope for the card shown above using the Merry Mail 1 set. I colored the stamped images with colored pencils. The bottom sentiment was stamped with red ink.

Taylored Expressions October 2017 Release

Supplies:

Merry Mail 1
[ TLR ]
A2 Envelopes – Sugar Cube
[ TLR ]
TE Premium Ink – Oreo – Full Pad
[ TLR ]
TE Premium Ink – Cherry Pop – Full Pad
[ TLR ]

For my second card, I created a Christmas card in non-traditional colors showcasing the Spirit of Christmas set.

Taylored Expressions October 2017 Release

I heat-embossed the Spirit of Christmas images and cut the trees with corresponding dies in the Christmas Tree Stacklets set (these could be cut from patterned paper for an entirely different look!). The background was dry-embossed with the Winter Flurry folder. I added a bird cut with the Little Bits – Birds set to tie-in the Lollipop cardstock used for the sentiment banner.

Taylored Expressions October 2017 Release

Supplies:

Spirit of Christmas
[ TLR ]
Christmas Tree Stacklets
[ TLR ]
Little Bits – Birds
[ TLR ]
Banner Stacklets 1
[ TLR ]
Build a Scene – Rolling Hills
[ TLR ]
Embossing Folder – Winter Flurry
[ TLR ]
TE Premium Cardstock – Metallic Neutrals
[ TLR ]
TE Foil Cardstock – Silver
[ TLR ]
TE Premium Cardstock – Lollipop
[ TLR ]
TE Premium Cardstock – Key Lime
[ TLR ]
TE Premium Cardstock – Cookie Monster
[ TLR ]
TE Premium Cardstock – Sprinkles
[ TLR ]
TE Premium Cardstock – Sugar Cube
[ TLR ]
VersaMark – Watermark Stamp Pad
[ TLR ]
Zing! Embossing Powder – White Opaque
[ TLR ]


Taylored Expressions is celebrating Release Week with some fabulous giveaways! Visit the TE Blog for a chance to win a prize from the latest release!

Additionally, for a limited time, earn DOUBLE CRAFTY POINTS on the Merry Mail 1 and Merry Mail 2 stamp sets!

Merry Mail PromotionIf you’re not a Crafty Points member, it’s free and easy to join. Just create an account at the TE webstore and you’re automatically enrolled to begin earning crafty points with every purchase. You’ll earn 34 Crafty Points EACH on the purchase of our Merry Mail 1 and Merry Mail 2 stamp sets! Offer valid on qualifying purchases made between 9am CST on Thursday, October 5, 2017 and 11:59 pm CST on Sunday, October 8, 2017 and only while supplies last. Crafty Points are only available on purchases made via our retail site: www.tayloredexpressions.com.

Thanks for visiting! Head on over to the TE Blog to see more projects and product information, as well as a complete list of participating designers!

Winter Wonderland

Hello! Today, I’m sharing a holiday card which showcases the Elizabeth Craft Designs Build a Snowman die set.

Winter Wonderland

I applied embossing paste to the background ( Stampin’ Up Dapper Denim) through the Simon Says Stamp Falling Snow stencil (I use this stencil so often during the holidays that I just leave it out). I placed the snowman and broom against a landscape cut with the Memory Box Fresh Pine Curved Border to which I added a few Memory Box Fresh Pine Trees. The sentiment is from the Papertrey Ink Two Feet Deep set.

Winter Wonderland


Supplies:

CAS Cozy Christmas

Hello! While I was playing along with the Merry Monday Christmas Challenge Summer Link-up, I created a number of Christmas cards, so many that I didn’t get them all posted! This CAS card combines the Tim Holtz Holiday Knit stencil, the Sizzix Tim Holtz Woodlands die set, and a Hero Arts sentiment from Winter Wishes.

CAS Cozy Christmas

I cut the tree from Stampin’ Up Tranquil Tide cardstock twice (this is a new color and it is one that I really like!). For one of the die-cut trees, I knocked out the pieces I didn’t want, and the other time I left them in place (taping them securely on the back). I adhered the trees together. I applied the Embossing Paste through the stencil on to Stampin’ Up Crumb Cake cardstock. While the background dried, I stamped the sentiment with Stampin’ Up Soft Suede ink. I cut the sentiment strip with one of the dies in the My Favorite Things STAX Fishtail Flags set. I cut a strip of patterned paper (old Studio Calico paper pack) with a larger die in the same set.

CAS Cozy Christmas

Merry Monday Challenge – Stenciled Evergreen Ornament Scene

Hello! I’m playing along with the Merry Monday Christmas Challenge Summer Link-up (the link -up runs until August 31 at noon) with another CAS card featuring the Stamper’s Anonymous Tim Holtz Woodland stencil, this time used to create a scene within the Impression Obsession Round Ornament.

Stenciled Evergreen Ornament SceneThe Tim Holtz Woodland stencil includes two evergreen trees, each with a snow overlay. I began by stenciling the trees in the background with Iced Spruce Distress Ink. I then inked the center tree with Pine Needles followed by Unicorn White Pigment ink using the snow portion of the stencil. Once dry, I cut the scene with the Impression Obsession Round Ornament. I heat-embossed the Hero Arts Christmas Messages sentiment on Stampin’ Up Tranquil Tide. To finish I added snowflakes cut with the Lawn Fawn Mini Snowflakes die.

Stenciled Evergreen Ornament Scene

Merry Monday Christmas Card Challenge

Supplies: