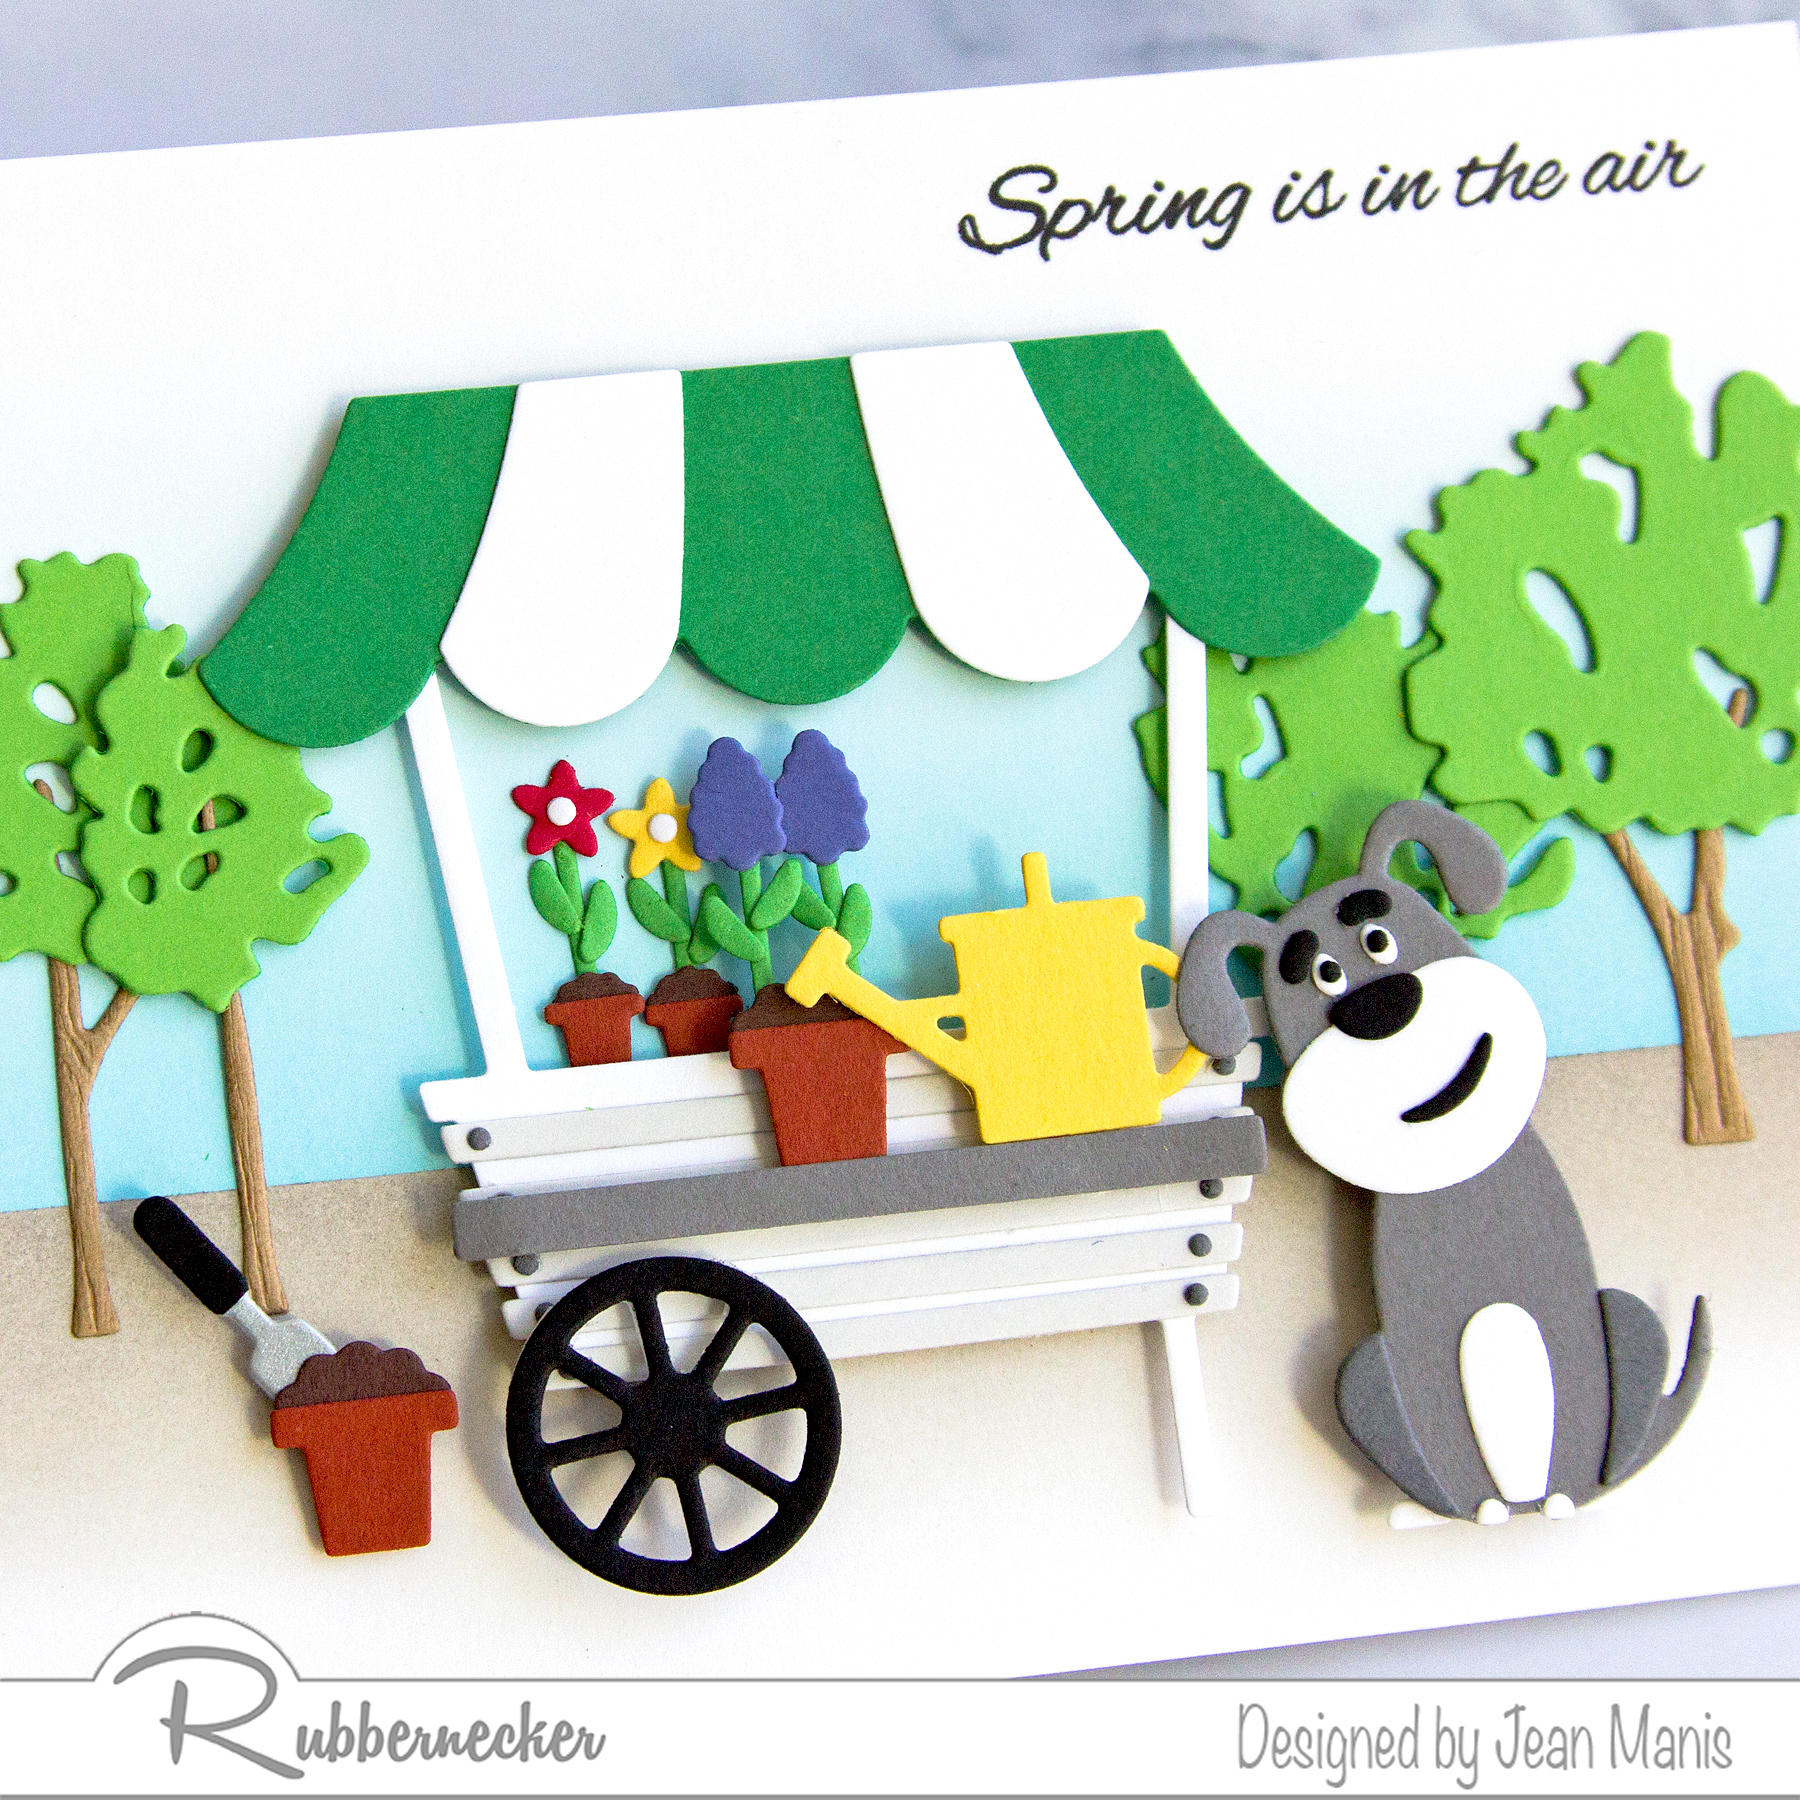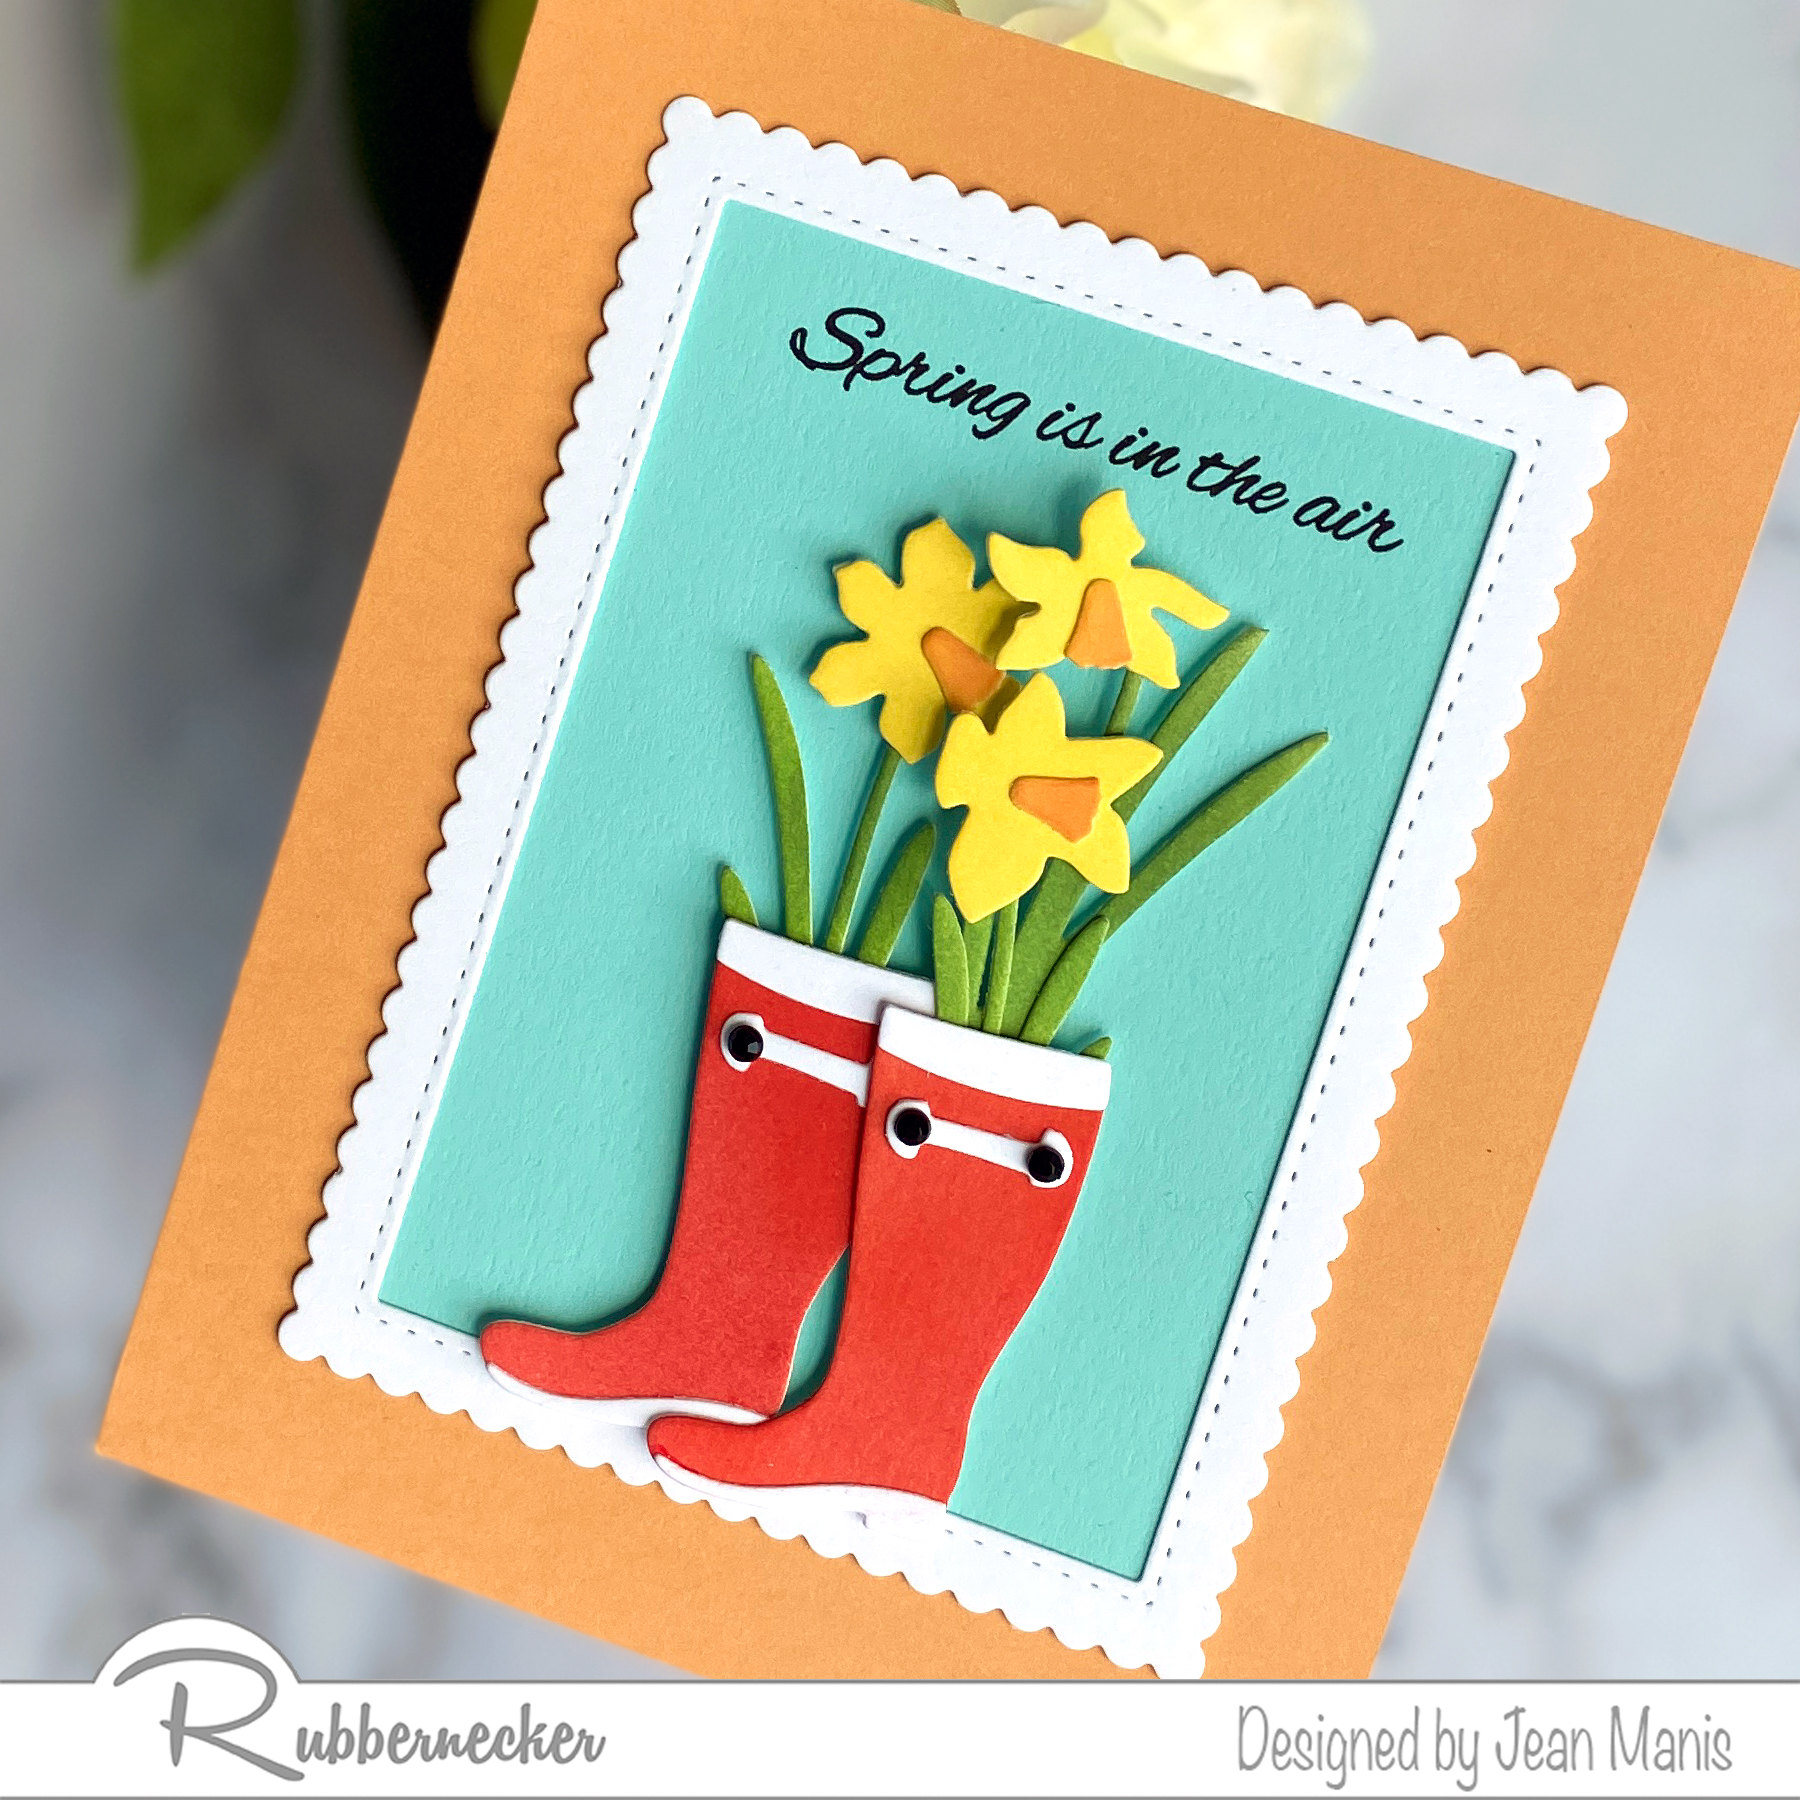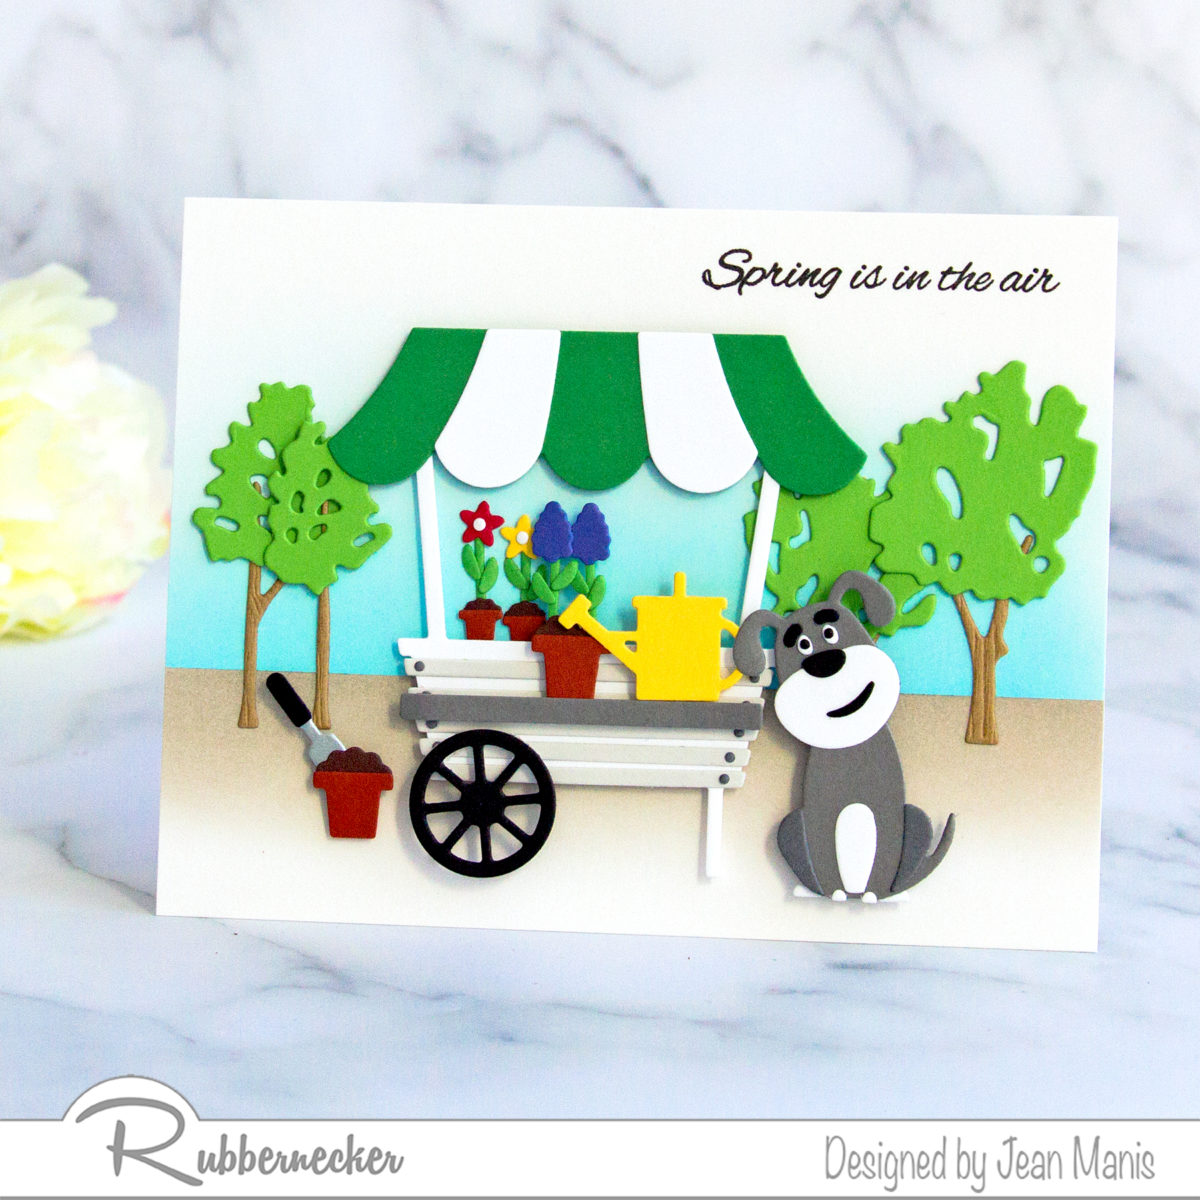
Hello! Today, I am sharing a spring-themed card created with Rubbernecker supplies.

Create primary components
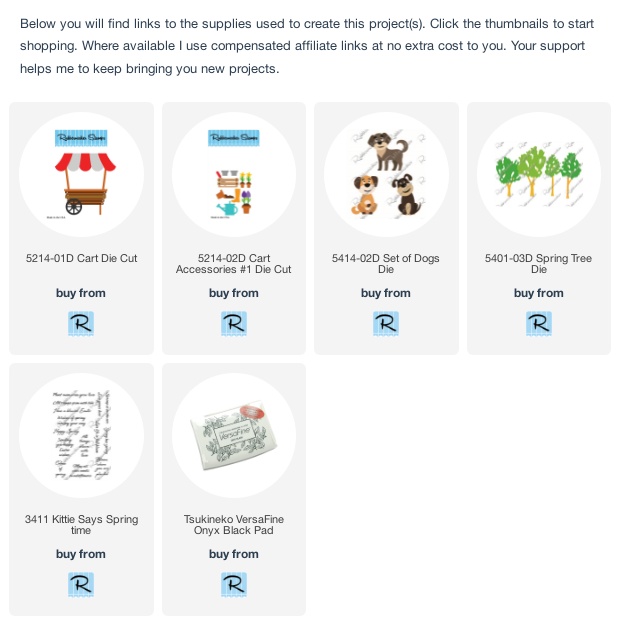
- Cut dog with Set of Dogs from gray, black, and white cardstock; assemble.
- Cut Cart from white, green, light gray, and black cardstock; assemble.
- Cut trees with Spring Tree dies from green and brown woodgrain-textured cardstock; assemble.
Create background
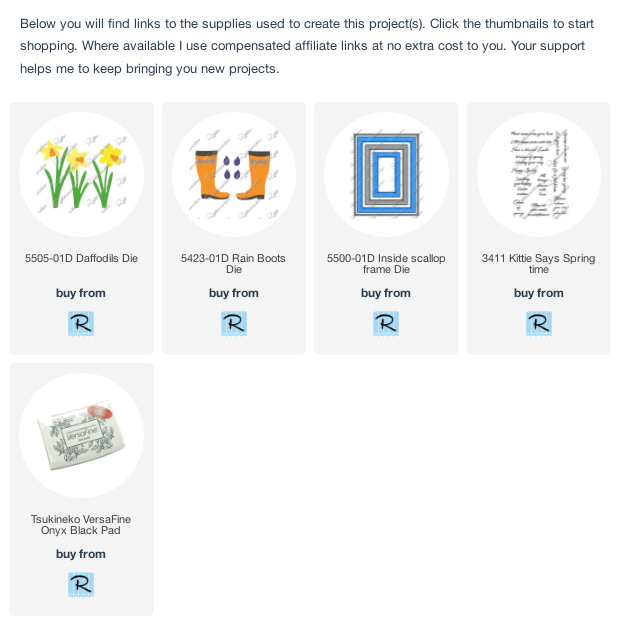
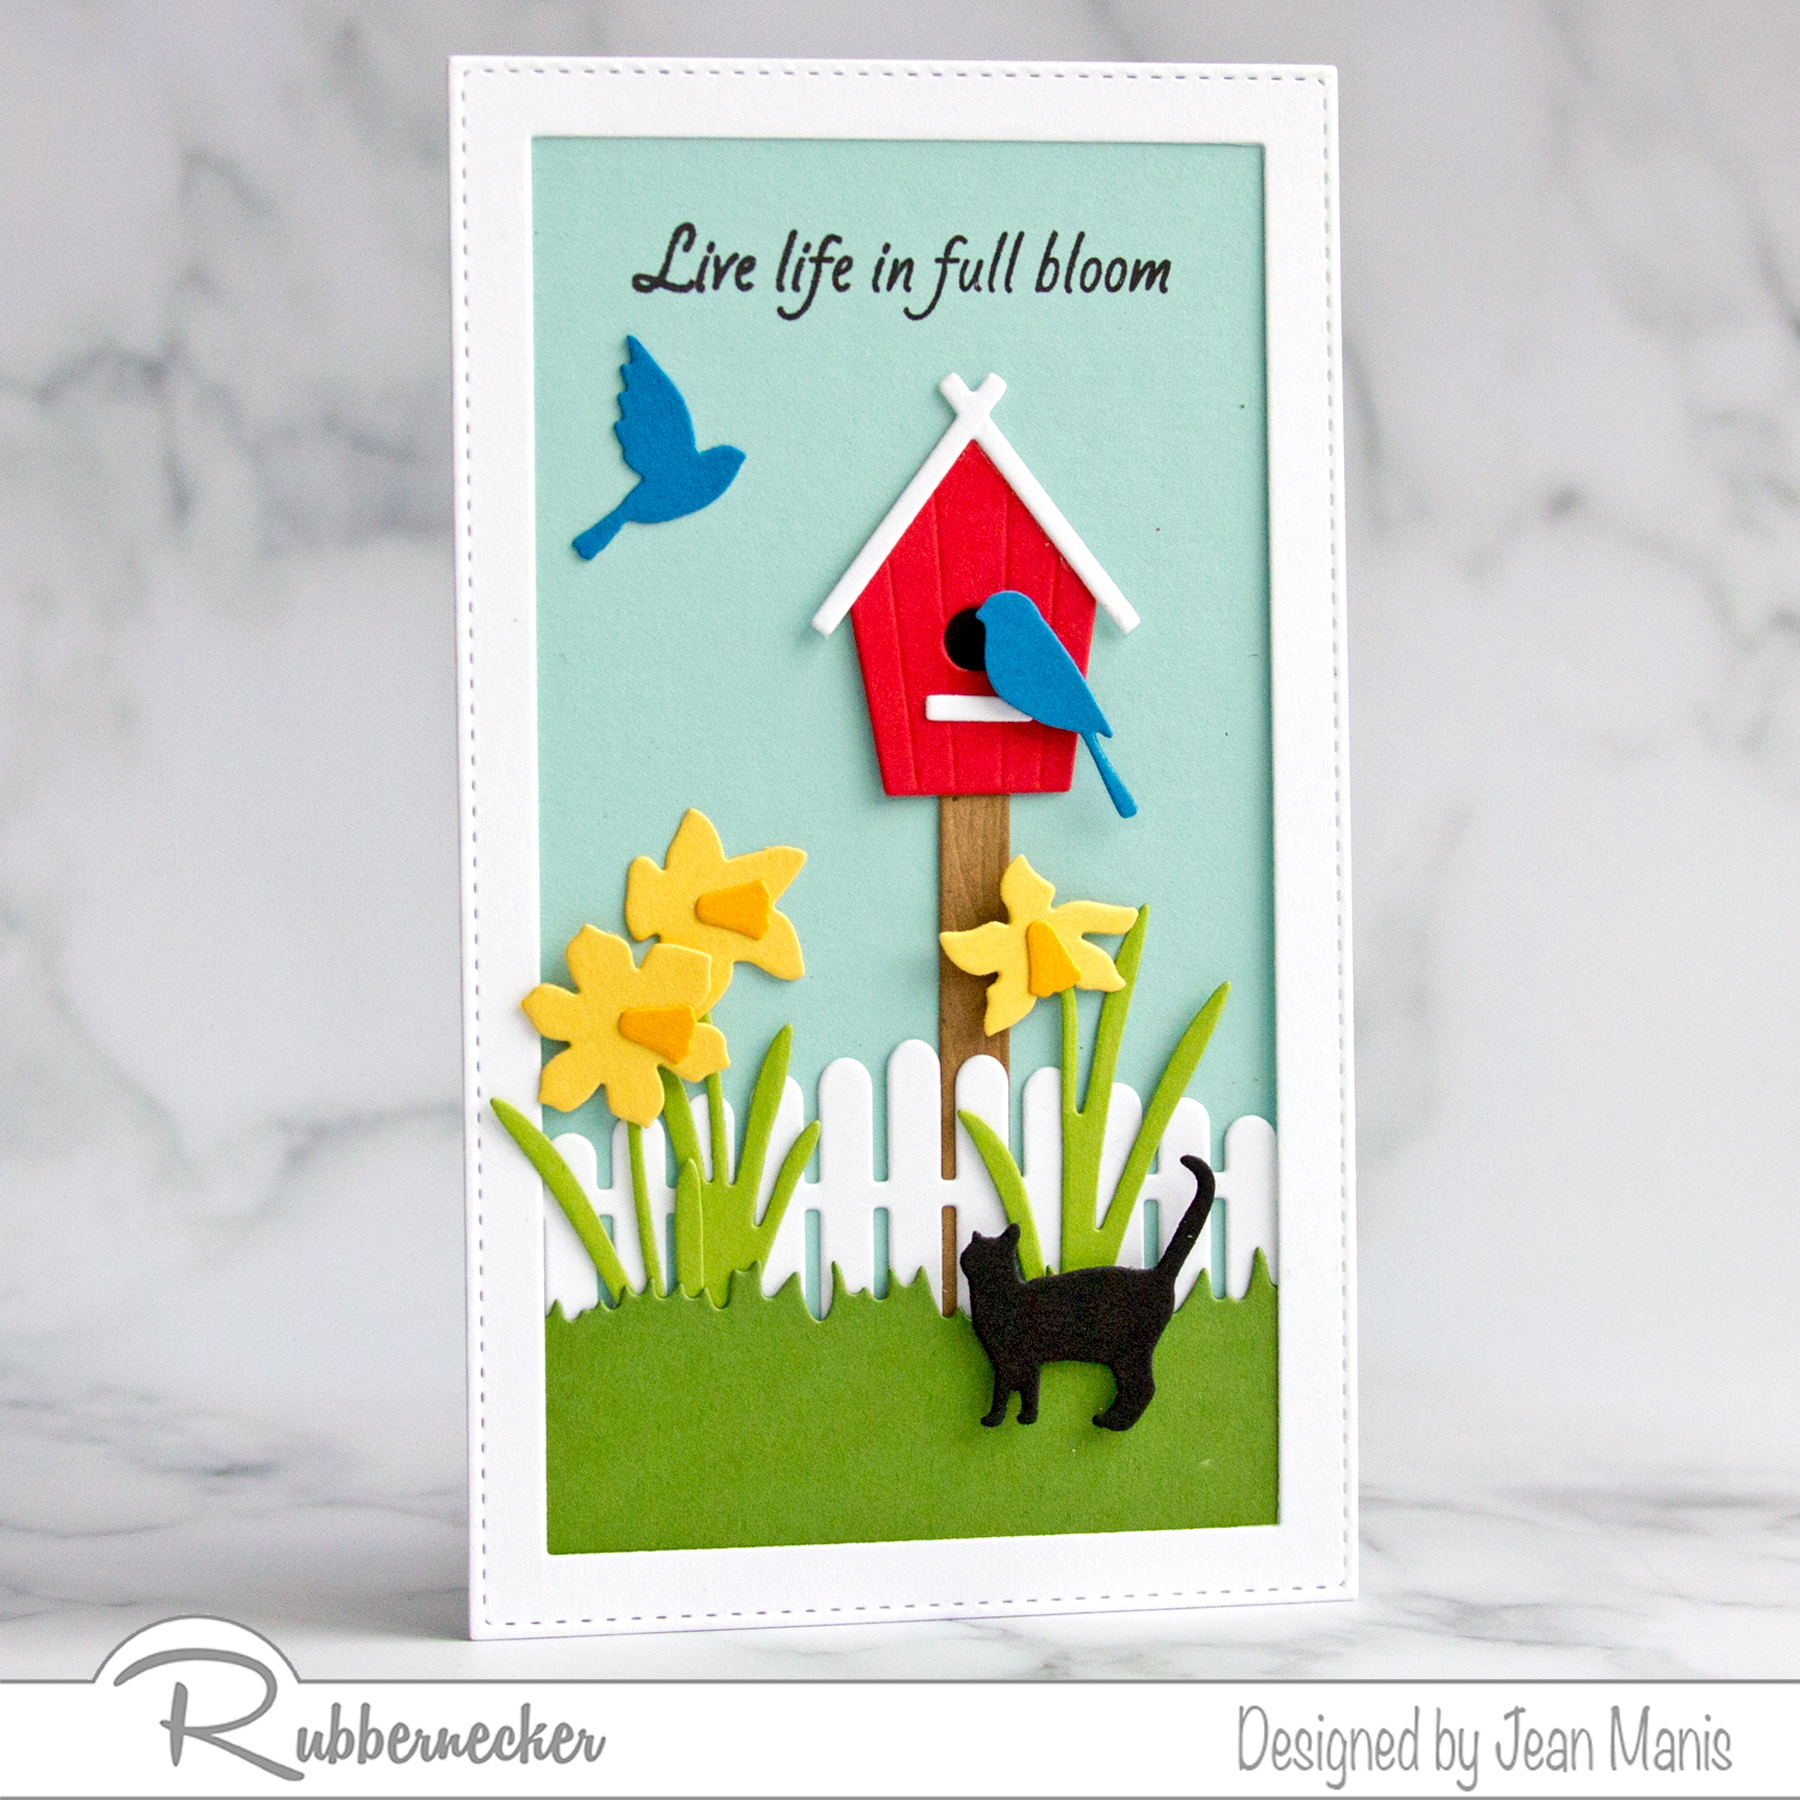
- Stamp Kittie Says Spring Time sentiment on white cardstock in VersaFine Onyx Black ink.
- Place vellum strip 2 5/16 inches below sentiment. Apply blue ink upwards for sky. Reverse vellum strip and apply gray ink for the ground.
- Place assembled trees, cart, and dog on sentiment panel to determine where to trim panel to A2-size.
- Trim panel and attach to card base.
Accessorize and Assemble
- Die-cut Cart Accessories #1 from cardstock; assemble.
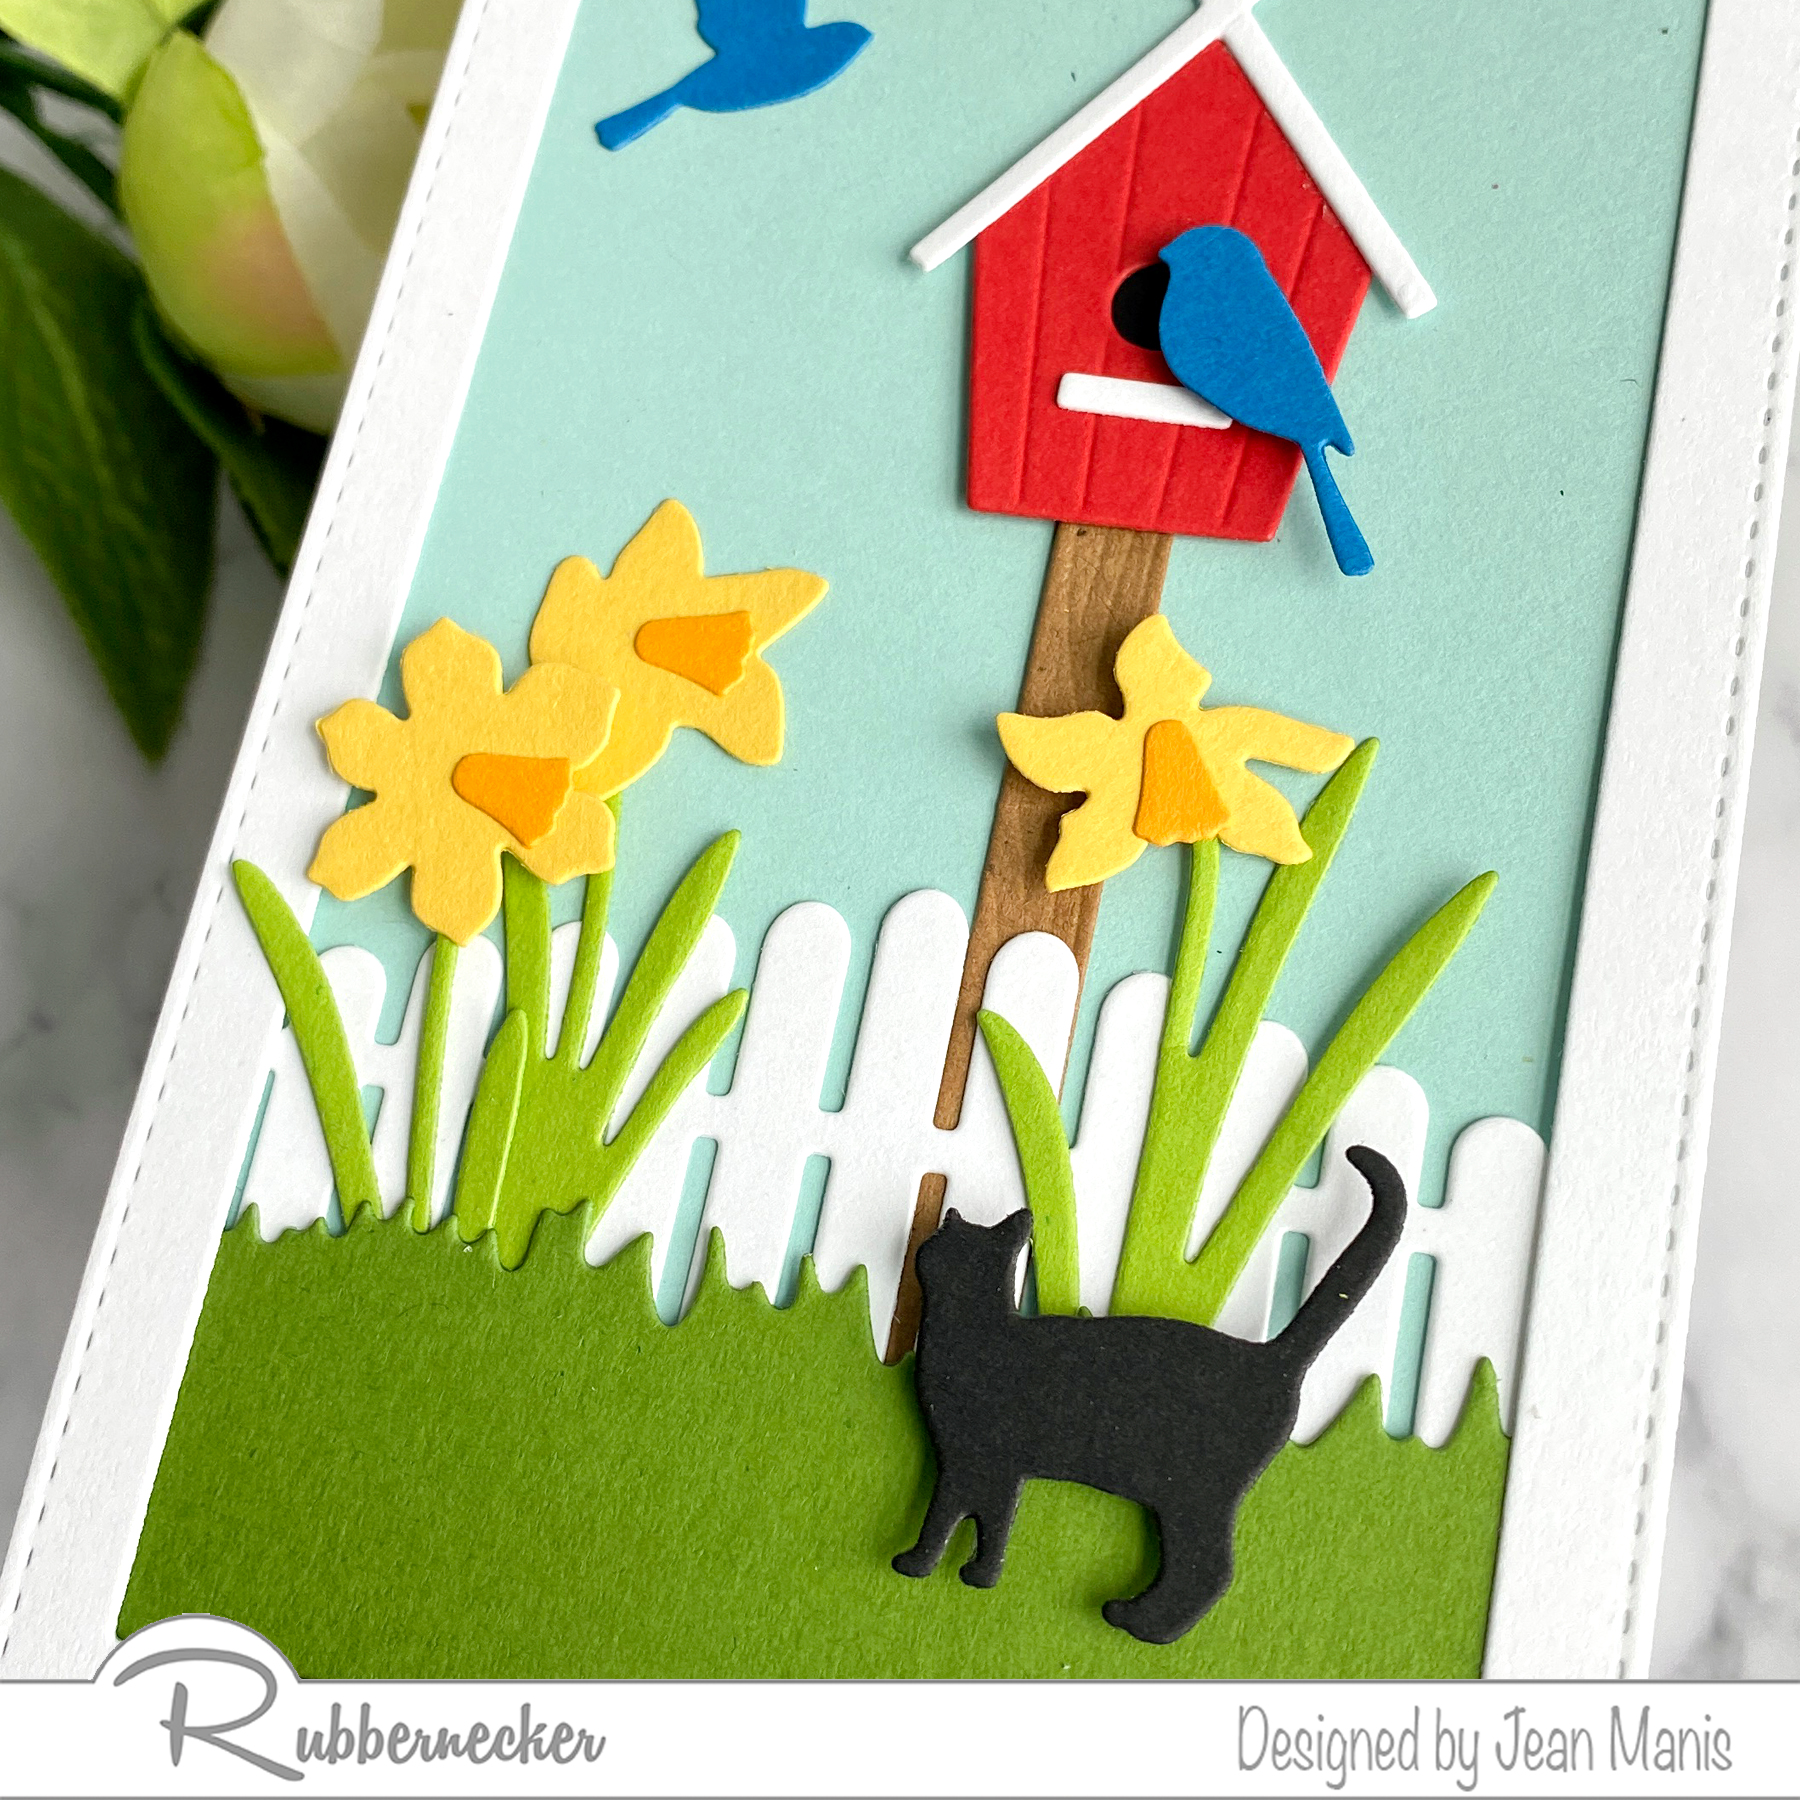
- Assemble the scene: adhere trees to scene; add cart, add accessories (popping up some with foam adhesive), and add dog with foam adhesive.